
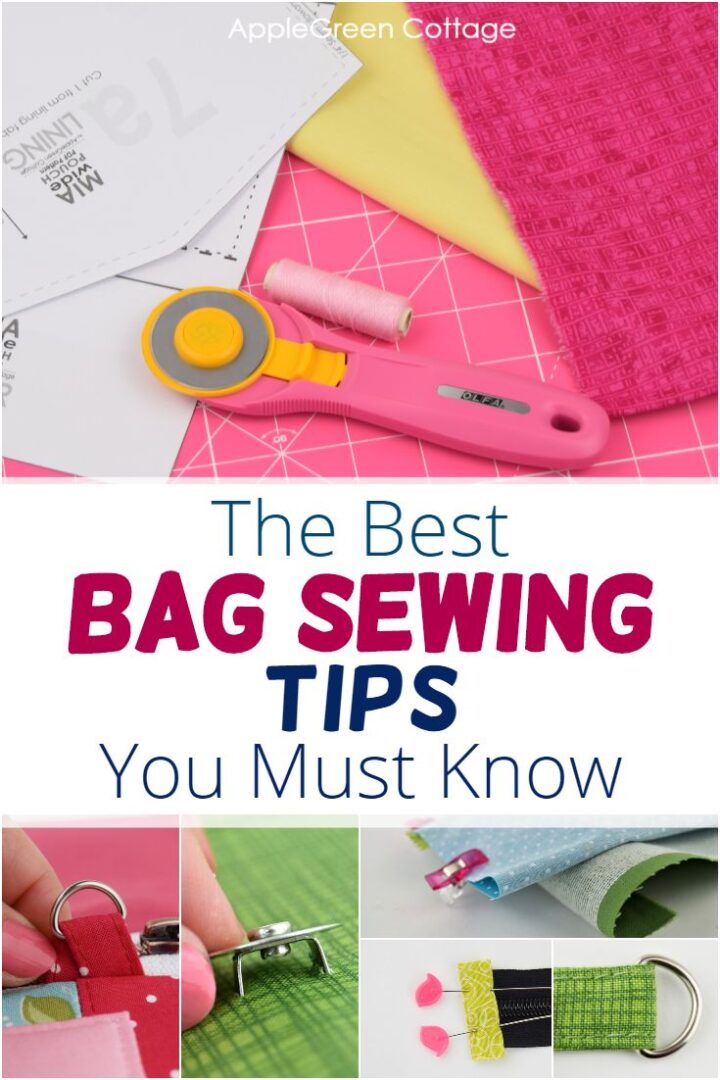
All my best bag sewing tips you should know when sewing bags - these will make a bagmaker's life so much easier. And your bags so much better!
When I'm working on a new bag pattern, my favorite part is always finding clever little ways to make the sewing easier - tweaks to reduce bulk in seams, smoother steps, cleaner results. It takes time and lots of testing, but it's so worth it.
So I put my best bagmaking tips together here - scroll down and use them!
Tips On Sewing Bags
These are the tiny tweaks and clever workarounds I keep coming back to when sewing bags - the ones that make you think, 'ahhh, this works so much better' moments. That part makes me ridiculously happy. Some were scattered across older tutorials, notes, and drafts, so I finally pulled them together here. All for you to use!
What Part of Bag Making Do You Need Help With? - Chapters
I just went back and am listing the bag-making chapters after I finished the post. It's huge, and this will help you navigate it:
- Bag Straps And Handles
- Interfacing
- Sewing the Bag Together
- Adding Space to Bags (Construction Stuff )
- Pockets
- Bag Closures
- Other clever tips for sewing bags
Sewing Bag straps
Let's start with the straps and handles. There are 3-5 important things that will make all the difference with your bag straps. Read on! I wish I had known all this when I started out making bags because my first bags would have had much nicer straps than they actually did. The video here shows my readers' favorite 3 bag strap sewing tips: (pause your ad blocker if you don't see any video here)
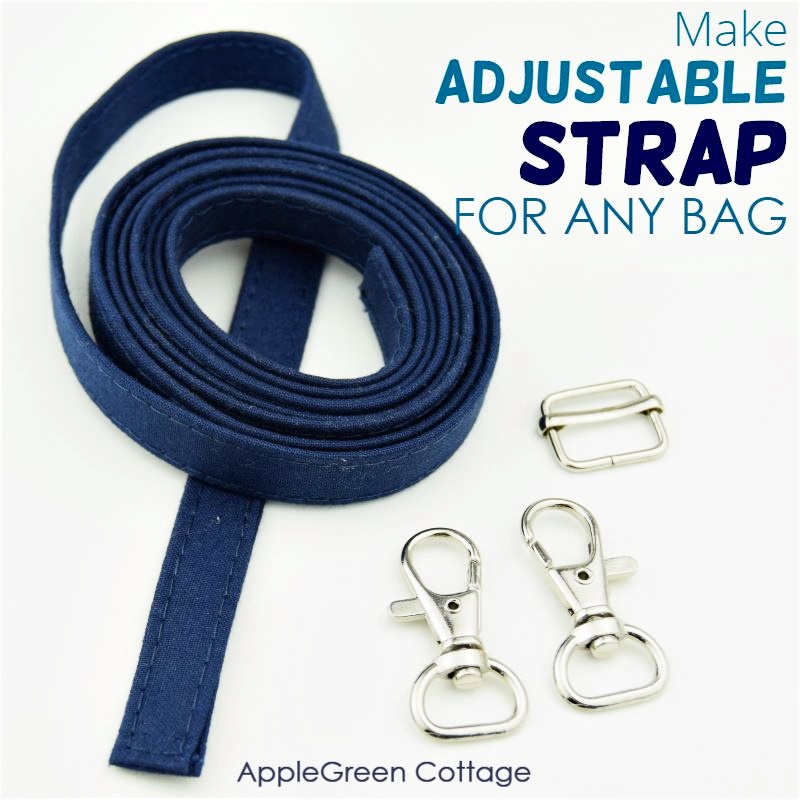
While making a strap can be as simple as grabbing some webbing and stitching it to the bag, you can also make your own, pretty strap. For one, adjustable bag straps are SO much better than the regular ones! See how to make adjustable strap, it's easier than it looks like:
And also, chances are that you'll have to join two or even more pieces of fabric to create a long bag strap. Check out how to make a bag strap longer here. You'll save yourself a trip to the fabric store. (Though I do have a list of my favorite online fabric stores too 🙂
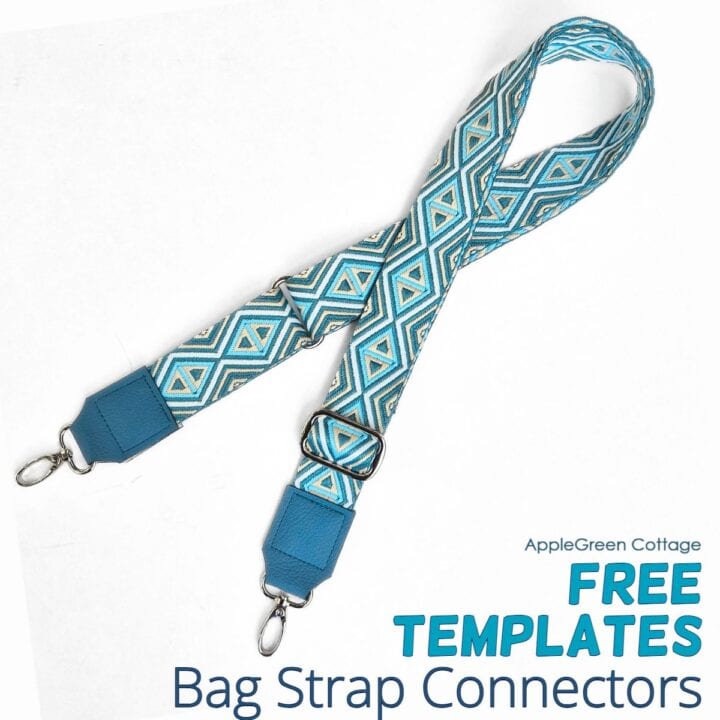
+7 FREE Templates!
Make a trendy DIY webbing strap with strap connectors:
Also, your bag handles and straps can be so pretty - with just little effort! See here how to make two-colored bag handles that will look amazing!
Sewing bags and handles: thicker is better
Always make the stiffest handles your machine and project can afford, as bag handles do a lot of work and get softened, stretched and used a lot. I prefer adding heavy-weight interfacing when sewing bag handles.
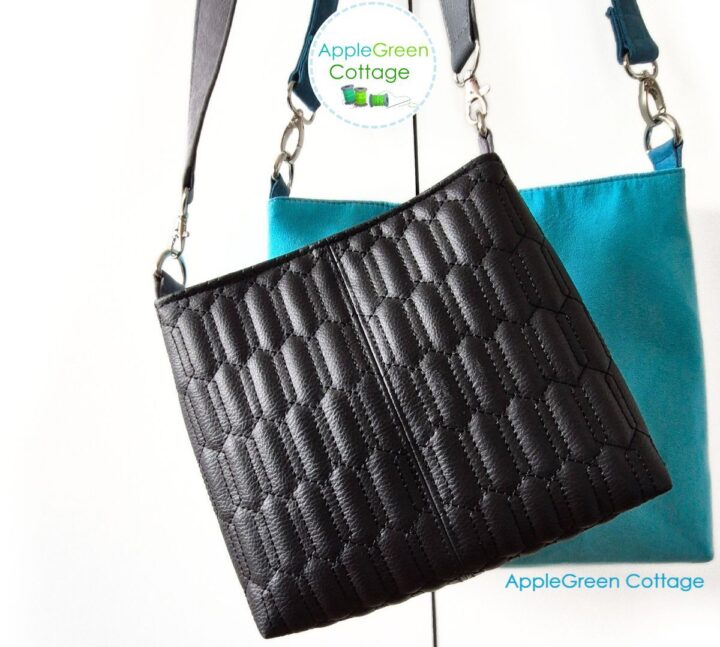
And sometimes I even add an extra layer. Adding a second layer to your bag handles will make your bag straps stronger - and prettier! Like in this color-blocked tote bag.
Check out this special bag-handles tutorial here:

How To Make Neat Closed-End Bag Handles
Sometimes handles are meant to be SEWN INTO the bag, not onto the bag. It means you'll leave the ends unfinished, which is just fine. And sometimes, a bag will call for FINISHED strap ends. Always the case when you're making adjustable bag straps (me: nearly always!) - in this case, read on - it's so easy to adjust them to finished ends:
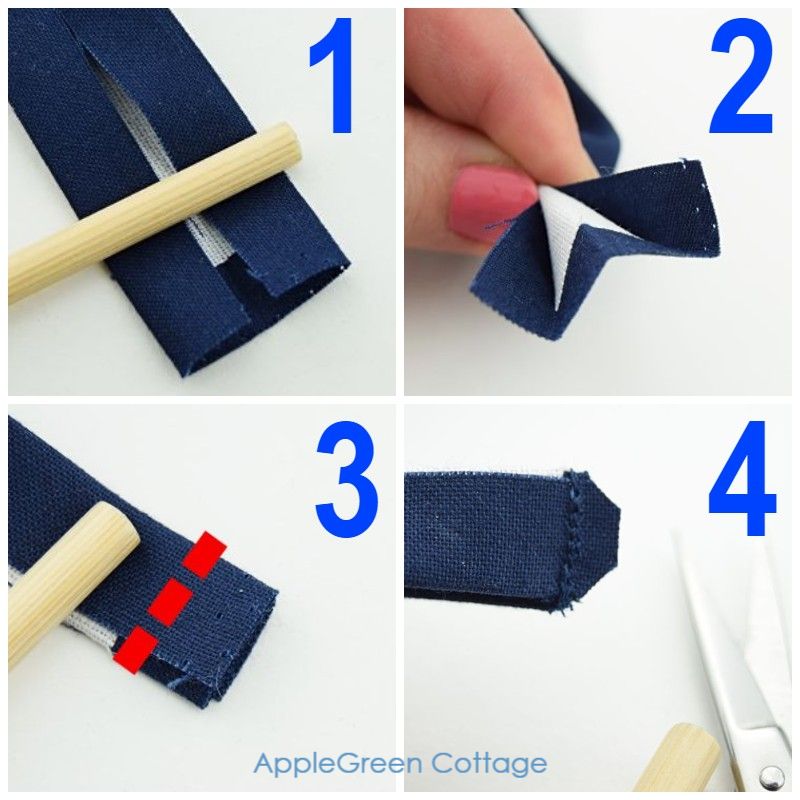
This is how to finish the strap ends:
- Press both unlined edges towards the center.
- Fold the strap in half along the center - but outwards with the raw edges still exposed. Press again. The end resembles the letter 'W'.
- Stitch over the short end using a ⅜" (=1 cm) seam allowance.
- Trim the corners on the seam allowance.
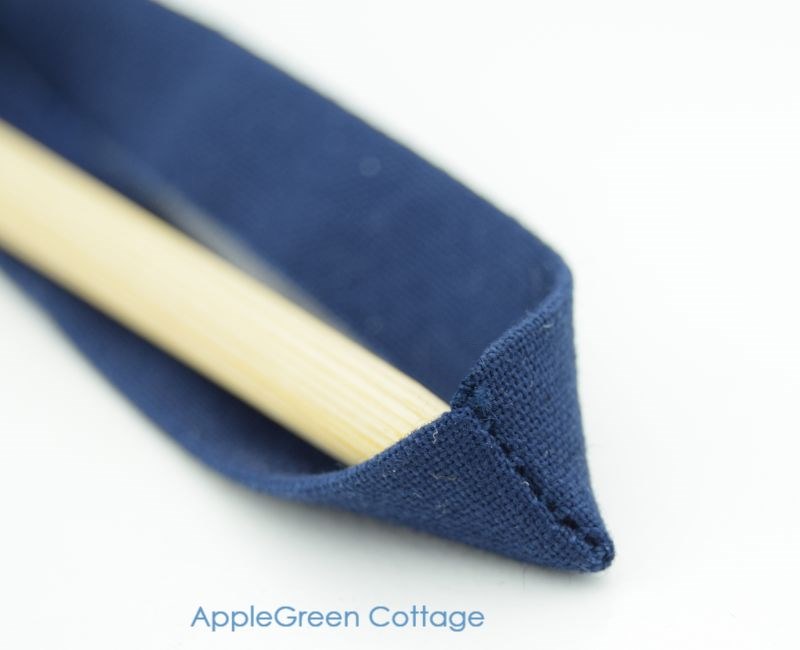
And this is what you see when you flip it right-side-out to hide the raw seam: BEAUTIFUL! Make sure to repeat with the other strap end, and then sew the sides as normal - in this case, it just means topstitching along both folded edges. This strap in the photo was taken from the Aiden pattern (the pattern instructions include all this above and more sewing tips to make your phone pouch absolutely adorable.)
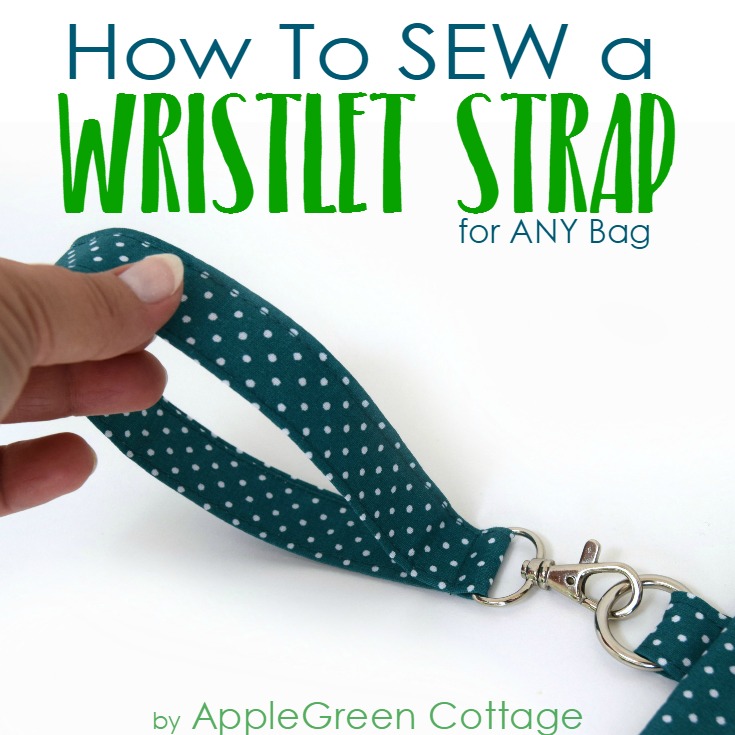
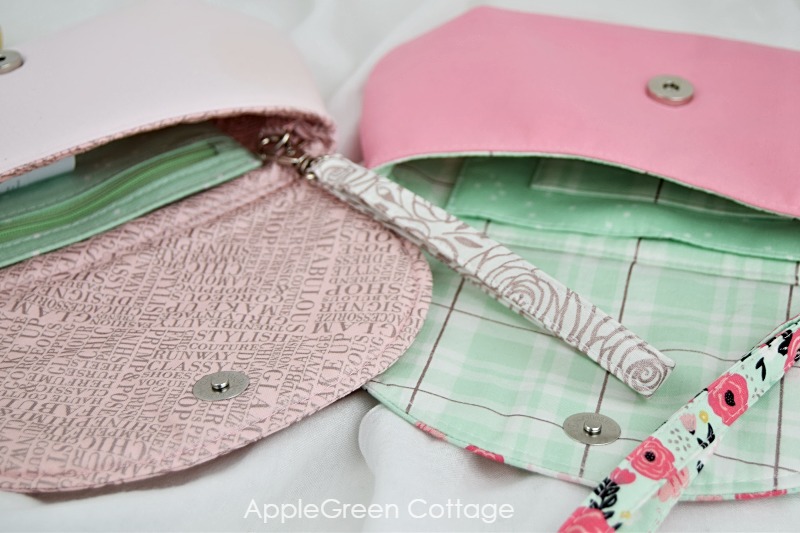
Sewing Bags With Short Straps - Make a Wristlet strap
Nearly all my small bag patterns include an option to sew a wristlet strap instead of making a long strap. The Enya Wallet has both and is perhaps even prettier with a wristlet strap:
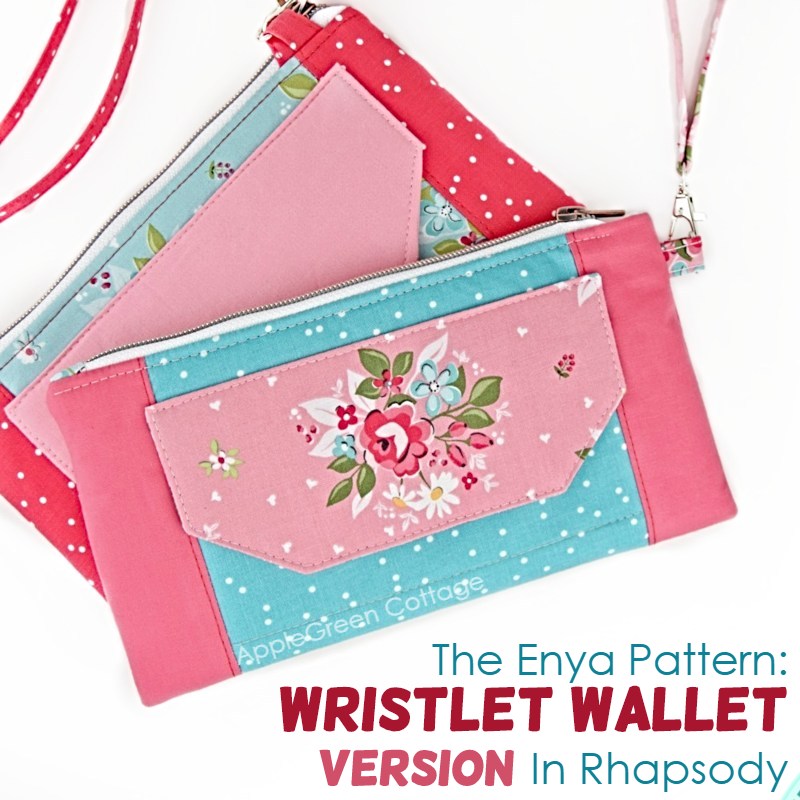
It always depends on a bag construction and whether the design can afford a wristlet strap or not, but mostly all small bags do. Here's how to turn a bag into a wristlet:
What Interfacing To Use When Sewing Bags
One simple truth: interfacing can make or break a bag. If a bag turns out floppy, bulky, too stiff, or just a little off, interfacing is often the reason. A main topic!
It's also a big topic. There are so many types, combinations, and ways to use interfacing and stabilizers well. So I wrote a separate interfacing tips post that covers the basics, the main interfacing types used in bagmaking, what to use when, and the difference between options like woven fusible, fusible fleece, and more.
Need a quicker starting point? If you just want a simple answer for your first few bags, grab my free printable Interfacing Cheat Sheet here:
If you need help with fusible fleece, see my quick how to fuse fusible fleece tutorial here - the fastest way to get it fused and move on with your sewing.
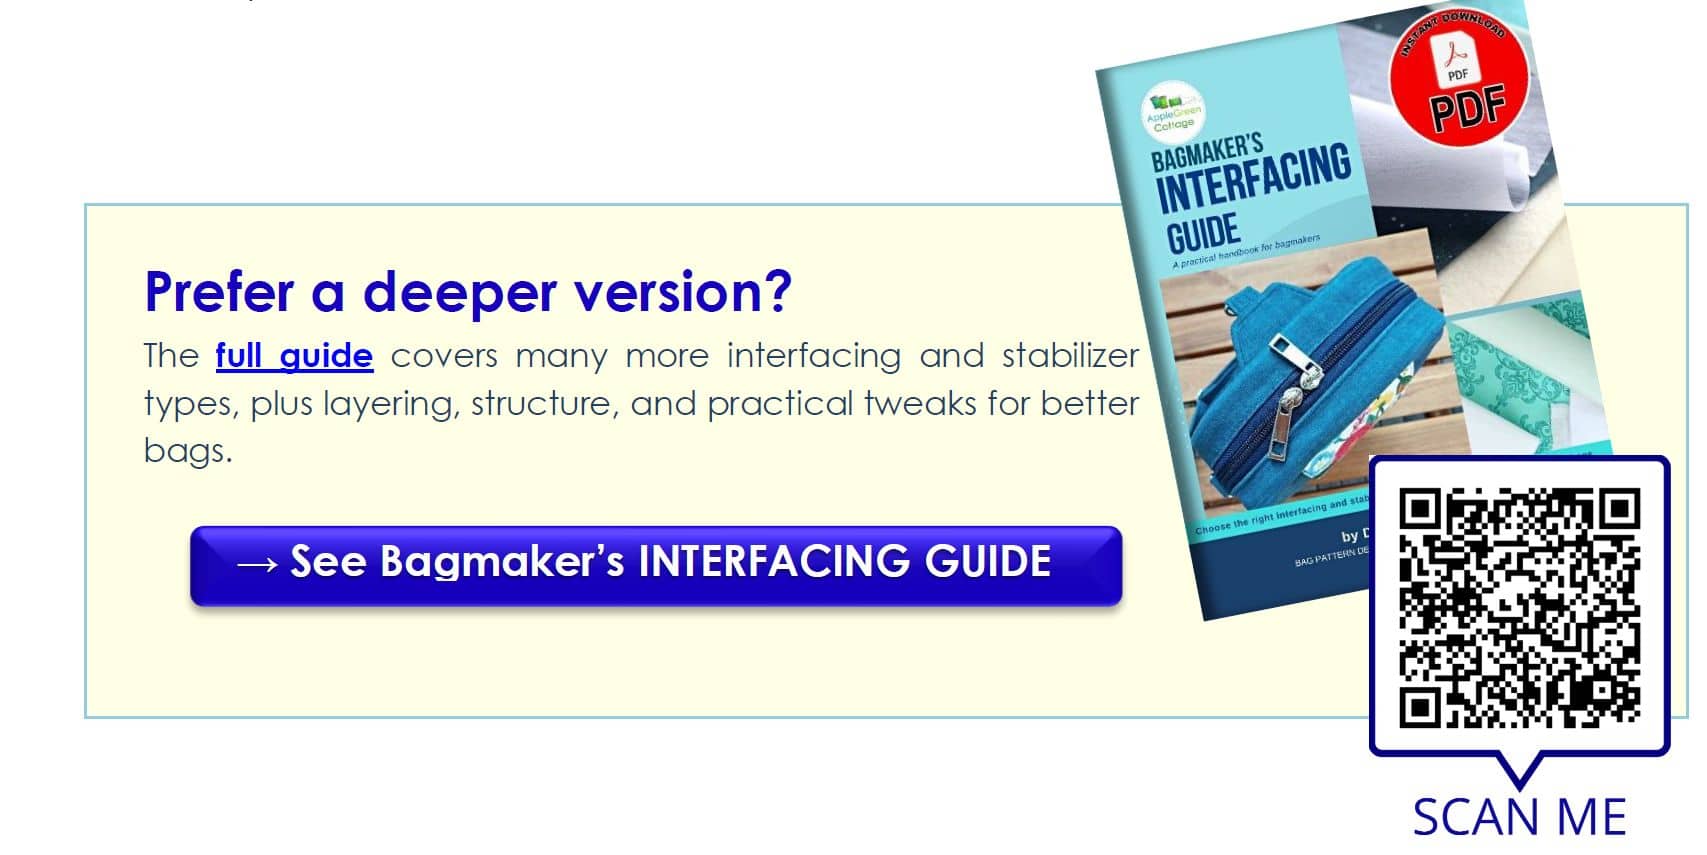
And one more thing: if you are sewing from a pattern, start with the designer's interfacing recommendations. If you need to figure it out yourself, I also wrote a full handbook on the topic:
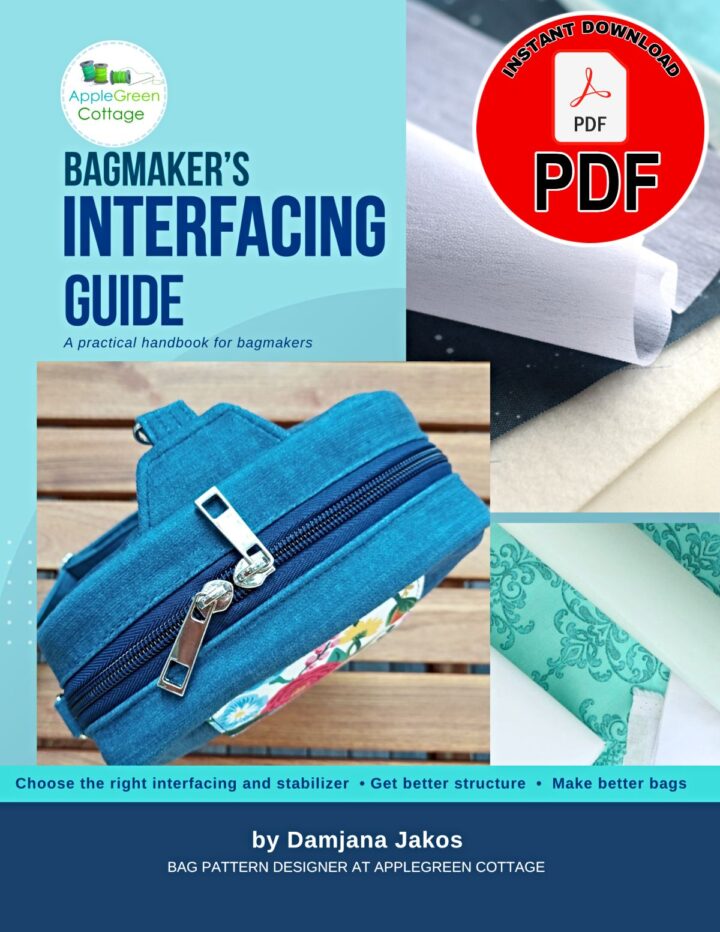
Prefer a deep-dive? Bagmaker's Interfacing Guide

And just because life can get in the way (it always does, doesn't it?), let me also mention what to do if you run short of interfacing. You can often improvise with what you already have - batting, heavier fabric, canvas, buckram, or even simply using a stable-enough vinyl or faux leather that needs no interfacing - depending on the project. It will not always give the exact same result, but it can absolutely get you sewing.
Working with vinyl or faux leather? See my bagmaking tips for sewing with vinyl here:
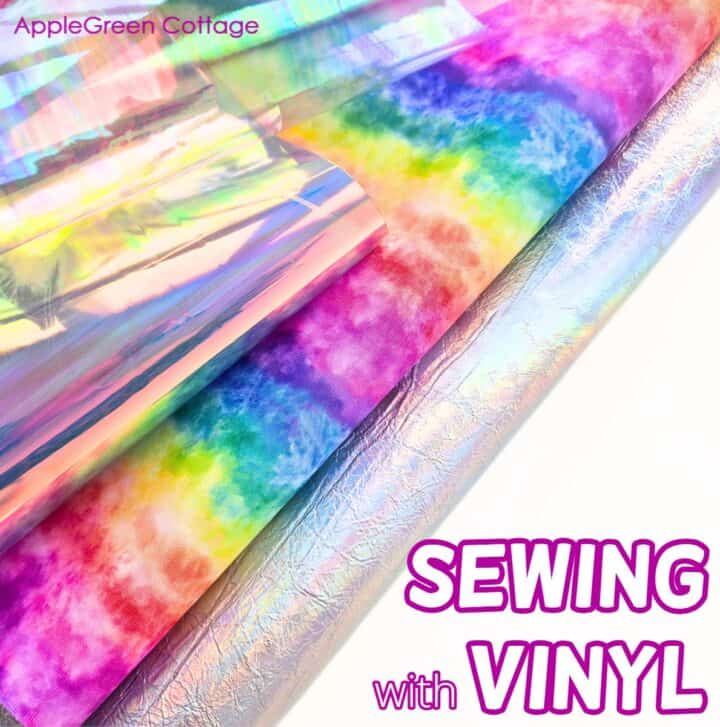
My Top 7 TIPS!
Sewing The Bag Together
Next thing on my mind: a few additional tips that will help you when finishing a bag, pouch and probably several other items.
Tip No 21: Prevent a Wonky Handle BASE. Fix Your handles Well!
We talked about straps before. Now's the time to attach them to the bag body. When you sew your handles into the body of your bag, you'll often be advised to baste them first. Good, we all do that. But what you usually don't hear is about this easy - non-professional hack to make sure the handles don't move between the layers: Scotch Tape! It makes sure my handles don't get sewn in skewed, at an angle I would not want them to.

See the Scotch tape I used to fix the handles in place temporarily? I often do that to prevent them from getting in my way when sewing. And to keep them straight when stitching into the bag. Non-pro, but it works for me!
I've used scotch tape more often than I care to admit, that was before I found out about the double-sided wonder tape. I'm slightly embarrassed but also amused about this early sewing hack I wrote about.
Next bag Making Tip: A better way to Clip the Corners
Clip and trim the seam allowance, it will make a huge difference in how your bag will look like. And make sure to use this neat corner clipping tip on your bags. You'll never look back, and your bag corners will look nicer!
TOP TIP: See how to clip corners and make sewing easier.
One Of My Best Bag Making Tips: Understitching!
And my top tip comes now: use understitching in making a bag!
Usually you topstitch around the top of your (nearly) finished bag. While topstitching will make your project look professional and the top of the bag smoother, topstitching is a challenge on really small bags, like this phone pouch. Even on a sewing machine that has a free arm:
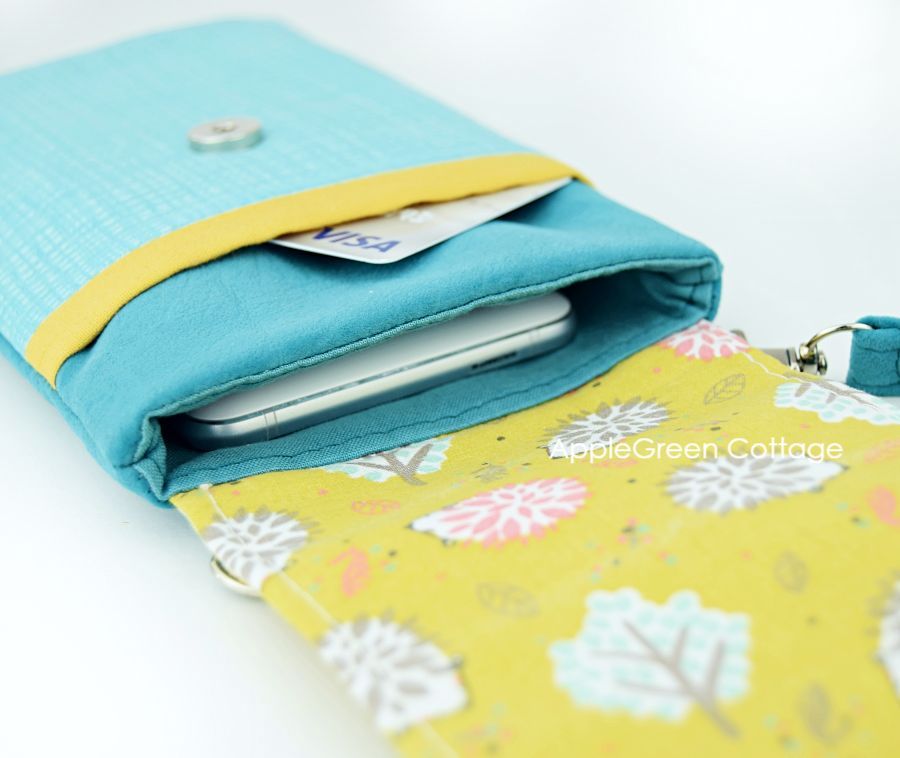
Notice the seam around the opening.
You can imagine how annoying it would be to topstitch this little opening, and how uneven that seam would be - the poor thing could end up in the bin!
In this case, understitching is the best solution. For me, like the bestest and cleverest thing to do! And it took me so long into my bag sewing journey to transfer this knowledge from garment sewing to bags that I decided to write this post mostly because of this clever little tip!
What is understitching?
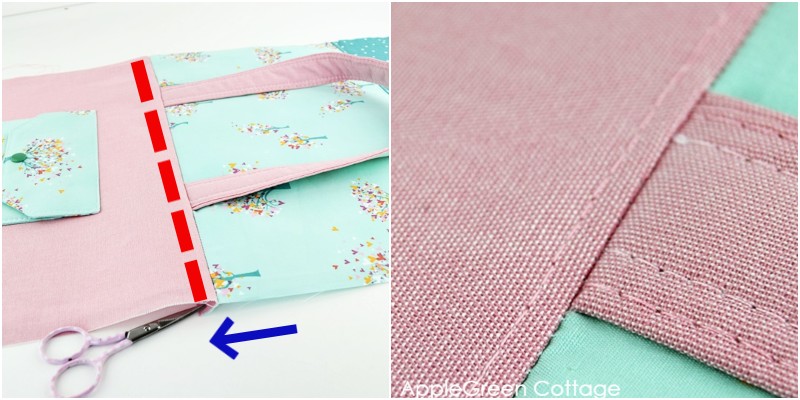
You understitch when you stitch a seam allowance down to the lining of the bag. It causes the exterior fabric to roll just slightly towards the inside of the bag. Understitching will not be visible on the outside of your finished product but will do the job just as good as the topstitching does. that is, prevent the lining from peeking out.
At what step in the bag-making process do you understitch?
Simple. Right after you've sewn the bag lining and the bag outer together. First you unfold the outer and lining and press the seam allowance towards the lining. Then, with seam allownce on the lining side, stitch seam allowance to the lining fabric, something like ⅛" (3mm) or even less away from the original stitching line. In the photo below, pink chambray is the lining:
I also like to understitch when it's not really necessary - like with this diy drawstring backpack pattern. Always a neat seam!
Adding Volume To a Bag
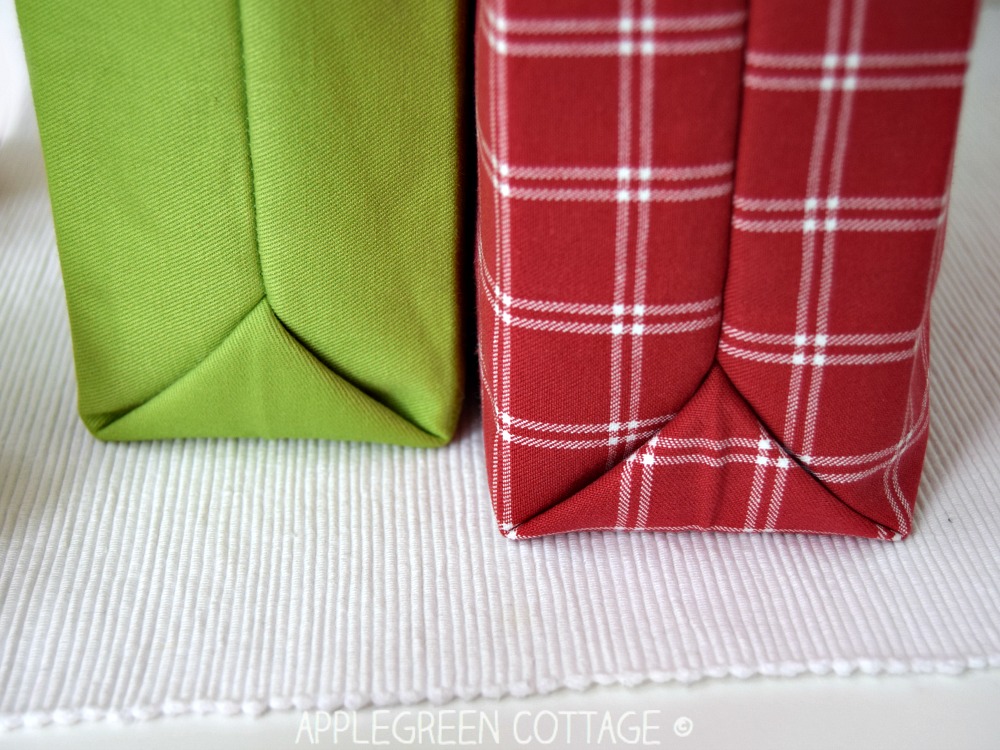
How To Box The Bag Corners
One thing: corner boxing is one of the basic techniques you learn with your first few zipper pouches. Super useful in bagmaking! Just in case a beginner bag maker is reading this, here's how to make a corner-boxed bag. Must-know, must-make.
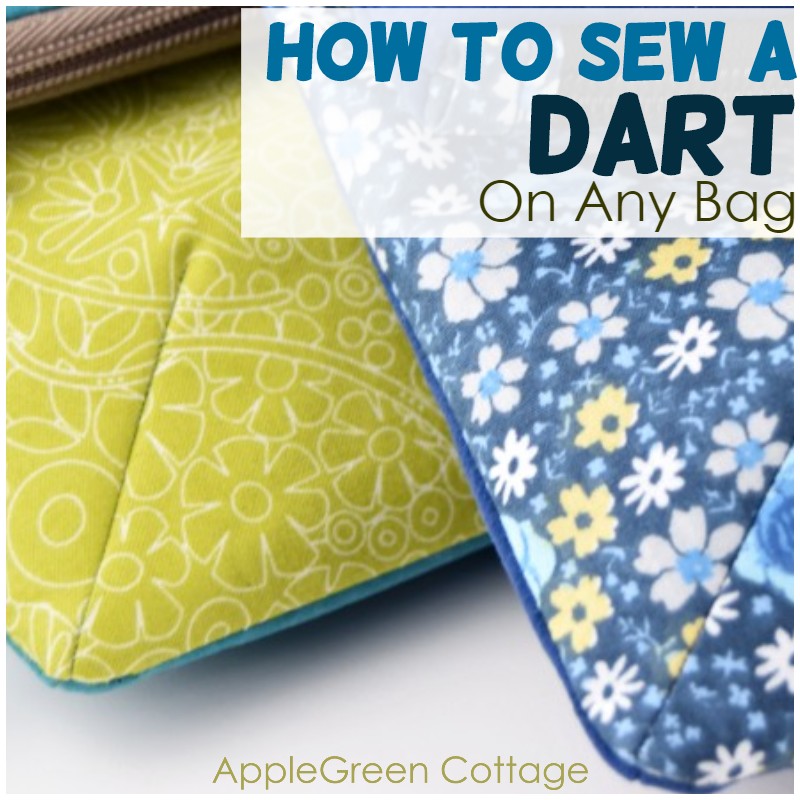
Following the same principle as the 90-degree boxed corners, some patterns come with darts - a dart is shallower than a full boxed corner, adding less volume, and a beautiful way way to add space to a bag. I love corner darts - here's a tutorial to make a darted bag:
Adding Space to Bags Without Boxing Corners
Not a fan of corner boxing? I've got you covered: there are a few ways to do it, one option is adding a gusset Check out this popular messenger bag tutorial to sew a bag with a gusset.
And here's a rather unique option to construct a three-dimensional bag: this free market tote pattern has a spacious flat bottom without the need to box a single corner. Want to see how? Check out the market tote tutorial - and download the free pattern, it comes in 3 sizes!
... Or achieve the look of boxed corners just by smart folding the layers but without the need to do the tedious corner-boxing measuring and cutting and stitching - like in this Gift bag (pattern in our shop here)
Pockets in Bag Making
A whole bunch of things to talk about here, so I'll really do my best to limit myself (promise!) to just a few tips. OK, let's do it: the simplest way to add a pocket: a slip pocket. Take a look at this list:
- see how to make a simple slip pocket in this tote tutorial - no flap.
- slip pocket with a flap
- the Sophia pattern has a welt zipper pocket
- the AIDEN phone pouch pattern has a pieced zipper pocket (SMART!)
- the Teya pattern has both of them (zippered)
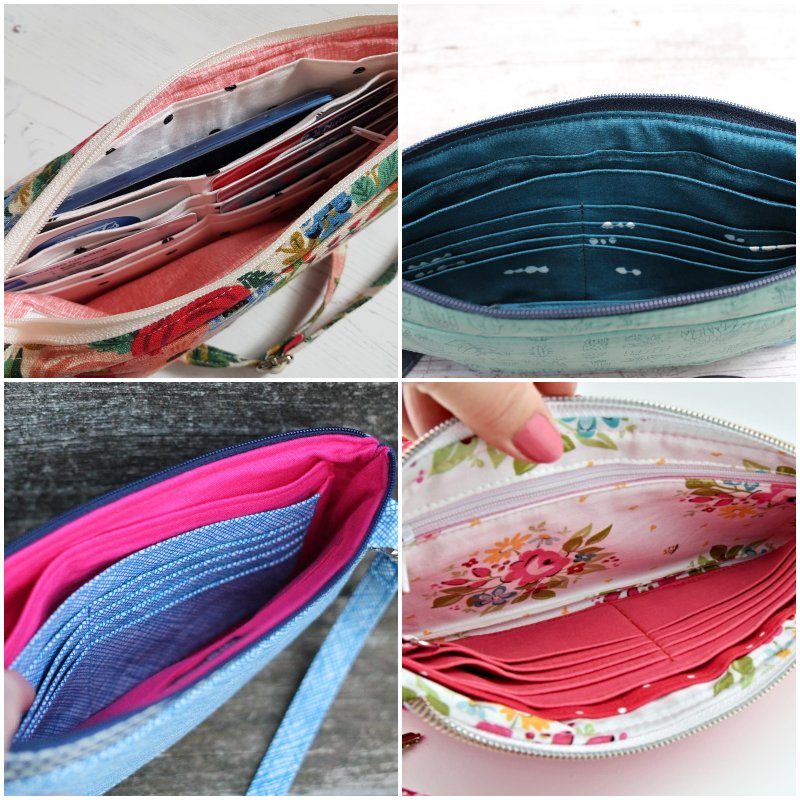
- credit card slots are just a version of slip pockets - my favorite views of the Enya slip pockets panel:
For those who'd like to dip a toe into the pocket-making world, here's a free template to make a simple welt zipper pocket - and instructions if you haven't yet made one. Easy, but looks cool.
Unique Pockets to Sew
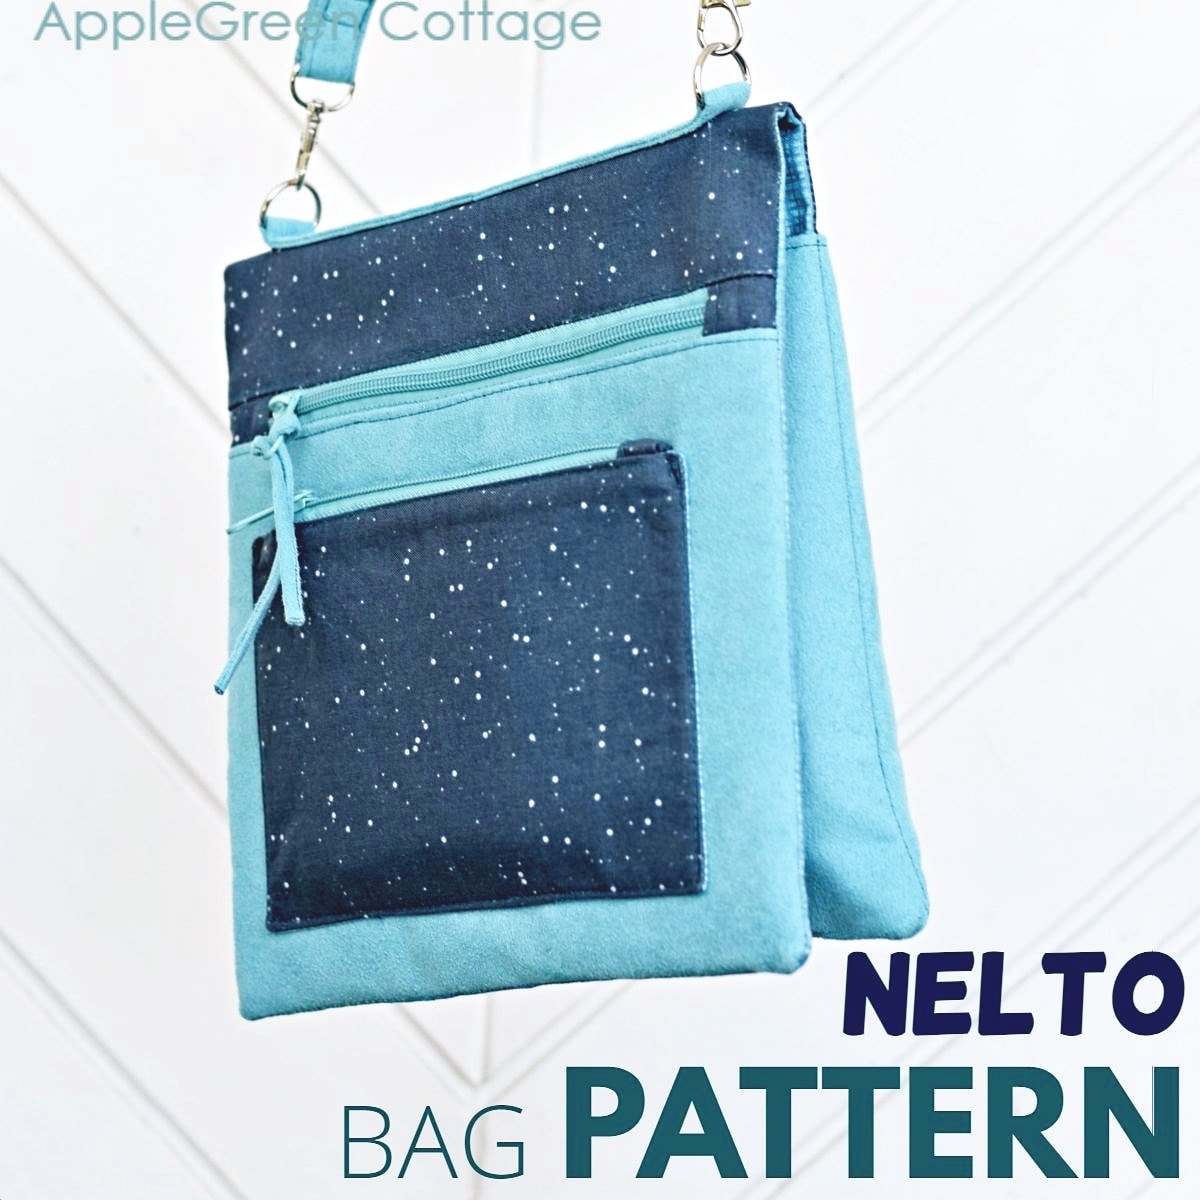
The unique pocket on the Nelto bag is definitely something you need to try if you are looking for something special. Pretty and you can add this one anywhere!
One more pocket that can be used as-is, as a slim front pocket wallet - it's this free card holder pattern. It only takes two seams and 5 minutes to sew one!
And let me show you one last, special pocket, just for fun. This:
Bag Closures
Pockets are so cool, but they need to be placed strategically, so they actually protect what's in them. Which inevitably brings us to the closures in bag making. Promise, I'll be quick - I have tutorials for these:
- Buttons - how to sew a button (video here, and photos!)
- KAM snaps (my fav alternative to buttons)
- How to Attach Magnetic Snaps - classy, and you'll be surprised to see how easy it is!
- Pull-in strings on bags - here's how to add a drawstring to a bag
- and this pattern has a different type of drawstring closure (I love it!)
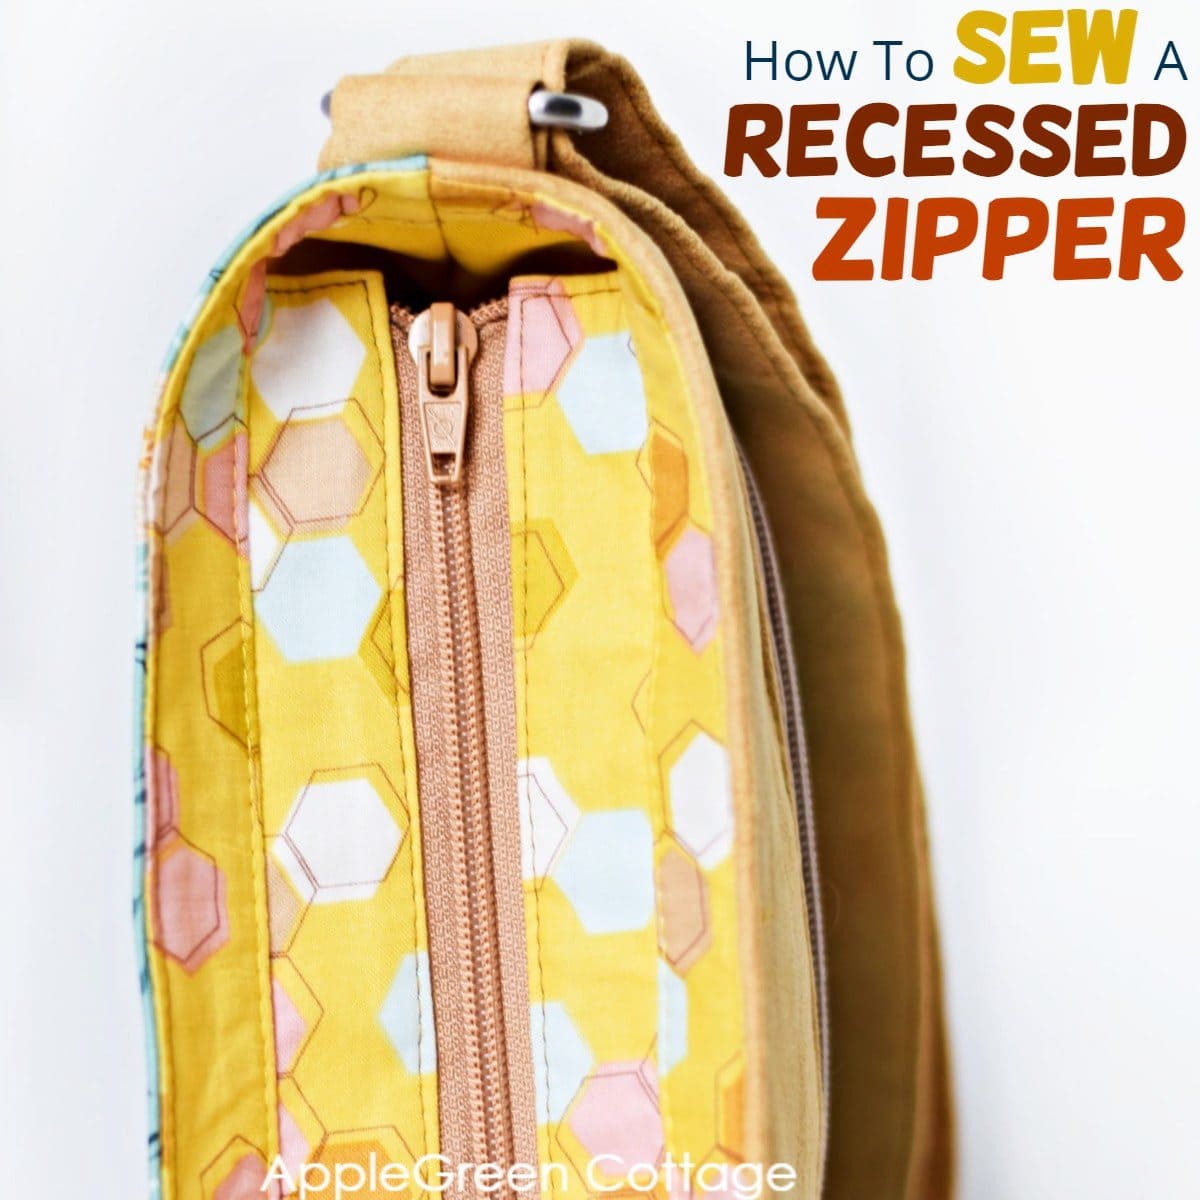
- super handy recessed zipper bag closure - you'll love it!
Mentioning drawstrings - installing grommets to your drawstring bag is easier than you think! And more: you can have all my drawstring pouch patterns here - for free!
How To Use Zippers In Bag Making
Firstly, here's my huge everything about sewing zippers guide - use it and never fear zippers again!
- zipper closures: zippers with tabs here and a different type of zipper tabs here
- the zipper that opens really wide with this makeup pouch
- and here's a boxed zipper (yes!) I love this clever construction!
And More little sewing tips to make better bags
Sewing through multiple layers with a domestic sewing machine
Sewing through thicker layers on a basic sewing machine: when you need to do some multi-layer sewing on a beginner machine, use a denim needle and slow your speed down. And use the wheel to manually turn a few first seams. It should do well.
See which two basic sewing machines I've used, for years. Still do! Also, I have a non-industrial heavy-duty sewing machine. →What is a heavy-duty home sewing machine?
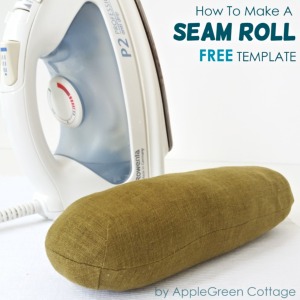
And One More, Super Important Tip: Pressing Seams when sewing bags
It's simple: pressing well and often will make a better bag. You've heard that one before, I know you did. But sometimes, especially towards the end of your project, it's hard to press all those boxed corners and spots under the bag handles.
Press well to achieve that neat look. I love to use my DIY sleeve roll - it makes pressing bags and pouches a piece of cake, every single time! You can use my FREE TEMPLATE to make one for yourself.
It looks like I simply cannot squeeze everything in here, but let's just mention this pattern tracing tip for when you have bags with several sizes, this tip about how to end topstitching on both sides so it looks neatly (no loose thread ends!) Oh, and
if you're just making your first zipper pouch, or bag, or tote - get yourself a bunch of these sewing clips (I used to hate pinning, and these were lifesavers!) - and at least try out the DST. Double-sided tape. Saved my day so many times when sewing zippers!
And What About Bag Sewing Classes?
And what about sewing classes? I haven't mentioned them yet, but yes I've learned a lot about bag making from sewing classes online! Quite a few of these tried-and-tested, favorite sewing classes deal with - you've guessed it, sewing bags. Check out the online sewing classes here. I'll make sure to add more of my favorite bag classes here as soon as I manage. (working on a list of my favorite bagmaking classes - those are goooood!)
Where to find good bag hardware supplies?
See where to buy bag hardware. I made this list because I have been getting emails from people asking me to tell them my favorites. Really, searching for good bag hardware can be a pain, so I thought I can help. You and I both need this list anyway.
---To be continued---
EDIT. I've come back to add this note now after I've finished making this long list. Guys, there are so many (!!!) bag sewing tutorials here on this blog, even I wasn't aware they would make this post so long. I know, it's a lot. No need to take in everything in one go, feel free to consider this as my most elaborate post on sewing bags so far, I'll just call it 'sewing bags'. Save to Pinterest, come back when you need it. Deal? And here's even a pretty image for you to save to Pinterest by clicking THIS link.
I would love to see your bags, and more importantly, I'd love you to have fun when sewing bags. Happy bag-making!
Damjana (Signing off, now I'm back to working on my new pattern, and it's gonna be a cute small bag! But shhhh.)
Edit: I haven't forgotten how lost I felt when hearing all those fancy sewing terms for the first time. I've compiled a quick and simple sewing terms glossary to help you if you're just starting out - as well as a whole series on how to use a sewing machine - forward this link to someone whose sewing machine has been gathering dust, or is still unpacked, stored somewhere in their garage. They might thank you later.
Happy sewing!
Sew Better Bags - FREE email guide!


Raewyn says
Wow - what an informative post - thank you so much!
Damjana Jakos says
Raewyn hi, I'm so glad!
Diane says
Holy Moly! That's a lot of information. What great tips. I'll be looking at more about your bagmaking and your patterns. Thank you.
Damjana Jakos says
Diane hi, I hope you'll enjoy them all - happy bagmaking!
Mea Cadwell says
As a heads up, when making shorter or thinner straps, instead of using interfacing I'll use those selvage edges we all get. I've found they work just as well for those little straps and is a way of using up those scraps.
And I've been known to use school glue (heat set) or a swipe from a glue stick to hold straps in place before sewing. It doesn't gum up the needle.
Damjana Jakos says
Mea hi, great ideas, thanks!
jane says
I have been sewing for 55 years and I learn something new every time I look at a sewing post. This one was very helpful and answered a lot of questions that I had. I will keep yours handy to help me.
Michelle says
This is a wonderful post. What an undertaking to write it! I'm preparing to sew my first bag, your NEA crossbody bag, and I'm reading up on all these helpful tips before I start. Finding it very useful. I am a little baffled by the forty-five degree angle you mention when piecing together a long strap. Do you still have the pictures you were going to add to help illustrate that? They'd be really helpful. Thanks!
Jinny says
Outstanding! Absolutely fabulous instructions.
Thank you
Emanuela says
What a great tutorial! I’am heading to my sewing room to test a few. I think I’ll start with the understitching. Thank you so much!
Nicole H. says
Thank you so much for sharing your experience with us! These tips are wonderful and will surely result in more lovely bags. I appreciate your site and your posts.
Damjana says
Nicole hi,
so happy to hear that, thank you!
Charmaine says
Thank you for your great and helpful tops, tutorials and patterns. During lockdown I have been able to rekindle my love for sewing. You are one of my favourite sites.
Damjana says
Charmaine hi,
warms my heart to hear that you like AppleGreen Cottage tutorials. Happy sewing! Damjana
Dani says
Wow, an encyclopedia of bag making, thank you so much Damjana!
Damjana says
Dani hi,
hihi, feeling so honored. Some day, it might just become one, yes! I've got so many ideas left as to what to include here. I bet this post will evolve into an even more comprehensive bag tips page. Hoping it helps many aspiring bag makers!
sewhappy says
Do you have a PDF for this information.
Damjana says
Hi,
a great question, currently there is no PDF book comprising this entire post. I could offer it as a PDF book for purchase in my shop, but then again not everyone would have access to the information. This is why I decided to offer the entire post for free on the blog. Enjoy!
JaRo says
Thanks so much for the tips post. It will help me make my bags look more professional. I appreciate your time in creating this post.