
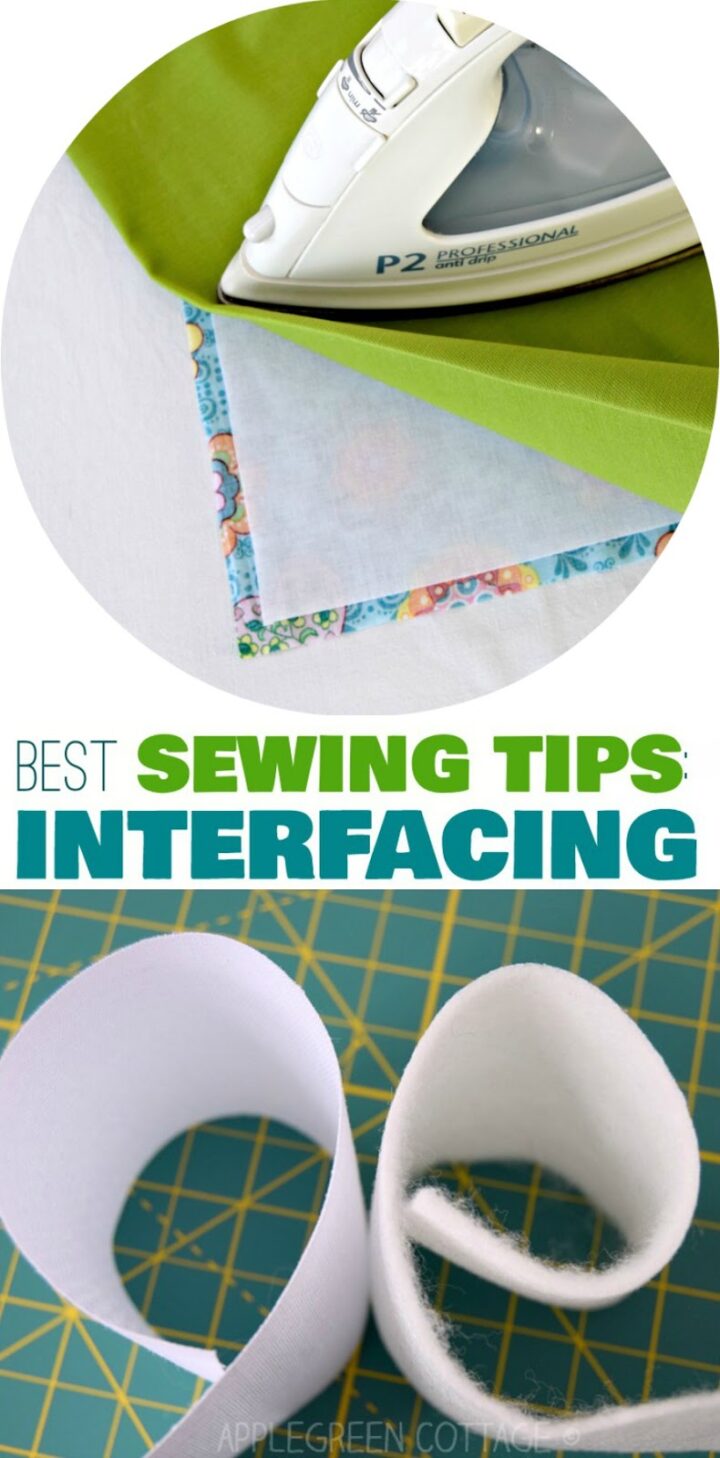
See how to apply fusible interfacing to your fabric.
Fusible interfacing is great for when you need to add stability to your fabric, and it will only take you a few minutes to iron it onto the back side of the fabric.
No pinning or basting - take a look!
First, just a few words for those who are to do their first project with interfacing:There are many types of interfacings and stabilizers, varying in thickness, stiffness, and materials used. We're not listing them all here, as another post is on its way to cover that topic. Check out my interfacing guide for beginners for details.
But bottom line, there are basically two ways to apply interfacing, depending on the type: non-fusible (you need to sew it to the back of the fabric) and the one I prefer (and you might too): fusible interfacing. If you're reading this post, you are interested in the latter one.
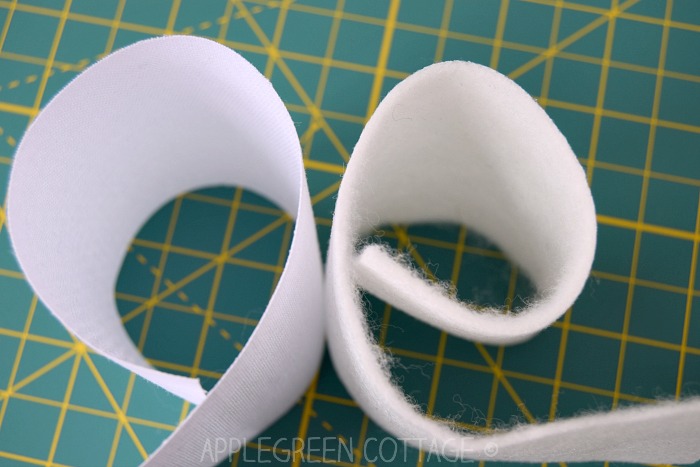
Left: very stiff, decor-weight woven interfacing. Right: fusible fleece.
Now, let's get down to work as you are probably already holding your piece in your hands, eager to go on with your sewing project.
How To Cut Fusible Interfacing
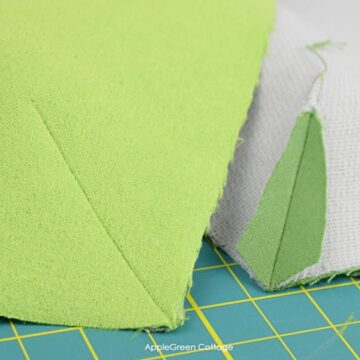
A) Stiff or thick interfacing/stabilizer: cut it without seam allowance to reduce bulk.
First off, you'll need to cut your interfacing pieces using the same pattern pieces as for the main fabric. However, you'll cut the interfacing piece along the stitching line to reduce bulk, meaning you trim off any seam allowance before fusing. Your fabric piece will look like this one when you place interfacing on it:

B) Lightweight interfacing: usually cut it the same size as the fabric. There's no need to trim off the seam allowance. See here:

You can either cut the fabric and ling-weight interfacing separately, or go for block fusing. I describe it below, and it might save you tons of time!
How To Apply Fusible Interfacing
Useful tip: press the fabric first to help pre-shrink it before fusing. This helps reduce bubbling and gives a smoother result.
USEFUL TIP NO2: When fusing fusible fleece, use the heat recommended by the manufacturer and avoid overheating. Test on a scrap first if needed.
1. Place your fabric FACE DOWN on an ironing board. You need to apply the fusible interfacing to the backside of your fabric pieces.

2. Place your piece of interfacing on the fabric, the adhesive coating must face down.

3. Cover with a cloth to prevent direct contact of the adhesive with the iron (yes the adhesive sometimes sticks onto the ironing plate if you press directly, as it melts).
4. Apply iron carefully. Press section by section. Lift and press - do not glide the iron.
Want to go deeper?
And here's another way to fuse your interfacing, but only the one that is cut the same size as the fabric: block fusing
How To Block Fuse Interfacing
Block fusing means fusing interfacing to a larger piece of fabric first, then cutting your pattern pieces. It can save time, reduce shifting, and give more accurate results.
Sometimes, I'd go for blockfusing for smaller, fiddly pieces that can shift or lose shape when fused individually.
But since you're reading this post, you might already hold your interfacing in front of you, and you'd just want to start your project asap. So, let's get it done!
More Sewing Tips


Prefer a deep-dive? Bagmaker's Interfacing Guide


Jenny says
Do I need to have two pieces of fabric enclosing the interfacing? That is, can the interfacing be just inside the outer fabric as a lining and not adding another piece of fabric as lining?
Damjana says
Jenny hi,
a great question. You want to know whether you really need to add lining if you've already fused interfacing to the main, outer fabric. In a pencil pouch, say, the pencils would be in direct contact with interfacing. I would definitely NOT advice leaving the interfacing exposed. It is a layer fused to the back of the fabric and in a way it protects it, true. But the seams are not hidden, it would be easier for the interfacing to come off. Last but not least, it is not a pretty view either. And you'd want the inside of a pouch prety if you've taken so much care to already invest in interfacing, spent time fusing it. If you'd really want to leave an outer fabric with a back layer exposed, I'd probably go with a layer of sew-in interfacing (interlining), baste the two layers together in the beginning using a zigzag stitch. But this would be a rare case. This is just what I'd say, feel free to investigate further and maybe one of our readers will come up with a better solution. Happy sewing, Damjana
Alanna C says
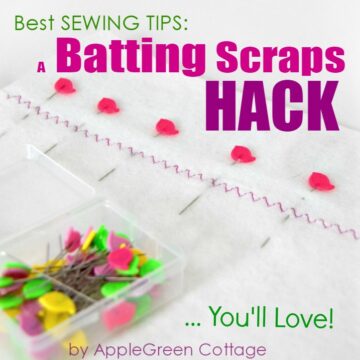
Hi! What do you do with the small scraps of fusible interface? Can they be jigsawed or sewn together to make a bigger one if you dont have enough for larger pieces like a hood?
Thanks
Damjana says
Alanna hi,
exactly as you said! Take a look at this how-to: https://www.applegreencottage.com/batting-scraps-sewing-tip/
Happy sewing,
Polly Edington says
How hot should my iron be?!
Damjana says
Polly hi,
thanks for reaching out. For fusible fleece, I use medium and always press over a cotton cloth, not directly. But the best way to go is check out the manufacturer's instruction on the package, they differ a lot.
Happy sewing,
Damjana
Anna says
Hi! Thank you for the information! Can’t wait to try using interfacing for my crafts. What brand is thick woven interfacing in the picture?
Damjana says
Anna hi,
unfortunately, I never could find out - the stiff woven interfacing in the photo is something my local shop carried under the name 'fusible canvas', it's a no-brand but awesome stuff to make bags with. The closest I could get when comparing it to a known brand is Pellon's (non-woven!) Craft Fuse. Stronger than buckram. Stronger than canvas itself. I have another interfacing guide on the blog, maybe it will shed some light: https://www.applegreencottage.com/interfacing-sewing-tips/
Hope this helps at least a bit?
Polly Edington says
Thanks...it is light weight material...it has been a long time since I've used fusible and I didn't save the manufacturer's directions...yours help! You are 5 hours different to me...it is after 3 pm to your 8 pm...where are you?!
Damjana says
Polly
hi from Slovenia, Europe 🙂
hmm, lightweight. I'd definitely err on the side of caution, so I suggest trying it out on a scrap piece - start with low heat, no steam and heavily pressing, no sliding the iron around. Also, to prevent the interfacing leaving lots of residue on your ironing board (since we do not know how much glue there is applied on the sticky side) - place a protective layer of cotton under everything, and also on top. Always easier to go from too careful to less careful, than the other way around. Hoep this helps. xoxo,
Damjana
Pam @Threading My Way says
I remember the first time I applied fusible interfacing. It all seemed so confusing, but once you know how, it's easy. A great tutorial as always, Damjana.
Unknown says
Thanks for the clarification, I learned that a dry iron was best for my pellon 911f interfacing.
sandi says
STEAM OR DRY IRON?
Damjana at AppleGreen Cottage says
sandi,a good question, and you'll find a lot of differing opinions on the net. First off, I recommend following the manufacturer's instructions for the type of interfacing you use. If there are none, going with dry (no steam) pressing is a safe bet. If no effect (the materials don't stick together), try dampening the cloth you are using to iron over. Having said this, I use steam sometimes, and only with a certain type of interfacing - but I'd usually advise against that, unless you 'know' your (interfacing) material and when you are certain the steam won't damage it.
Evelyn Mitchell says
Thank you for Sandi asking the question and Damjana for answering. I have searched Google for the answer and this is where I found the answer, I have seen tables comparing different interfacings but none that compare steam iron to dry iron. If you buy the fusible interfacing by the metre there usually are no instructions to indicate which to use. If I buy the birch brand it states steam iron. So I wanted to know what Formfuse Fusible used but couldn't find their website. So I suppose I will need to experiment.
Damjana says
Evelyn hi, great input, thanks. I suppose we're all experimenting with interfacings. And it's a good thing - I have found quite a few new favorites in years. Happy stitching,