
Check out this easy kam snaps tutorial and see how to install KAM snaps to nearly all your projects (think coin purses, tote pockets, diaper clutches and lots more!) And make sure to scroll down for the troubleshooting tips - all you need to know about kam snaps!
In short, you can use KAM snaps on nearly any sewing project! Learn how - in less than 10 minutes!
This tutorial is part of the ApleGreen Cottage learning-to-sew series. Check out all our sewing tips here.
Table Of Contents
Here's Why I love KAM Snaps - And You Will Too:
- Adding KAM snaps is so easy!
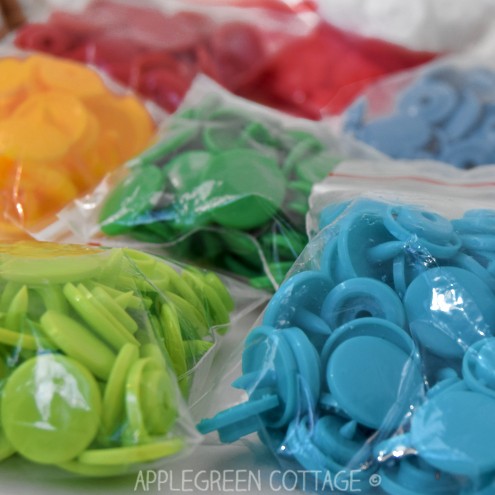
- They come in a gazillion of colors, so you can mix and match to your heart's content.
- Inexpensive.
- So simple to use!
If you haven't yet met kam snaps, I just know this will be the first thing you'll ask:
What are KAM snaps?
Me: 'Cute, practical thingies, available in tons of colors-you'll love using them!' Now, a more serious definition:
Kam snaps are plastic snaps that are super easy to install and perfect for any project needing a closure. Think cloth diapers, bandana bibs (free bib pattern here), lunch bags, and flap pockets.
You can use them in place of buttons, on hanging fabric bins, and on pouches.
KAM Snaps Installation Video
First, for those of you who like video tutorials, I've made a video on how to install plastic snaps, just to make it easier for you. Check it out:
Why should you use kam snaps?
- quick and easy-to-install
- colors!
- plastic - easy to care for
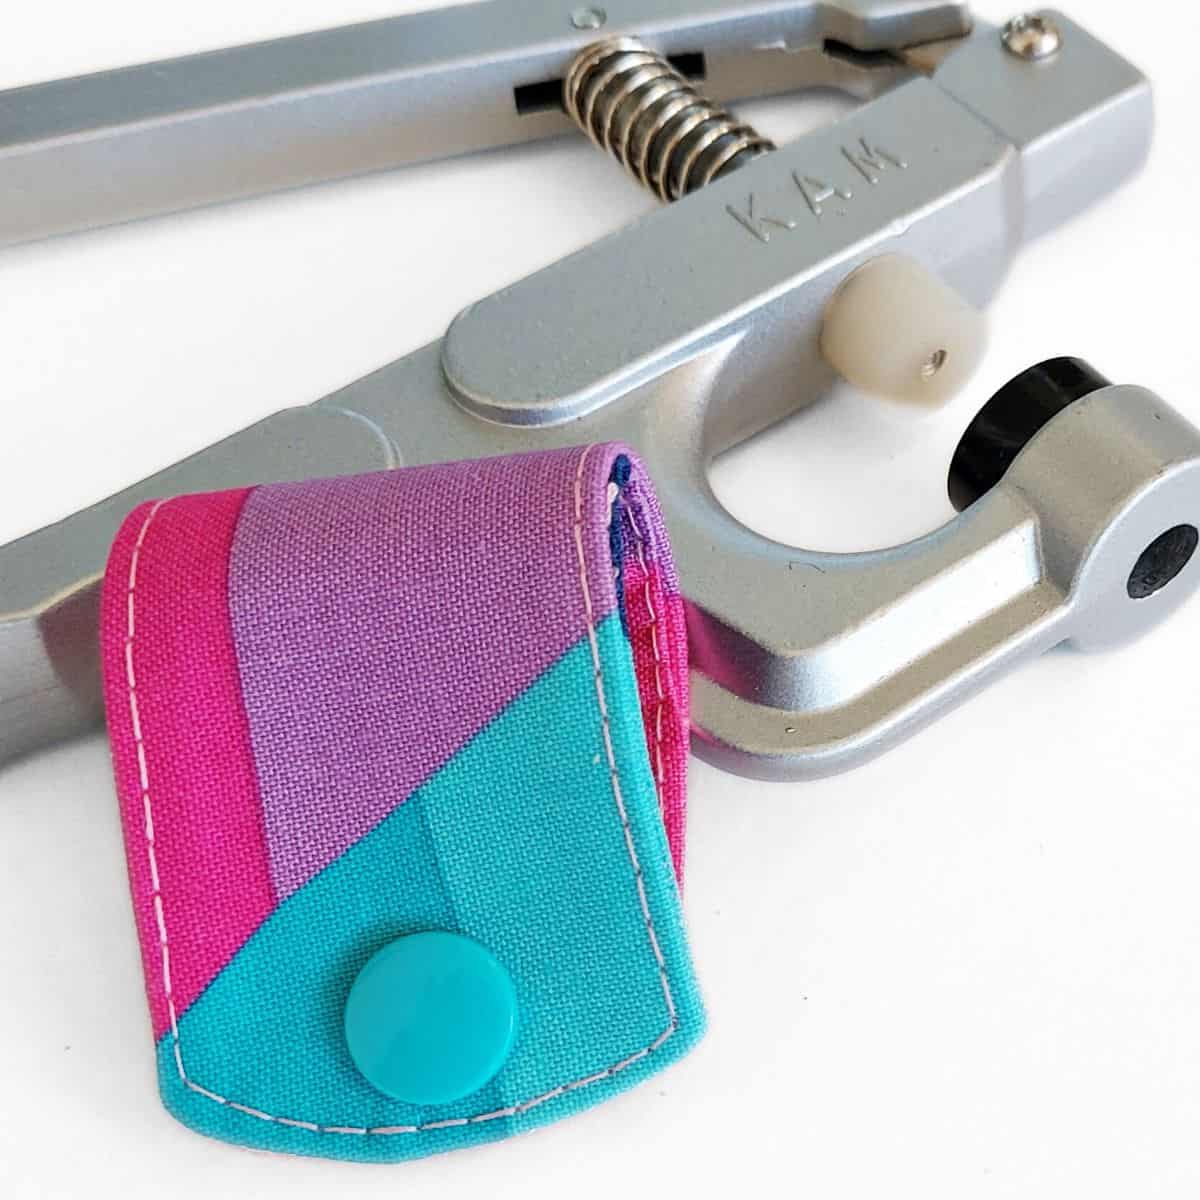
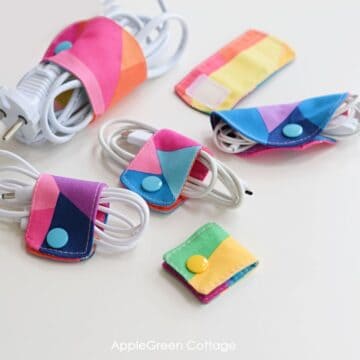
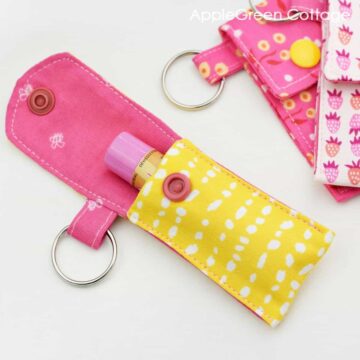
- a fantastic choice for many easy sewing projects, like these DIY cord wraps:
Pros - all those listed above. Cons: only one: you'll need to order KAM snap pliers before you're able to install them. So don't just get the snaps, order them in a set with the pliers. (about 10 years ago, I paid for mine $15)
How Do KAM Snaps Work?
I've made a feature slide show just to show you the features of this plastic snaps brand. (Also, why you'll love using them!)
What KAM Snap Size to get?
KAM snaps come in several sizes, usually labeled T3, T5, T8, etc. The cap size and pin length can vary, and they also come in fun shapes besides the classic round one - like hearts and stars.
Top Tip
I usually just get the most commonly used size, T5 also called Size 20, with the snap cap approximately half an inch (12.4 mm) in diameter. Makes everything easier!
If you want to use different snap sizes, make sure your KAM pliers include the matching plastic dies for those sizes. Try a few and see what works best for your project - and keep scrolling for more tips and answers below.
Ideas to use KAM Snaps
- DIY cord wraps
- my Half-Moon Coin Purse
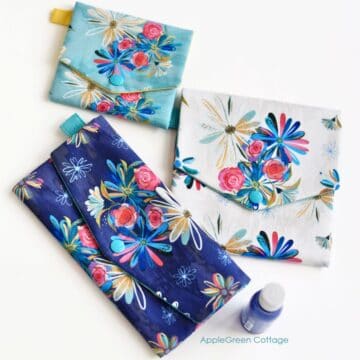
- Lily Pouch (free pattern)
- classic baby bib
- Mia Snap Pouch in 3 sizes
- Mini pouch pattern ↓
An ideal project to test out your KAM snaps: if you sew for babies, grab my popular free bandana bib pattern!
The 4 Parts of a KAM Snap
One kam snap set means four tiny plastic pieces. See a photo below: this is a plastic KAM snap set. It comes in 4 pieces: two of them are caps, actually the back of the snap that's visible on the outside. They are flat.
- 2 caps. They will be installed on top of the outer fabric layer. See the image below.
- 1 socket piece (use on the body of your project)
- 1 stud piece (use on the flap piece of your project)
You'll recognize the stud piece as it is flat on one side.

Now, let's see how to attach a snap.
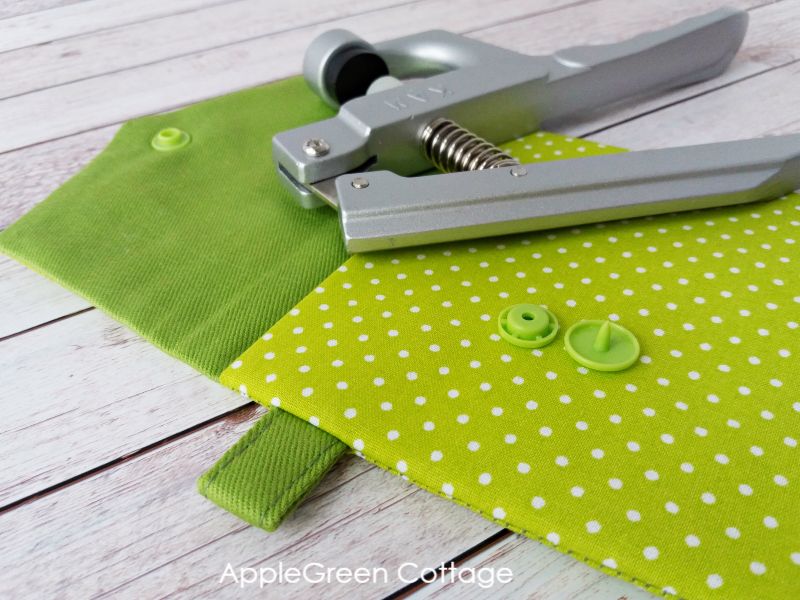
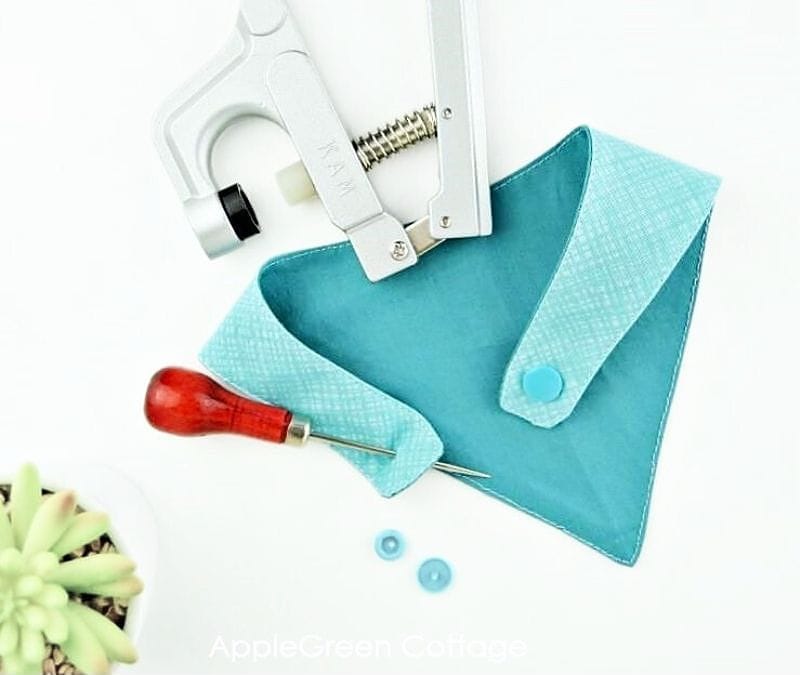
What Do you Need To Install Kam Snaps?
- your finished sewn project that needs KAM snap closure (I used this coin purse)
- one set of KAM snaps pieces (4 pieces: 2 caps and a socket and a stud piece)
- KAM snap pliers (best get them in a set)
- an awl
Tutorial - STEPS
1) You'll need your finished sewing project. One of the good sides of KAM snaps: no need for installing when you're only half way through the project. It's way easier to see where a snap needs to go if you've got a finished item in front of you.

2)First, make sure you have all four parts of a KAM snaps set. Now, get your KAM pliers and the awl ready.

3) Mark the placement of the snaps. Use your awl and pierce a tiny hole through all layers, just to allow the cap prong through.

4) FLAP: cap+stud piece
First, push the cap pin from the front side to the back through the hole. Then place the stud piece onto the cap pin from the other side of the fabric.

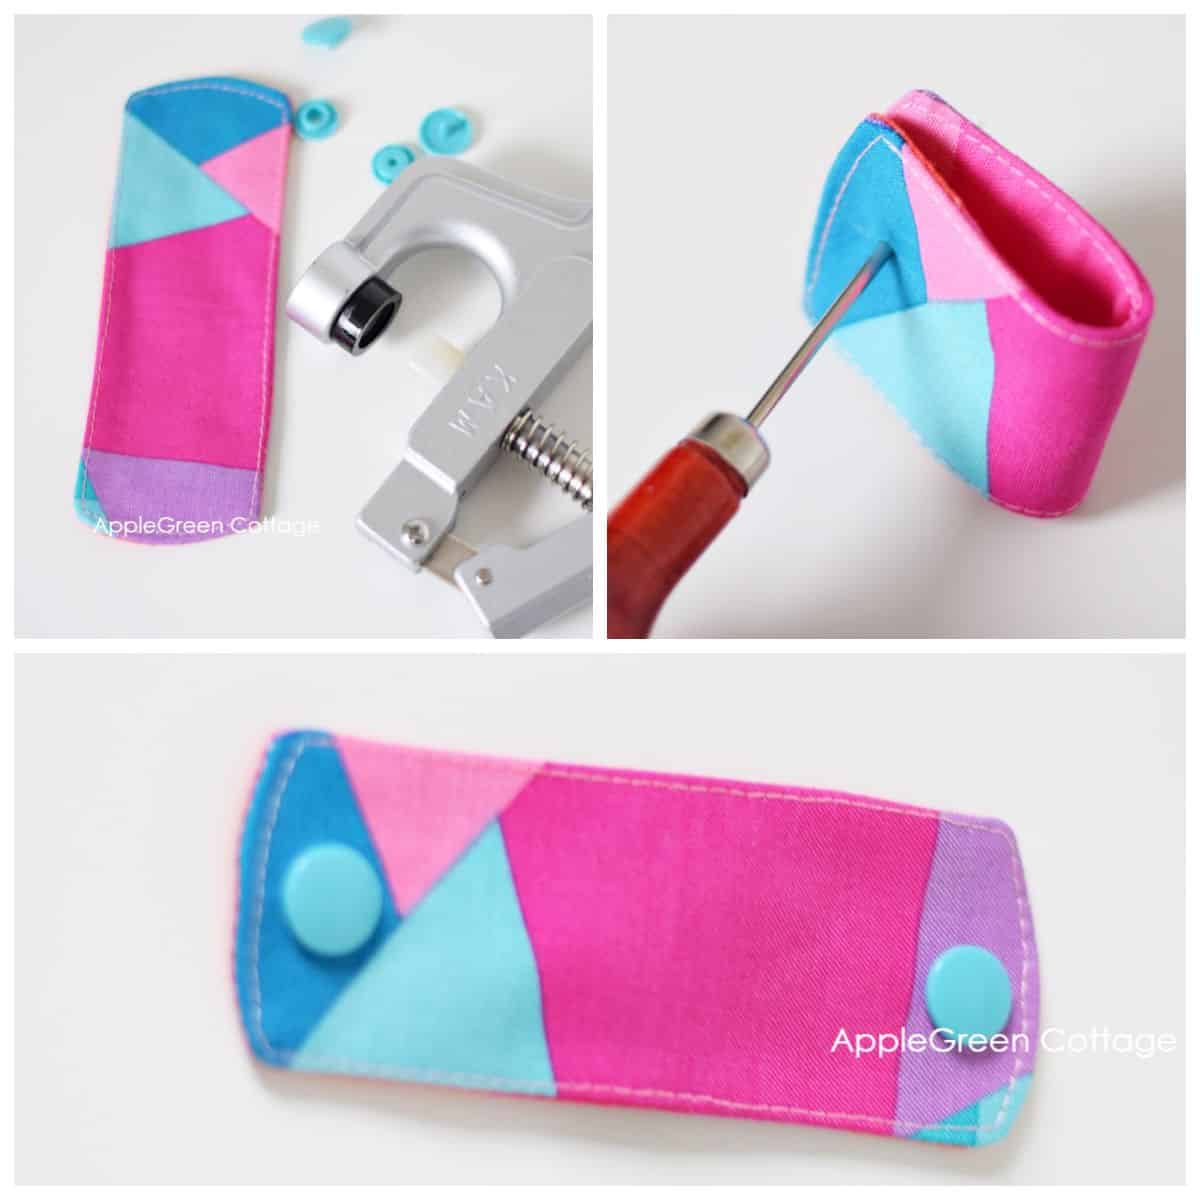
6) Take your KAM pliers. Where does which part go? You'll place the cap into the black die tray. Make sure it sits there nicely. The other part, i.e. the stud will be placed under the white rubber pressing head on the other side of the pliers.

7) Using your KAM pliers, press the two pieces firmly together. The plastic cap pin will get flattened, holding the snap together.

8) Repeat on the body of the bag or case, this time using a cap + socket piece. DOUBLE-CHECK now: the stud and the socket should be facing. The two caps should be facing AWAY from each other. Is it so? Good, go on!

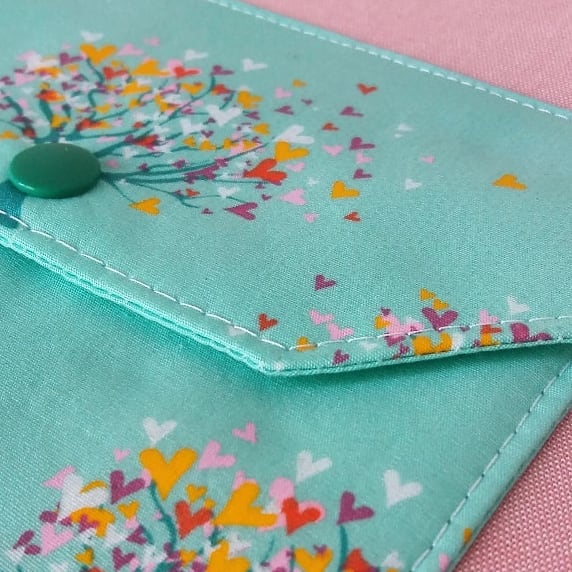
9) Place them together, align, and squeeze using your KAM pliers. Here, finished! This is how to attach snaps to fabric! Your finished pair of plastic snaps should look like this.

Where to buy kam snaps?
If you're planning to buy KAM snaps, it's best to get a set that includes pliers. A few places to check, since this gets asked a lot:
- a set of KAM snaps with pliers
- on Amazon (just skip teh very cheapest knockoff versions)
- https://ilikebigbuttons.com/ - recommended in our FB group.
- also, KAMSNAP.COM. Judy, the owner, will help you if you're confused about which dies to get.
Are plastic kam snaps good quality?
If you purchase legitimate KAMSNAP.COM, you won't have a problem. The plastic snaps are high quality and last.
How do you recognize the original KAM snaps?
Authentic KAM plastic snaps are embossed with "KAM" on the underside of every cap. There are so many copycat snaps that may even claim to be KAM but which are not.
Also, the original KAM snaps are made of polyacetal resin, a type of plastic that is stronger and more durable than other types of plastic.
KAM snaps are fun and colorful: since they come in a gazillion of colors, they are really fun to use with any easy sewing projects, and can be perfect to close pockets in bag making (see all my bag sewing tips here). Best for sewing for kids, and an ingenious source of crafty hacks for your home.

Now choose your next project and - happy crafting!
KAM Snap Troubleshooting And Tips
This post has become so popular I simply need to add this section. I'm so grateful that my tutorial has helped many readers start using kam snaps, and making super cute bibs, pockets, and detachable hanging baskets - and my ZIP Pocket Coin Purse. (Thank you, thank you for all your hearfelt messages and comments!)
Well with so many people using this kam snaps tutorial, there are a few questions that keep popping up. I'd like to make it easier for you and answer them here.
Not only the diameter of the snap caps can vary, but also the shaft (i.e. the pin size) can be longer or shorter. Say, you want to use your KAM snaps for thick fabric, or for several layers of fabric. In this case,you'll need to purchase the KAM snaps with a longer pin length.
I know that Size 20 snaps come as regular, extra short and extra long. The 'KAM snap size 20 Extra Long' is what you're looking for. Hope this helps.
No you don't need a table version of KAM pliers, manual KAM snap pliers will do just fine if you're not planning on an assembly-line-like business. I got myself these, and am very satisfied. Fully functional for an occasional installation of a KAM snap here and there. Definitely better than I expected!
Sometimes, you only have the long-pin snaps, and you can shorten the snap pin to use on thinner layers too. Since the long prong has the same diameter from top to bottom, and the kam press just smashes it down, there should be no issues. Just snip off a tiny bit of the pin length and then use just like regular size KAM snaps, pressing them with your KAM pliers.
Josy and Janet in our FB group were super helpful and shared a few of their tips on how to shorten KAM snaps with long prongs:
Josie: 'I had one or two that squished a tiny bit into the fastening area but a very sharp pointy pair of scissors sorted it out. Just snip at the excess very carefully a tiny bit at a time and keep trying fastening till it clicks.'
'You can try nipping a tiny bit of the end off using jewelry wire cutters. I also dab a bit of super glue on to it for extra strength (before attaching), no problems so far.' says Janet E.J.
Snaps are hard to open
This is what I do when my snap is very hard to open: I snap and unsnap it several times. This usually helps loosen the snap a bit.
KAM snaps, as a rule, have a strong, secure grip. But if you want your grip to be a little less tight, you can maybe use the small size snaps (size 16). They have a slightly gentler grip compared to the size 20 I use.
My Kam Snaps Keep Falling Off My Fabric
Try to repress the kam snap, that is, place the pliers or table press on the exact spot where the loosened snap is attached, and press firmly to make the 2 snap pieces come closer together, and this should stop making your snaps loose.
If the snap still falls apart, you need a different type of kam snap - one with longer prongs.
Is there a way to remove a snap and How To Remove Kam Snaps?
Yes, but you will probably not want to do that. Honestly, removing a snap involves a lot of strength, two pairs of pliers, and you'd end up with a hole in your fabric - in the least! I personally avoid that as much as possible.
I have, however, already removed a kam snap that ended up in a wrong spot on my project. IF (If!) you are very careful with your pliers, you could use two pliers to pull the two parts apart, breaking the connecting plastic. Grab the snap on each side of the fabric using pliers, pull pull pull apart and twist a little, until the connecting plastic gives in. Please be warned that there WILL be a hole and there will be some damage to your fabric. In some cases, the fabric will rip and you'll need to replace a larger area of your project. This is why I do not recommend it.
UPDATE - New Tips to remove kam snap reliably
Even though it requires careful handling with fire and heat, this clever tip from a reader, Kathleen, might be an excellent way to remove a kam snap. Please handle with care, I hope this tip helps a lot of Kam snap users:
'So, I found a way to easily remove a cam snap. It does require fire. I heat an awl (well a nut pick) over my stove burner until it's hot then melt out the center portion (the part that was pointy). It works really well without hurting the fabric or stabbing myself with my seam ripper (which I did first time I tried to remove a snap).'
Thank you, Kathleen!
And, another reader (thank you Suz!) has listed a few other ways to remove plastic snaps and I'm adding her comment here as I want to give you more options:
- 'Staple remover using the side of the device to force snap dome to break releasing the grip on fabric, It did take some force but then I am older and don't have a lot of force in my grip.
- use your pliers to take out one side of the parts holding sides of snaps then reverse that smooth dome so when that stud part pushes down it forces the snap to break. Haven't tried this yet as the tutorial refers to Kam-specific branded pliers.
- Use a wood burner or fine soldering iron to pierce the center and melt that pin holding it all together. care is of course needed as snap will be hot and if not fast in doing it may actually fuse with fabric. I haven't tried this method myself as the staple remover worked for me.'
Thank you Suz for the recommendations. Caution advised, as always!
Should I get KAM pliers or Table Press For kam snaps?
Depends on your use of kam snaps. If you need to instal a kam snap here and there, pliers are totally fine. I have them and I've made wuite a lot items with kam snaps. And still love my simple KAM pliers.
If you are installing, say, ten or twenty snaps in one go, your hand or just palm might hurt if you're not the strongest person in the world. I know I'm not, haha! In this case, I'd get me a table press for kam snaps.
Fabric Tears Around Kam snaps
KAM snaps have a strong, secure grip. Fabric will tear if it is delicate or thin. To prevent ripping, reinforce your fabric with a sturdier material, such as ribbon, fleece, denim, a little piece of interfacing, etc around the snaps.
If you liked this tutorial, check out my other tutorials too, like the one showing you how to install a grommet. Or, now that you know how to use KAM snaps, make a bunch of these super easy cord keepers:
An ideal project to test out your KAM snaps!
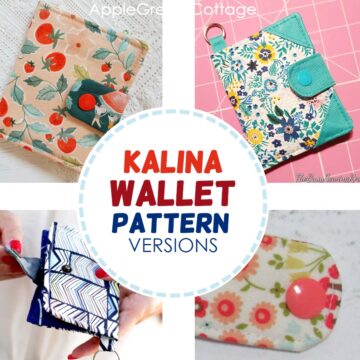
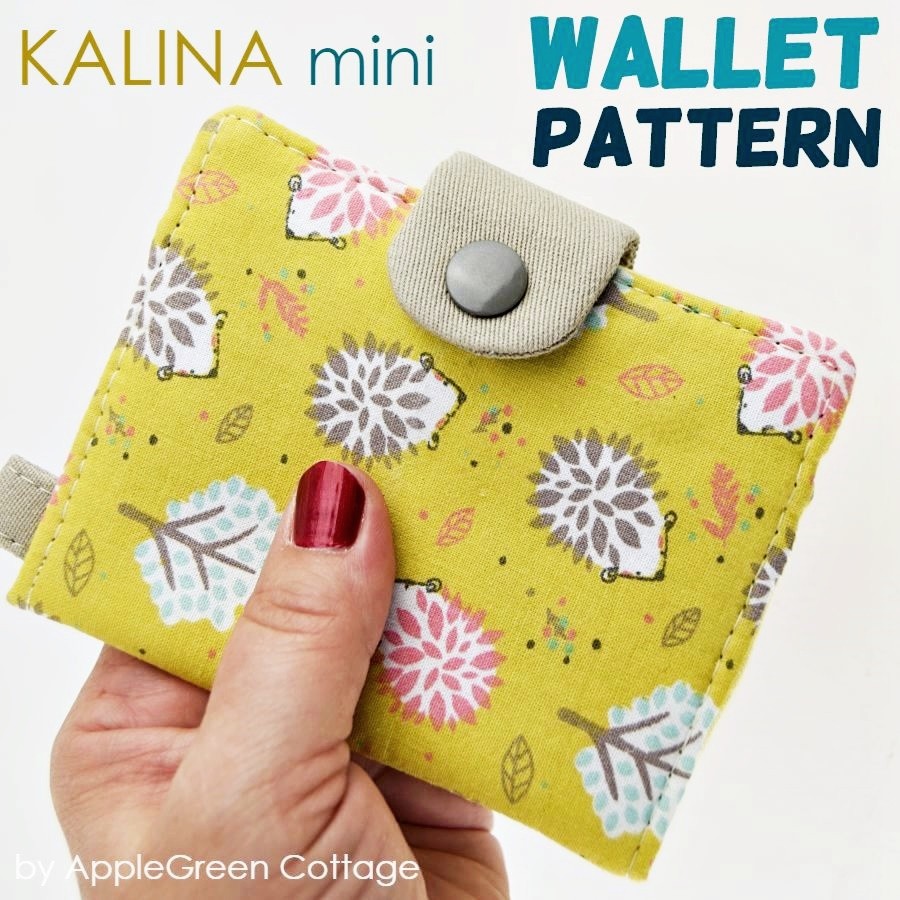
Or …check out this popular PDF pattern - the Kalina Mini Wallet in our shop. So practical!


Dee says
I once installed Kam snaps on a project and it was impossible to open so I have been wary of using them since. Thanks to your tips I may get my courage up to try them again as they are really easy to install.
Pam Miller says
Thank you for your instructions! I have trouble every time I try to put these snaps on. My pretty finished products are more than likely ruined because the snaps usually won't stay together. Am I reading this correct that you put the snaps on and then give both (or all 4 pieces) a final squeeze? I have never done that or read that in the instructions. Makes sense though. Thank you!
Jean McKinstry says
I have a KAM table press with a large handle, and using it is so easy, as an older person making bags this was the best for me. Here in New Zealand, go to " Greenbeans" website, and see what they have. Dies to fit rivets, and snaps. I am using 9mm rivets, and also have the die with a 3 mm awl, that makes a good hole in leather. One die fits in the bottom hole, the other screws easily in the top part. The press you have is so handy, I couldn't find any like that down here. Love your fabrics for the bag and a great tutorial. Note, the press is heavy, the website said 12 pounds.!!! You need a very solid base to use it on. I have an oak bedside table that belonged to my Grandmother, way back in 1940's or so. perfect height and very solid.
Damjana Jakos says
Jean hi, thank you for sharing, I always learn from you all!
Linda M Parrish says
One con I found with the KAM snaps is you can not get a hot iron close to them, they WILL and DO melt. So do not iron over your snaps.
Also a very easiest way to remove your snaps without damage is small wire snips. Just get a tip of the snips under the snap and start carefully snipping small amounts of the snap away until you can easily free it.
You might have a tiny hole where the snap post was, but that disappears once you wash your item. I use the KAM snaps exclusively on children's garments that I make and never had an issue removing a snap if necessary.
Debbie says
I’m looking for a Kam size for my husband’s sweat pants pocket? Any suggestions. 20 in not long enough they fall off.
Kathleen Houser says
So, I found a way to easily remove a cam snap. It does require fire. 😊 I hear an awl (well a nut pick) over my stove burner until it’s hot then melt out the center portion (the part that was pointy). It works really well without hurting the fabric or stabbing myself with my seam ripper (which I did first time I tried to remove a snap).
Damjana says
Kathleen hi,
thank you! Well though it requires careful handling with fire, this might be an excellent way to remove a kam snap. I hope this tip helps a lot of readers! Thank you,
Damjana
Casey says
I use a pair of nail clippers to snip away bits on the stud/socket side until just the prong is left. Then you can easily pull the cap side out. I have also used the pliers to squeeze the snap sideways. This breaks the snap down successfully as well. I prefer the clippers, you have more control.
Pat G. says
Help! The plastic cap pin doesn't get flattened enough with my set up. What am I doing wrong?
Damjana says
Pat
hi, a great question. When installing the KAm snap, make sure to squeeze the hand pliers really hard, and keep it pressed for like 10 seconds. (I press, then count to ten.) - It always works for me, the pin should be flattened. Hope this helps!