
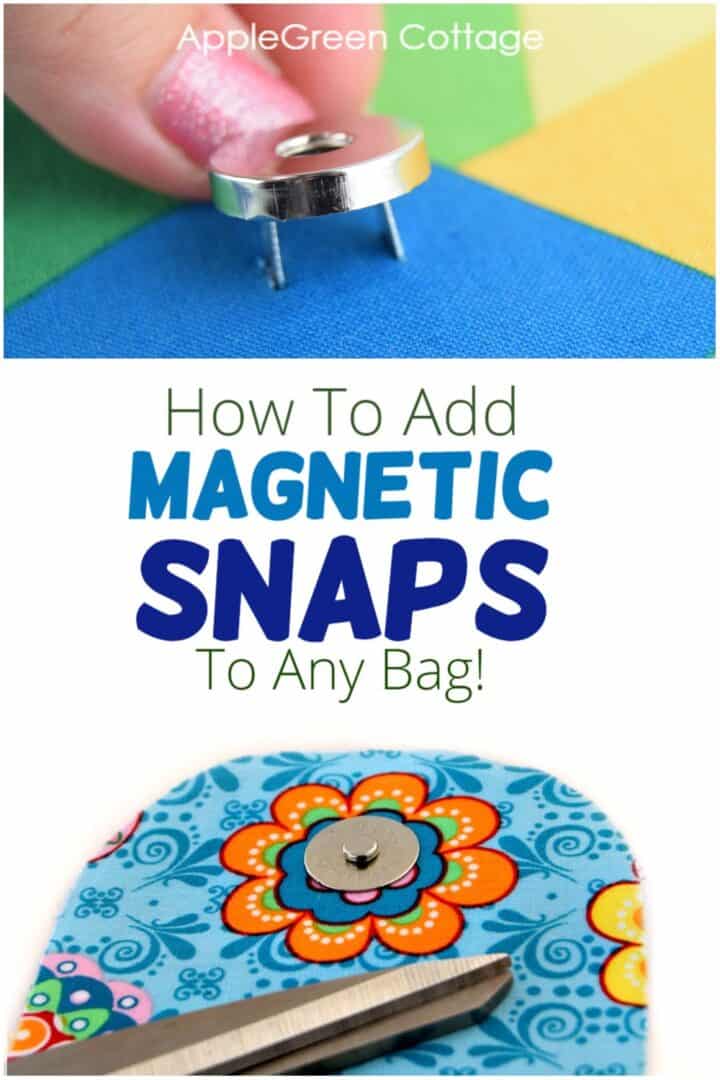
See how to add magnetic snaps to a bag. Ready to insert a magnetic snap and make your bag closure look all fancy and stylish - within minutes? See how!
Are you a hobby sewist and want to give your bags and purses a professional look? Adding a magnetic snaps closure is one of the easiest ways to do just that. Here's an easy, beginner-friendly tutorial that will show you how to make a bag closure with magnetic snaps - 2 tutorials below!
If you're here to learn to sew, check out all AppleGreen Cottage sewing tips. Tons of useful things to know!
Table Of Contents
- New to bagmaking?
- Sew this EASY Bag!
- How To Add Magnetic Snaps To Purses
- What Are Magnetic Snaps or Purse Snaps?
- Standard Magnetic Snap Sizes
- How To Insert Standard Size Magnetic Snaps - STEPS
- How To Install Small Magnetic Snaps On a Wallet?
- Small Magnet Installation Steps
- Kalina - WIDE FLAP OPTION Video
- Related Ideas
- More Tips
- More bagmaking ideas
- +7 FREE Templates!
- Want MORE Free Patterns?
How To Add Magnetic Snaps To Purses
Though it may not look like a beginner project, it is pretty easy to install a magnetic snap to a bag.
Actually, I find it even quicker to install a magnetic snap than sewing buttons.
And I could go on and on about what can go {and has gone} wrong with a buttonhole (edit: until I learned how to use the buttonhole foot!), but have not yet once managed to mess up a magnetic snap.
How's that? Because magnetic snaps are EASY.
Easier than you'd think.
What Are Magnetic Snaps or Purse Snaps?
Purse snaps are invisible closures that are mostly used on all types of bags. They are (mostly) round-shaped pieces of hardware that will stick together when brought in close vicinity (well, magnets!) and keep your bag flap or pocket closed.
For beginners in the bag-making world, magnetic snaps will quickly become their go-to bag closure method. So easy to install, and good-looking too!

What is a set of magnetic snaps?
First things first: let's take a closer look at these 4 pieces. A magnetic snap closure set consists of two main parts: male (the flat part with prongs and a nub in the middle), female (the thicker part with prongs and a socket). Usually, they come with two flat washers.

The socket snap is usually applied to the body of the bag. The male snap is usually applied to the flap (closure tab).
Standard Magnetic Snap Sizes
There are several types of magnetic snaps, varying in shape, thickness and diameter. The standard ones are thick and you'll most probably bump into those in every reasonably stocked fabric store (the standard size). There are also thin snap magnets that will practically disappear into the fabric, thickness-wise.
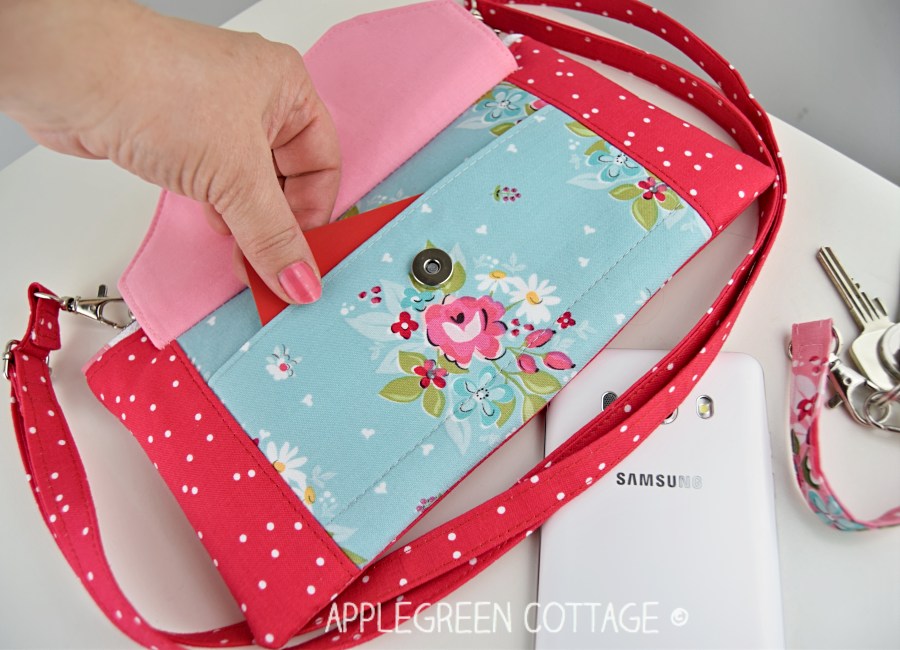
The sizes differ in diameter too, I mostly use the 18 mm magnetic snaps - or 9/16" (14 mm) on small bags and pouches, like this Aiden Cell Phone Purse. The measurements show the snap diameter.
Scroll down to see how to install the small magnetic snaps on a wallet - where space is really limited!
What Types Of Magnetic Snaps?
Considering the type of installation, there are three types of magnetic snaps: first, the most popular (and my favs!) the prong-back magnetic snaps, and these are the ones I show in this tutorial.
Secondly, there are sew-in magnets. Those come in a transparent vinyl pocket and are sewn between the outer layers of your project. Similar to how interfacing is attached between the layers.
And last but not least, sew-on magnets. They come each with four little ears with tiny holes you literally sew through with your hand-sewing needle and thread. Not my favorite type, but they come in handy when you cannot simply pierce through the layers to stick the back prongs through.
You'd think the sew-ins are quick to install, but the true hero of my projects are the ones with prongs - super quick, and by far my favorites.
How To Insert Standard Size Magnetic Snaps - STEPS
A beginner project, really! We'll go slowly, I've taken photos of each tiny step to make it super easy for you.
You'll Need:
- magnetic snaps set (here are several popular ones) - 18mm is standard size!
- scraps of fusible interfacing /stabilizer
- a seam ripper
- scissors, pliers

Before we start, one thing to consider: always make sure the snap won't make it difficult to topstitch the edge of your project. A good rule of thumb is to place them at least an inch from the edge of your closure, otherwise, it is very difficult to topstitch around them.
PART ONE: Install Magnetic Snap On The FLAP
1) Apply interfacing to each of the flap parts to give them some weight.

2) Add one or two scrap pieces of interfacing to the area where you intend to place the snap part, to provide stability. The scraps need to be just slightly larger than the snap part. This way, the snap will last longer and feel nicer.

I've learned heavy-weight fusible felt works best on heavy fabric, and mid-weight poly is great for thinner fabric. Since my poly stabilizer is very soft, I needed to place two layers under the snap's prongs: first the stiff one and then the soft one for padding.
Snap Magnet Placement
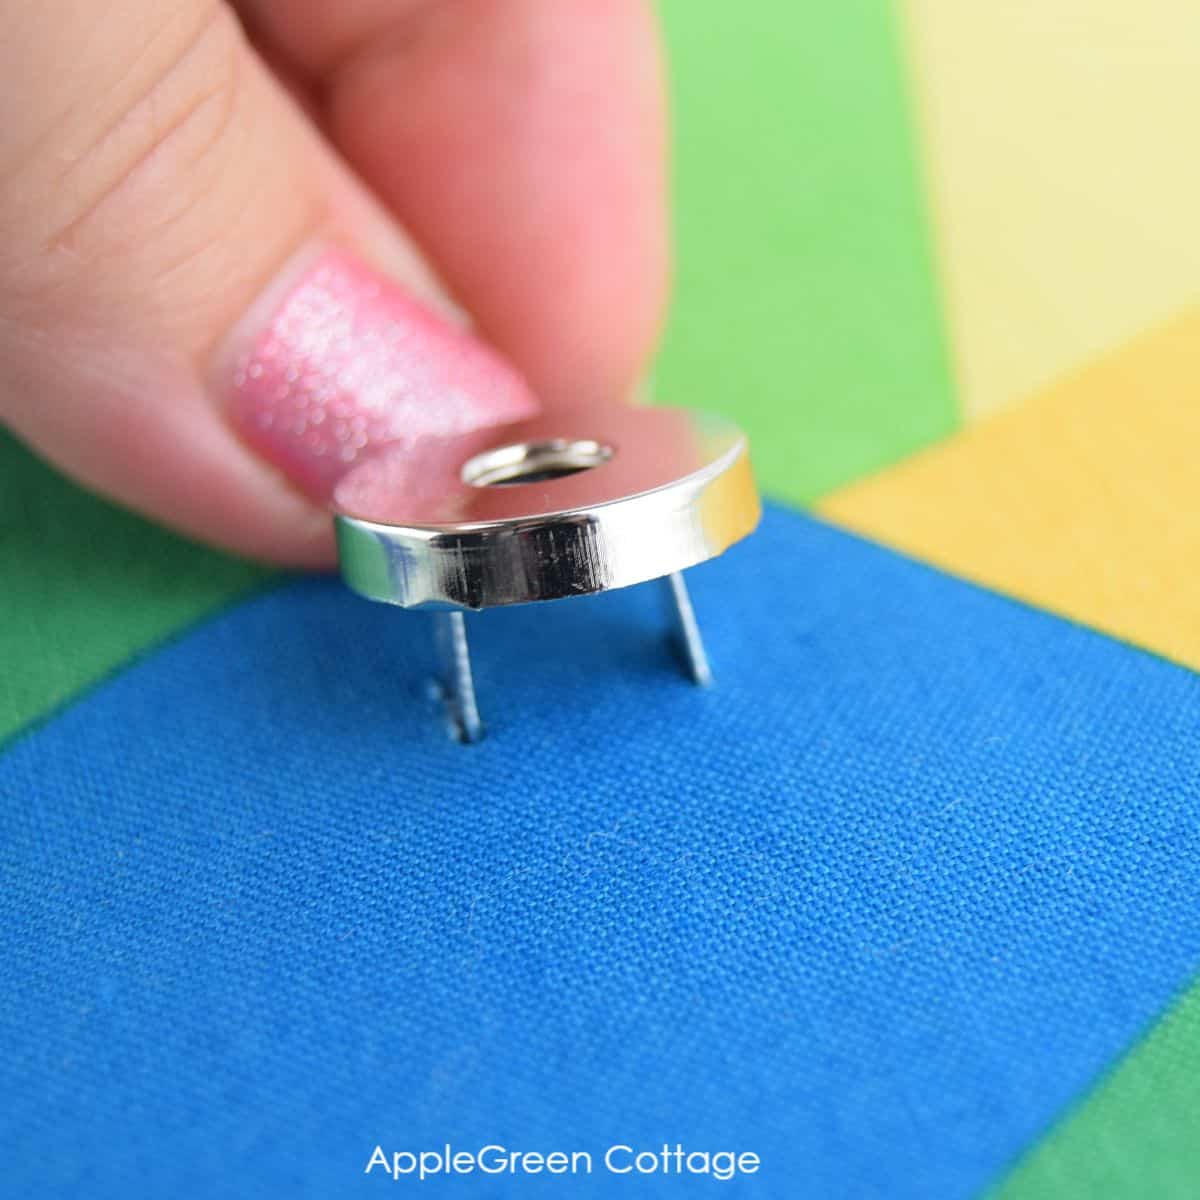
3) Center the male snap on the closure tab at the spot you'd like your magnet.

Firmly press the snap's prongs into the fabric and mark the tiny indentations using a pencil, sharpie, or proper professional disappearing ink fabric pen.
4) Cut along your marked lines, using your seam ripper (an exacto knife works great too, or tiny scissors). Avoid cutting too far, just make tiny slits. You can enlarge them later if they turn out to be too small.

5) Insert the snap through the right side of the fabric.

6) Here, the prongs are nicely visible on the backside.

7) Slide the washer over the prongs.

8) Then open the prongs of the snap outwards. For best results, use pliers, and press them firmly against the surface.
So far, I've used various 'tools' to press those prongs against the flat surface and found out that
- I can do damage if I use a hammer (yep), so I stay away from it. (But maybe that's just me.)
- a few times, I simply used my thumbs to press against the prongs (but couldn't get the prongs sit totally flat, so I don't recommend it)
- I've used the flat side of household scissors (works great!)
- Most reliable: pliers!

9) OPTIONAL, but highly recommended: I apply an additional, thin layer of interfacing over the snap once it has been installed. If the washers have a bit sharp edges, these could in time damage the fabric. Adding a thin layer over them will prevent any such damage.

10) Now with the magnetic snap installed, place one piece of the flap fabric onto another, right sides facing.

11) Stitch them together, I usually use a ⅜ inch seam allowance with pieces like this one. Leave the 'bottom' part open, for turning.

11) If your flap has curves, trim them for a nice finish - take care not to snip into any stitches. If it has edges, trim those too.

12) Turn right side out. Topstitch around the closure tab, again leaving the bottom side open and unfinished.


Your flap may be a different form and size, but you get the picture.
PART TWO: How To Install Magnetic Snaps Into The BODY OF THE BAG
Now, we'll install the other half of the magnetic snap into the bag's body. Since you already know the procedure, this will go even faster:

Step 1- Apply Stabilizer
1) First, apply interfacing (stabilizer) to the wrong side of the bag body where the second part of the magnetic snap is to be installed. Add an additional layer of interfacing to strengthen the area. Usually, I use a larger scrap piece of interfacing, something like 5 inch x 4 inch, as shown in this photo:

Then you'll sew the body of the bag as instructed. Usually, the right time to install the snap is just before you close the turning opening on the bag body. Here, for example, I needed to install the second magnet when the bag (a clutch actually) was nearly finished, so it was pretty easy to find the 'sweet spot':

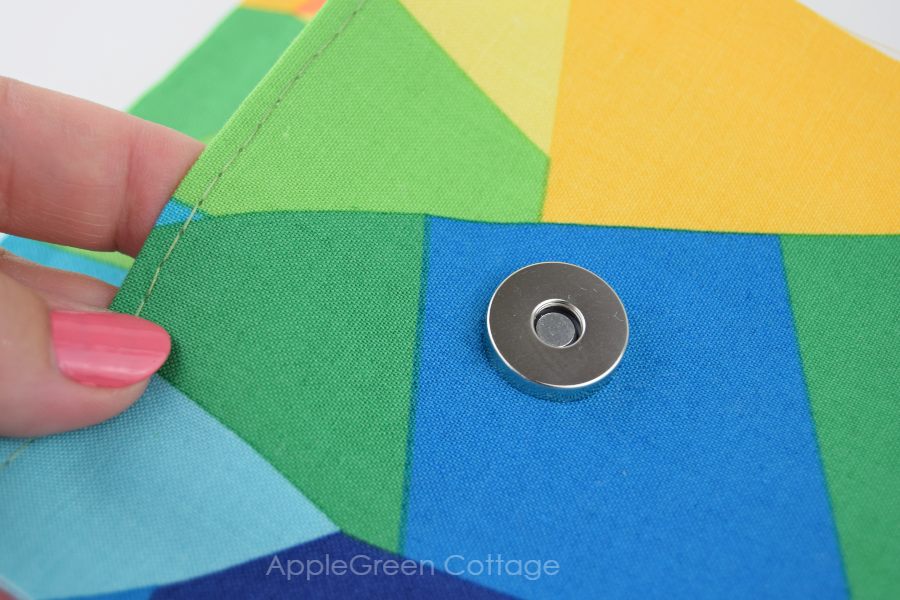
Step 2 - Mark the Spot
2) Mark the exact spot where you want the second part of the magnetic snap.

3) Reach through the unfinished opening into the body of the bag/clutch, keeping the outer and inner (lining) layers apart.
Using a seam ripper, make 2 tiny slits into the outer shell at the marked spots - BUT DON'T CUT THROUGH THE INNER LINING of the bag.

Insert the snap through the right side of the fabric.
4) Then slide the washer over the prongs, open the prongs of the snap outwards, and - optional - apply an additional layer of thin interfacing over the prongs.

Here, you've just added magnetic snaps to your bag or purse. How cool is that! And now when you how to insert magnetic snaps, chances are that you'll never want your bags closures made in a different way.

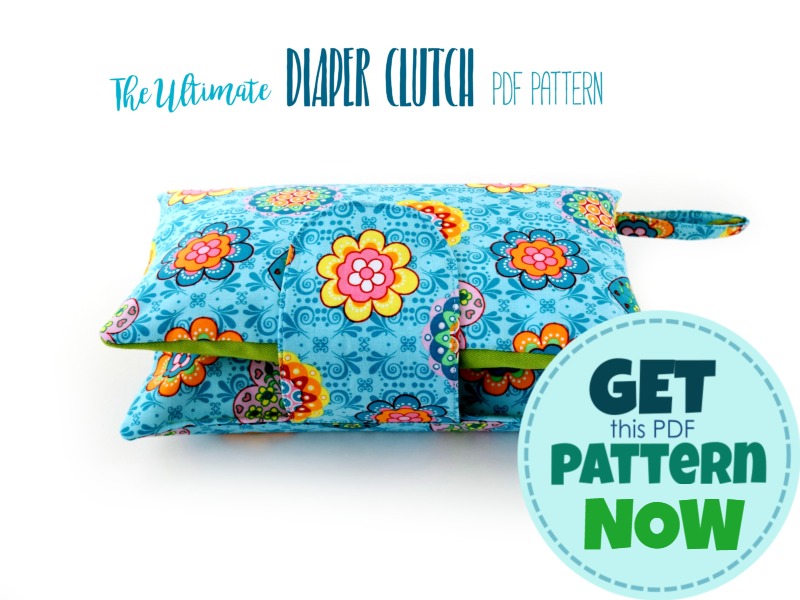
For those wondering where this tutorial came from, I made it when sewing one of my own designs, the Ultimate Diaper Clutch. I love it for its convenience and beginner-friendly sewing procedure.
Also, because I've just sewn two of them and made two moms really happy 🙂 (My No 1 present for new moms from now on!)You can get your own pattern here.
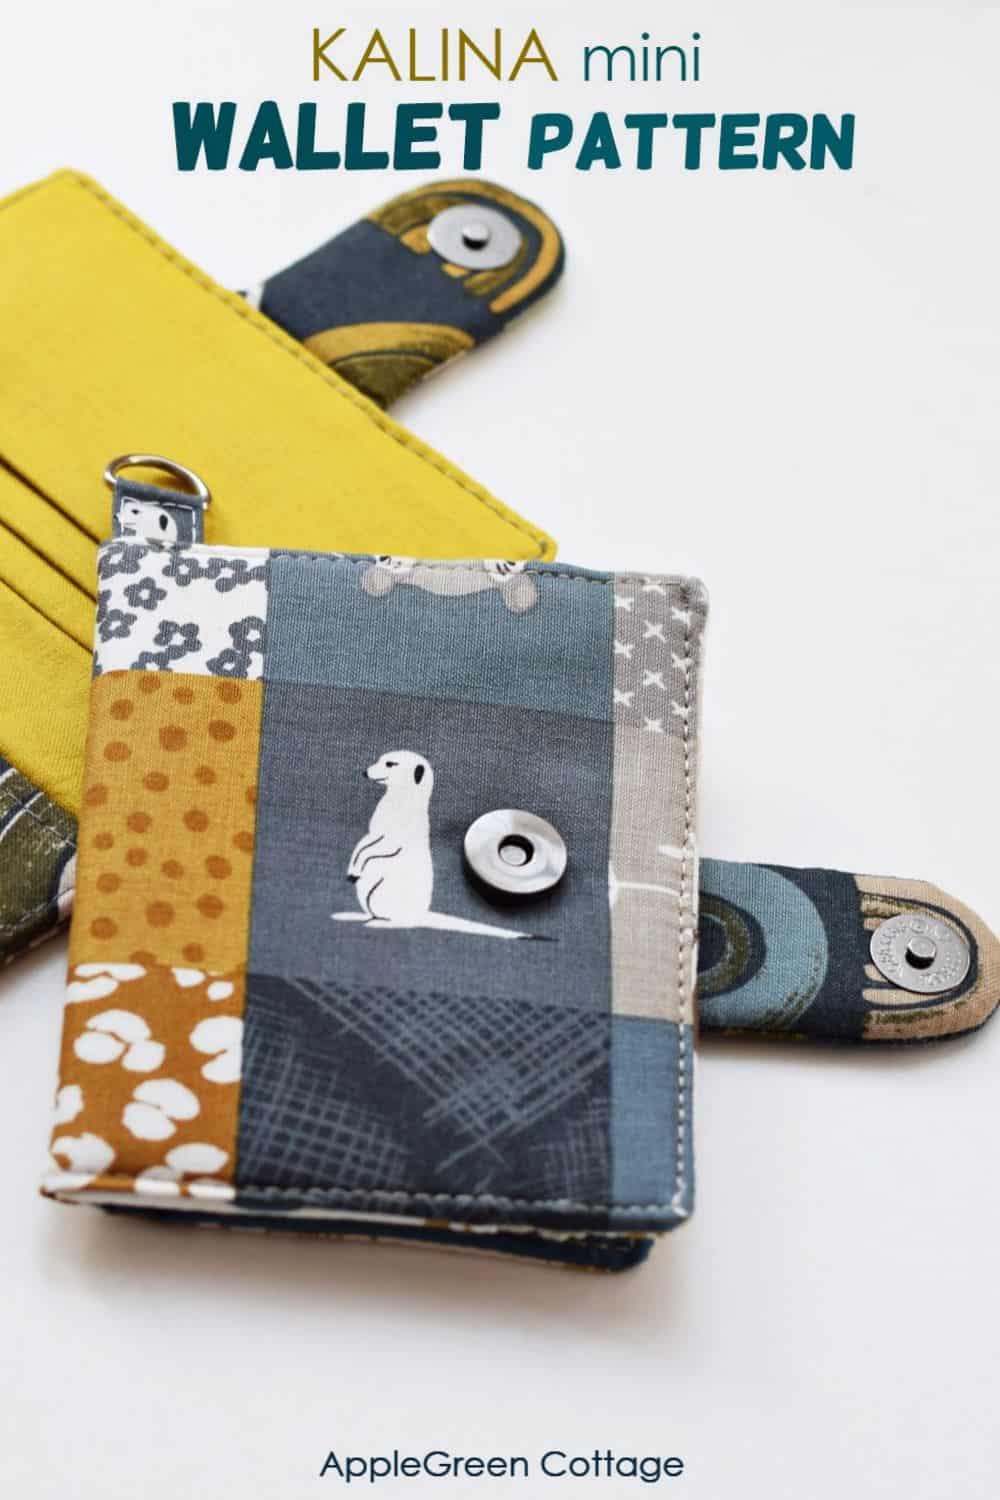
How To Install Small Magnetic Snaps On a Wallet?
When you have a small snap to install, there are a few things to keep in mind. let me help you with these too. I want to show you how to add a magnetic snap into a small fabric tab - the wallet closure.
While the original Kalina Mini wallet pattern had a KAM snap closure, this time I chose to play around with the small magnetic snaps.
The whole installation process is the same as with the standard size magnetic snaps, so I'll fast-forward through what you already know and stop at places where I can add a few useful tips.
Small Magnet Installation Steps
Where Can I Get small magnetic snaps?
First, some of you have asked where to get the small-sized, 9/6" or 14 mm magnetic snaps: check out Amazon here, also emmalinebags.com carries these.
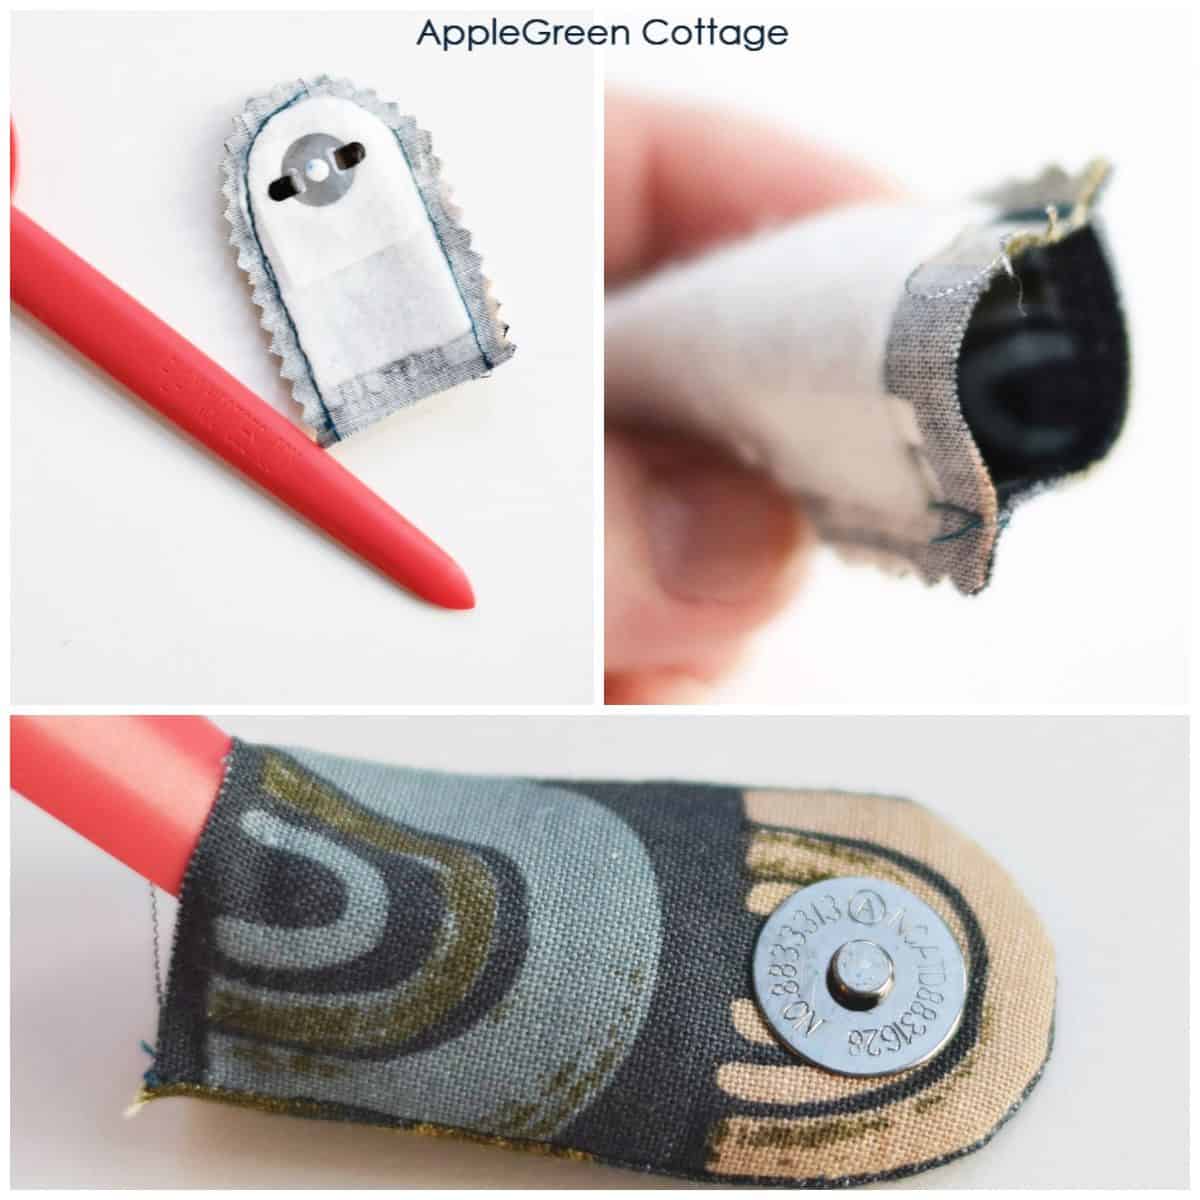
How to add the small magnet to the flap piece
We'll install the magnet before sewing the Flap together, so we'll use the two interfaced flap pieces. (Are you sewing the KALINA pattern? - This means Step 23 in the Kalina pattern instructions, pattern piece #5.)
TIP: You don't need to have your flap piece cut exactly yet, notice the rectangles in the photos below. It's easy to fussy-cut to the exact design once the magnet is in!
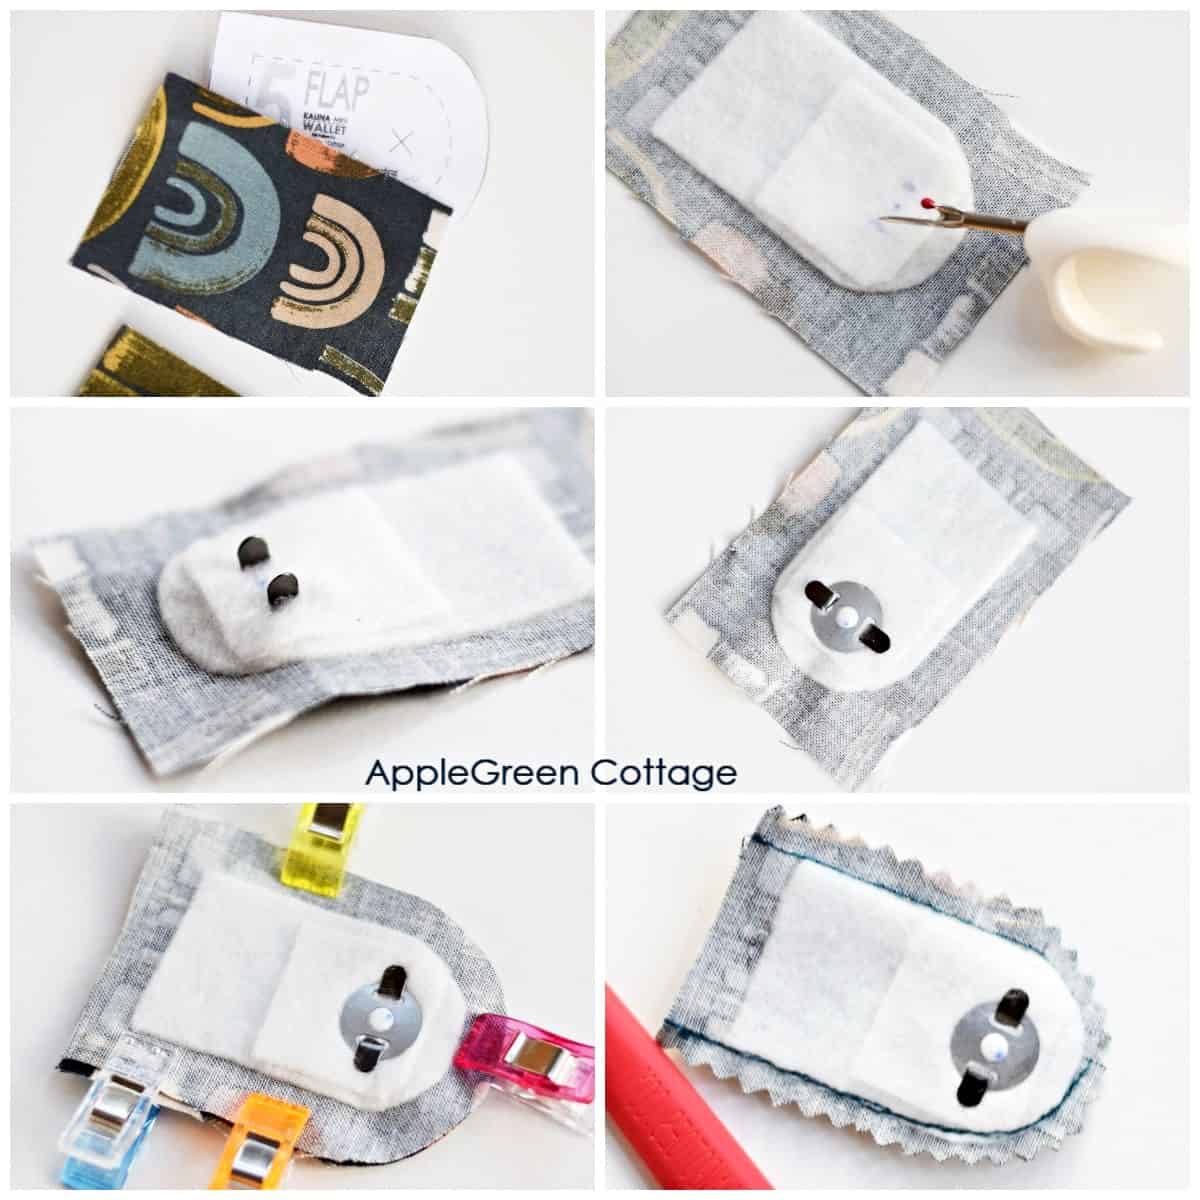
- Cut the flap pieces and get the male piece of the magnet ready. it already has to be interfaced. Fuse a small piece of fusible interfacing at the spot for the magnet to provide stability.
- Place the magnetic snap at ⅞" or 2.2 cm away from the rounded end. This is to account for the ⅜" or 1 cm seam allowance.
- Cut along your marked lines using your seam ripper. Avoid cutting too far, just make tiny slits.
- Insert the snap through the right side of the flap piece and slide the washer over the prongs.
- Open the prongs of the snap outwards. I usually use pliers and press them firmly against the surface.
- Place the two flap pieces right sides together, cut to the exact design (using the pattern template), and stitch them using a ⅜" (1 cm) seam allowance, leaving the straight edge open.
- Now the fiddly part, turn the piece right-side out. A few tips:
How to turn a small fabric piece right side out:
Tips to help you turn this small fabric piece right side out:
- when sewing the Kalina Mini wallet flap together, use a short stitch on your sewing machine, it will make the seam neater and it won't unravel when turning the fabric piece out.
- Use some help! A Point Turning Tool is great, but it has to be slim enough. Sometimes, I use a non-sharp tip of a knitting needle or a plain school paintbrush. Not a pencil as it might leave dents or even poke a hole into the fabric.
- Chances are, you might need to wrestle a bit with the small snap to get it out - go slow and push it out rather than pull.
- Don't worry about all the wrinkles - press once it's turned and your flap will be ok.
- Also, don't topstitch the flap when it's very small. Unless you really really want to, in which case use a zipper foot to come close enough.
How to Install the female piece of the small magnetic snap to the base:
Now take the base piece where your small pouch or wallet (in our case, Kalina Mini) will close. This is the place where the other part of the magnet will be attached. In our case, this is the Outer Shell, pattern piece #5 of the KALINA mini pattern.

- Transfer the marking for the snap closure from Pattern Piece #1 and install the female piece of the magnet at that very spot, it's 1 ⅜" or 3.5 cm from the marked edge of pattern piece #1.
- Follow the steps used previously to fix the magnet.
- With the magnet snap installed, finish your project as you would even without the magnets installed. In the case at hand, assemble the pieces of your Kalina wallet as marked in the pattern (steps 33 onwards)
You've just installed the small magnetic closure to a small wallet, congrats! Let me know if you have some favorite tricks you use for turning tiny pieces of fabric like this closure snap. I'd love to hear from you.
Kalina - WIDE FLAP OPTION Video
My friend Louise shared a great tip during her Kalina Wallet Sewalong (watch Part 1, Part 2, and Part 3). In Part 3 she shows how to make a wider flap, which looks perfect on the KALINA and makes installing the snap so much easier thanks to the extra space!
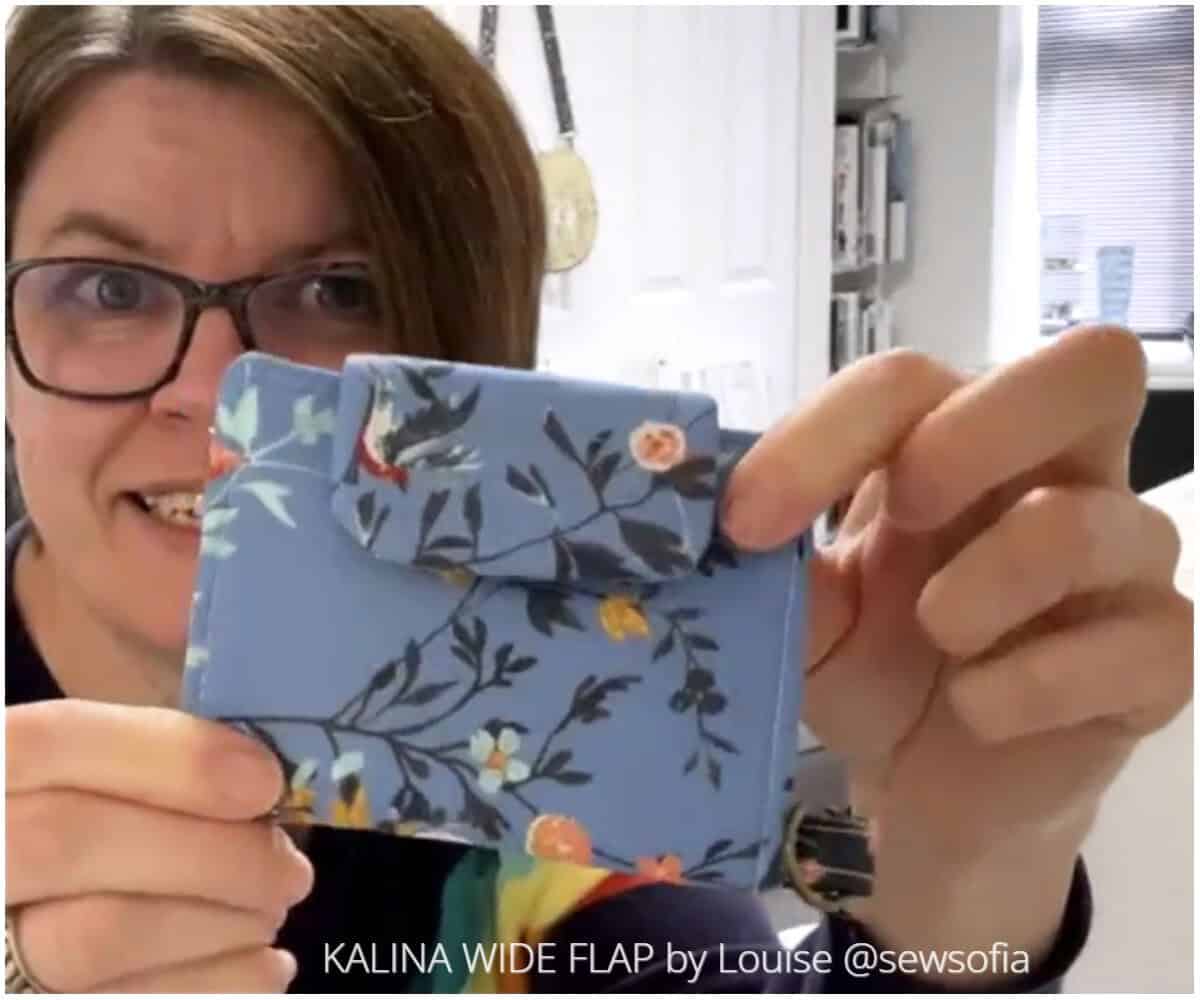
✂️ Cut two pieces: 3 ½" × 2 ¾"
Then follow along with Louise's video for the step-by-step.
Related Ideas
I highly recommend looking into the how to reduce bulk in bagmaking guide. Tons of value! There are also many easy sewing projects you can use your new snap installation skills now, take a look at these:
More Tips
Want to make your snap placement stiffer, and more durable?
Use a piece of stiff stabilizer as the base for your snap. I often fuse a small rectangle of Decovil Light before adding a snap, and also add a scrap piece of faux leather on the prong side. This is how it looks like on one of my latest bags, the Lumera pattern:

This photo is from the instructions of one of my latest bag patterns to be released in October, can't wait!
In general, I use Decovil Light more and more often to stabilize my bags. Once you try it, you might never go back to regular interfacing or even layering several types of those. (More about how to use Decovil here.) Take a look at my Interfacing guide for bagmakers, people love it!
Happy sewing! Damjana
More bagmaking ideas
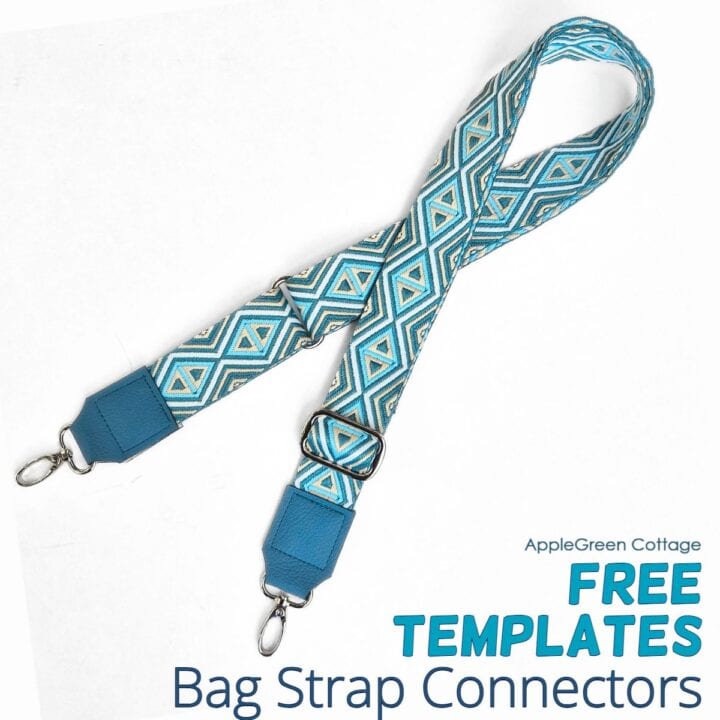
+7 FREE Templates!
Make a trendy DIY webbing strap with strap connectors:
Want MORE Free Patterns?
Get email updates and never miss out on new patterns, printables, and tutorials:
Or …check out the NEA Small Crossbody Bag pattern in our shop. This bag skyrocketed to the top of our best-sellers in less than a week after it was released:


Mea Cadwell says
I've found rubbing chalk on the ends of the snap prongs and the male "dot", that chalk will transfer to the fabric to let you know the placements for the snaps.
Damjana says
Mea, a great idea, thanks!
Paula says
I have repurposed magnetic closures and the “flaps” have been closed in on top of each other versus going outward. No more overhang of Metal flap to cut thru your finished product .... I still do cover for extra protection.
Barbara says
Very nice tutorial! I've put in dozens of mag snaps, so I already knew how, but a couple of times when I've bought snaps by mail order in past years I've been shorted a metal washer. I had to improvise by cutting a circle from a plastic milk or juice bottle. It works so well that I use those instead of the metal ones on things I want to wash, because the metal ones will rust! That isn't so much of a problem on a purse, but I like fastening my totes, too, which need regular washing. I use them for groceries and to carry things to the beach frequently. The Florida humidity doesn't help metal, but the beach sure helps me! Just cut them out with scissors (I trace around a circle, or a rectangular one first with a Sharpie) and use a sharp pointed knife to make slits for the prongs.
Damjana at AppleGreen Cottage says
Barbara,thank you for your tip, it's so clever! I need to try it out, seriously - especially with things I make for kids. Those bags get dirty and I need to wash them too. Love hacks like this one, thank you!
Domenica | Easy Sewing for Beginners says
Oh how awesome! I've never used magnetic snaps before as I thought they would be hard to work with! I think I need to get some!
Damjana at AppleGreen Cottage says
Domenica,agree, snaps are really nothing to shy away from. In fact, way easier to make it look perfect than those semi-auto buttonholes 😀
Cucicucicoo: Eco Crafting & Sewing says
This is so useful! I've never used magnetic snaps before, partially because I had no idea how to! This is getting pinned right away! 🙂 Lisa
Damjana at AppleGreen Cottage says
Thank you, Lisa!
sandi says
I have put in magnetic snaps and even though I was scared to try to use them at first, when I did, I was surprised at how easy it was. Now my confession. When I saw you use the seam ripper I thought "DUH, why didn't I think of that". I used scissors and that was the only part I had trouble with was that little cut. Thanks for the tip. That just goes to show that yes, even old dogs (me) can learn new tricks. Haha
Anonymous says
Ten out of ten for a well-instructed tutorial. Anyone can follow it and get a perfect job. I'll be using these fixings on the next bag I make!