
Now do you want to sew a fanny pack or a sling bag but don't know how to thread a side-release buckle?
See how to thread a side-release buckle on any bag. It looks perfect on our new hip bag design, and it's way easier than you'd think!
Check out the video and step-by-step to make attaching a quick-release buckle easy for you! Also, see what extra piece I added to make my bag strap installation easier!

If you're into bagmaking, visit the huge, free bagmaking guide at AppleGreen Cottage! Or go straight to the adjustable strap tutorial, or this wide webbing straps with connectors tutorial.
If you're like me, you'll love a bag that keeps your hands free. And knowing how to add a buckle to your strap will allow you to turn just any pouch into a fanny pack, or a crossbody sling bag. How cool is that!
Table Of Contents
Video
When designing my hip pouch pattern, I turned every corner trying to find the correct way to thread a buckle like this one. And I couldn't believe how long it took me to learn that! Turns out I better record this or I'll forget quickly again.
So a video here, both for me and for you! (If you don't see the video, pause your ad blocker.)
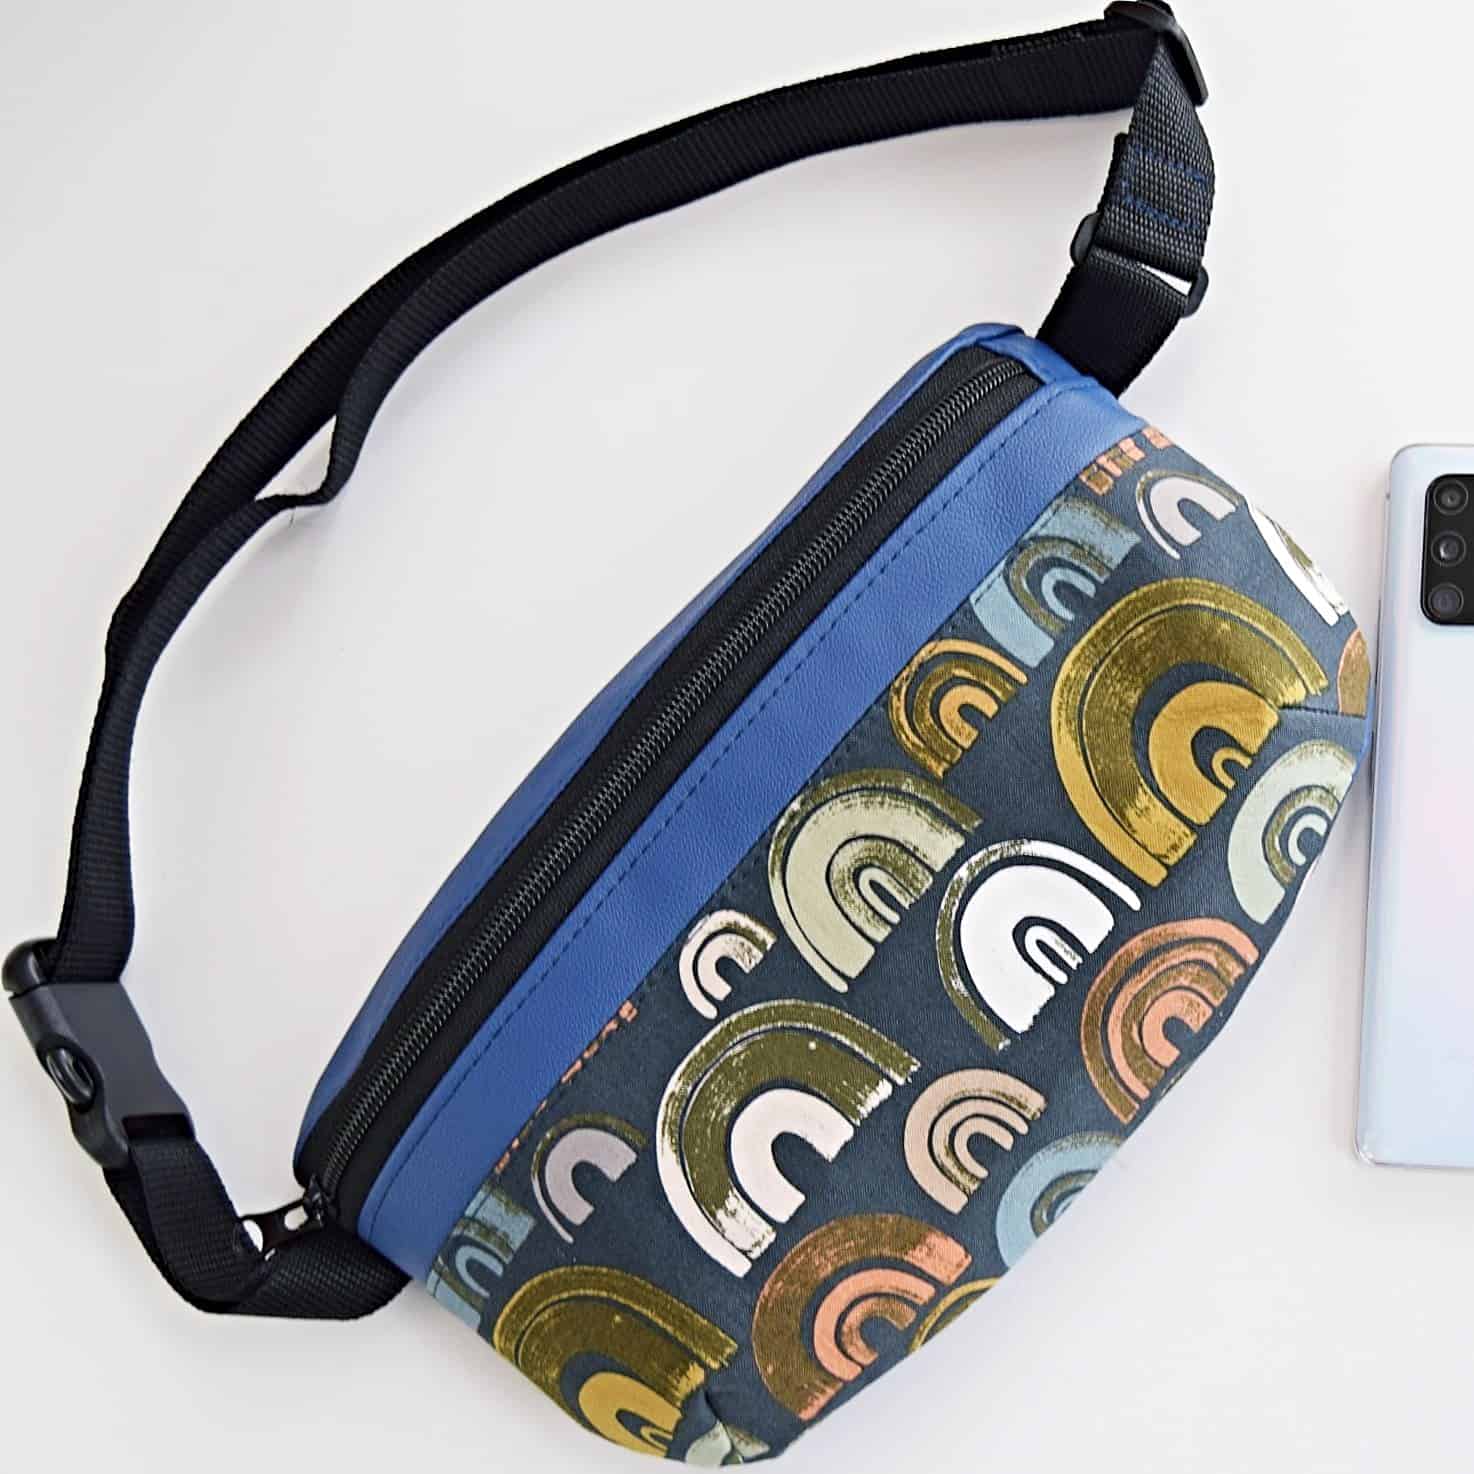
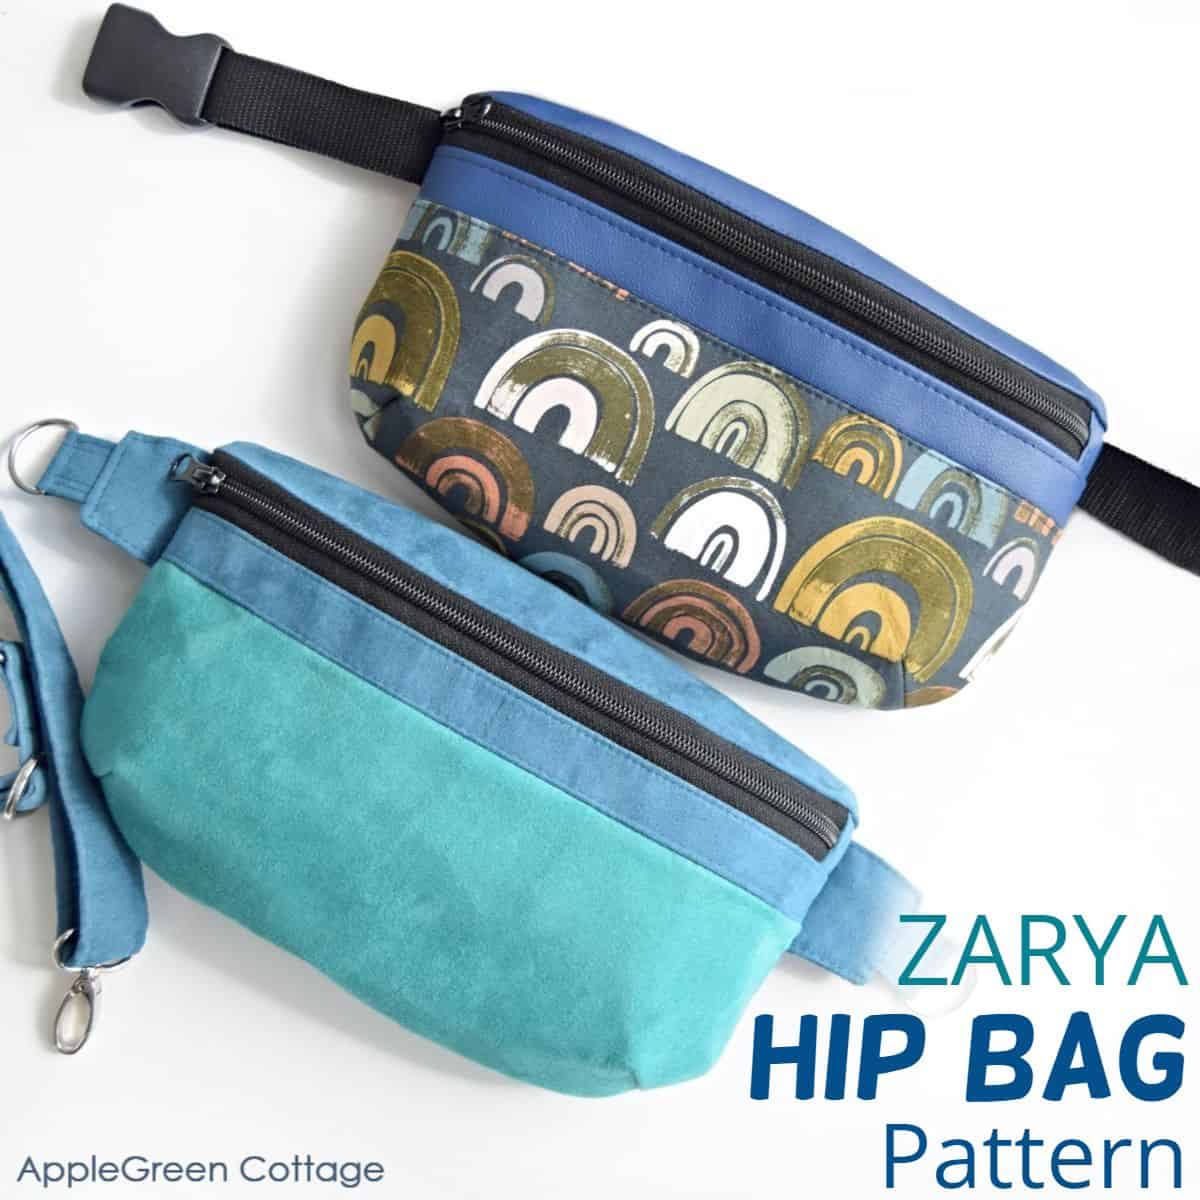
And this is the finished strap on my latest bag, the ZARYA pattern - isnt' it cute!!
Supplies - where to buy side-release buckles
- 1" wide webbing
- 1" side-release buckle (on Amazon)
- 1" adjustable strap slider, and
- 1 rectangular ring - again, with 1" (25 mm) inner width
Shop my personal favorite sewing supplies on Amazon HERE.

I recommend getting a flat (unbent) plastic buckle with one threading slot on one side and two slots on the buckle side. Also, see tips below to find out what type of webbing you can choose for a bag strap.

TOP TIP: when selecting webbing, consider your sewing machine. My domestic Janome sewing machine can handle this webbing with ease: 4 layers plus two layers of soft vinyl? No problem! But I also know not to choose any thick, heavy-duty stuff, because, well, you don't need military-grade strength for an ordinary bag, and secondly, those layers get very thick, very fast. See more tips on webbing at the end of this post.
How to thread a side-release buckle
These are photo instructions for how to add a side-release buckle to a bag:
Step 1 - Cut the Webbing

Cut a 49" (124.5 cm) piece of 1"-wide (25mm) webbing into 3 pieces:
- 38" (97 cm)
- 8" (20 cm),
- and 3" (7.5 cm).
Top tip - Neaten the ends of the webbing
Use a lighter to seal off the raw edges of the poly webbing, or zigzag the raw edges on cotton webbing.
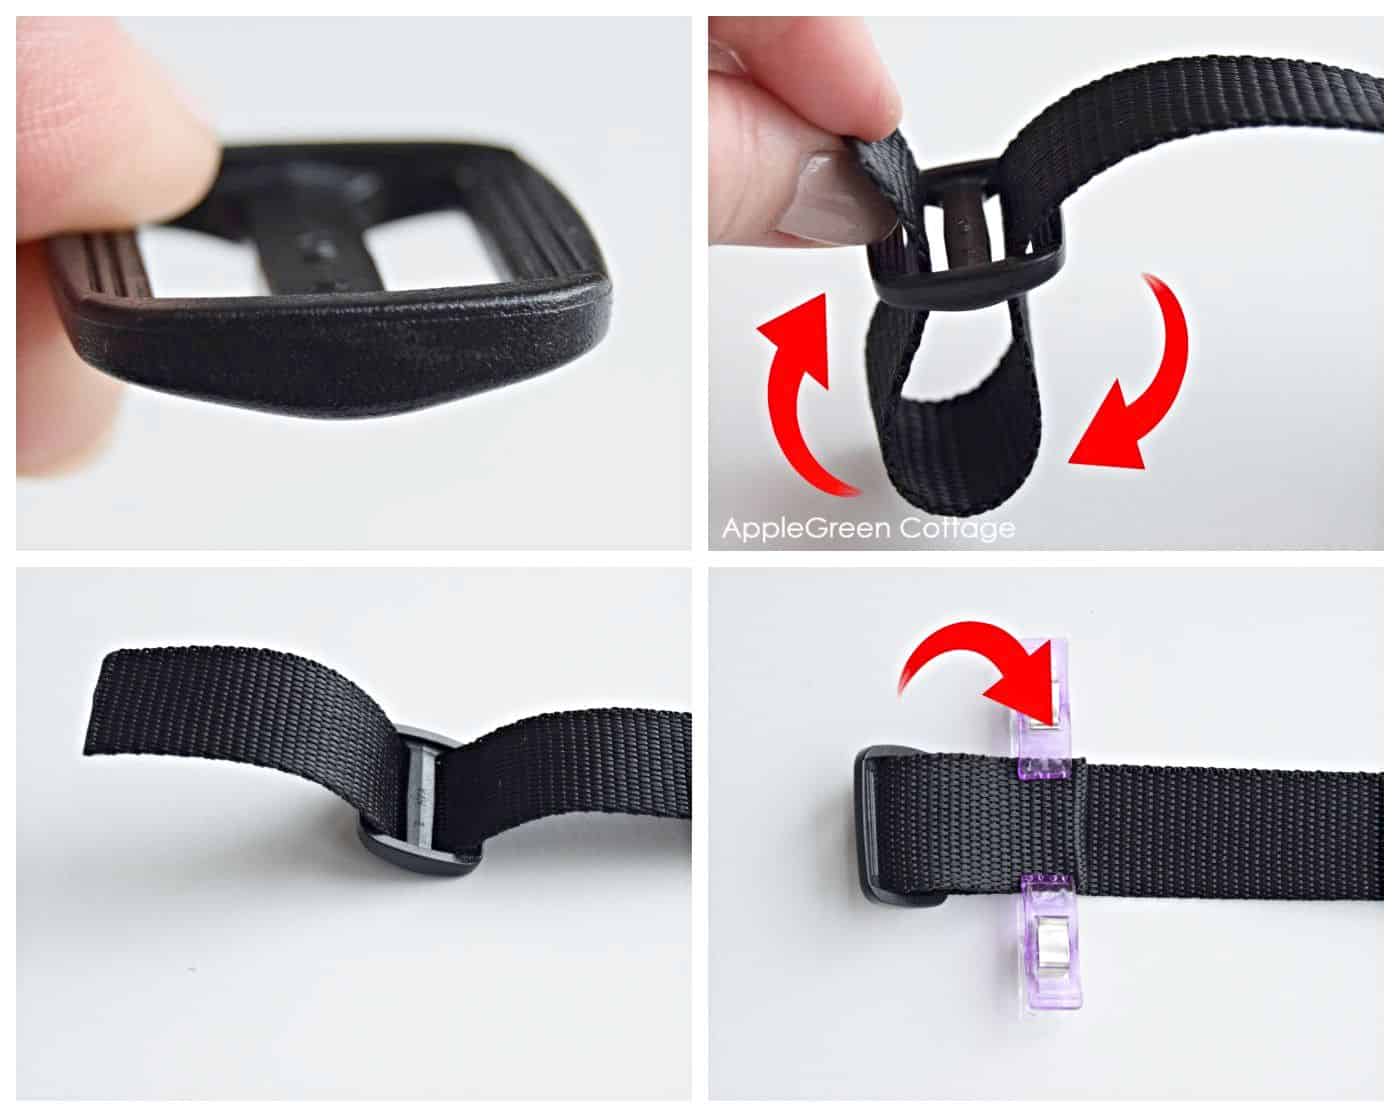
Step 2 - Create two strap anchor pieces
You will need two 'anchors' to attach the strap to each side of your bag:

First, thread the 8" (20 cm) webbing piece through the female piece of the buckle (the piece with the opening) by pushing it down through the strap slit and folding it back on itself.
Then thread the 3" (7.5 cm) piece through the rectangular ring and fold it back on itself.
Clip the loose ends or baste them to keep them folded. Set aside for now, you will sew these two into the bag later on.
Step 3 - Attach the strap slider
Attach the adjustable strap SLIDER to one end of the longest, 38" (97-cm) strap:
- Place the slider with the right (front) side down.
- Feed one end of the long strap through the slider around the middle bar, going down from the top and back up through the other slider slit.
- Stop pulling once 2" (5 cm) of the strap end are through.
- Fold the raw edge under by ½" (1.3 cm) and then clip the folded end of the strap to itself.
- Stitch in place: sew a rectangle over the strap end to secure it.
Step 4 - Attach the male part of the buckle
Attach the male part of the side-release buckle:
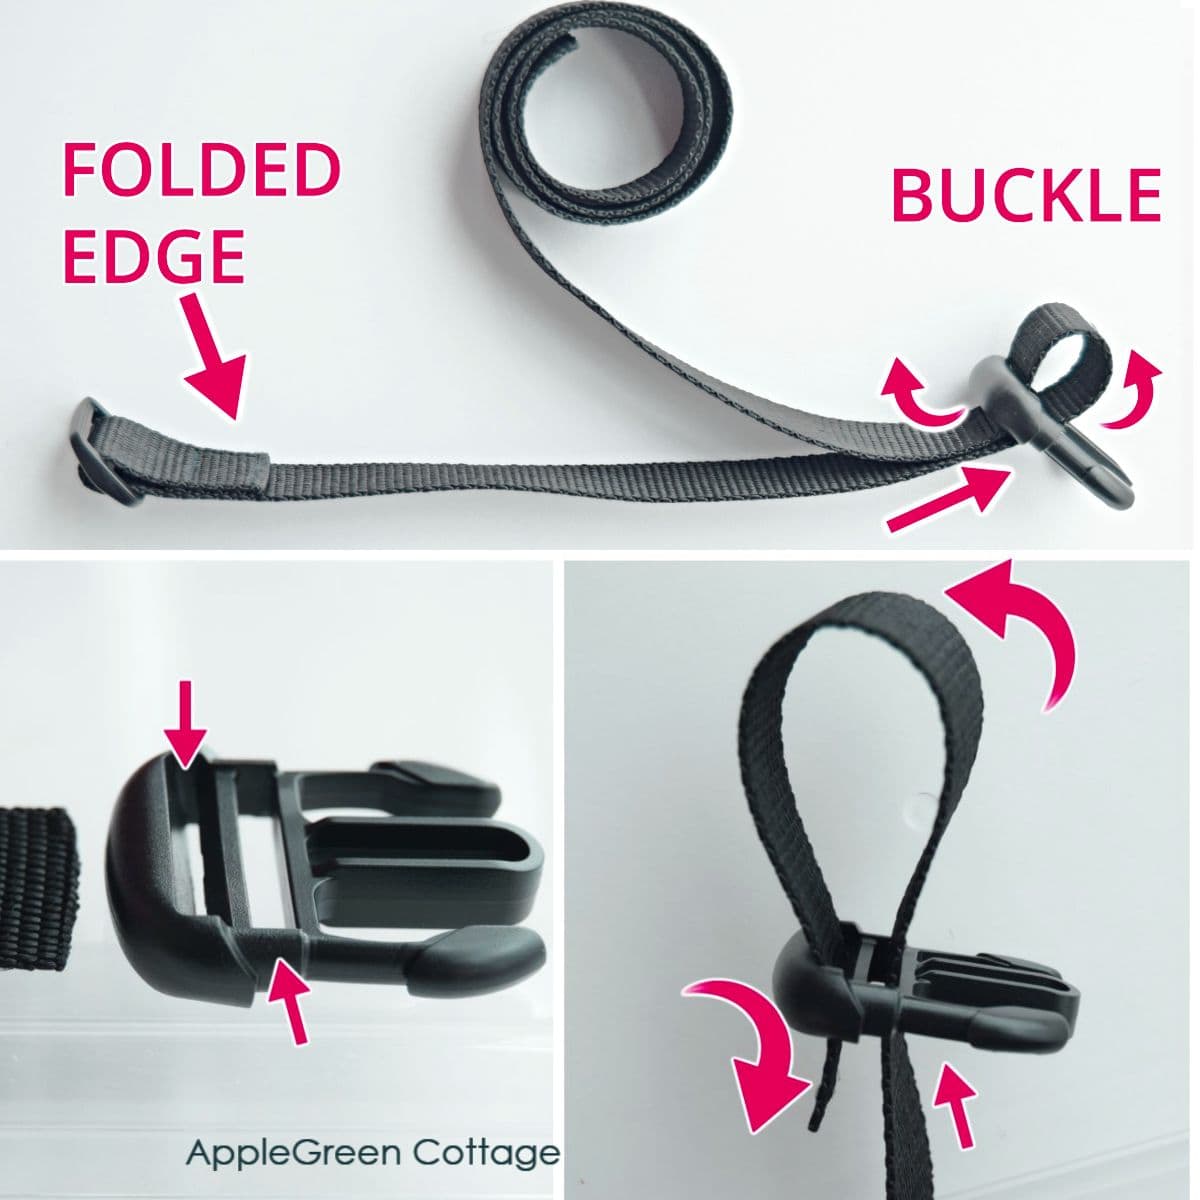
- Make sure that the strap is flat and not twisted. Lay it down, with the slider end on your left.
- The folded and stitched strap edge on the slider end is facing up, and visible on your strap.
- Place the male part of the side release buckle so that the front side is facing up and the tongues away from the strap.
- Take the other, free end of the strap and guide it UP through the INNER slot of the side-release buckle, and then
- DOWN through the OUTER slot.
Step 5 - Through the slider again
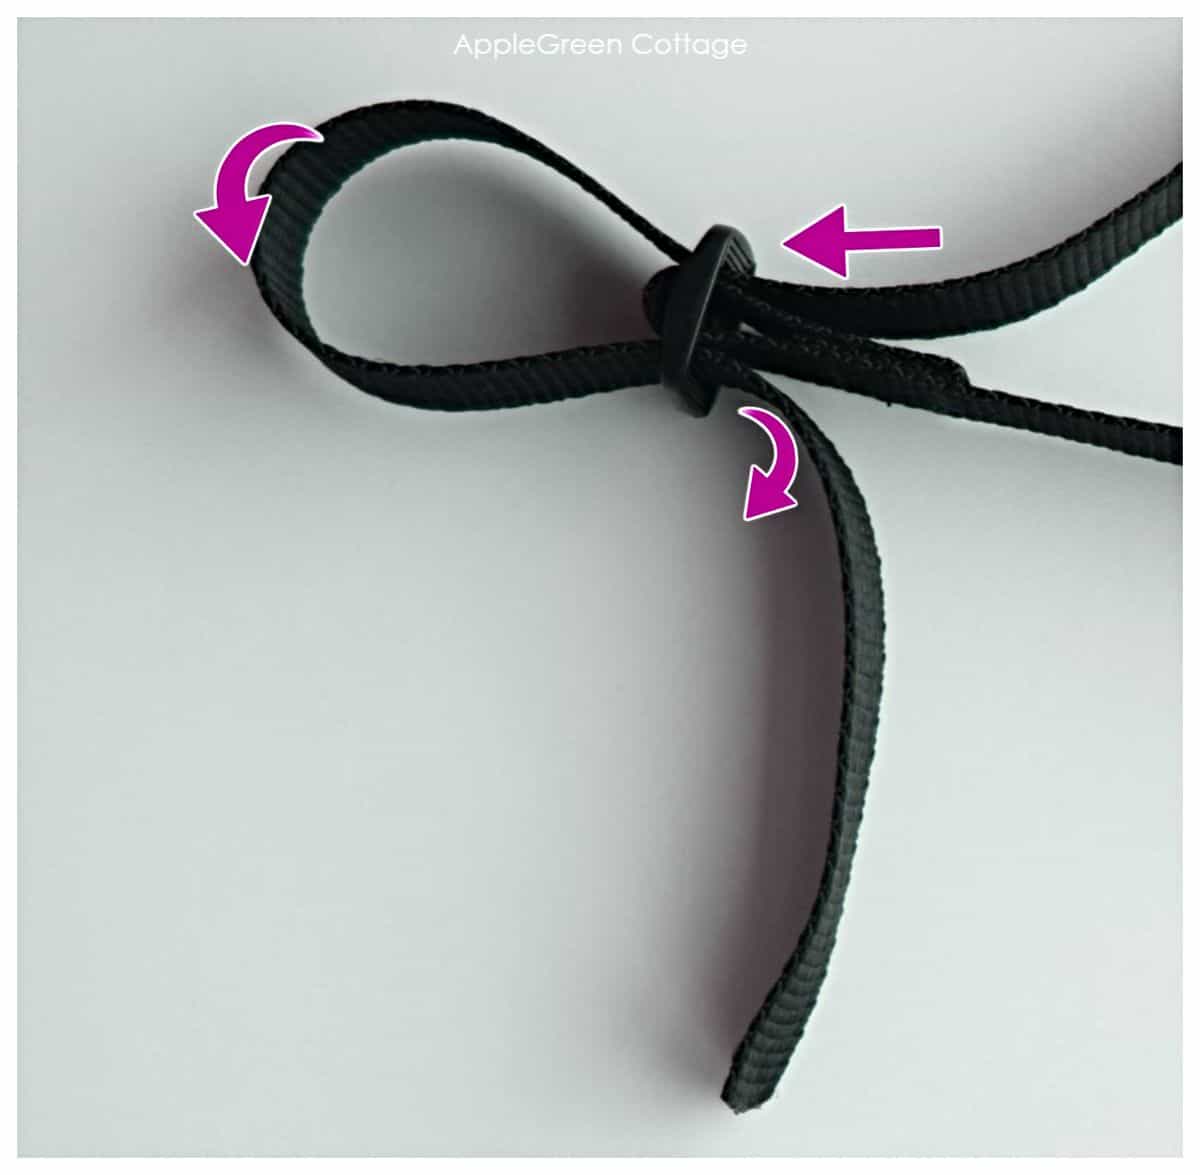
Thread the strap again through the SLIDER: go up and over the middle bar, passing across the end you sewed in place.
Leave the loose end of the strap unfinished. You will attach it to the rectangle ring once the bag is finished.
So, this is what you have now:

Step 6 - Attach to your bag
NOTE: Depending on the bag pattern that you plan to use with the side-release buckle, you will nearly always need to install the short anchor straps before assembling the exterior of your bag: the front and the back.
In our, ZARYA hip bag pattern, this is just before you add the exterior back panel. I'll show it here, so it's easier to understand for you.

Now grab the two shorter - 'anchor' strap pieces and attach the female buckle piece to the left side and the rectangle ring piece to the right of your exterior bag panel.
Now, continue with your bag construction.
Step 7 - Attach the long buckle strap
As a last step, we'll attach the 'male buckle' piece to the rectangular ring:

Place your finished bag in front of you.
Attach the remaining piece of the side-buckle strap to the side of your bag where the rectangular ring is attached:
- Guide the (only) loose end of the strap through the rectangular ring from the bag front towards the back, pulling approximately 2" (5 cm) through.
- Fold the strap end under by 1" (2.5 cm).
- Stitch in place: sew a rectangle over the strap end to secure it.
Make-It-Better Tip:
I would recommend stitching twice all around to strengthen the seam. Also, bury the threads when done for a professional look.
Variations - Make It Easier
If you have no rectangular ring available, simply sew the longer end of the belt into the bag. I use a rectangular ring because this way, I don't need to cram the entire belt, including Buckle, into the bag when sewing around it. (You know I always try to get rid of bulk when sewing on my domestic Janome.)
This is how it looks like when installing a quick-release buckle into a bag without the rectangular ring piece:

This would be a great strap for my other, Enya Wallet Bag pattern, too!

If you're into bagmaking, also visit my online shop - with all of my best bag patterns!
FAQ
Open the side-release buckle and pull on the webbing that's threaded through the buckle.
Always check the 'inner width' of the buckle, like with all bag hardware. This means you need to measure the buckle slits where the webbing is supposed to go through. The standard side-release buckle sizes are 1", 1 ¼", 1 ½", and 2", 1" being the most common.
These are the most popular choices for webbing:
- cotton webbing, pleasant to the touch, not slippery, and I find it best as backpack straps, or projects benefiting from the comfortable touch of natural fibers.
- the convenient, budget-friendly polypropilene webbing. It's the easiest to get in-store, budget-friendly, and super easy to sew. It ranges from half-inch to two-inch widths and has a variety of colors to choose from. Stock up on the 1" black, and a bunch of 1" side-release buckles!
- the third option, a super heavy-duty polyester webbing is awesome, but not for a domestic sewing machine and everyday projects you'll find here at AppleGreen Cottage. It's thick and stiff, which makes it difficult to sew through several layers. But hey if you need something that will last, like, FOREVER, this is the one to go for. But then use the strongest thread and an industrial sewing machine.
- seat-belt webbing. It looks beautifully polished and is very smooth to the touch. It slides more easily than other types of webbing, but the standard 2" width is too large for smaller hip bags and slings. Perfect for this free messenger bag pattern though! You can get it in narrower versions too.
- nylon webbing: this webbing is a little softer than the polyester webbing. It has some elasticity but will recover over time. Nylon is softer and smoother than other types of webbing. Again nylon webbing comes in both standard and heavy-duty versions, and again, the heavy-duty nylon is harder to sew than standard, so I have stayed away from it so far.
Check out the trending ZARYA Hip Bag pattern in our shop - perfect for carrying all your essentials - hands-free!


Leave a Reply