
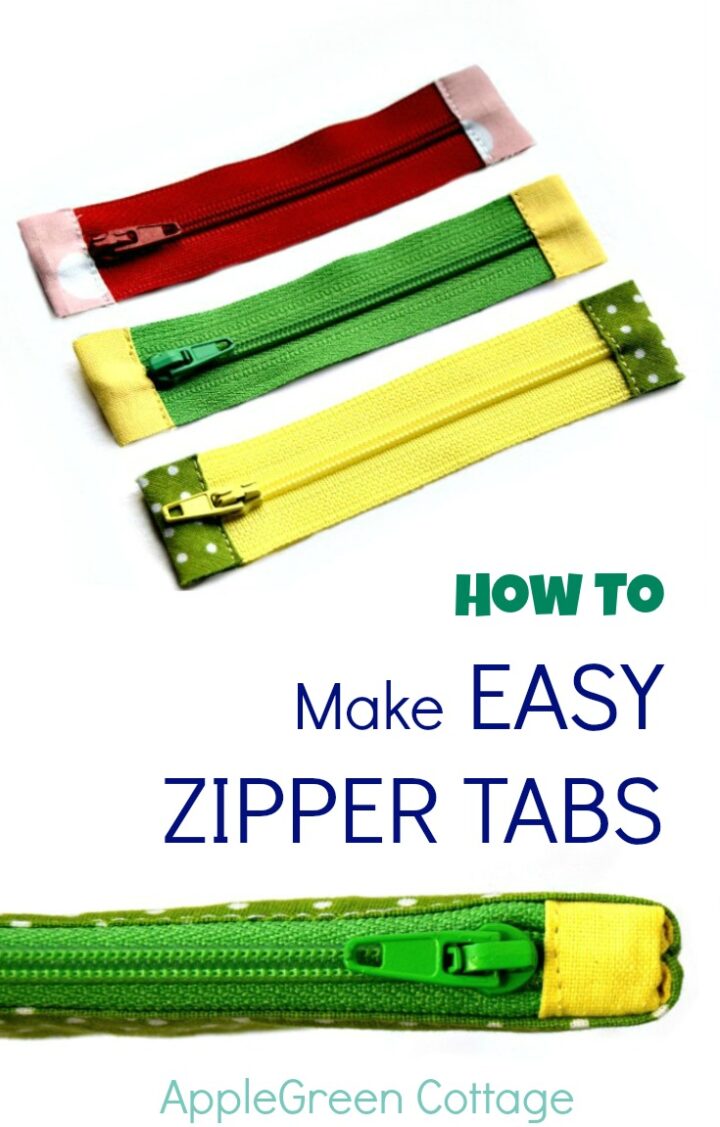
Want your zipper bags to look neat and professionally finished?
Zipper tabs are the secret!
They're my favorite way to cover raw zipper ends and give any bag a clean, polished look - and sewists love this trick!
In this tutorial, you'll learn how to shorten a zipper and add tabs - quick, beginner-friendly, and easier than you think!
This tutorial is part of the ApleGreen Cottage learning-to-sew page. Check out all my sewing tips here, especially this zipper installing guide.
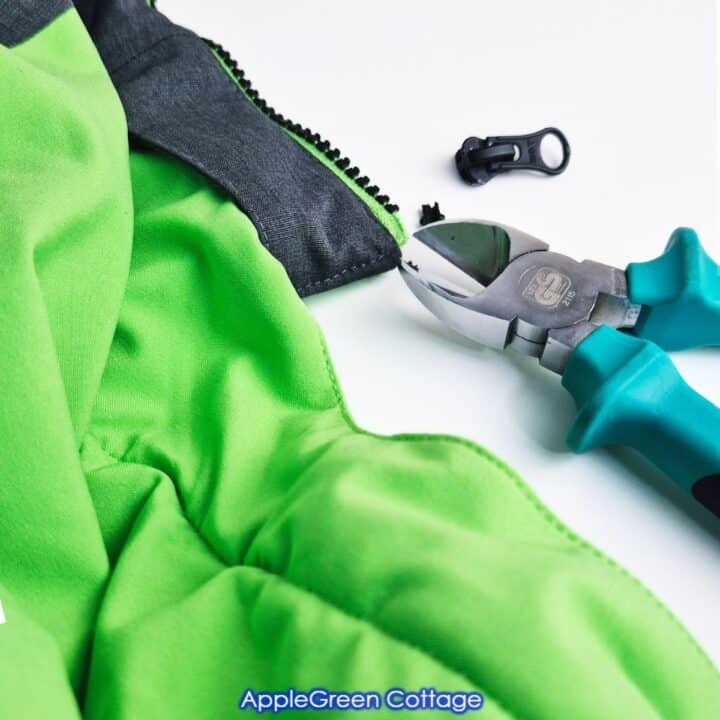
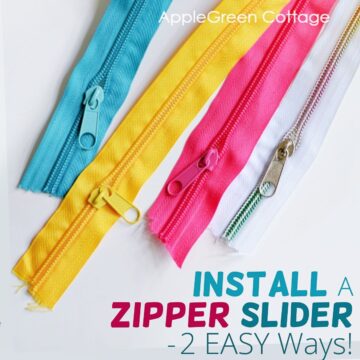
Need to replace a broken slider?
Can you cut a zipper to make it shorter?
If you're not yet familiar with zippers, you'll probably wonder if you can shorten a zipper by simply cutting off any excess zipper tape.
Here's the good news: yes, absolutely! what you need to be careful about is to work with a nylon coil zipper, especially as a first zipper sewing project.
The reason is that the nylon coil zippers are the easiest to work with and to have them shortened at home. When cutting off a portion of your zipper tape, make sure to have the zipper slider on the part that will not be cut off.
🧵 Quick tip:
Before cutting, make sure the zipper slider is on the part you'll keep - not the part you're trimming off!
Why add zipper tabs?
Sure, you could just trim your zipper and sew it in as-is. But if you want a clean finish and smooth sewing, zipper tabs are the way to go. They:
- Hide the raw zipper ends
- Prevent bulky or pinched corners
- Add a pop of color and style
- Make your project look handmade (not homemade 😉)
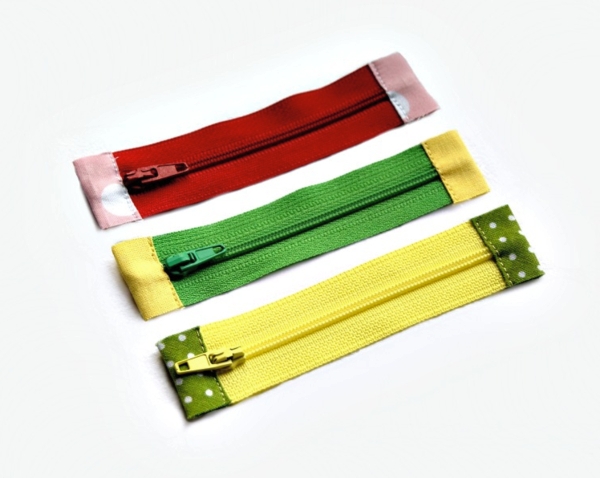
Zipper tabs are a great way to shorten zippers and make your zippers look beautiful. Here's a little how-to for any sewing enthusiast who'd like their zipper bags to have a professional look.
In this tutorial
In this tutorial you'll learn how to:
- Shorten a nylon coil zipper
- Make and attach zipper tabs
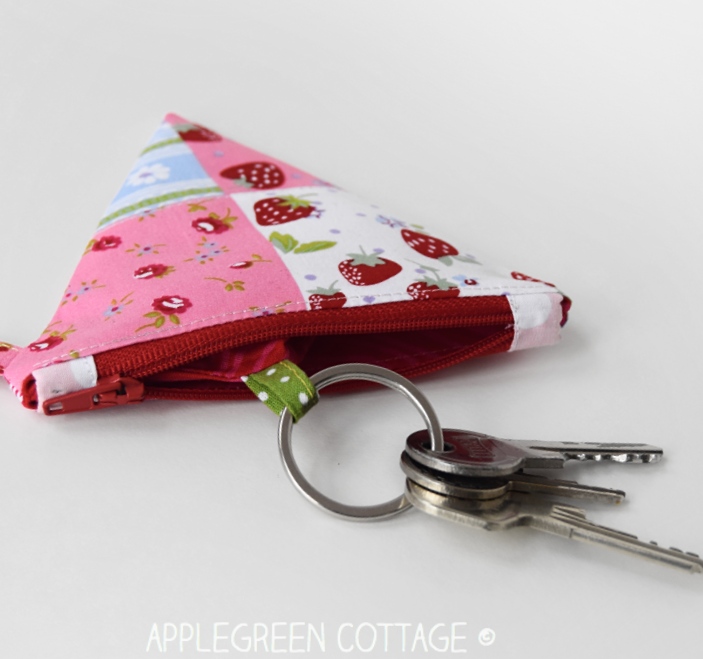
- Use this method for all kinds of zippered projects (like this cute coin purse!)
Prefer videos? I've included one just for you. Prefer written steps? Keep reading - everything's broken down nice and easy.
First, for those of you who prefer video how-tos, here's a video slide-show for you:
No more pinched ends of your zippy pouches! - Now, written steps:
Supplies
This is what you'll need to add zipper tabs and shorten your zipper:
- a (longer than needed) standard nylon coil zipper
- 2 pieces of scrap fabric for tabs (2 inch by 1.5 inch each)
- sewing machine /needle
- sewing thread
- scissors
- measuring tape
Shop my personal favorite sewing supplies on Amazon HERE.
To make it even easier, I've split the steps into three sections: Make zipper tabs, Shorten the zipper, and Attach zipper tabs. Nice and easy:
1 - Make Zipper Tabs

1. Place your 2 by 1.5 inch piece wrong-side-up.
2. Fold in half crosswise. Press, then open again.

3. Fold the upper side to the center crease - and do the same with the lower side.
4. Fold again along the original center and press.
Repeat with the second piece.
No stitching yet. You'll slide these two pieces on each end of the zipper.
2 - How to Shorten a Zipper
Adjust zipper length: decide on the desired gross length of the zipper for your project.
1. Make sure the zipper pull is within the area you'll use and won't be cut off.
2. On one end, trim the ends of the zipper tape back to the metal stopper (right part of the photo), but don't cut off the metal stopper. It's just for convenience sake - this way, you only need to secure one side of the zipper (= less work)

3. On the other end, cut off the excess zipper length.
NOTE: Any chance you might need to sew over area with the metal stopper? In this case cut off the metal stopper part too. (But you'll need to secure/sew both ends of the zipper, as shown in the next step)
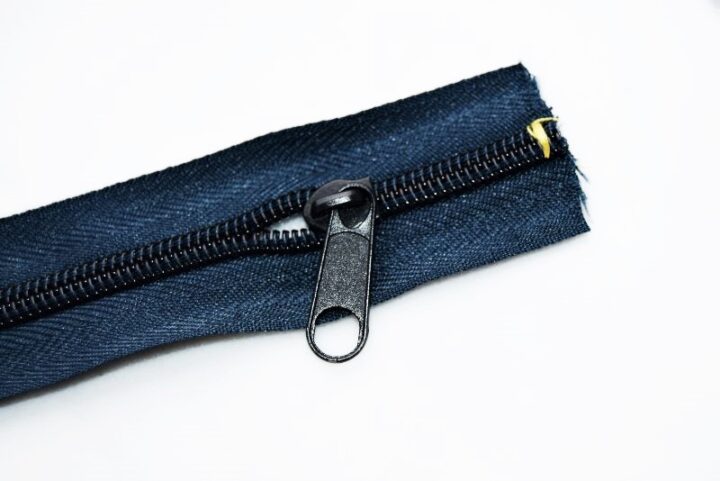
4. Secure the end of the zipper
This is how to secure the end of the zipper:

Hand-stitch very close to the end of the zipper where you snipped off the excess zipper. (¼ inch from the end or LESS.) I'd say you can machine-stitch it, but hand-stitching is a lot easier in this case.
Top TIP
If using zipper tape by the yard, make sure to add the zipper slider before you close the zipper. Here's how to add a slider to the zipper.
3 - Attach Zipper Tabs
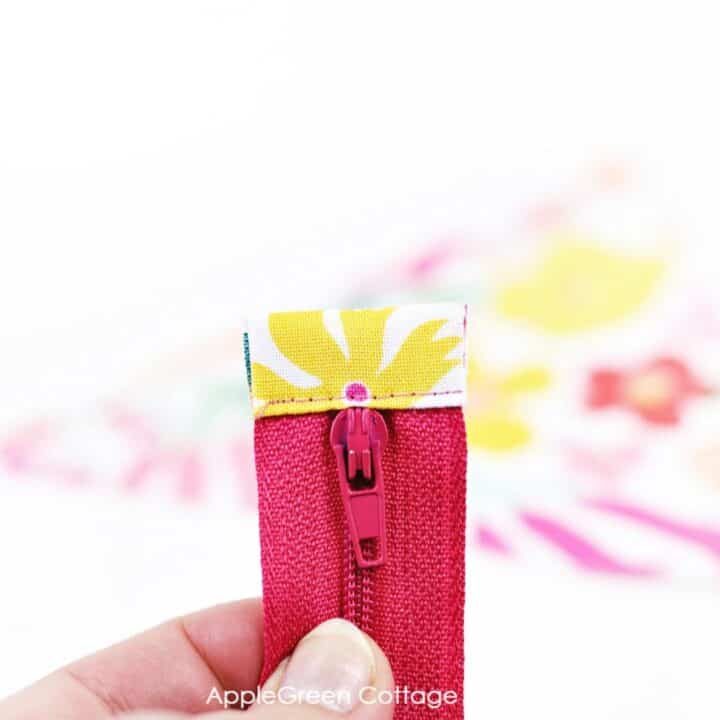
1) Slide on the two zipper tabs you made earlier (see step 3), encasing (sandwiching) each of the zipper ends.

The tabs are half an inch deep, so each one will cover ½ inch of the zipper end. This means gross zipper length minus twice half-an-inch tabs = the finalized exposed zipper length will be 1 inch shorter than the gross zipper length.
2) Use pins to hold the tabs in place.

You'll remove them one by one as you sew.
3) Then topstitch over the tabs close to the exposed part of the zipper, catching both the upper layer of the tab as well as the bottom layer (the one below the zipper). See the image:

Never stitch over any metal parts (stoppers), as it might damage the needle.
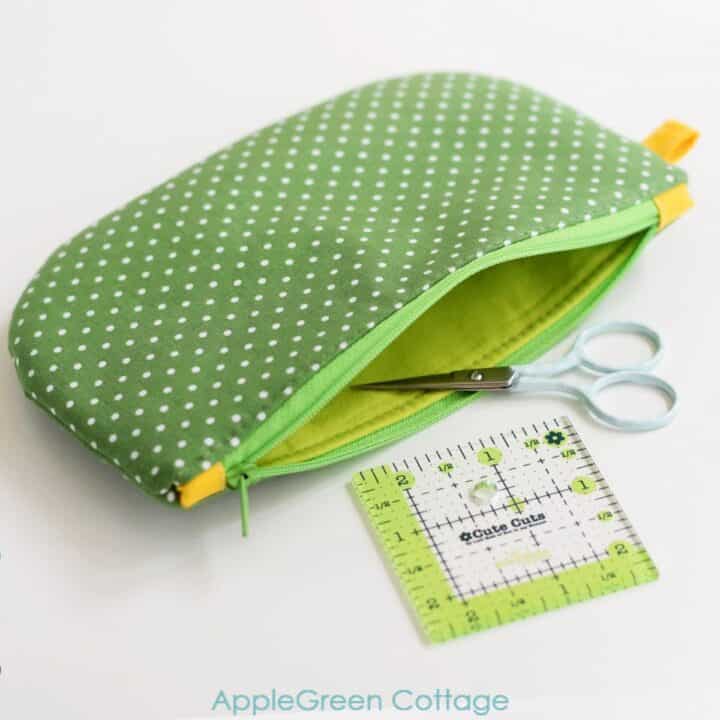
4) Once sewn, snip off the excess tab material, so you get a nice and even looking zipper, like this one:

Now you are ready to sew the zipper into a bag. It will make it look nicer and more professional. I love it how it adds a pop of color to any zipper bag!
See how neat and clean a tabbed zipper looks here:

Now, once you've learned how to use this little hack, it becomes so easy to add it to a few scraps of fabric and - voila! Here it is, your own little bag or purse. You can totally do this!
Projects to Use With This Tutorial
Tons of pouch tutorials here, like teh center zipper pouch with French seams, or use my free Round Bottom Zipper Pouch Tutorial - super popular!
+ FREE Pouch Pattern
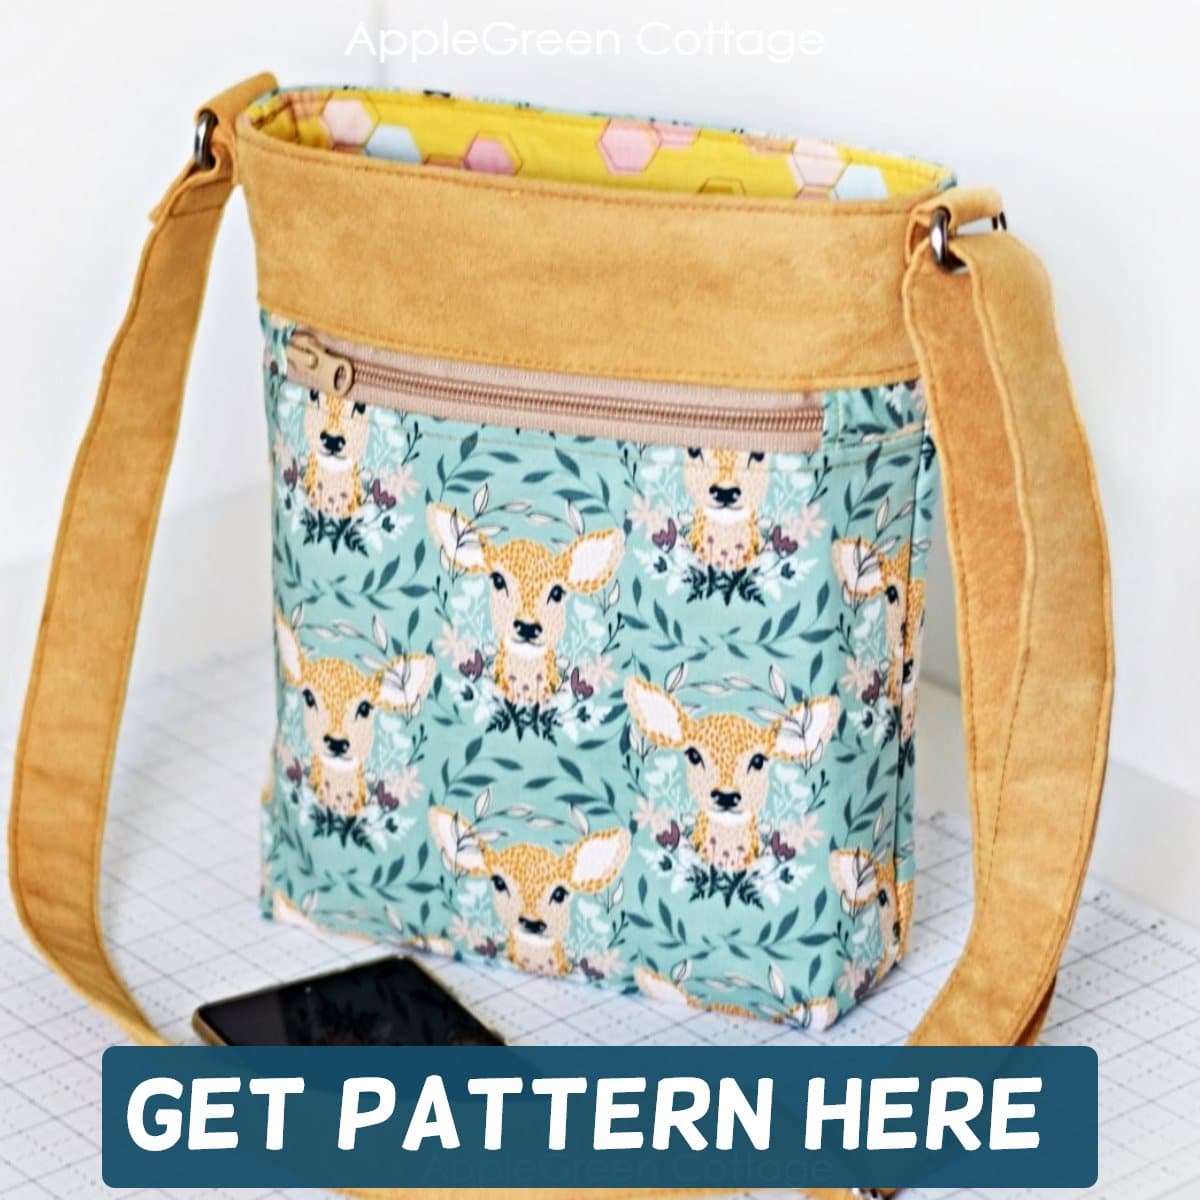
I used zipper tabs on this little cutie, TRIA, it's my own design available in my shop. I've made tons of them, and they turned out to be the perfect little handmade gifts.

I've also used this sewing technique in many other projects. Check out the same coin pouch in Halloween colors here:

Isn't it cute!
Conclusion
Now you know how to shorten a zipper and add fabric tabs for that clean, professional finish. This simple trick works on pouches, bags, clutches - anything with a zipper!
The Small Purse That Packs a Punch!
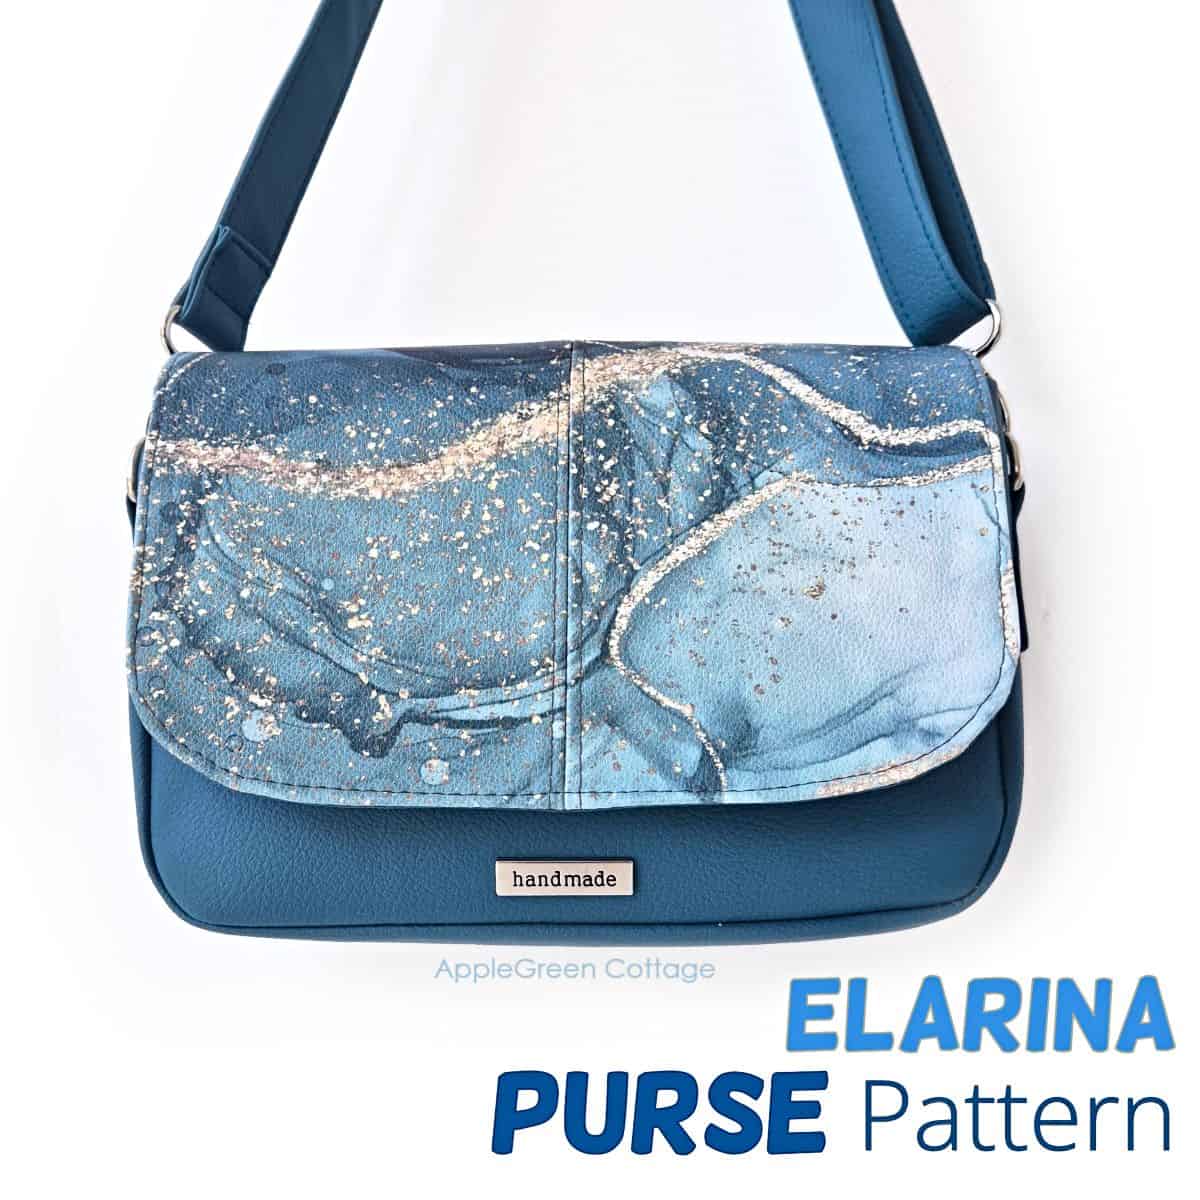
Check out this pretty Elarina Purse pattern in our shop - small bag, big style! 👜
Related Tutorials

WANT MORE FREE TUTORIALS AND PATTERNS?
Get email updates and never miss out on new patterns, printables, and tutorials:
Or …check out the TEYA crossbody bag pattern in our shop. One of my first bag patterns with pockets both on the inside and outside - and it works great as a gadget bag too!
TEYA PATTERN UPDATED!
PATTERN UPDATED.


Rita says
These instructions are so easy to understand! I’ve come back here several times!
Elizabeth Martin says
I found that it is much safer to hand stitch where I am going to shorten the zipper first, then cut the unused part off, as occasionally the zipper will not stay linked when you cut off the part you are not using.
Damjana says
Elizabeth,
that's a clever thing to do if your zipper teeth don't stay together.
xoxo, Damjana
SueK says
How do you determine how short to cut the oversized zipper. Others say 1 inch shorter than the purse bag.
Damjana at AppleGreen Cottage says
Hi Sue, yes the 1 inch difference will often work (also it depends on the bag size and fabric thickness) - but it's always best to follow the individual project instructions. Hope this helps.
Barbra says
Does this little pouch have a lining inside of it and are the raw edges on the inside finished off or is there a lining basically was there any raw edges inside thank you
Damjana at AppleGreen Cottage says
Barbra,thanks for asking. Yes, the coin purse is lined, and there are no raw edges. this post might be helpful for you, as it includes more detail: https://www.applegreencottage.com/mini-coin-purse-PDF-sewing-pattern/
Anonymous says
Thank you for a very nice, clear, and neat tutorial. I can forsee using it often for my three grandchildren. Blessings.
Jackie says
Great tutorial! Very easy to understand instructions & photos. Thanks!!!
trixi says
I love making little purses too but have never added little tabs to the end of the zip even though I'm always shortening my zip. Will try this next time!! I think its going to make my purse look much more professional. Although I haven't quite got that perfect right angled corner on the purse...yet!!
Damjana at AppleGreen Cottage says
Trixi, thanks for dropping by. Happy it helps 🙂
♥Duff says
I'd like to see how you sewed it into the ends-I make tabs like this but the outer edges (where zipper meets side seam) are more to a point than boxed off. Do you not sew all the way up the side? Thanks!
Damjana at AppleGreen Cottage says
Duff, thanks for reaching out! Yep, I just sew around the tab, never touching it with the needle - even a few mm away. I'm sending you an image for your convenience. Check out your inbox - now, here goes my secret haha! Hope this helps 😉
Gmom says
Wish I saw this yesterday! Would have been a nice touch to the bag I made.
Damjana at AppleGreen Cottage says
Oh, that's a bummer! But at least you'll have this tutorial ready for your next bag 😉 Happy sewing!
Anonymous says
i love this tip . im seamstress at a dry cleaners. many times zippers come in with tail ends need repairs. this tip will come i n handy.
Damjana at AppleGreen Cottage says
I'm so happy this little tutorial will help you out!