
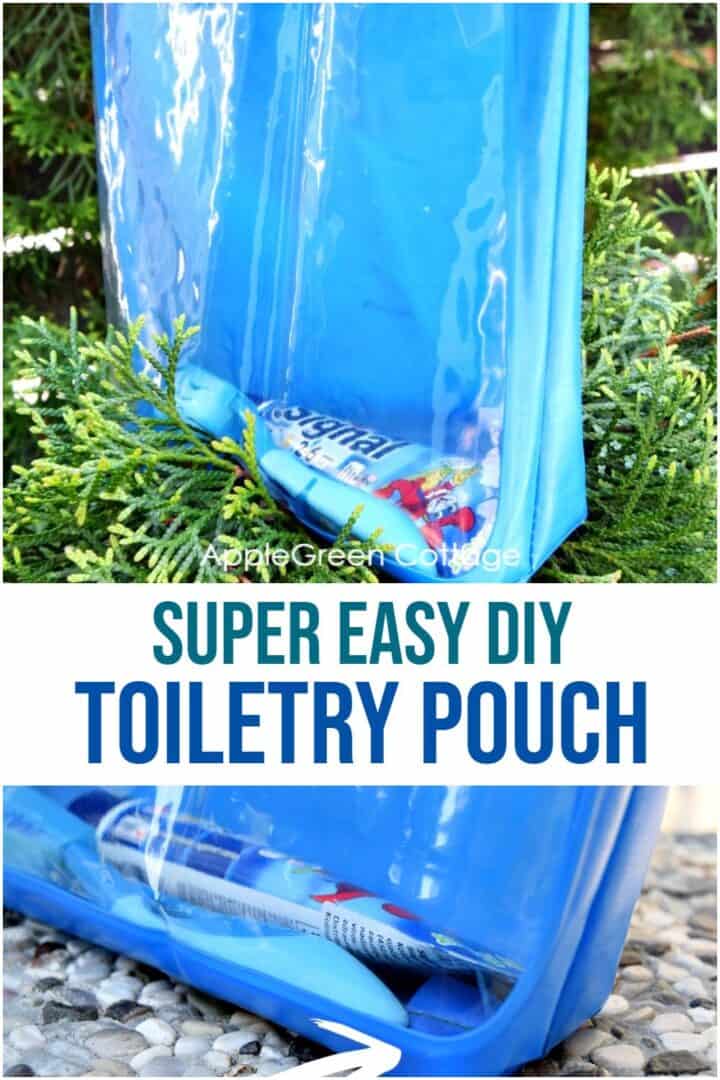
This is the easiest diy toiletry bag you will ever make within 10 minutes.
Who doesn't like a simple vinyl or oilcloth pouch? It is so practical: it keeps moisture out, and when it gets a little messy, just give it a quick wipe!
All you need is one piece of 'fabric' and a zipper. And it's such a quick make! Take a look at the tutorial and sew a cosmetic pouch for yourself or as a gift for a friend.
This post might contain affiliate links. Thanks for your support. For even more easy sewing ideas, also check out this Mini Pouch, it's a free pattern too.
Make sure to check out Tips for sewing vinyl like this, at the end of the tutorial below.
Diy Toiletry Bag
This unlined, simple straight-seam zipper pouch might take you less than 10 minutes. And you can make it out of any used materials that don't fray.

You need one piece of 'fabric', oilcloth, vinyl (any material, really!), and a zipper. Make 4 straight stitches on your sewing machine. Two more if you want your zippy boxed. That's it. A great beginner sewing project to make, nearly on the go. To me, it's even simpler than making a pizza. Also, it takes less time 😉
Supplies:
- a rectangle piece of oilcloth (or waterproof canvas, thicker ripstop, or a piece of other, used waterproof material. See below for ideas!)
- one plain, standard nylon coil zipper, any size you'd need.
- useful for sewing with oilcloth and vinyls: a non-stick teflon foot (one like these)
- universal polyester thread
Shop my personal favorite sewing supplies on Amazon HERE.
In my case, it was a waterproof bag for an inflatable kids boat. I thought I had absolutely no use of that, since we never store the boat in this bag anyway. Or, you can use a torn shade sail that has a greater damage than this one, so it's beyond repair. (I realize we could recycle and upcycle more items than I can even imagine!) I used the standard nylon-coil 7" zipper.
My Top 7 TIPS!
A 10-Minute DIY Toiletry Bag Instructions
Using one piece of fabric and a zipper, you can make this bag in no time!
Step 1 - Cut a Rectangle
First, cut a rectangle piece of waterproof fabric. This image will show you how:

This is an outline of what you need to bear in mind when cutting out your 'fabric' piece.
- B = the width of the rectangle should equal the zipper size (i.e. the total length of the zipper tape!). This will be the width of the cosmetic pouch.
- A = As for the height of your zipper pouch, you have free choice. Bear in mind: if you'll box the corners (more on that later), you'll need a few inches more.
The dimensions I used were approximately (A) 16 inch, and (B) 8 inch. Perfect for a kids toothbrush size.
Step 2 - Attach One Zipper Side

Place your fabric right-side-up on a flat surface. Then, place the zipper right-side down on the side marked 'B', aligned with the fabric edge. Stitch the zipper to the edge of the fabric. That is, sew one straight line.
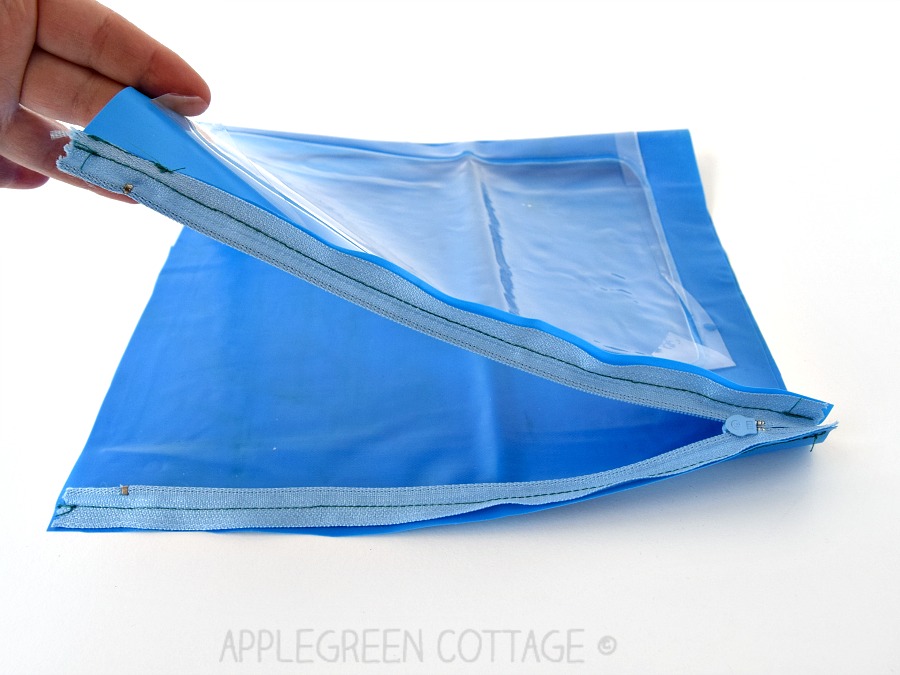
Step 3 - Attach The Other Zipper Side
Then flip the fabric over and stitch the other end of the zipper to the other 'B' edge of the fabric. You'll get a nice tube like this:

See the vinyl window I used when cutting my rectangle piece? I used the opportunity to make something with a window without actually having to make it. And it also makes it easier to see what's going on in this tutorial. (It felt a smart choice!)

BONUS TIP: Make sure you back-stitch a bit at the start and end of each stitch, to secure the seams.
4) Now make sure to UNZIP THE ZIPPER before sewing the sides! This will make it possible to turn the project right-side out.
Step 4 - Stitch the Sides
Leaving the project 'right-sides-together' and the zipper folded in (and open!), sew another 2 straight stitches to close the sides of the cosmetics pouch.
(When taking this photo, I closed the zipper for a moment as it was easier to match the sides exactly. If you do the same, make sure you UNZIP it again before proceeding.)

BONUS TIP: If you need to fix the sides before stitching, use wonder clips like these, not pins, as pins would leave marks on the material.
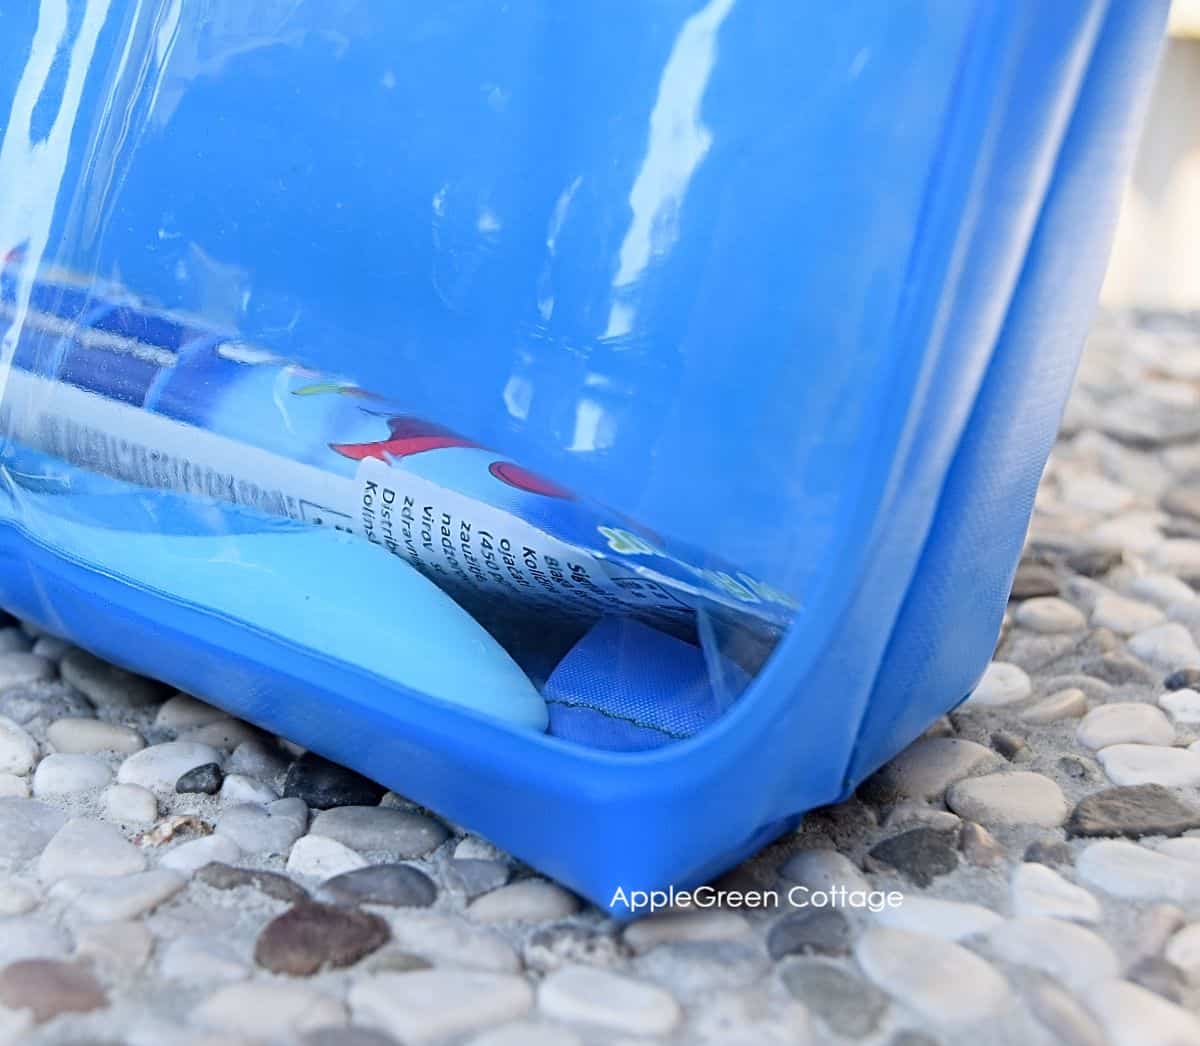
Step 5 - (Optional) Create Boxed Corners
Do you want to make boxed corners? That would simply mean another 2 straight stitches. It's simple, and I promise to do a tutorial on this one, but for now, a few quick notes that might be just what you need:
- The pouch is still turned right-sides together.
- Place one bottom corner so that the side seam is in the center. So, it's folded.
- Now stitch across the triangle about an inch in.
- Leave it folded, don't snip the triangle off.
- Do this on the other bottom corner, too.
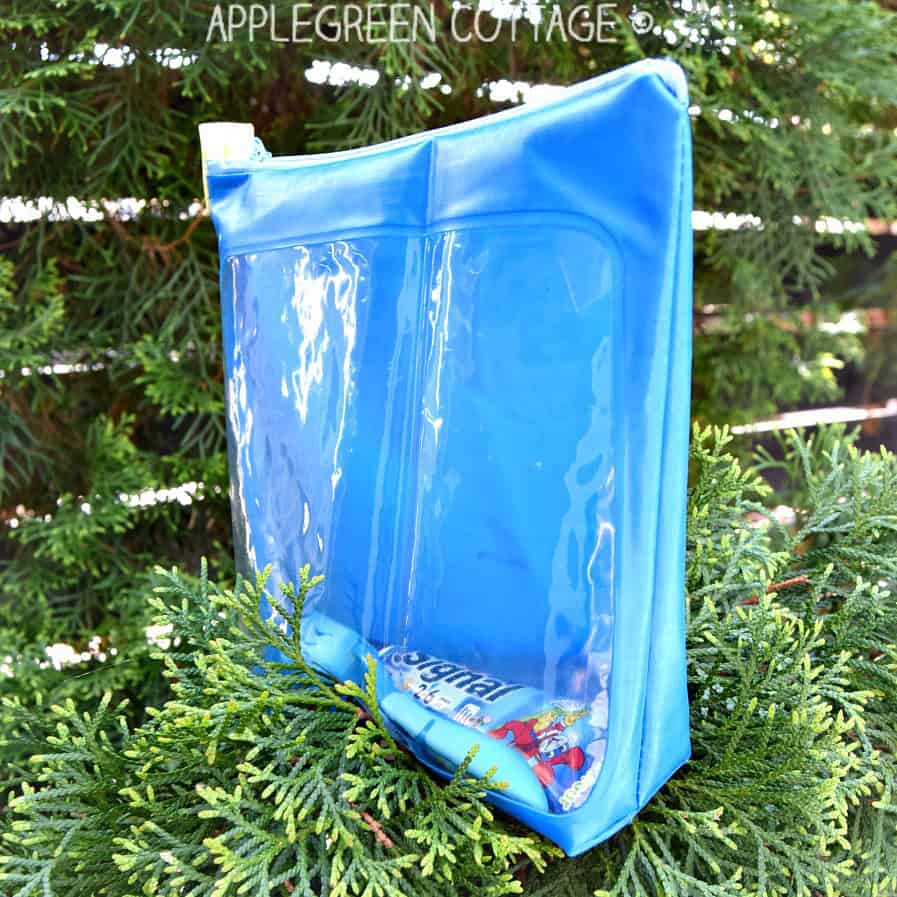
- Turn right side out and you've got this:

And please give me a nudge sometime soon, to remind me I owe you a proper corner-boxing tutorial.
If you can't wait, it might be helpful to know that you can find detailed how-tos for boxed corners in my PDF patterns such as the KAIA Mini Bin, or the TEYA Crossbody Bag. Now, back to our toiletry bag: I love how it came out. It's roomy enough and practical.

That's altogether 6 straight stitches. The plainest easy way to make a pouch, isn't it?
I would never imagine making an unlined zippy pouch could be that easy. Truth be told, the first zipper pouch I made was lined, with a rounded zipper part, and as it turned out, was not at all as quick as I had hoped. Then, it just went on with lined pouches. Everything I made was lined.
It was months later when I discovered the joy of making tons of easy, unlined, simple straight-line zipper pouches. How quick and easy, and totally beginner-friendly! So, this cosmetic pouch tutorial came to life right after these no-fuss felt easy zippered pouches. Must-try, too!
So if you wanted to see how to make a toiletry bag at home, I hope this vinyl toiletry pouch tutorial was just what you needed.
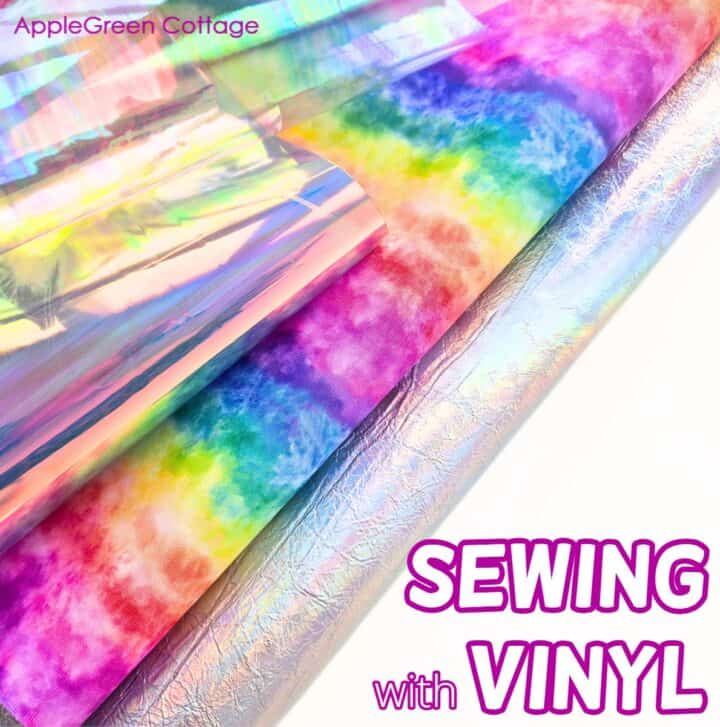
Helpful Tips for Sewing with Vinyl
Here are some helpful tips for sewing vinyl or oilcloth:
- The first thing to mention, about the clear window: I used one that was already part of the upcycled material - just used what it was available, so I did not need to create a separate clear window. If you want to add one, of course, it's always possible. The clear vinyl piece that you need to create a window should be at least 10 gauge vinyl (0.25mm thick) - the thinnest vinyl that will still work for bags (12 gauge is great too, and a bit thicker).
- Needle: you can sew vinyl with a universal needle, my favs are Schmetz needles) but you can also get Schmetz vinyl needles that have some antiadhesive coating and a larger eye. If sewing just this one pouch, just use a universal needle.
- I used universal polyester thread.
- Stitch length - use a longer stitch length when sewing with vinyl, I use 3.5 up to 4 (the longest stitch length on my domestic Janome)
The Story Behind The Easy Toiletry Bag
Last but not least, here's why this pouch came to life:
I made this cosmetic pouch the day before my older child went for a three-day vacation with the kindergarten group. I was packing his stuff, but realized I had nothing even remotely waterproof to act as a toiletry pouch.
And it was just after I got tired of chasing a simple, boy-themed zipper pouch for toiletries, having visited 5 shops, just to find out there were only grown-up cosmetic pouches with tons of pockets and compartments and a few small-sized, totally pink ones with lace or glitter.
What I wanted was a low-profile, plain zipper pouch for a kid that's currently totally into cars, trucks, and slugterra characters. In a material that will protect the entire travel case contents from a dripping wet toothbrush.
I realized I could have made a nice bunch of cosmetic pouches during the time I was looking for them in my local stores. Next time I will skip the shopping, it'll save me lots of time 🙂
Now ti's your turn to find a piece of waterproof or water-repellent material lying around. Oilcloth, vinyl, a used-to-be-a-bag kind of thing? Anything, you can use it to make a simple cosmetic pouch like this one, it will take you no more than 10 minutes. Try it out!
WANT MORE FREE TUTORIALS AND Sewing Patterns?
Get email updates and never miss out on new patterns, printables, and tutorials:
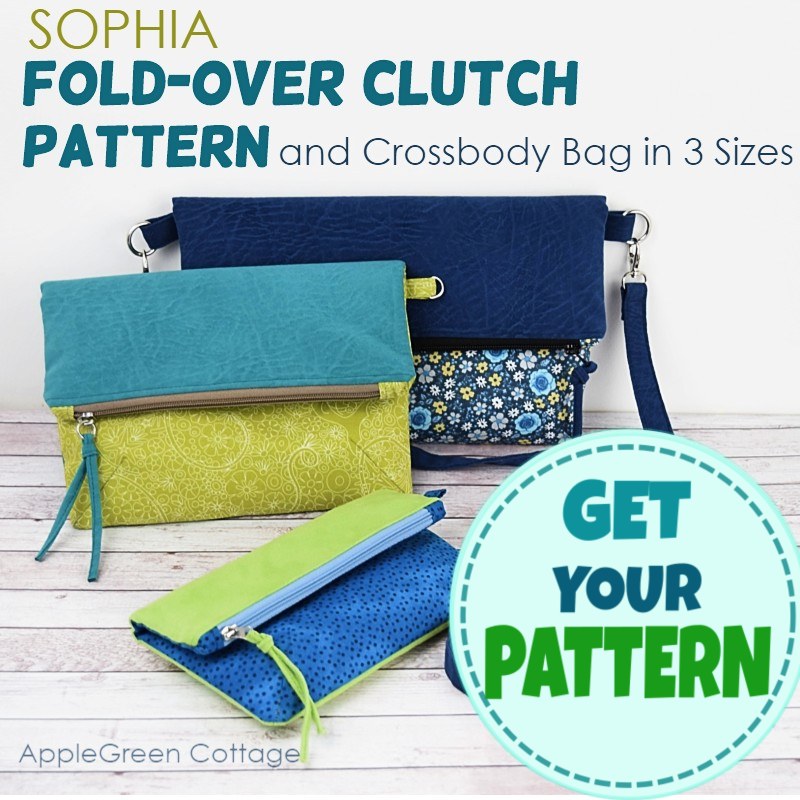
Or …check out the SOPHIA Fold-Over Clutch in our shop:
More Bag Ideas
The Small Purse That Packs a Punch!
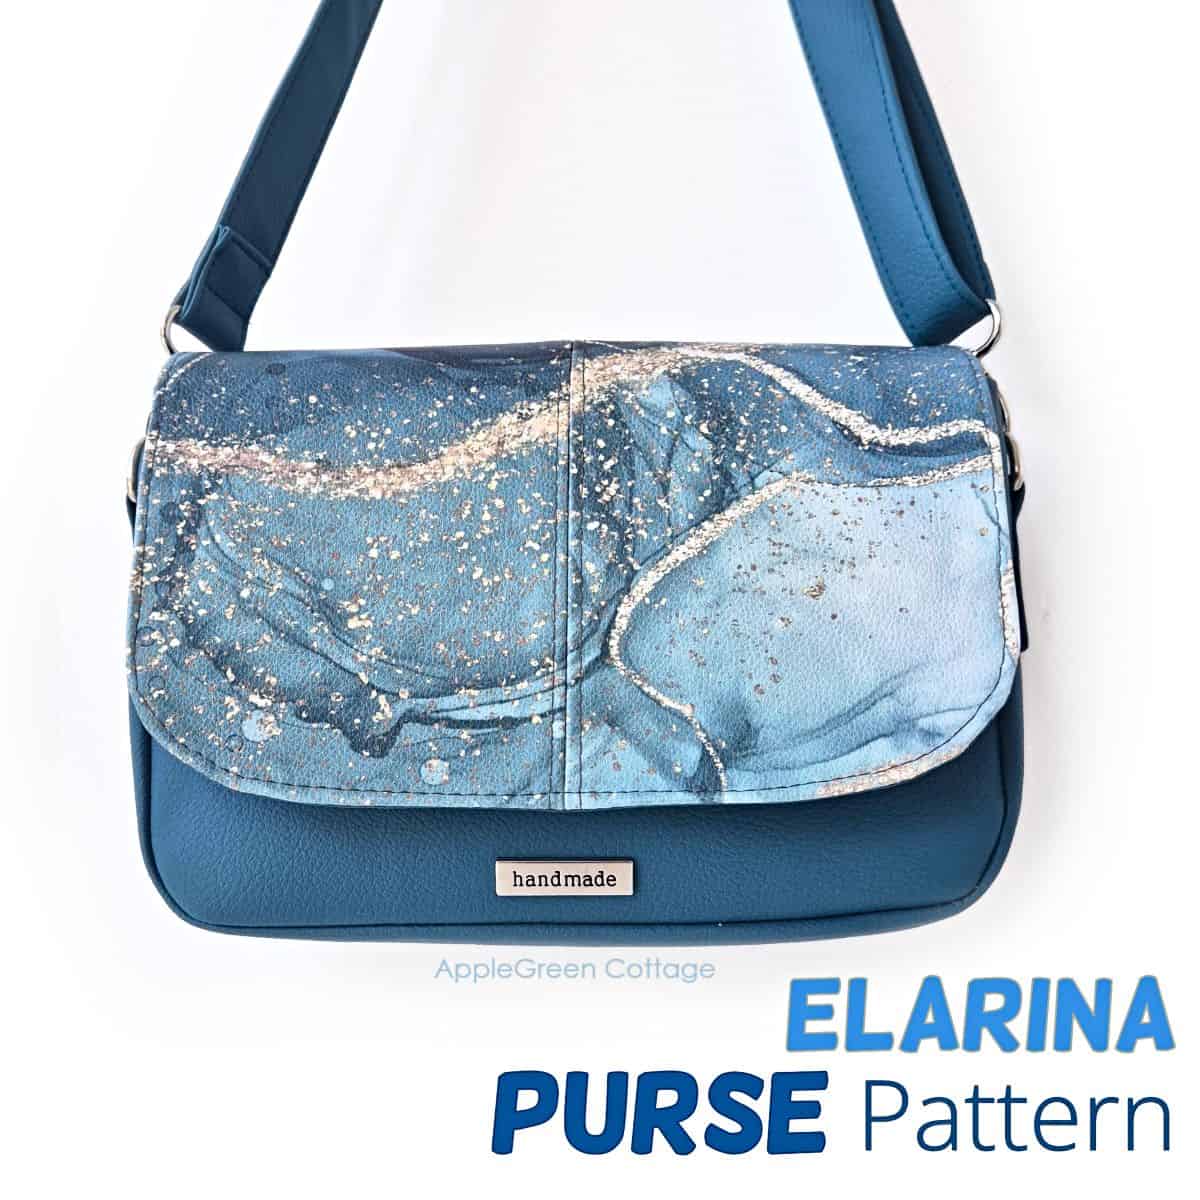
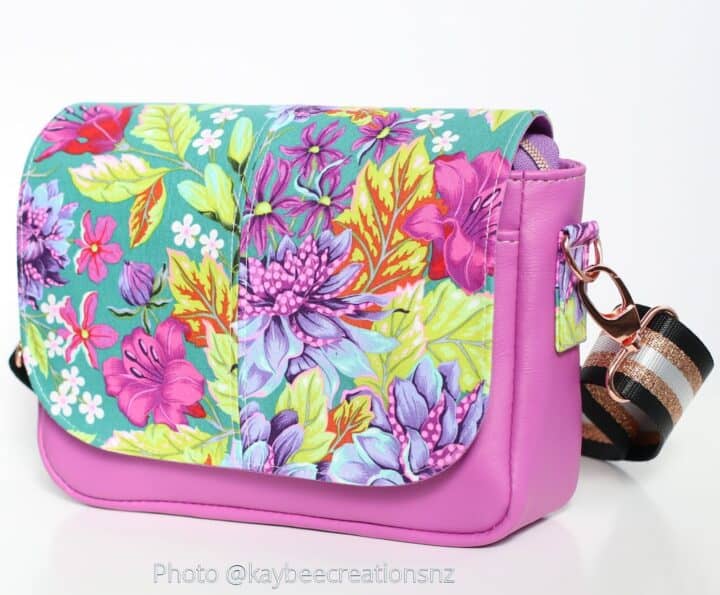
Check out this pretty Elarina Purse pattern in our shop - small bag, big style! 👜
'A petite but mighty crossbody!'
tester bag by Karen @kaybeecreationsnz, ELARINA pattern
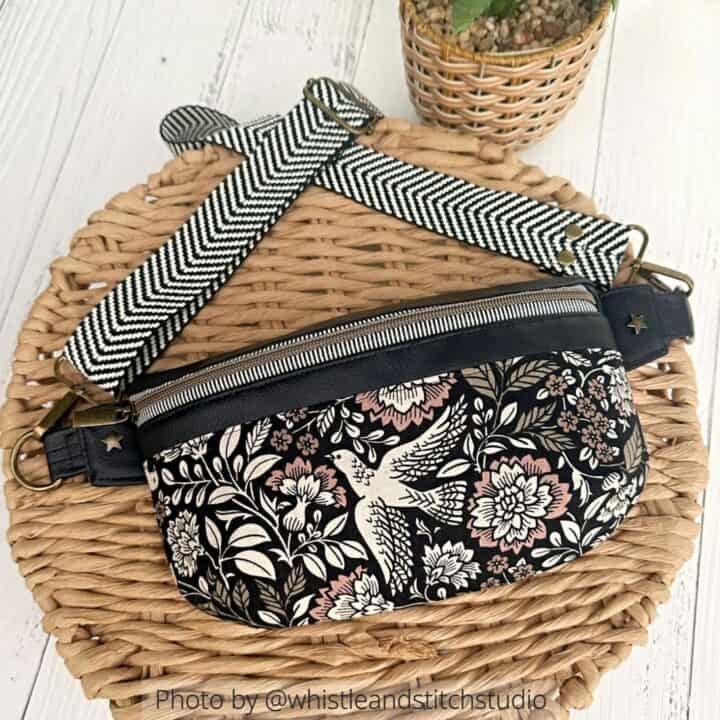
This ZARYA hip bag was made by pattern tester Mellissa @whistleandstitchstudio :
'As I always find with your patterns, it's extremely well organised and laid out. ... I really enjoyed making it and the finished shape of the bag is very appealing.' Mellissa ⭐⭐⭐⭐⭐
MetroLOOP bag+sling!
Make this trendy convertible bag that turns into a backpack in seconds!


Wendy says
For the vinyl that’s .25mm so others are not confused, especially beginners just learning.
Damjana Jakos says
Thank you, a good catch! I've corrected the typo. 🙂
Eileen says
This is the most simple, well explained tutorial I’ve seen yet! Thank you!
Holly Felipe says
I can't wait to make this and replace my baggies that I currently use when traveling. Great idea!
Cucicucicoo: Eco Crafting & Sewing says
That's wonderful, Damjana! I love the window and how you repurposed something unused! 🙂 Lisa
Vicky Myers says
I love how your bag has the clear window, it's perfect:)
Damjana at AppleGreen Cottage says
Thank you, Vicky!