
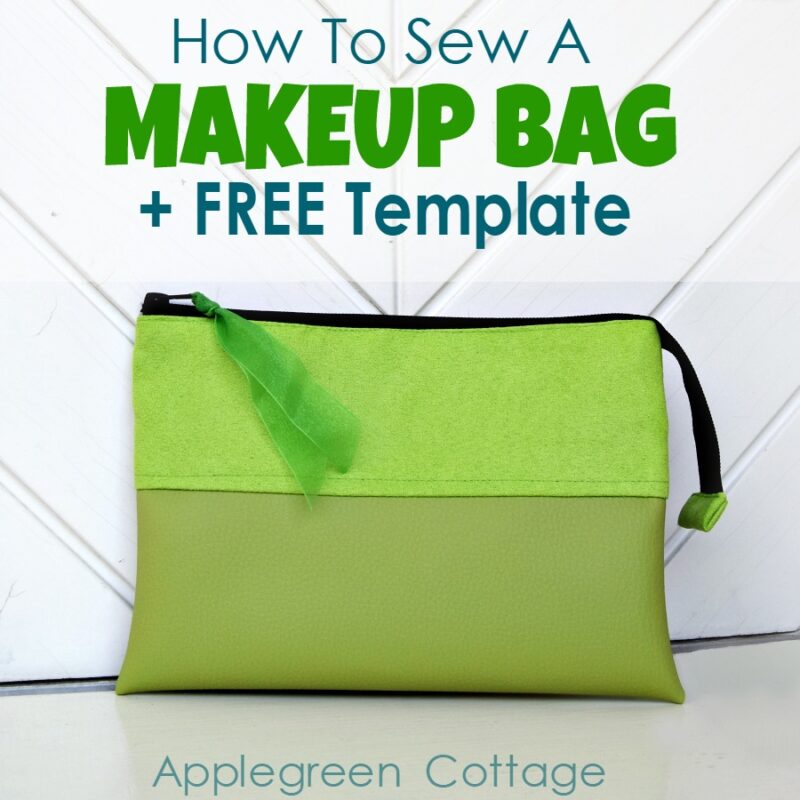
Use this free cosmetic bag pattern and make a beautiful makeup bag.
This large zippered bag has 4 small inner slip pockets and a decently sized main compartment - an easy and simple design you can make fit any style. The free template below will make sewing even easier!
If you like making pouches and bags, you'll love these free projects, too:
- Zipper Pouch With Centered Zipper
- My Best Drawstring Bag - FREE Pattern!
- The QUICKEST Diy Pencil Case
- This adorable diy boxed zipper bag!
This Diy Makeup Bag Opens wide!
With little kids in the family, the space for makeup in my cosmetic bag kept shrinking, to accommodate more and more children's toiletries. So I made myself a decent cosmetic bag for grownups - one I didn't need to share!
The bag opens wide so you'll always be able to clearly see what's in it. Very important for a mom with not too much time to search for her favorite eye shade or mascara!

This free makeup bag pattern and tutorial will make a wonderful quick sewing project. It's easy and quick to make, and just think of all the color combinations you can choose!
Supplies
- faux leather for outer, and base.
- upper part: home decor or upholstery fabric (face side feels and looks like soft suede)
- lining: quilting cotton
- a #5 zipper with the 1 ¼" zipper tape width: at least 15" length
- matching thread
- special sewing needle
- the usual: sewing machine, scissors, rotary cutter or tailor scissors, cutting mat
Useful tips for sewing bags and zipper pouches
If you like sewing bags, my bag making tips will help you for sure, and also take a look at these interfacing tips. My readers say these are really useful!

This diy cosmetic bag is easy to sew, so I thought you'd like to try one too: here's your chance to tailor one totally to your likes - grab your favorite fabrics and make one! You can choose the size, the color, anything!
But just in case you don't want to second-guess your dimension choices, I'm also giving you a free template to use, with all the dimensions you need. Scroll further down to get it.)
Here's Your Makeup Bag Template
Here's the template for you to copy my cosmetic bag:

Seam allowance included in the template: ½ inch, but you'll need a smaller seam allowance on the zipper.The finished pouch size is: 10 inches x 7 inches (zipper tab extension not included)
Diy Makeup Bag TUTORIAL
Cutting Instructions
1) Follow the makeup bag template (above) to cut out:
For bag outer:
- 1 piece: 1A (Bag Outer) - faux leather
- and 2 pieces 1B (Bag Outer) - microfibre
For bag lining:
- 2 pieces No 2 (Lining) - quilting cotton
2) Piece the outer shell together:

3) Stitch the pieces together, using a ½ inch seam allowance and a straight stitch:

4) Topstitch to make the seams neat:

Prepare the bag lining
Set aside for now, and grab your two lining pieces. 5) Making internal slip pockets: Fold each of the 2 lining pieces to form slip pockets:


6) Optional: edgestitch each of the 2 pieces along the top pocket line to strengthen it. !!! Make sure NOT to catch all layers - you just want to make the top of the slip pocket stronger:

7) Then sew down along the middle of the pocket. This stitch will be the pocket divider. This time, you are stitching through all 3 layers of lining:

8) BONUS TIP: Secure stitches on the top part of the pocket well due to high wear and tear. I often use a dense zigzag at the top of pocket seams, like here:

9) Attach the zipper.
Now we'll add a nice, wide-opening zipper. First, lay down the outer piece (face-up), then the zipper (face-down) and finally the lining piece (face-down!) as seen in the photo below:

10) Pin along the zipper, making sure to follow these 2 tips:
A) Fold the ends of the zip tape and pin them to hold in place. Make sure you are folding them towards the BACK of the zipper tape, not towards the front.

B) The other end of the zipper. See the two green pins?
- One green pin marks the spot where the zipper tape makes a curve, approximately an inch before the end of the fabric.
- (The other green pin simply keeps the rest of the zipper out of the way)

11) Sew through all three layers, using a ⅜" seam allowance. (Use the zipper foot if you have one, it's easier!)
When you flip the lining over, you'll see the zipper nicely sandwiched between bag outer and bag lining. The ends of the zipper should look like this:
A) one end: the end of the zipper is tucked into the seam. (see arrow on the right) Niiice!

B) The other end of the zipper comes out from the seam, allowing the cosmetic bag to open wide.

12) Press the fabric away from the zipper. Topstitch the fabric along the zipper to prevent getting it caught by zipper teeth. Some say this is optional, but I ALWAYS do that. It makes any bag soo much prettier!
13) Repeat on the other side of the zipper: sandwich the zipper between the 2nd end of the outer piece and the 2nd lining piece:

Treat (and fold) the zipper ends the same way you did before.
IMPORTANT: the top of the zipper should be facing the right side of the outer fabric. Is it? Good, go on!
14) Now stitch the stack together, just like you did the first time (sewing through all 3 layers). Topstitch along the zipper, just like you did the first time.
What you get is this (zipper open here):

Zipper done!
Sewing the bag closed
15) Now unzip the zipper at least half of the way and pull the outer fabric piece together, right-sides facing. Pull the lining pieces together, right sides facing, too. Pin in place like this:

Want Your makeup Bag to Double as A Date-Night Clutch?
Totally easy! Insert a tab to the side of the bag. This is optional, but you need to decide at this point.
If you add a wristlet strap to the tab and your cosmetic bag, it can double as a date-night clutch. What you get is a two-bags-in-one! How awesome is that?
Go to the wristlet strap tutorial HERE - you'll also see how to make the tab for the bag. Beginner friendly, easy and quick (with a professional look!)
Now, with or without an additional tab, let's go on with the tutorial:
16) So... your bag layers are right-sides together. Now you need to sew around the entire bag together. Start on one side of the outer shell and stop at the lining bottom, leaving a few inches open for turning. Same on the other side.

17) Clip the corners to give your bag a more professional look. You'll never go back to a simple diagonal corner clipping once you start trimming your seam allowance this way! (Check it out.)
18) Once you've clipped the corners, turn the bag right sides out:

This is the time to iron any creases or wrinkles if you like.
19) Close the opening that was left in the lining for turning.

Add Zipper Tab to the zipper
20) Last thing to do: TAB the zipper.
Make a nice TAB on the exposed zipper end. I specifically wanted to make a narrower one this time, for a change. Usually, I make square ones. totally your choice.

I do understand many of you are used to making nice zipper tabs, but those who aren't, might want a little help. It's here, no worries!
21) Feel free to follow this easy zipper-tabs tutorial to make your zipper tab.
Click here to get to the zipper tab tutorial.
22) This is how my zipper tab turned out. Love it.

23) Voilà! Here it is, your brand new zippered makeup bag!
Now when you've finished your first cute zipper bag, you can sew a few more at any time! They will make a great gift. They will be a perfect match for this homemade sleep mask or this large tote bag!

I hope you liked the makeup bag tutorial. Get the free template and sew a beautiful diy makeup bag just for yourself! Got any scrap pieces left? Make this free card holder pattern it only takes 5 minutes to sew one!
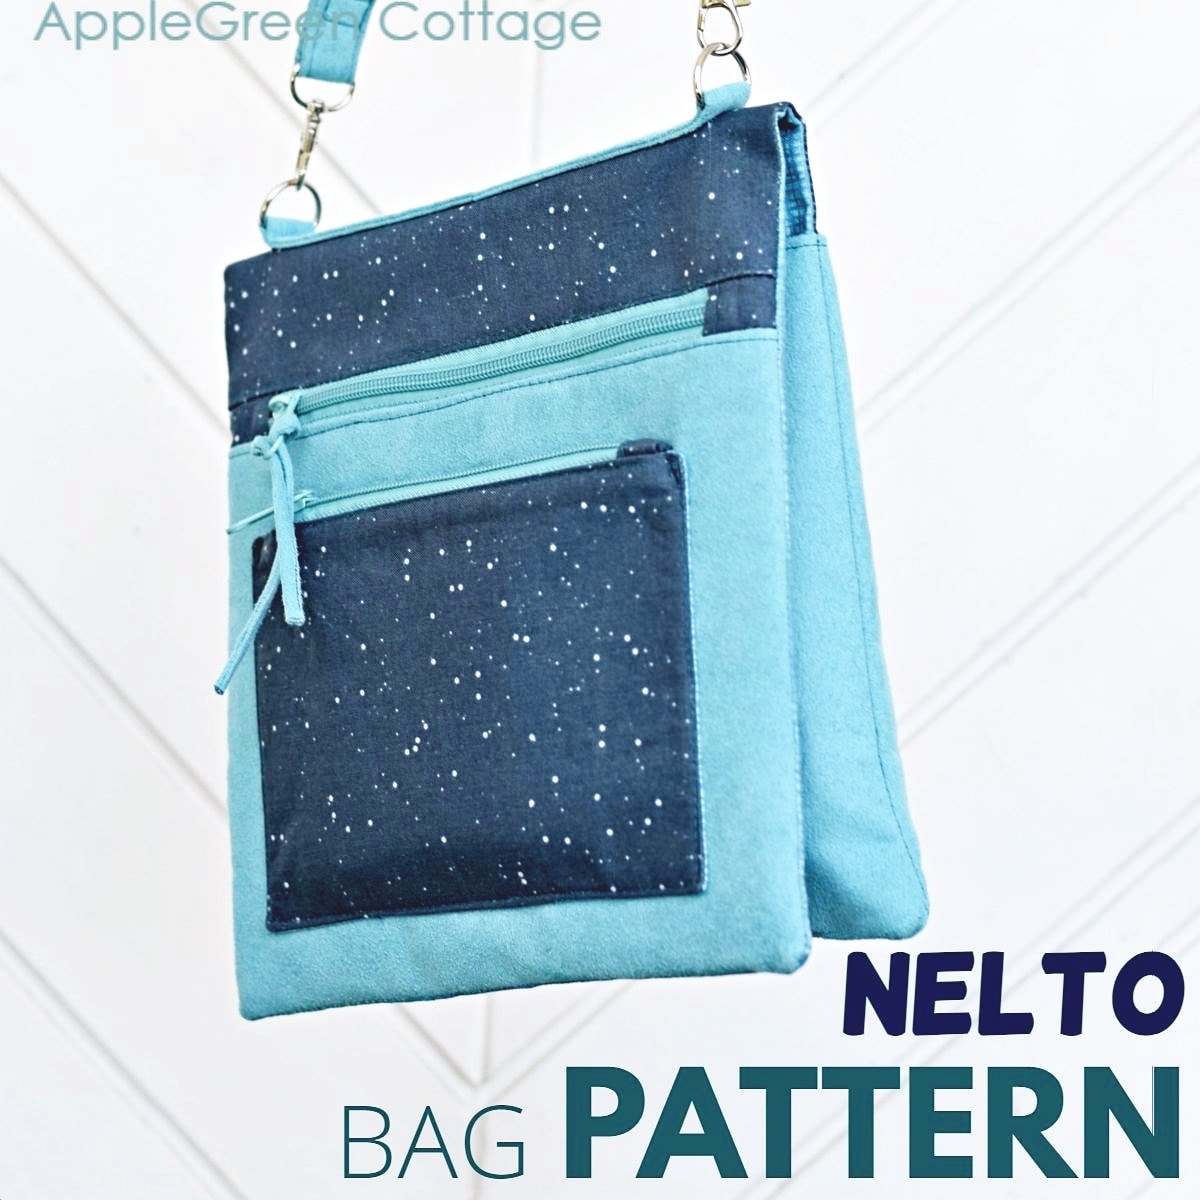
And now that you are familiar with the new zipper-making technique, try out the unique pocket on the Nelto bag. Definitely, something you need to try if you are looking for something special:
As always, I'd love to see if you've made a makeup bag using this tutorial. Please post a picture to Instagram and tag me @applegreencottage or #applegreencottage - so I can take a look!
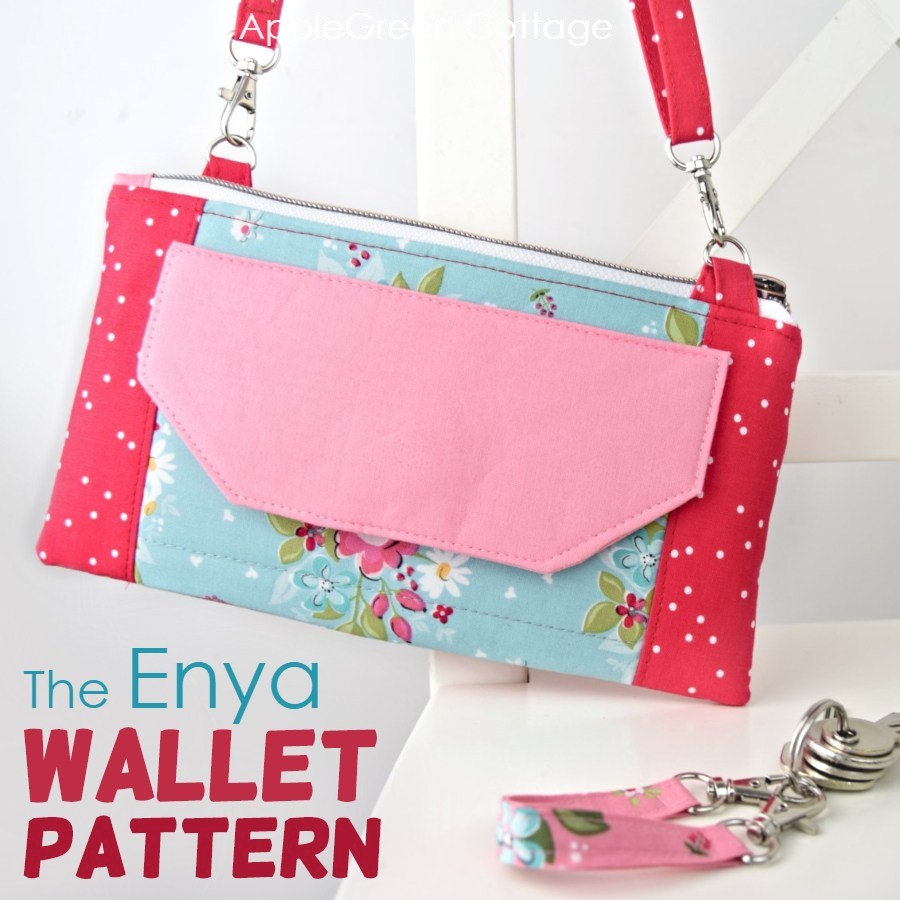
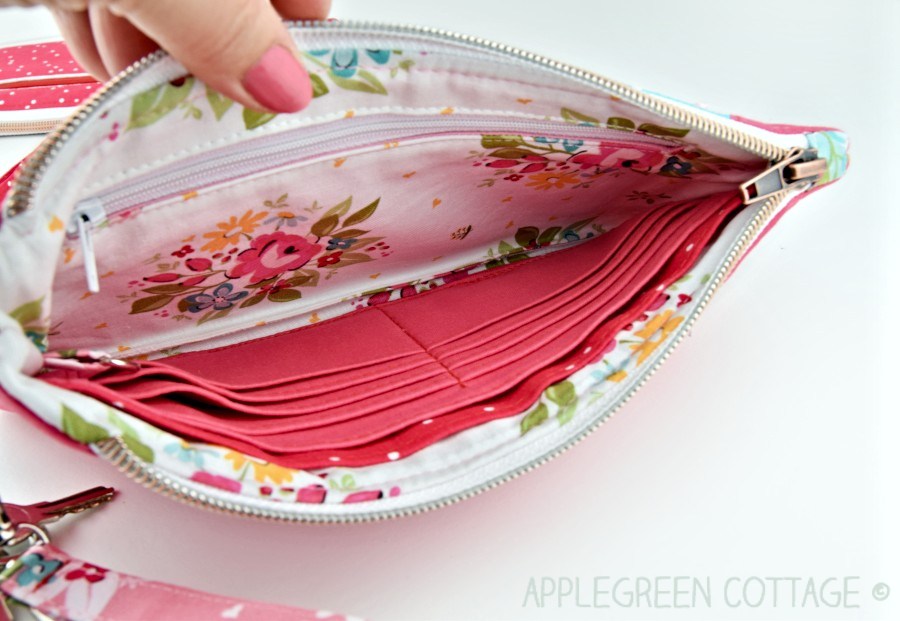
Or …check out the popular Enya Wallet Bag in our shop - use it as a crossbody, clutch, or regular wallet, it has everything a big bag has!


Mary Dattilio says
I am making one now. I am making it out of quilting cotton and I am thinking
maybe I need interfacing. Fleece or pellon sf 101?
P.S. I love your patterns!
Damjana Jakos says
Mary hi,
good thinking. I'd say both! SF101 on lining and Fusible fleece on outer! You can search for my interfacing guide on this site, people love it!
Alison says
Thanks so much for this excellent pattern. I’ve made three so far and they all look fabulous. The third one only took me a couple of hours so I’m improving! I find it so hard to cut fabric on straight lines! I wish there was a gizmo they used when cutting fabric in shops to get a straight line! I can’t believe I can now sew a zip in!!
Sarah says
Hi. Did you top stitch around the top once the lining was in please? I can't see this mentioned in the instructions (sorry if I'm missing it) but it looks like you have.
Thanks
Damjana says
Sarah,
good observation, the makeup bag tutorial includes topstitching too: take a look at step 12, it should help. I'd love to see your finished makeup bag too. Enjoy! Damjana
robert & madeline Newton says
this is so cute and i just know the girls will love it and can be used for so much...thank you very much for this great pattern...
Anonymous says
This bag is so cute! It does not look like a beginner bag, but your illustrations and explanation is so clear, by golly, I do believe a beginner could make one just like it.
While I am not a beginner, and I've made a lot of bags, I'm not a pro with the lining. Your illustrations clear up any confusion about how it works.
Great job! Can't wait to make one of my own. Thanks!
Jan
Damjana at AppleGreen Cottage says
Jan,thanks!