
A bag with no pockets? No way!
I want to make it as easy as possible for you to add a zipper pocket to any bag.
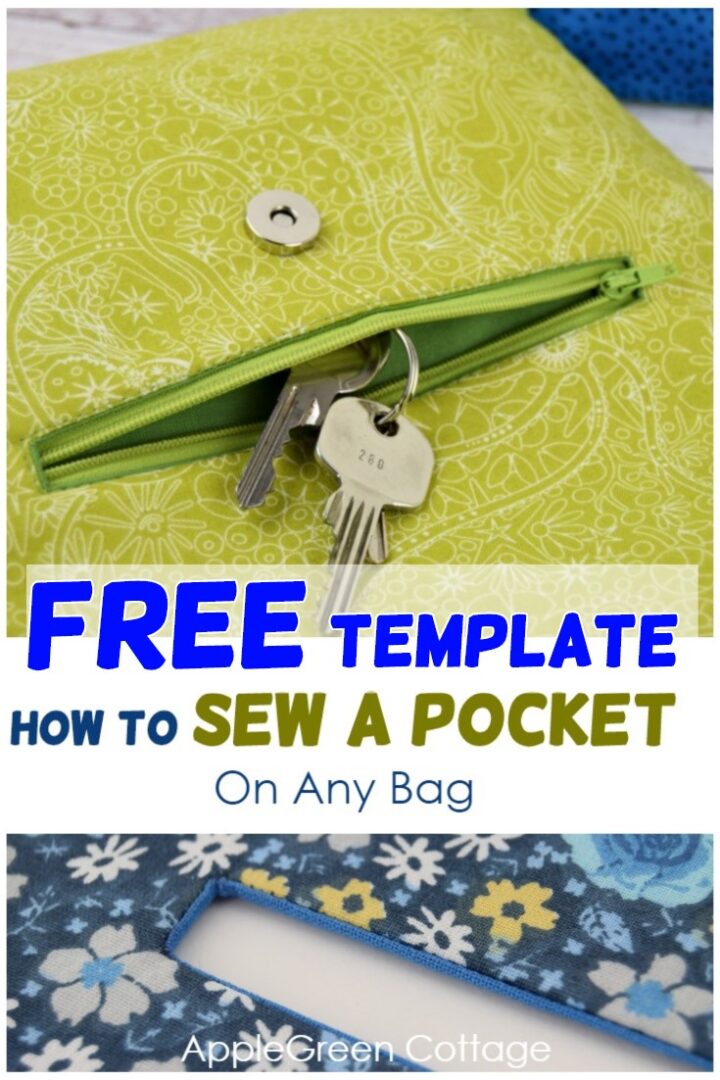
See how to sew a pocket on the outside of a bag or in the lining, using this easy sewing tutorial. It's a zipper pocket I used in my latest Sophia Fold-Over Clutch And Bag pattern and it is so practical.
Make sure to get the free template below - and start making pockets even easier!!

Pockets on bags are a must for me, and definitely an improvement. You can turn a simple piece like this tote bag pattern into a much more useful market bag that will securely hold your small wallet. By the way, here is a practical small wallet pattern you might want to sew too!
You'll find a lot of bag sewing tutorials here at AppleGreen cottage, as well as a different pocket tutorial. If you're new to sewing in general, you'll love the post where all my learn-to-sew lessons are included. And here I'm showing you how to sew a pocket and add it to the bag's outer or lining, even if your bag pattern does not include this option.
IMPORTANT! There's one rule to observe though: You will need to install the pocket before stitching the bag together. So make sure to add the pocket BEFORE you have assembled any bag pieces together.
You can make an outer pocket, like this one on my Sophia Bag:


Sew An Outer Or Interior Pocket On Any bag
You can use this pocket on any other bag pattern you might already have, too. Today's tutorial is merely an additional step in your bagmaking, and you'll end up with a better bag with a pro-looking zipper pocket!
This tutorial will show you how to sew a pocket on the outside of a bag or on lining - your choice!
Also, a note on interfacing. Most probably, your bag pattern will call for some type of interfacing to be added to the main bag pieces. Please note that the interfacing should already be applied to the bag pieces before you add the pocket.
You'll need:
- your bag pieces depending on the bag pattern you are using
- a zipper - I used a standard nylon-coil 7" (18cm) zipper here.
- zipper pocket lining piece - see the bottom of this tutorial for FREE template
Finished Size of the pocket
The template is for a finished pocket with a zipper opening of 6", and pocket lining height 6" and pocket lining width 7 ¾". It can be adjusted to fit any other size. This is a slightly different dimension than the one I used in the Sophia Bag pattern, for your convenience (a bit wider).
How To Sew A Pocket Tutorial
This tutorial will show you how to sew a pocket on the outside of a bag or on lining - your choice! Oh, and if you've never yet worked with pdf sewing patterns, here's how to print a pdf pattern - do it right!
Step 1 - Print your free template
Print your free template and cut it to your pocket size. But for this tutorial, I'll make the pocket the size indicated above.
Step 2 - Mark the Opening on fabric
Now draw the rectangle (blue stitching line) and the inner cutting lines on the BACK side of the pocket lining piece: copy them from the free template.

And here's an alternative, if you don't want to use the template:
Mark the zip opening on the wrong side of the zipper pocket lining piece:
- Measured from the TOP EDGE of 'Front ZIP Pocket' draw a horizontal line at 1" (2.5 cm) from the upper edge. This will be the top line.
- Draw another horizontal line below the first one at a distance of ½" (1.3 cm)
- Draw vertical lines on each side, making sure the rectangle stays centered on the pocket lining piece.
- Dimensions of the rectangle in the image: ½" (1.3 cm) tall and 6" (15.2 cm) wide.

You can either use tracing paper, or a shortcut:
The easiest way for me to do it is just placing the paper print (PDF pocket template) on top of the pocket lining fabric and pierce through the paper on 4 edges of the rectangle, using a sharpened pencil or fabric marker. It leaves 4 tiny marks, enough to draw the lines.
Note: NO CUTTING YET!
Step 3 - Position the pocket
Then place the zipper pocket lining on the 'bag MAIN piece'. This will be the main panel of the bag where you want your pocket. Here, I placed it on the outer side of a bag (calling it 'bag MAIN piece' from now on)

With the right sides together, match the bag MAIN piece and zipper pocket lining, shifting the pocket lining down so the rectangle will be exactly where you want the pocket to open on the bag:
NOTE: Make sure to place the bag MAIN piece and the zipper pocket lining piece right sides together.
Step 4 - How To Sew A Pocket Lining To The bag

Now, shorten the stitch length to approximately 15 stitches per inch (or 1.7 mm in metric). Stitch exactly on the stitching line of the rectangle you just drew.
Step 5 - Cut Opening

4)Cut along the inner line until the triangle. Then also cut into the corners into the V-shape, until very close to the stitching line. Make sure not to snip into any stitches!
Step 5 - Pull Pocket Lining To Back

Then pull the pocket fabric through the window to the other side, so you get the pieces to be wrong-sides-together.

When you have the lining on the other side, you'll have to pull on the lining and finger-press the seam to get that lining part hardly visible from the front side.
Step 6 - Press

Press. And you're already through half of the how to sew a pocket tutorial!
Step 7 - Attach Zipper To the Pocket

Now flip the MAIN piece so the back side, i.e. the zipper lining is on top. We'll work from here: place the zipper onto the opening. Zipper teeth should face the outer side (i.e. down). Center the zipper. Zipper pull should be in the opening, visible from the front side.
Metallic stoppers should not be visible from the front, nor should be in the way when stitching. Pin in place or tape the zipper into the opening (Wonder Tape works great too!)

Keeping the zipper in place, edgestitch around the opening. Cut off any excess zipper tape.
Step 8 - Stitch the Pocket Lining

Then fold the pocket lining upwards and pin it in place.

Stitch around the 3 sides, only catching the pocket lining fabric (here blue).
NOTE: Make sure you never catch any fabric other than this pocket lining. To just stitch the pocket lining, fold the bag MAIN piece out of the way.

Step 9 onwards - Continue Assembling Your Bag
Now fold the sewn zipper pocket out of the way, so you'll be able to continue with finalizing the bag - this might mean inserting a closure like magnetic snaps, or adding darts to the piece, or sewing the top zipper on (if any) - follow the pattern directions.
This is another of my bags with this type of zipper pocket, the Enya Wallet purse pattern- in addition to a zipper pocket like this, it also has slip pockets nested into a credit card and phone-pocket set:

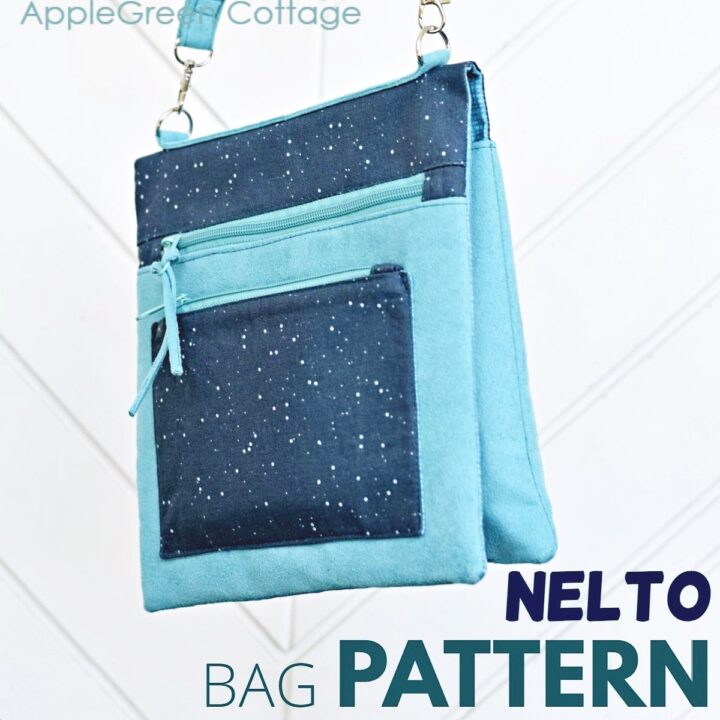
The unique pocket on the Nelto bag is definitely something you need to try if you are looking for something special:
These zipper pockets are so practical, and also easy to sew with a little practice!
And if you like using zippers, here's a different, yet very handy way to add a top zipper closure to a tote bag.
Save this tutorial for later so you can make pockets on all your bags:

Your Free Pocket Template
I've created a simple zipper pocket template that you can get for free - a gift to all AppleGreen Cottage readers. To open the FREE pocket TEMPLATE, click the button below:
Damjana
WANT MORE FREE TUTORIALS AND Sewing Patterns?
Get email updates and never miss out on new patterns, printables, and tutorials:
Or …check out the SOPHIA Fold-Over Clutch in our shop:

It already includes this type of pocket, and you'll be guided through the entire sewing process. Happy sewing!


Penny Read says
Thanks for this free zipper pocket template and the easy instructions! I can't wait to try it.
Damjana Jakos says
Penny you're welcome!
Margriet Knaap says
It is exiting tolearn how to put a zip In the front of bag. Thanks so much and I would like to learn more.
Damjana says
Yes, it's so simple but gives some extra bling to any bag. And pockets are always so useful to have!
ME says
I need to get a new password, how can I do it? Thanks Jan
Damjana says
Jan hi,
I'm guessing you are talking about the shop. To make a purchase or get a free pattern from the shop, you'll need to register/log in here: https://shop.applegreencottage.com/accounts/login/
If you have already registered before but have just forgotten the password, click on 'I've forgotten my password' and a password reset link will be emailed to you.
(Don't forget to use your coupon from my weekly newsletter - it gives you quite a few patterns for free) See you in the shop!
Pam @Threading My Way says
I remember the first time I inserted a zipper pocket like this - I had thought it would be so hard, and not so. Great instructions as always, Damjana. Showcased today.