
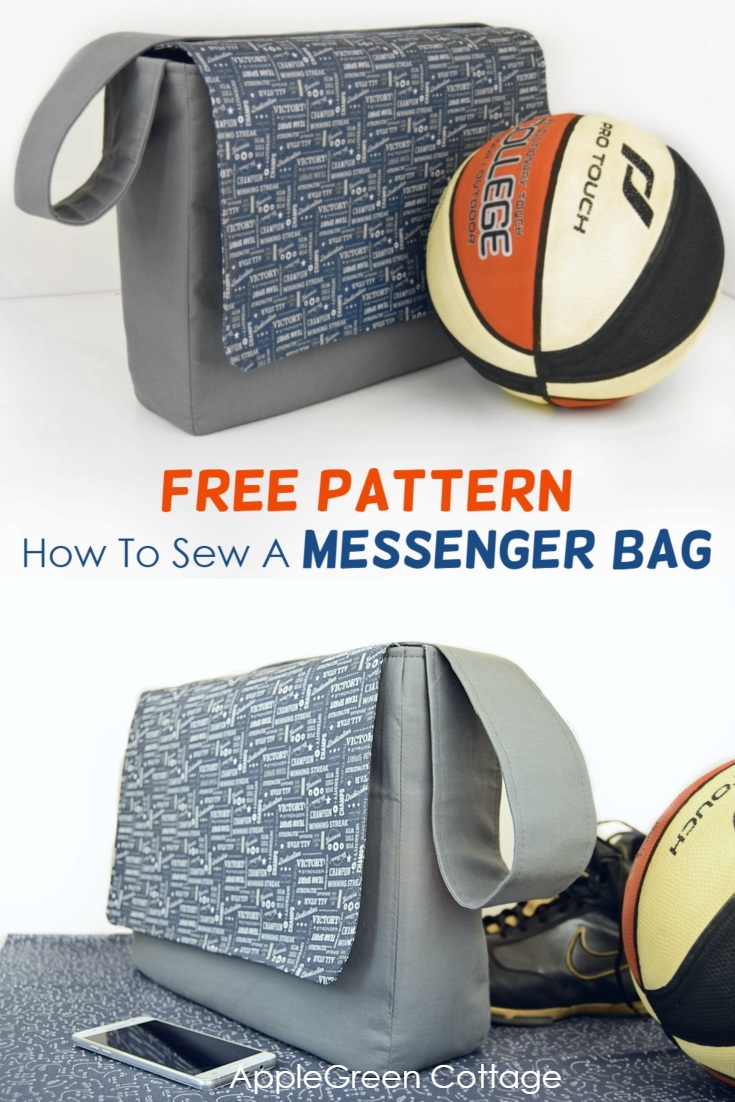
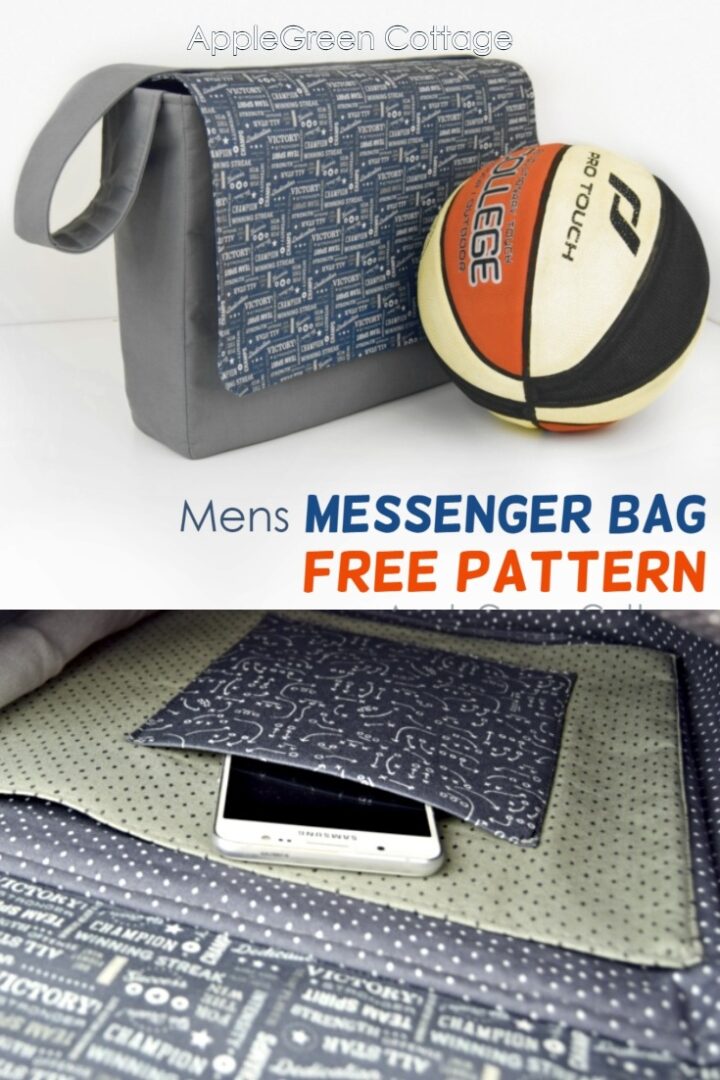
Messenger bag pattern - and a sewing tutorial. Sew a large messenger bag with internal pockets using this free pattern for a messenger bag. If you need a small one, I have one too (this ipad bag pattern, it got really popular).
But the one below might become your favorite diy messenger bag: sturdy, large, and super practical. Scroll down to get the free cutting chart and start sewing!


This tutorial is also part of Printable Tutorials BUNDLE
100 PDF tutorials now, and growing!
This is a tutorial to sew a large messenger bag with a flap, a nearly full-width laptop pocket, and a generous inner phone pocket too. Practical, sturdy, and probably the best bag you can make for someone that carries a lot of things around.
If you like bagmaking tutorials, you'll love my Free School Backpack Pattern too. Or, maybe jump right into making your bags better with this free guide:
Messenger Bag Pattern
Now, on to the messenger bag pattern: This bag would make a great birthday present or a practical diy back-to-school gift, especially if you select a special fabric that resonates with the person you're sewing for. And this tutorial includes a free cutting template. You'll love it!
A real multitasker here! You will be able to carry nearly anything and everything in this large messenger bag.
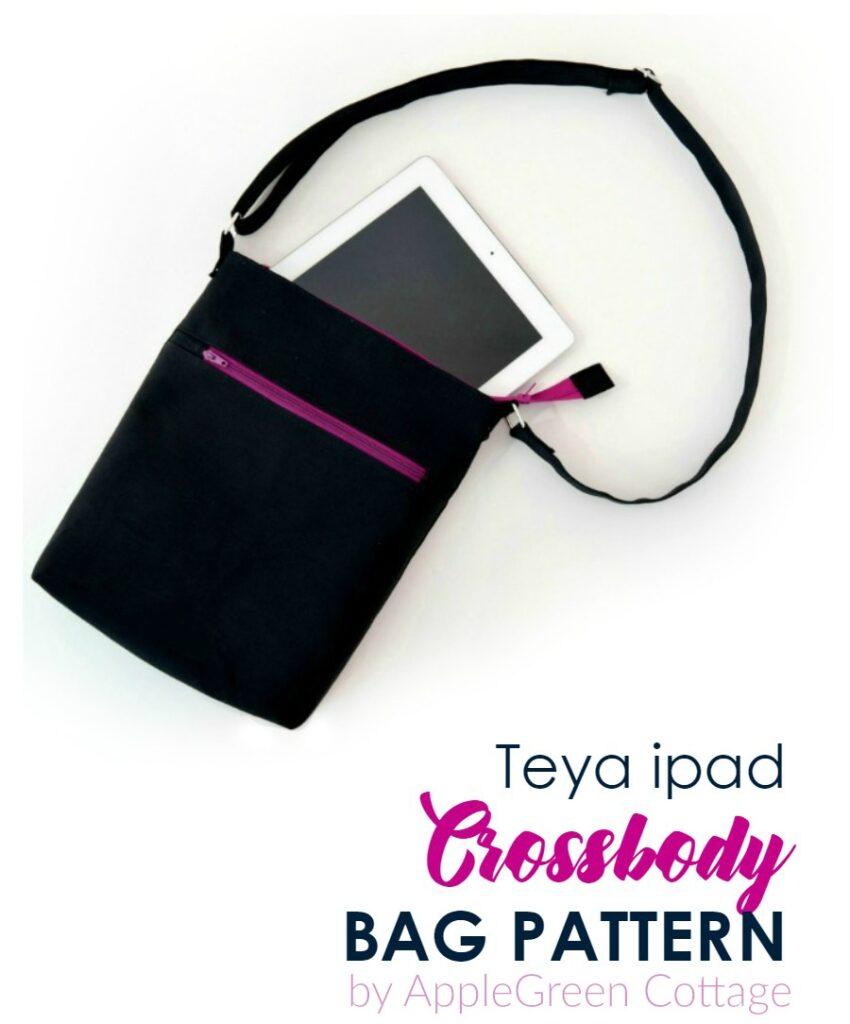
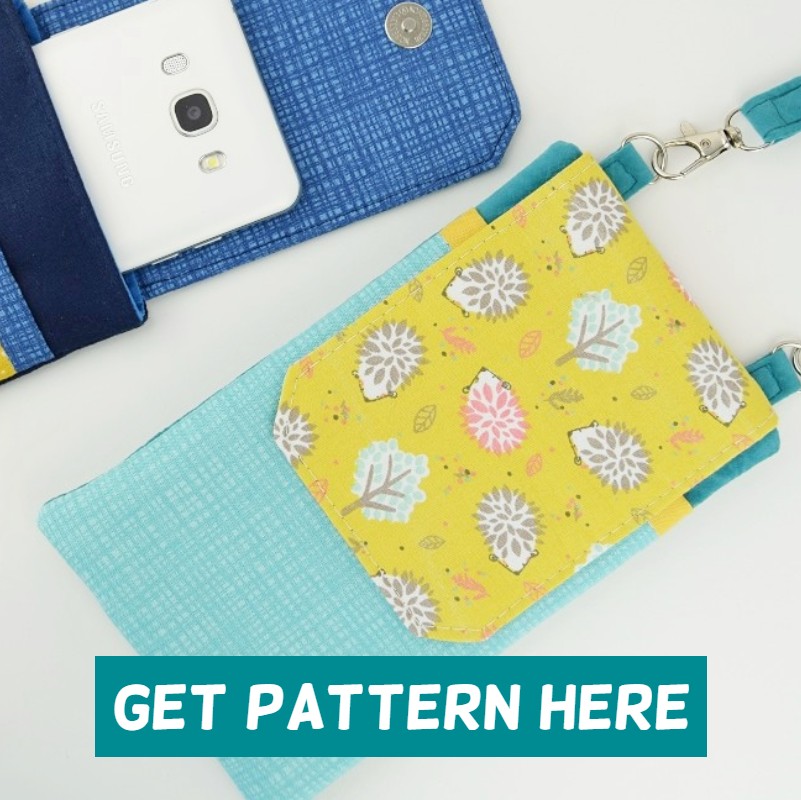
If you need a smaller one, check out this popular slim-sized alternative!
Popular Uses For A Messenger Bag
A messenger bag is one of the most useful (and popular) bag types. A messenger bag like this one can be used pretty much everywhere and by everyone: as diaper bag, for trips and hikes, and for any errands you run, even for grocery shopping (easier to carry than a simple tote). Perfect as a gym bag, or as school bag, especially if you need space to tuck in a jacket too.
Messenger Bag Features Video
(While making it, also cut three pieces and make this free card holder pattern it only takes 5 minutes to sew one!)

Practical, sturdy and probably the best diy gift to sew for a sports fan! This is a huge messenger bag, larger than any I've noticed so far, and it will house tons of stuff.
This Large Messenger Bag Pattern Has a Phone Pocket
Plus, you'll always know where your phone is: a dedicated phone pocket, large enough for any phone model. 🙂

FINISHED SIZE
Messenger bag finished size is 16" width x 12" height x 4" depth (LARGE. I mean it.)
Large full-width pocket - finished size is 15" wide x 9 ½ " tall
Small Pocket (Phone Pocket) - finished size is 6 ½" tall x 6" wide
MESSENGER BAG TUTORIAL
Let's see how you can make this diy messenger bag yourself.
Supplies
Shop my personal favorite sewing supplies on Amazon HERE.
- exterior fabric and lining fabric: 1 yard each, (some fabric will be left)
- accent fabric for bag flap: half yard
- contrasting fabric for inner pockets: a little over fat quarter (or use exterior fabric)
- stiff fusible vowen interfacing for straps: 43" by 3" for strap
- fusible fleece: 41" by 45" (Pellon Fusible Fleece has 45" bolt width. Check out yours.)
How To Make A Stiffer Bag?
Usually, the answer is layering: several layers of interfacing and stabilizers for more structure. Not sure what to use? Start with my free Quick-Start Bag Interfacing CHEAT-SHEET:
How To Save On Fabric When Sewing?
Instead of using contrasting fabric for pockets, feel free to cut them from main and lining fabric - it will be enough left if you've got one whole yard of each, exterior and lining fabric.
Of course, you'll get away using less fabric than stated here if you play around with the placing, but do mind if your print is directional. (I've drafted the fabric placement image to take into account the directional prints too!) Also, if you use a lower variety of prints, less fabric will be required.
If sewing with thick layers, check out these tips for thick layers when sewing bags.

Cutting Template And Instructions
1) First, cut from the accent fabric
For Bag FLAP: 17" by 15" (2 pieces) + 16" by 14" fusible fleece
2) Cut from exterior fabric
For bag BODY EXTERIOR:
front and back pieces: 17" by 13" (2 pieces) + 16" by 12" fusible fleece (2 pieces)
gusset: 43" by 5" (1 piece) + 43" by 4" fusible fleece
For Bag STRAP:
43" by 4" stripe (2 pieces)
+ 42" by 3" fusible fleece (1 piece)
+ 42" by 3" stiff woven interfacing (1 piece)
3) Cut from lining fabric:
For bag LINING:
front and back pieces: 17" by 12 ½" (2 pieces) + 16" by 11 ½" fusible fleece (2 pieces)
gusset: 42" by 5" (1 piece) + 42" by 4" fusible fleece
4) Cut from various contrasting prints:
Internal full-width POCKET: 20" by 16" (1 piece) + fusible fleece (!) 9 ½" by 15"
Internal Small POCKET: 14" by 7" (1 piece) + fusible fleece (!) 6 ½" by 6"
TIPS to Use this diy messenger bag pattern:
Please note: bag exterior and bag lining pieces are NOT exactly the same measurements!! This will make your sewing project super neat, you'll soon see how.
As you will also have noticed, the fusible fleece pieces are just a bit smaller than the exterior to prevent bulk when sewing. Since we're using a ½ inch seam allowance, measure accordingly.
Also, the pocket will be folded in half, hence the measurements of the fusible fleece do not match. Just in case you were asking yourself why the discrepancy.
And feel free to use these comprehensive bag sewing tips that will definitely bring your messenger bag to a higher level!
Cutting Template
This cutting template will make your project even easier. I tend to forget to cut a piece or two if I only have a list to resort to - so, in addition to the cutting list above, here's an image for us, visual learners 🙂

Please click on the image to enlarge. It is meant as a visual aid for cutting, you'll still need to measure your pieces on the cutting table.
MESSENGER BAG TUTORIAL
I've split the steps into easily digestible parts - you can sew in bitesize sessions, we often do. Take on as much as you can handle in one sitting - or go straight from start to finish. 🙂 Let's start cutting and sewing.
Part 1 - Cut Fabric and Interfacing

Cut your fabric, fusible fleece, and stiff interfacing as per cutting instructions above.
Part 2 - Make a Rounded Flap

1 - Using a cup or another round object of approximately 2 ½ inches in diameter, round the bottom corners on the flap piece, and all 4 pieces of the bag body bottom (4 pieces - 2 lining, 2 exterior). You can round the corners before applying fusible fleece, or after - whichever you prefer.

2 - Now, we'll stitch the flap: place the 2 Bag Flap pieces on a flat surface, right sides together.

3 - Stitch, then notch the seam allowance at the 2 rounded corners to make turning a breeze. Take care not to cut into stitches. (I wanted to be on the safe side and made sure to stop cutting approximately ⅛" away from the seam.)
4 - Then turn right side out and press.

5 - Topstitch along all three finished edges. The top edge will remain unsewn, set aside for now.

Part 3 - Apply Fusible Fleece and Interfacing To Other Fabric Pieces
Press fusible fleece and stiff interfacing to the other pieces.
(No photo)
Part 4 - Make A Messenger Bag STRAP

Let's make the bag strap now. It will be quite wide, 3 inches finished width. I opted for a fixed length of 43" which I find ideal for a bag of these proportions, for men too.
Bonus Tip: You can make adjustable straps if you want a crossbody version - adjustable strap tutorial HERE:
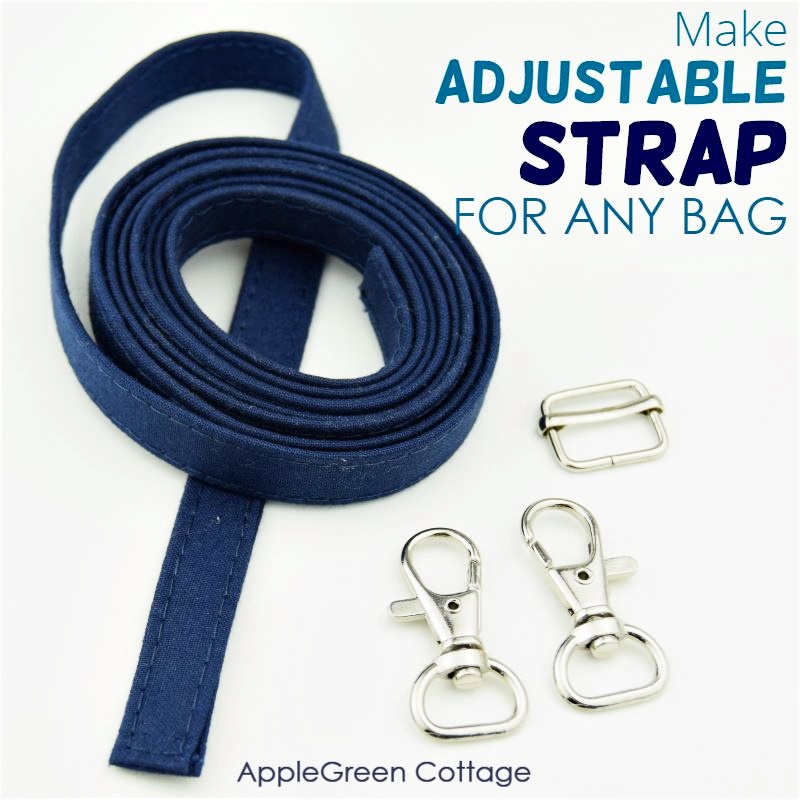
1 - First, apply fusible fleece to one part of the strap fabric, and apply stiff woven interfacing to the other part. This is what I do when I want to make very stable bag straps.

2 - Then stitch the two strips right sides together, using a ½ inch seam allowance. Make sure to leave one short end open for turning.

3 - Using a bodkin or a safety pin, turn the strap right side out and topstitch along both long edges. Bonus tip: I always use a longer stitch length when topstitching. This way, the stitching looks neat. Here, I may have gone a bit overboard, using a stitch length of 4, but it turned out great!
Bonus Tip - How To Make Extra Stiff Straps
Bonus tip: for an extra sturdy messenger bag strap, feel free to add an additional layer of cotton webbing on top of it - that is, if you have a heavy-duty sewing machine (I use this sewing machine for bag making) that will easily sew through all the layers of fabric, interfacing, and webbing.
The cotton webbing should be narrower than 3", and stitched to the very center of the strap. Check out my tutorial on sewing double layer bag straps.
Part 5 - Make Interior Pockets

Now it's time to make and attach the inner slip pockets. Take the two pocket pieces, apply fusible fleece - each fabric piece will only be half-covered by fusible fleece, because we're folding the fabric.
1 - Fold fabric right sides together:

2 - Sew the pockets as indicated in the photo, making sure to leave a hole for turning on each piece.
3 - Then turn right side out and press. The turning hole will remain open until a later step.
Sew the pockets onto one of the Bag LINING pieces:
4A - First, place the small pocket on the large pocket and topstitch around the sides and bottom of the small pocket. This will also close the turning hole on the small pocket.
NOTE: I chose to have the phone pocket on one side, 2 inch away from the top and left edge. You can center it, or add additional pockets if you want to.

4B - Attach the large pocket onto the Bag Lining, stitching at approximately ⅛" away from the pocket edge This will also close the turning hole on the large pocket:

Part 6 - Assemble Bag Lining and Bag Exterior
Please note that I intentionally left the gusset piece a bit long - once sewn into the bag, you'll have an extra inch or 2 sticking out the top. That's ok, just cut the excess off. I did this to make sure nobody is left with a gusset too short (it can happen if you're new to sewing and don't dare to pull on the gusset piece enough when sewing it into the bag.)
Here are the 2 sets of pieces you'll need to assemble bag lining and bag exterior: two bag base pieces and the gusset piece:

1-3 So, we'll sew the Bag Lining first:
You'll need 2 bag lining pieces and the gusset piece for the lining.
Pin or use sewing clips to align one lining piece of 17 by 13" with the gusset piece.
Notch the seam allowance of the gusset piece at corners to make a neat edge. Way easier to sew! Now stitch the gusset piece to the lining piece.

4 - Same way, attach the other lining piece to the other side of the gusset piece. Make sure to leave a 5 or 6" opening at the bottom (see the spot marked by sewing clips in image No 4 above?)

Bag lining is assembled.
5 - Proceed the same way to sew the bag exterior:

Notice that the lining is shorter by half an inch? This will make sure the lining 'sits' nicely in the bag when stitched together. No wrinkles - you're welcome!
Part 7 - Final Assembly Of the Bag

1 - Take the bag exterior piece. Turn it right side out. Use sewing clips to attach the strap (make sure it's not twisted!) and the flap onto the exterior. I suggest you baste them to fix the position. (Basting is a huge help, especially if you haven't made a lot of bags yet!)

2 - Then fold the exterior with the strap and flap and gently maneuver it into the bag lining piece. Align the raw edges. Because the lining is a bit shorter, this will compensate for the thick interfacing. Be patient. There should be no puckers, and the side seams should be aligned. I prefer to use sewing clips - they make matching the raw edges so much easier!
IMPORTANT: Now the POCKETS (those sewn into the LINING) should be on the SAME side as the bag flap! So, are the pockets touching the Bag Flap? Good, continue!

3 - Stitch all the way around the top of the bag.
4 - Then turn it right side out.
5 - Then stitch the turning hole closed either machine stitching or hand stitching using this ladder stitch and tuck the lining into the bag.

6 - Press well and topstitch around the top edge. This will make your bag look so much nicer!

BONUS TIP: Bury the thread ends when topstitching. Here's a popular how-to that can help you with neat seam finishing:
How To Finish Seam The Neat Way
So, this is your messenger bag, finished and ready for action. Enjoy!
P.S. And here's the story behind this messenger bag.

Save this messenger bag pattern for later, using THIS LINK or the image below:
Need a Smaller Bag? Check out THIS ONE.
If you need a smaller bag, here's a popular iPad crossbody bag for you to try out: TEYA Crossbody Bag
Or a smaller bag that stil has a flap? My latest Elarina pattern might be perfect for you:
The Small Purse That Packs a Punch!
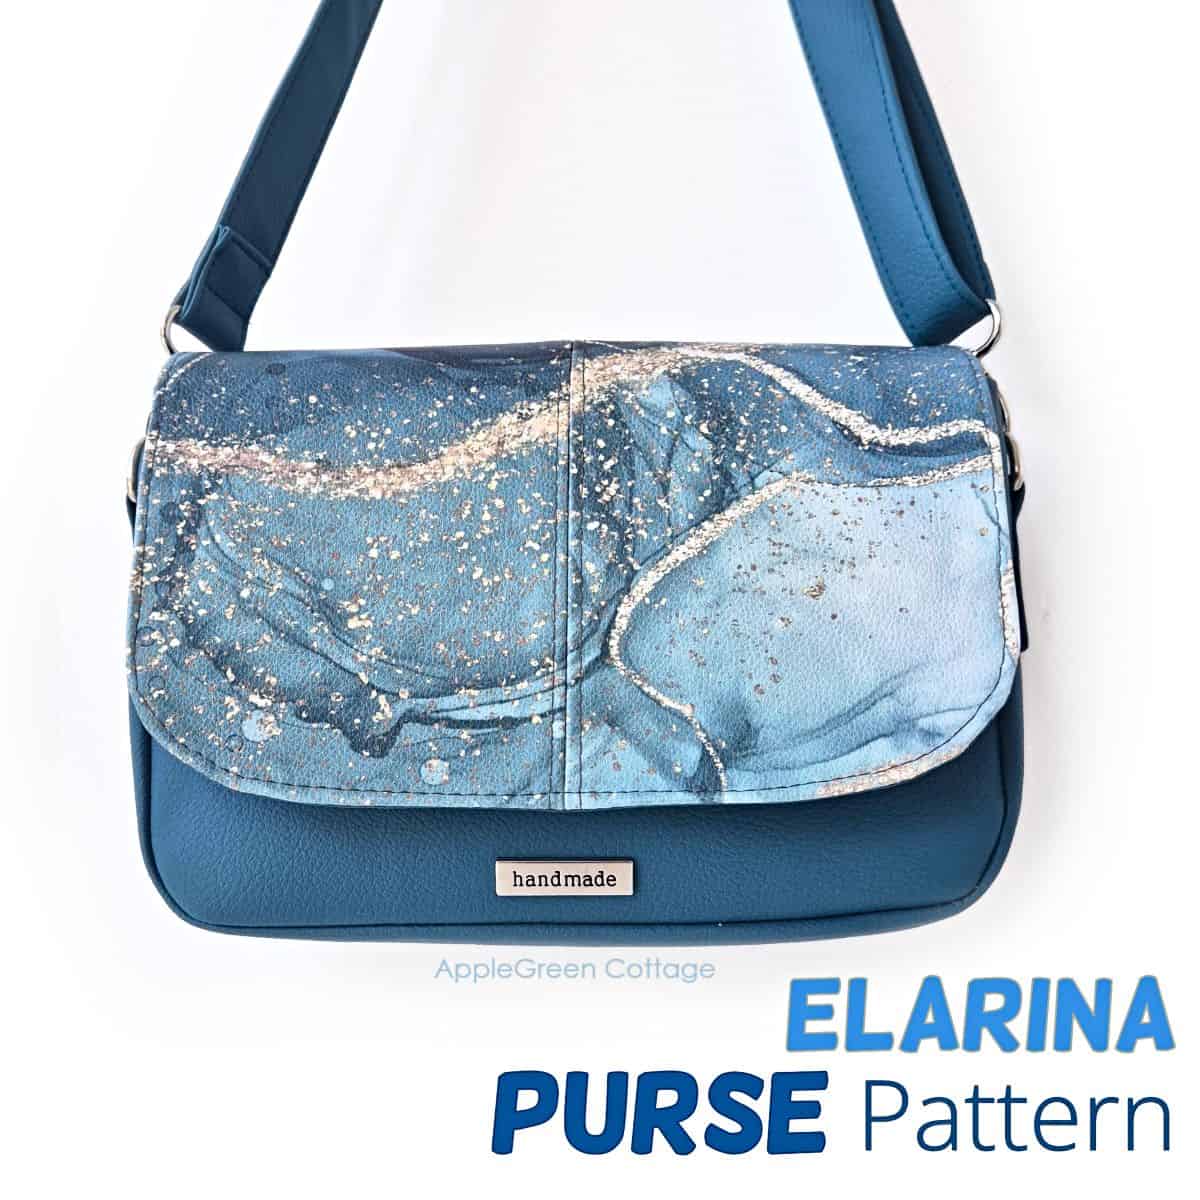
Check out this pretty Elarina Purse pattern in our shop - small bag, big style! 👜
WANT MORE FREE TUTORIALS AND GOODIES?
Get email updates and never miss out on new patterns, printables, and tutorials:
Or …check out the popular Aiden Cell Phone Purse in our shop. Guess what's on the back of this cool phone bag!


lyn meredith says
hi wondering if i could use foam
Damjana Jakos says
Hi Meredith, sure! Using foam gives you a pretty stable bag. Enjyo!