
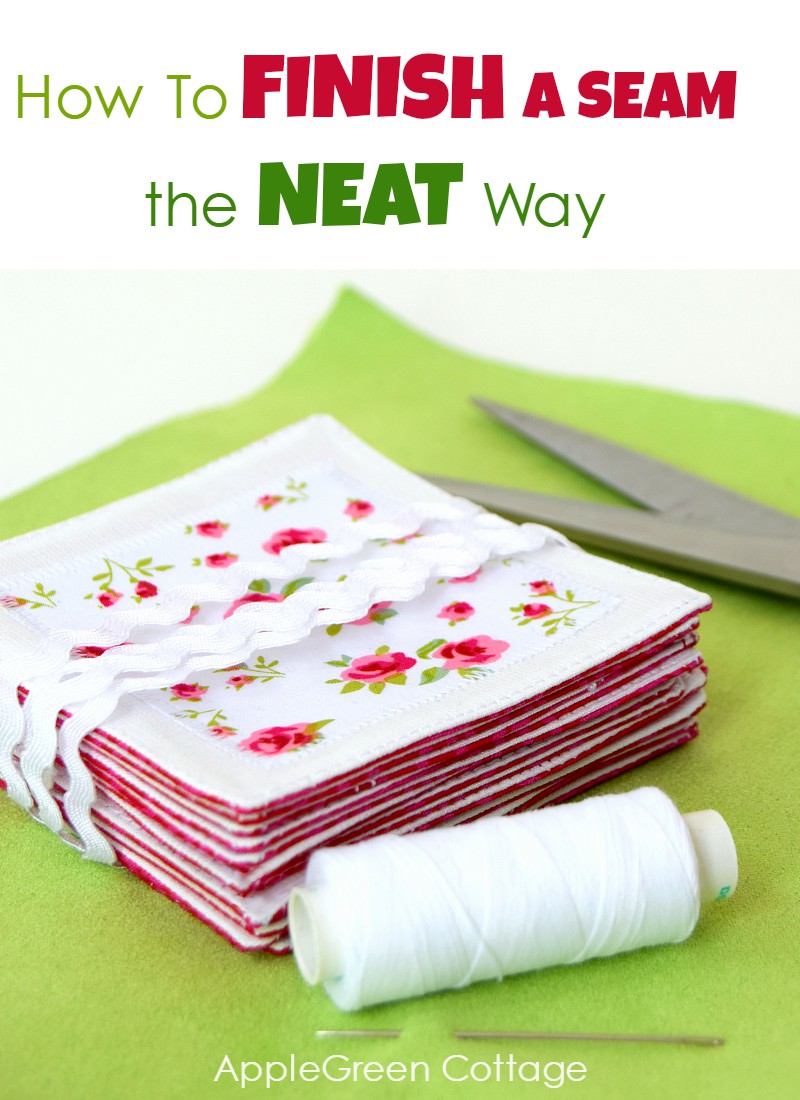
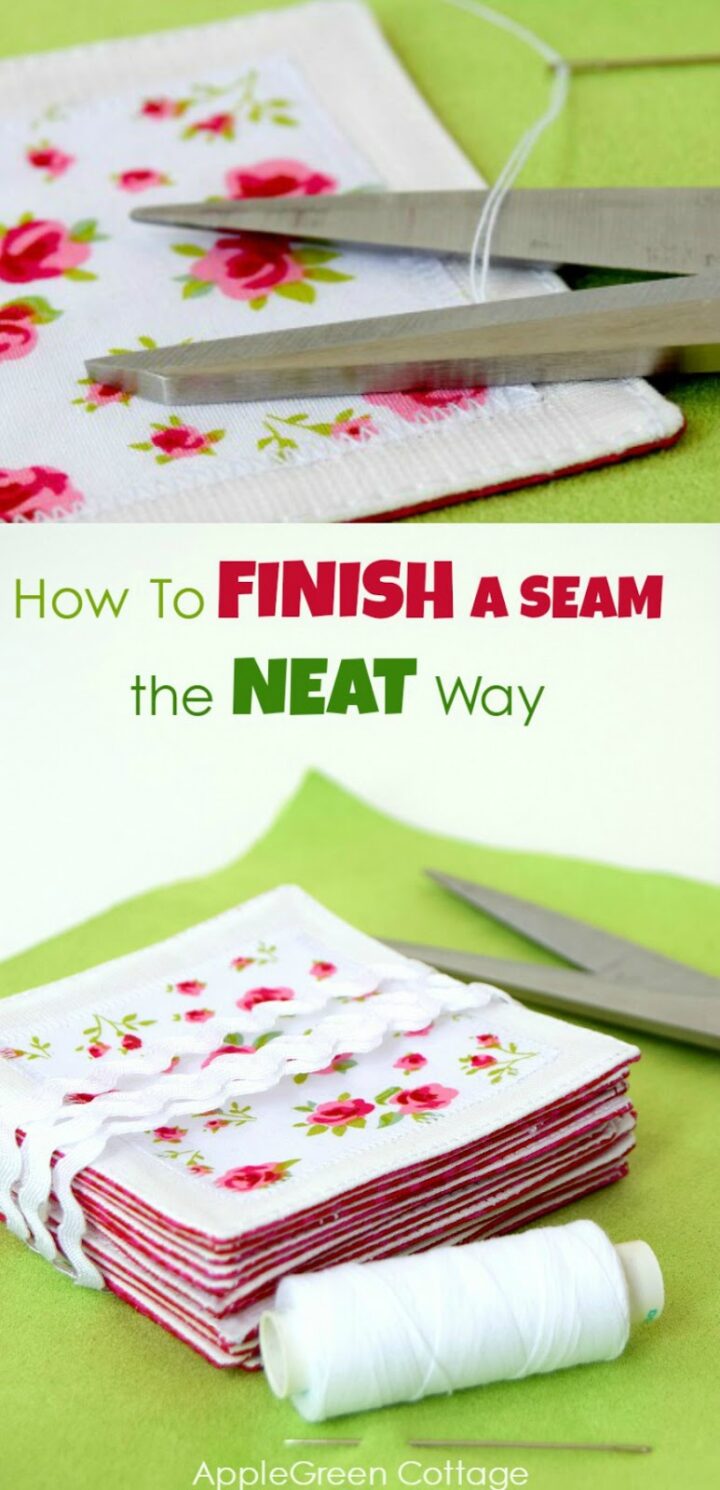
Learn how to finish sewing the neat way. Are you just finishing a seam, and you'd like BOTH of your project sides look clean and polished and without any visible thread tails? Not just the 'top' side, the wrong one too? Totally doable, even easy! Check out this sewing tip that will make your projects look way more professional!
This post may contain affiliate links. Thanks for your support.
This is an easy sewing tutorial to help you secure and hide your thread ends when topstitching. Not just when there's a right and wrong side (and nobody cares about how bulky the finish is on the wrong side, right?) It's about how to finish sewing those projects where there are TWO RIGHT SIDES, both visible.
How To Finish Sewing - Neat seam finish on both sides
It's like with sewn bookmarks or memory cards, or zipper ends, DIY fabric gift bags (totally popular now!), and tons of other projects. Let's make it easy, see how:
See how to finish sewing when you want no ugly thread tail visible on either side of your topstitching. Hidden below the surface! Invisible!

TWO VERSIONS HERE:
I'm presenting two versions here: the first one, when the top thread and the bobbin tread are different in color (and finishing them off together could be visible) - and the second, easier version, when both the top thread and bobbin thread are identical (scroll down to see that).
VERSION 1: How To Finish sewing with Different Thread Colors On front and back
This is super important when you sew, say, bag flaps on this bag, or a top of this home storage basket - you don't want any ugly thread ends peeking out there! Let me show you how:
When you've finished topstitching around a sewn item, you'll get 4 threads. Like here:

Since the top thread and bobbin thread are very different colors, we'll need to work with one color at a time. Let's take the two WHITE thread tails here. (They are my top thread, so they are both on top of the piece already.)
If you have all your 4 thread tails in the same color, scroll down to see a simplified version.

1) First, to secure the stitch, tie off a simple knot with the two white tails - close to the fabric, a millimeter away or so. This knot will be small enough to be buried into the top layer (it's not even visible in the photo above). Then, shorten the two threads (here white) to the length of 4-5 inch (10-12 cm).
*On a side note, the same will be done with the two red threads, just from the opposite side of the sewn item.

2) You don't want to cut it clean here, as a tiny thread tail would be showing. We want to prevent that. Instead, thread your tails on a needle (I sometimes use a needle threader to make it easier):

3) Insert the tip of the needle into the very point where your knot is coming from. (or very, very close to it!)

4) While keeping it between the two layers, run the needle an inch between the layers. Then push the needle out on the front side again - one inch away from where you started. Like in the image above.

5) Pull the thread through.

6) When you're through, pull gently on the thread, until you see the knot disappear into the fabric.

7)While still holding the thread and slightly pulling it, snip off the thread close to the fabric.

8) The thread tail has disappeared, no sign of the knot. Congrats on your pro-looking topstitching!
VERSION B: when both thread colors are identical.
Finishing off topstitching thread ends gets even easier here. It's for projects where the front and the back side are of the same color, thus both the top thread and the bobbin thread are identical. You'll work with all the 4 threads at the same time:
1) First, pull all your thread tails to one side of the fabric. Don't know how to do that? Here's a super helpful tip by one of our readers (thank you, Evelyn!):
How to draw up the bottom thread end so it is on the same side as the top thread: pull on one thread until it pulls up a small loop of the other one which you can then grab and pull through.
Then tie off a simple knot with all 4 tails at once - close to the fabric, a millimeter away or so. This knot should be small enough to be later buried into the top layer.

2) Then, shorten the threads to the length of 4-5 inch (10-12 cm) and thread the 4 tails on a needle, using a needle threader to make it easier.
3) Insert the tip of the needle very close to your knot and run the needle an inch between the layers. Then push the needle out on the front side again - one inch away from where you started. Like here:

4) Pull the thread through. Tug gently on the thread, until you see the knot disappear in the fabric.

5) While still holding the thread, snip off the thread close to the fabric.

6) Done! A nice topstitching on a simple fabric bookmark.
I hope this sewing tip will be useful, and help you achieve professional topstitching results on your sewing projects. And there's even more:
How To Bury Thread When There Are Many Thread Tails
Another useful tip comes from a reader - thank you, Kerry! It's genious, so I'm adding it here.
It's especially useful when you have a lot of ends to deal with, such as when machine quilting, or the top stitching on a bucket hat.
Thread a needle with a loop (i.e. fold a thread in halves and thread ends through, creating two short tails one side and a longer loop on the other) and use this as a 'needle threader' - take it down into fabric where tails are emerging as you've described, bring it up and out about an inch away and pull through until you just have a loop, then thread the tail/s through that loop and pull through.
This way you only need to thread that one needle, once, and use it to pull each of the tails through - much easier and quicker than threading each of the tails through the tiny needle eye.
Use a contrasting thread for this 'threading loop' especially when you have a lot of ends to do.
TOP TIP About Self-Threading Needles
Here's a great tip from a follower of this blog, Mea: 'Self-threading needles also make hiding thread ends much easier. But use the needles that have the opening at the end instead of at the side - the side-opening needles have a tendency of accidentally grabbing the fabric threads and either snagging or breaking them.'
Thank you, Mea! 🧡
Feel free to use your new skill on one of these projects and patterns:
Happy sewing! Damjana
WANT MORE FREE TUTORIALS AND Patterns?
Get email updates and never miss out on new patterns, printables, and tutorials:
Or …check out the Aiden Cell Phone Purse in our shop. - Click through to see what's on the back of this cool phone bag!


Kerry Egan says
Hi Damjana,
Lovely to find a tutor who is as particular with the finishes as I am! My dressmaking mum taught me to do this when I was little so I do it automatically & am always frustrated especially with commercial garments when the thread ends are just snipped and left to fray :/
Another useful tip especially if you have a lot of ends to deal with (such as when machine quilting, or the top stitching on your lovely Bucket Hat) is to thread a needle with a loop (i.e. fold a thread in halves and thread ends through, creating two short tails one side and a longer loop on the other) and use this as a 'needle threader' - take it down into fabric where tails are emerging as you've described, bring it up and out about an inch away and pull through until you just have a loop, then thread the tail/s through that loop and pull through. This way you only need to thread that one needle, once, and use it to pull each of the tails through - much easier and quicker than threading each of the tails through the tiny needle eye. I find it handy to use a contrasting thread for this 'threading loop' especially when you have a lot of ends to do. Hope this makes sense! Thanks once again for your lovely patterns and tips 🙂
Cheers Kerry
Kh says
You saved my life with this comment. Thank you!!
Evelyn says
For those of us who learned to sew before there was backstitching (treadle machines?) it was automatic for us to leave longer thread tails and then tie them. As a result, we also knew how to draw up the bottom thread end so it was on the same side as the top thread. Maybe not everyone knows how to do this. i.e. pull on one thread until it pulls up a small loop of the other one which you can then grab and pull through. Time for another tiny tip/tutorial?
Damjana says
Evelyn, a great point, totally agree! I'll add a citation to the blog post - thank you,
tngrandmom says
What a super idea . . . as a retired teacher, I miss making games for my students . . . now I can make this wonderful game for my grandkids. Thank-you so much!
fiona hall says
I wish you could see my face right now. I have been sewing for many years and this never occurred to me. LOVE it! Thank you!
Rosemary Rivas says
Thank you - it's just what I needed to repair some vintage napkins. The present hems were fraying, so I think I'll cut them off and replace with some new Linen which I bought.
Damjana at AppleGreen Cottage says
Rosemary,thanks for dropping by. I'm so happy to hear that this sewing tip helped!