
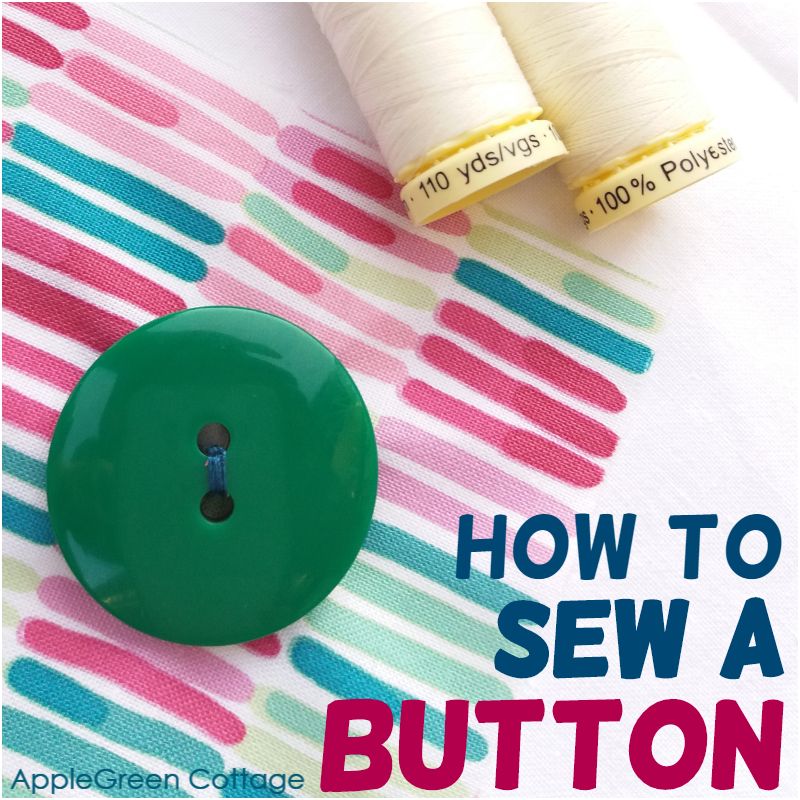
See how to sew a button by hand - easily!
If you don't need to use this basic sewing skill on a regular basis, this is the video to watch and learn how to sew buttons within minutes. Find out how to sew a 2 hole button, a 4-hole button, or a shank button. Do it like a pro!
Sewing buttons by hand can be so quick and easy! It's one of the simplest closures for bags, in addition to these KAM snaps, or the old good drawstring closure like with these bins (so adorable!) and very easygoing, compared to the very popular but more advanced closures like these magnetic snaps and similar. You can use buttons for sewing patch pockets!
A few more basic skills - and life hacks that might be handy for you:
- 10 Sewing Hacks that Will Make Your Life Easier!
- This Clever No-Knot Sewing Hack!
- How To trace a Pattern (The Easy Way)
Table Of Contents
How To Sew On A Button
A button fell off and now you're trying to figure out how to sew a button on pants? Or is it a shirt, and you need to get that button back where it belongs before the meeting starts?
Not an uncommon situation at all. See how to sew a two-hole button - so it stays where it needs to be and does not fall off again. At least not anytime soon 🙂 Easy-peasy!
Video - How To Easily Sew A Button By Hand
I've recorded this button sewing video for all of you visual learners - enjoy!
And to make it easier for you, I've also made written instructions for sewing buttons, all with step-by-step images. It's important to properly sew a button so that it doesn't come off easily.
So, what is the first thing you do when sewing a button? Grab just the right supplies. Let's see first what you need to sew a button.
Supplies You Need To Sew Buttons
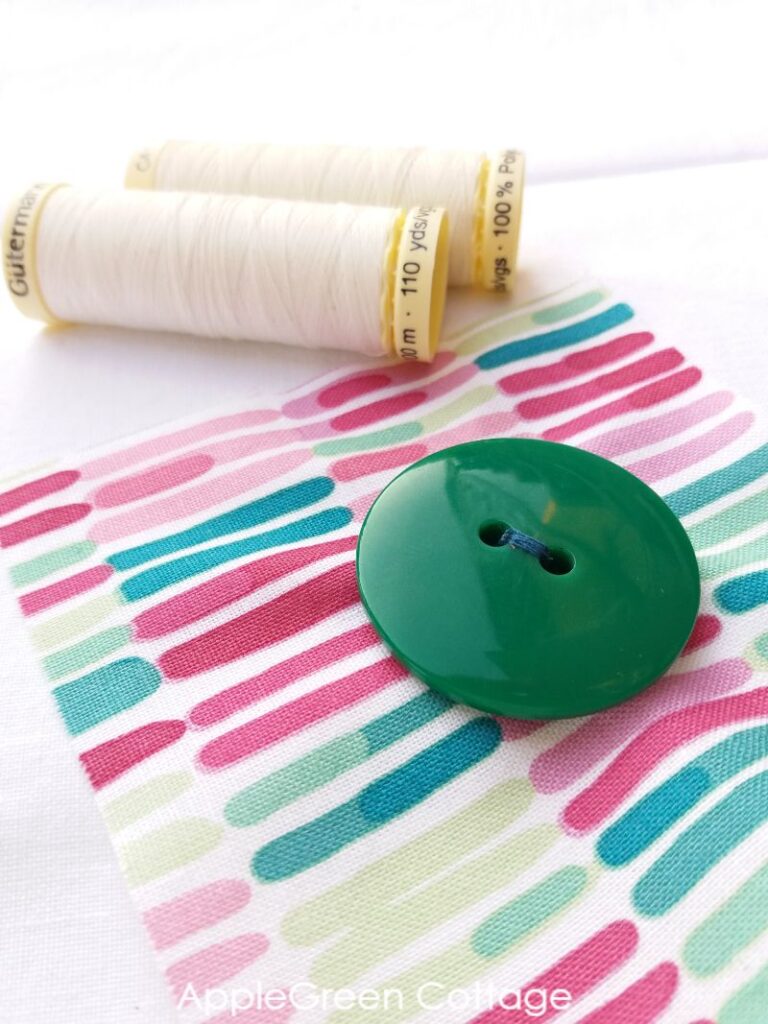
- your button
- a little thread in the color matching your button, or matching the thread that has been used on other buttons (in case there are more, like on a shirt) - 30" is more than enough even if you double, or quadruple your thread. (quadruple?! - I'll explain that hack sometime later)
- a needle (make sure the needle eye is small enough to go through the buttonhole!)
- scissors
- and obviously, the piece of clothing or fabric you want to attach or re-attach your button to.
- and a toothpick or a matchstick if sewing large buttons on thick fabric, like, say a winter jacket.
How To Sew A Two-Hole Button - Instructions
Step 1 - Thread the Needle And Tie A Knot
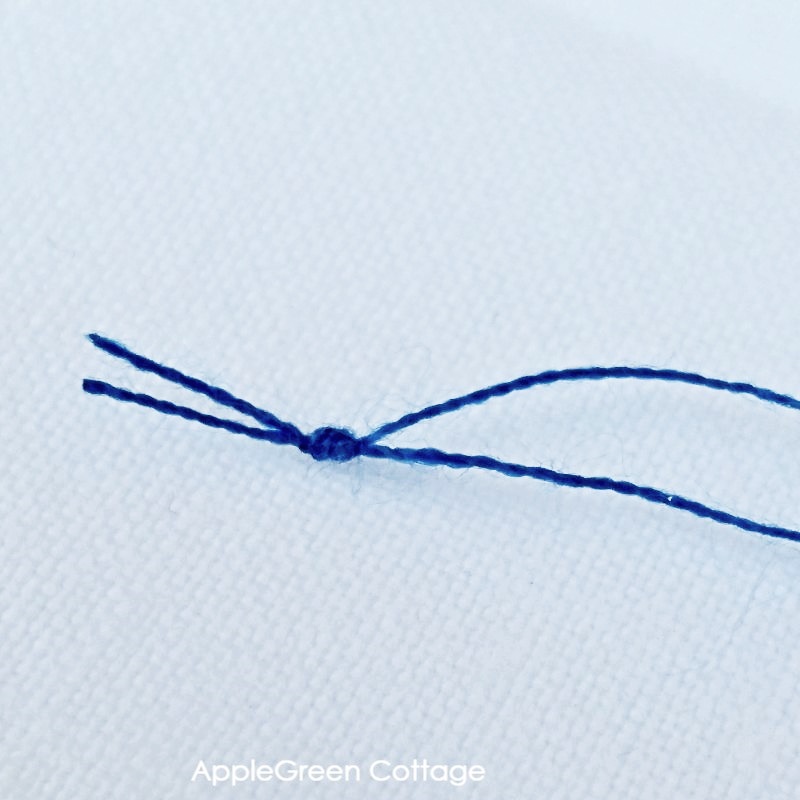
Cut a 25" or so from your thread spool and guide one end of the thread through the needle eye. Fold and make a simple knot to tie the loose ends together.
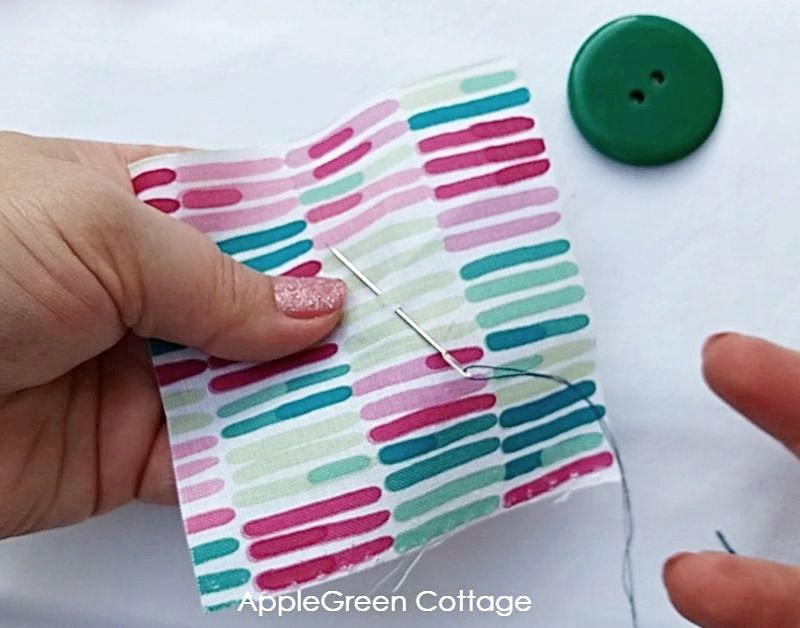
Step 2 - Start Sewing
First, either mark the spot to sew the button on, or skip this step if the point is visible from the previous placement of the button - that is in the case when a button has fallen off.
You'll want to hide that knotted end of the thread, right? This is why you start by making a stitch exactly at the spot you want to attach your button to, on the front side of the fabric:
Starting at the front, push the needle to the backside and then again up to the front side.
NOTE: Optional, but good to know - this is the time you need to place a toothpick or a matchstick directly between the fabric and the button, so the toothpick would work as a spacer between the fabric and the button. But only in very rare cases:
Do I need to add a spacer between the button and the fabric?
You may want to add a spacer, particularly for buttons being sewn onto thicker fabric. Only if sewing a large button onto really thick fabric, like, say a winter jacket. The sole purpose of adding a spacer when sewing a button on thick fabric is to make it easy to button up the jacket. This will allow enough room to push the button through the hole while buttoning your jacket.
What to use as a spacer for sewing a button? You can be creative when choosing what to use as a spacer when sewing a button: a toothpick or a matchstick is usually used, but feel free to use a pin or a miniature stick.
But again, this only applies if sewing a large button onto really thick fabric, like, say a winter jacket. The sole purpose of adding a spacer when sewing a button on thick fabric is to make it easy to button up the jacket.
Step 3 - Stitching through the button holes
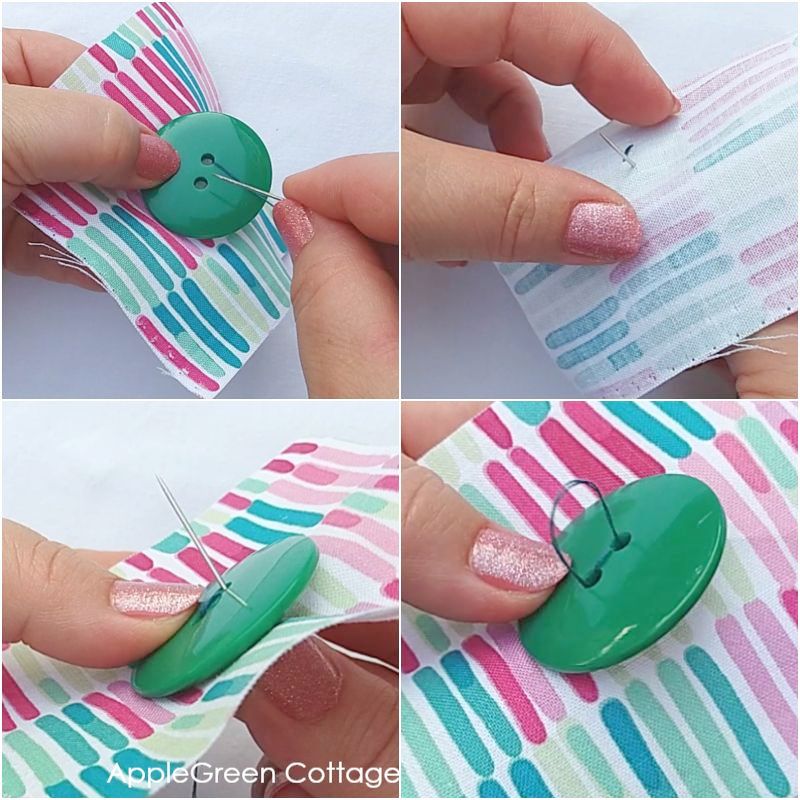
Push the needle from the underside up through one of the holes in the button, holding the button with the other hand. Once up, push the needle through the other hole to the backside of the fabric/garment. And then come back up through the first hole - and back through the other.
Step 4 - End Stitching
Once you have enough thread on your button, with a doubled thread it could be something between 5 and 10 times, depending on the button, you'll want to push the needle from the underside to the front side of the garment - it should end up right under the button:
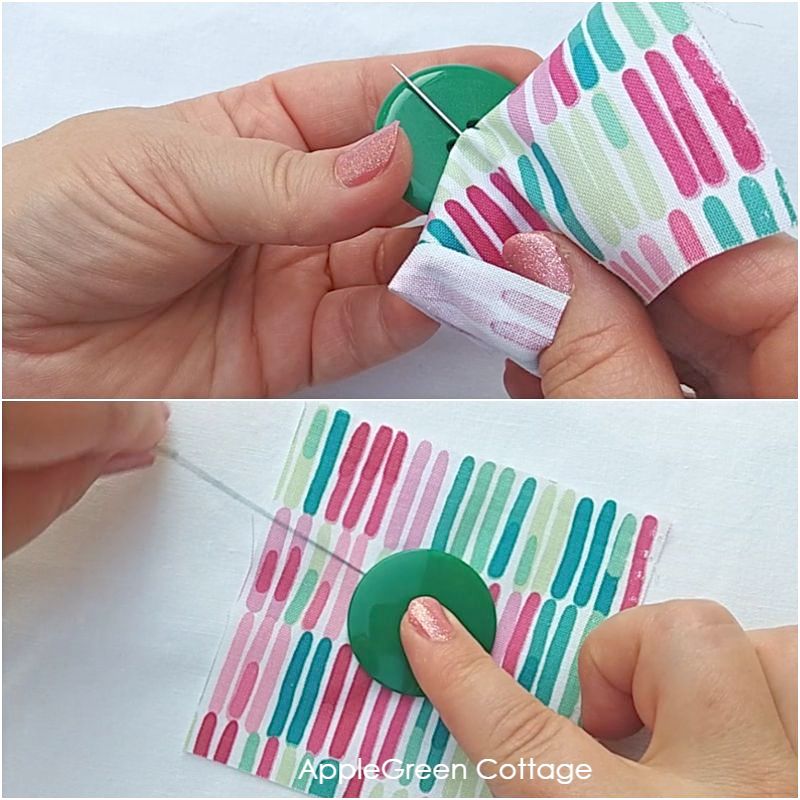
Then wrap the thread around the threads beneath the button, making a circular movement. Depending on the thickness of the fabric, make 2 up to like... 5 turns around the threads? I always just make two LOL.
Step 4 - Tie off the thread
Pull on the thread and lift the button again a little, then tie it off by creating two or three small knots below the button.
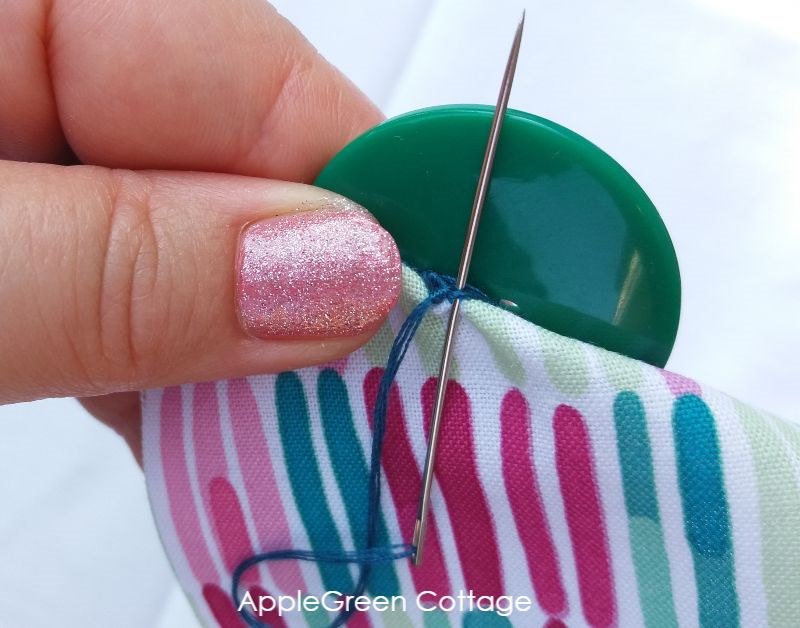
Cut off the excess thread. Done.
How To Sew On A Four-Hole Button?
But, there are a few different kinds of buttons. What if you have a four-hole button? Sewing a four-hole button is very similar to sewing a two-hole button.
The only difference?
You need to make an x when sewing, simply meaning that after you've sewn through one pair of holes on a button, repeat again to sew the other pair:
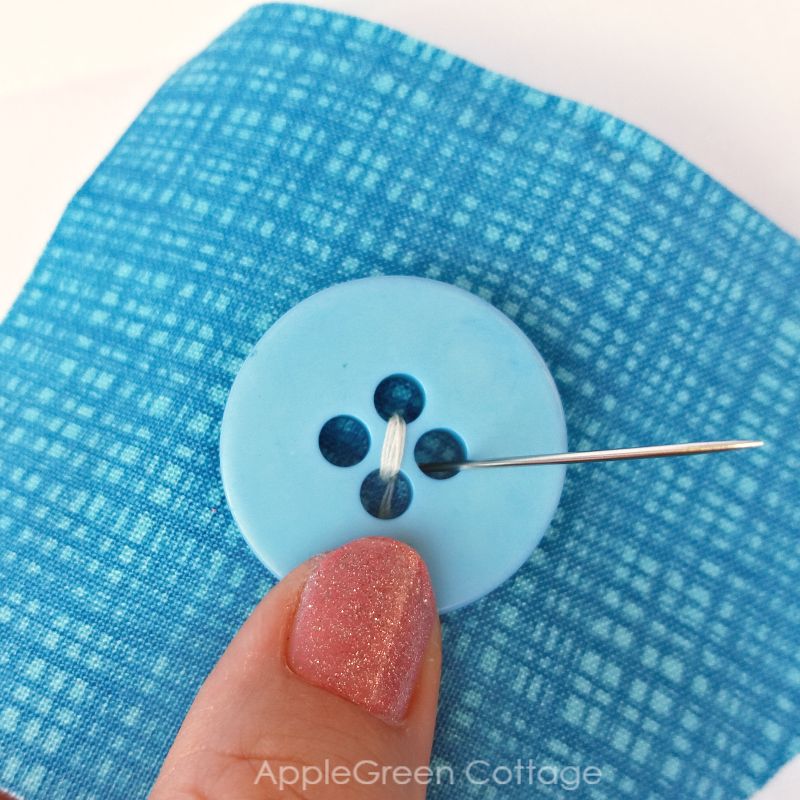
It means you'll need to repeatedly pull the needle through the third and the fourth hole on the button, just as you did before. Once your button is attached tightly to the fabric, you're done.
Need examples? You can see one of my photos of a four-hole button closure on this Diaper Clutch pattern - it's always a good idea to use a button!
How To Sew On A Shank Button?
Shan buttons are certain types of buttons that have no holes whatsoever and they require a slightly different method of sewing.
What if you have a shank button? A shank button has no holes peeking through the main part. You sew it on through the (hence the name) shank at the back of the button. A shank-style button has a loop on the underside of the button.
Actually, even easier than sewing a simple two-hole button, because you don't care if the thread looks super aligned and smooth. When coming up with the needle through the fabric, go through the shank and back down on the other side. Repeat several times and you're done. I'll need to add more photos some other time, but for now, let me just stop here, or else I'll never publish this how-to. 🙂
Every Button Needs a Buttonhole
See my other tutorial from the basic sewing series if you need to see how to make a buttonhole.
Sewing buttons are very easy once you try them. I hope this video and the tutorial on how to hand-sew a button have been helpful.
WANT MORE FREE TUTORIALS AND GOODIES?
Get email updates and never miss out on new patterns, printables, and tutorials:
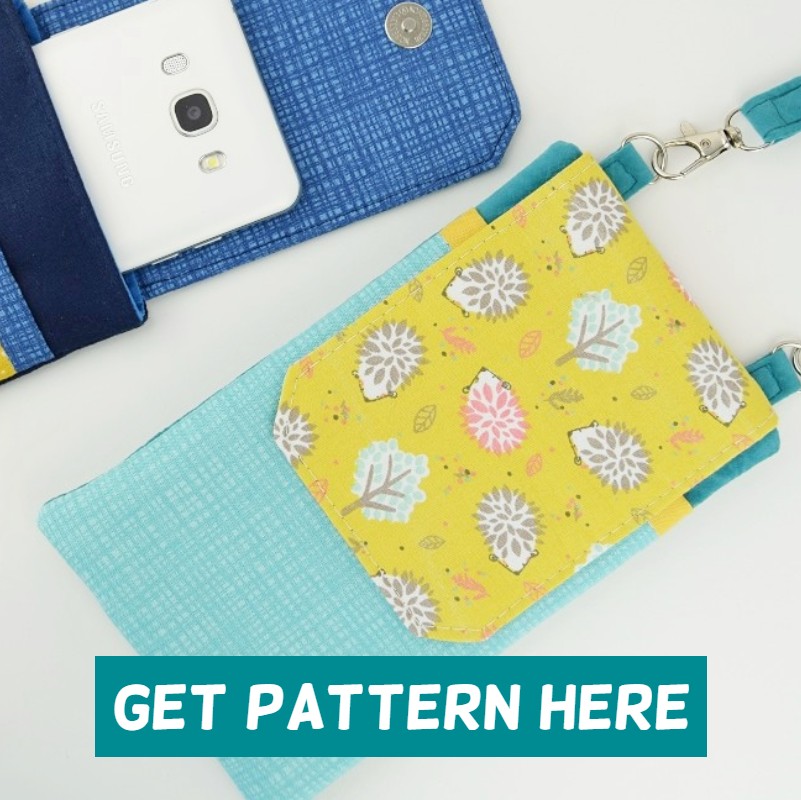
Or …check out the popular Aiden Cell Phone Purse in our shop. Guess what's on the back of this cool phone bag!


Leave a Reply