
What is interfacing in sewing - here's a guide to interfacing that will make all your sewing projects easier. Avoid beginner sewing mistakes and do it right - the first time!
If interfacing has ever felt confusing, this post will save you a lot of trial and error. It will help you choose more clearly, avoid common mistakes, and make your sewing projects turn out the way you want.
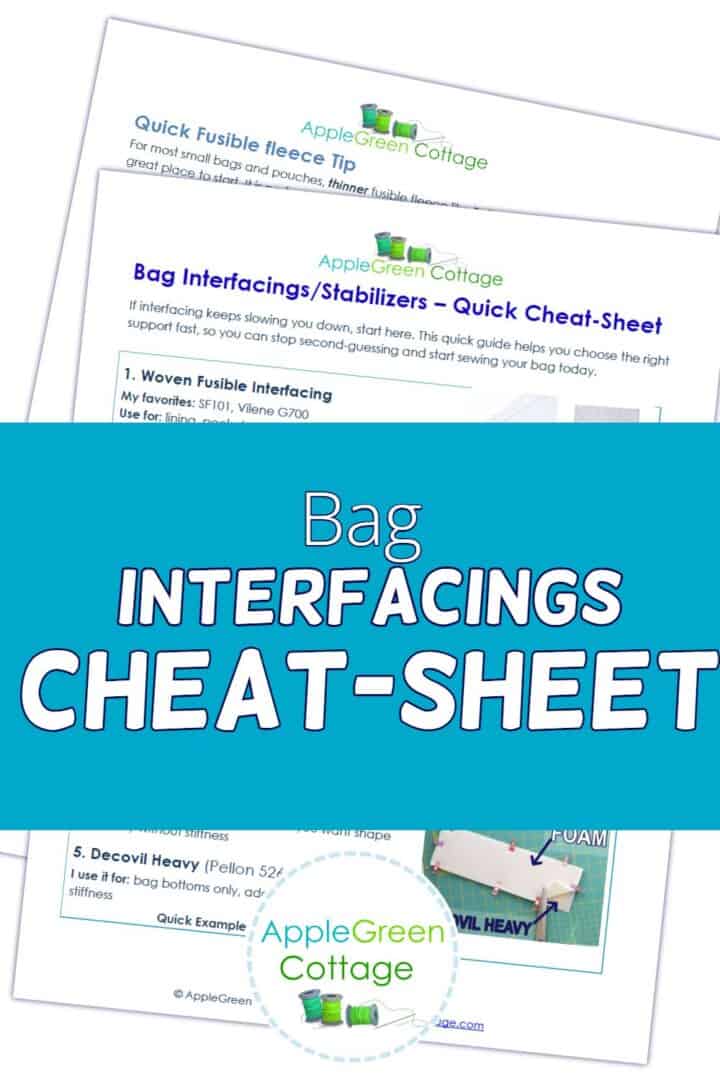
Also, make sure to downlad the FREE Quick-Start Interfacing cheat-sheet.
Need the quick version?
Get my Quick-Start Bag Interfacing CHEAT-SHEET- a simple 2-page PDF to help you choose the right interfacing for your first few bags:
Table Of Contents
- Need the quick version?
- What Is Interfacing In Sewing - The Basics
- How To Choose The Right Interfacing?
- Types Of Interfacings
- Interfacing In Bagmaking
- Stabilizers
- Fusible Fleece
- Quick Interfacing Starting Points for Bags
- Special Stabilizers For Bags
- What Is Foam Stabilizer?
- When to Use Batting Instead of Interfacing
- What Is Insulating Batting Or Thermal Batting
- How to Mix and Match Interfacings And Stabilizers
- Prefer a deep-dive? Bagmaker's Interfacing Guide
- Interfacing Tips
- How To Use Interfacing - Notes For A Beginner
- Questions You Asked
- Conclusion
- QUICK Bag-Interfacing Cheat-Sheet
Interfacing can feel confusing at first. There are many types and not always a clear answer on what to use where. But once it starts making sense, sewing gets easier - and your finished projects get so much better.
This guide will help you understand the main interfacing and stabilizer types, when to use them, and what you could use as alternatives. Plus, helpful tips, and I try to answer questions received from you about interfacings below.
What Is Interfacing In Sewing - The Basics
Interfacings - these make or break a handmade bag.
Let me first cover a few basics, for those who are to do their first project with interfacing: interfacing will give your fabric additional stability needed for the optimal use of your fabric.
You'll usually apply interfacing to the back of the fabric before you start sewing. It will not be visible in the finalized product.

Interfacing will add stiffness to the fabric, and prevent the fabric from sagging. An important factor in bags - with few exceptions, you'll want your bags to have body, stability, and some stiffness.
As an example, let's take a look at this simple, yet beautiful project tote:
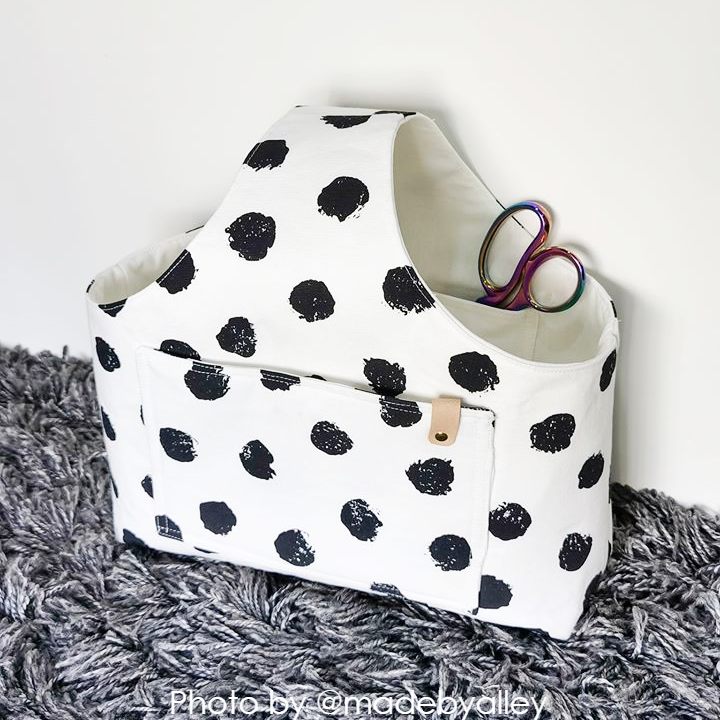
The stability of the tote above totally depends on the interfacing used. What is more, the pattern gives you 3 options for interfacing, and guides you so you can safely choose exactly what you need - and what you have at hand. (always good to have options, especially with interfacing!)
An exception to a bag needing interfacing a slouchy hobo bag or a simple foldable grocery bag. Or these diy shoe travel pouches - they have zero interfacing, for good reasons.
How To Choose The Right Interfacing?
Simplest beginner starting point
About to make your first bag and looking for the simplest starting point? Simply grab SF101 and fusible fleece and make a simple bag like Aiden or Nea. Then use the free cheat-sheet on your next projects.
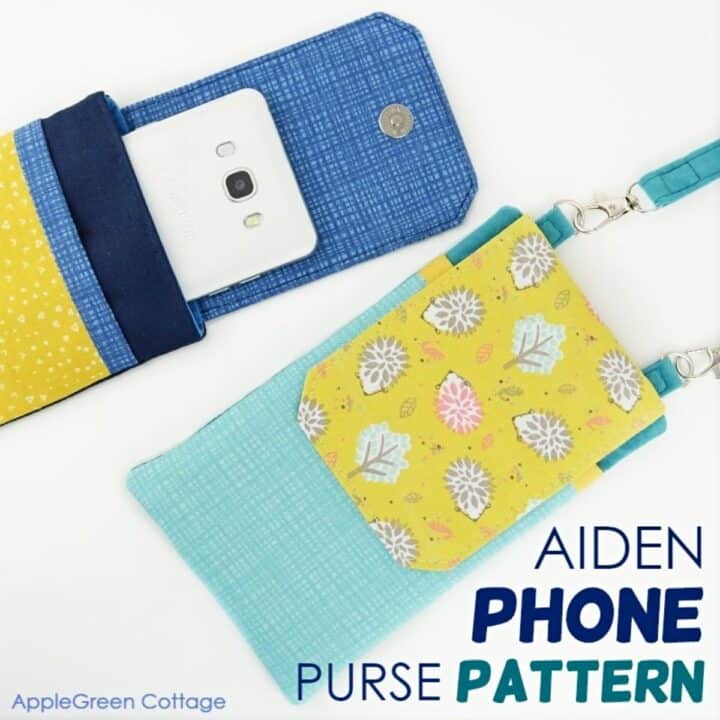
AIDEN Phone Bag
With this pouch, you'll never lose your phone again!
Types Of Interfacings
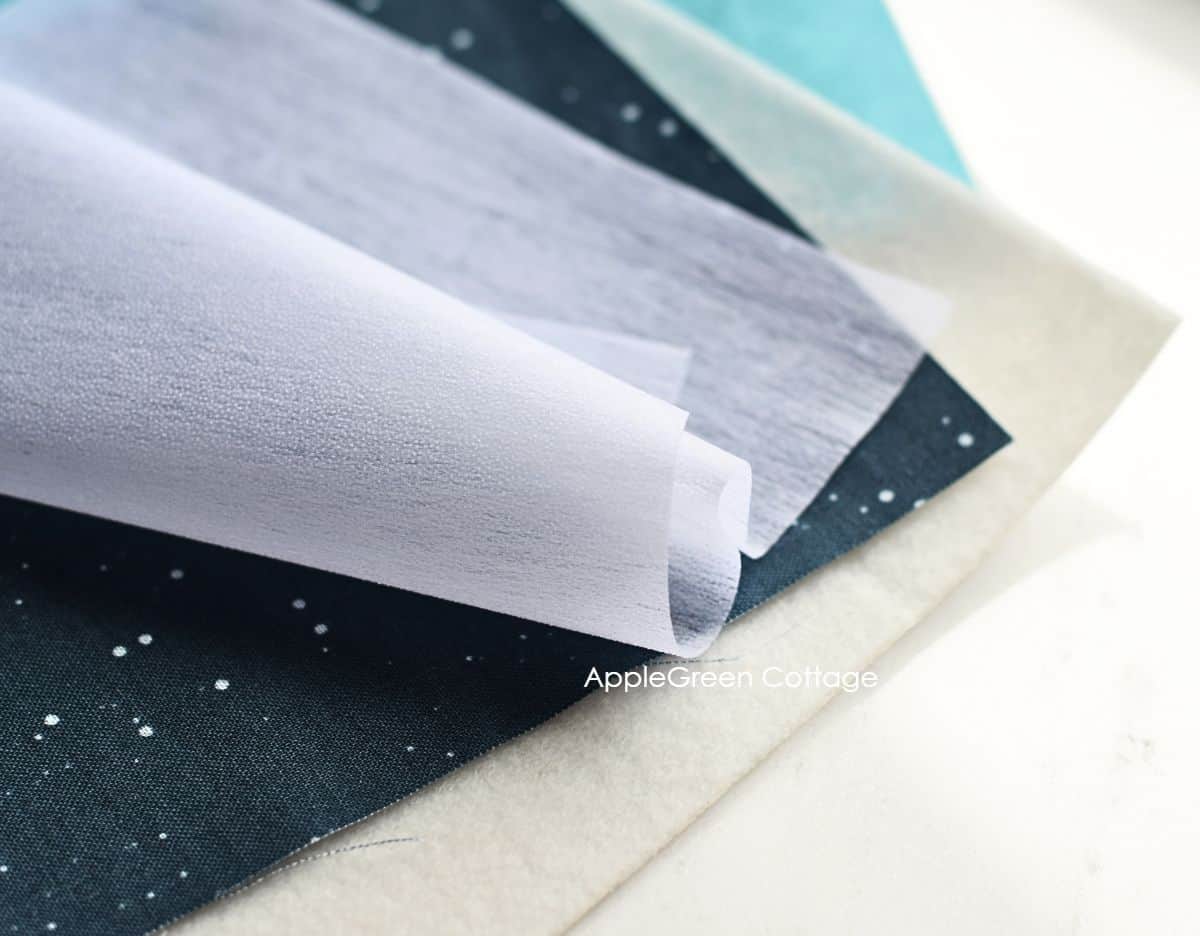
There are tons of various types of interfacing, varying in weight, stiffness, materials used, and use. Interfacing can be
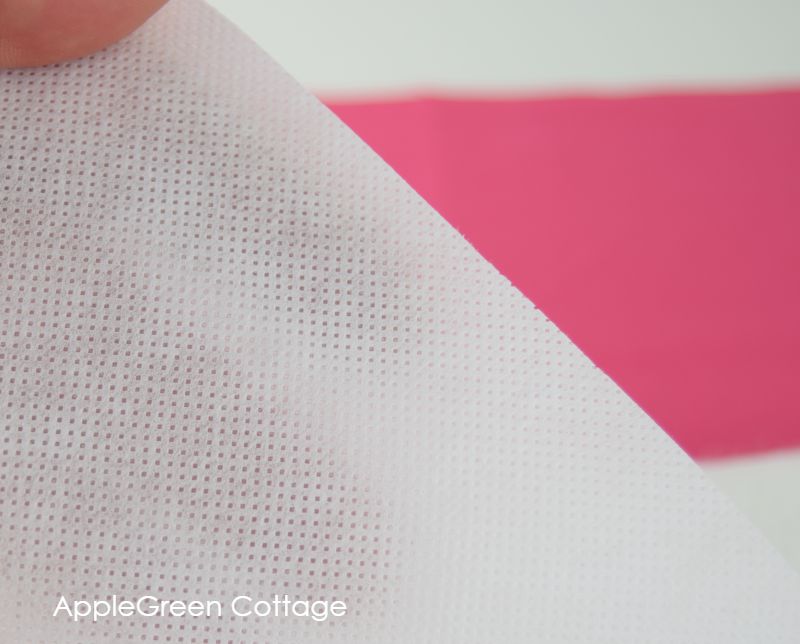
- woven (looks like fabric, though stiffened), or
- non-woven (compressed fibers, with one side covered with adhesive; the non-wovens often have a paper-like feel)
- knit (used when you need some stretch, mostly in garment sewing)
In addition to interfacing, there are also stabilizers, which are support materials used when a project needs more body or structure.
Depending on the effect and level of stability you want, one of these may suit your project better than another. Interfacing can be used on its own, or combined with a stabilizer for more shape and support.
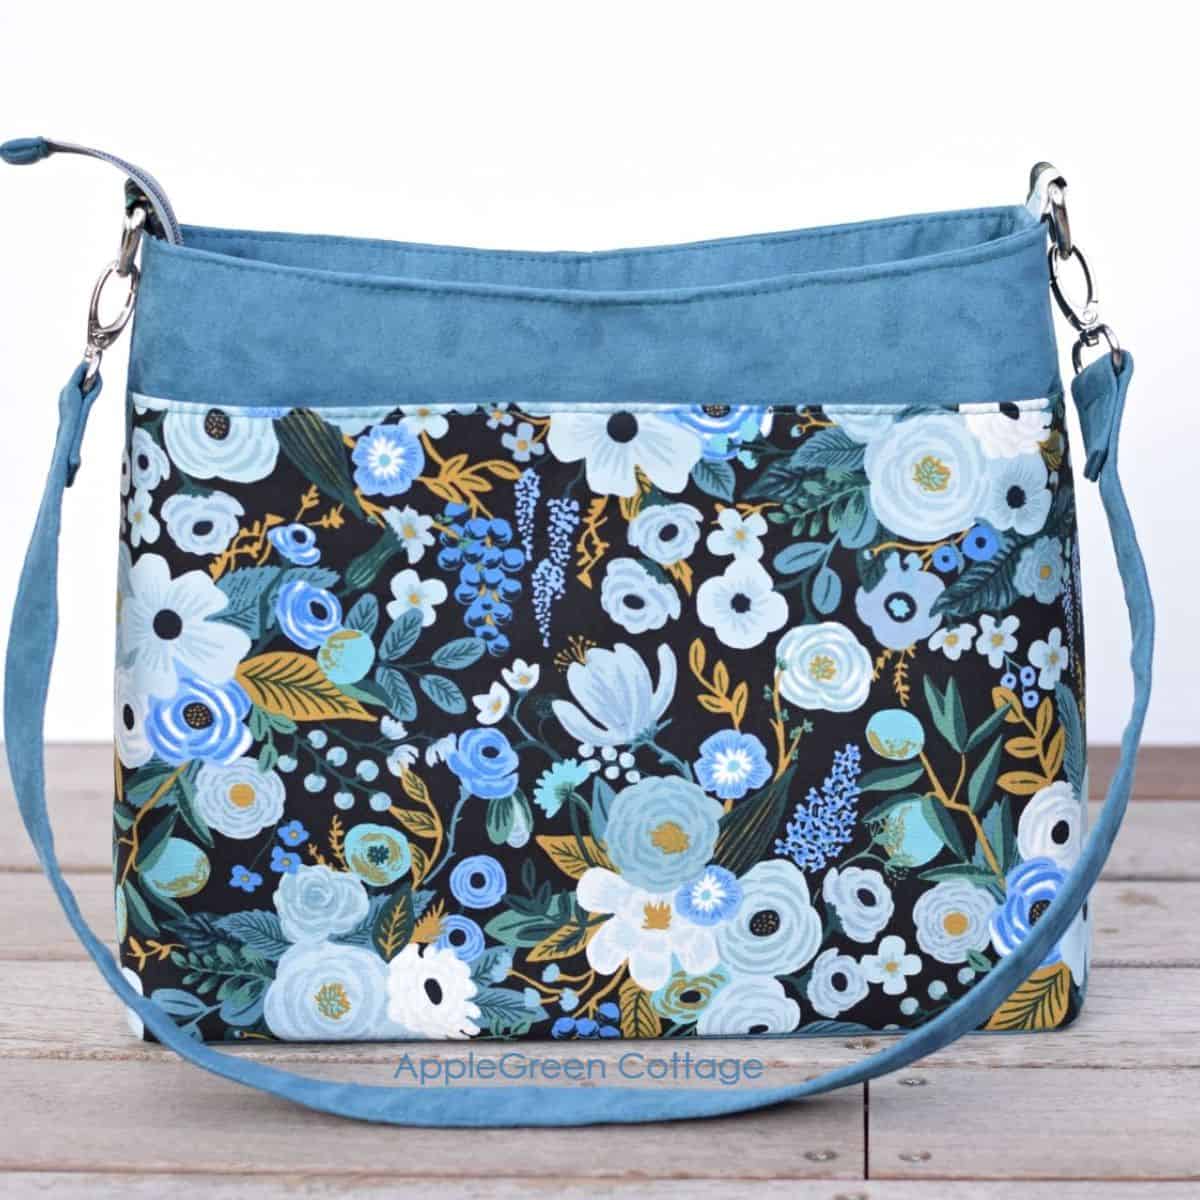
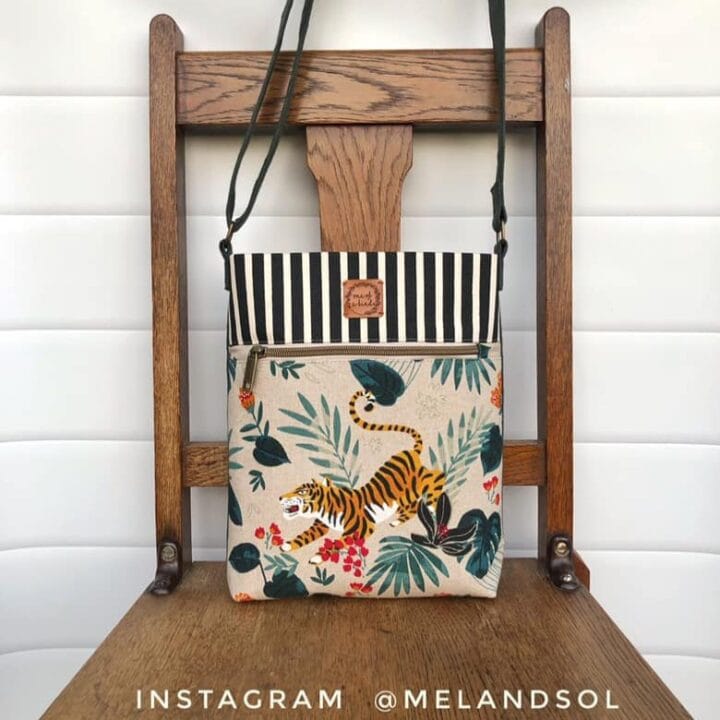
To explain, let's take a look at this bag:
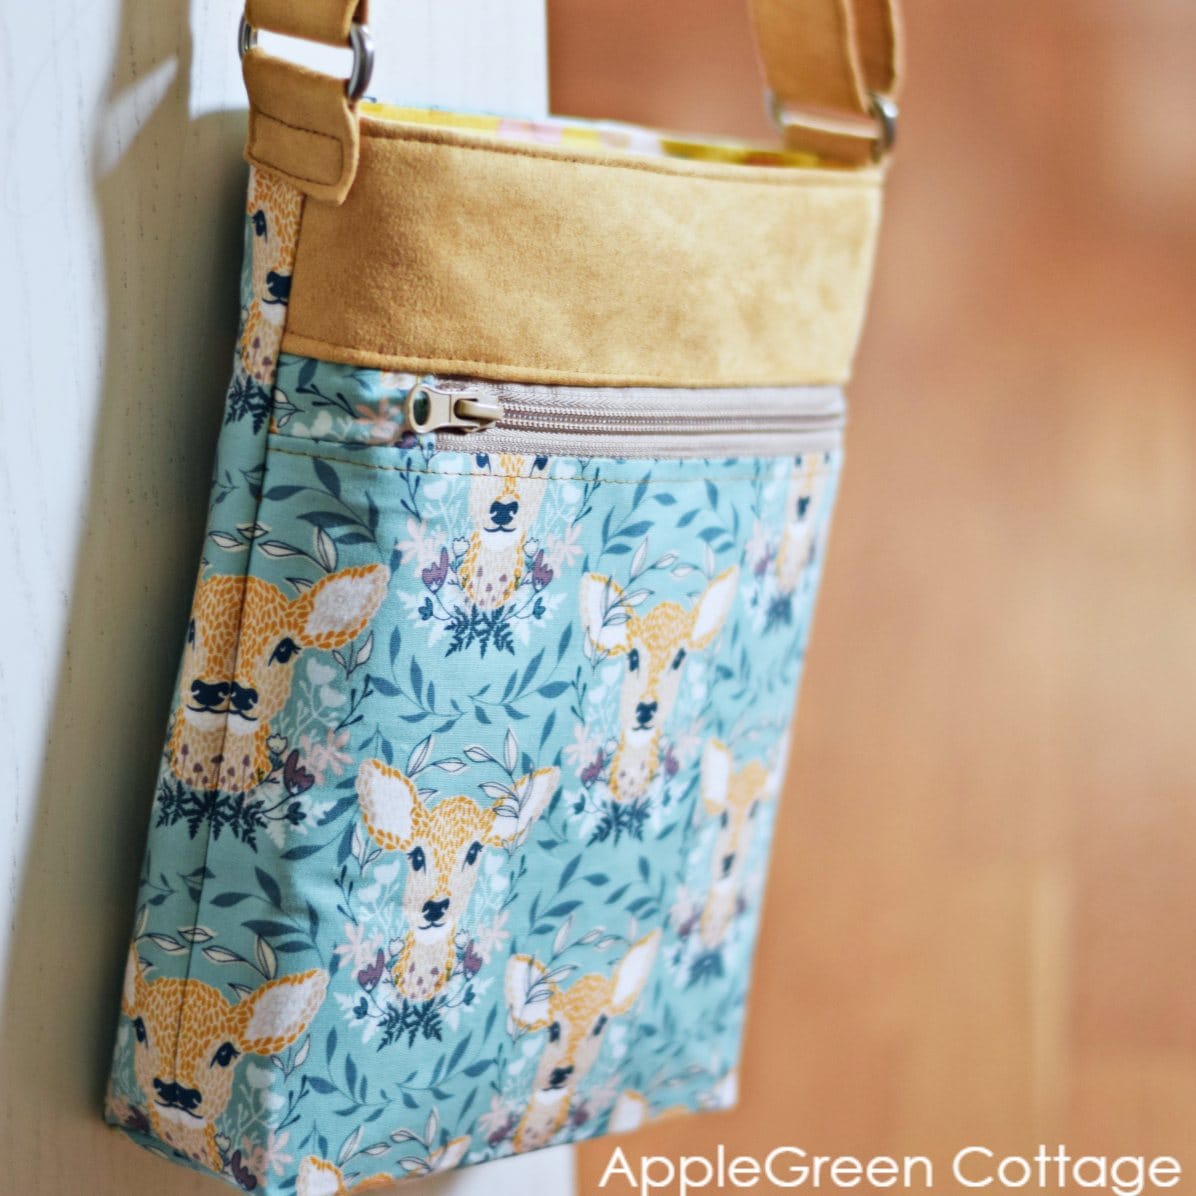
This pattern uses two types: woven interfacing and a stabilizer: fusible fleece. These two combined give the tote just the right level of body and stability. Just what a good crossbody bag needs! On a side note, this bag also features a handy inset top zipper closure - check it out!
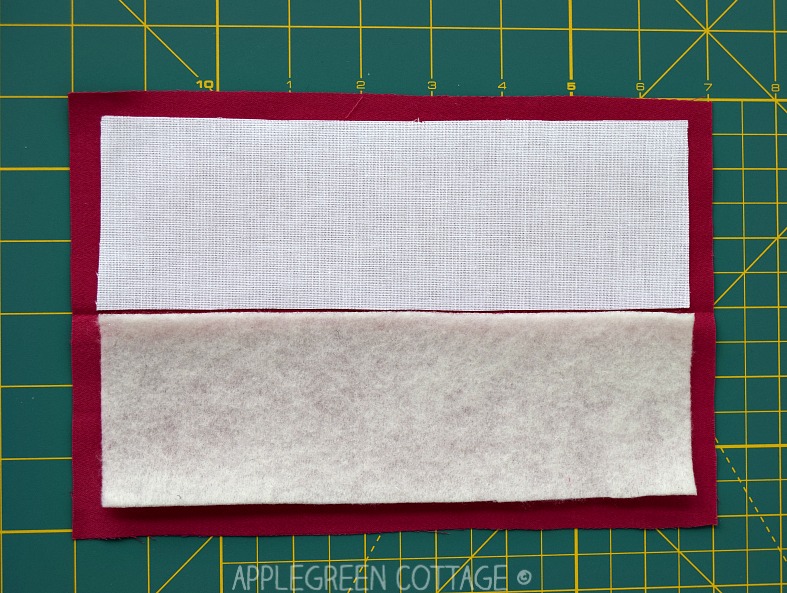
A quick tip on woven interfacing - do watch the grainline when cutting it. That part matters. With non-woven interfacing, you can skip that, which does make life a little easier. Still, I'm happy using either one.
Interfacing In Bagmaking
Have you ever skipped interfacing on a bag because it felt overwhelming, or because you had no clue which one to use? Let alone knowing which fabric is good for sewing bags! I have, too. Not a bag you'd want to carry.
Exactly this is why you'll always find precise interfacing recommendations in all my bag patterns. (no guessing!)
Interfacing will add stiffness to the fabric, and prevent the fabric from sagging. It's especially an important factor in bags - with few exceptions, you'll want your bags to have body, stability, and some stiffness.
Need the quick version?
Get my Quick-Start Bag Interfacing CHEAT-SHEET- a simple 2-page PDF to help you choose the right interfacing for your first few bags:
There are so many different ways to use interfacing in bags, and each one will end up in a different result. Those super sturdy bags and zip-around wallets? The majority of those have Decovil at least in some part, or craft foam. See more about Decovil and which type to use where.
Non-Fusible vs. Fusible Interfacing
There are two main ways interfacing is applied.
- Fusible interfacing is ironed onto the fabric - and for many projects, that is the quicker and easier option.
- Non-fusible interfacing is sewn to the back of the fabric, which is why it is also called sew-in interfacing or sometimes interlining.
Fusible Interfacing
What is fusible interfacing? Super simple: it irons on your fabric. It will only take you a few minutes to iron it onto the back side of the fabric. No pinning or basting - take a look at this quick tutorial on how to use fusible interfacing.
Non-Fusible Interfacing
Although it's often a matter of personal preference and widely available, sew-in interfacing is not the first choice of many beginner sewers. It needs to be sewn together with the fabric, meaning it will take more of your time and you'll need to work with several layers.
But sometimes the non-fusible type will be the preferred or even the only option. When to use non-fusible interfacing?
- when your fabric is not suitable for ironing
- when the fabric already has plenty of structure
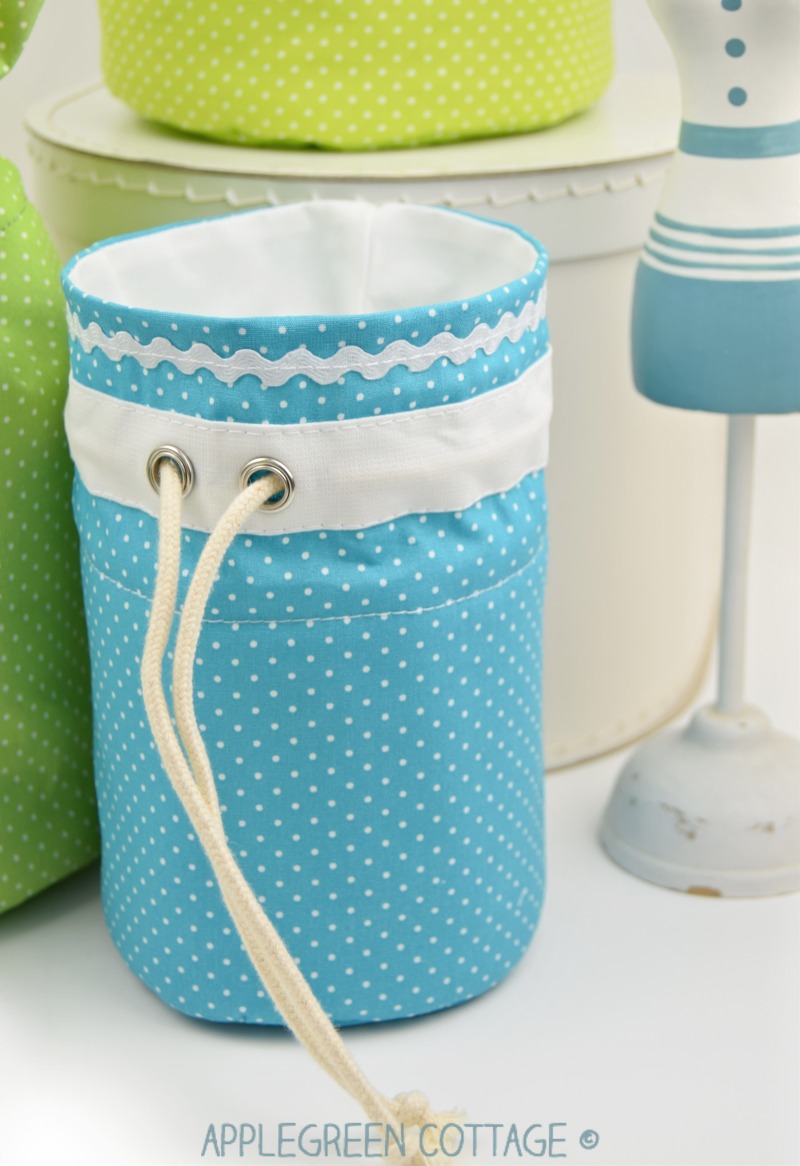
- when fusing would work against the finished look, for example on soft, fluffy projects like these round storage baskets.
Stabilizers
Stabilizers, on the other hand, are special support materials. They are not woven, and they can feel quite different from one another - some are leather-like, some are soft and puffy, and some are made of foam.
What is a stabilizer in bagmaking?
Stabilizers are what give our handbags shape structure and allow them to standup on their own. They are more substantial than interfacing. What they have in common is this: they give a project more body, shape, and structure.
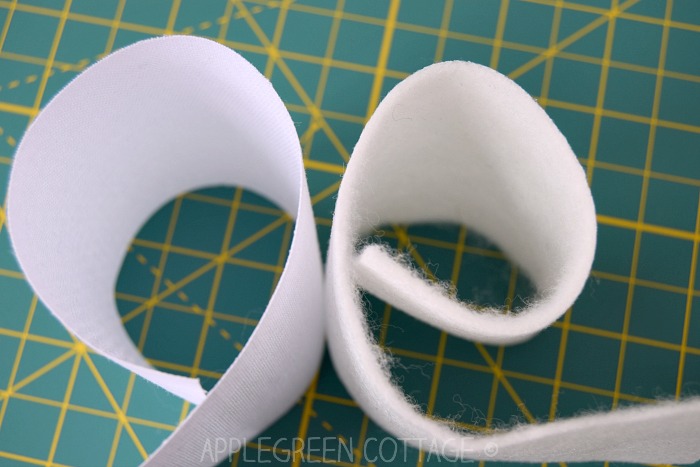
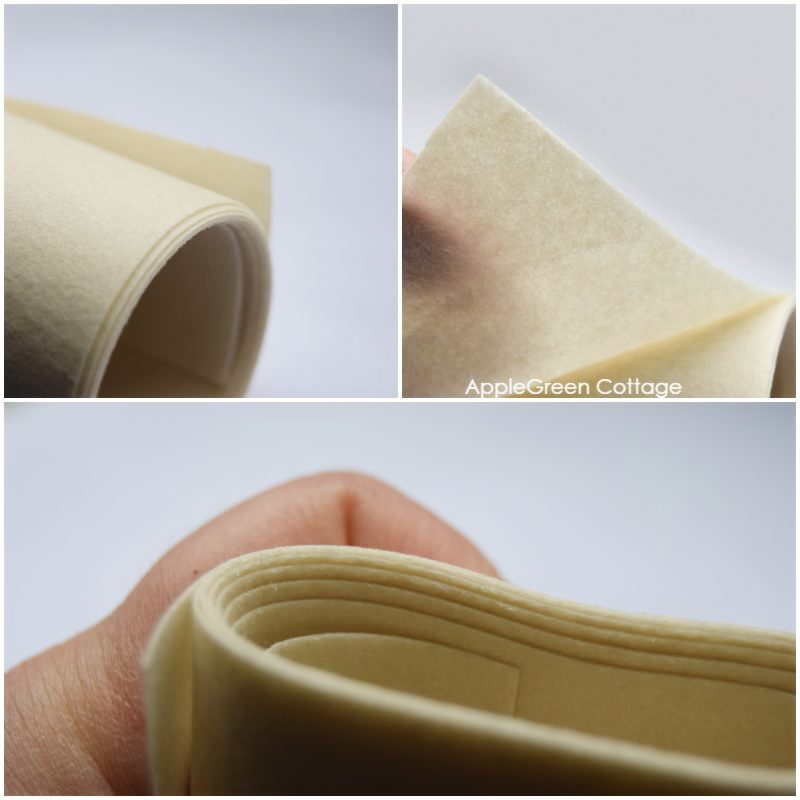
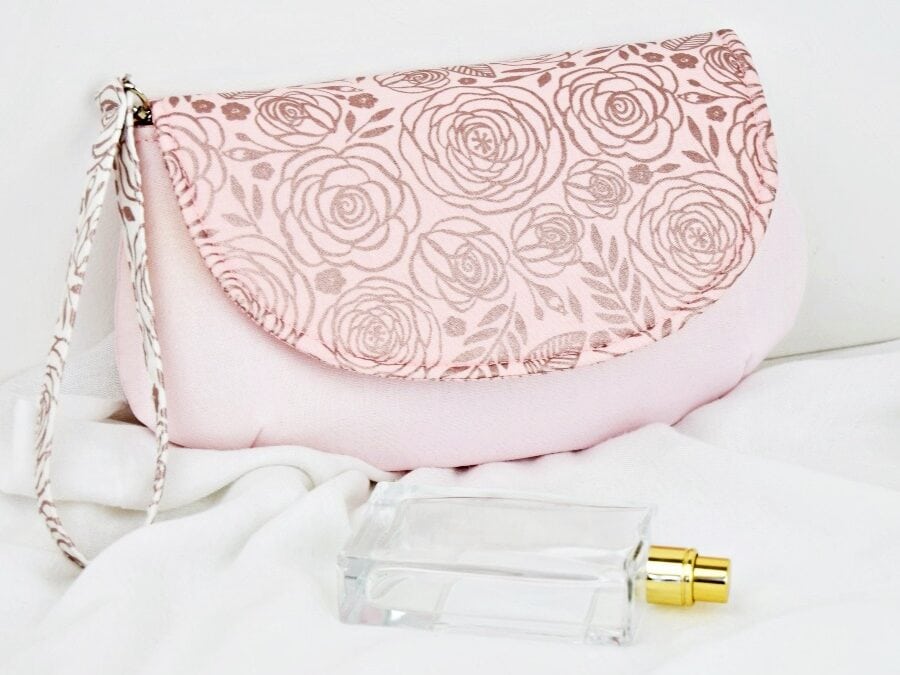
Fusible Fleece
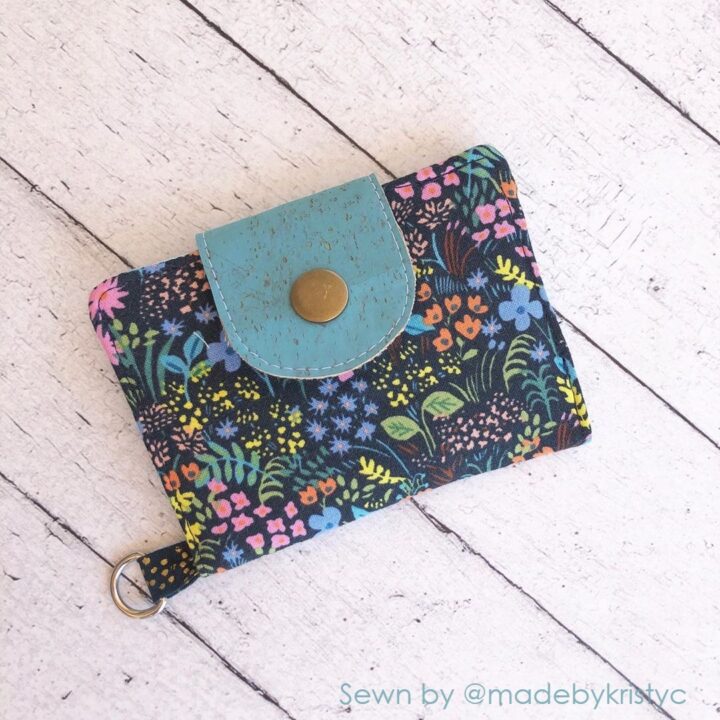
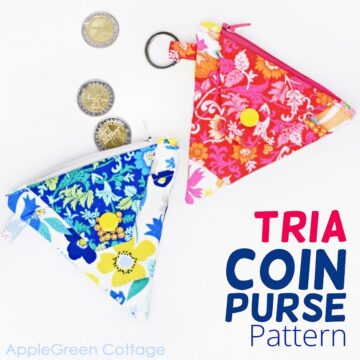
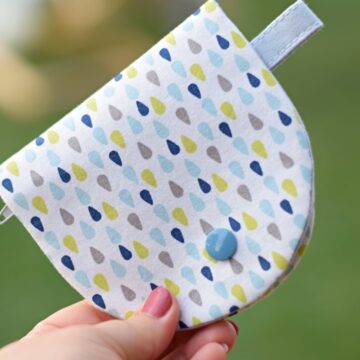
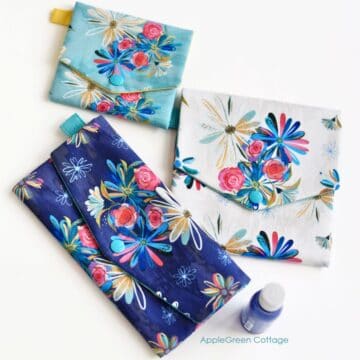
Fusible fleece is an easy-to-use stabilizer that gives body to the project. My fav for easy crafty sewing projects - and perfect for beginners! It will give a bit of a body and stability to a bag, and it's perfect for coin purses like the Half-Moon, or mini wallets like the Kalina.
'Made a Kalina wallet today. Love it!' - Kristy @madebykristyc
KALINA Mini Wallet pattern ⭐⭐⭐⭐⭐
It is especially good when you want the project to feel a little fuller and nicer in the hand, without turning into a structured handbag.
Fusible fleece comes in low-loft and high-loft versions. For most small, beginner-friendly projects, start with a low-loft fusible fleece such as Pellon 987F or Vilene H630. If you want more thickness or plan to quilt the layers, choose a loftier option like Fusible Thermolam.
Low-loft fusible fleece adds a soft, padded feel to your pouch or bag. It gives a little body and a little cushion, but the bag won't stand on its own.
3 Beginner Bag Interfacing Mistakes to Avoid
- Skipping support - Thinking of skipping interfacing on your first bag entirely? Floppy bag. Don't.
- Going too stiff too soon - Too much structure too early can make sewing bulky and frustrating.
- Ignoring the lining - A bit of interfacing on lining makes it look much more finished. Better.
Quick Interfacing Starting Points for Bags
Not sure which interfacing to use? Here's a simple starting point. This is not a full rulebook - every bag pattern and fabric can need something slightly different - but these are the support materials I'd look at first when sewing bags:
- woven fusible for lining and pockets
- fusible fleece for soft body
- Decovil Light for more structure
- foam stabilizer for larger cushioned bags
- and Decovil Heavy only for very firm areas like bag bottoms.
For the full product list, brand comparisons, detailed descriptions, and substitutes, see my Bagmaker's Interfacing Guide - but start with the free quick cheat sheet here:
Need quick version?
Get my Quick-Start Bag Interfacing CHEAT-SHEET to help you choose the right interfacing for your first few bags:
And there's the next group to discuss:
Special Stabilizers For Bags
Sometimes you want a bag to do more than hold its shape nicely - you want it to feel more stable, stand on its own, or have one area stay especially firm. That's where special bag stabilizers come in.
Special stabilizers are not the ones I'd suggest for every project, and definitely not all at once. But they are wonderful when you want more structure than a basic interfacing or fusible fleece can give.
Here's one I love as it practically doesn't wrinkle:
Decovil Light and Decovil Heavy
Decovil Light is a great choice when you want more structure and a more polished feel. Decovil Heavy is much firmer and is best kept for bag bottoms or especially firm areas. They are not interchangeable. If you're newer to bagmaking, see my Decovil Light vs. Decovil Heavy comparison.
Extra-Stiff Stabilizers
Extra-stiff stabilizers are best for bag bottoms and other very firm areas. I've already mentioned Decovil Heavy, also called Decovil I or Pellon 526 in the US, which is much thicker and stiffer than Decovil Light.
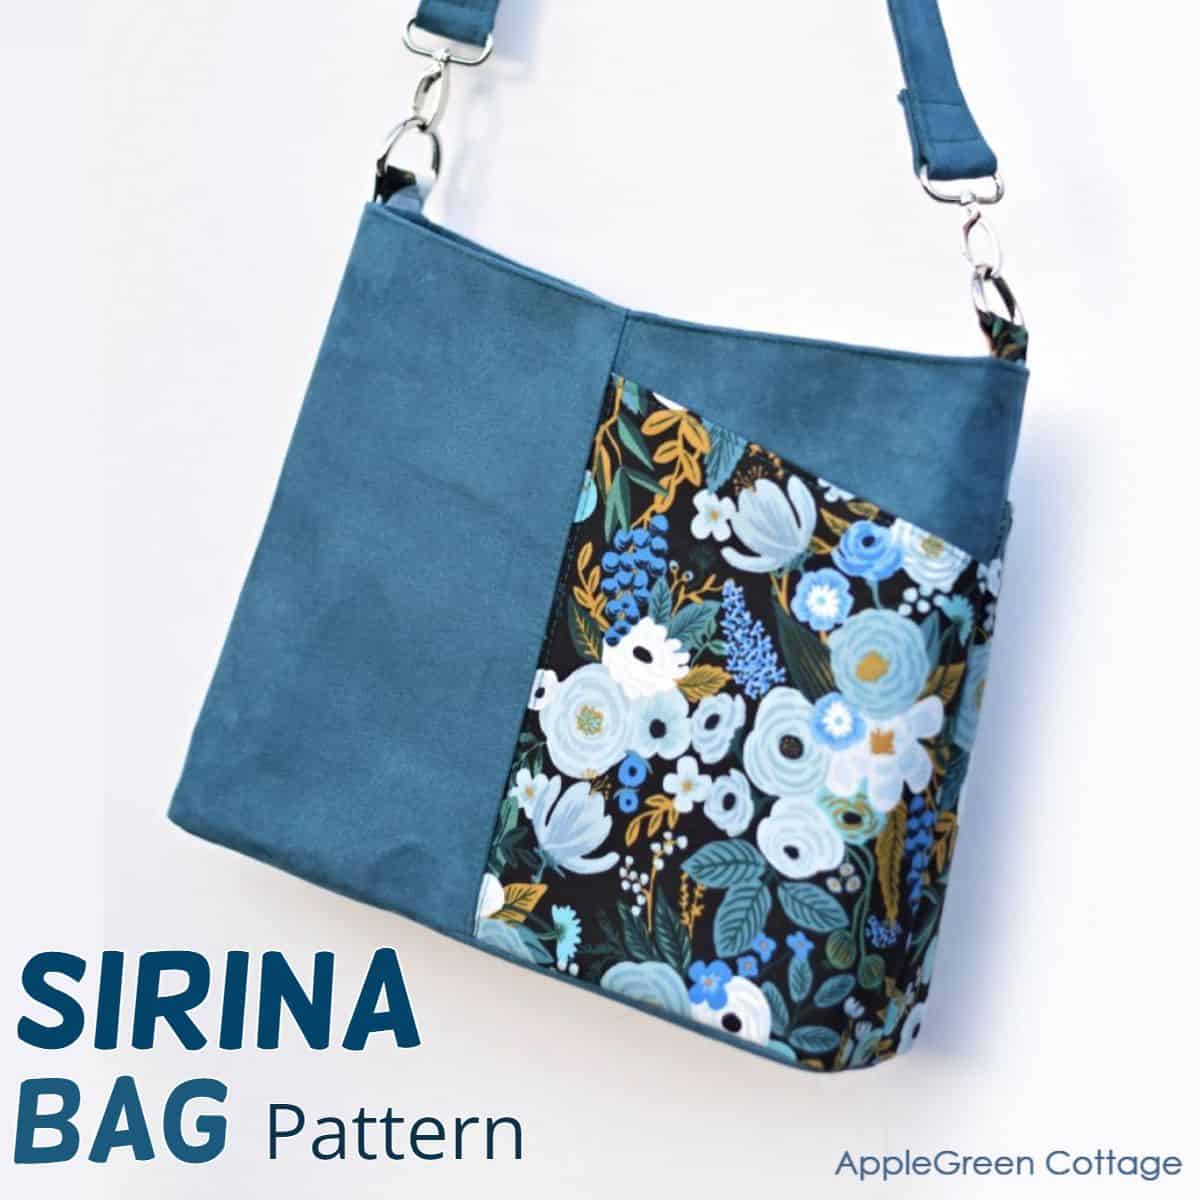
For example, the Sirina bag below is made using Decovil Light overall, and the bottom also has Decovil Heavy. They give perfect stability to this beautiful handbag:
If you are newer to bagmaking, start with more gentle stabilizers and only move to the extra-stiff stuff when a pattern clearly calls for it. Once you get there - hello, pro level.
What Is Foam Stabilizer?
Still talking about bag stabilizers, but this one deserves a whole new chapter. Foam stabilizer gives a bag body and shape without making it stiff. It is especially useful for larger structured bags and projects that should bounce back after being squished. For more on sew-in vs fusible foam, see my full foam stabilizer post here.
I made this GLAM GIRL Purse with foam:
I also made one of my SIRINA bags using foam:
Other Specialty Stabilizers
There are also specialty materials like self-adhesive fleece, self-adhesive foam, and newer board-like stabilizers - but if you are newer to bagmaking, you do not need those first.
When to Use Batting Instead of Interfacing
Batting is usually non-fusible and most often used in quilting. But it can also work in place of interfacing when you want a project to feel soft, padded, and a little squishy - like these Round Baskets:
This project uses batting. So squishy and super soft, and a perfect home storage!
You will find fusible batting too, a popular choice is Heirloom fusible batting. But mind that this iron-on batting is fusible on both sides, so you'll have to assemble a (quilt) sandwich first, and only then press all layers together.
What Is Insulating Batting Or Thermal Batting
Use insulating thermal batting when sewing items for the kitchen that need to resist heat-like potholders, table pads, oven mitts, and ironing board covers. This special material helps protect against heat. One of the best-known brands of thermal batting is Insul Bright by the Warm Company. I use this one.
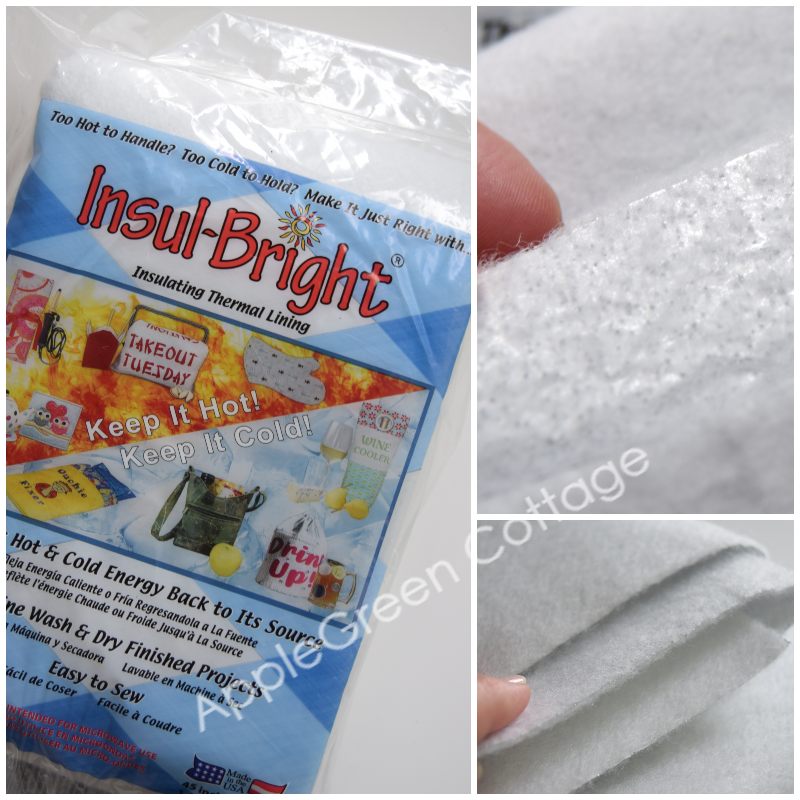
Insul-Bright is a needle-punched polyester insulating material. There is no right or wrong side to Insulbrite. You can use it either way shiny side or dull side out if you want. This product is NOT to be used in a microwave! See in the photo above, it has a thin metallic layer to reflect heat or cold - so please remember - no microwave for items made with this specific batting product.
Want to give thermal batting a try? Here is a classic potholder to sew, a heart mug rug tutorial, or this easy potholder pattern - super cute too! 🙂
How to Mix and Match Interfacings And Stabilizers
In bagmaking, one layer is not always enough. True, you can use just one type of interfacing on a bag. But what really makes your bag stand out is combining interfacing and a stabilizer.

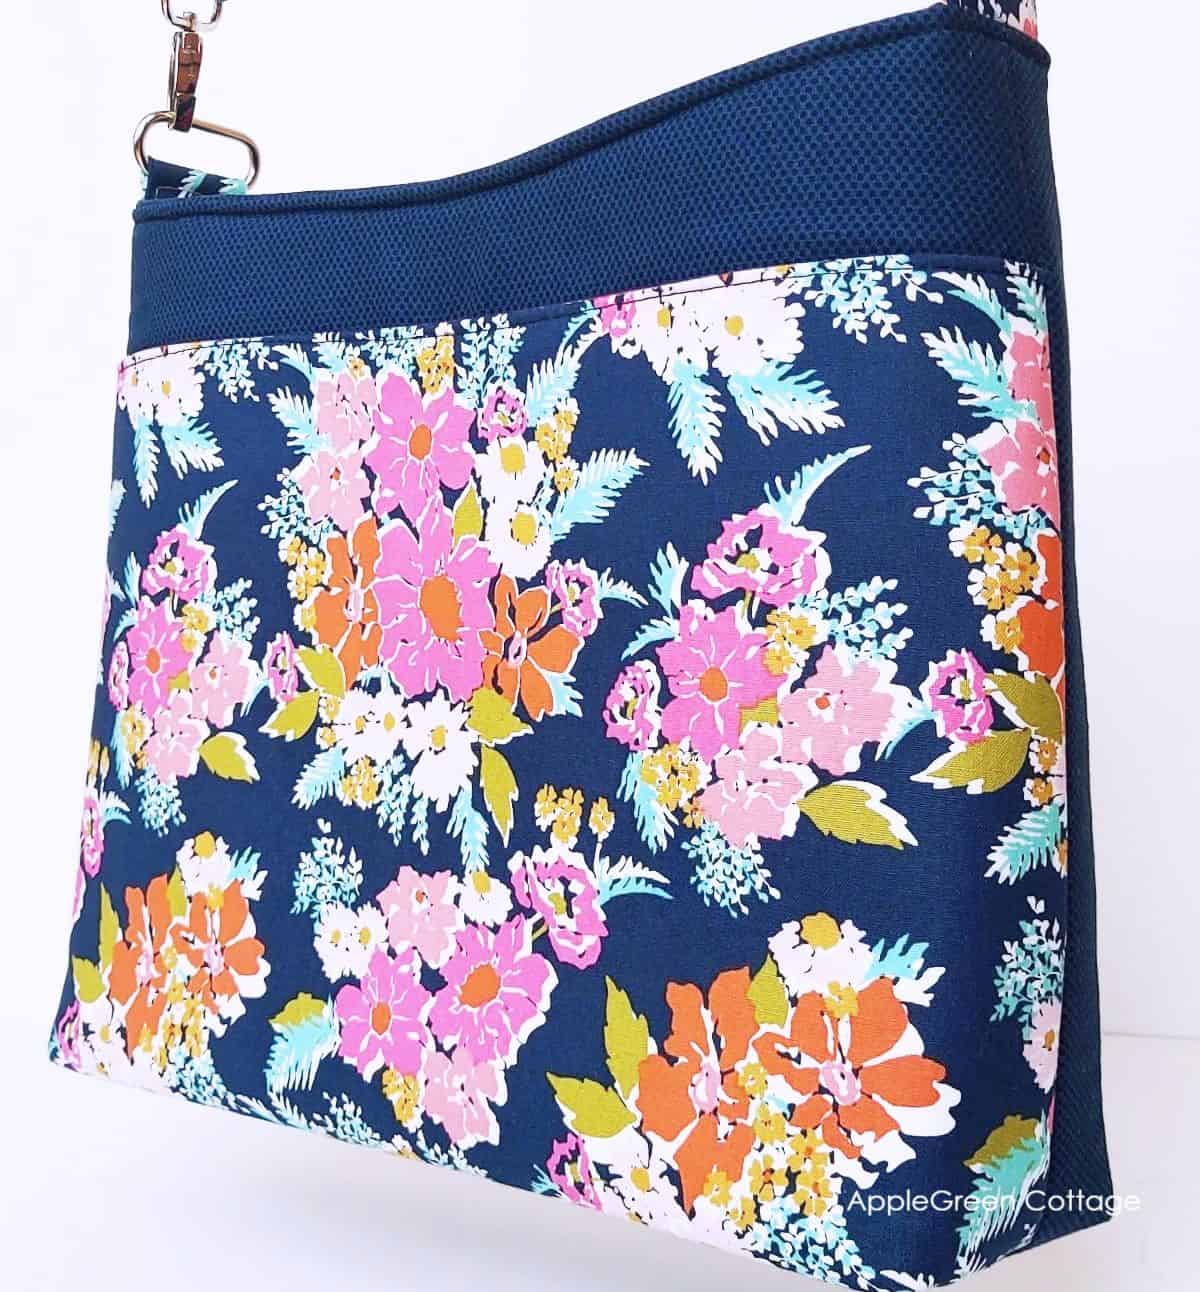
A very common and beginner-friendly combination is woven fusible plus fusible fleece. That is the kind of pairing I use in bags like TEYA crossbody bag. It gives the bag both body and stability.
'I love simple designs like this that allow the fabrics to shine. There are some really practical design elements like the many pockets and overall sturdiness that make it a great everyday bag' - Mellissa @whistleandstitchstudio
TEYA Crossbody Bag pattern
Examples of how to use different interfacings? Check out my free market bag pattern and the sturdy zipper case pattern and see how I mixed and matched several types of interfacing.
There are many other options, including more substantial, stiffer stabilizers, or more lofty ones. Want more examples of what works well together? They are in my Bagmaker's Interfacing Guide.
Beginner's Guide to Interfacing

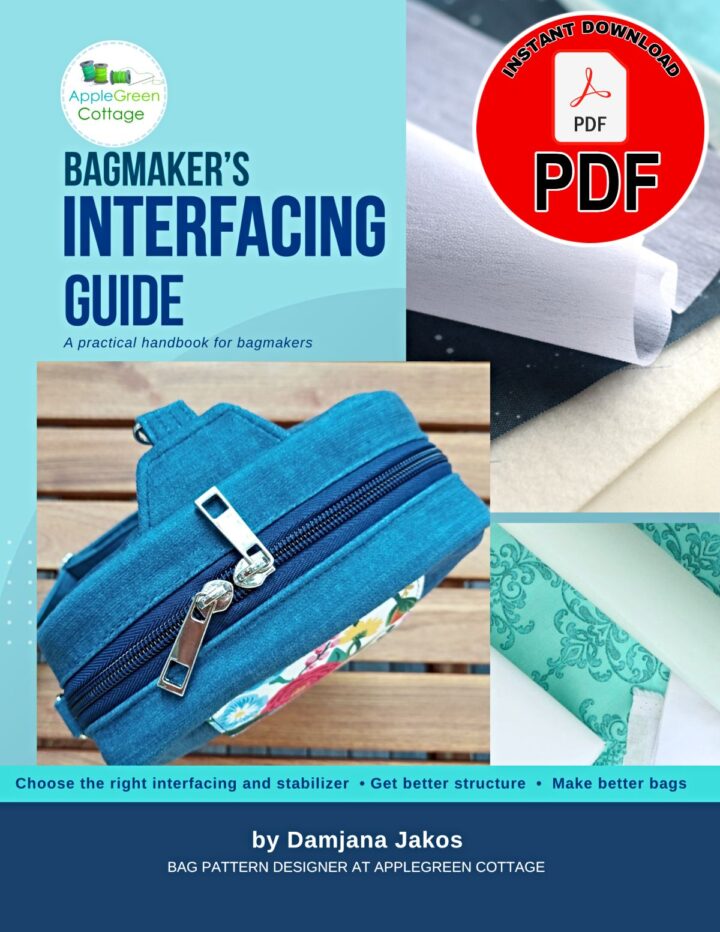
Prefer a deep-dive? Bagmaker's Interfacing Guide
Interfacing Tips
What interfacing to use on bag lining?
If you want a bag lining to look neater and feel more finished, add a light-to-medium-weight interfacing. It gives the lining a bit more strength and stability without making it stiff.
For most bags, that is the sweet spot: soft enough to keep the lining flexible, but supportive enough to help the whole bag look nicer inside and out.
What to use instead of interfacing?
And just because life can get in the way (it always does, doesn't it?), let me also mention what to do if you run short of interfacing. You can often improvise with what you already have - depending on the project. It will not always give the exact same result, but it can absolutely get you sewing.
Have no fusible interfacing at hand but would love to give your tote that extra body and weight? Use the (sew-in) cotton batting instead, and add a few simple quilting lines. I quilted the bigger of these two market bags. It turned out beautifully!

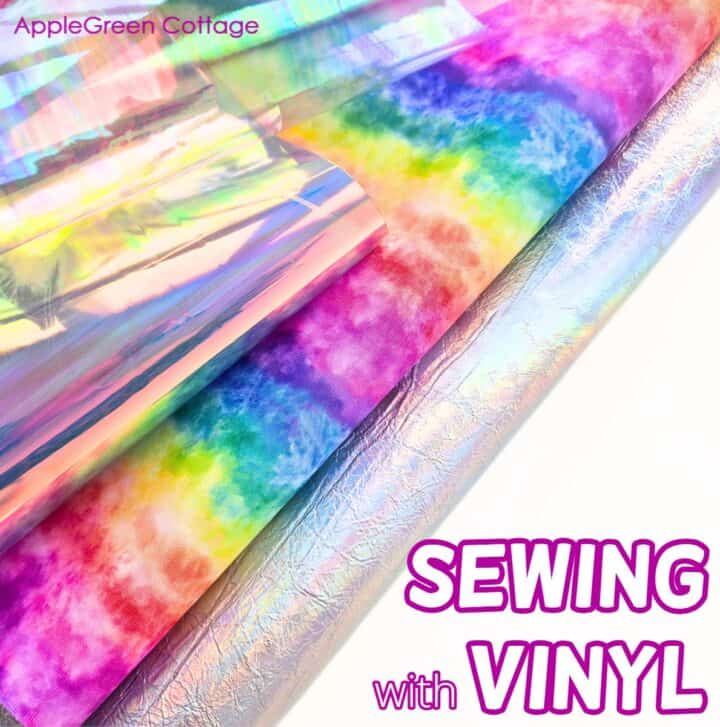
In the ALLina tote test, we had one version made with vinyl to replace the fusible fleece. Some pattern testers used several layers of different interfacings, and some used heavier weight of the fabric to lessen the need for special bag interfacing.
Use stiffer material as outer - vinyl, faux leather or even real leather if you're a seasoned sewer and can handle those. In this case, only light interfacing will be required for lining, nothing else.
My Top 7 TIPS!
No real interfacing at all left in your stash? Canvas, stiff cotton or buckram are good to use too. Or, project allowing, use acrylic felt if you have any! Cheap, not washable, but it will save the day! OK, the last one is not at all professional, but it works. I've just sewn a different, large basket trying out quilting acrylic felt (not a pattern, no tutorial, just a private leisurely sew) And it turned out just great! But you will need to bear in mind that, using cheap acryllic felt in place of real interfacing will only work for projects that won't be laundered, washed, or exposed to water.
Oh, and you can just use scraps of interfacing and reattach them to make a larger piece, see this easy batting scraps hack!
How to use scraps of batting, interfacing, and interlining?
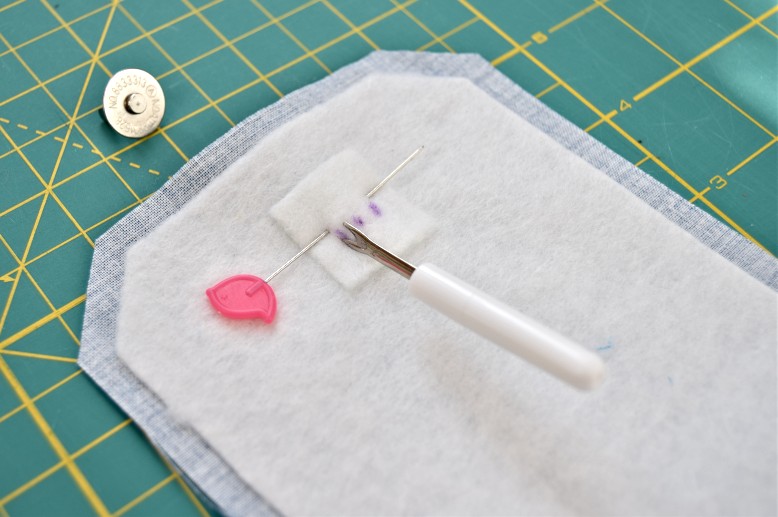
And one thing more: never toss away any scraps of interfacing, stabilizer, or anything even closely resembling batting! Why? You'll use them on projects like these:
- installing magnetic snaps tutorial
- wristlet strap sewing - tutorial
How To Use Interfacing - Notes For A Beginner
Interfacing helps when you want to give fabric more stability, shape, or strength. It can make a project feel more finished and help it hold up better over time.
What should you use if you are new to sewing?
If you are mostly sewing easy projects, a simple place to start is fusible fleece. It is soft, easy to use, and adds body without making a project feel hard or stiff. See how to apply interfacing here.
For small beginner-friendly projects, start with a low-loft fusible fleece like Vilene H630 or Pellon 987F. If you want more thickness, move up to a loftier option like Vilene H640.
Need examples? I used low-loft fusible fleece in several easy projects:
And do not let all the product names intimidate you. Start with one good basic interfacing or fusible fleece, use it on a few projects, and you will quickly get a feel for what you like. Never the same with two sewists!
Questions You Asked
Top Q: How To Remove Glue Residue From Iron?
Sometimes, people would ask me how to clean the iron if the sticky glue from interfacing gets on it. It's inevitable you'll at some point get some of the glue on your iron. Don't stress, there is an easy solution: a wet dryer sheet will remove glue from an iron. Now you know my secret 🙂
I've also heard of (but did not try it out) mixing a few drops of liquid dish detergent and water, then using a small cloth to wipe away sticky residue.
Interfacings can range from lightweight through mid- and heavy-weight. As a rule of thumb, you always want your interfacing a bit lighter than the fabric, so choose accordingly.
A floppy bag usually means it needed more structure than the interfacing or stabilizer gave it. In bagmaking, the support layer often makes the biggest difference. If you want to understand what to use and when, see my interfacing guide here: https://shop.applegreencottage.com/b/bagmakers-interfacing-guide-pdf
For most bag linings, a light woven fusible interfacing is a great choice. It gives the lining more strength and a cleaner finish without making it stiff. If you want a quick overview of what to use where, get my free interfacing cheatsheet.
Conclusion
If you've made it this far, you probably care about interfacing as much as I do - and that makes me happy. I wrote this guide to be a practical resource you can come back to whenever you need a clearer answer on interfacing and stabilizers. It's a big topic, I keep adding to it as I learn, test, and find better ways to use these materials - so feel free to bookmark it and come back when you need it.
And if bagmaking is your thing, next stop: see where to buy bag hardware. Don't forget to mix in all my bag making tips, and - happy sewing!
QUICK Bag-Interfacing Cheat-Sheet
Grab the quick-start Bag Interfacing Cheat-Sheet for your first few bags - the quickest way to choose and start sewing:
Time to put that to good use - choose a bag pattern and use what you just learned. 😊
Or check out the classic SIRINA Shoulder Handbag pattern in our shop. Ample space, pockets inside and outside, two closure options, and a beautiful feature front pocket - for your favorite fabric print!


Roberta Creech says
I've have used a damp melamine (magic eraser) sponge to remove adhesive from the sole plate of my Rowena iron. It also cleans of any cooked starch that my build up around the sole plate.
Damjana Jakos says
Roberta that's so good to know, thank you!
Mea Cadwell says
So I don't have to clean residue off my iron, I use a silk organza pressing cloth whenever I use iron on adhesives. You can easily see through it so you know what you're ironing.
Caroline Wilson says
Hello Vickie
Thanks for this very informative information. I am an experienced professional and I’ve found the varieties of fusing available to cause much discussion within my work place. I shall be printing this out for my staff so they can check what to use. I couldn’t have explained it better, so thank you!
Michelle Salerno says
So much information! I'm an experienced sewer, but this is so informative. Thank you for taking the time to put so much thought and detail into it for us.
Tiffany says
Hello! I’m still learning about all there is to know when it comes to “sewing”...and I’m new to interfacing so this taught me a lot! I have just one question: can I use a Heat n’ Bond iron-on adhesive over the fused interfacing for appliqué; or do I need a layer of fabric between them? Thank you!☺️
Damjana says
Tiffany hi,
thank you for the question. I'm not entirely sure what you mean, so it would be immensely helpful to see a photo. If you're asking about stacking interfacing layers on top of each other, I often do tehat for bas to improve stability. For anythign that needs to stay flexible and thin, I'd always try combining interfacing layers on a scrap piece first to make sure they don't get too bulky. I hope this helps,
Vickie says
I’m beginner learn with sewing machine . I want to learn how to make the reusable grocery bags 2 different color for reverse . I hope you can help me with step. I want my pattern is 21x20. Like 36 inch
Damjana says
Vickie hi,
so happy to hear from you. Let me see what I can do. currently, I have at least two tote tutorials in my drafts, one the basic one that would be perfect for you. I'm not sure those are the same dimensions, but it will definitely be a help. Now just to find the time to do the step-by-step photos! xoxo,