
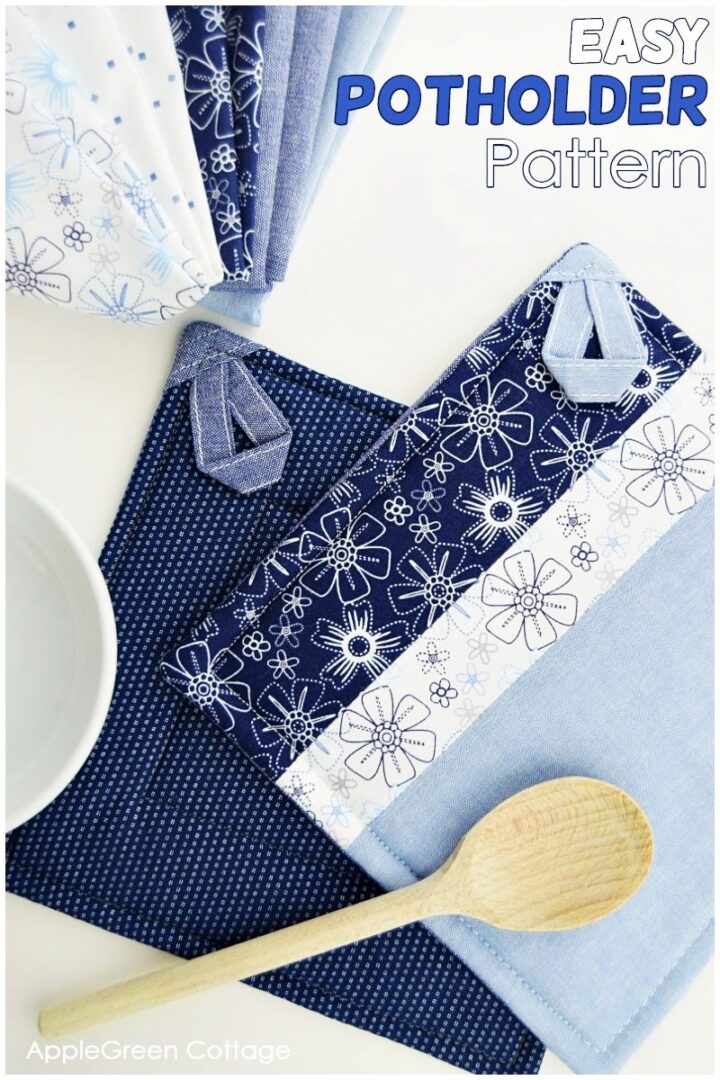
Use this free potholder pattern and make a beautiful yet easy diy pot holder for your kitchen - the clever way. Scroll down for the free pdf potholder template for two designs.
Why you'll love this potholder tutorial
- super easy (do you only know how to sew a straight/ish seam? This one!)
- no-fuss - quick and simple project (no binding, nope!)
- uniquely designed hanging tab (will stay out of the way when you don't need it!)
- looks amazing!
Prefer an ad-free printer-friendly option of the whole tutorial+template? See the → optional PDF file in our shop.

Less searching. More sewing.
Keep 100+ printable AGC tutorials ready to print, save, and sew anytime.
Table Of Contents
Did I forget anything? Let me know in the comments! Bottom line, this potholder tutorial is super easy to follow. Want to have it plain, or with a little bit of strip piecing? Scroll down for any of the two options to make your own beautiful potholder - the easy way.
And if you like sewing for the home, check out this popular SewPretty HOME series:

Join the FREE 7-part email course and make 6 beautiful items for your home! You'll love it!
Nearly all pot holders I've had, or seen, or made, have binding on all edges. Including this pretty round potholder pattern with pockets, and this potholder tutorial I showed you last time. All doable, and nothing to be scared of. But today I'm showing you one that is even easier, and quicker to make - an easy potholder without binding. (And, just to mention, this cute quilted mug rug has no binding either!)
That's a neat one, and especially handy if you are short of time to make binding, let alone to sew it on.

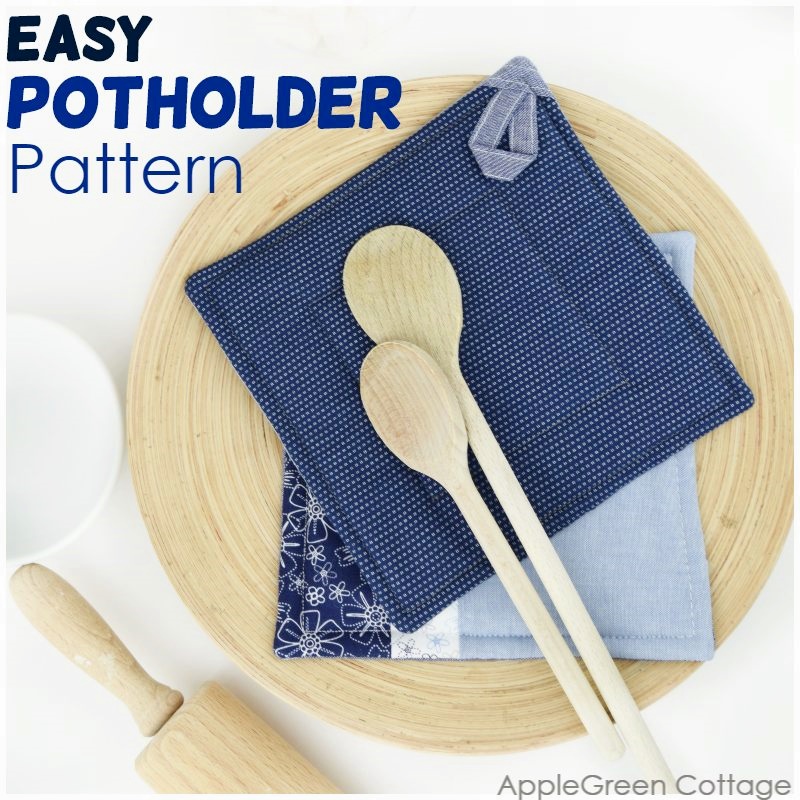
I also added a loop. A hanging loop will make your potholder so practical to store somewhere close at hand. Maybe it's just me, but I don't like pulling my potholders from my drawers when needed. I hang them just above the kitchen stove so they are always ready for the job - and close at hand. The potholder size is 7" square.
Now, let's see how to make a few fantastic potholders. Without binding. Easy, quick. And good-looking too!
Note On the FREE Potholder Pattern
There are two potholder options in this free potholder pattern tutorial: version A - a simple square, and version B - the strip-pieced potholder version. Of course, you can get creative with your own versions too!
Supplies
You'll need the free template, a fat eighth of fabric, and the same size of heat-safe batting or interlining. I used Insul-Bright.
Instead of Insul-Bright, you can use cotton batting. If this is your first potholder, start with fewer layers and add more next time if needed.
One important note: do not use polyester batting or acrylic felt for potholders - they do not handle heat well. For more on support materials, see my post on interfacing.
Easy Potholder Tutorial
Let's start sewing!
Step 1 - Get the FREE Potholder Template
Join our mailing list and get the pattern emailed to you:
Prefer an ad-free printer-friendly option of the whole tutorial+template? See the → optional PDF file in our shop.
Step 2 - Decide on Your Version: plain or strip-pieced POTHOLDER?
Decide on whether you'd like to make a simple, plain potholder, or a strip-pieced version.


The photo above shows how I strip-pieced one of the potholders in this tutorial, using the beautiful florals from Christopher Thompson's Blue Stitch collection. Notice the fussy cutting? Love it!
If you decide for strip piecing, use template page 2 from the free potholder template (see above) and cut three pieces of fabric as laid out in the free potholder pattern above. Then stitch the pieces together using a ¼″ seam allowance (0.7cm), to design your own front side of the potholder.
Step 3 - Cutting Step
CUT FROM FABRIC:
- two fabric squares (template page 1) for the back and the front - or one back piece from fabric only if you've already got a pieced front ready
- 1 piece for hanging loop (template page 1)
- 1 square for hanging loop cover (template page 1)
CUT FROM INTERFACING (INSUL-BRIGHT):
- two squares (template page 1)
Step 4 - Make The Loop
Next, we'll create a hanging tab on your soon-to-become potholder.
How To Make Potholder Loops?
There are many options to add a loop to your diy potholder - instead of making your own hanging loop, you can simply use a ready-made ribbon. One thing to observe: it should be made of material that can withstand as much heat as the rest of your (cotton) potholder. Cotton twill tape works great.
My go-to solution is making my own loop. It adds a cool detail in a totally matching color. This is how I make the loop, it's quick and easy:

- use the 5 by 2 inch piece, fold it in half with wrong sides together, press. Open and
- fold the two long raw edges towards the center, then
- re-fold along the center fold. Press.
- Edgestitch along both long edges.
Alternatively, just use a short piece of some DIY bias tape leftover if you often make your own bias tape.
Step 5 -Attach the loop
Fold your new loop in half. You'll sew it to the top right corner on the front of your potholder. I felt kinda clever putting the loop into the corner, so it's out of the way when I don't need it. Like this:
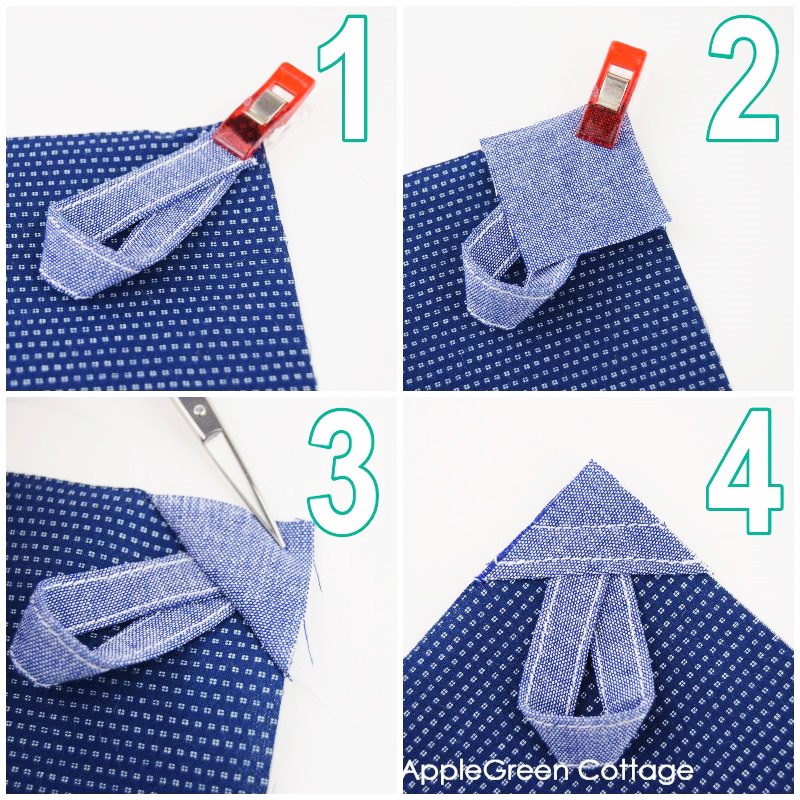
- Fold the loop in half and lay it into a corner of the front fabric piece (on the right side of the fabric), with the raw ends directed towards the corner, but not quite touching it. See photo (1) above.
- Baste and cover with the 1 ½″ square - the square should be wrong side up and aligned with the corner of the main front piece. Which means the right sides of fabric are touching. Pin and sew across the diagonal, catching the hanging loop into the seam.
- Then fold the sewn square back along the sewn line and press. You get a triangle.
- Topstitch close to the origibnal diagonal seam to secure the loop, also feel free to sew additional stiching lines along the edge. Loop done.
BONUS TIP: You can do a larger square (up to 2") but in this case you'll also need a longer loop (up to 7"). Bear in mind if adjusting the sizing.
STEP 6 - ASSEMBLE PIECES
This is where you place the layers so you won't need to bind the edges and miter the corners 🙂

So, lay down the two pieces of Insul-Bright, place the front piece face-up on these (with the loop facing up too) and lay the back fabric on top of the stack - this one should be with right side DOWN.
Step 7 - Sewing The Potholder Layers Together

Double-check: are the right sides of the two fabric pieces together? Good. Now pin and sew around, leaving a few inches on one side open for turning.
Step 8 - Clip the corners

Clip corners and trim the batting in the seam allowance, taking care not to snip into stitches. This will reduce the bulk and you'll end up with neat corners.
See here how to trim corners on all your sewing projects.
Step 9 - Turn right side out

Turn your diy potholder right side out and stitch the opening close. The nicest way to do is using a ladder stitch.
Step 10 - Topstitch And/Or Quilt Your Diy Potholder
This is an optional step, but recommended! If you topstitch along the edges, the stitches will hold the layers together so layers don't shift after laundering - and they'll look so neat. My potholders get washed often - I'm a messy cook, haha!

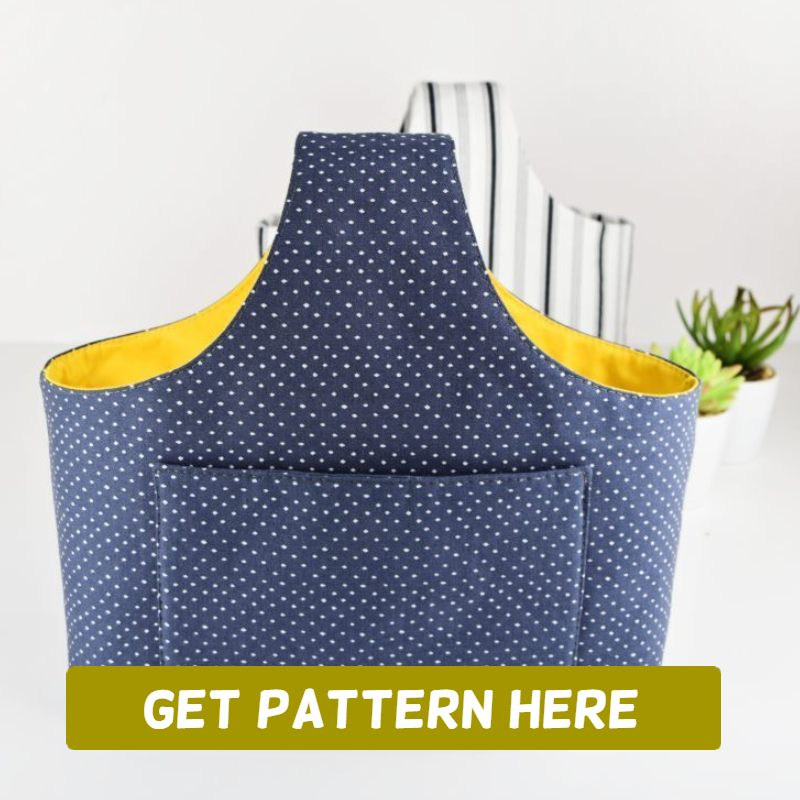
These potholders make beautiful housewarming gifts. Consider adding a few kitchen utensils and make this practical storage tote - it makes a great kitchen caddy!
As always, I'd love to see if you've made a potholder using this tutorial. Please post a picture to Instagram and tag me @applegreencottage or #applegreencottage - so I can take a look!
Want A Printable Copy of the WHOLE Tutorial?
Want a printable copy of the whole tutorial?
Prefer a full, ad-free and printer-optimized Printable Tutorial with both instructions AND template included? ↓↓
This tutorial is also part of Printable Tutorials BUNDLE
100 PDF tutorials now, and growing!
Want More Free Patterns?
Get email updates and never miss out on new patterns, printables, and tutorials:
Or check out this pretty ALLina project bag pattern in our shop - for all your storage needs:
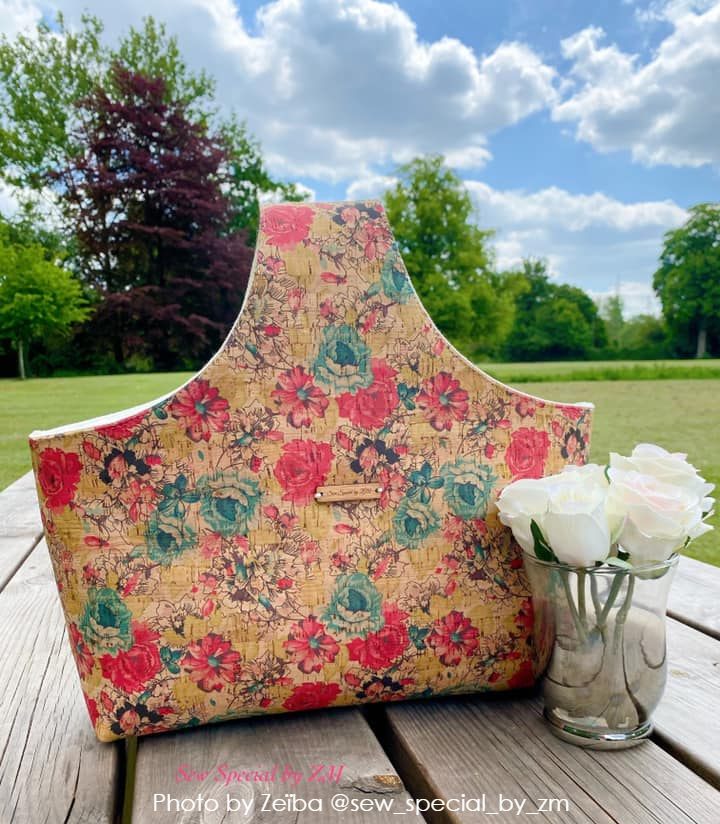
This stunning ALLINA tote was sewn by Zeiba M.
ALLina Tote pattern


Susan L Taylor says
Love your potholder,you always do such a good job
Lynn Johnson says
Thank you so much for your "easy potholder" patterns and excellent directions. I can't wait to get started. I have two questions:
1. The 1 X 1 inch test square on the pattern isn't 1". How can I adjust it? Or is it OK to use your patterns anyway.
2. I don't have 100% cotton batting. The Insul-Bright says there is no right or wrong side to the lining. Can I just use 2 Insult-Bright pieces instead of using Insul-Bright together with 100% cotton batting.
Lynn
Damjana says
Lynn hi,
both good questions: first, the 1-inch test square will need to be exactly one inch for the template to be the right size. To achieve this, please check the printer settings - these need to be set to 'no scaling', or '100% size'. I hope this helps. About the batting, your choice entirely!
Cynthia D says
This is exactly the kind of potholder pattern I've been looking for and I especially like the corner tab. Thanks!
Krystena says
What SA do you use to get that pretty topstitch border?
Damjana says
Krystena hi, a great question! I Stitched 3/8" from the edge for the first seam and just eyeballed the other seam. It's 1 1/4" away from the first line. Happy sewing,
TRISHA DANKWORTH says
I used an old ironing board cover that was made of heat resistant silver material. It had some scorch marks so I bought a new one but there was plenty of useful areas to re-use! Thanks for the pattern!
Debbi says
After binding a way-too-thick dish drying mat, I realized the technique you so brilliantly illustrate here is the way to go. My potholders have definitely seen better days, so I'll be replacing them with a couple (or more) using your technique. Thanks for the clear photos and instructions!
Damjana says
Debbi hi,
I'm glad this potholder tutorial will be helpful. Enjoy!
Damjana
Evelyn Mitchell says
As a child making pot holders we used scrap cotton or wool material instead of batting to cushion hands from the heat of the pot. Also we did free firm machine stitching on the outside of the pot holder. A good technique to get the feel of the machine.