
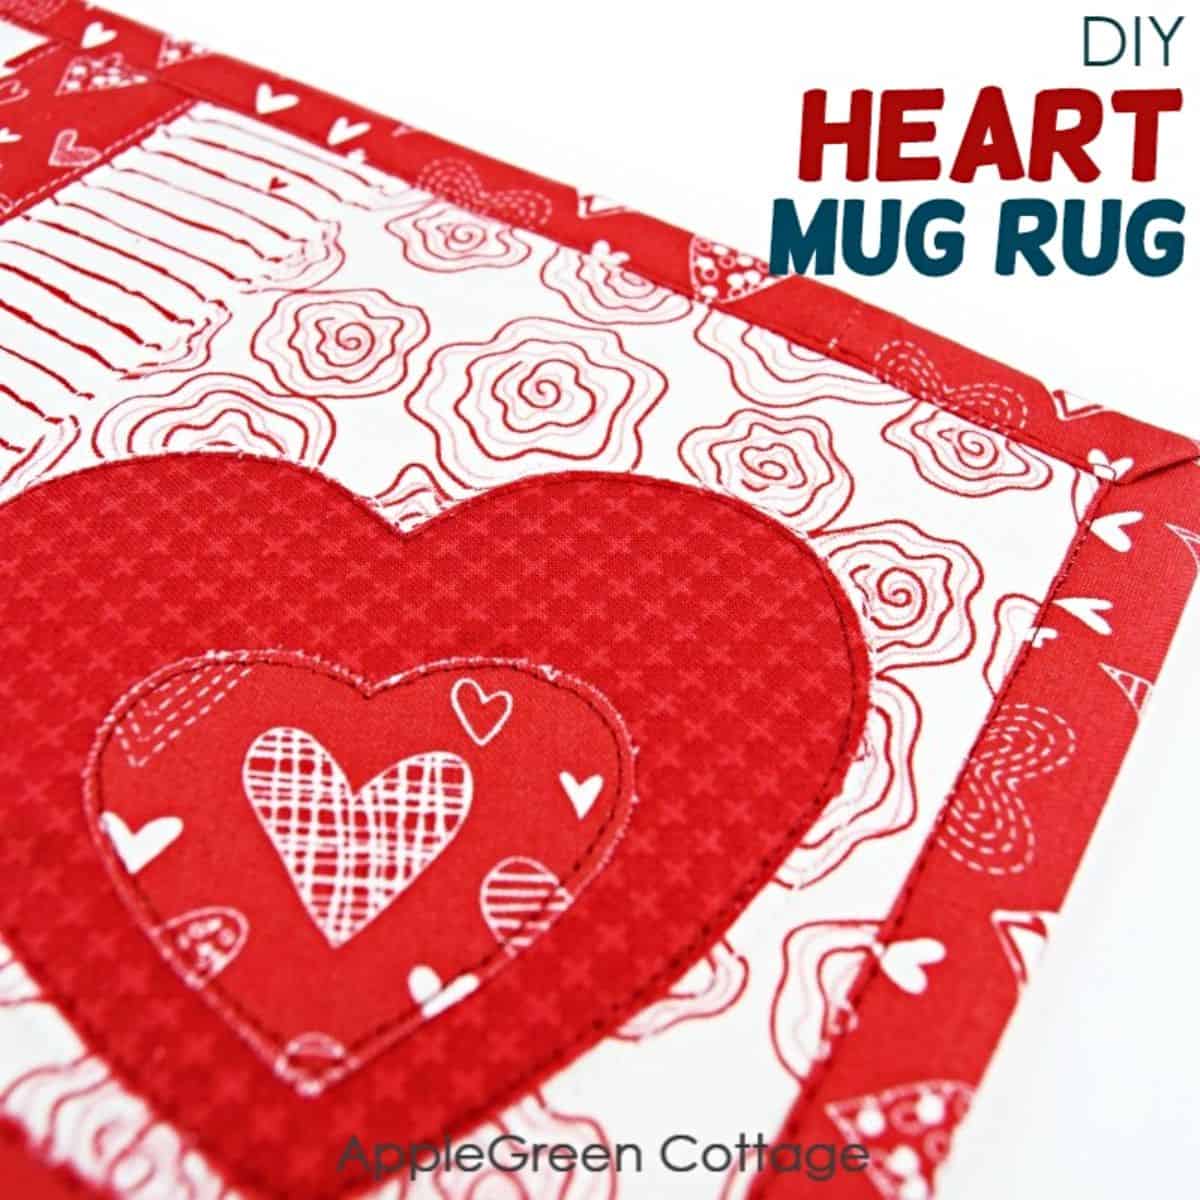
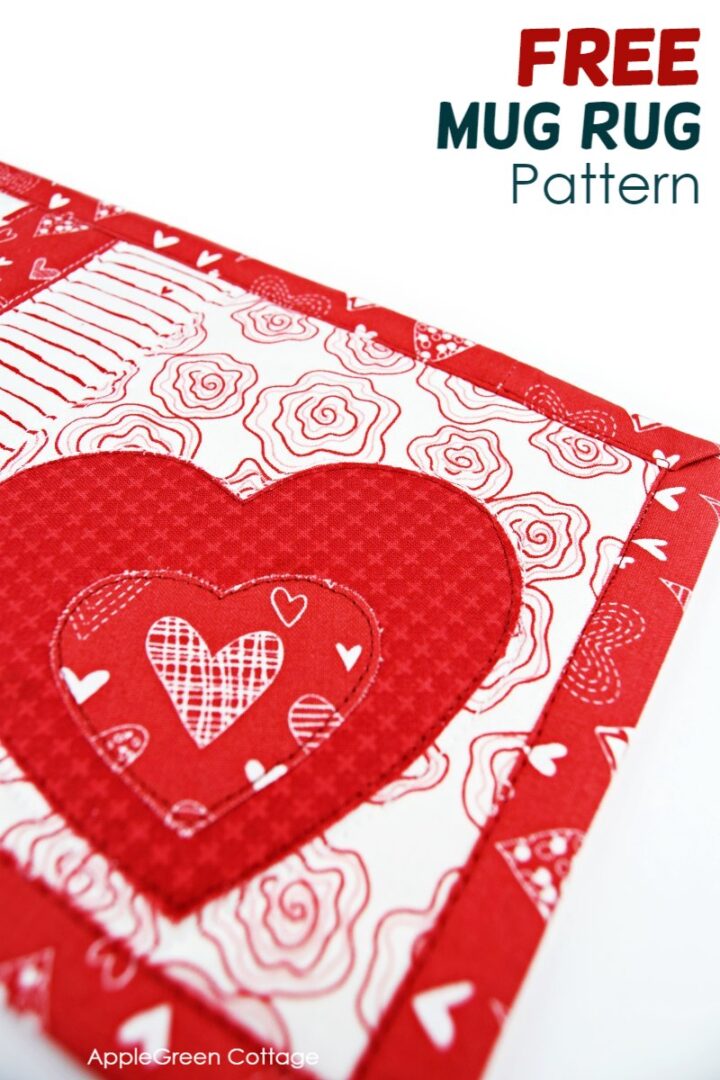
Make a beautiful mug rug using this free mug rug pattern. Also, use the free heart appliques to make sewing even easier, and your diy mug rug even prettier.
Sew this free mug rug pattern today and mail it tomorrow - it fits in an envelope and ships easily without worry.
It's a perfect diy Valentines gift to send to someone you love! (And you can even add one or two more handmade gifts from this Valentines projects page.)
Prefer an ad-free printer-friendly option of the whole tutorial+heart template? See the → optional PDF file in our shop.
Table Of Contents
Why People Love This Project
Some projects are small, simple, and just feel good to sew. This mug rug is one of those. It's quick, scrap-friendly, and makes a lovely little handmade touch for everyday moments - morning coffee, afternoon tea, or a cozy desk break.
In this tutorial, I'll show you how to sew an easy strip-pieced mug rug, with the option to add two sweet heart appliqués. You can dress it up, keep it simple, or skip the appliqué altogether if this is your first mug rug. Either way, it's a satisfying little project you'll want to make more than once.
If you prefer to make a pieced heart quilt block instead, check out how to make a heart square quilt block! Or if you like quilting but not so much the binding part, take a look at this other quilted mug rug tutorial - you'll love it!
What is a mug rug?
Also called a coffee mug rug or a mug mat, a mug rug is a perfect spot to put a cup of coffee or tea and a cookie or two. It's a rectangle sewn with fabric and a batting layer to not just make your space prettier, but also to protect the table or desk surface from any spills from the coffee/tea and cookie crumbs.
Comparing a mug rug vs coaster, a coaster is usually smaller and will only hold one glass or cup. And what a great way to use your scraps!
How Much Fabric Do You Need for a Mug Rug?
You'll just need a quarter yard of fabric (can be scraps) plus some batting to sew a mug rug.
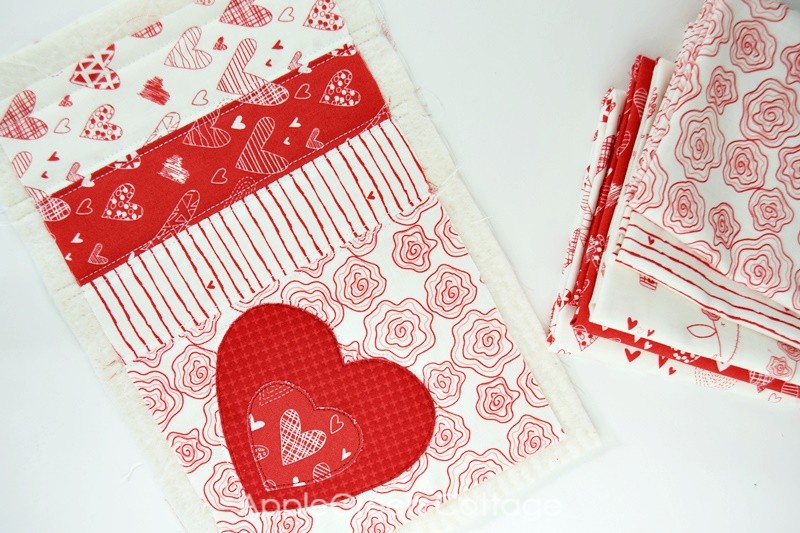
I used prints from the From the Heart collection by Sandy Gervais - playful florals, sweet vintage details, and lots of charm. They're perfect for Valentine sewing and even small 'fabric stamps' on tiny projects or cards.
When choosing fabric for mug rugs or placemats, grab a little extra - it's an easy way to turn them into a matching set with one of these free table runner patterns, too.
Supplies
Useful notions, tools and other stuff:
Shop my personal favorite sewing supplies on Amazon HERE.
- Odif 505 for temporary spray-basting the layers. Ignore it if you don't have it, and use safety pins instead.
- walking foot, strongly recommended, for any quilting project
- sewing clips (or pins)
- fabric scissors
- ruler and rotary cutter, and a cutting mat
- fusible web if you are making appliqued hearts like me
- free template
How To Make a Mug Rug
Here's everything you need to do to make your own beautiful mug rug:
Step 1 - Get the FREE Heart Applique Template
I've created heart templates that you can download for free. To download the FREE heart TEMPLATES, click the button below:
OR do you want a printable copy of the WHOLE tutorial? Scroll to the bottom of this post for more details!
Step 2 - Cut Fabric And Batting
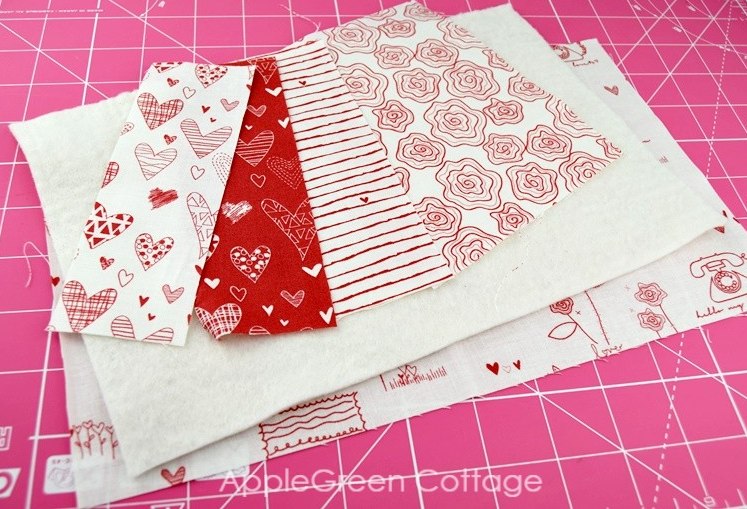
Cutting Instructions
- For a strip-pieced front, cut from various fabric prints: (3 pieces) 2" by 6" and (1 piece) 5" by 6" - if you don't want a pieced front, just cut 10" by 7" from main fabric.
- cut (1 piece) 10" by 7" from backing fabric
- cut (1 piece) 10" by 7" from batting
- for binding, cut a 40" long strip of 2 ⅜"
How to cut binding for this project: cut your strip along the grainline or crosswise, it does not matter as you need a straight-grain binding. No round corners and curves, so there is no need to cut it on the bias, unless you want to of course. I cut mine at 2 ⅜ " from selvedge to selvedge. You can get away with a slightly narrower binding at 2 ¼" too.
Step 3 - Piece The Front of Your Diy Mug Rug
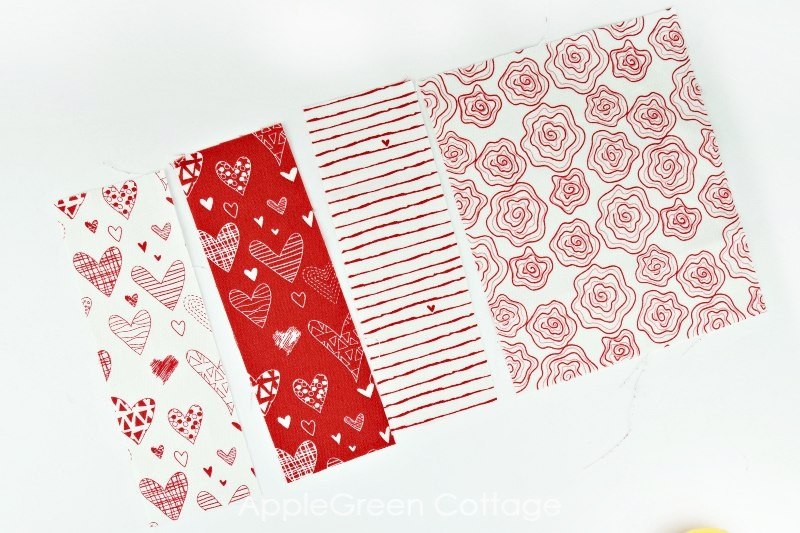
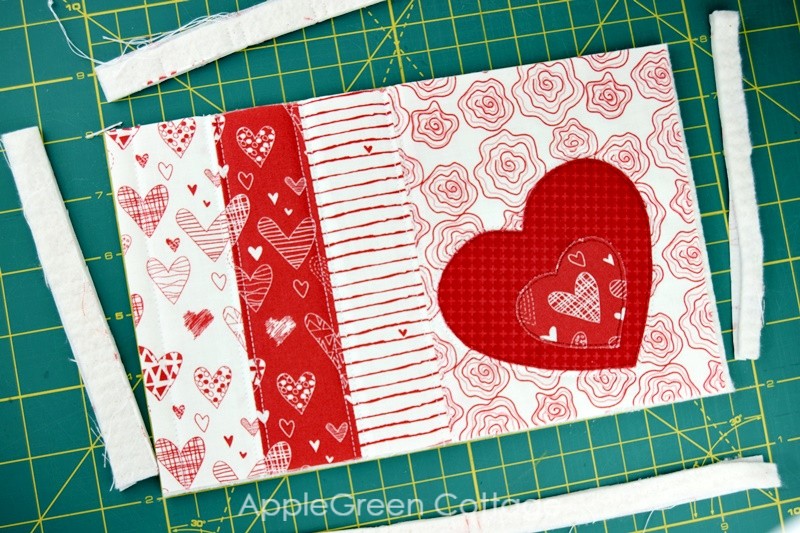
Arrange the narrow 2" pieces next to each other and add the last, 5 by 6" piece to the far right, then piece them together using a ¼" (7mm) seam allowance and press the seams open. Here's the process in images:
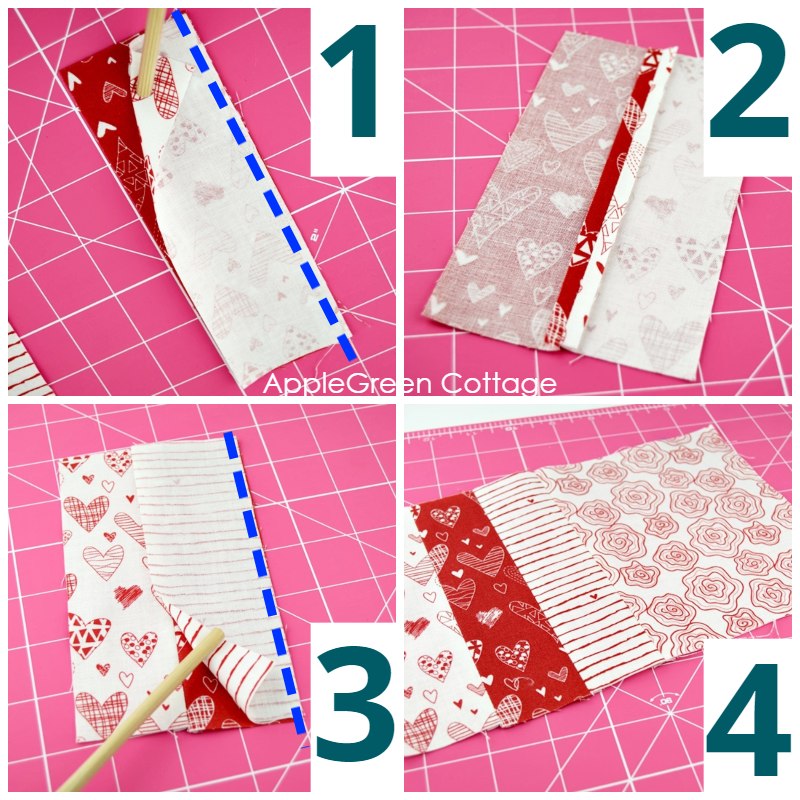
You'll end up with a lovely patchwork front measuring 9 ½" by 6".
Step 4 - Add the Heart Applique
After you downloaded the free heart templates in Step 1 of this tutorial, it's time to add one or several heart appliques.
I used the 'Wide Heart Template':
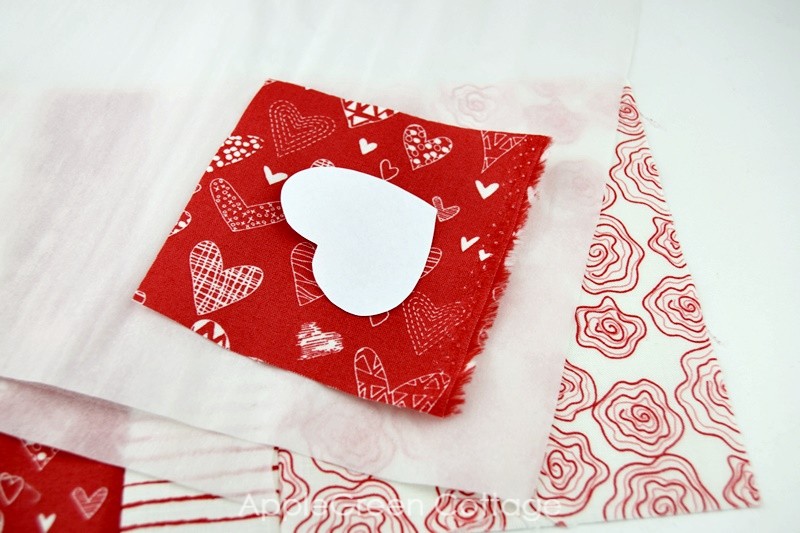
I used the heart templates to layer two smaller sized hearts from the template using fusible web and then edge-stitched them to the base layer, like this:
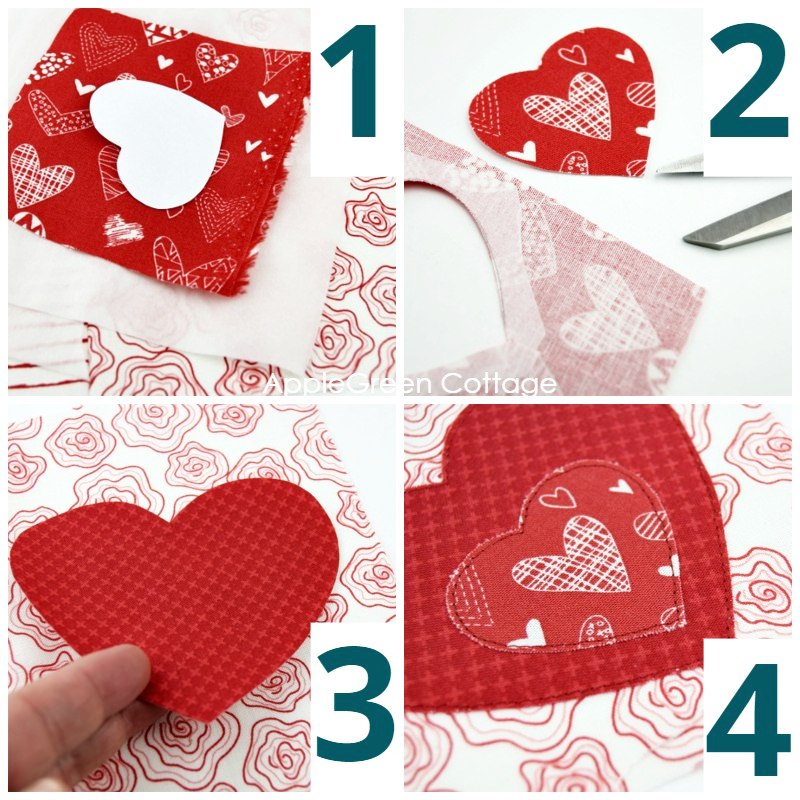
If you're not familiar with applique, feel free to use this easy applique tutorial.
You can either stitch the hearts using a narrow stitch, or a dense zigzag, your choice.
Step 5 - Assemble Layers
Lay your backing with the right side down, then place the batting on top of that. Then, place the pieced front layer with the right side up. Fix using safety pins or spray baste the layers together. You can use Odif 505 to do so, for me this is the easiest way to prevent shifting.
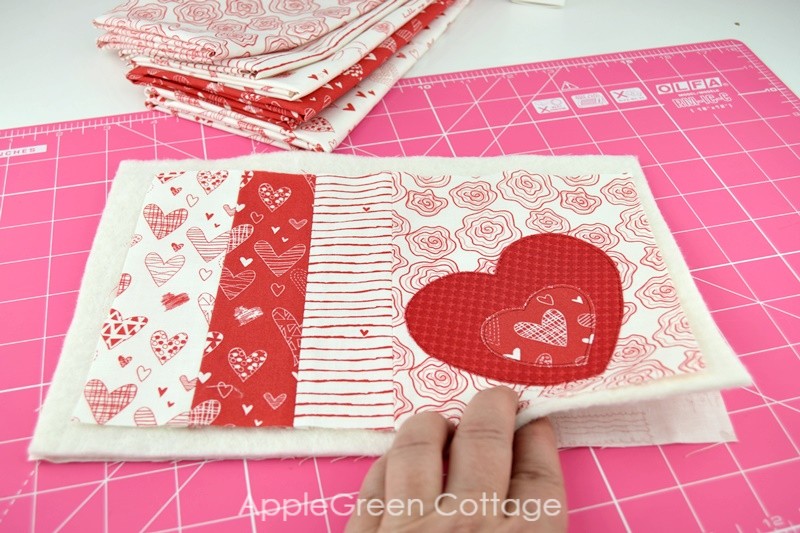
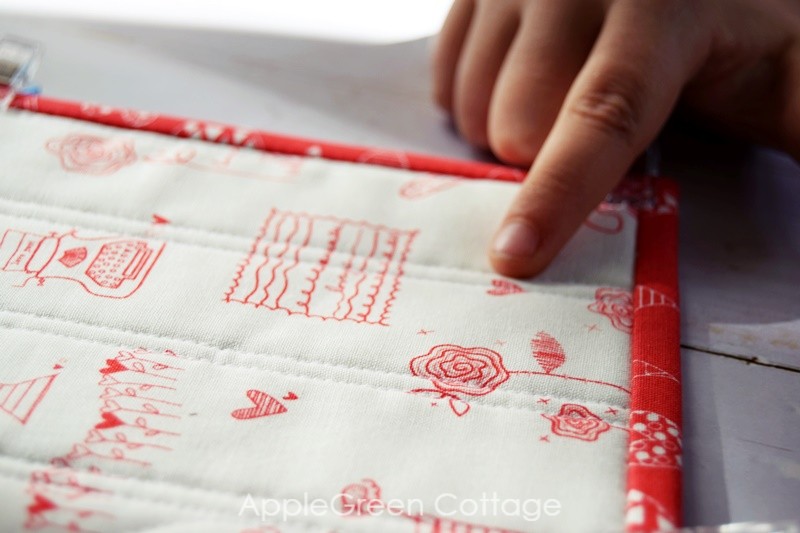
Step 6 - Quilt the layers
I added just a few straight lines to the mug rug, close to the piecing lines. Straight-line quilting is a relatively easy way to add structure and bring the layers together. Remember to start in the center and move towards the outer edges. I also added a line around the larger heart applique.
And a walking foot makes sewing so much smoother. Use it if you have one.
Step 7 - Square it up
Trim off the excess batting and back fabric and make sure all the corners are at a 90-degree angle. You need a 9 ½" by 6" rectangle. Using a ruler and a rotary cutter is the best way to go.
Step 8 Binding - How to Bind A Mug Rug
Once you've trimmed it, you'll need to bind the edges.
First, take your 40" long strip of binding and press in half if you haven't yet. Then see here how to add binding to a quilt, a mug rug, a potholder, anything actually.
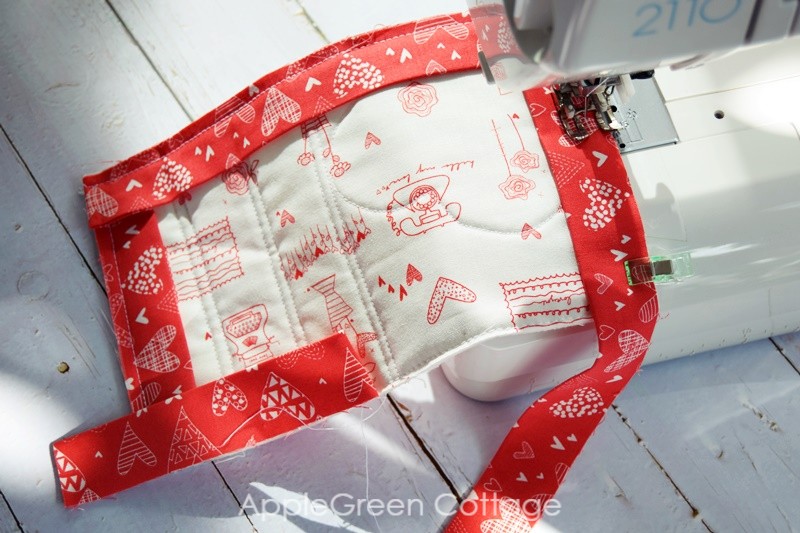
NOTE: Here, I cut my binding just 2 ⅜" wide as there is only one layer of batting, and I might even get away with 2 ¼". The binding tutorial uses a bit wider, 2 ½" strip of binding, but the process is the same. I stitch my binding first on the backside and then machine-topstitch it on the front side. That way any imperfect stitches don't show.
And your mug rug is finished. Isn't it cute! If you like sewing for home, make a set with these potholders, these placemats, a handmade table runner quilt, or sew a basket to gift it. And before I forget, once you've made one, take a look at this tiny diy sewing case. It's so similar to the mug rug you could easily whip up one more to practice sewing binding and get a needle book out of it too.
Or, on a side note, if you're looking for a quick project that is quilted but requires no binding, try this lovely oven mitt sewing idea.
And here are a few answers to the questions AGC readers (you!) have been asking about the mug rug tutorial:
How big is a mug rug?
Mug rug dimensions will vary a lot. Usually, the mug rug size is between 4" x 7" and 12" x 8", just up to the size of a small placemat. The pattern for the mug rug in this tutorial gives you a finished mug rug of 7" by 9 ½". I think this is my favorite mug rug size.
It makes a beautiful mini wall hanging too! See here how to hang a quilt - big or small. Or tiny.
About Mug Rug Batting
Back to the mug rug project, I used one layer of cotton batting, but you can also use poly batting or fusible fleece. If your interfacing is thin, consider using two layers to make them thicker. Read more about interfacing and batting in this guide on interfacing.
As always, I'd love to see if you've made a mug rug using this tutorial and mug rug pattern. Please post a picture to Instagram and tag me @applegreencottage or #applegreencottage - so I can take a look!
Want a printable copy of the whole tutorial?
Prefer a full, ad-free and printer-optimized Printable Tutorial with both instructions AND heart template included? ↓↓

This tutorial is also part of Printable Tutorials BUNDLE
100 PDF tutorials now, and growing!
Want More Free Patterns?
Get email updates and never miss out on new patterns, printables, and tutorials:
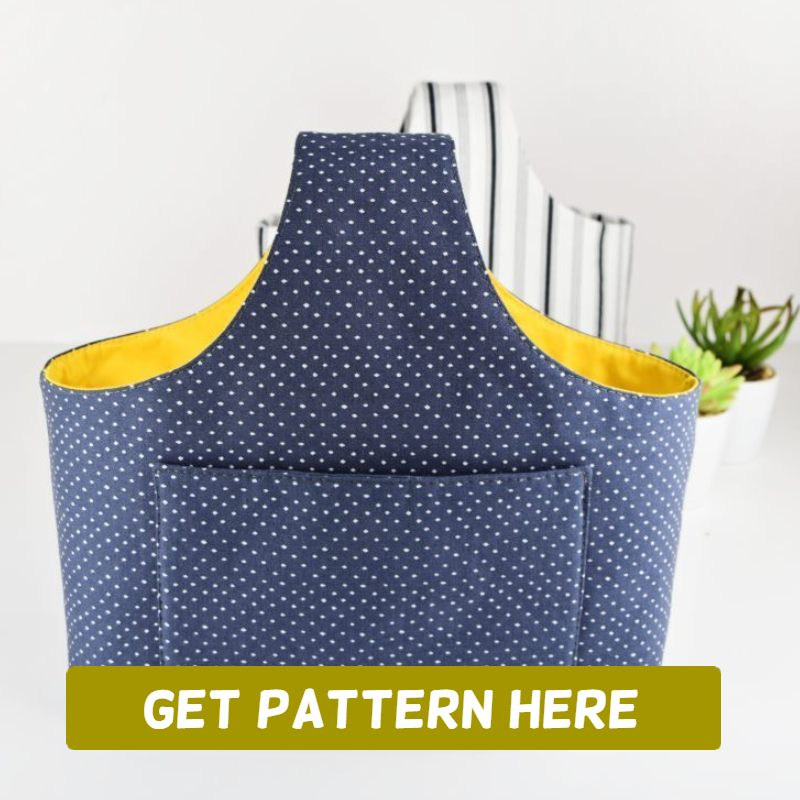
Or check out this pretty ALLina project bag pattern in our shop - for all your storage needs:


Pam Harris says
Hi Damjana,
Thank you for the cute Valentine’s mug rug pattern! After reading your instructions, I’ve decided to make several for my girl’s club. Your instructions are clear and straightforward, making it very easy to whip with several in one day. I do have a question, what size appliqué hearts did you use?
Thanks again,
Pam
Damjana says
Pam hi, oh you got me, I don't remember for sure. 🙂 Must have been the second or third size counted from the smallest one... But you can print the free template and decide on YOUR favorite size. Several sizes will work great!
Dixie M says
Neat mug rug! I love making mug rugs as well a minis - so quick & easy. Thanks for sharing your creativity & talents with all of us crafters.
Damjana says
Dixie hi,
these tutorials are something I love creating, so it's a win-win for all of us <3 Thank you for your kind comment, and I'd love to see what you make. tag me with @applegreencottage if you post something made with my tutorials, I'd be more than happy to see and share. (and yey to minis!)
Warmly, Damjana
Leslie Mankoski says
Very cute pattern and quick to make! Thank you
Damjana says
Leslie thank you. Admittedly, quick is what I always want to go for when it's just a week away from Valentines 🙂
Happy holiday if you celebrate.
Damjana
Mim says
Another oh.. so. cute. pattern! Thank You!
Damjana says
Thank you, Mim <3
Damjana
Kate Jensen says
Thank you for the pretty mug rug instructions!
Damjana says
Kate hi,
you're welcome! Damjana