
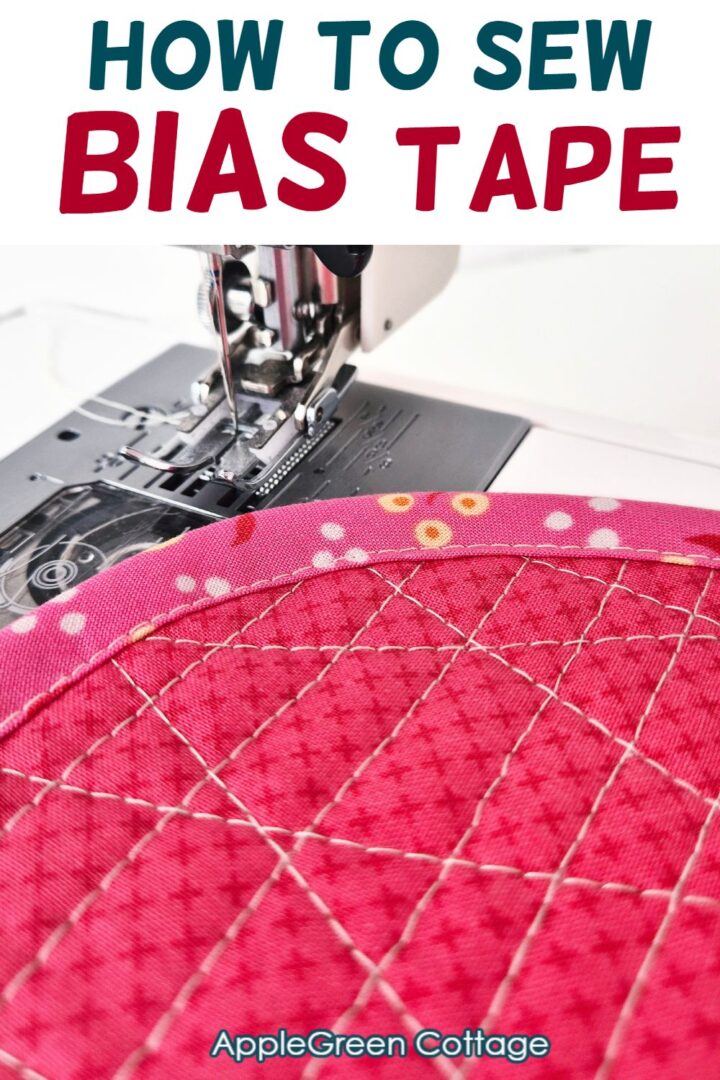
See how to sew bias tape for your sewing projects. Sewing bias tape is way easier than you'd think!
Bias tape can make or break your finish - the good news? It's simple to get it right. I'll show you how, with a few tips that make all the difference.
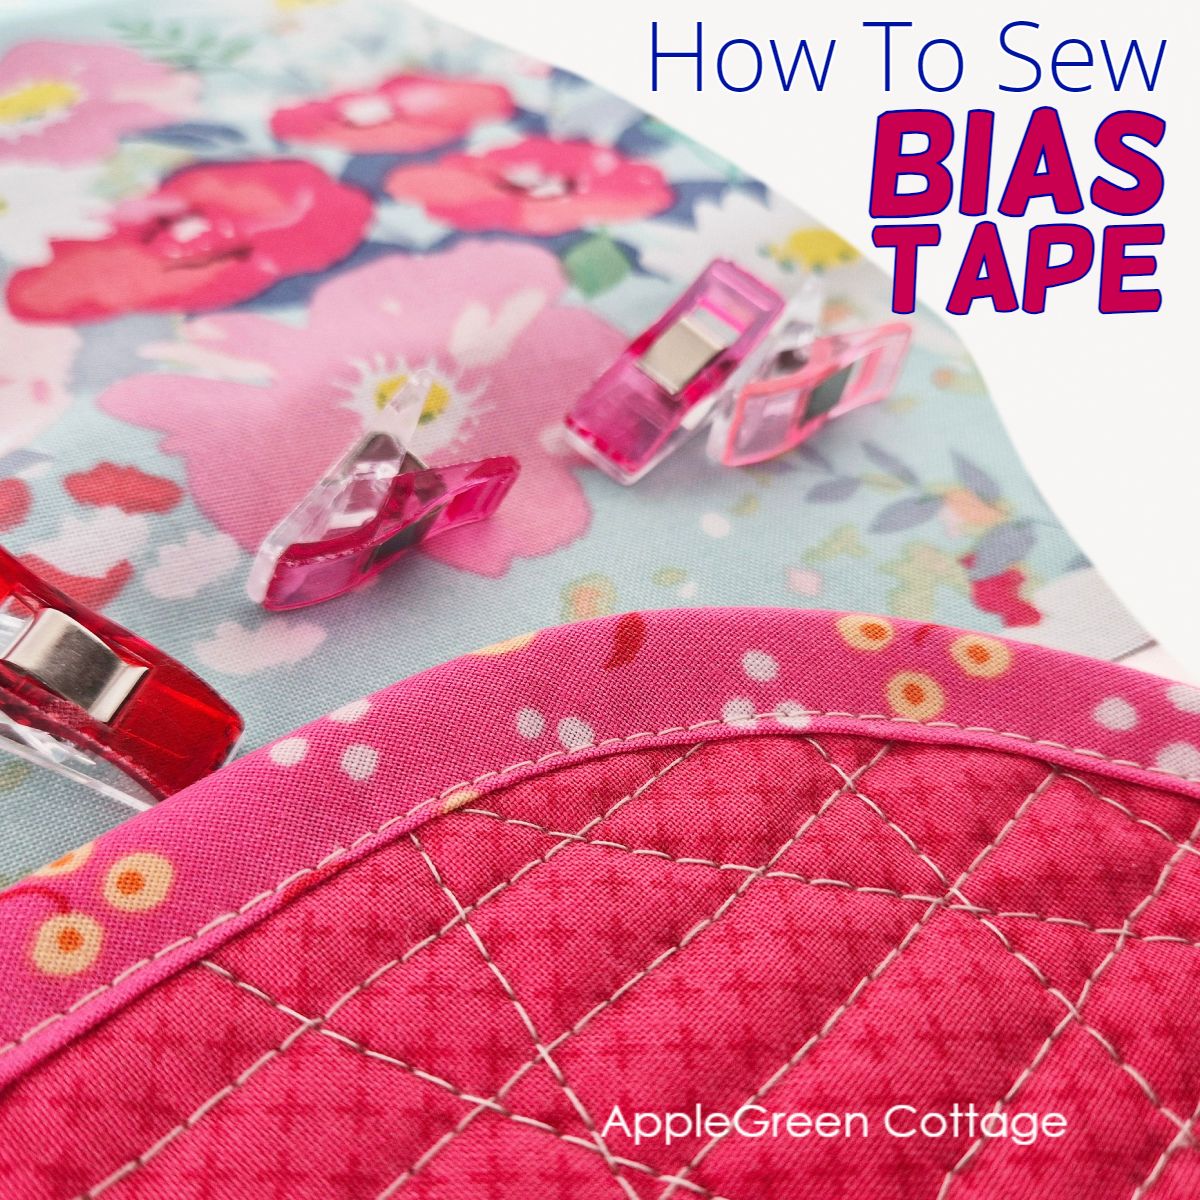
Table Of Contents
See how you can sew double-fold bias tape quickly and easily - but first, two basic things explained if you're new to this topic:
What is Bias Tape and where is it used?
Bias tape is a strip of fabric cut on the diagonal. This gives it a bit of stretch, helps prevent fraying, and lets it wrap smoothly around edges for a clean finish. With just a fat quarter of quilting cotton, you can make several yards of your own, pretty diy bias tape.
Bias tape is used on visible edges like apron edges, necklines, and armholes. Bags, too!
Supplies
Shop my personal favorite sewing supplies on Amazon HERE.
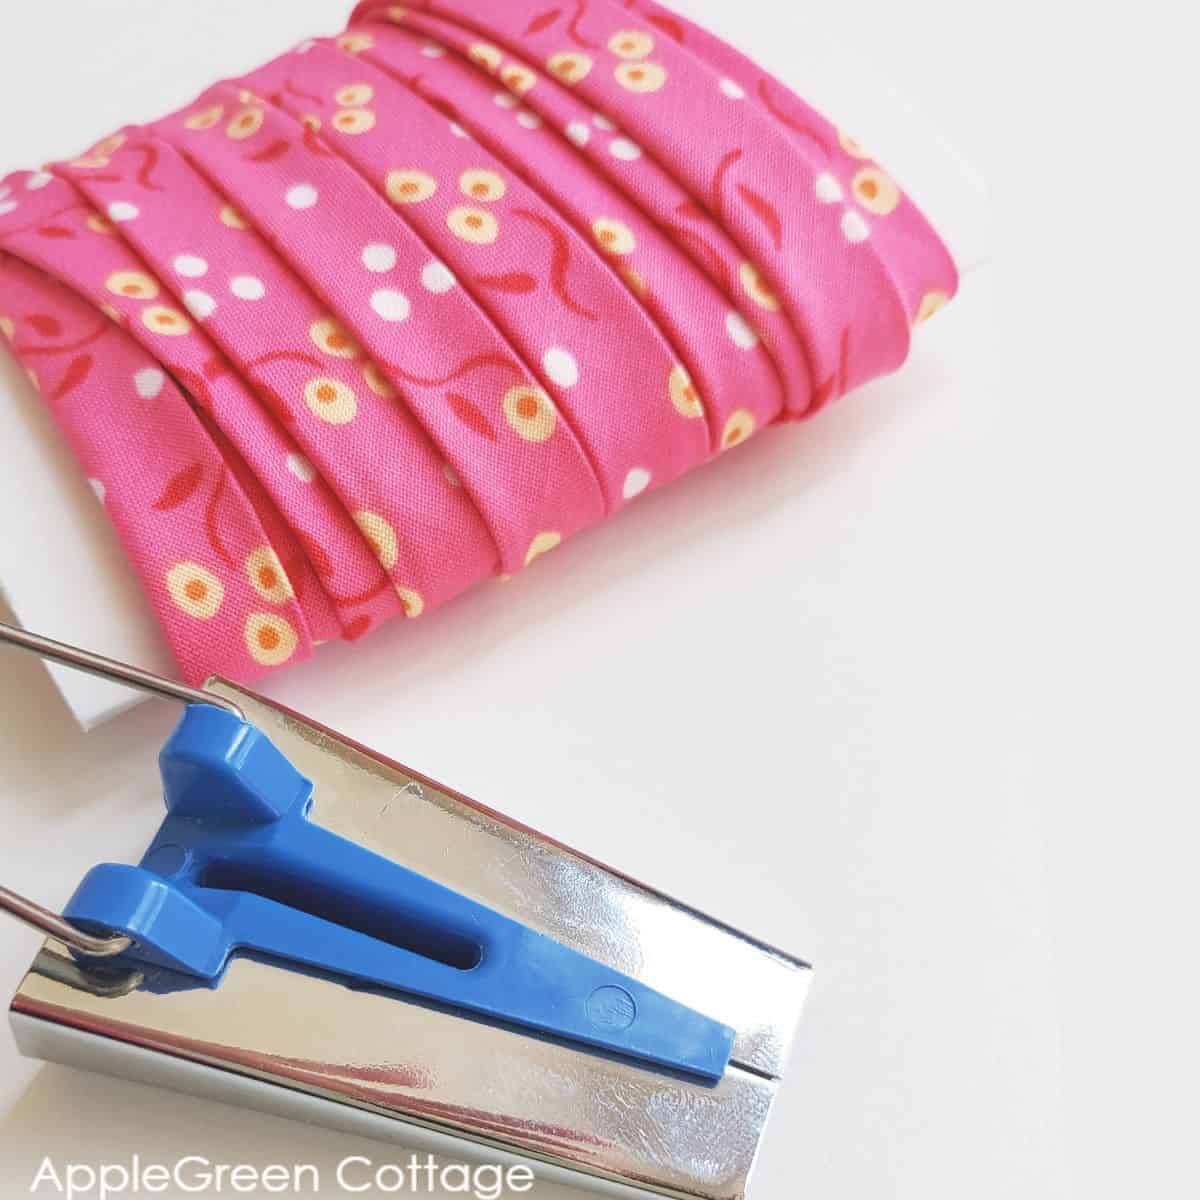
- bias tape (here's how to make bias tape from yardage)
- sewing machine, matching thread, scissors
- pins or clips, iron
- an awl helps a lot
In this tutorial, I use ½" width double-fold bias tape I made from my pretty Liberty Fabrics stash. This means the full cutting width is 2".
Bias Tape Making Video
Before we move on to sewing it, you might want to see the video on how to make your own bias tape. (Disable your ad blocker if you can't see the video here)
How to sew bias tape - STEPS
Cut your bias tape a few inches longer than you need it. Change the thread to match the bias tape color, and start:
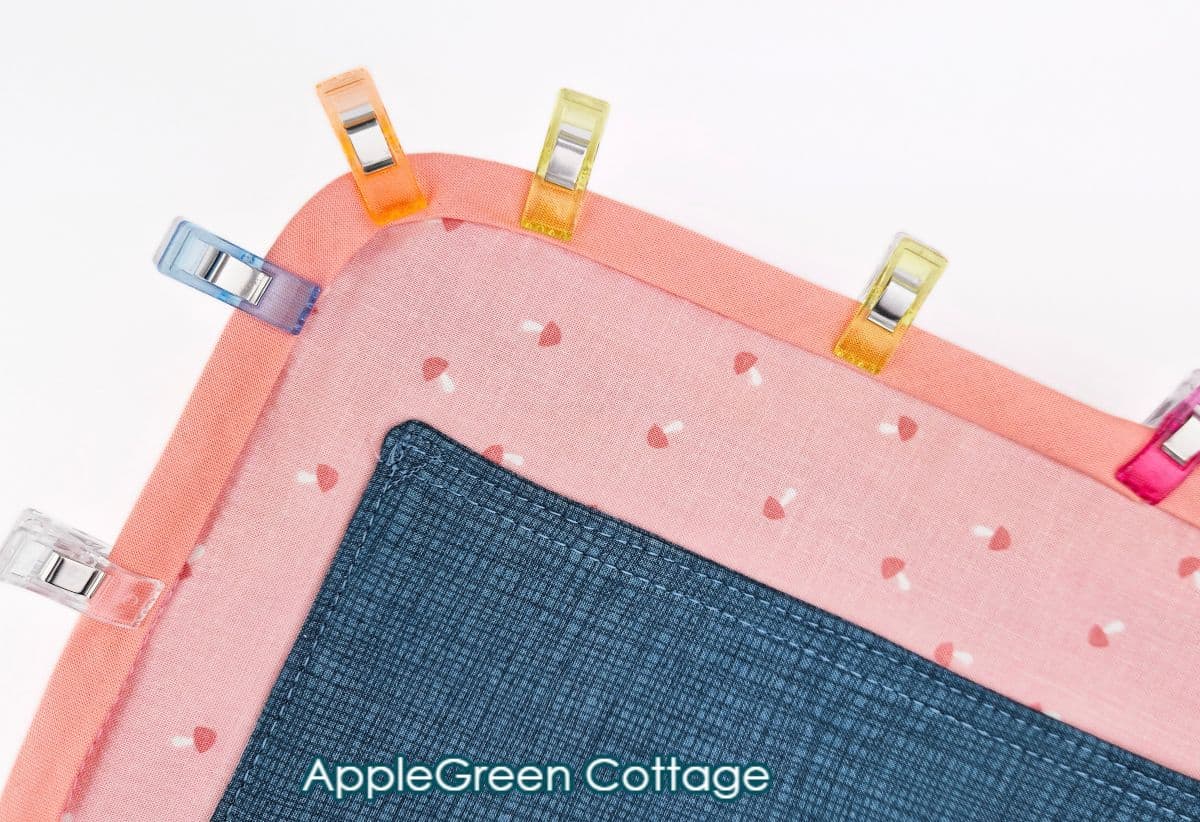
Step 1 - Place the tape
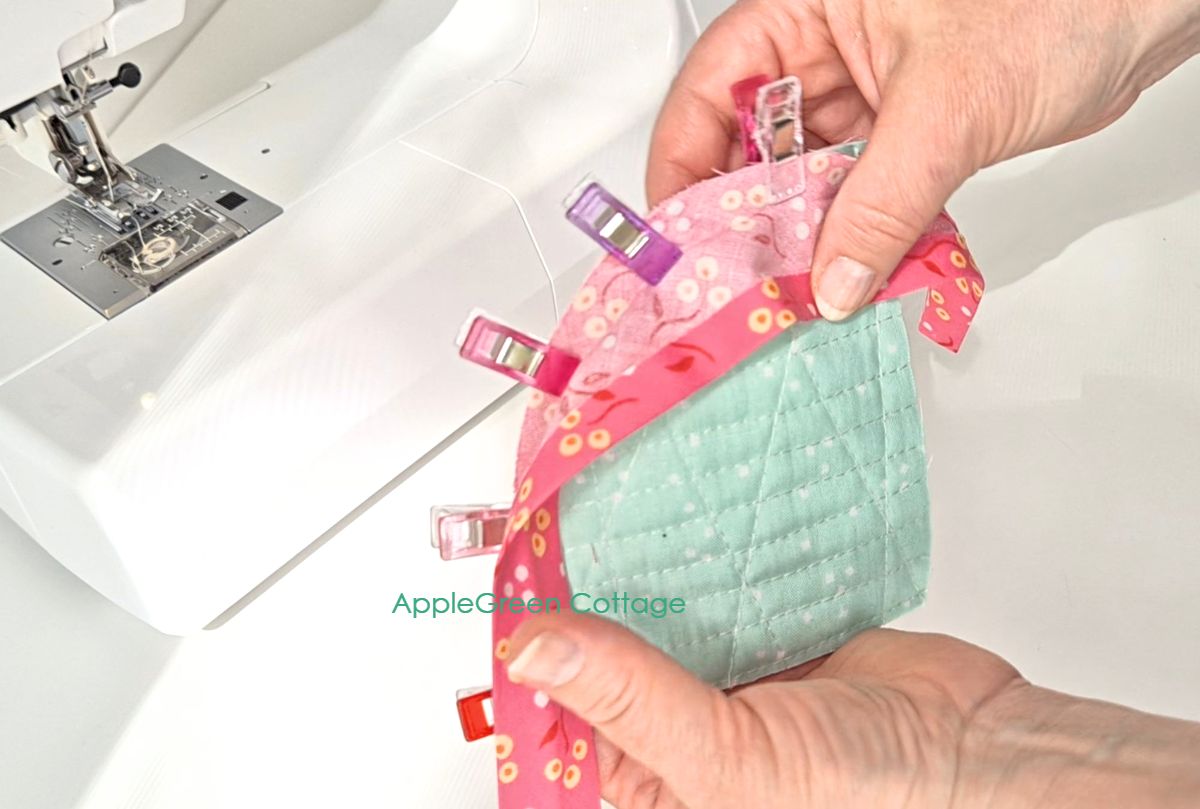
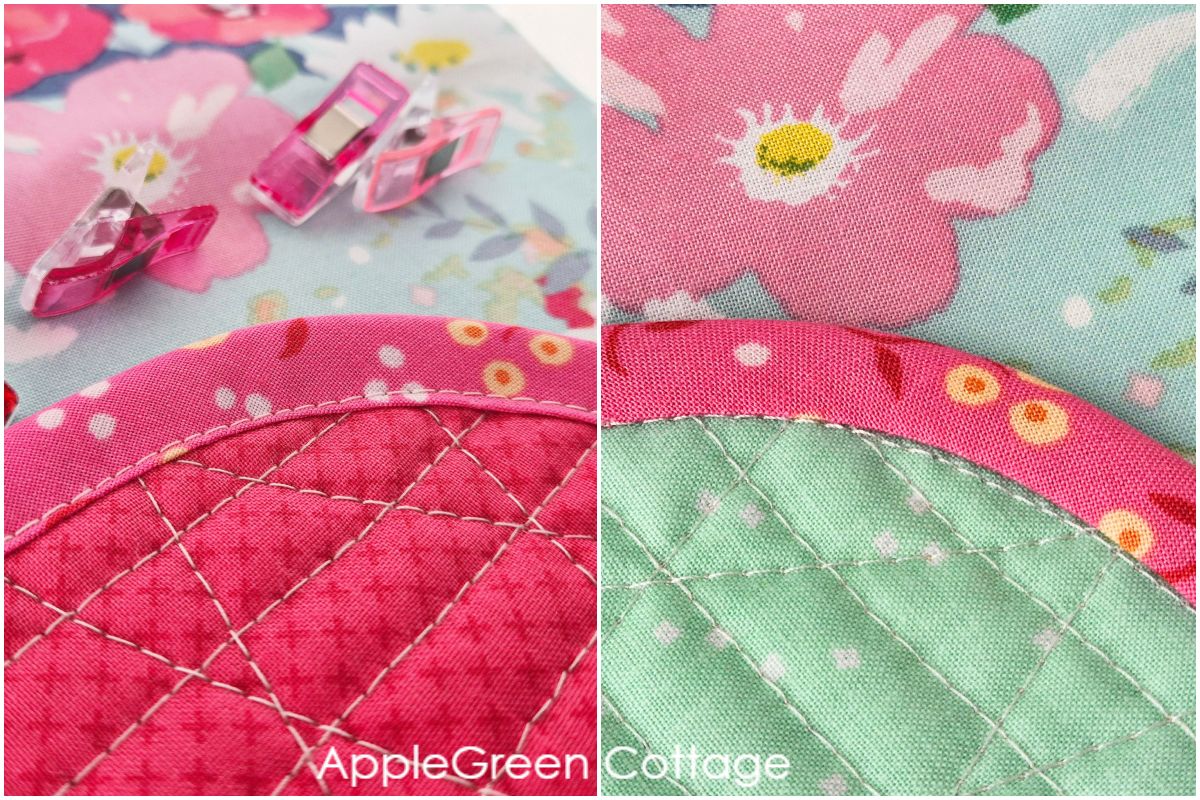
Open up the bias tape. Place it along the back side of your project (mint is the back here), matching the raw edges, right sides together. Pin or clip in place.
Clips or pins? I choose clips over pins any time except for matching points on pinwheel blocks or flying geese.
Step 2 - Sew
TIP: A stilletto tool is very helpful in this step, it will keep the binding in place as you are sewing it.
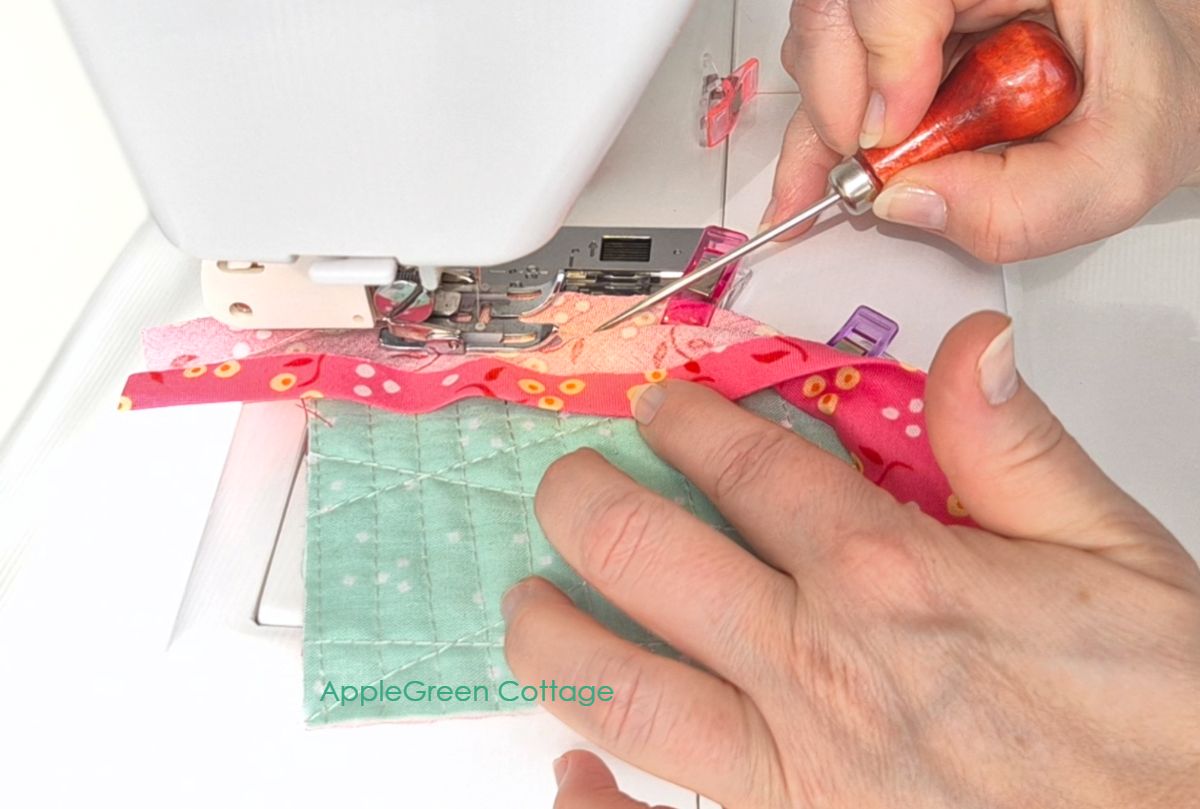
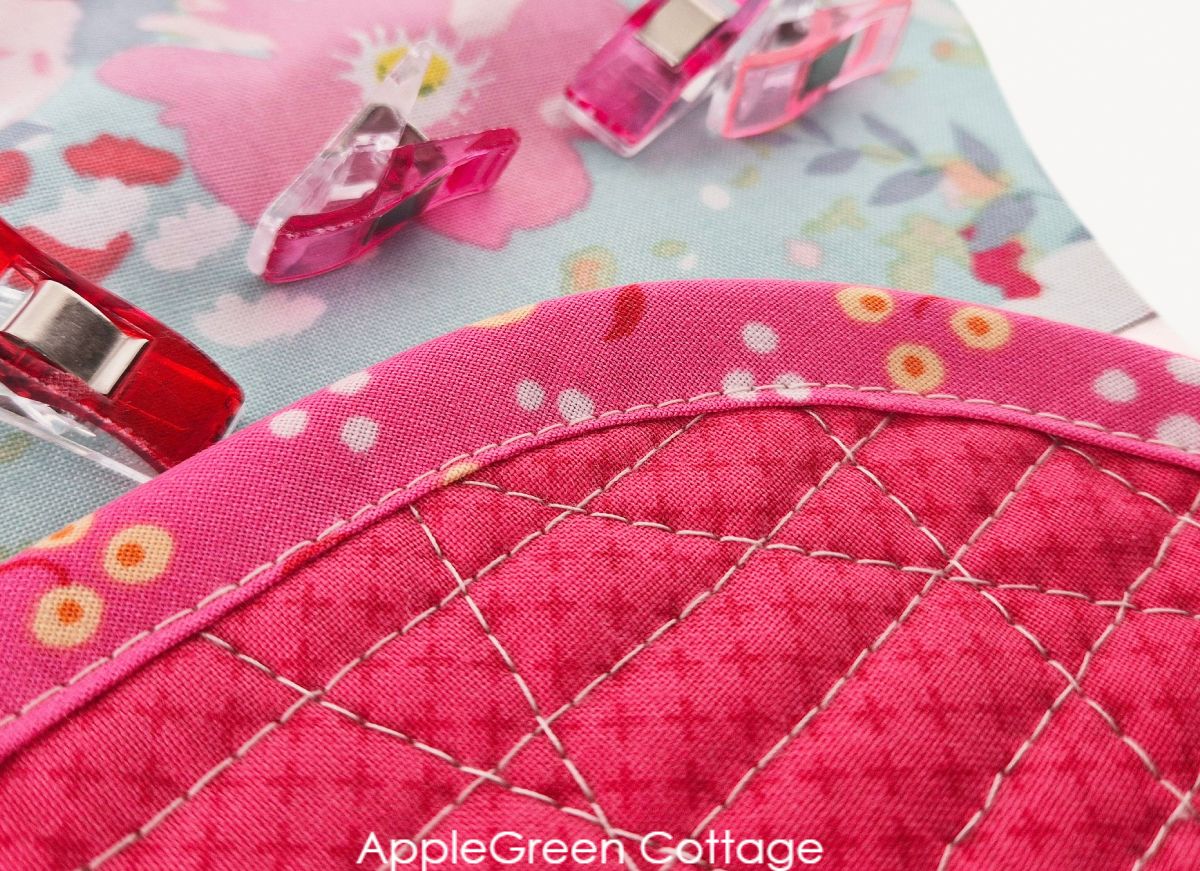
Sew along the first fold line of the bias tape. Keep the edges aligned as you go. This is the seam once finished:
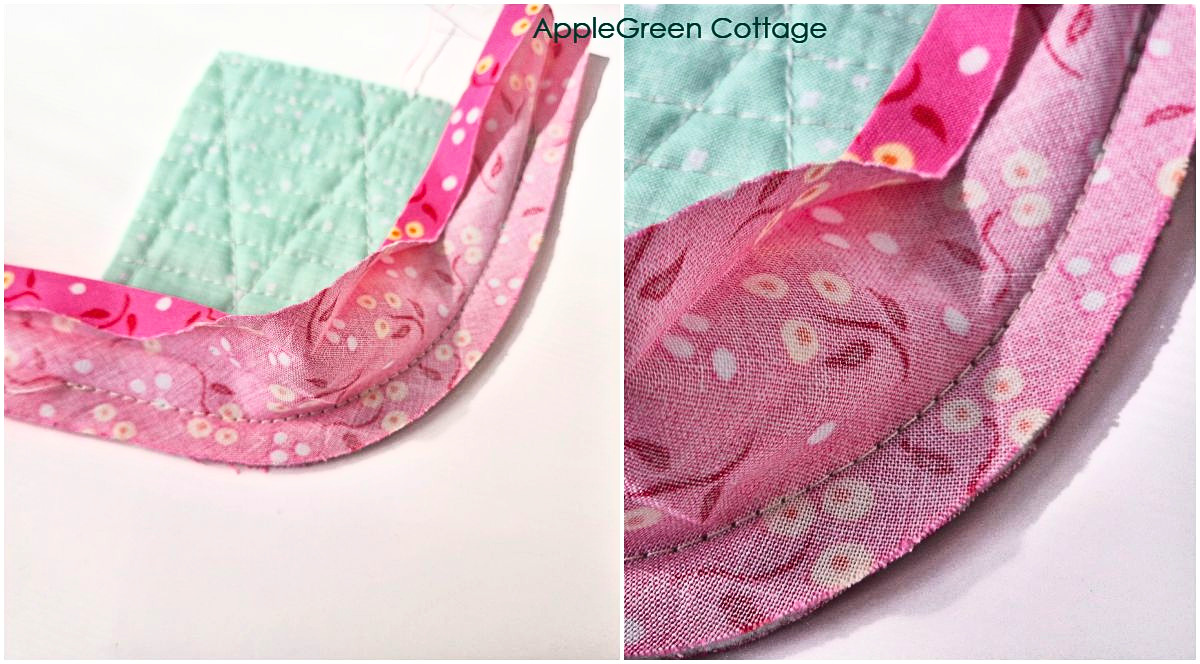
See how smoothly the bias tape follows the curve? That's because the woven fabric was cut on the bias, which gives it extra stretch and flexibility. There's no way you could get this with straight grain binding!
Step 3 - Wrap around
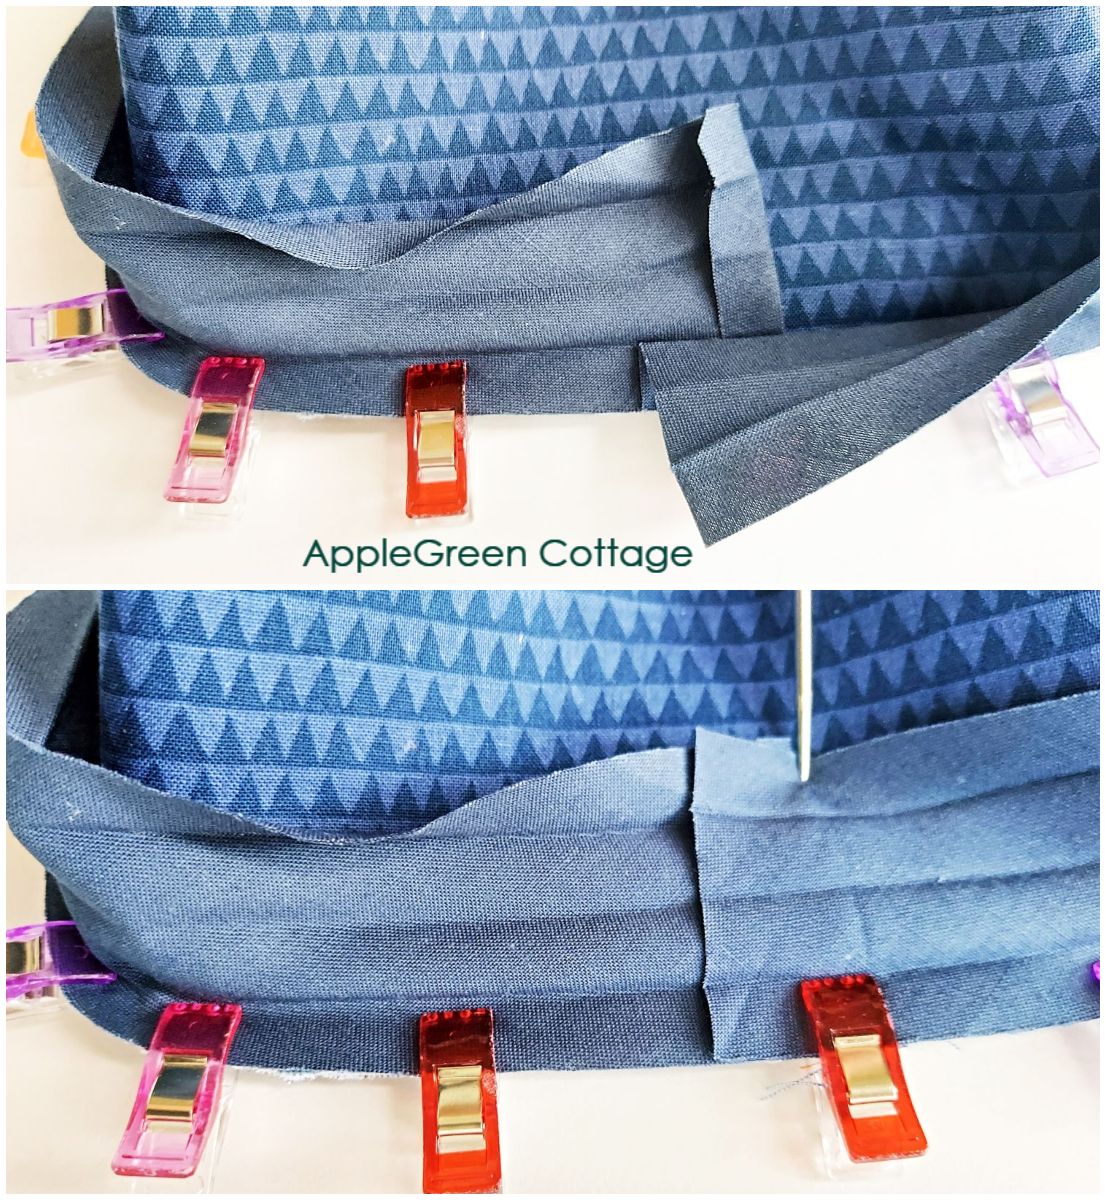
Fold the tape over the raw edge to the front:
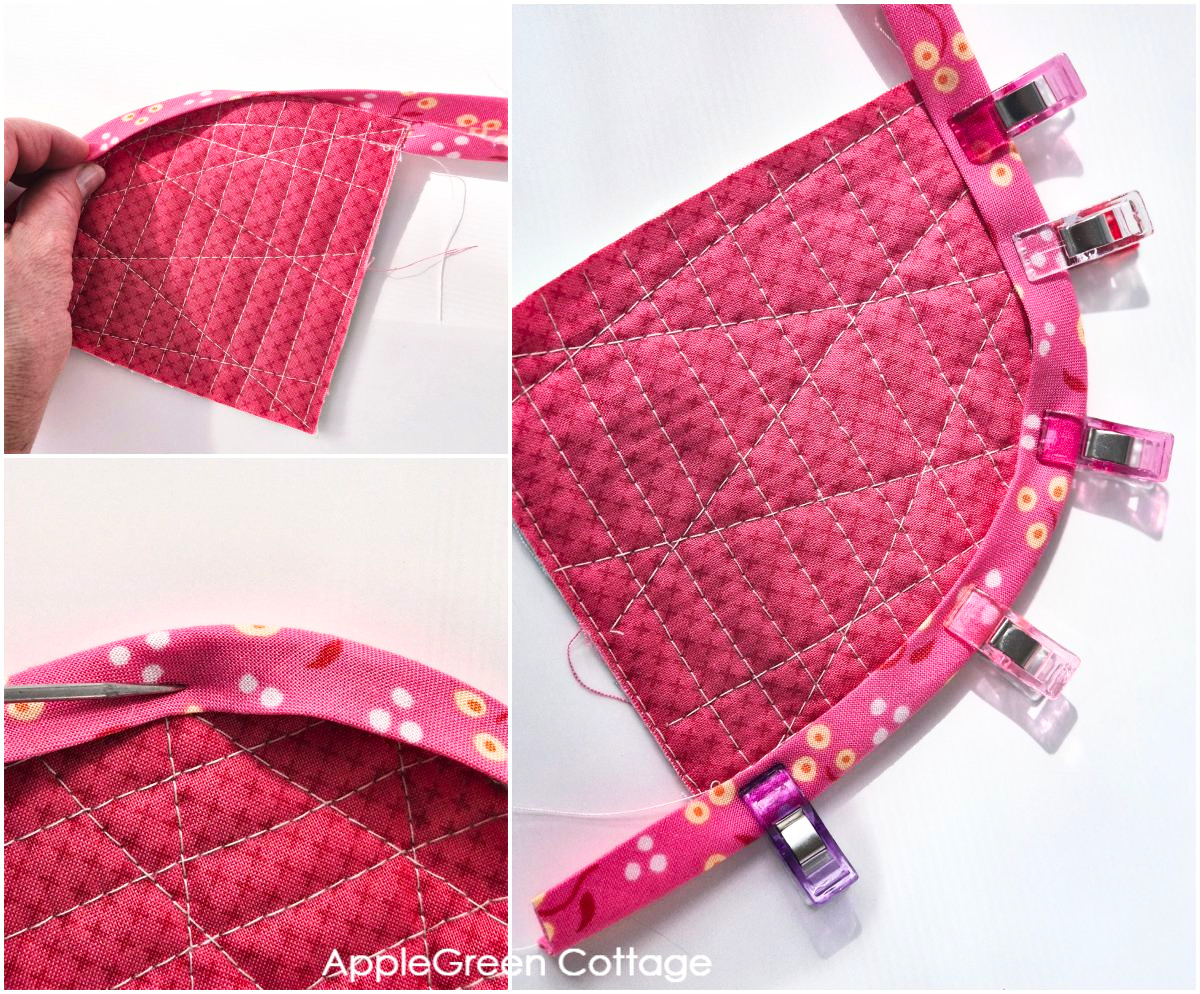
Flip the folded edge of the bias tape to the other side, encasing the raw seam edges. It will curve nicely around edges. It should cover up most of the stitching. Clip it in place.
TIP: if you notice the seam allowance is a little bit bigger than you want it to be and bulky, trim down the seam allowance area to reduce the bulk.
Step 4 - Topstitch
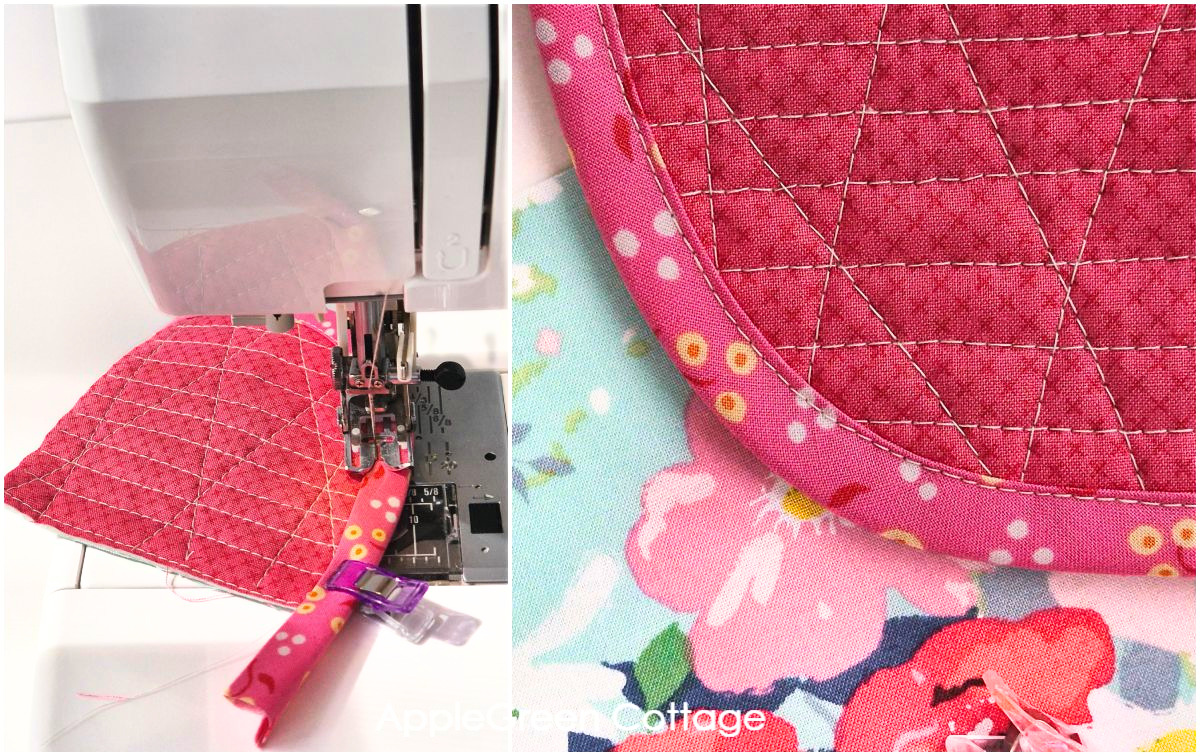
Sew along the inner folded edge to secure it neatly, about ⅛" from the edge.
Don't stress about perfection - as long as you sew close to the fold, the back side will be fine, even if it's not exact:
Tip
Using the same color thread in the bobbin as the backing fabric helps a lot!
How to join bias tape ends smoothly
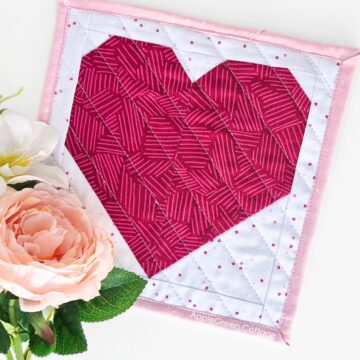
If you need to attach bias tape all around your project like on this diy round potholder, you'll need to overlap the start and the end. Let me show you how I do it on bags, it's the same principle:
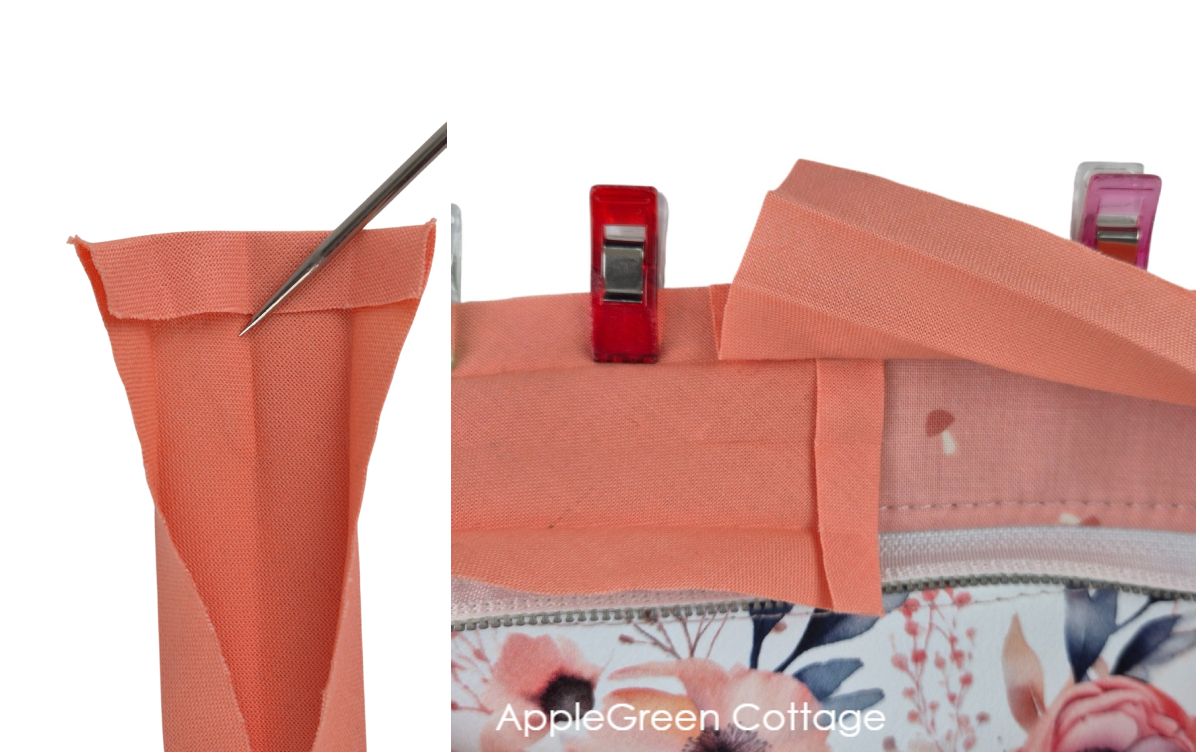
1 - I fold back ⅜" of the bias tape to the wrong side and press, then I start attaching it.
2 - Clip the bias tape all the way around, and end with a 1" overlap at the starting point.
3- Once you flip the bias tape over to the other side, only the finished end will be seen. Here are two examples:
How To Sew Bias Tape On Bags
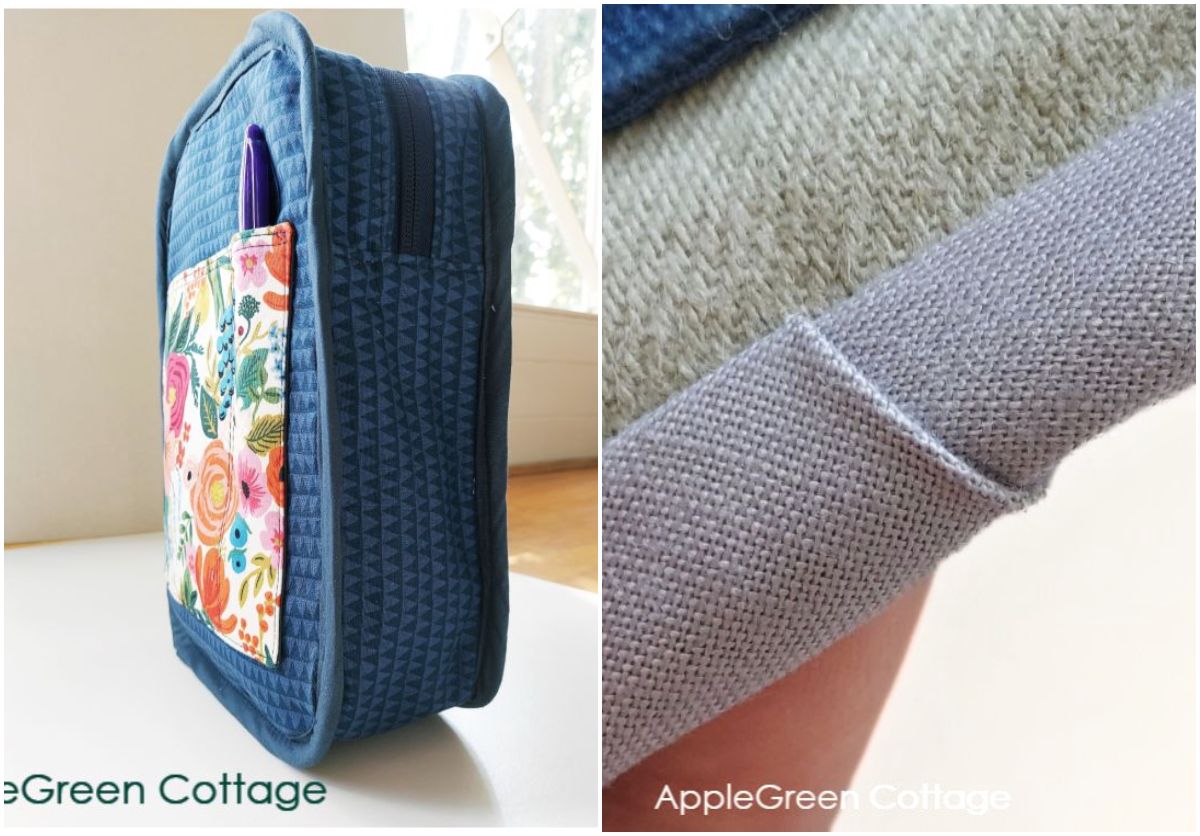
Some bags use binding as part of the construction - especially around gussets. It's a great way to finish seams neatly and add structure.
The principle is the same as with quilted projects, but bagmaking does have a few tips and tricks that are good to know. I'm writing a post on how to sew binding on bags. Make sure to join my mailing list so you don't miss it!
Top 5 Tips for Sewing Bias Tape
- Sew the first line on the fold - it guides your stitching.
- Don't pull the fabric as you sew - let it ease naturally.
- When sewing on a domestic machine, use a walking foot. It makes it easier.
- After flipping the bias tape to the other side, if it doesn't cover the seam easily, trim the seam allowance slightly to reduce bulk.
And, my favorite one?
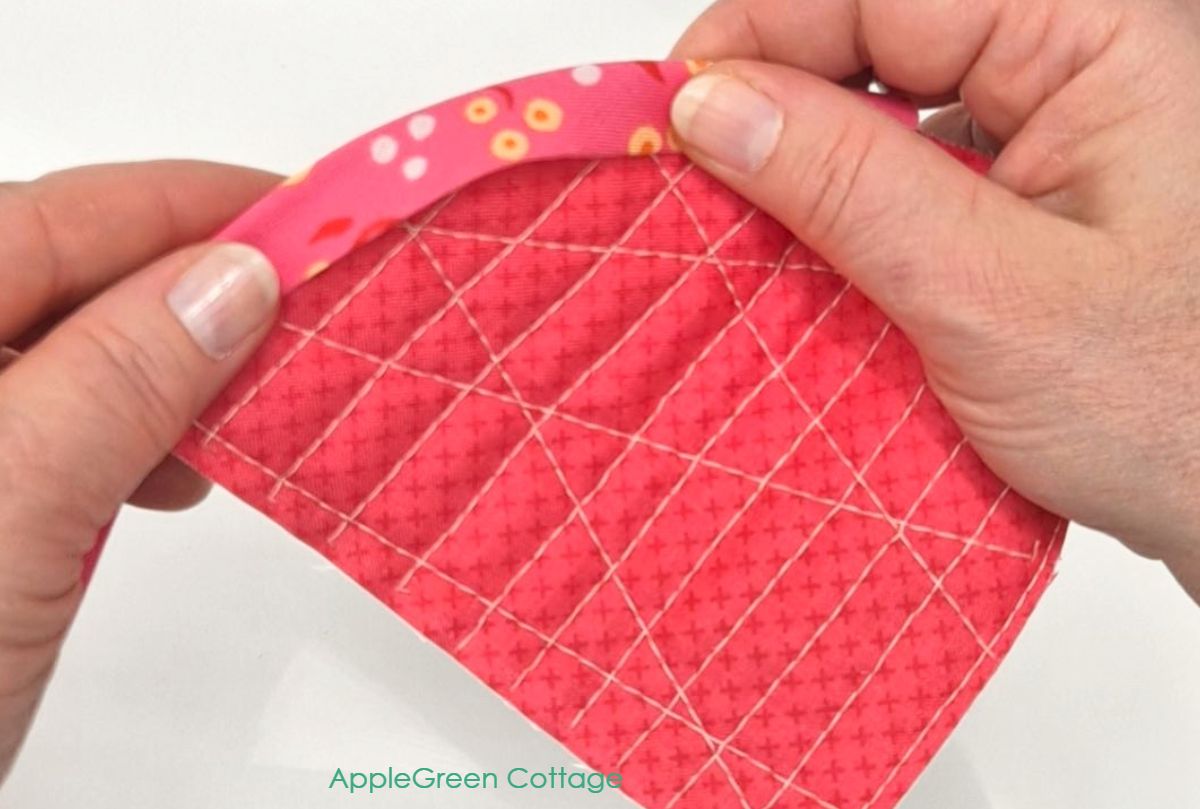
5 - Pre-curve the tape before sewing tricky curves. Gently shape it with your fingers and press it into the curve you need. This helps it lie flat and makes sewing so much easier!
Hack: Cheater Way To Sew Bias Tape
For a quicker (but less neat) finish, you can tuck the bias tape over the raw edge, clip, and sew just a bit more than ⅛" away from the fold to catch both sides. As I said, won't be as neat. But it's super fast!
Projects To Sew With Bias Tape
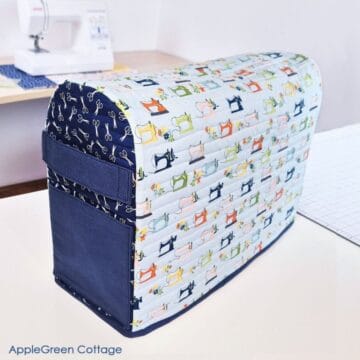
You can use it to create neat edges on raw fabric - especially on curved edges. In short, anything that is quilted and has curves! Start with round potholders like these, or you can also sew this sewing machine cover pattern that has bias tape on the inner seams.
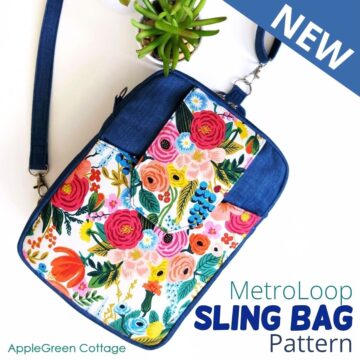
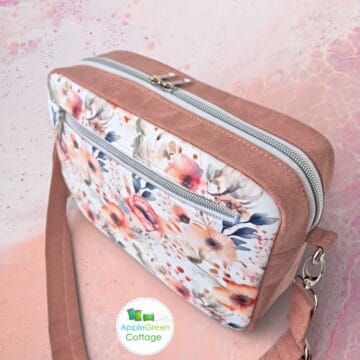
Another big use of bias tape for me, on any raw edges in bagmaking. I prefer turned bags to bound linings, but sometimes, opting for a double-fold bias tape on bags will simplify your sewing process a lot! Say, this sling bag pattern:

MetroLOOP bag+sling!
Make this trendy convertible bag that turns into a sling in seconds!
But for quilts, I prefer to make my own quilt binding for those, it just turns out better for me.
FAQ and Troubleshooting
Sometimes, a piece of fabric you have is not a regular rectangle. In this case, you'll need to find where the grain of the fabric is, to know how to cut it. This is how: hold the fabric up to the light, and you'll notice the direction of the weave. If that is not helpful, try pulling on the piece and seeing which direction stretches the most. That is going to be the angle you want to cut the bias strips on.
When you want to figure out how much bias binding you need, see the measurements of your project, and add at least 10 inches more than the perimeter of the project you're working on. This will make sure that you don't run out of your bias binding.
Are the seams where bias binding strips are joined bulky? Always sew strips together at a 45-degree angle to distribute bulk evenly. Trim the seam allowance to ¼ inch and press open. This creates a smoother, no-bulk seam.
Make sure to cut your fabric strips precisely on the bias - that is, on a 45-degree angle. Also, make sure to press the fabric piece before cutting to make straight cutting the strips easier.
Ensure you are not stretching the bias tape while sewing. Pin or baste the tape in place before sewing to keep it aligned correctly. Also, a steam iron to press the tape flat helps!
Simply put, the difference is in the fold: once you've cut and assembled the fabric strip on the bias, you can simply fold it in half along the entire length. This is bias binding. (talk quilts with rounded corners!) If you, however, fold the two raw edges towards the center and fold it again, you get a double-fold bias tape.
Now, were you a little scared by the idea of sewing bias tape before? I hope you no longer are, - and now that you know how to, you'll be sewing bias binding in no time!
Share this tutorial with your sewing friends who could use some binding help!

Join the FREE 7-part email course and make 6 beautiful items for your home! You'll love it!
WANT MORE FREE TUTORIALS AND PATTERNS?
Get email updates and never miss out on new patterns, printables, and tutorials:


Jill McDonough says
A big thank you for the bias tape e-mail you sent out a few days ago. I shared it with my sewing buddy who is helping me with a big project that requires a lot of bias tape. While we know how to use bias tape and have made our own in the past your method of cutting the strips to be used for the bias tape was pure genius!! It was time saving, every strip came out perfect, and our tape is a perfect match for our project. This method is truly a keeper. Once again,thanks so much.
Damjana Jakos says
Jill I'm so glad my tutorial was helpful. Happy sewing, always!
Janet says
I wanted to thank you for your free burp cloth pattern! I used flannel with terrycloth backing. The terrycloth was a bit messy but I loved the way they turned out. I just went to a baby shower and gave them as a gift. The prints of the flannel were adorable and the mother to be loved them! It's a very practical and useful gift and most people don't think of giving them. So, thank you again for such a great pattern and one that was well appreciated!
Marilyn Crowe says
Wonderful tutorial! I recently used double folded bias tape making 6 round casserole carriers. Your tried and true, tips and tricks, are spot on. I used pre-made and
self-made bias tape for this project with each type working well.
Your great work, patterns and skill sharing are greatly appreciated.