
See how to get a perfect ¼" seam allowance for quilting - every time!
As a quilter, you've probably heard it over and over: the ¼" seam allowance is essential for piecing a quilt. It's what makes your blocks fit together just right. But let's be honest - getting that ¼" seam perfect every time can be tricky, especially when you're just starting out.
Check out my favorite tips and workarounds below - and with a little practice, you'll master it in no time.
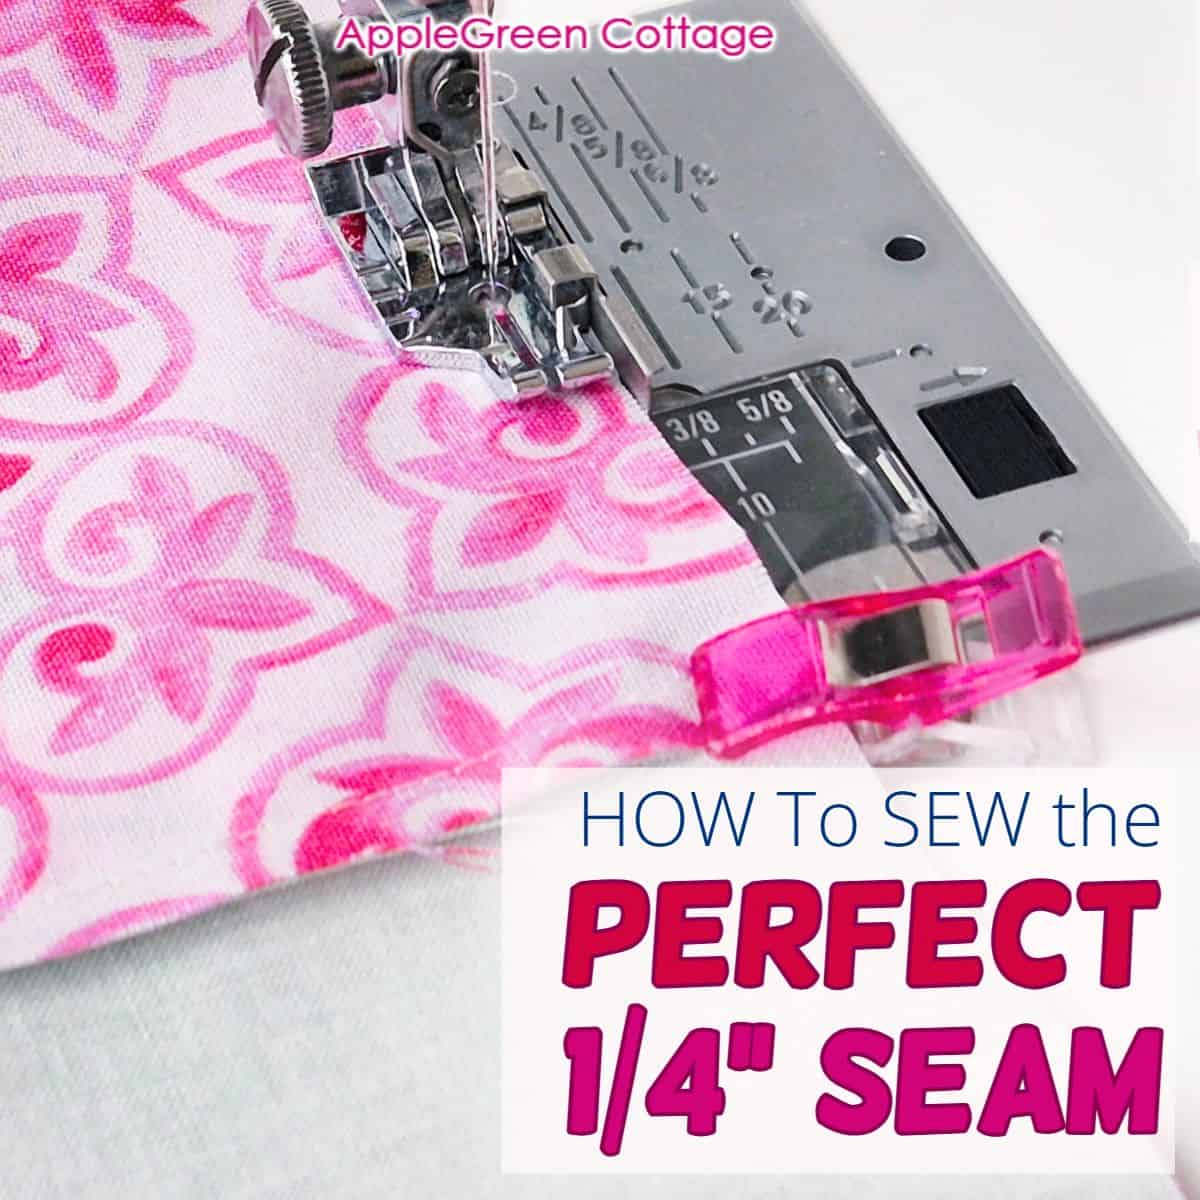
Table Of Contents
Before You Start: Get FREE Quilt Planner Sheet
Want to make planning easier? Get your free quilt project sheet now and start with a solid plan!
Why ¼" seam allowance?
In short: because it's the quilting standard that keeps blocks accurate while wasting as little fabric as possible. Now, a seam that's just a smidge wider or narrower than ¼" might not look like a big deal at first - but those tiny differences add up fast across a whole quilt top.
That's why quilt patterns rely so heavily on a consistent ¼″ seam allowance. Get that right, and your blocks line up beautifully. Miss it, and things start drifting.
And here's the good news: there's an even better version of the regular quarter-inch: meet the scant quarter-inch seam!
What is a Scant quarter inch seam?
A scant ¼'' seam allowance is just a tiny bit narrower than a full ¼'' - about the width of a thread.
Think of it as a "just-under" quarter inch.
Why Do You Need a Scant Quarter-Inch Seam?
If you sew a full ¼″ seam, fabric thickness, thread, and pressing can make your blocks finish a bit too small.
A scant ¼" seam fixes that. It gives you blocks that come out the right size, without extra math or tugging.
For me? It gives me a little wiggle room when things aren't perfect. (They hardly ever are!)
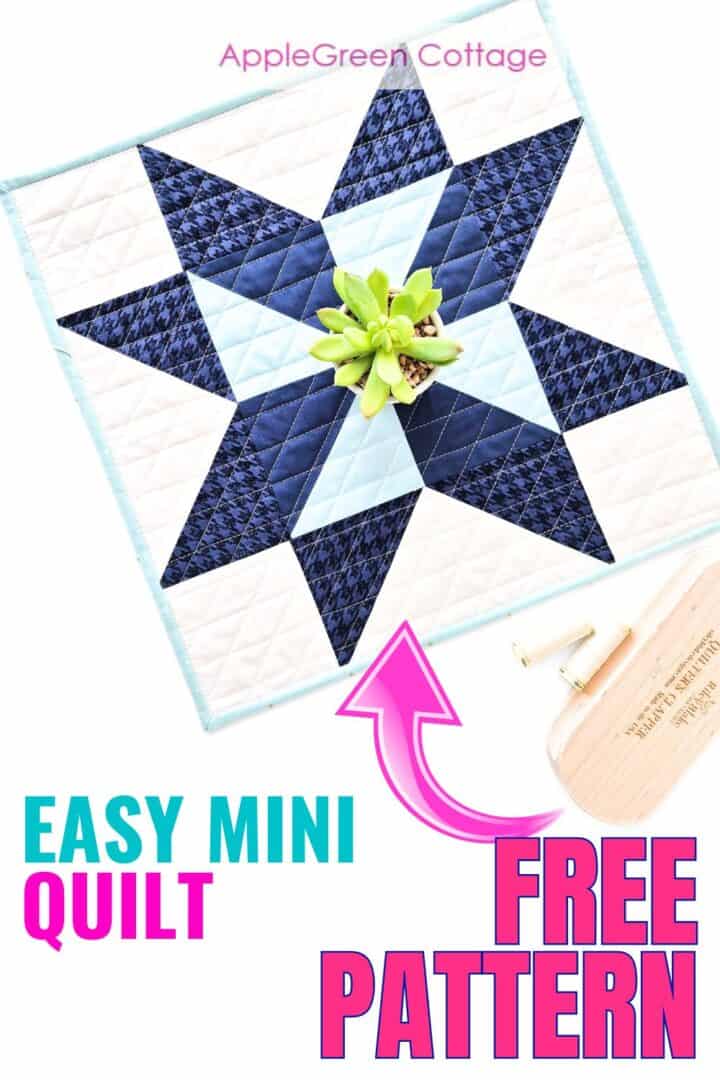
+FREE Mini Quilt Pattern!
Start with this FREE pattern:
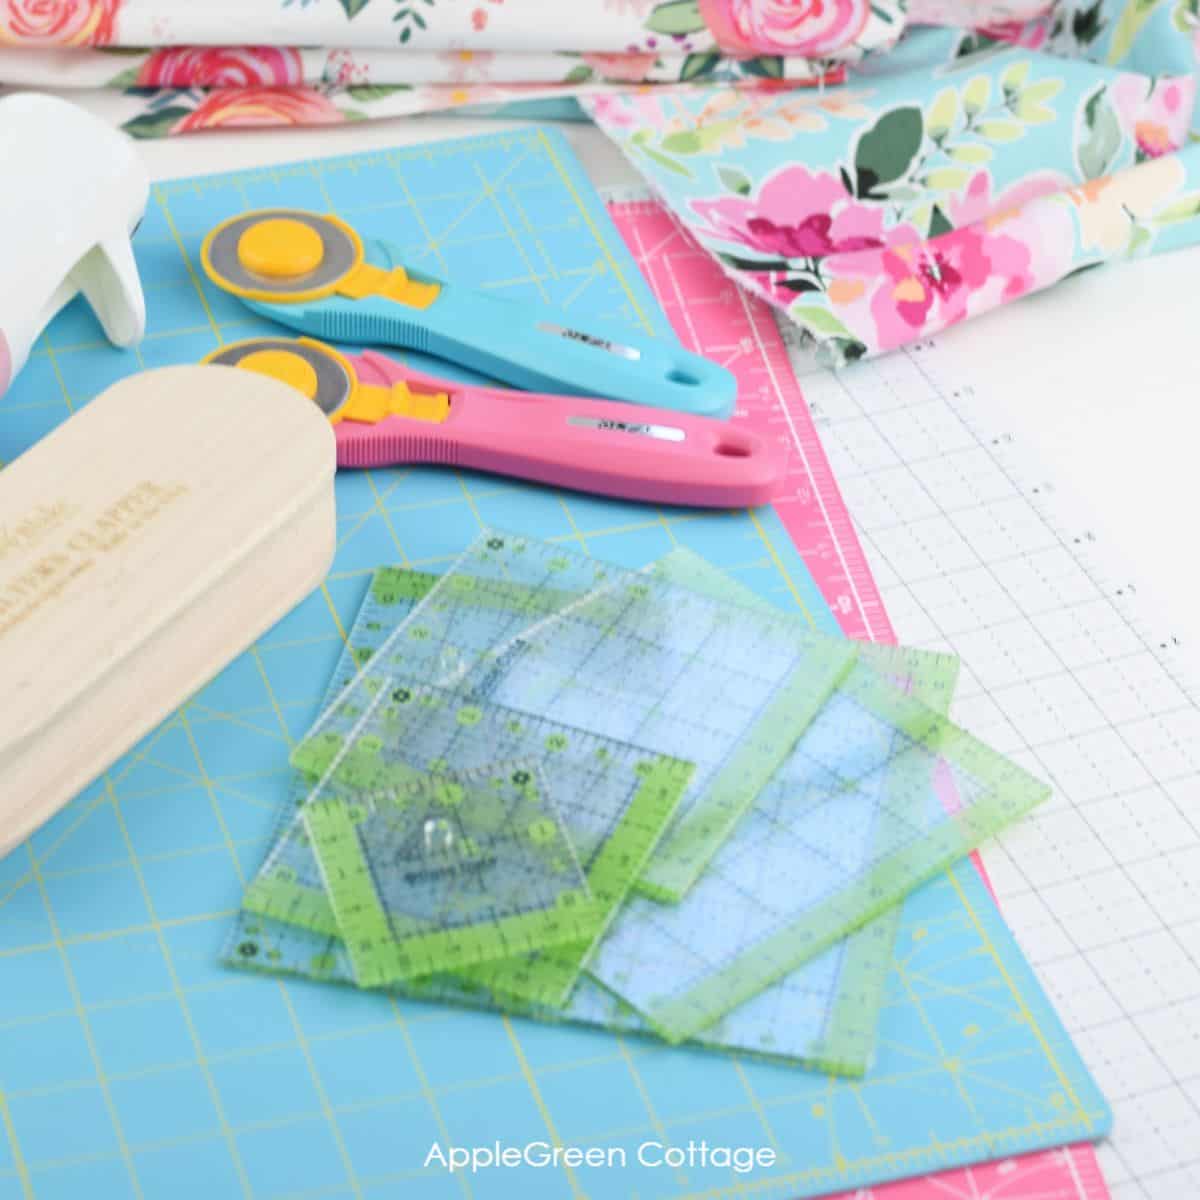
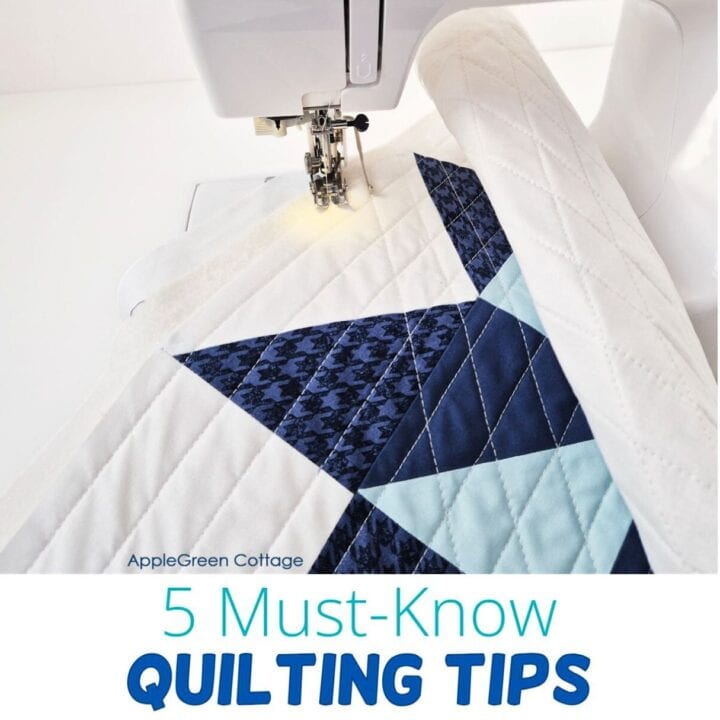
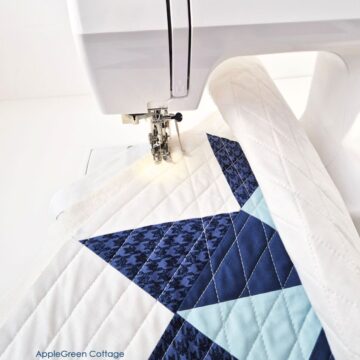
TIPS for a Perfect ¼" Seam
Here are the tips - and some tools to help you achieve the perfect quarter inch seam:
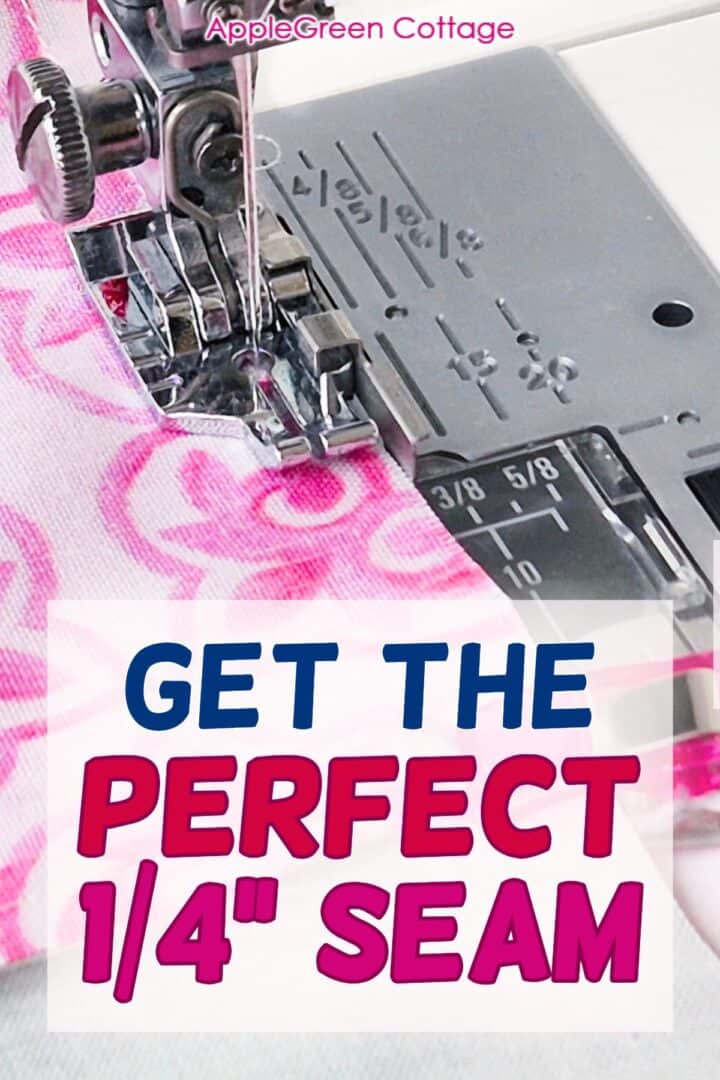
1. Use a ¼" Presser Foot (1 4 inch sewing foot)
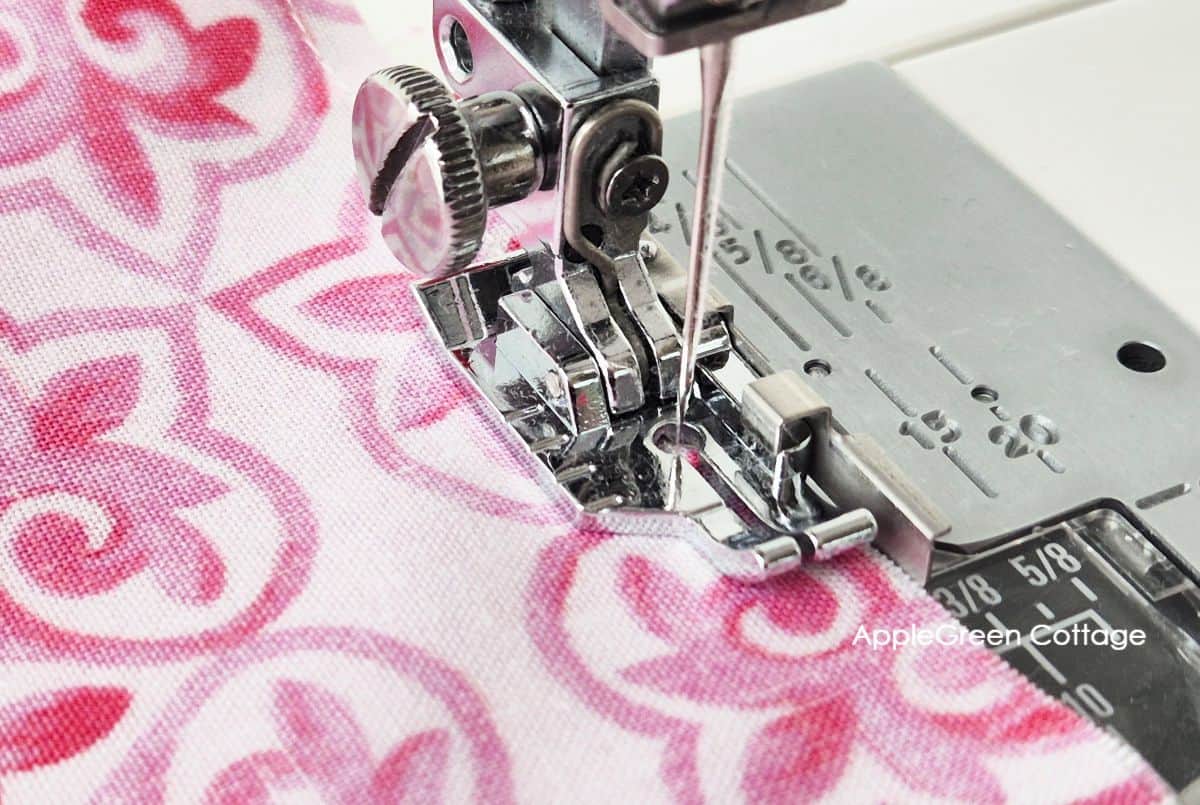
A ¼" presser foot is a game-changer! Most sewing machine brands offer a special quarter inch sewing foot designed for quilting. Some, like the one in the image above, have a little flange built in. It makes it so easy to keep the fabric edge snug against it while sewing. It's called the flanged quarter inch foot, designed specifically for piecing.
Some (see below) come without the flange - I use both! If you don't have one yet, it's a great investment for quilting projects.
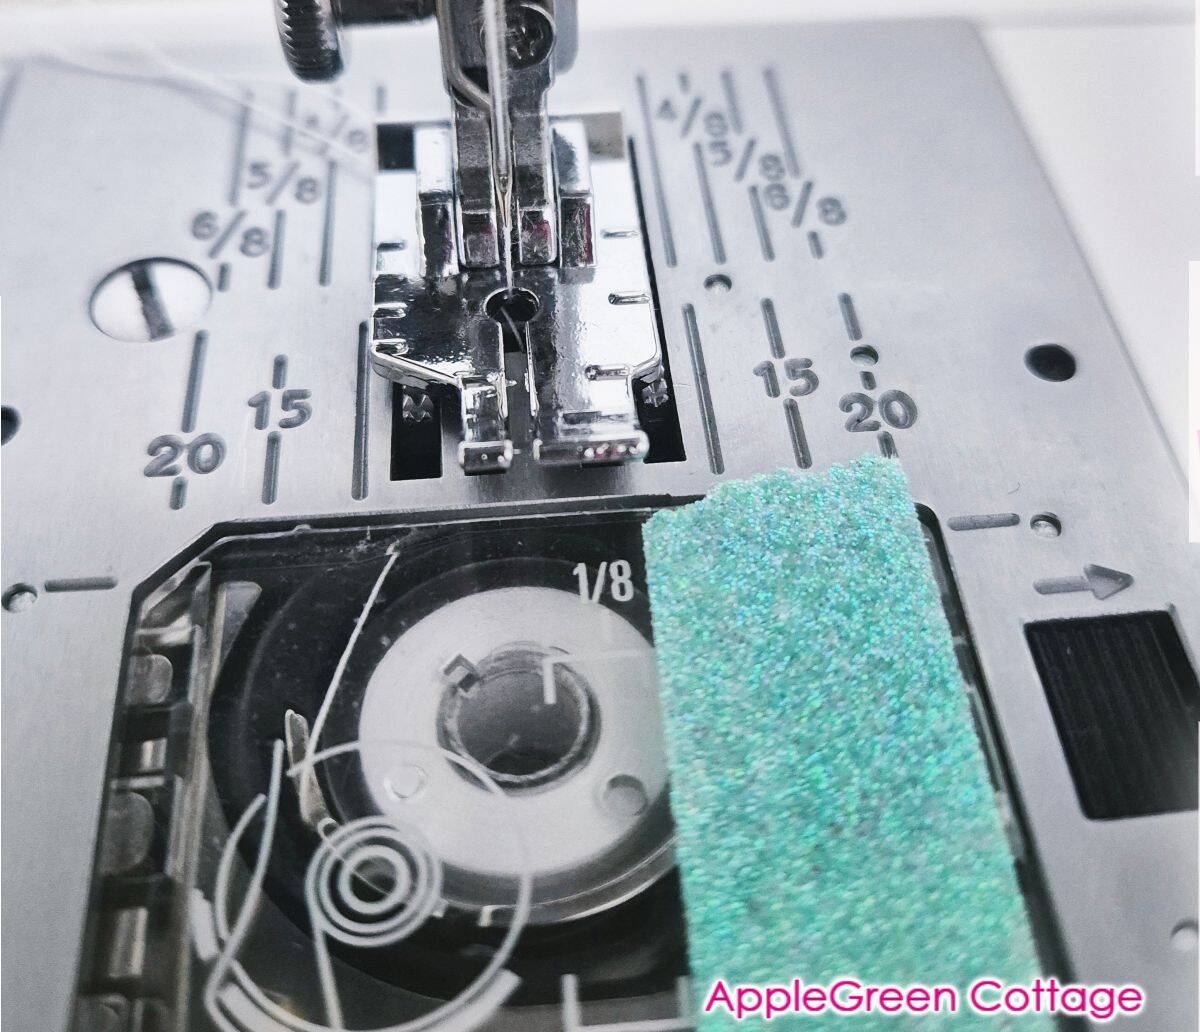
2. Double-Check Needle Position
This one was throwing me off for a long time:
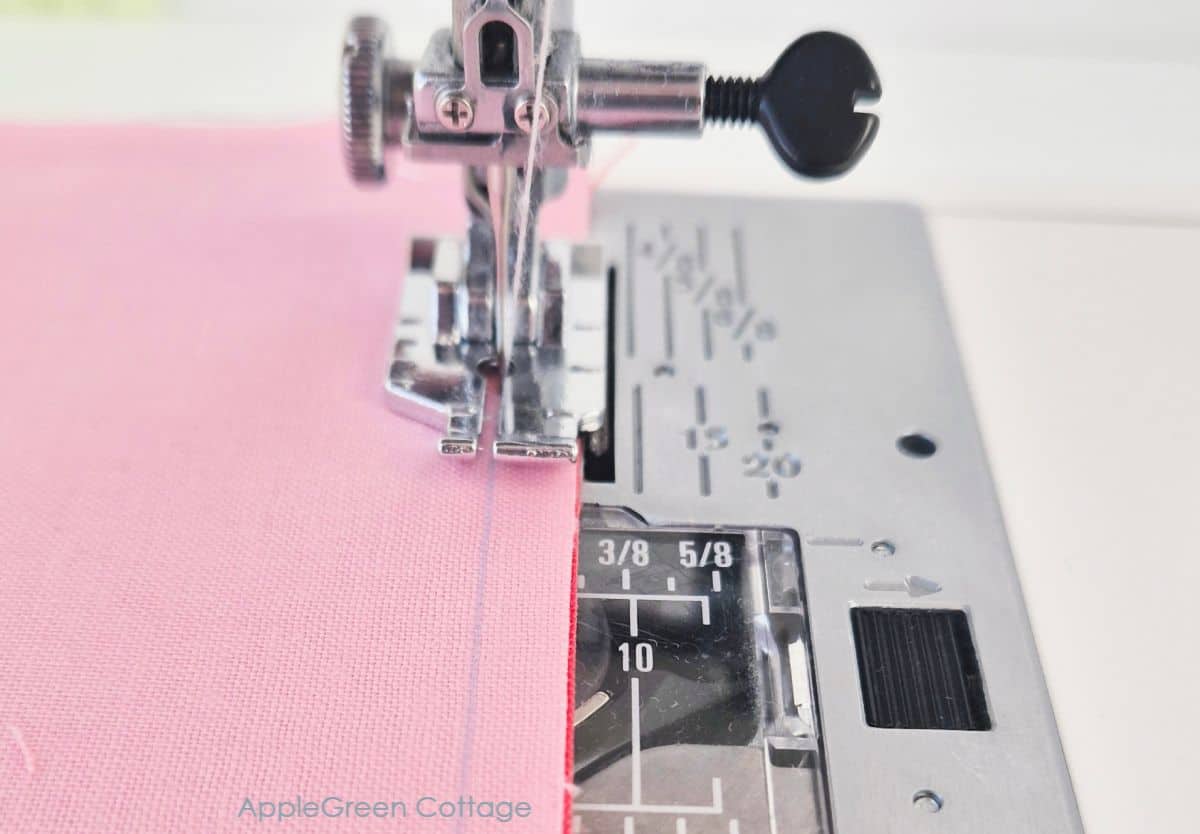
See how I repositioned the needle in the photo above? I had to push it just slightly to the right, because if it were to stay in the center, my seam would have ended up too wide.
So yes, watch out the needle placement. Even if it's just slightly off, your seams will not end up with the exact quarter inch seam allowance.
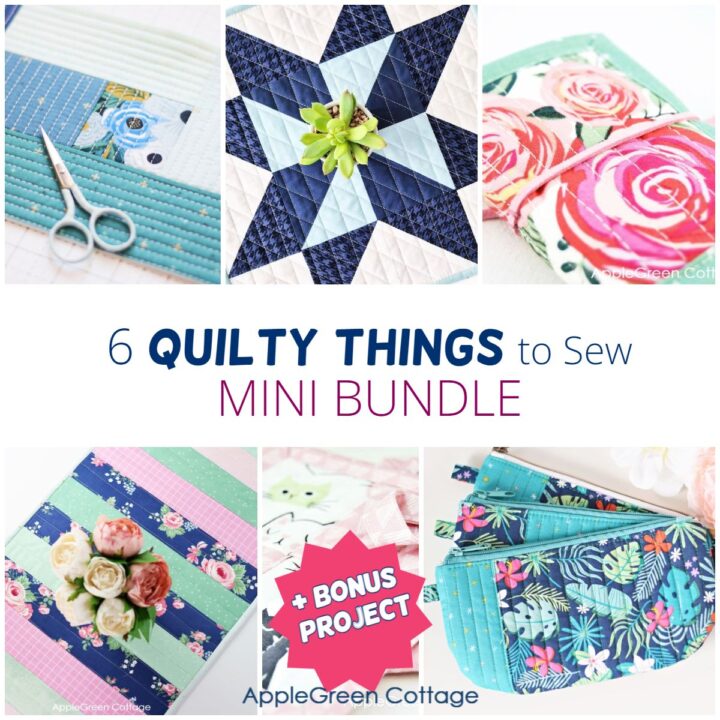
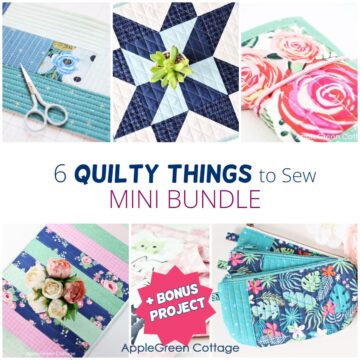
6 Quilty Ideas +BONUS
Love a quick quilty win? Don't miss THESE!
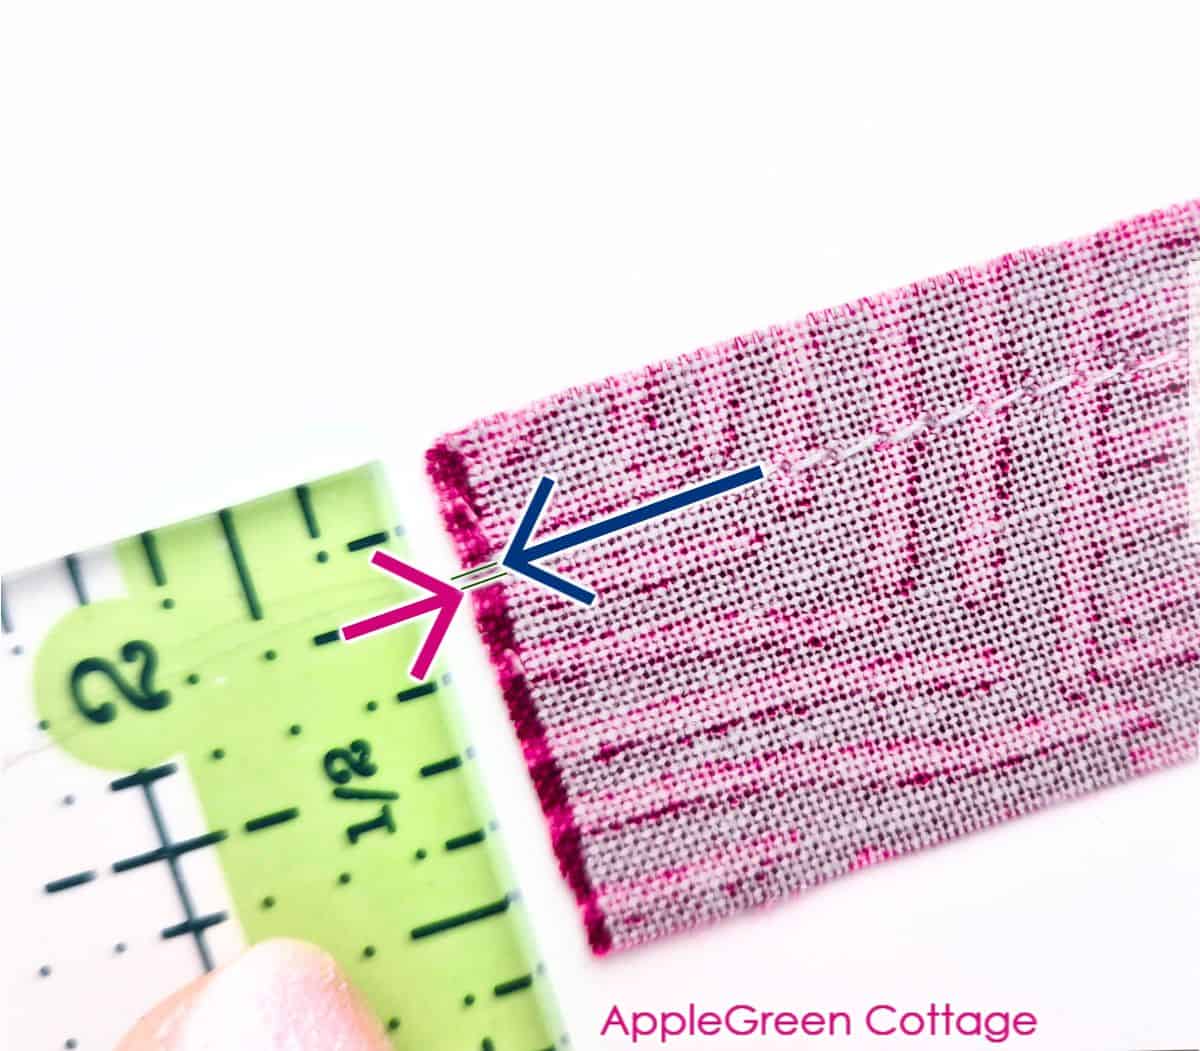
How To Measure the needle position?
To check if your needle is placed ok, simply measure a ¼" on your machine from the needle out - before you start piecing:
- place a quilting ruler under the presser foot, right against the edge of the sewing foot.
- Then slowly lower the needle by turning the hand wheel.
- The needle should end up exactly on the scant quarter mark.
I use the smallest one of these rulers:
Another option, I haven't tried it yet, is getting the Perfect piecing seam guide (original PerkinsDryGoods on Amazon) - it has a tiny hole for needle placement.
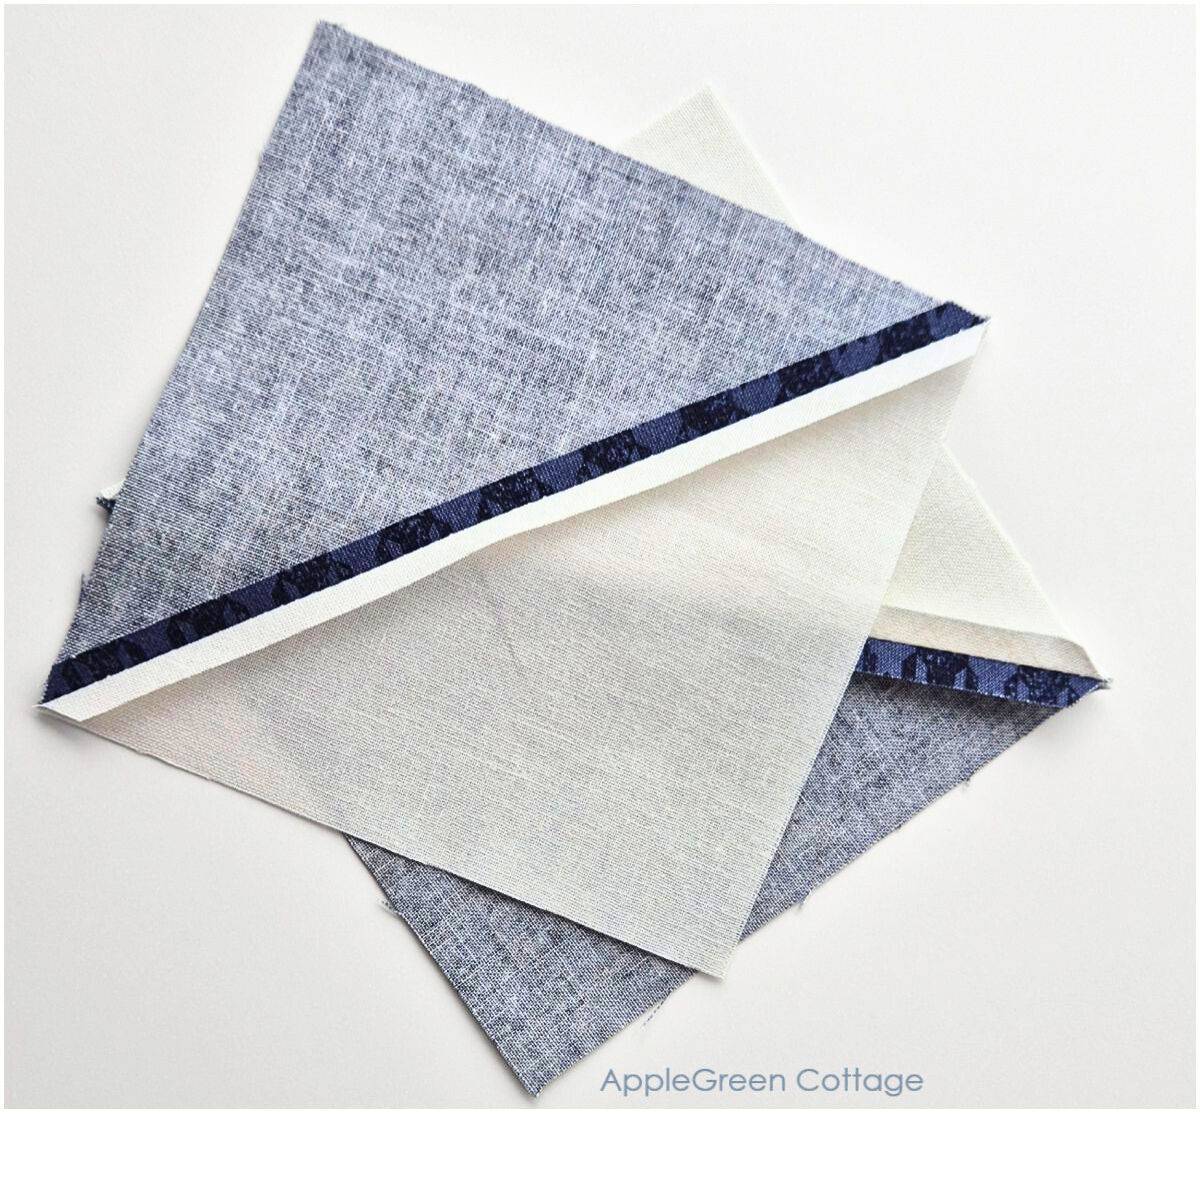
3. Use a Seam Guide or Tape
A seam guide can be a fantastic tool for consistent piecing. You can go for a flanged piecing foot that has an integrated seam guide (see above).
Or get the Diagonal Seam Tape by Cluck Cluck Sew on Amazon! You simply place it on your machine bed to create a visual line to follow.
Or, and this is ridiculously simple, you can add some tape to the right of your machine foot (measure and double check before you start sewing!) It's can be a hit or miss, but always worth trying and you'll see if it works for you.
(I do have a history of smart hacks that make sewing easier, without spending a fortune - take a look!)
4. Mind Your Fabric Placement
It sounds simple, but make sure your fabric stays snug against the guide or foot without slipping under or away. Go gently - no pushing or pulling - to avoid distorting the seam allowance.
Fabric Not Feeding Evenly? TIP: Check your presser foot pressure. Sometimes, it needs adjustment to prevent uneven feeding.
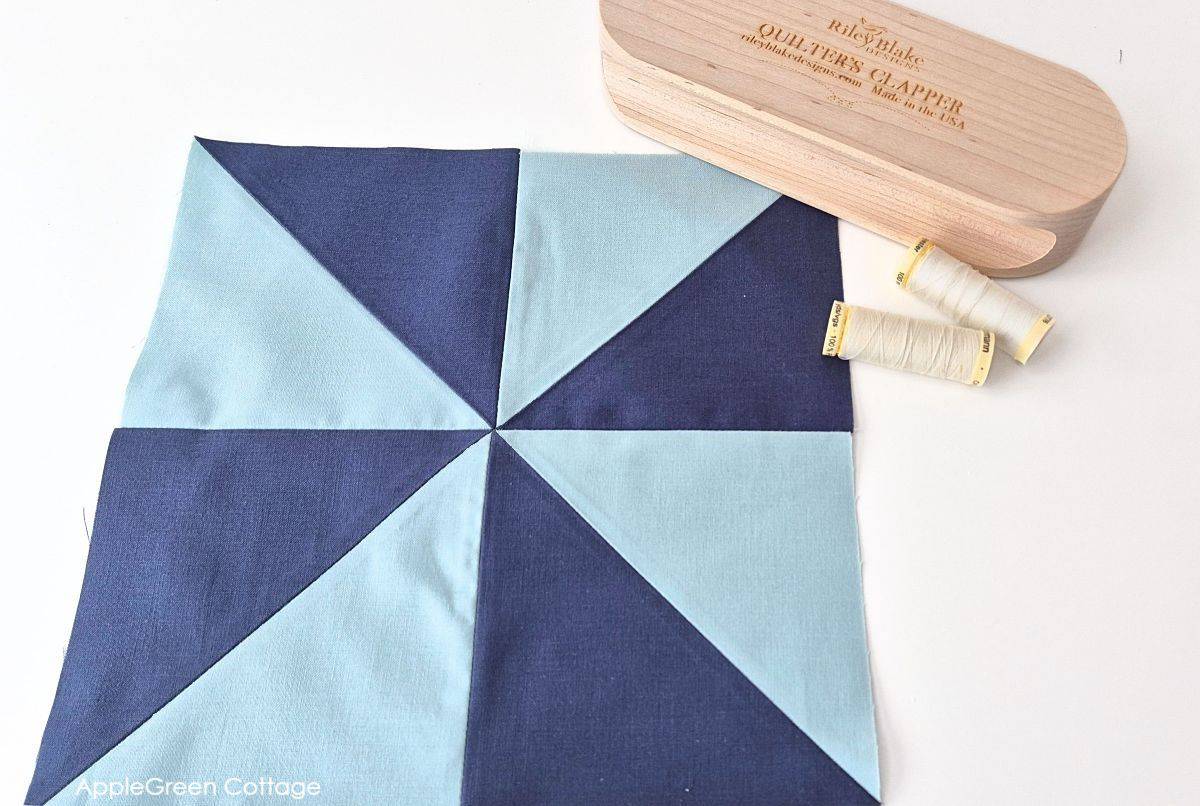
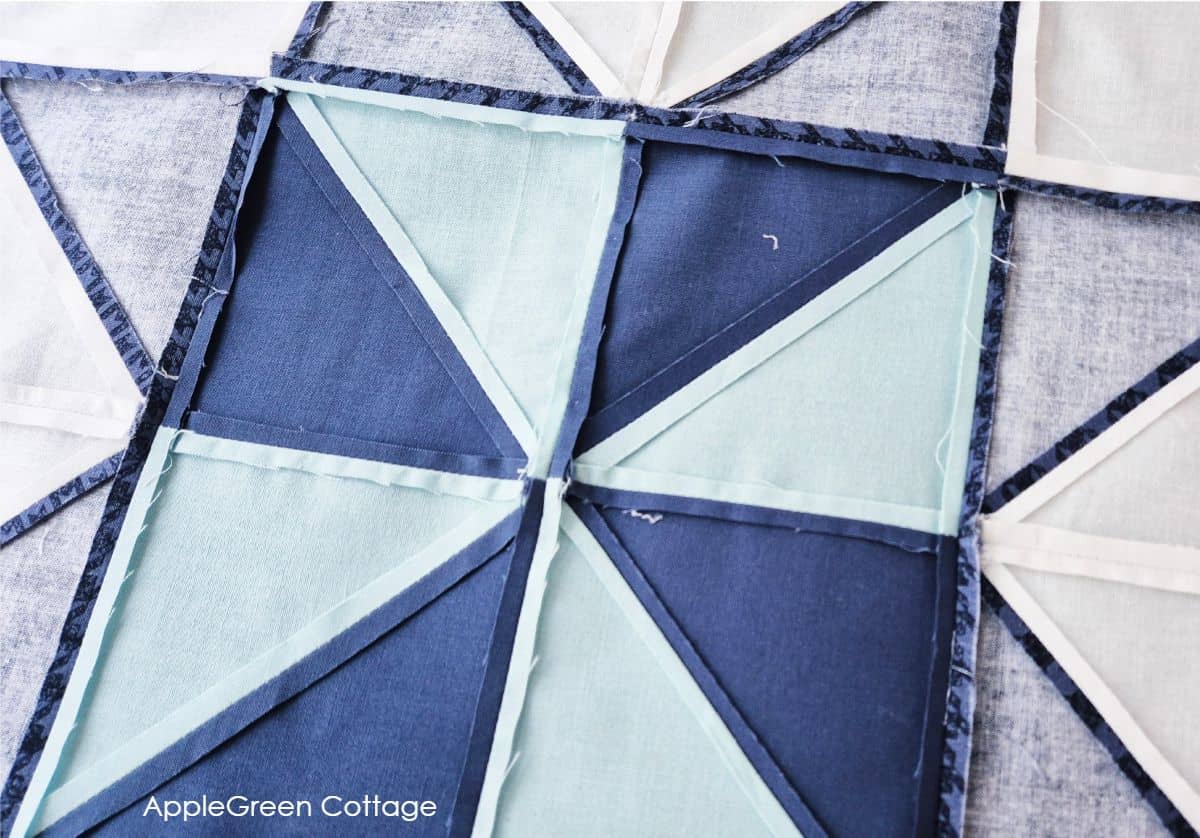
5. Press!
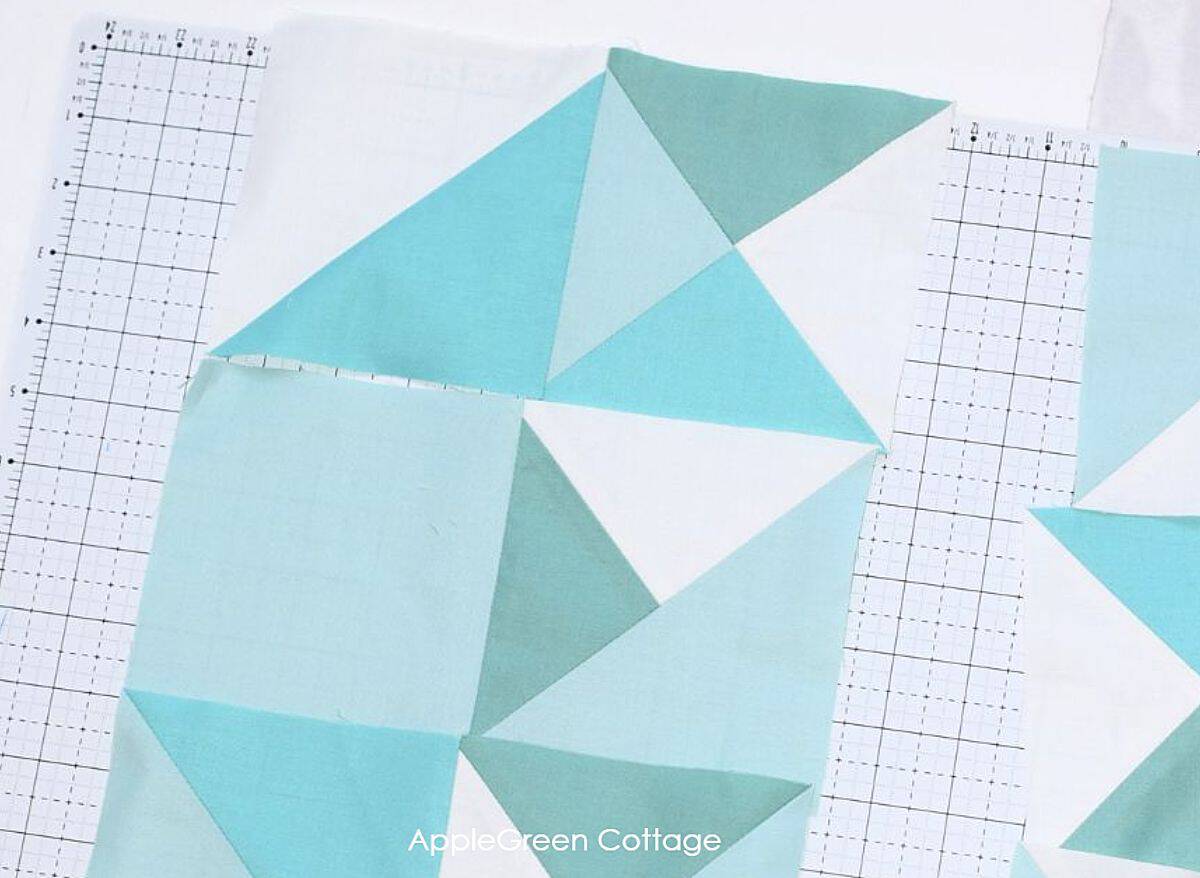
Accurate pressing really matters. Seams pressed with tiny folds or bulges shrink blocks just a bit. So take your time to gently press (and square up!) your blocks, before piecing them into the quilt top.
2 Bonus Tips - Super simple!
Last but not least, two super simple tips that are not exactly about the sewing, but are the basis for exact seams:
- Use the right thread. Thread thickness adds bulk - finer thread helps blocks finish larger.
- Accurate cutting matters just as much as seam allowance. Start there.
When it still won't work? My TOP Tip for beginners
Marking the seam allowance is a workaround for when you want to get used to the exact quarter seam allowance. It helped me when I was constantly drawn towards the ⅜" (from bagmaking!) For how long? Well, practice makes perfect and soon you will no longer need to mark the SA.
→ Top 5 Quilting TIPS
The more you quilt, the more natural this process will feel. It's totally okay to rip out a seam if it's not quite right - I've been there so many times!
More Ideas
Check out these easy quilt patterns and quilting tips for beginners, and make your first quilt! But first, make tracking your quilt projects effortless with the free quilt project planner:
Before You Start: Get FREE Quilt Planner Sheet
Want to make planning easier? Get your free quilt project sheet now and start with a solid plan!
Randomize Quilt Pattern
Love modern quilts but want something simple - and NO tricky points to match? →THIS.
Ready to Quilt?
With these tips, you'll be sewing those perfect ¼" seams like a pro in no time. Whether you're piecing intricate blocks or tackling your first quilt top, precision pays off - and the results are worth it!
Have any tips or favorite tools for mastering your seam allowance for quilting? Share them in the comments below - let's learn from each other! Happy quilting!

Join the FREE 7-part email course and make 6 beautiful items for your home! You'll love it!


Brenda says
I agree with Sheryl. I recently retired too and never had time to sew when I worked. I've been sewing fabric since I was 12 yrs old and used to love sewing, but working everyday got in the way. I have a very full room of 'stuff' in preparation for when I could actually retire and devote time for my love again. Well, it took a while to get used to my new schedule because I wanted to put my sewing plans into motion. So, after finally settling in, those fell into place by sewing just something very simple, so I could get used to my machines again. Now, I have the time and the love for sewing has returned. Thank you for all your help and I feel renewed. And, I always look forward to your emails because you have so many tips that I can use. Even after 58 yrs, I can still learn a new or different way to get great results.
Damjana Jakos says
Brenda hi, I'm so glad you find my tutorials and tips helpful. Happy sewing, always!
Sheryl says
Hi. I just wanted to thank you for creating this wonderful website. I am an experienced seamstress, but the tips and patterns you offer have helped me “up” my sewing game. After I retired, I fell back in love with seating. Keep up the good work….
Damjana Jakos says
Sheryl hi, I'm so glad my tutorials work well for you. Enjoy every sewing project!