
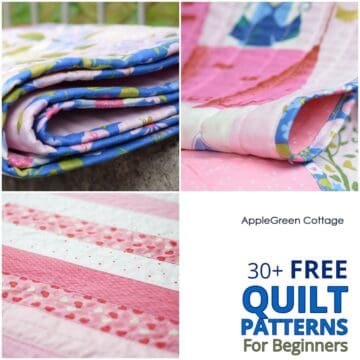
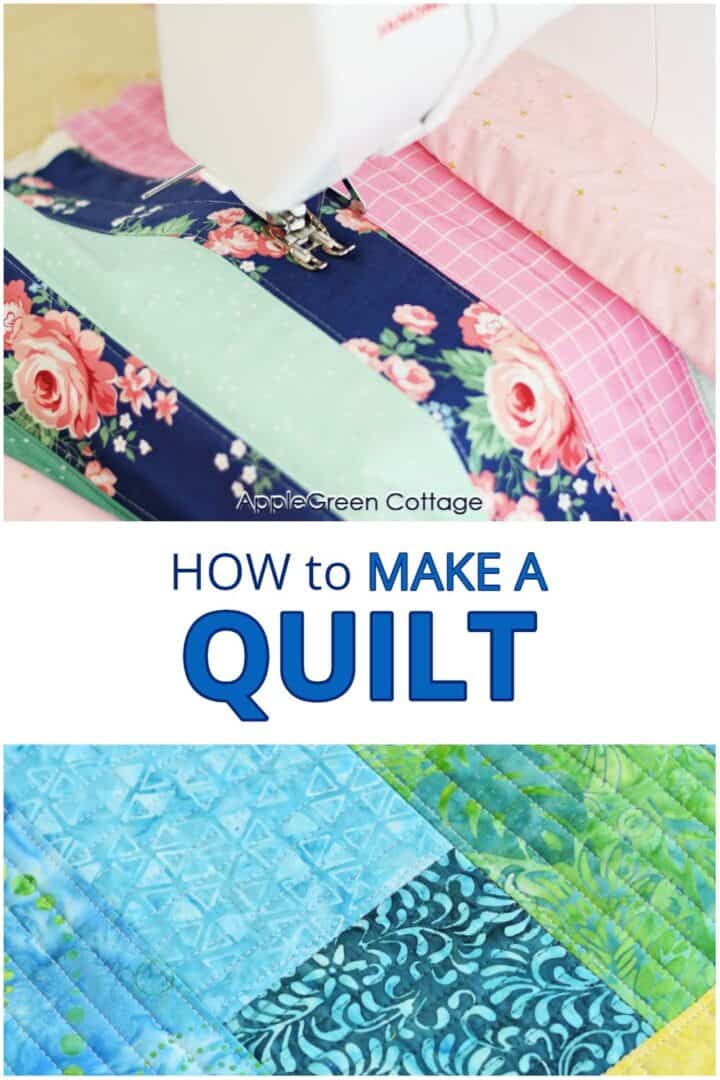
Want to make your own quilt but not sure where to start? This guide will show you where to start and how to make a quilt for beginners. - And you'll leave with a free Quilt Project Planner Sheet! ↓↓↓
I remember making my first quilt. It was so exciting - but also so overwhelming! Where to start, what to do first, what fabric to choose, the colors, quilt binding, and all - I'm here to simplify it all, and help you make your first quilt!
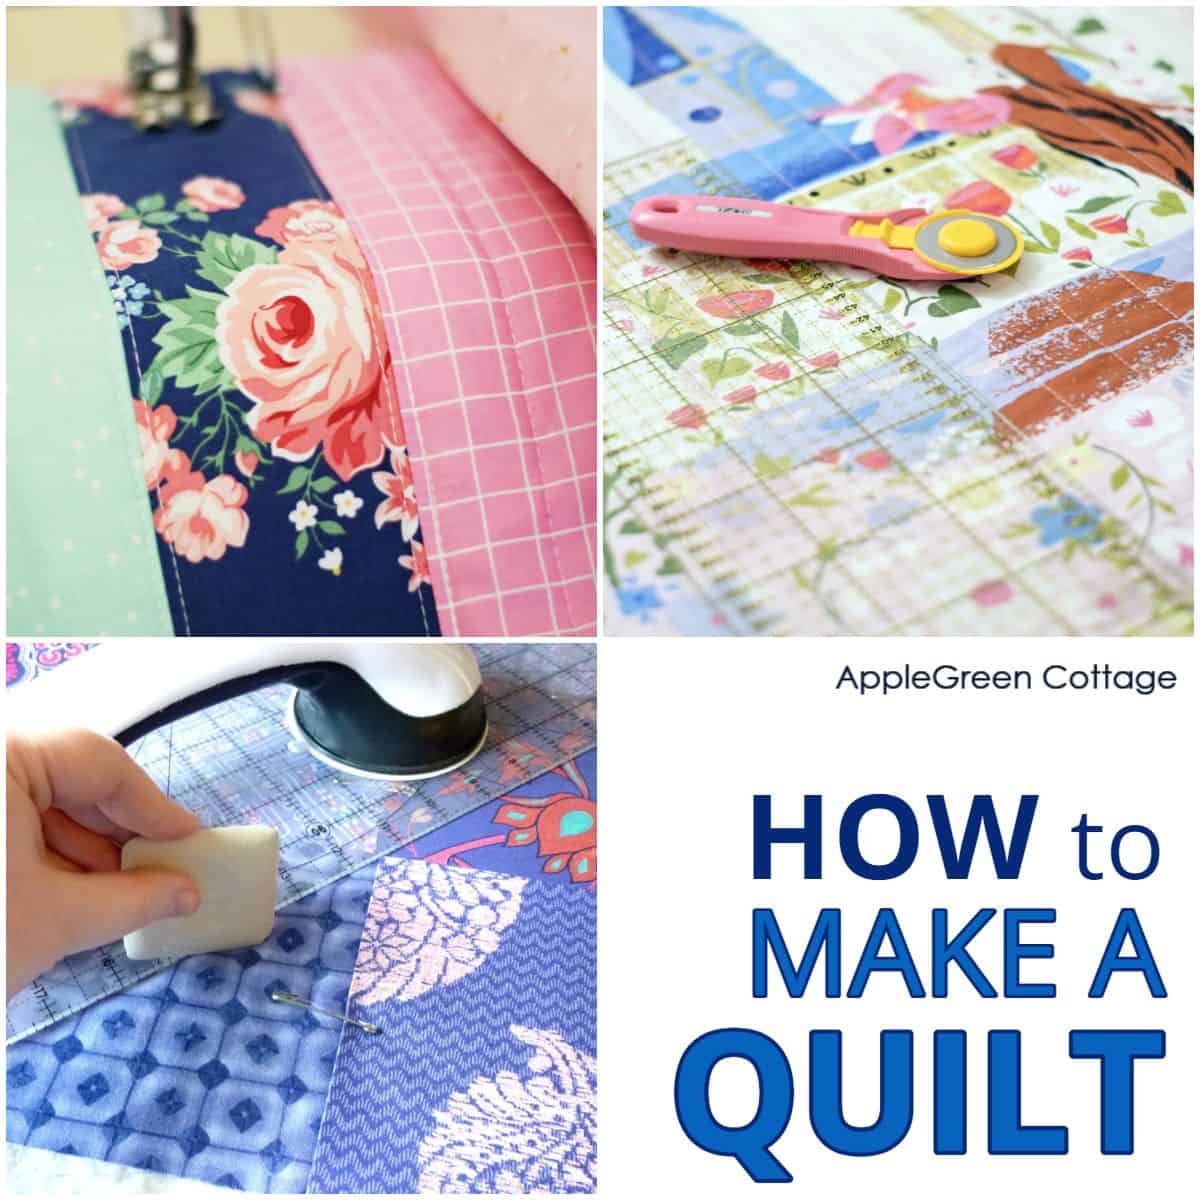
Table Of Contents
- How to Make a Quilt from start to finish
- 1 - Pick a Quilt Pattern
- 2 - Choose Your Fabric And Quilt Supplies
- Make Math EASY - Get FREE Quilt Calculators!
- 3 - Cut the Fabric
- 4 - Create Quilt Blocks
- 5 - Piece the Quilt Top
- 6 - Make a Quilt Sandwich
- 7 - Quilt the Layers Together
- 8 - Square up the quilt
- 9 - Add Quilt Binding
- Free beginner quilt patterns list
- Helpful Tips For First-Time Quilters
Before You Start: Get FREE Quilt Planner Sheet
Want to make planning easier? Get your free quilt project sheet now and start with a solid plan!
How to Make a Quilt from start to finish
Let's see how to start your first quilting project. Creating a quilt takes time, but it can be broken down into nine basic parts. These are the basic 9 steps in making a quilt:
1 - Pick a Quilt Pattern
Start with a simple, beginner-friendly pattern. Check out the free, easy quilt patterns in the list below for some great options. The first choice you're gonna need to make is the size of your quilt - and this time, go for a smaller size, as it's easier.
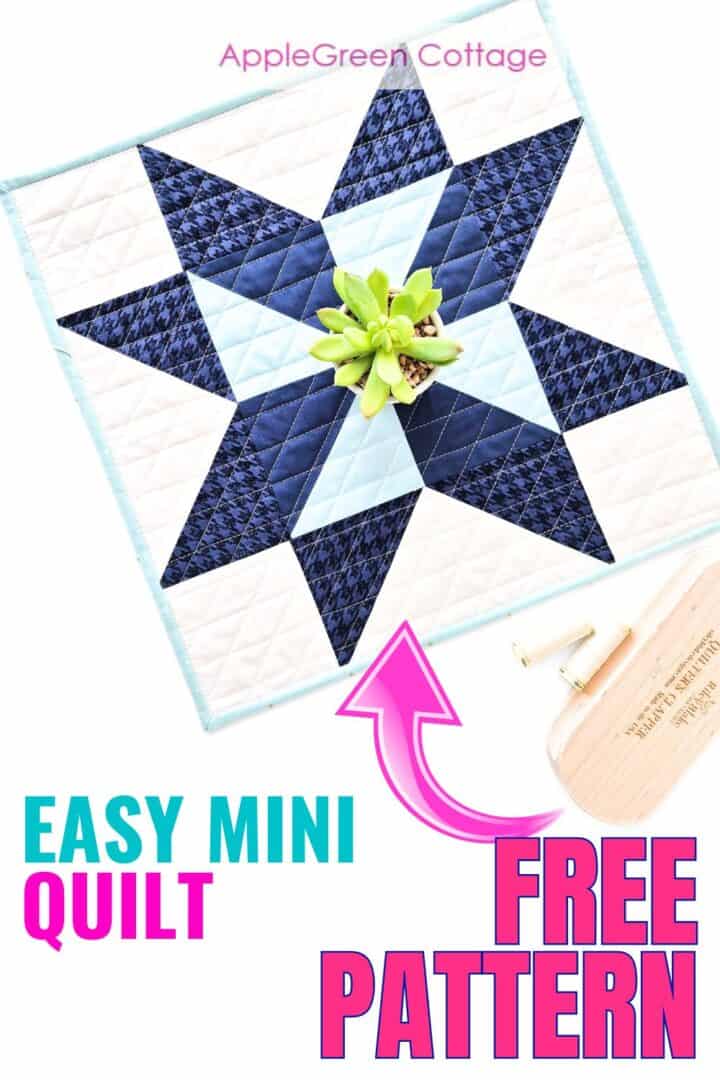
+FREE Mini Quilt Pattern!
Start with this FREE pattern:
What are the best quilt sizes for beginners?
For beginners, it's best to start with smaller quilt sizes like baby quilts or lap quilts. These sizes are more manageable and quicker to complete, allowing beginners to practice their skills without feeling overwhelmed.
Baby quilts are typically made in sizes from 30" by 40", then 36" square, up to 36" by 52" for crib-size quilt patterns. I added a list of my favorite free baby quilt patterns below.
What are the best quilt designs for beginners?
These are the simplest pieced quilt designs:
- Patchwork Quilt: Made from a grid of squares or rectangles.
- Nine-Patch Quilt: Blocks made from nine small squares.
- Rail Fence Quilt: Blocks made from sewn fabric strips.
- Charm Square Quilt: Quilted with squares sewn in rows
- Half-Square Triangle Quilt: Uses sewn squares cut into triangles. (star quilts are a popular subgroup!)
- Log Cabin Quilt: Features a center square with surrounding strips.
- Modern quilts with simple blocks like this one:
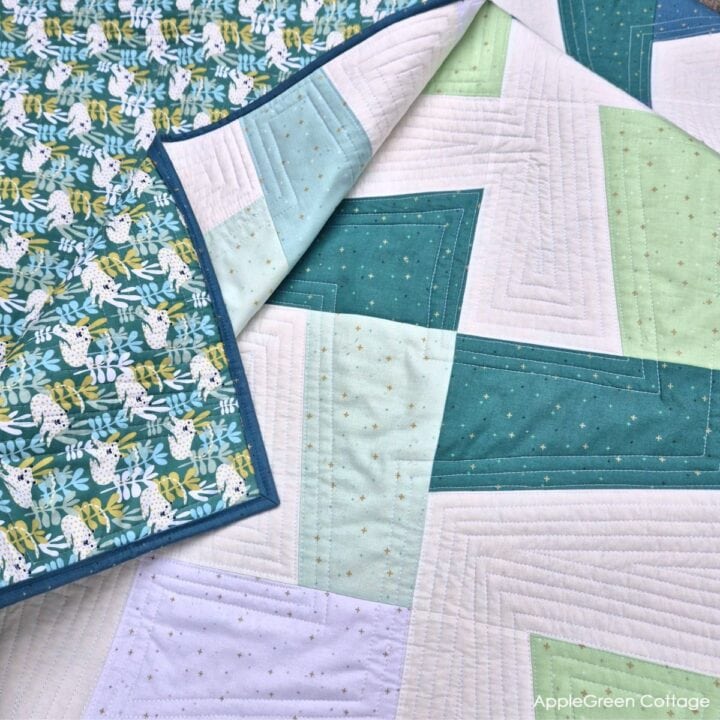
Randomize Quilt Pattern
Love modern quilts but want something simple - and NO tricky points to match? →THIS.
Once you've picked your quilt pattern, it's time to select the fabric.
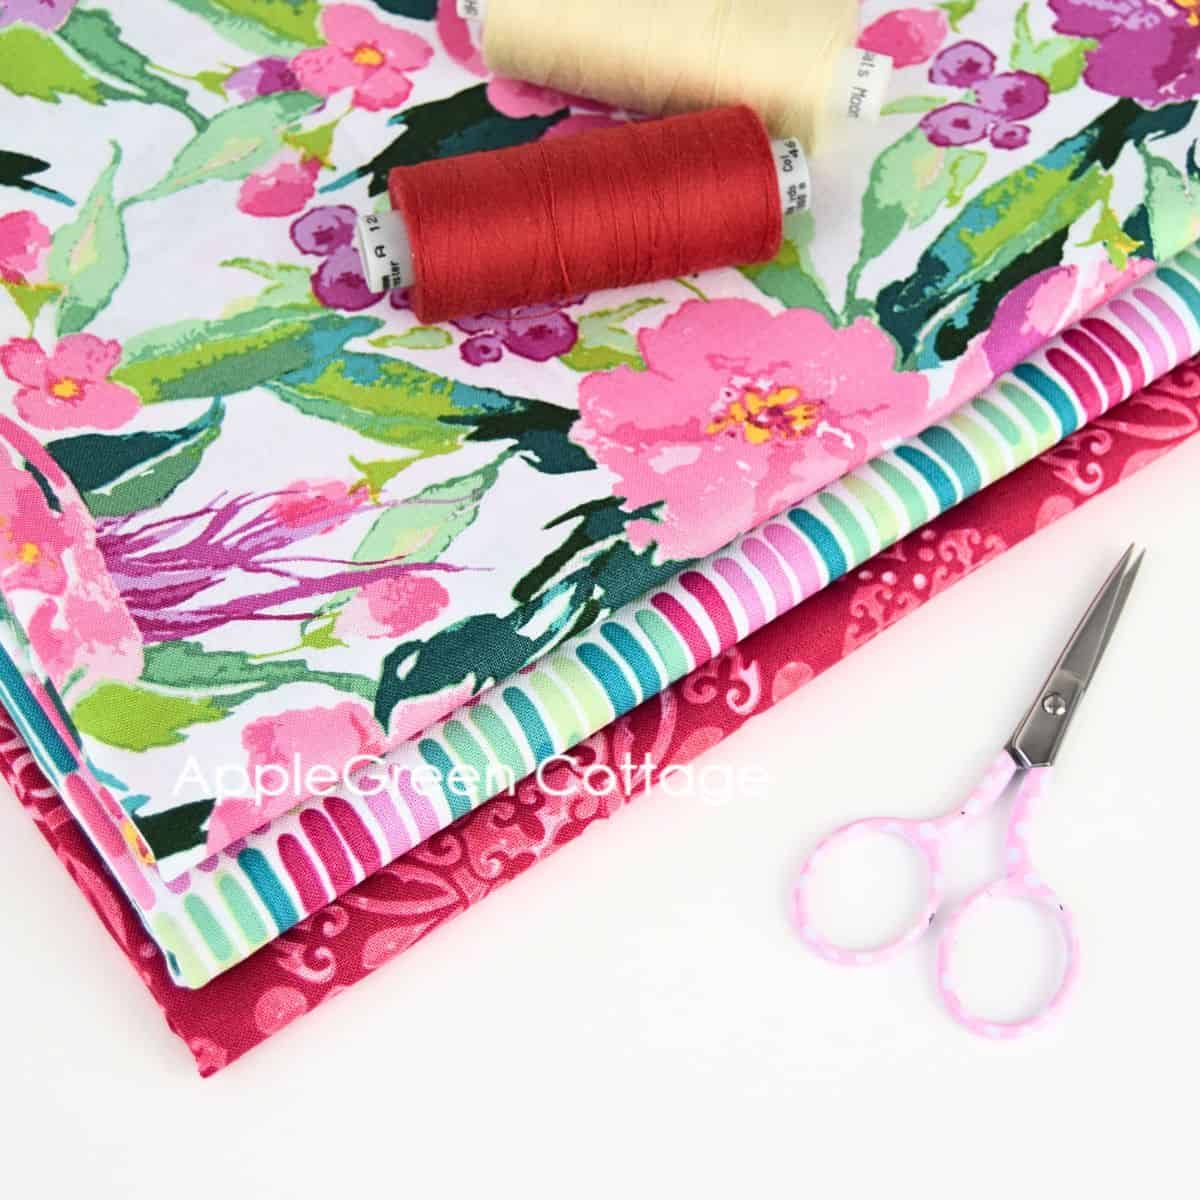
2 - Choose Your Fabric And Quilt Supplies
Get the fabric based on the quilt pattern you chose - all quilt patterns will list exactly how much, and what fabric you need.
Look for good-quality quilting cotton, that's durable and will hold up over time. I always go through my stash first and try to see what color range I'd like to use. Depending on how much fabric your quilt pattern needs, buy enough fabric to complete your quilt pattern.
Don't forget to also purchase batting and backing fabric. The baby quilts I mentioned before will usually need just a bit over a yard of fabric (36" by the width of fabric) for the backing. Also see the tips on pre-cut fabric balow.
Make Math EASY - Get FREE Quilt Calculators!
Join our mailing list and get FREE Quilt Calculators - Make quilting math a breeze!
The Basic Quilting Tools You Need
Before you begin, ensure your toolkit is equipped with the 3 essentials:
- a good rotary cutter (Amazon)
- a cutting mat (get the largest that can fit on your table!)
- a quilting ruler (this is the best size to get if you have none yet)
These three tools will not only make quilting easier but also help you be more precise with your quilting projects. Here's a post on the quilting tools you need - these might help you skip a few of my beginner quilting errors!
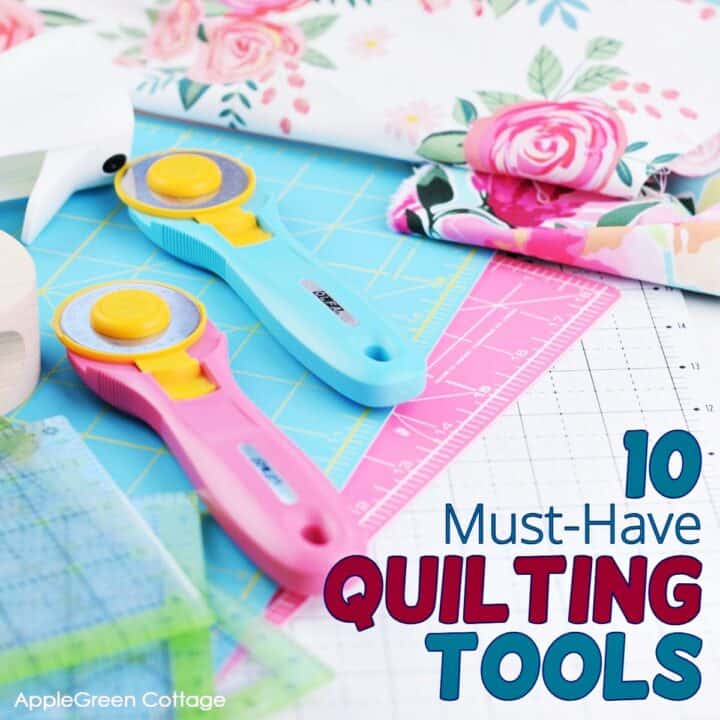
See My 10 Favorite Quilting Tools
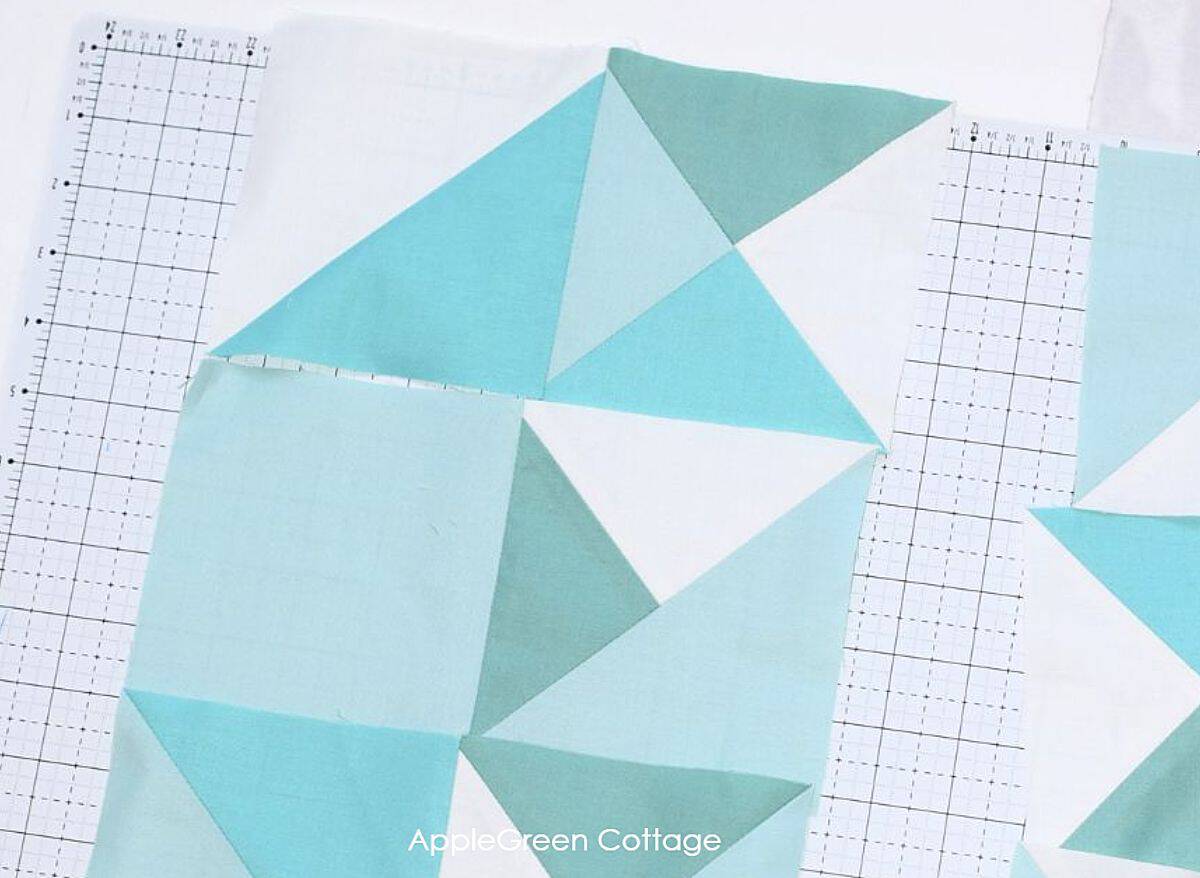
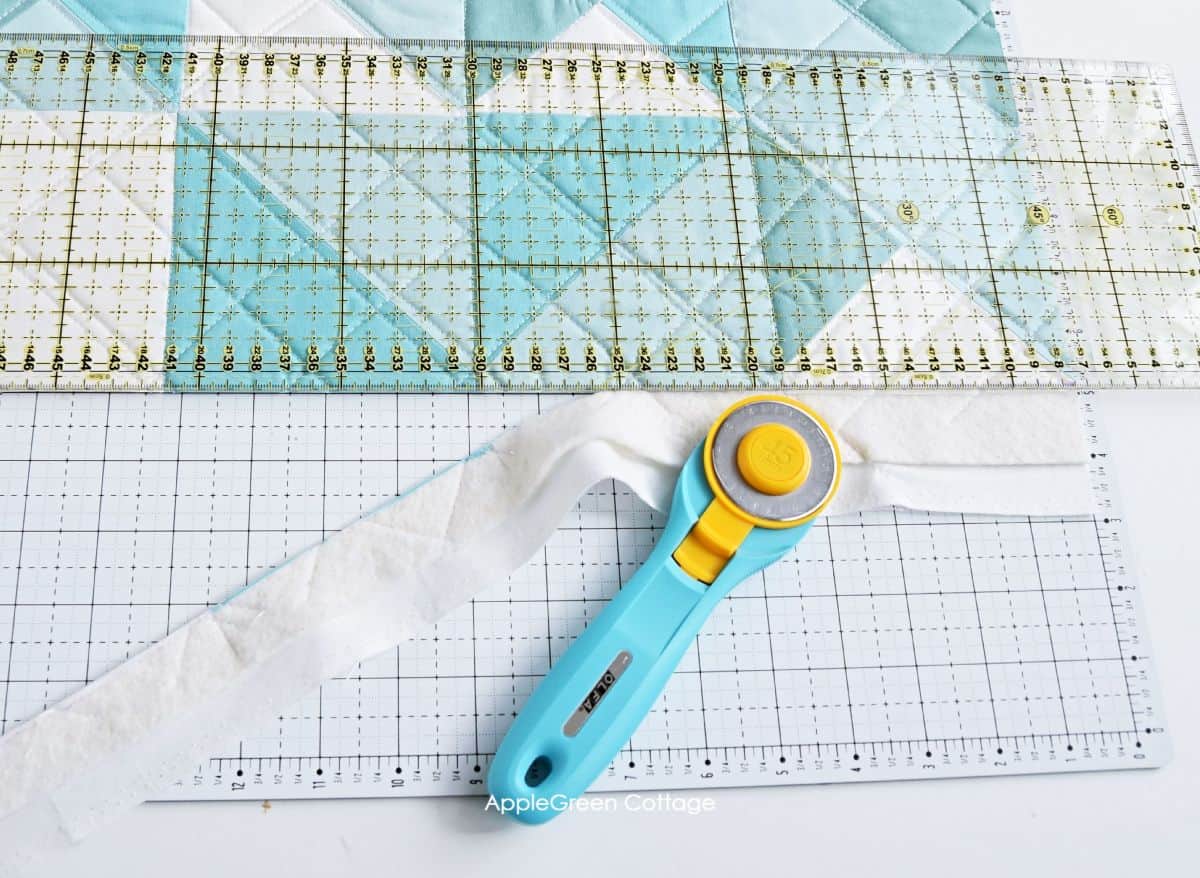
3 - Cut the Fabric
Follow the directions on your quilt pattern or tutorial to find out what sizes to cut your fabrics into. Most quilts will consist of quilt blocks (unless it's a whole-cloth quilt).
The number, type, and difficulty of quilt blocks vary for each quilt. Sometimes, all you need is cut squares and these are your 'quilt blocks' that will be pieced together, creating the quilt top. (In this case, proceed to No 5 here, Piecing Quilt Top.)
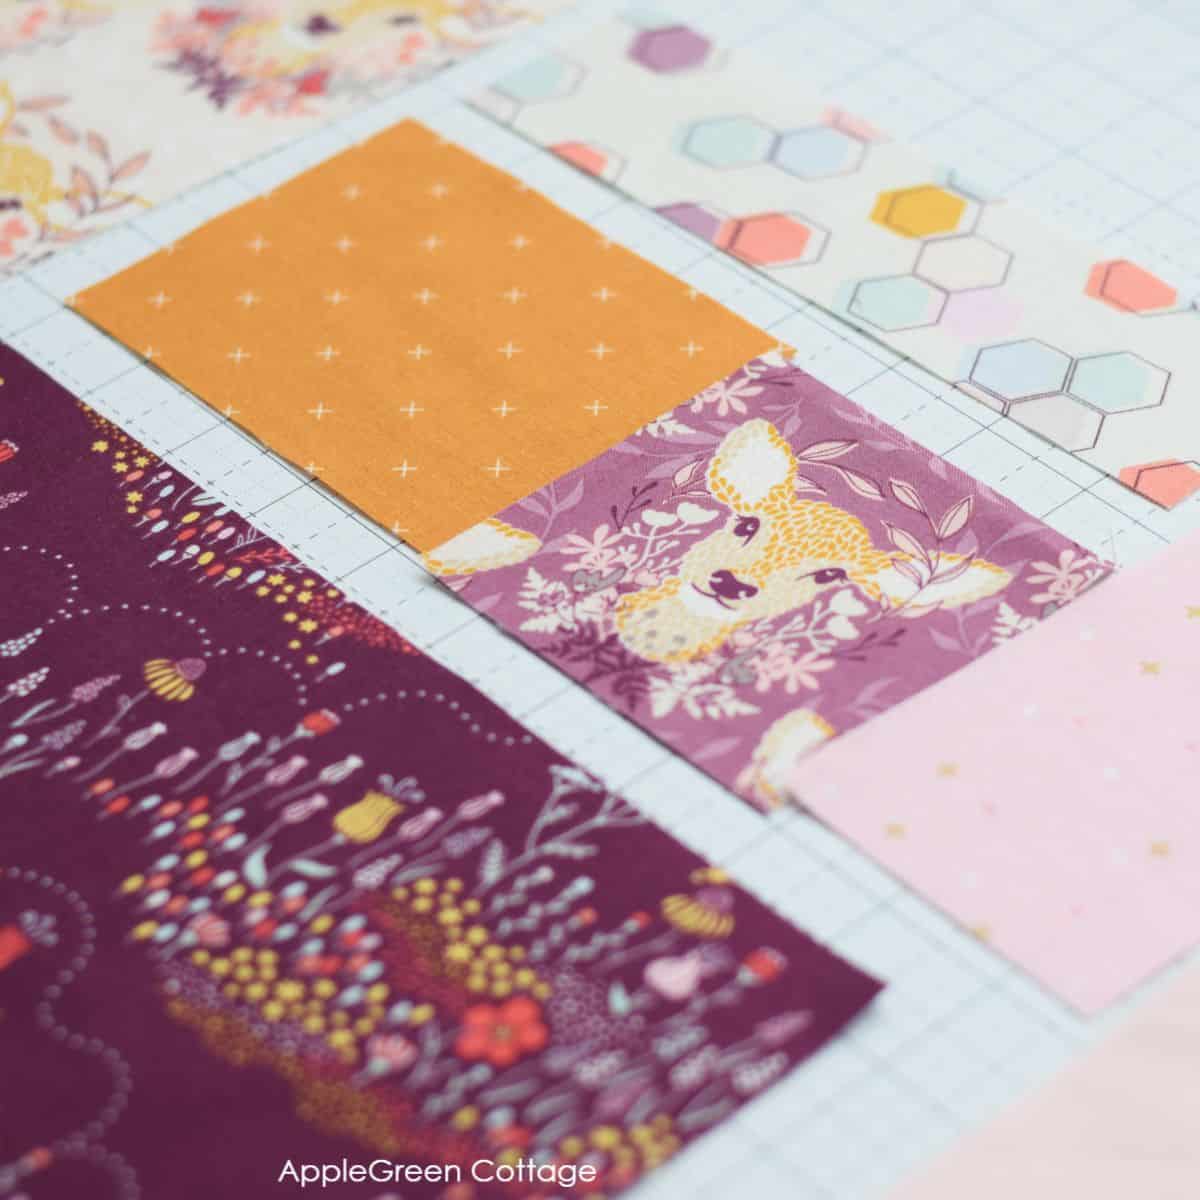
When cutting your fabric, follow the pattern instructions precisely! Use a rotary cutter, cutting mat, and ruler for clean, precise pieces.
See my 4 Favorite Quilting Rulers!
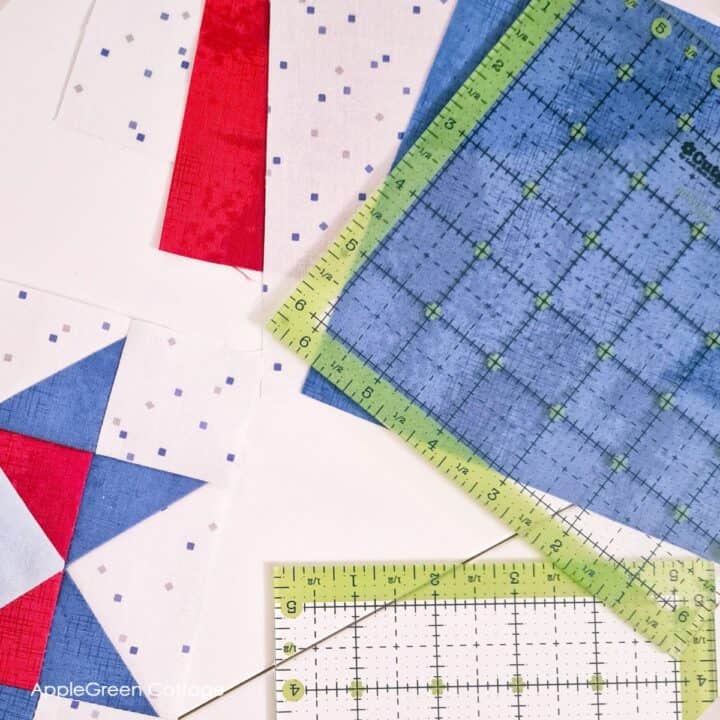
4 - Create Quilt Blocks
Some quilts are made up of plain squares, like simple patchwork quilts, which don't require extra steps. However, most quilts involve creating quilt blocks that are made up of smaller, more complex pieces.
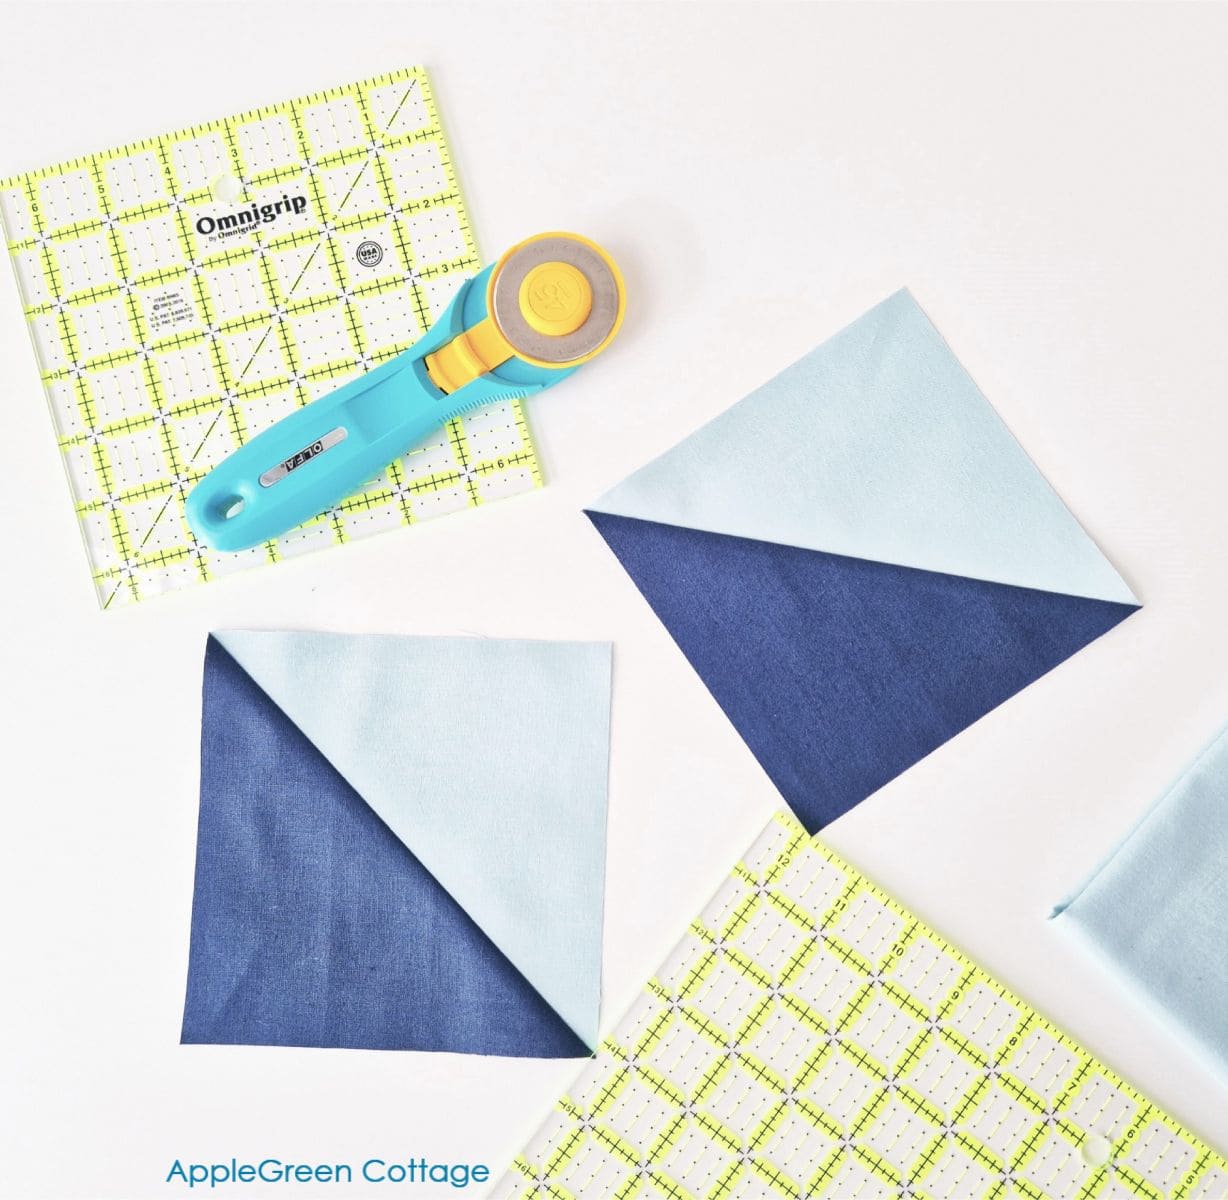
Start with a basic quilt block, like the half-square-triangle block, a four-patch block, or square heart quilt block. These are great options for beginners!
5 - Piece the Quilt Top
After you've completed all your quilt blocks, you'll assemble these blocks to create the quilt top. In other words, sew your fabric pieces together according to the pattern.
Think of piecing quilt blocks as assembling a puzzle - but with a clear sequence to follow. The pattern's steps are designed to keep your quilt accurate and the process enjoyable!
What seam allowance is standard for quilting?
In short, it's ¼" seam allowance. Using an accurate, precise ¼" seam allowance will get you neat, well-aligned seams. But ... (there's always a 'but', right? 🙂
Very soon into your quilting journey, you'll also hear about the scant ¼" seam allowance. This is simply a tiny bit smaller than the standard ¼" seam allowance. Using this narrower seam will help you immensely with assembling your quilt blocks, especially the half-square triangles. Here's a quarter-inch seam tips post.
How to press seams in quilting?
One thing more to address here: how to press the seams. Simply go with what your quilt pattern directions instruct you, some will prefer pressing the seams open and some will suggest pressing to the darker side. Both has its pros and cons, basically
| Pros | Cons | |
| Press seams open | less bulk, especially with complex block designs | If you press seams open and stitch in the ditch, you're at risk of having the seams separate. Can take a little longer. |
| Press to the darker side | Simple, can often use that to nest the seams. | more bulk |
6 - Make a Quilt Sandwich
When your quilt top is done, you'll layer it with batting and backing. It's called making a 'quilt sandwich'.
Here's how to create a quilt sandwich:
- Lay your backing with the right side down and
- place the batting on top of that.
- Then, place the pieced quilt top layer with the right side up.
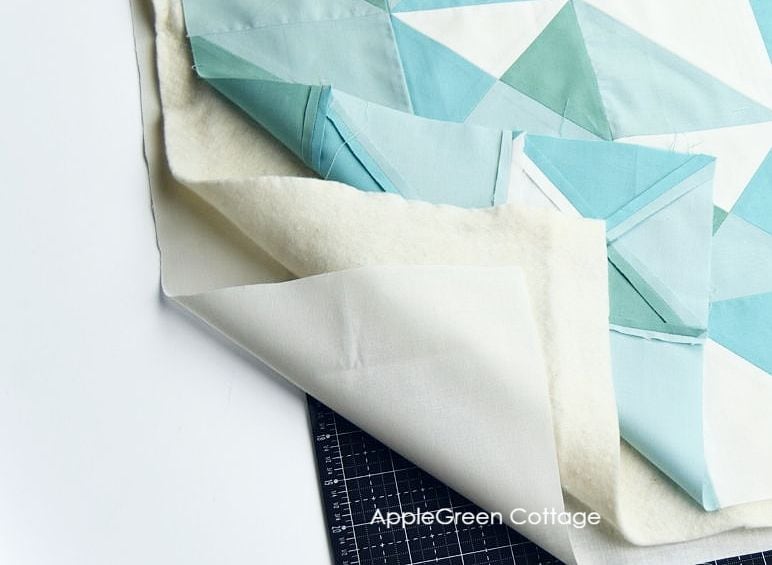
To keep these layers from shifting, you'll need to fix them. Use safety pins or spray-baste the layers together. You can use an adhesive spray such as Odif 505 or SprayNBond to do so. For me, spray-basting is the easiest way to prevent shifting.
How to use a basting spray:
- Use a large table or a clean floor surface to spread and smooth out your backing, face-down.
- Spray the back of backing following the manufacturer's instructions.
- Place your batting on it, centered. Make sure there are no wrinkles!
- Spray again over the batting layer.
- Place your quilt panel on top, right side facing upwards, you.
- Press to heat set the basting spray.
Make sure to smooth out any wrinkles. Here's a video too:
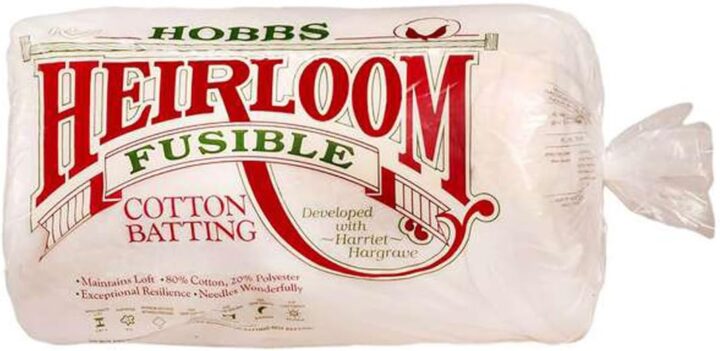
Alternative? Fusible Batting.
Check out my occasional alternative to the usual batting (for when you run out of your basting spray, and still don't want to use pins 🙂
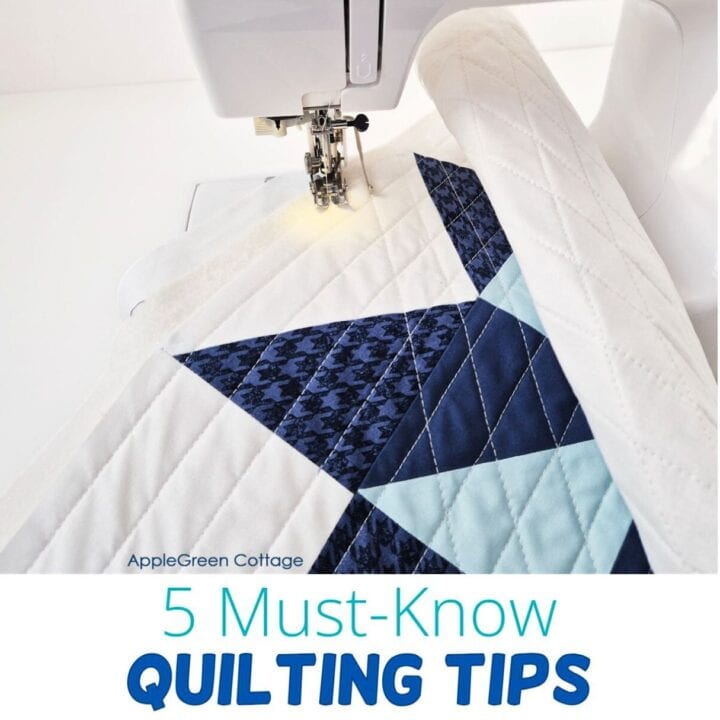
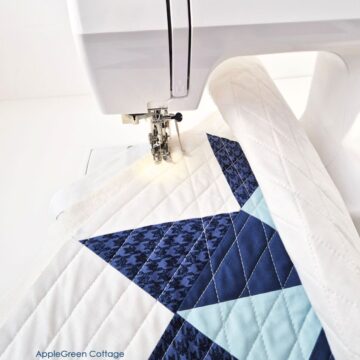
7 - Quilt the Layers Together
Time to quilt your quilt sandwich! Use a walking foot to stitch through all three layers, adding beautiful texture and keeping the quilt sturdy.
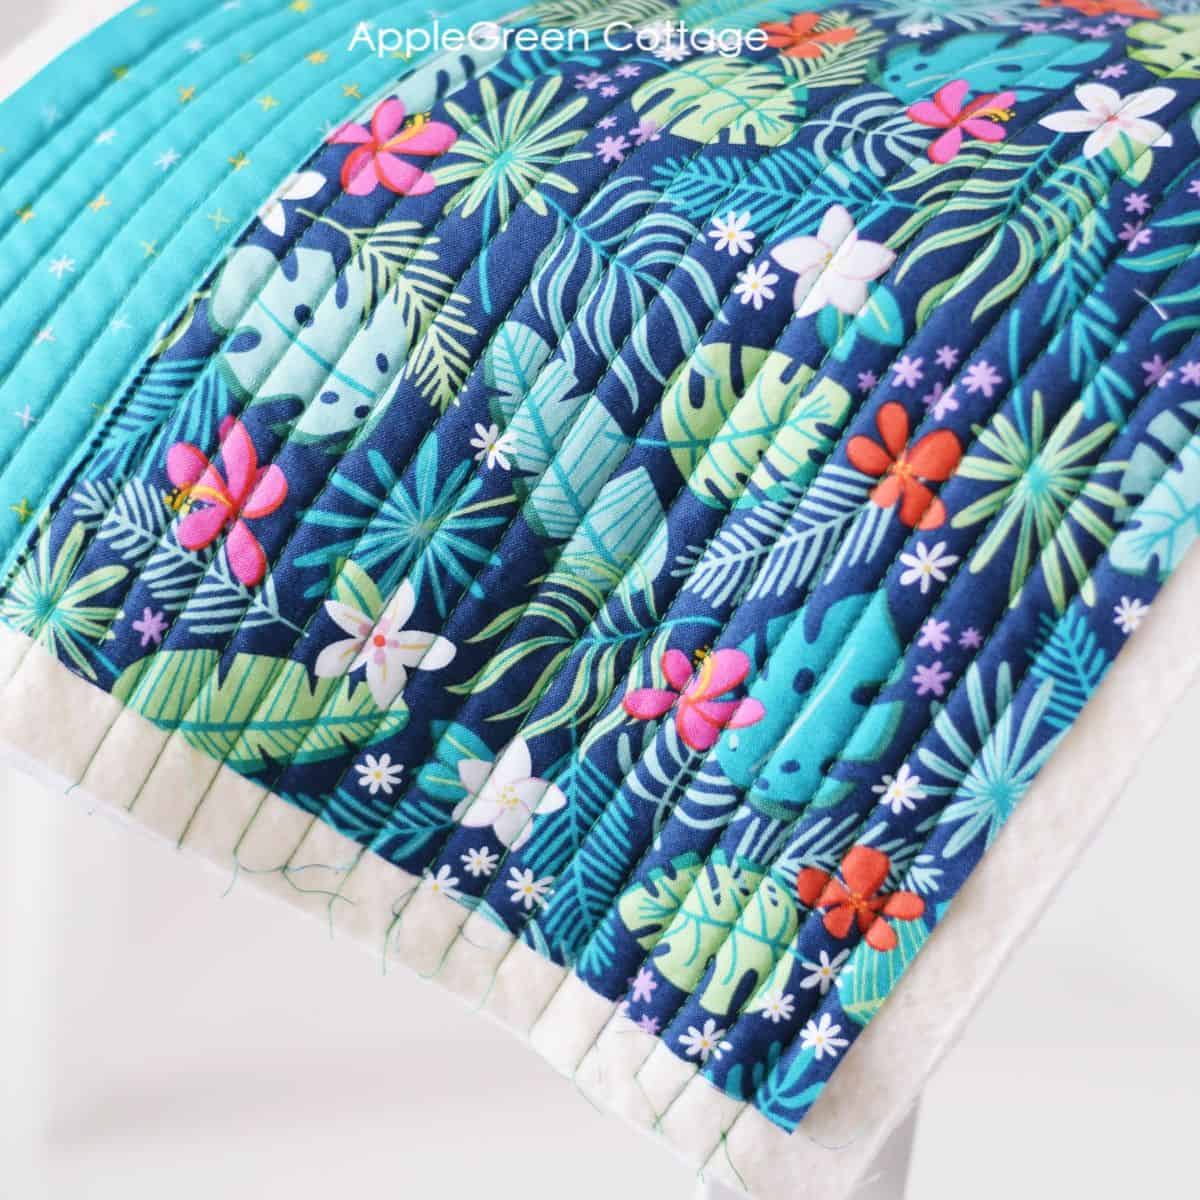
My favorite, and the easiest technique is simply straight-line quilting: simply sew straight lines either vertically or horizontally, or on a diagonal, that's so pretty too! For more information, see my favorite 14 walking foot quilting designs for beginners.
Which direction to quilt for best results?
I always start in the center of a quilt, and slowly work my way outwards, always from top to bottom - same direction. Why? You'll get a better-looking quilt. Your quilting stitches going in the same direction will keep your stitching more evenly spread and without puckers.
How do you keep a straight line when quilting?
A walking foot helps a lot, so if you've got it, always use it when quilting. It grabs your quilt from both the top and the bottom sides, feeding the layers evenly through the stitching area - no slipping!
Oh, and this is the simple tool that can make all the difference in keeping your lines straight - I don't even need to mark the quilting lines (gasp!), except for the first one in the center. This is my beloved guide bar that came with my walking foot:

I simply attach it onto the walking foot, there's a tiny hole at the back of it, and determine the size of the gap between my straight (or straight-ish!) quilting lines. It looks like a magic wand, and yes - for me, it really is!

Tip - Avoid thread nests on the back
Before you start a new quilting line, always bring the bobbin thread to the top. Here's how: lower and raise the needle once, then gently pull the top thread until the bobbin thread comes up. Hold both thread tails for the first few stitches - this helps keep the back of your quilt neat.
8 - Square up the quilt
Once you've quilted your layers, it's time to bring it to the cutting table and use your cutting mat and rotary cutter to make all the edges as straight as you can, and all the corners at 90 degrees. This is called squaring up a quilt sandwich.
How to trim the quilt edges
See my tutorial on how to square up a quilt, there are tips to make squaring up your quilt easier and faster.
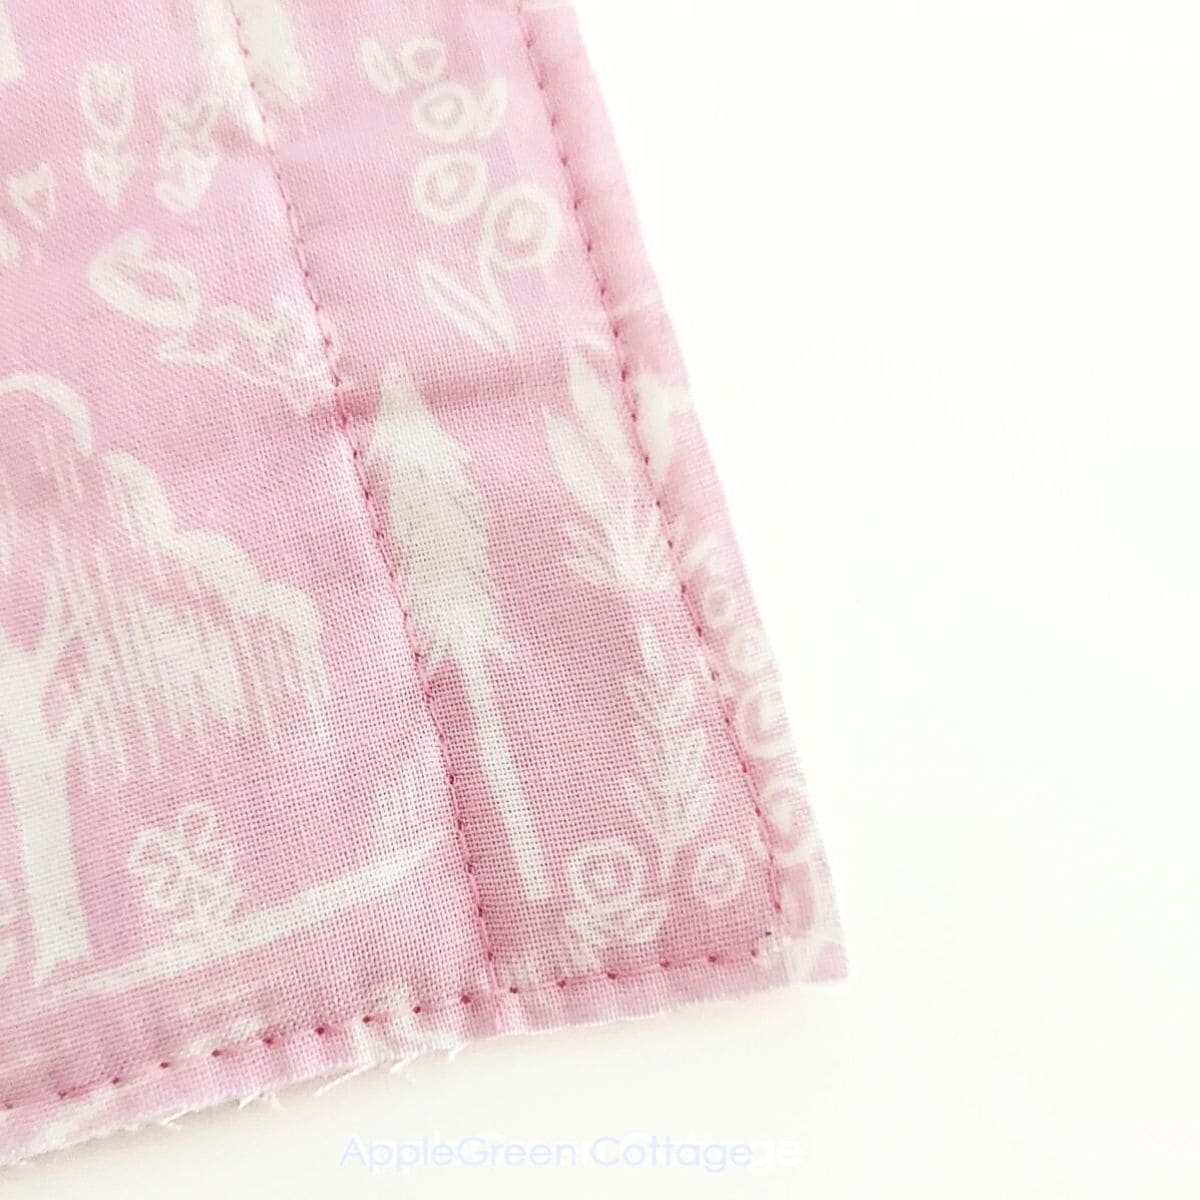
Once done, I machine-baste around to keep the layers together on all edges. Simply use the longest stitch length on your machine and edge-stitch around your trimmed quilt edges, using a small seam allowance. I usually go with something between ⅛" and ¼":
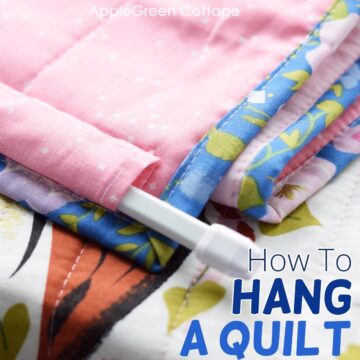
Also, this is the time you need to think about how to hang a quilt. For mini quilts, you can create corner hanging pockets - or make a quilt sleeve. In this how to make a quilt sleeve tutorial, I also show you the 4 most effective ways to hang and display your quilt. Don't just hide it in the closet!
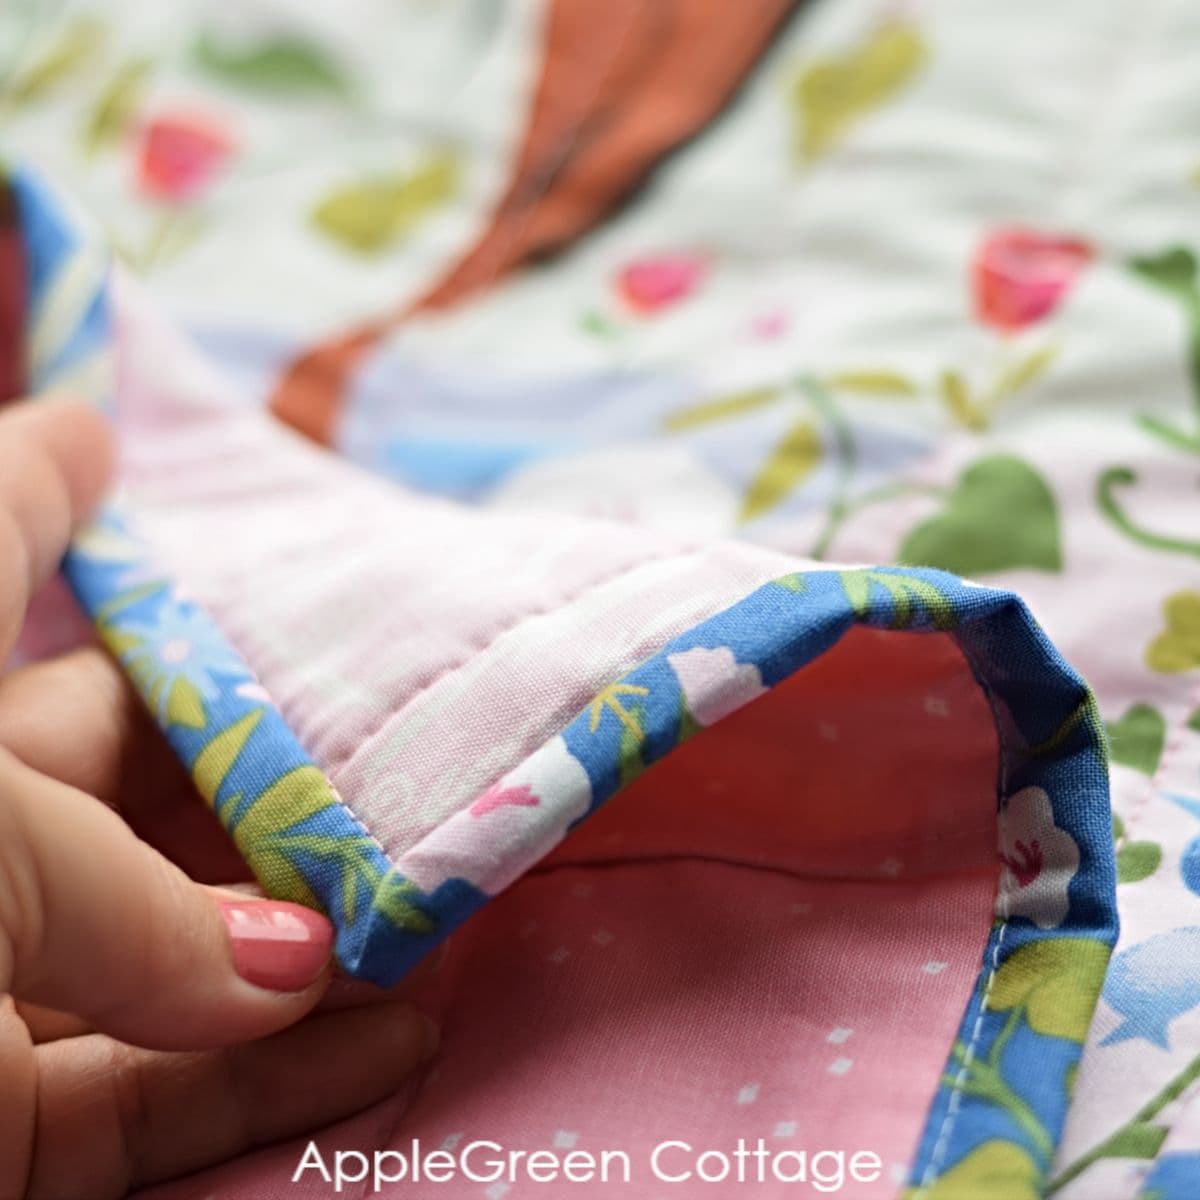
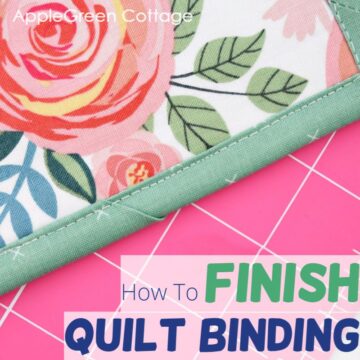
Finally, now it's time to bind your quilt: sewing on binding to finish off the edges and give your quilt that polished look. ↓↓↓
9 - Add Quilt Binding
You can add binding by machine-stitching it, or hand-bind the quilt. Hand-binding involves sewing the binding to the quilt by hand, which adds a beautiful personal touch.
However, I always use my sewing machine to add binding, for a simple reason: it's easier and quicker. What I don't mind spending time on is making my own quilt binding - here's how to make quilt binding. Love all the prints and colors!
Every quilter seems to have their own favorite way of adding binding to a quilt. See our tips and tutorial on how to add binding to your quilt, beginner-friendly.
Once you've added binding, it's time to hang up your quilt and admire it. Congratulations are in place!
Free beginner quilt patterns list
Learn how to make a quilt with an easy pattern that will teach you the basics.
All of these quilts are super fun and easy to make. Whether you are a new quilter wanting to make a first quilt or an experienced quilter looking for ideas for the perfect quilt that only takes a weekend, take a look at one of these two of my favorite free quilt pattern lists:

Helpful Tips For First-Time Quilters
Before you put all into action, let me help you by answering a few common questions, so you don't need to search around the web before you begin:
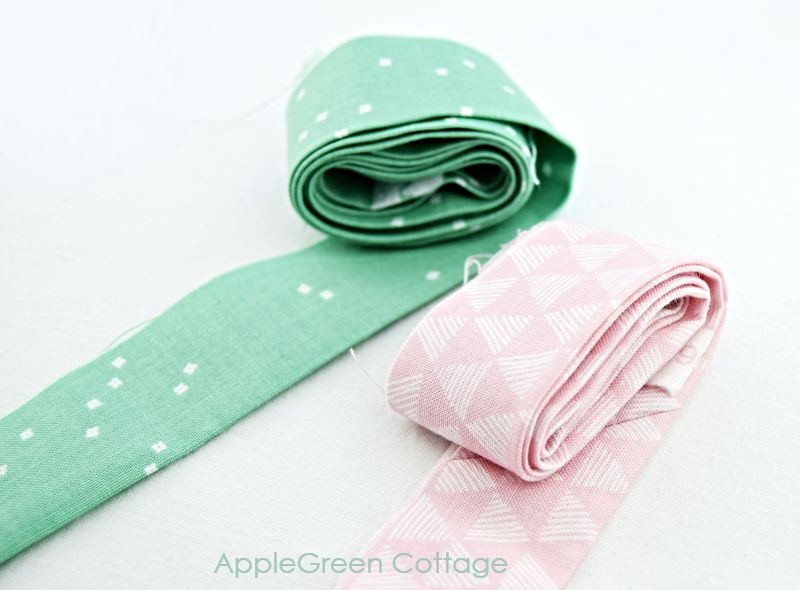
Utilize Pre-cut Fabrics!
Precut fabric is very helpful in the beginning, especially if you need to get familiar with cutting precisely. Cutting, piecing the top, and quilting are three very different skills!
Pre-cut fabric packs can be a game-changer! They will sometimes allow you to dive straight into piecing - without the hassle of measuring and cutting.
Sometimes, a quilt consists of squares only, and in this case, you can use 5" precuts called charm packs, or 10" layer cakes. Or, if your quilt is created using a strip-piecing method, you can buy a jelly roll - a bundle of precut 2 ½" wide strips, cut on the width of a fabric bolt.
Get them at Amazon, or take a look at our list of best online fabric shops. So many options!
→ Top 5 Quilting TIPS
I love using Odif 505 to spray-baste the layers before I quilt. It makes all the difference! It ensures that the fabric is taut while quilting.
Invest in quality rotary blades, and don't rush. Precision is more important than speed. TIP: you can use precuts!
Of course! I have a regular, domestic sewing machine with no frills, and it has never stopped me from quilting. I do, however, stick to smaller quilts, and smartly fold my quilt sandwich before bringing it to my sewing machine. Take a look at this panel quilt tutorial how I do that.
The time varies, but enjoy the process rather than rushing. It's all about the journey, not just the destination.
Go for a whole cloth quilt like this panel quilt tutorial, it is a perfect starting point for novices. It means you'll use a single piece of fabric for your quilt top, without any piecing. Just quilt, and saying this, I'd recommend straight-line quilting. It's an excellent confidence-building exercise.
I want you to have tons of options, but if you ask me for the very simplest way to do a first quilt, then go either with a whole cloth quilt like this panel quilt tutorial, or choose a big-block quilt pattern for beginners - those will take the least time and effort. Also, if you want to start quilting on a smaller scale, a baby-sized quilt is a great choice.
It's simple: start with cotton fabric, nothing else. Here's a list of top fabric stores online if you want to look for quilting cotton. You'll have plenty of opportunities to experiment with other types of fabric at a later stage, once you've created a few of these beginner-friendly quilts. The only other material that I could recommend if you're a beginning quilter would be linen.
While it's possible, you'll probably want to stick to one type for consistency in texture. Also, to make it easy to launder.
In quilting, the ¼" seam allowance is vital for two reasons: it keeps your block dimensions accurate, and it ensures that all your pieces fit together neatly. Even slight variations can add up across a quilt, making seams misalign or blocks differ in size. To achieve a consistent ¼" seam:
Use a ¼" Foot: Many sewing machines offer a ¼" quilting foot with a built-in guide to help you stay on track.
Adjust the Needle Position: If your machine doesn't have a ¼" foot, you can adjust the needle position slightly to get the right distance.
Double-Check with a Ruler: After sewing a seam, use a ruler to check your allowance. If you find your seams are slightly off, adjust as needed. Small adjustments can make a big difference as they add up across the entire quilt top.
Conclusion
I hope this guide on starting to quilt has made a difference - and has been helpful to you. To sum up, start with the basics, such as straight-line quilting, simple patterns, probably even a whole-cloth quilt. You'll find a few of those in my free list above. And then, expand your skills. Each technique has its charm, so take your time to discover which suits your style best. And, have fun!
Embrace the learning process, and don't bother about any imperfections, they are part of the process. Honestly, no one is expecting factory-perfect seams in a handmade quilt. That's what makes it special!
More Ideas
Randomize Quilt Pattern
Love modern quilts but want something simple - and NO tricky points to match? →THIS.
Looking for more quilting ideas? Check out these free tutorials:

Join the FREE 7-part email course and make 6 beautiful items for your home! You'll love it!


Leave a Reply