
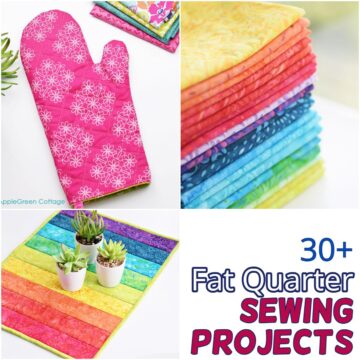
Here's how I turned random scraps into a beautiful, framed wall decoration. (Even if not perfectly pieced.)
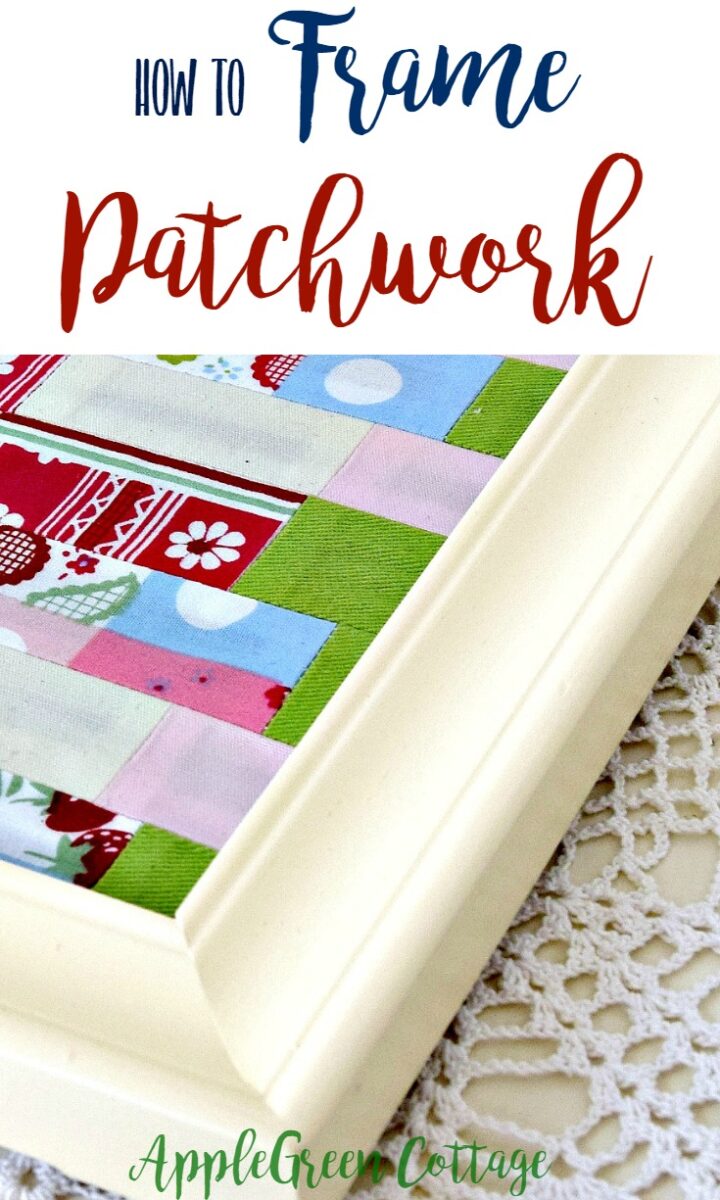
See how to frame a patchwork for display on the wall. It's a great DIY way to use fabric as wall art. If you love patchwork and sewing mini quilts but wish to prevent them from gathering dust on the wall, you'll love this idea.
It's an affordable way to get your creative projects on display. Or turn them into lovely DIY gifts for your friends.
This post may contain affiliate links. Thanks for your support. Looking for quilting ideas? Check out all the best free baby quilting patterns - or create tons of pretty items for your home by taking part in this free, no-commitment SewPretty HOME email series:

Join the FREE 7-part email course and make 6 beautiful items for your home! You'll love it!
How To Frame a Patchwork
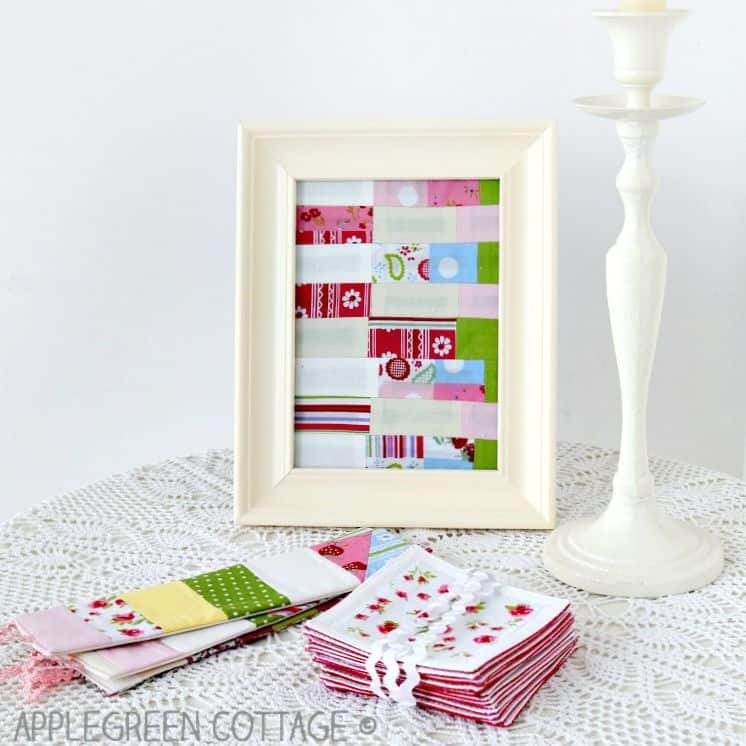
Have you got a piece of fabric you adore and would love to look at every day? Or even better, you've made a cute little patchwork or even finished a mini quilt, and now it deserves to be seen! I'll walk you through the easy process of inserting a patchwork into a frame. Easy and sweet!
You can use picture frames to put your beautiful fabric scraps on display. This way, you can create the perfect gift, or decorate your home like a pro.
I love my fabric scraps. And last time I started putting them randomly together because my fabric-scraps storage box was getting full.
This mini patchwork came out of the sewing machine.

I loved the process of sewing (improvisation, yey!) and I loved how it turned out as well. Instead of grabbing a little piece of batting and white cotton for backing to bind it, I searched for a little frame. You see the rest of the story here.
Supplies Needed:
- a picture frame. Use affordable, ready-made frames.
- your patchwork or mini quilt
- optional: double-side tape
- tools: scissors, screwdriver, ruler, pencil
- iron and a pressing board - make this diy ironing board

Note on where to get frames: I'm a huge fan of Ikea frames! Ikea always has a great range of affordable frames, modern or traditional ones. You can even stock up on those when discounted.
I purchased a ton of adorable Fanaholm frames when I found out they were to be discontinued. I've still got a bunch of them unwrapped, and many many many more in use already! If you want something similar, Ikea Virserum picture frame, and the Söndrum is so cute too!
HOW TO:

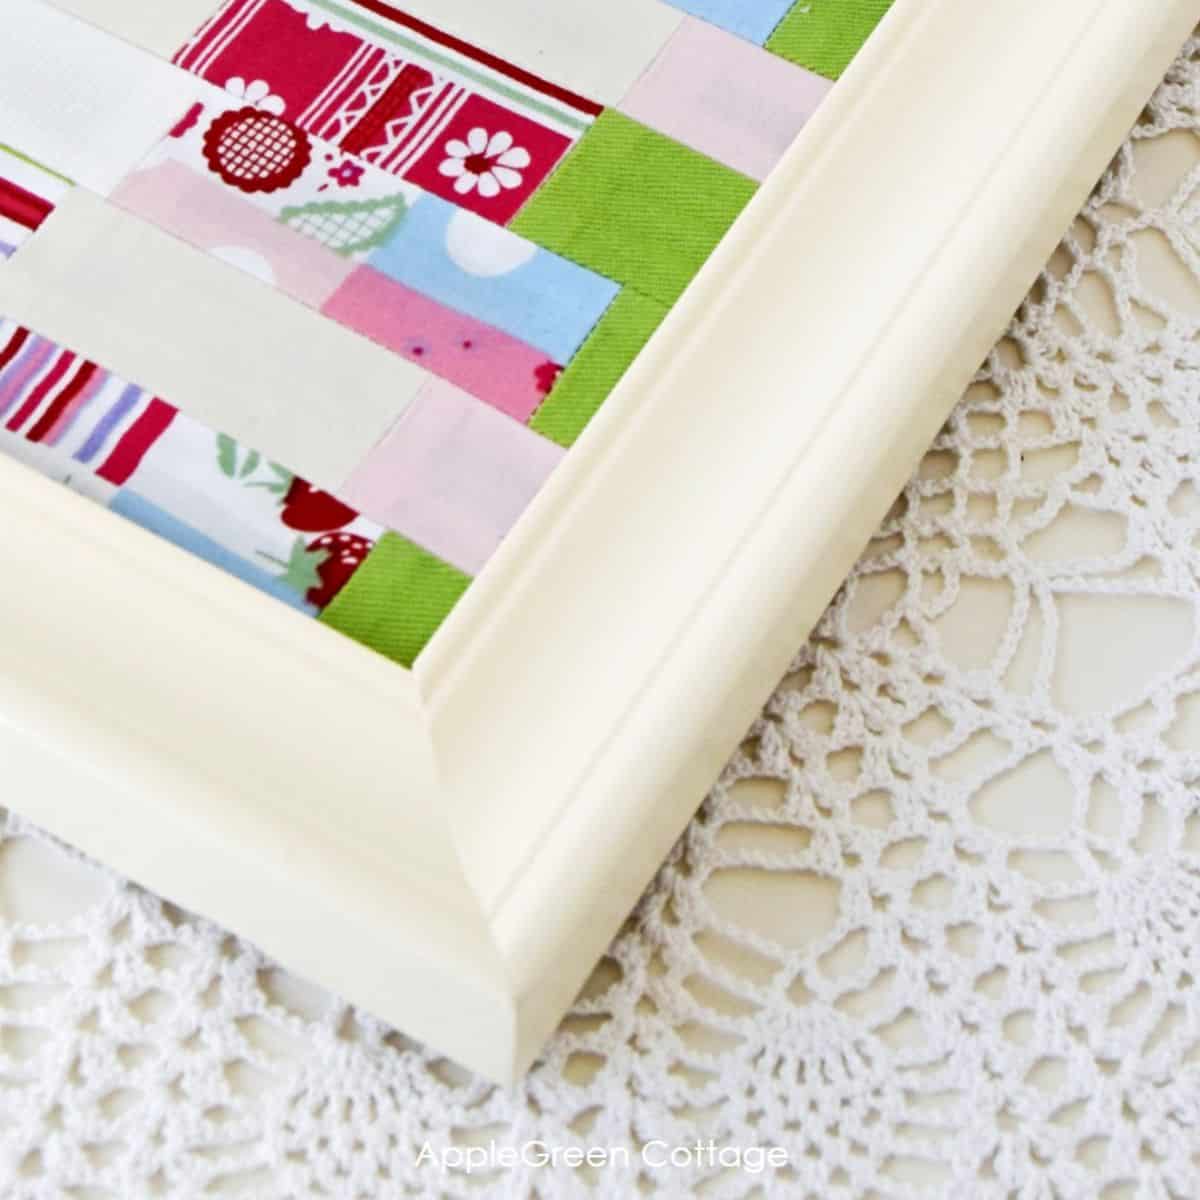
1) Disassemble the frame. Take off the backing, the glass and any other layers. Make sure the glass front is free of any stains or dust - you might need to wipe it first.

2) Decide on how you'd like your patchwork to be oriented in the frame. Experimenting is safe at this point 🙂

3) You may never see this again, but yes, I decided to cut up a piece of patchwork to make the beautiful part stand out. Personal preferences.
The more usual way to frame a patchwork would be finding a frame big enough to have the entire piece intact. And this is what an avid quilter would probably do. A lovely, finished quilting block should never need to be cut.

4) Now, this is the piece to go into the frame.
Give it another press if needed. I decided to press all seam allowances open to make the patchwork as flat as possible. I like to keep my diy tabletop ironing board close by, so I don't need to get up when sewing together tiny patchwork pieces.
Place the patchwork onto the glass front.
Depending on the size of the frame and your patchwork, you may also want to use a mat. Your choice!

5) Place the glass front back into the frame, then the (front-facing) patchwork layer, and a white fabric backing on top.
The glass will hold the patchwork in place, and protect it from dust.
The white backing fabric layer behind the patchwork will ensure the patchwork fabric colors stay intact. Especially when the frame backing is not white, it might alter the colors of the patchwork.

6) Time to add the (wooden/plastic/metal) frame backing.
If you feel it's necessary, you can add a few pieces of double-side tape to hold the fabric backing in place. Usually it won't be necessary, but better safe than sorry, right? When applying the glue or the double-side tape, bear in mind you need something that won't yellow over time, as stains can transfer to your patchwork or backing too.

7) Attach the frame backing. My frame had tiny brads to hold it in place. I gave them a firm press against the surface using a screwdriver. Various types of frames have different framing hardware - I love turn buttons, they are the easiest to use!
8) See? Easy! A framed piece of patchwork will make your crafting corner even prettier!
Many many other scrap busting projects are coming your way in the next months, so stay tuned for more - or, why wait? Get 5 easy scrap-friendly sewing ideas into your inbox already now:

Join the FREE 6-part email guide and make super easy diy GIFTS - each in 30 minutes or less! You'll love it!
This is all you need to know to frame small pieces of patchwork you make. Now hang it somewhere in your crafting corner and let it make you happy each time you catch a glimpse of it. Happy sewing!
Bonus tip: How to prevent fabric from fading?
Fabric will fade, with time. Hang your patchwork somewhere out of direct sunlight to avoid the fabric fading. Any decoration with fabric on it, you'll always want it out of direct sunlight!
WANT MORE FREE TUTORIALS AND PATTERNS?
Get email updates and never miss out on new patterns, printables, and tutorials:
Or …check out the TEYA crossbody bag pattern in our shop. One of my first bag patterns with pockets both on the inside and outside - and it works great as a gadget bag too!
TEYA PATTERN UPDATED!
PATTERN UPDATED.


Alison Nevin says
Your emails with ideas are fun and always have a scrap busting project to make. Thank you 😍 I do have a suggestion for your artwork project. In many areas are thrift shops or “recycle/reuse” hubs. One can find many treasures, like frames, for low cost or even just a donation. Save a littlr money and help keep an item from the landfill!! Thanks again.
Damjana Jakos says
Alison, hi! What a fantastic suggestion—thank you! I love the idea of checking thrift shops or reuse hubs for treasures like frames. It’s such a budget-friendly and eco-conscious tip!
Stephanie says
Love all of your posts, especially those that promote using scraps. I am almost embarrassed to say that we, my daughter and I, have a scrap hamper. I recently renovated my sewing room and used your market tote pattern ( modified) to make bins to help organize my fabric stash (hoard?). I used all of those triangles to make a tote bag. We even pieced all the fusible fleece scraps.
Anonymous says
Lovely.
Sandra@Frogs-and-Fairies says
Adorable! What a fantastic idea, Damjana! 🙂
Georgina says
Una idea genial. Queda precioso, me encanta. Saludos de Georgina.
Damjana at AppleGreen Cottage says
Thank you, Georgina