
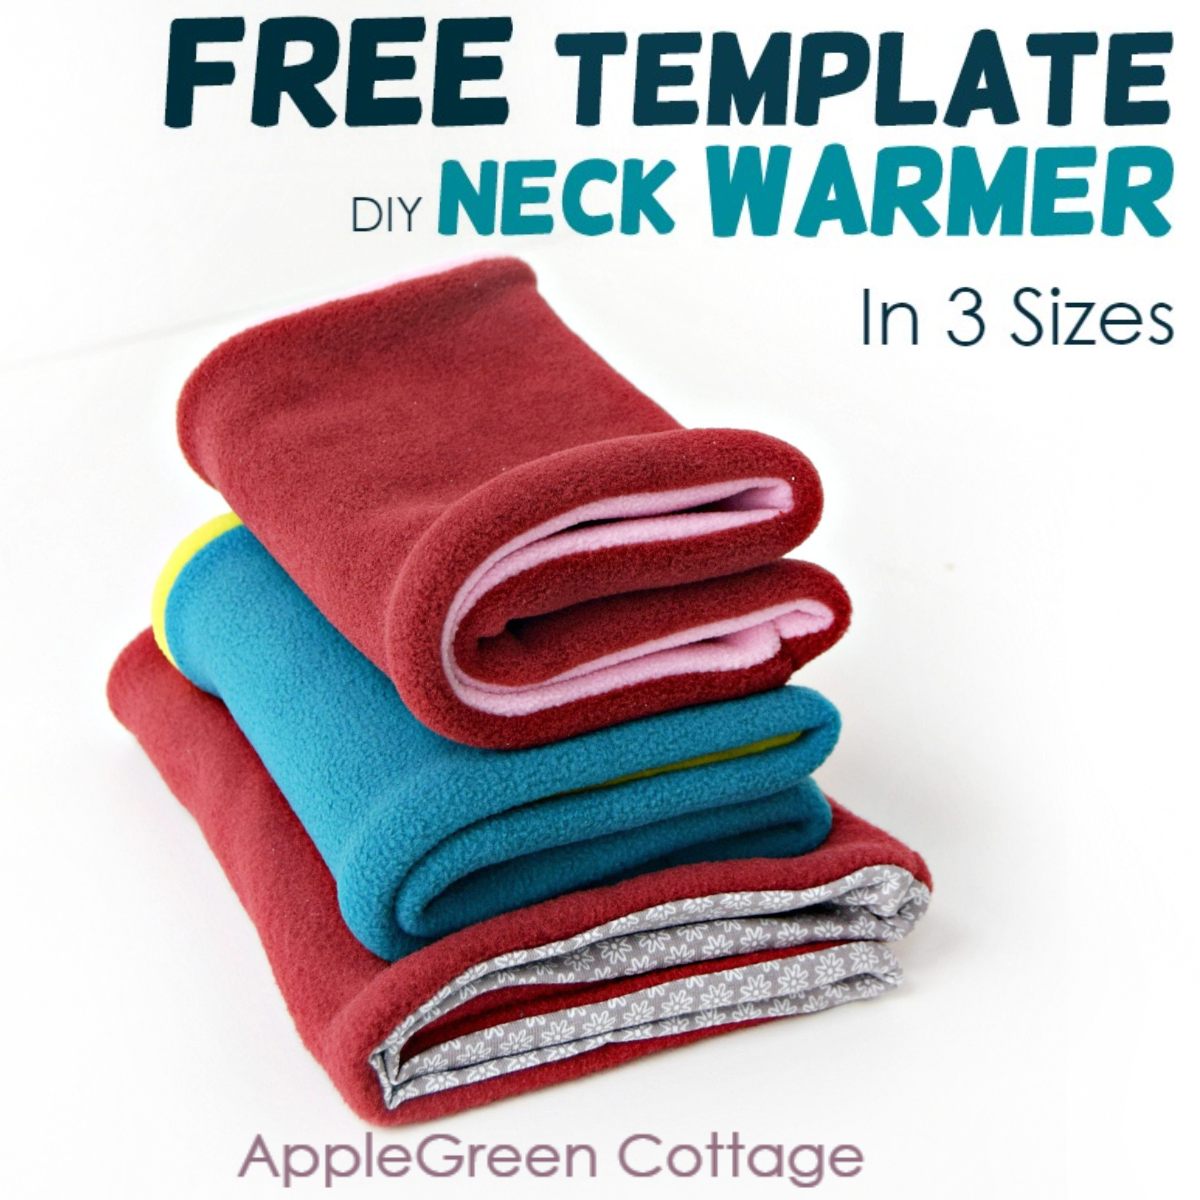
See how to make a neck warmer with our free neck warmer pattern - easy and quick!
This beginner sewing tutorial will teach you how to make a warm and cozy reversible fleece neck gaiter. It's an easy, super quick sewing project, and a great solution for those who don't like wearing (uncomfortable and bulky) traditional scarves. Good to mix and match to these Easy Diy Hand Warmers too.
Want an ad-free printer-friendly option of the whole tutorial + pattern? See the → optional PDF file in our shop.
Neck warmers are a hit every winter, keeping you warm and cozy. Best match them with the free heating pad pattern too.

Less searching. More sewing.
Keep 100+ printable AGC tutorials ready to print, save, and sew anytime.
Neck Warmer Pattern
If you haven't made a neck warmer yet, it's the perfect time to try this easy pattern! Neck warmers - also known as cowl scarves or neck gaiters - are fantastic beginner-friendly projects that make cozy, stylish gifts.

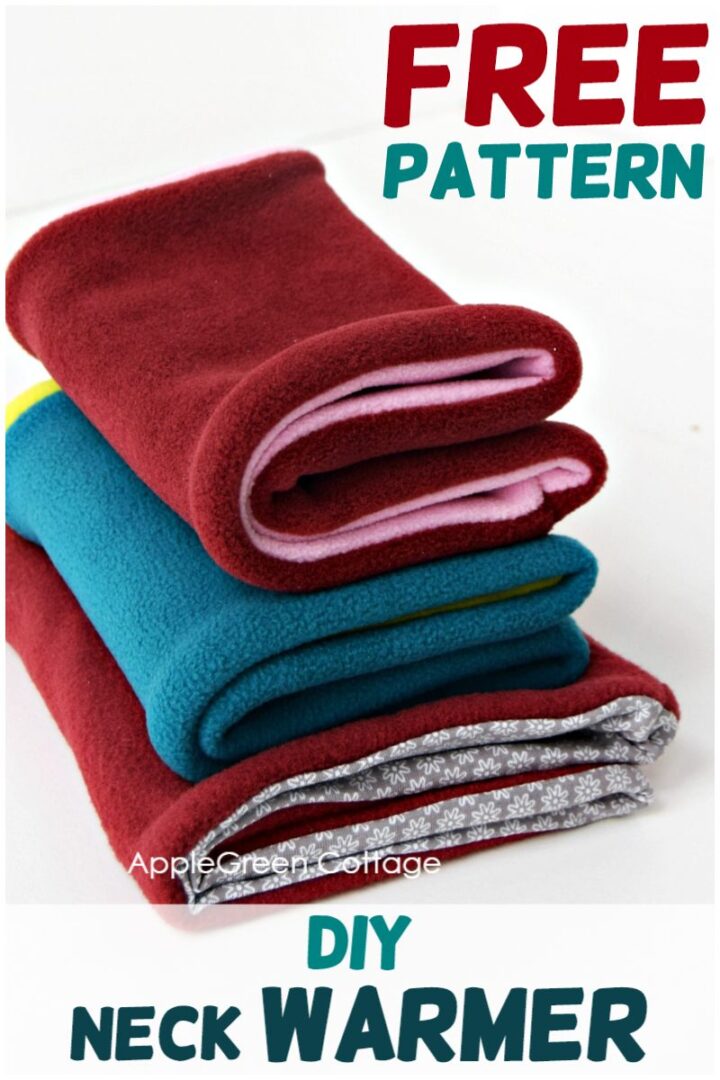
Today, I'm showing you how to make a double-layered reversible neck warmer in two colors. It will keep you and your kids super cozy and warm all winter long.
Warmer weather and you don't need a fleece scarf? I've got you covered! Make this easy infinity scarf from jersey instead!

Keep the winter chills away with this warm and cozy cowl scarf pattern.
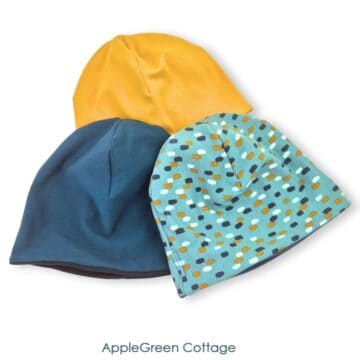
Make a Matching Winter Hat!
What is even better, this fleece cowl will sew up SO quickly, and you might end up making them in a set with our popular free fleece beanie pattern:
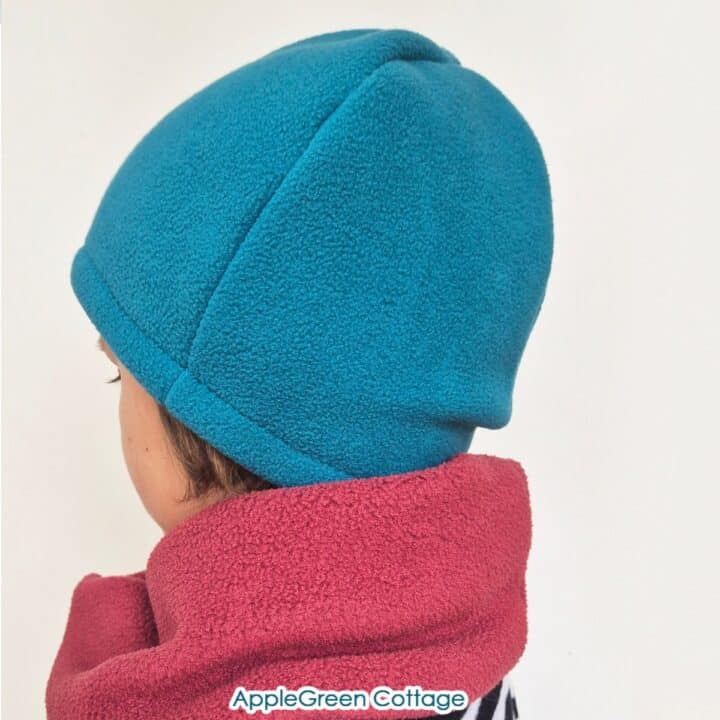
+1 Freebie: Fleece Hat
Make a set with our free fleece hat pattern:
Supplies for the Neck Warmer
- 2 pieces of fleece, the largest size requirement is 25" x 9" per piece (64cm x 23cm)
- matching thread
- the free template
Have some fleece leftovers from a previous sewing project? Good! Grab two pieces and let's go!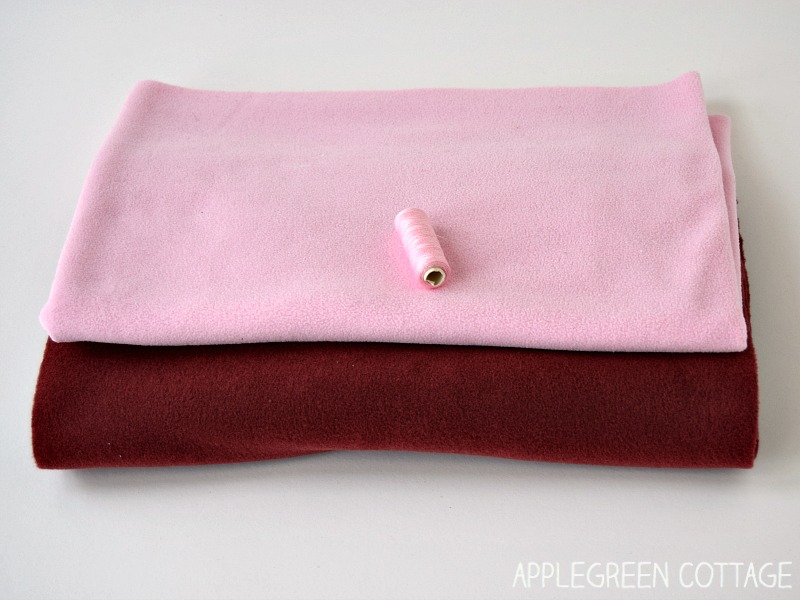
Bonus tip: you can use flannel for one layer out of the two. This will give you a thinner cowl scarf, and still a soft one. If using flannel, make sure to prewash it. See here why prewash flannel - always.

This fleece neck warmer is all about simple rectangles. To make it easier on you and to prevent the guessing game, I've tested a few sizes and chosen what worked best for me and my children.
Does your child refuse to wear a scarf because it adds too much bulk around the neck? A fleece neck gaiter pattern is a great solution for those who don't like wearing (uncomfortable) traditional scarves. Tried and tested!
What is the finished size of the Diy Neck Warmer?
Choose one of these three sizes:
TODDLER (1T - 3T): 21" x 7" (53cm x 18cm) = FINISHED size DIAMETER 10" (25cm)
CHILD (4 yrs-10 yrs) 23" x 8" (59cm x 20cm) = FINISHED size DIAMETER 11" (28cm)
TEEN + ADULT: 25" x 9" (64cm x 23cm) = FINISHED size DIAMETER 12" (31cm)

Reversible Fleece Neck Warmer Tutorial
You'll get an image for every little step. Follow me!
Step 1 - Get the free template
Join our mailing list and get the pattern emailed to you:
Do you want a printable copy of the WHOLE tutorial? → See it HERE or get it in the huge-value BUNDLE!
Step 2 - Cut 2 pieces

Once you've decided on the required size, grab your scissors and the ruler. Cut 2 pieces of the selected size. You don't need to add any seam allowance, it's already included.
Top Tip: Stretch direction is important here! Take care to cut the pieces so the material stretches most in the direction marked on the above image.
Step 3 - Sew The Long edges of the Neck Warmer Together

Place the pieces right sides together and align them.

Then stitch along the long sides using a ⅜ seam allowance and a stretchy stitch (a simple zigzag will be just perfect!)

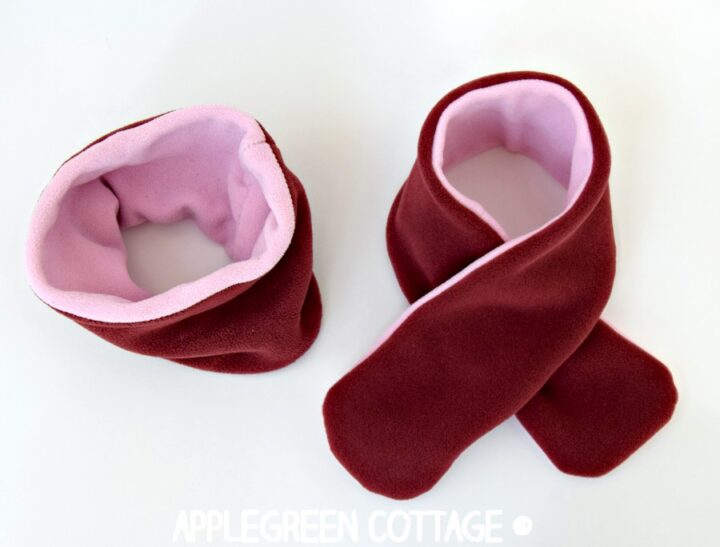
This is how your fleece neck warmer looks like - a long tube. Trim the seam allowances if required.
Step 4 - Fold and Sew the Short Edge

Pull one end of the tube into another one, keeping the right sides together, like this:


Sew around the short end, leaving an opening for turning.
Step 5 - Turn Right Side Out

Turn right side out through the opening.
Step 6 - Close the opening on your New diy neck warmer

The final step to finish this fleece neck warmer is closing up the opening. I like to hand-stitch it shut - it's much easier to neatly catch the fleece layers by hand than on a sewing machine. And if you use this ladder stitch tutorial when hand-stitching, stitches don't show at all.

Finished - your own fleece neck warmer. Yey!
Alternatives to the fleece neck warmer pattern
You can mix and match materials - try to find your own favorite! Later on, I also made one additional neck warmer using one piece of fleece and one piece of soft jersey. Actually, I still prefer the double fleece version. Soo soft! But when it's not so cold outside, I love to have a jersey side as an option, because it does not make me sweat.

Also, speaking of alternatives to these diy neck gaiters: if you want to test out other types of scarves and wraps, check out these 10+ free scarves to sew.
More scarf sewing ideas
Have you seen the new baby scarf tutorial that's getting very popular? This free tutorial has a little something added - and it makes it a DIY scarf that will never fall off! Check out here how and why:
+1 idea: Smart Scarf
Make a set with our free fleece scarf tutorial:
What is the best size for a neck warmer?
As you see in the photo, the smallest one is the toddler size, the blue-and-yellow one is mid-size (4yrs to 10 yrs), and the largest one is for me. I quickly modeled it against my partner's chin and can confirm that this size will work for any adult.
It will keep you and your kids warm all winter long! Since winter is (hopefully) coming to an end soon, I was thinking whether I should just fast forward to Christmas sewing. It's so easy I just might.
Want a printable copy of the whole tutorial?
Prefer a full, ad-free and printer-optimized Printable Tutorial with both instructions AND pattern included? ↓↓
This tutorial is also part of Printable Tutorials BUNDLE
100 PDF tutorials now, and growing!


Jamie says
This was so fun to sew! Fast & easy when I wanted to look cute and stay warm in these long Northeast winters.
Sharon says
I love this pattern! I made one for myself, my husband, my kids, my grandkids and made some as gifts for the holidays! Thank you for sharing!
Damjana Jakos says
Sharon that’s so heartwarming - your whole family must be staying cozy and stylish this winter! Love that you made it for everyone! 😊