
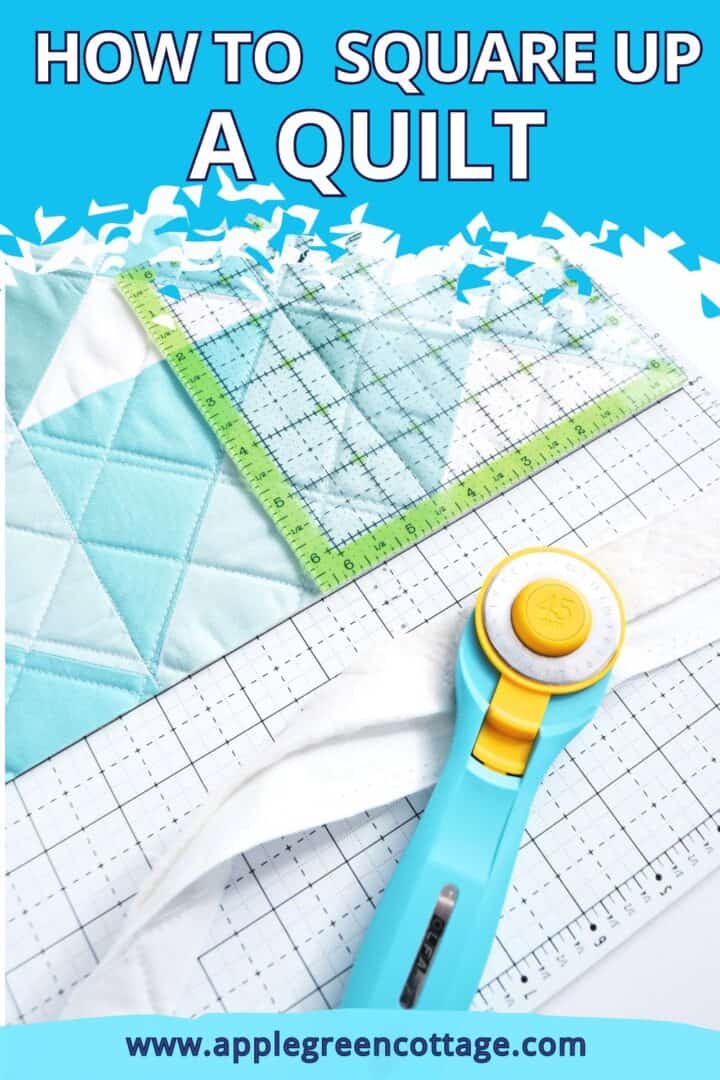
See how to square up a quilt the right way - for perfect alignment and size.
Squaring up your quilt can do wonders: if done properly, all your quilt edges and corners to lay flat when finished. Yay!!
Check out the tutorial and easy tips below and make a perfectly squared quilt.
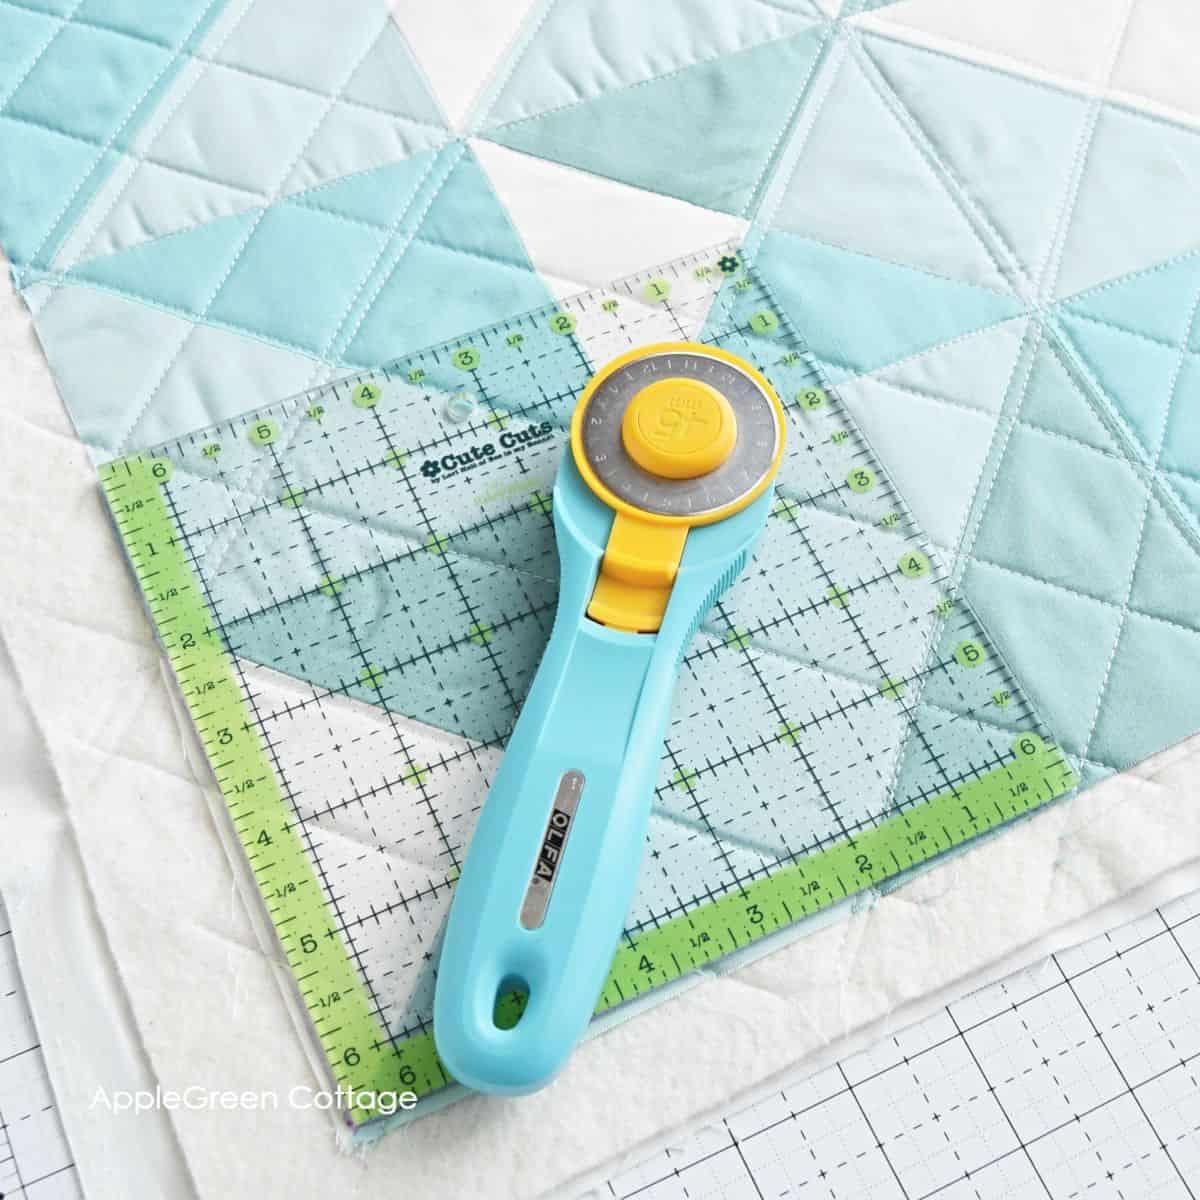
Table Of Contents
Make Math EASY - Get FREE Quilt Calculators!
Join our mailing list and get FREE Quilt Calculators - Make quilting math a breeze!
What Is Squaring Up a Quilt?
So what exactly does it mean to "square up a quilt?" It means all your corners are cut square at a 90° angle, and all your edges are cut straight.
Why do you need a squared-up quilt: it will make attaching your binding much easier, and when your quilt is laid out, or hung for display, it will look professionally made. Oh, and the making process will be more fun, too!
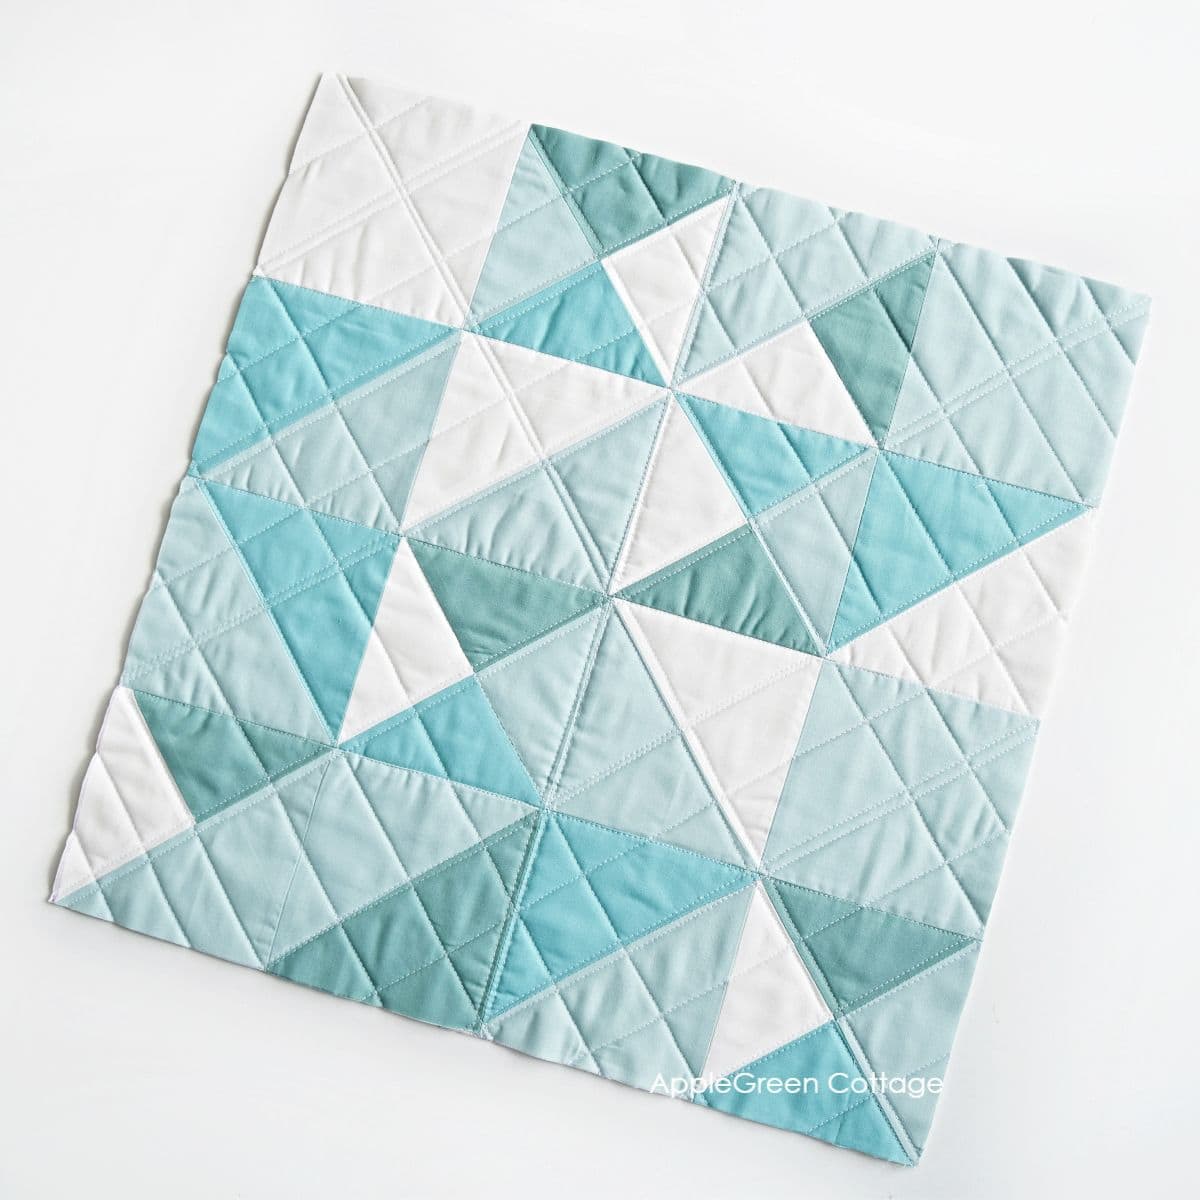
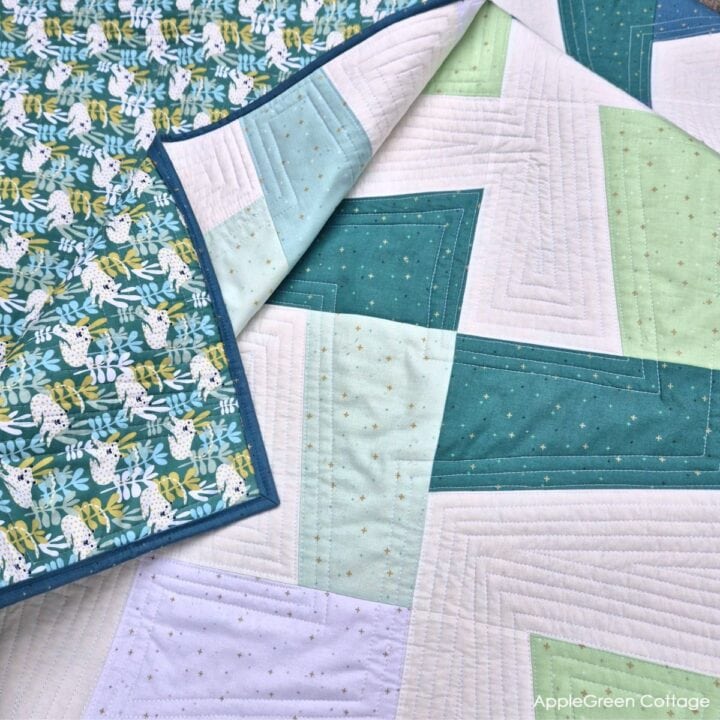
This is what you want to look like once your quilt is properly squared up:
Which step in the quilt-making process is this?
You will square up your quilt after making a quilt sandwich and quilting it - right before attaching the binding.
Once you've finished quilting the top, batting and backing together, you've created a quilt sandwich. This is the moment you need to trim all uneven edges to create your quilt's final shape.
Supplies
- a cutting mat
- a rotary cutter
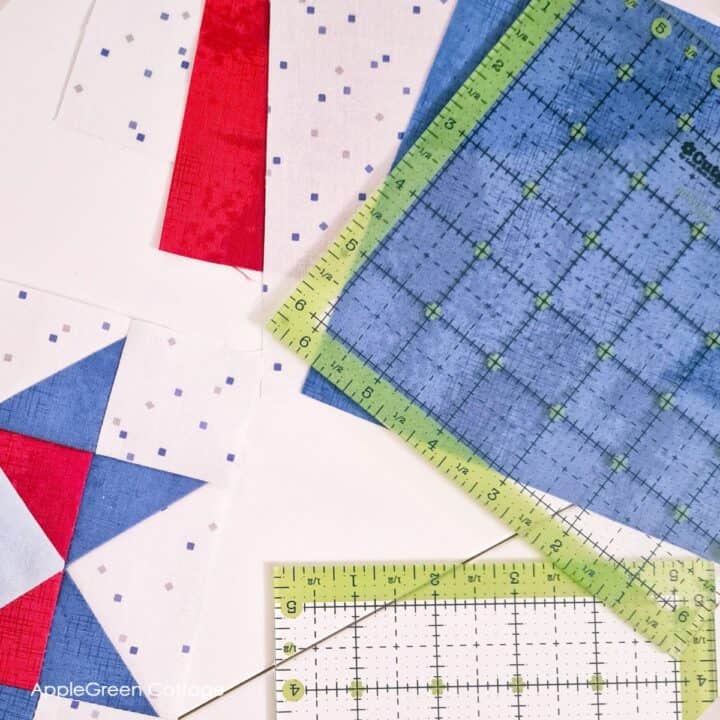
- quilting rulers: a square ruler like this
- a large, 6" by 24" quilting ruler
Shop my personal favorite sewing supplies on Amazon HERE.
Steps to square up a quilt
Step 1 - Press
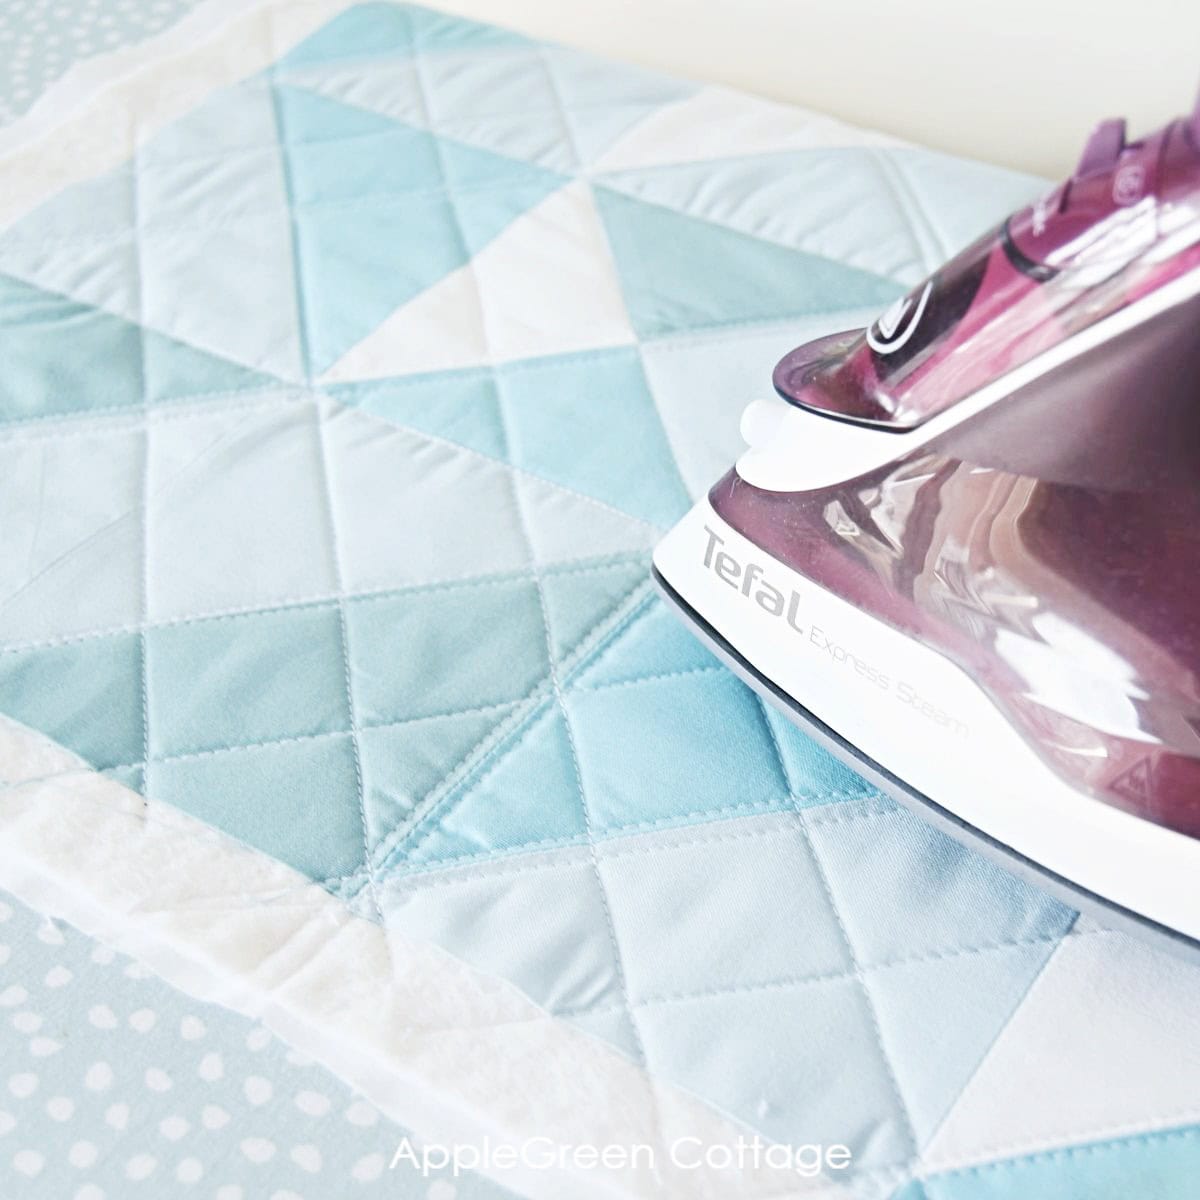
Start by ironing out any wrinkles. Trust me, pressing your project is the best start if you want your quilt edges perfectly straight.
Step 2 - Lay out your quilt
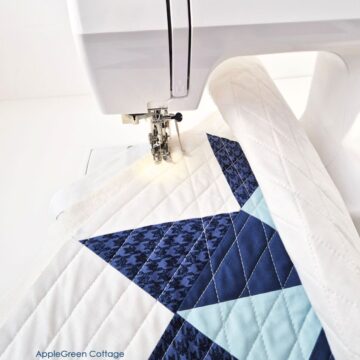
Place your already quilted quilt sandwich on your cutting mat. I placed two large cutting mats together as a base. A large table helps. If yours is a large quilt, utilize the floor! Just make sure to use a cutting mat to protect your surface and reposition the cutting mat or quilt as you go.
I used a small, 20" square mini quilt to make photographing easier. I first measured and marked all edges, and only then actually used cutter to cut into my quilt.
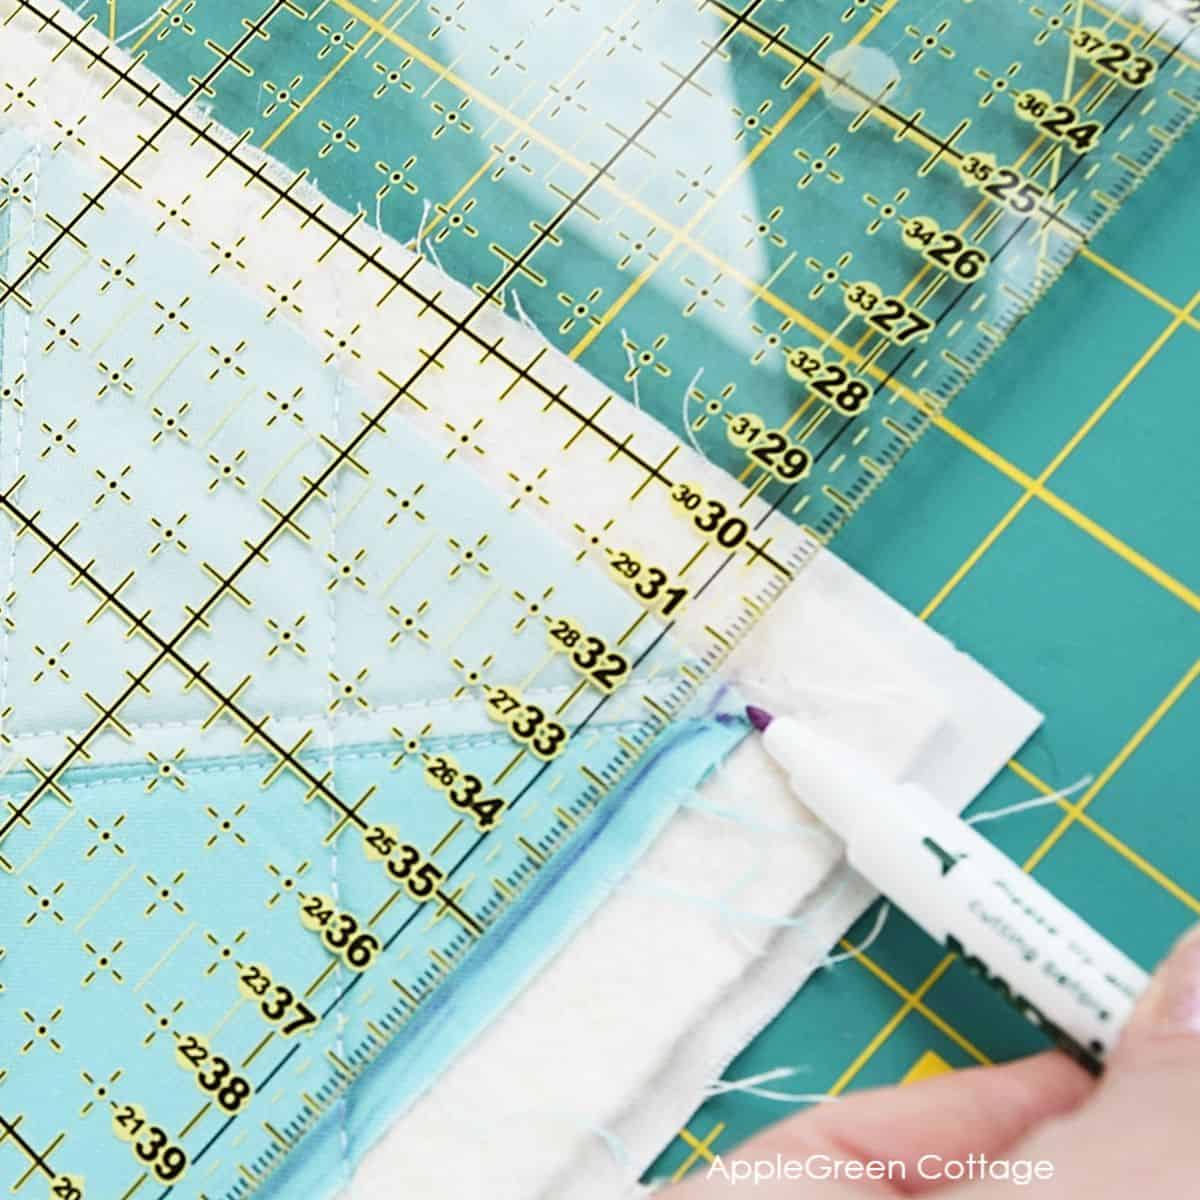
Step 3 - Start marking in a corner
TOP TIP: If you want to make sure everything will turn out ok, go the first measuring round using a fabric marker, not the cutter. I usually mark the lines before cutting - it gives me a piece of mind 🙂

Begin with the corners. All corners need to be 90 degrees.
Position a cutting mat beneath the bottom left corner of your quilt. Align the edges and the markings with the quilt design.
Check that the ruler aligns with the edges of your quilt top.
PRECISION TIP: When placing your square ruler into the corner, utilize all your diagonal seams too - not just the square lines. I always line up the diagonals first.
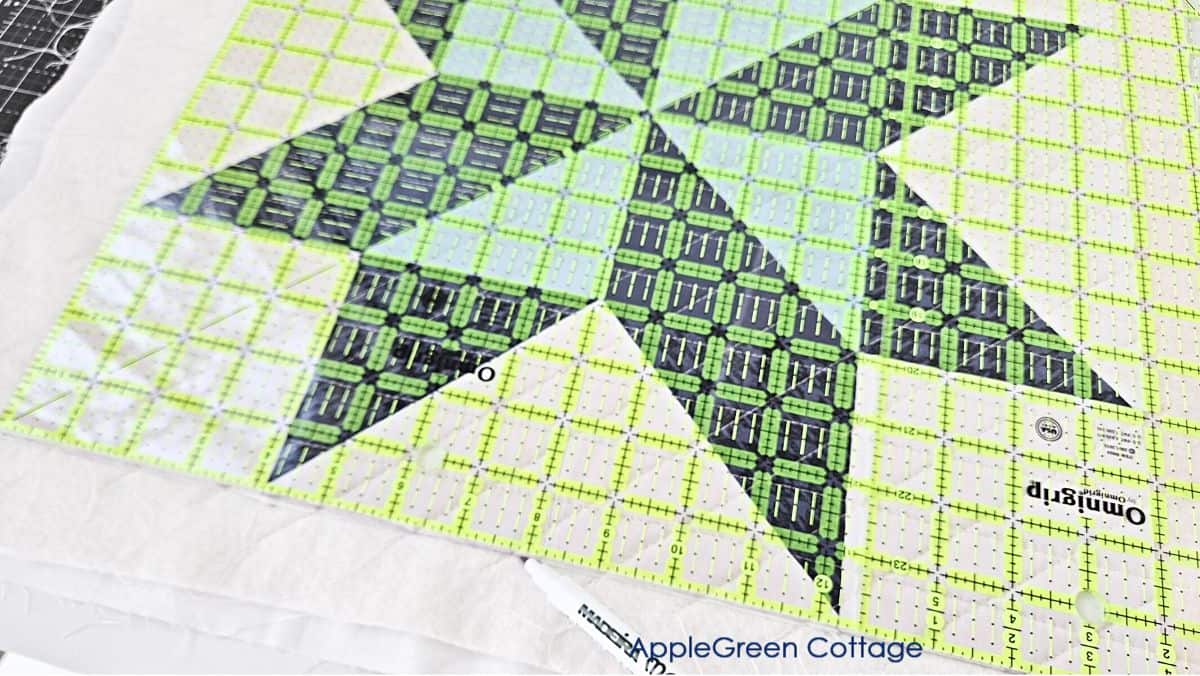
Mark the excess fabric along the ruler's edge.
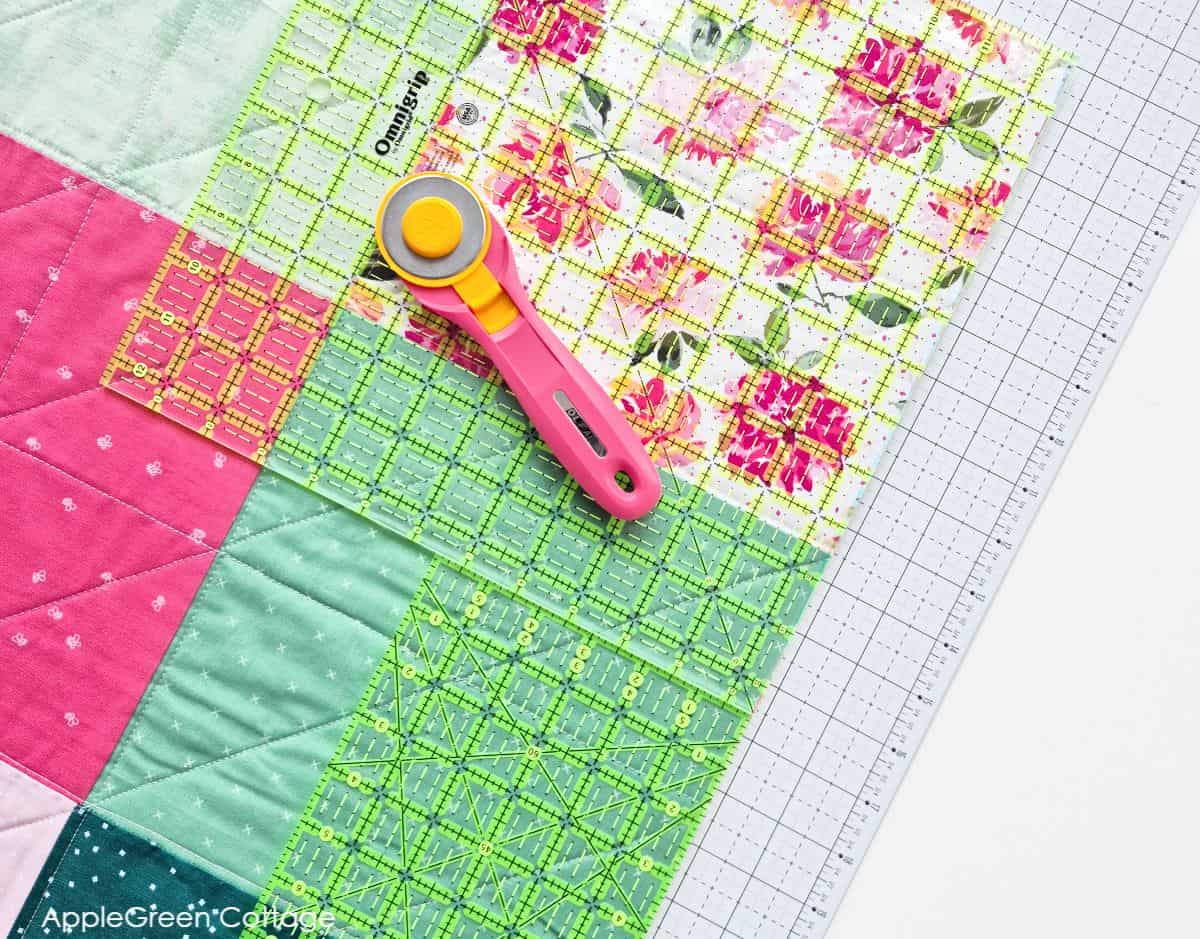
Step 4 - Extend the cutting line
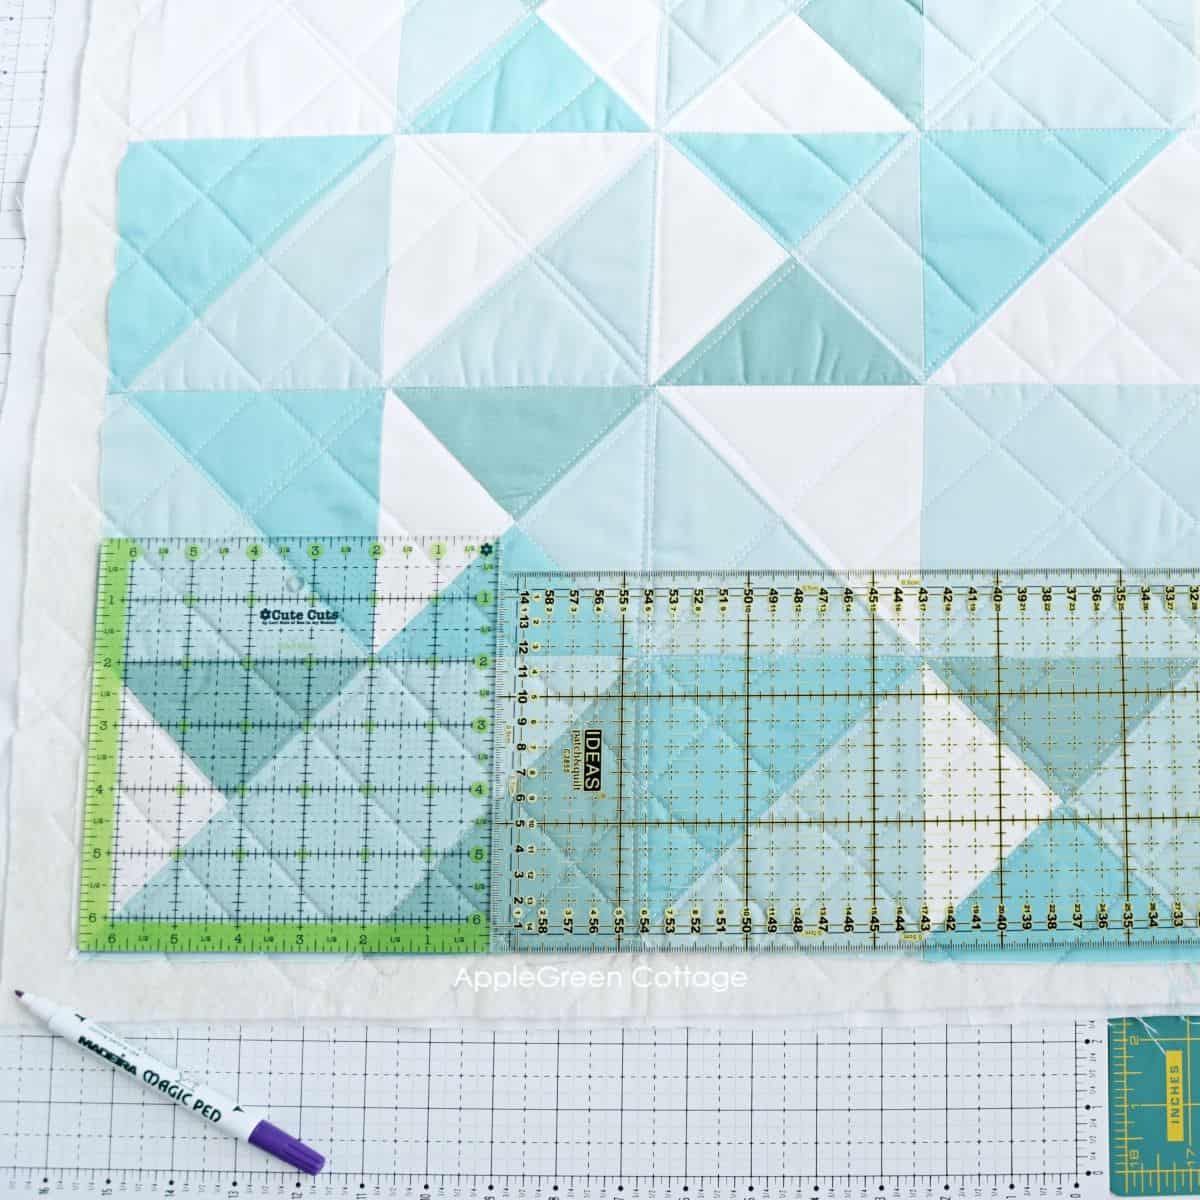
Now take the long ruler and position it along the edge of the square ruler. This way, you'll extend the cutting line and keep it straight. Again, make sure you have your cutting mat underneath the cutting area.
Mark all the way along the quilt side.
Step 5 - Around the Corner again
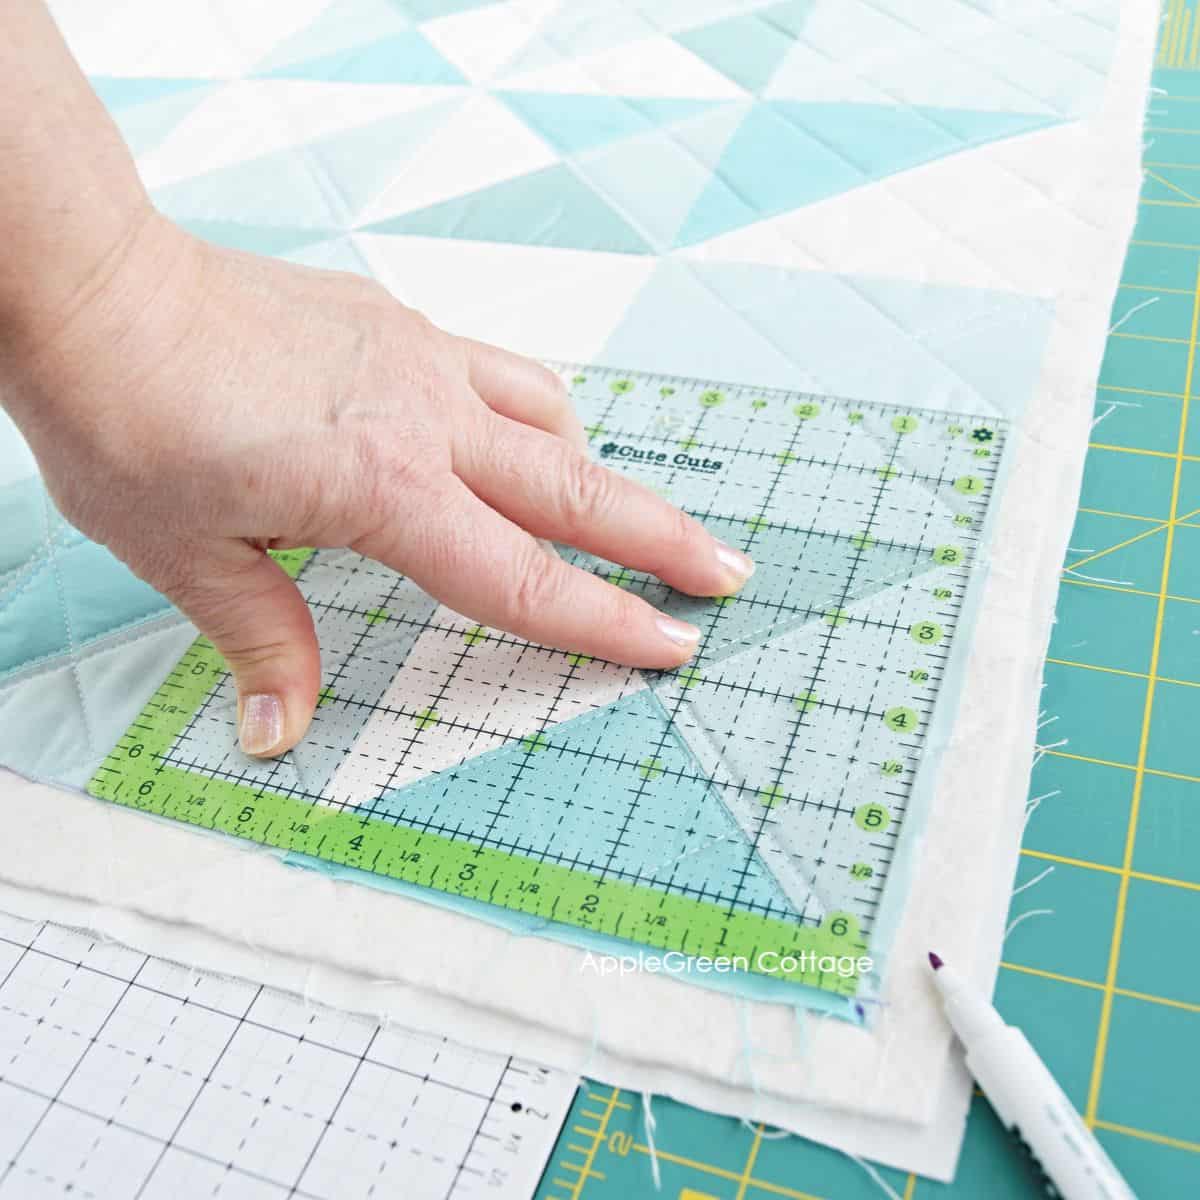
When you get close to the next corner of the quilt, grab the square ruler again and mark a 90-degree corner. If there are any diagonal shapes, like HST blocks, or diagonal quilting lines, you'll want to also align your ruler with those.
See my 4 Favorite Quilting Rulers!
Note the diagonals on my mini quilt? The square ruler was perfect to also use those when aligning it.
Step 6 - Continue turning around
Continue turning your quilt around and repeating the same process.
When you've marked all 4 sides and corners, align one of those lines with your cutting mat. Time to cut!
Step 7 - Ready For Cutting!
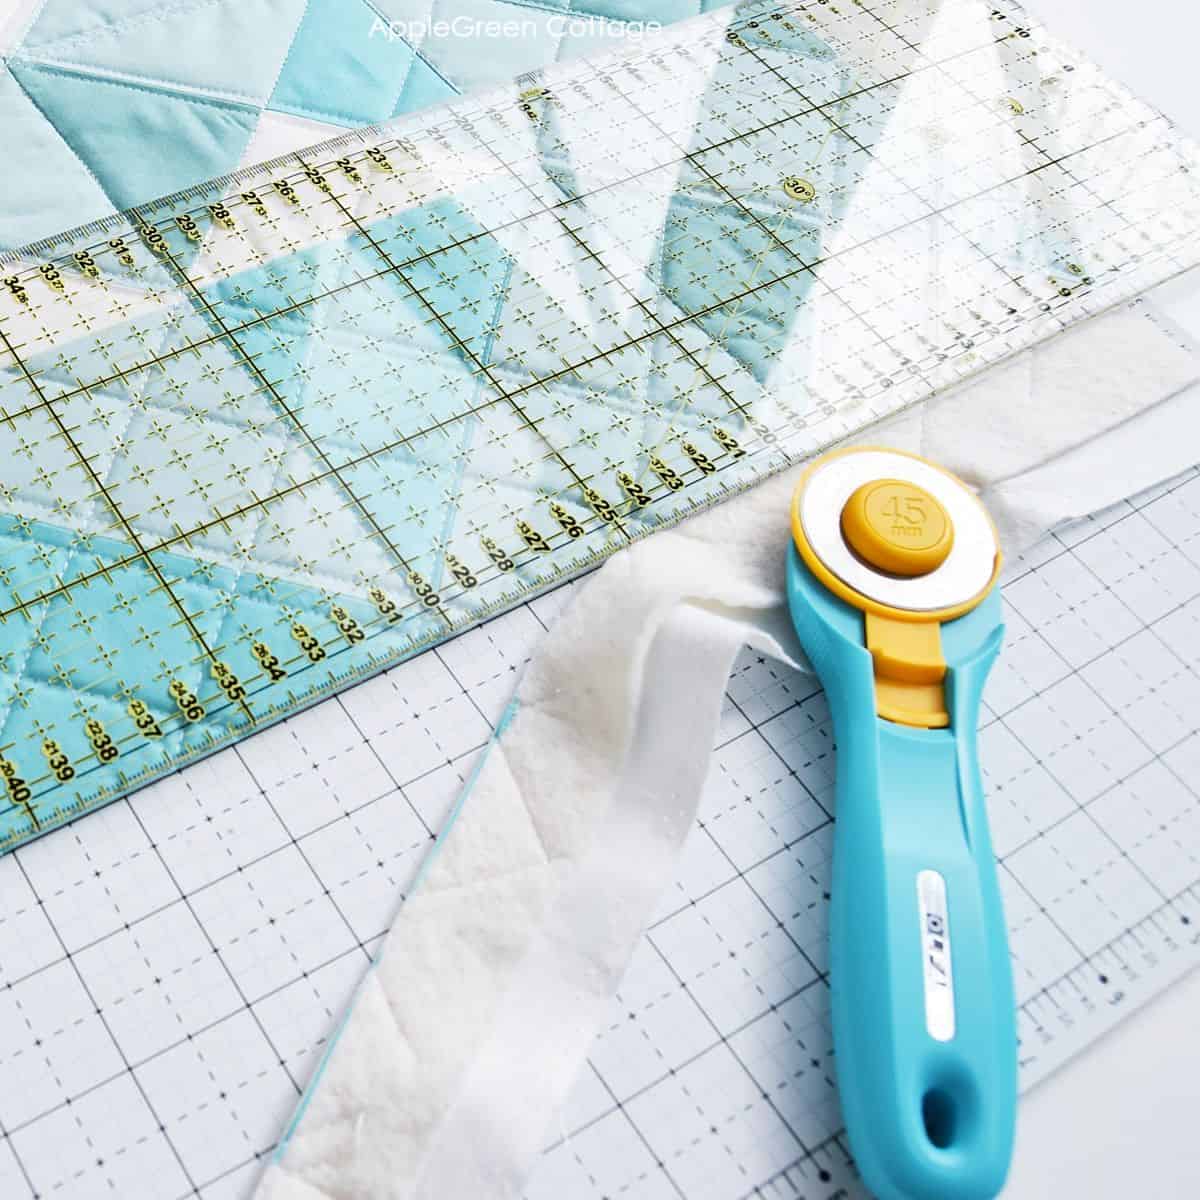
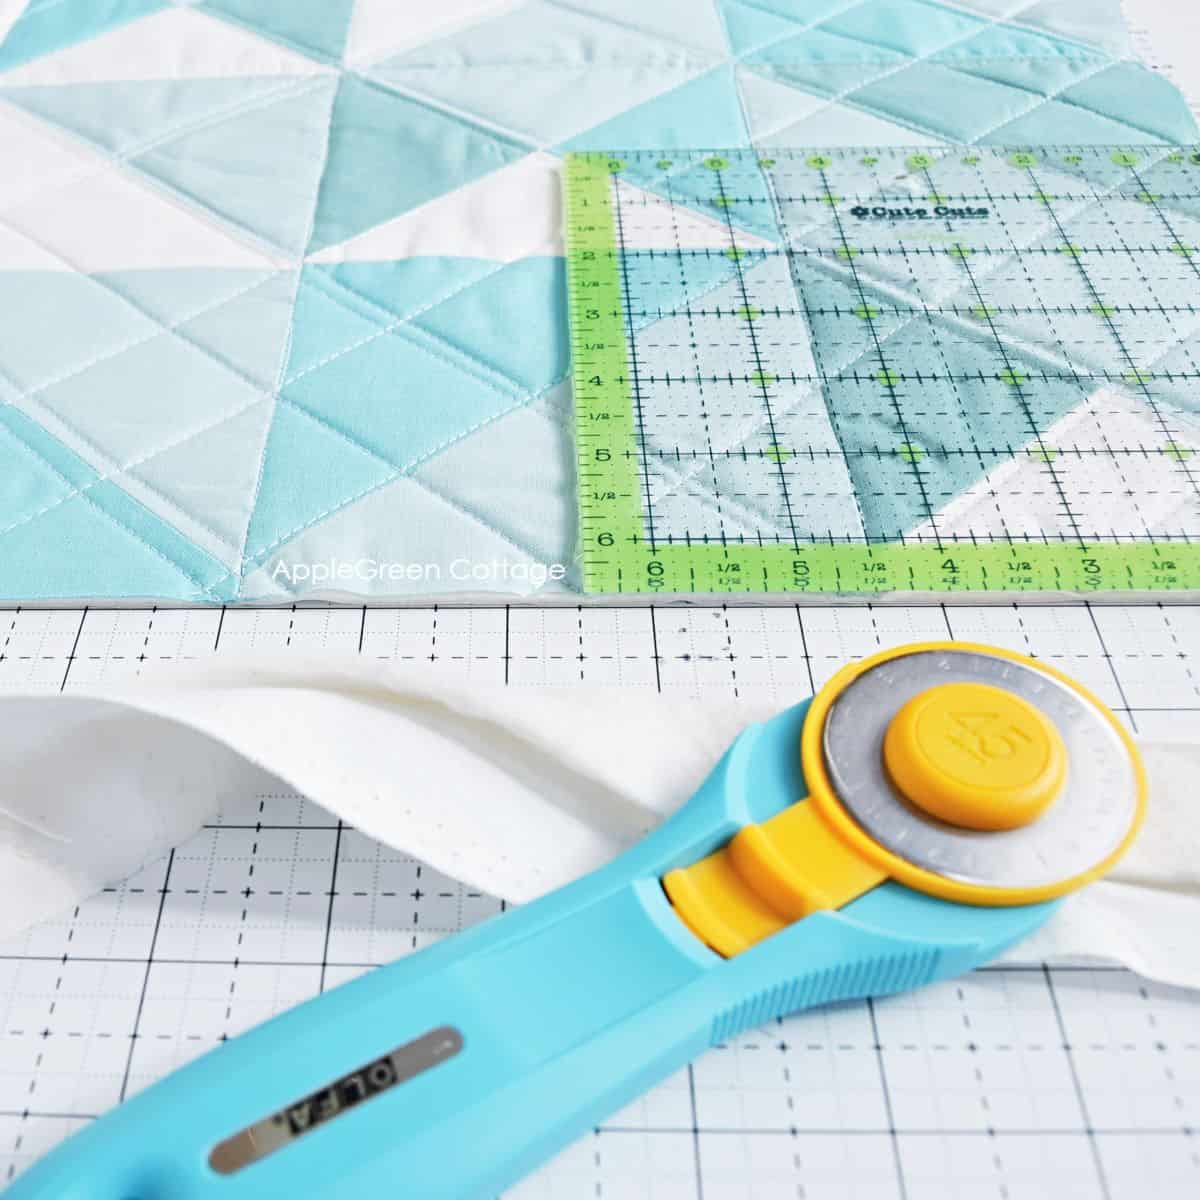
Now take a look at your lines, and you can finally cut. No more measuring, you can use the largest, longest ruler you have to simply cut off the excess.
Once done, model your square ruler along the edges. Everything lines up seamlessly - beautiful, isn't it!
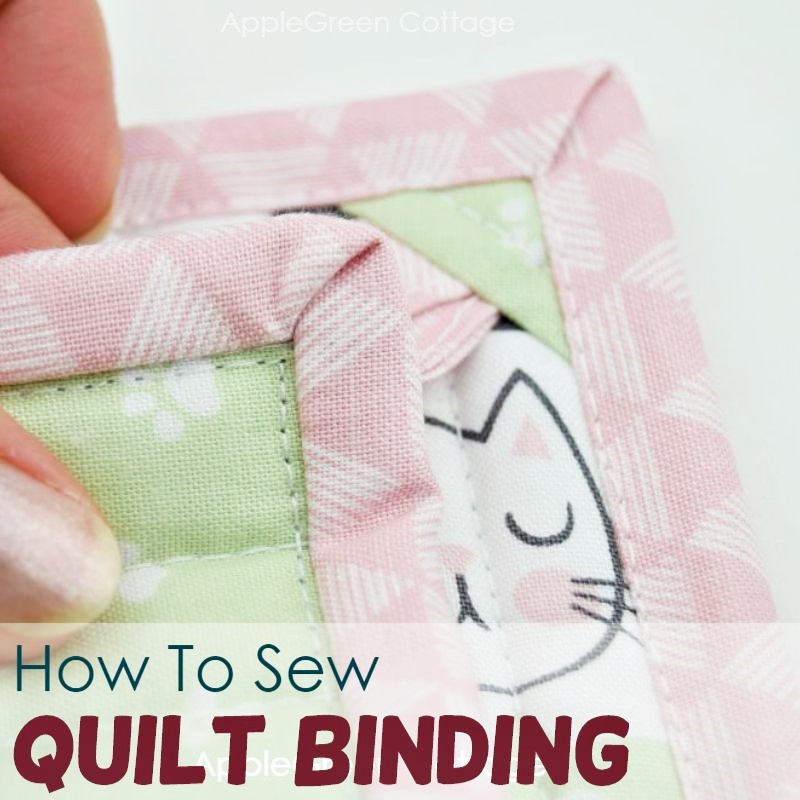
Step 8 - Ready For Binding!
Your quilt is now completely squared up and ready for the binding. It will lay nice and flat when the binding gets put on. This is how to add quilt binding to your quilt.
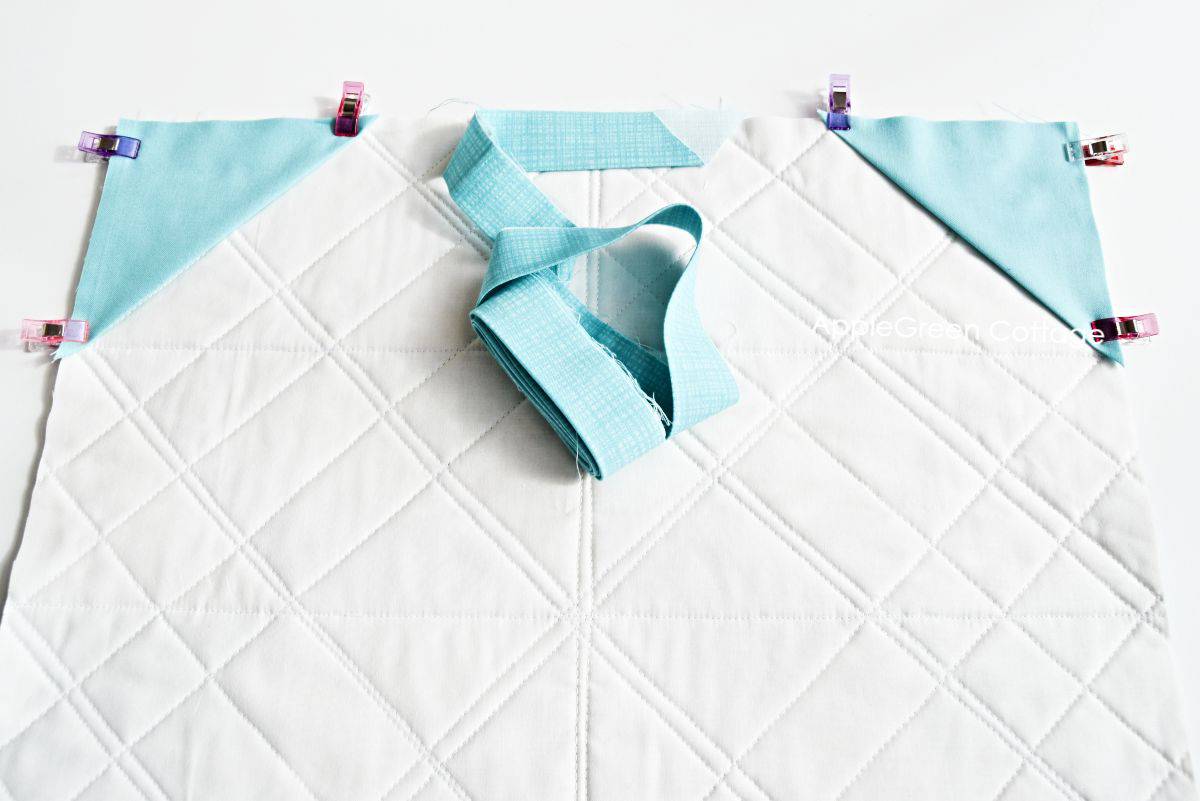
Also, this is the time you need to think about how to hang a quilt. Since this is a mini quilt, I decided to create corner hanging pockets for this quilt - notice the two little triangles in the image above.
Your next quilting lesson:
Tips to Make Squaring Up a Quilt Easier
- Always press before cutting. Run the iron over your project to remove any wrinkles and creases.
- Measure twice cut once. Or better yet, first just measure and mark, you'll cut in the second round. Cutting into my quilt tops scares me sometimes - I'm afraid I'll ruin hours or even days of work. Better safe than sorry.
- Use the right quilting tools: Invest in a large cutting mat, a sharp rotary cutter, and a big square ruler. These tools will help you measure and cut accurately.
- Start with quality fabric: High-quality quilting cotton stretches less and holds its shape better, making it easier to square up your quilt. see my best fabric shops list.
Related Projects
Randomize Quilt Pattern
Love modern quilts but want something simple - and NO tricky points to match? →THIS.
Did you like this tutorial to neaten up the quilt edges? Maybe check out all about sewing quilts here, or see the 5 quilting tips for beginners.
While browsing, how about a free jewelry organizer pattern from AppleGreen Cottage when you join our mailing list? Here:
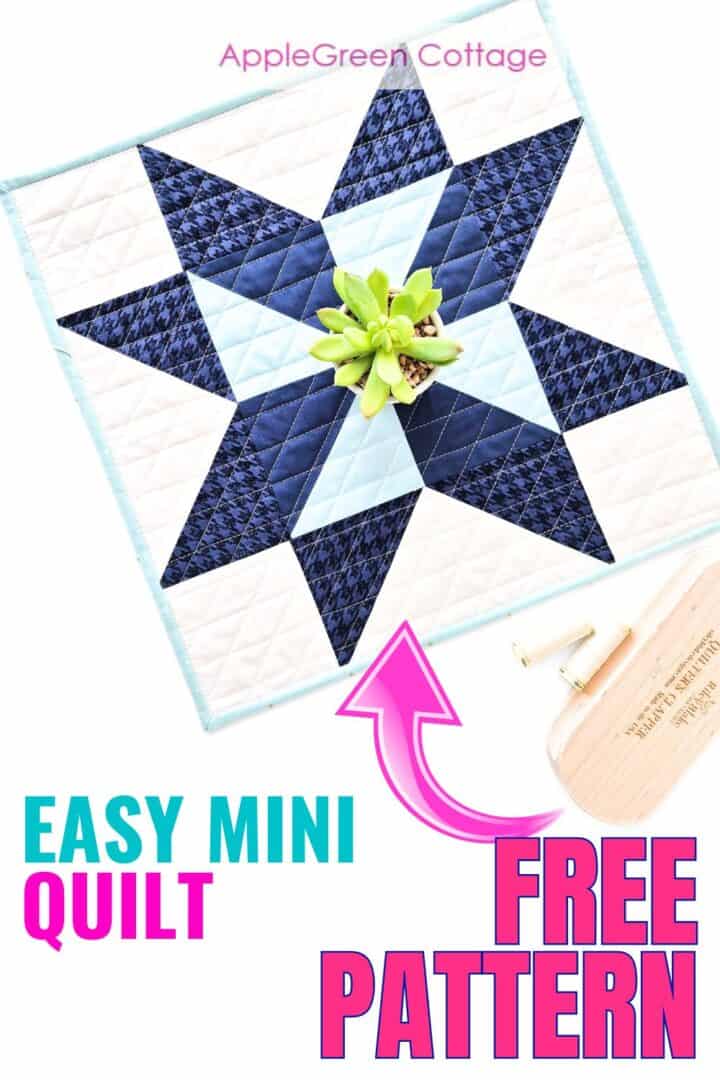
+FREE Mini Quilt Pattern!
Start with this FREE pattern:


Fay Rust says
Thank you so very much, Damjana! What a wonderful suggestion regarding marking the whole quilt before cutting! And the instruction to use the long straight ruler butted against the square one when marking. These are wonderful guidelines with clear descriptions. Thank you again!