
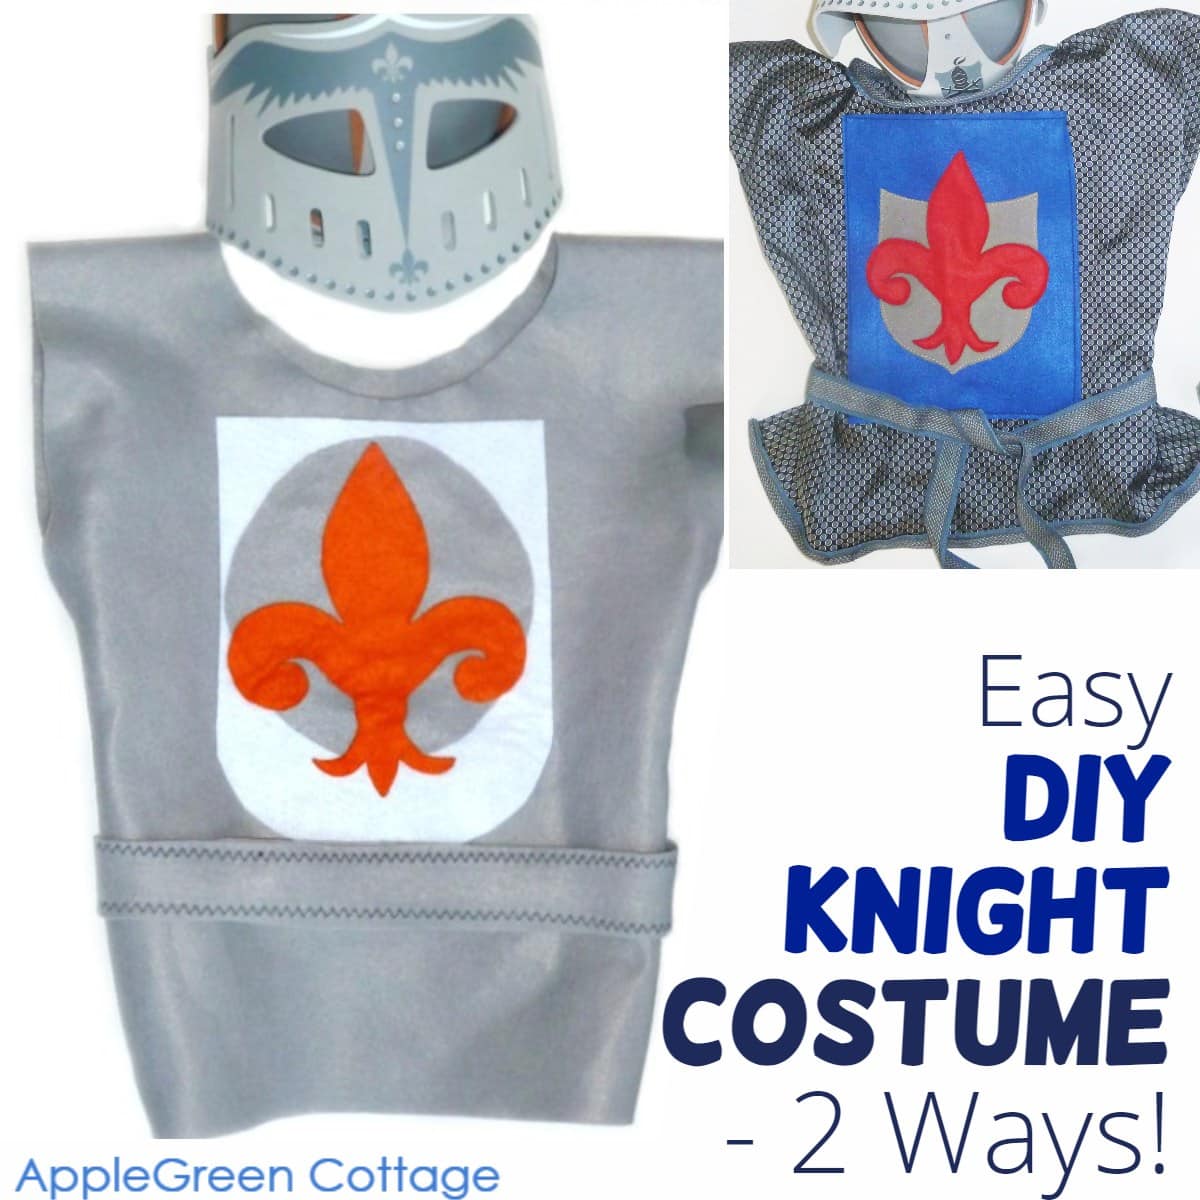
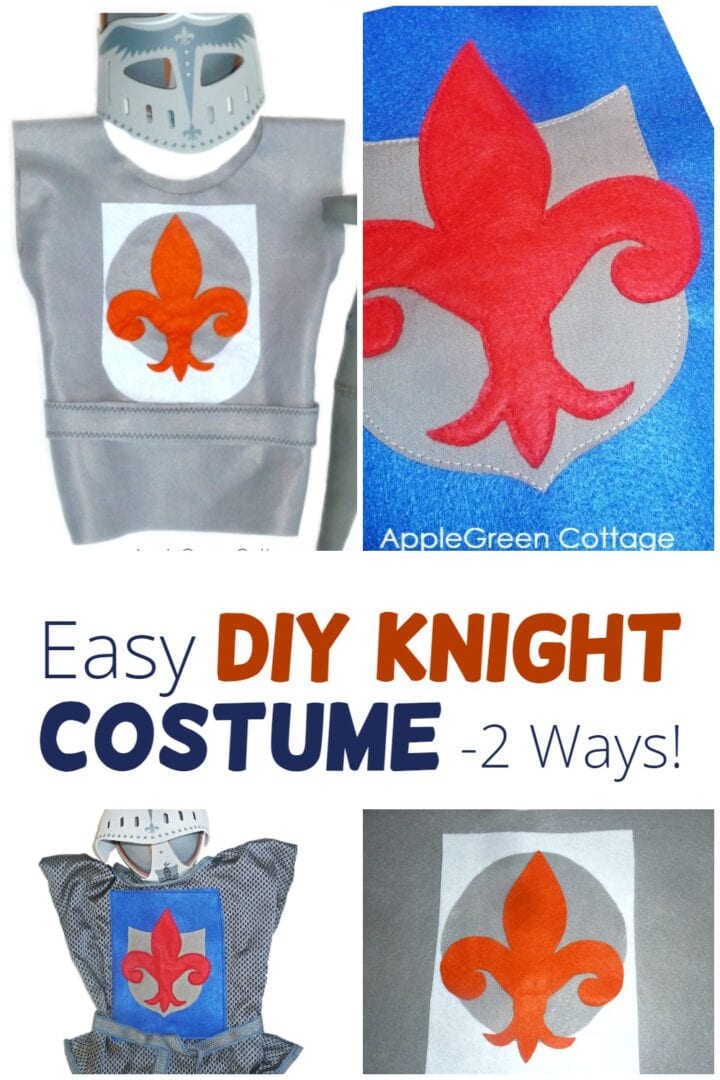
See how to make a super easy diy knight costume for kids in a really short time. 2 tutorials, 2 options: make a no-sew knight costume, and I've just added a knight costume sewing version too! Also, grab the free emblem template and make the best homemade knight costume!
Edit: This tutorial now is 2-in-1! Sewing enthusiasts, I did think of you too! - Do you want to sew the knight tunic with fabric? Scroll down and see how to sew a knight costume from fabric too!
Please also note that this post includes affiliate links for your convenience. Thanks for your support. See how to make an amazingly practical knight's costume that your kids will love - plus get a free emblem template! Sewing enthusiasts, I did think of you too! - Do you want to sew the knight tunic with fabric? Scroll down and see how to sew a knight costume from fabric too!
It's a great match to this 10-minute diy knight cape tutorial. For even more costume tutorials at AppleGreen Cottage, check out:
Diy Knight Costume
I'm splitting the free tutorial into 4 parts, so it will be easier for you to find exactly what you need.
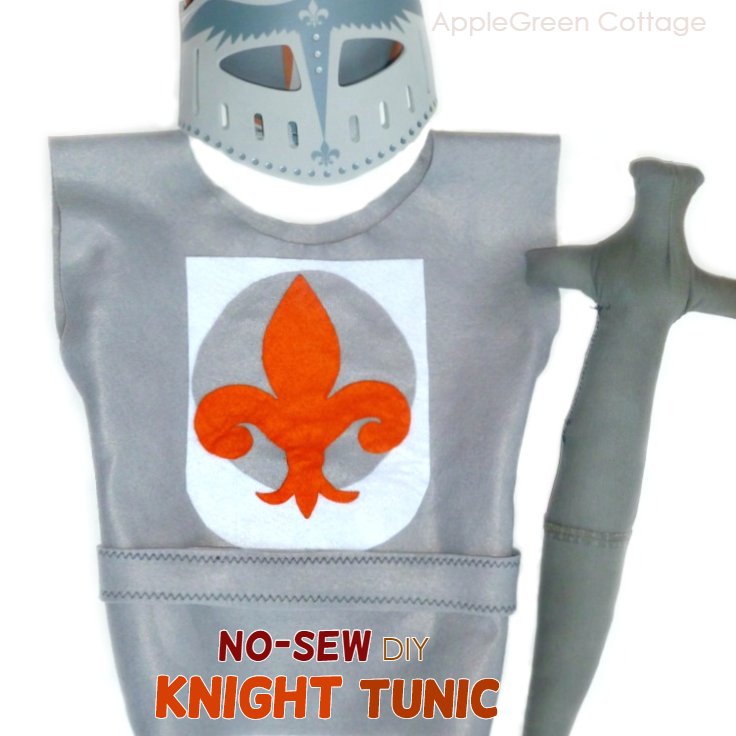
- No-sew Diy Knight Tunic Tutorial
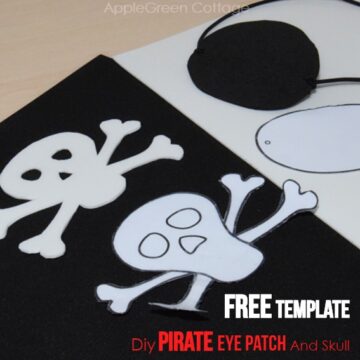
- How to make the knight emblem tutorial (and a free template for you)
- Diy Knight Accessories
- Tutorial How To Sew A Homemade Knight Costume (new!)
Now, off to the first no-sew diy knight tunic tutorial:
Supplies For a No-Sew Diy Knight Costume
- a piece of grey felt
- small pieces of felt for the knight emblem (your choice of colors!)
- scissors
- glue
- the Free Knight Emblem PDF Template
Open it, print and you've got a template.
How To Make A Knight Costume
Before you start, gather your supplies. If you want to sew your costume, scroll down for the sewing instructions. This is the no-sew version, you'll need felt that is sturdy enough not to tear, but not too thick as it needs to be wearable.
If you need more guidance on that - check out my post on how to choose the right felt for your creations. However, no matter where you get your felt, it's good to check thickness, material and stiffness before buying it!
Step 1 - Cut The Base For the Tunic
1) Cut a piece of felt that is approximately 1 by 3 in measure.
- Width: the knight tunic I made for our kid is 12 inch wide (measure your kid: the tunic piece should extend from shoulder to shoulder, maybe a bit less)
- Length: approximately 3 times the width (the tunic can also be made longer if you like)

Step 2- Make a neck opening
Place the knight tunic piece on an even surface, fold it lengthwise and crosswise and make a mark at 3-inch from the center. (Because folded, you need to cut at the 3-inch mark! When you unfold it, you'll have a 6-inch circular opening for the knight's head.)

Now you've made an approximately 6-inch wide hole for the knight's head in the center of your tunic piece. And don't worry if the opening is not evenly cut, kids won't bother. 😉
{And about the circle that's left from cutting the hole: don't throw it away yet, you'll see why!}

To make the knight's costume even easier to put on, cut a slit down the neck (several inches should do), but only if your felt is not very soft. Ideally, your felt should be sturdy enough not to tear, but not too thick as it needs to be wearable.

Wondering where you can get the incredibly cute sewing tape measure from the above photo? I got it from a dear friend of mine {thank you N, it's sooo cute and handy!} Unfortunately, I can't find the same model in shops to link to. But since, I've also gotten myself one designed with Lori Holt's fabric - you can find those on Etsy.
How To Add A Diy Knight Emblem
You'll want to embellish your diy knight tunic with a knight's emblem. I'm here to help you out.
Supplies
- a small piece of felt or other glue-able material in a contrasting color (think red or black or .. anything actually)
- the template for the knight's emblem
- glue
I used a simple fleur-de-lis stencil and used it as an embellishment. A similar one was already on the kid's knight helmet we had bought some time ago, so it seemed the thing to go with. If you choose to do so, use one of the simpler versions of the flower emblem. Of course, there are tons of really beautiful, elaborate royal versions on Pinterest, but do yourself a favor: make it simple. It'll save you time and nerves. I drafted one by hand, but you don't need to lose time and nerves. You can use the free template I made for you, it's easier.
How-To Make the Knight Emblem
1) Use the template to outline the knight emblem on a piece of felt in a contrasting color.

2) Then cut it out.

3) Glue the 'fleur-de-lys' to the chest area of the knight's tunic. To make it prettier, you can add an extra layer of felt in a contrasting color. Or two. I added a white layer to serve as background and the grey circle (the leftover from cutting the opening in the knight tunic). Makes your emblem look like a real one, doesn't it?

Done! You can be sure the homemade tunic will become your kid's favorite piece of garment for pretend play!
As I promised: no-sew, no emptying your wallet, no complicated patterns. And as easy as it can get!

But if you want to stay away from glue, you can definitely stitch the emblem in place too! - Scroll further down to see how to sew a knight tunic too!
Knight Costume Accessories

You can simply go through your child's wardrobe and toys to get the remaining accessories that will make your homemade knight costume just perfect to wear at any time:
- a belt to go with the knight's tunic. As an alternative, you can sew together two equal stripes of felt using a zigzag stitch. I did this, it will only take you a minute. Easy peasy.
- sword (I made a soft sword using fabric scraps. I'd like to make a nicer diy sword someday - and a tutorial for you!
Knight Helmet
- a helmet We bought the first one and then later diyed just the cap part. (Ideas for kid's knight helmets here.)
Here's another great idea if you'd like to DIY your kid's knight helmet: I used one of the hat patterns to make this one:


What you see is our son's (third) DIY knight outfit. It's soft, and what I love is it takes no space to store! (Definitely preferring the sewn version to the bulky store-bought ones!) The Helmet is based on this pattern. You too can use the earflap beanie pattern as a helmet - feel free to check it out here:

As for the rest of the kid's costume - the simpler the better, right? Search through your child's closet: they'll be best off with a shirt and pants in grey or (even better!) black. But if you want to make special pants for your kid's knight outfit, you'll be best off with a simple pattern. If you want to, check out this free (pajama) pants tutorial I made for my readers a while ago!
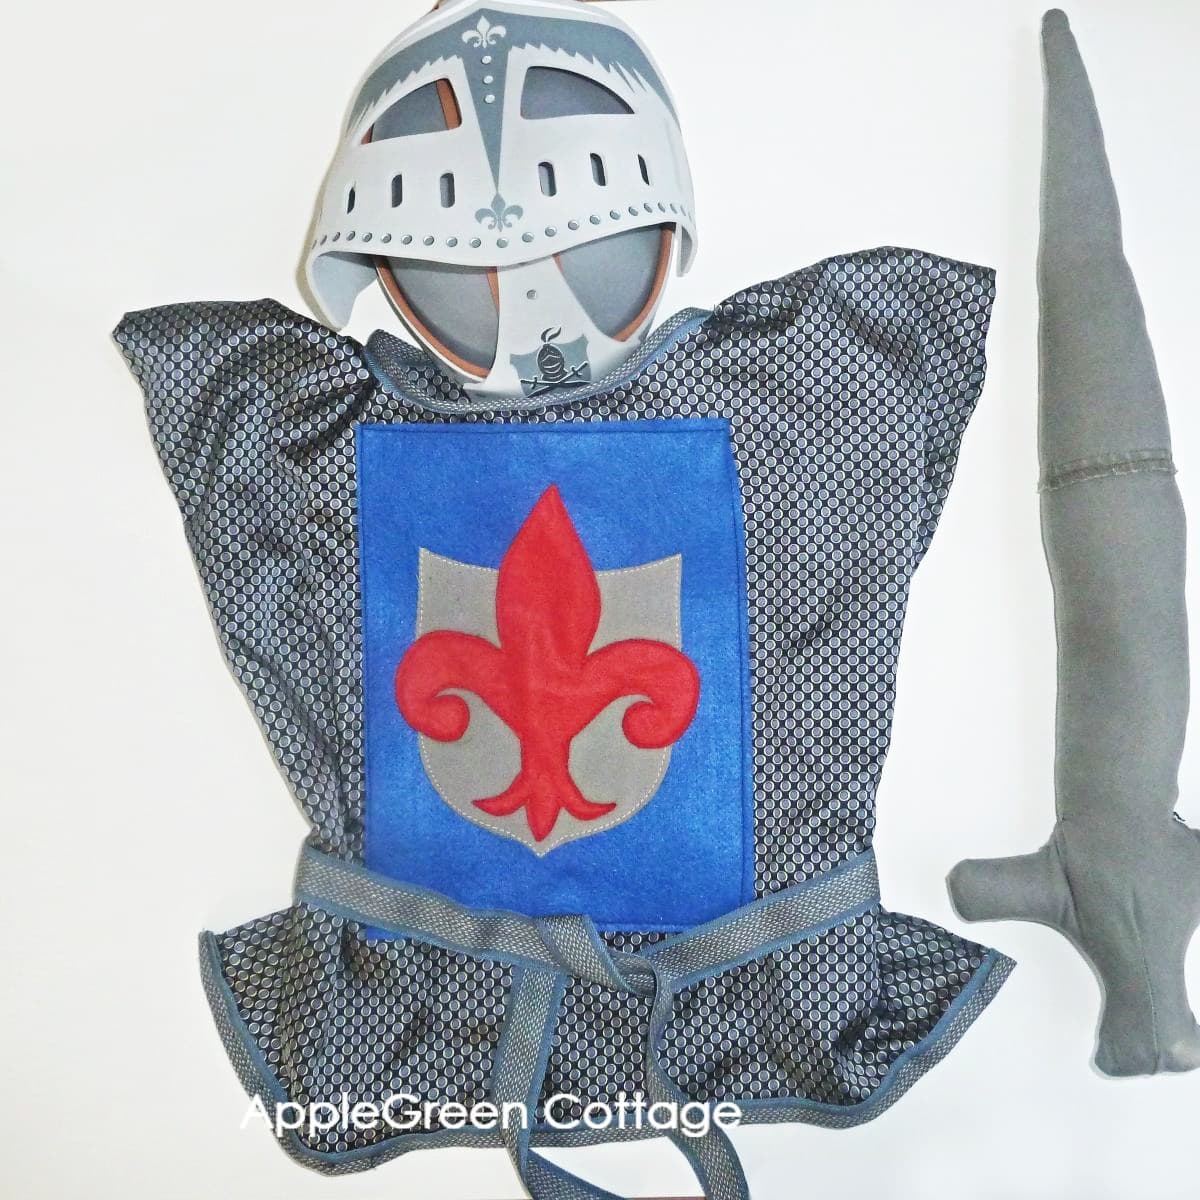
Bonus: How To Sew A Knight Costume
To all the sewing enthusiasts out there (me included) - yes you can stitch the emblem in place, you can use the fabric for the base knight tunic presented here, and you can even use fabric in place of all the felt if you want to!
In other words, I couldn't help myself but try another knight's costume, stitching everything in place.
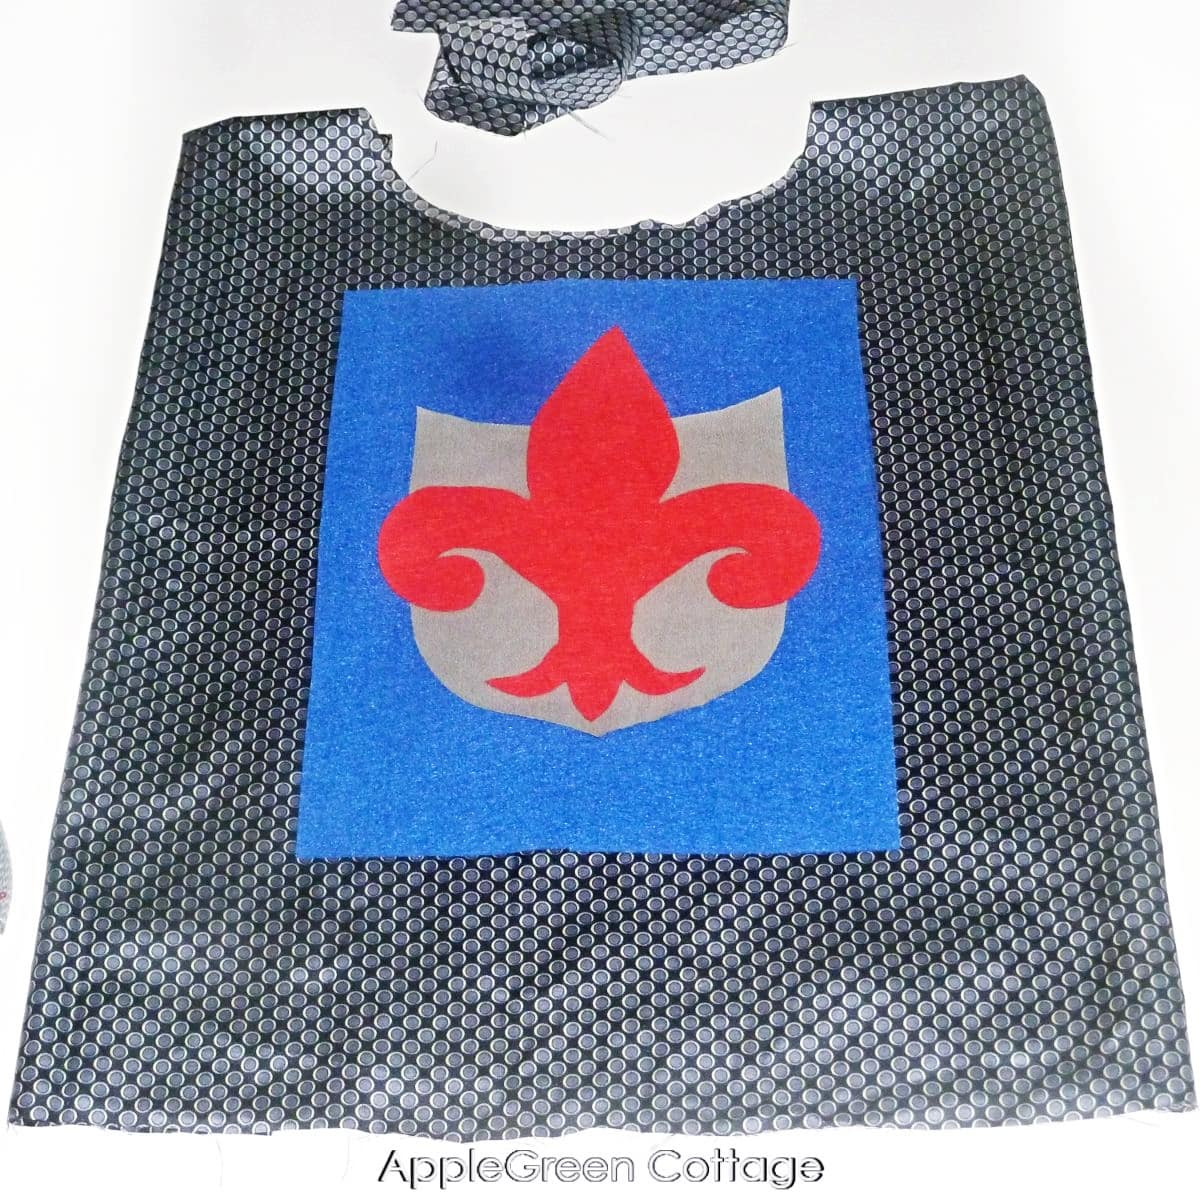
This was the other knight costume I made, my favorite but the kids seemed to prefer the ones made in felt. Softness? I used a piece of fabric from my upcycling pile. See this diy hobo bag belt? And this diy knight cape? I used the same fabric for those too.
How To Sew a Homemade Knight Costume
To make a sewn version of the diy knight costume, simply
- cut the same pieces as presented in the no-sew knight costume tutorial above. There's enough leeway so you don't need to add seam allowances.
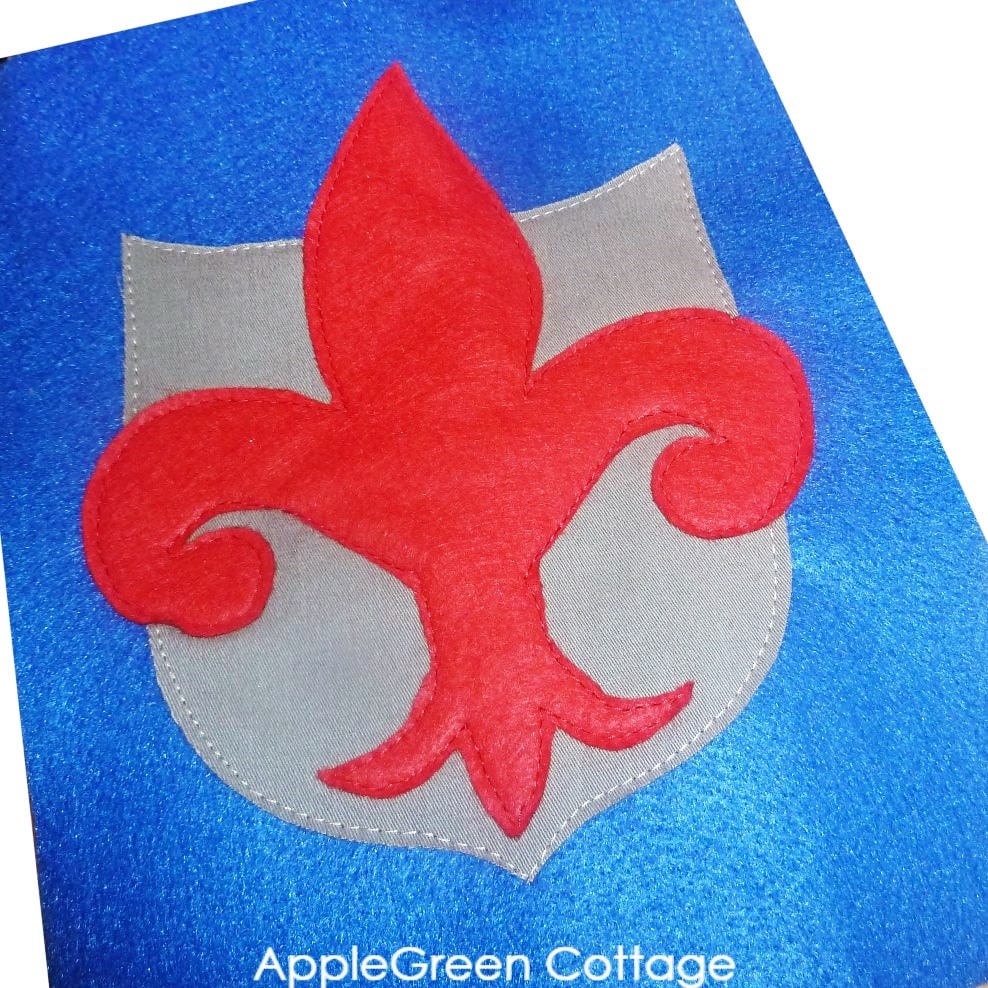
- attach the knight emblem and all the background layers you might wish to add. I added the layers using this raw edge applique tutorial. Super simple!
How to finish the seams on a sewn knight tunic:
Once you've cut the tunic piece, either hem it using this double-fold hem or finish the raw edges by adding ribbon. I did some of both:
- I hemmed the sides
- I added grossgrain ribbon to finish the neckline
- I added ribbon to finish the bottom of this homemade knight tunic
Here's a closeup of the neckline:
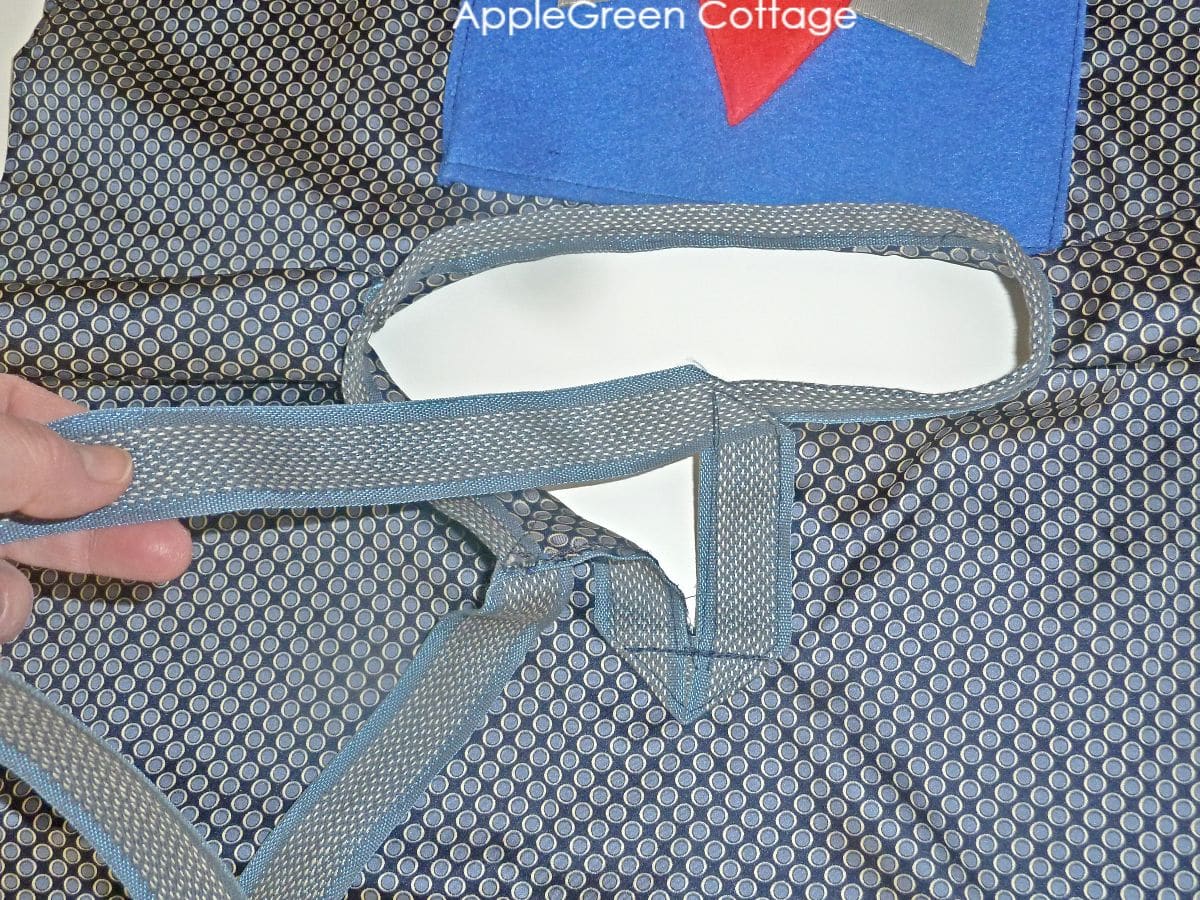
To make pulling the knight tunic over the head easier for kids, I cut a slit into the neckline at the back, then topstitched the cotton ribbon over the raw edges. I'm sure it can be done way nicer. This is how I did mine.
And at the end, I cut a piece of the same wide ribbon to get a belt. No need for precision sewing here, kids will have tons of fun even with wonky seams, I promise!!
Now, which knight costume do you like better, the no-sew diy knight costume, or the sewn knight costume?

I hope you've enjoyed the diy kids knight costume tutorial and more importantly - that your kids are happily jumping around in their brand new outfits!
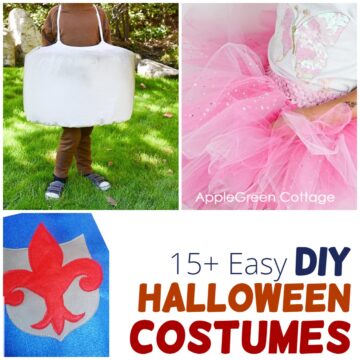
Related Tutorials
If you are looking for more ideas for Halloween costumes (especially last-minute DIYS), check out these too:
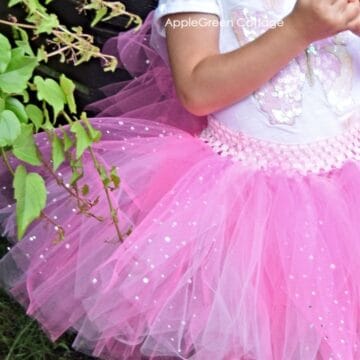
Want More Costume Sewing Inspiration?
Also, check out this cute earflap beanie pattern in our shop:
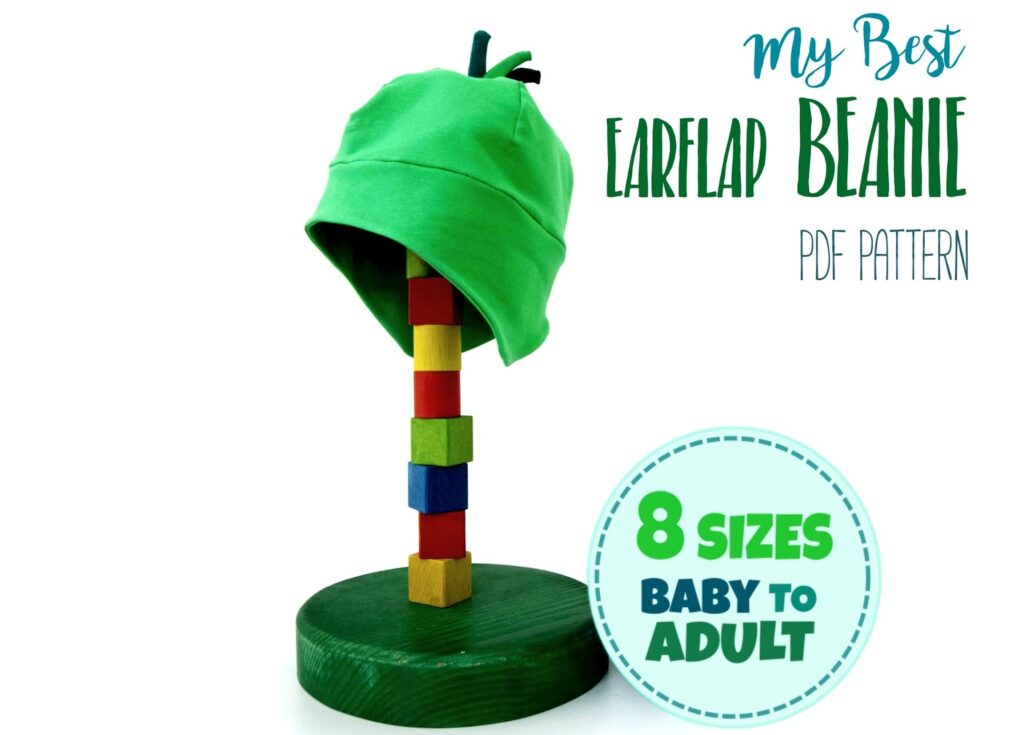
An excellent choice for everyone who has children and would love to see their ears protected in the fresh fall (or spring) wind.


Linda Forager says
What a cute outfit! It looks so simple to make too.
Damjana at AppleGreen Cottage says
And it IS simple! It's intended for that last minute craziness when you are still brainstorming for Halloween ideas when should already be putting your costume on... Hope it helps!
Marina says
No sewing involved - great for me 🙂
Damjana at AppleGreen Cottage says
Marina,so happy to hear that you like it!
Sandra@Frogs-and-Faires says
That knight costume is so adorable! And I really love the new blog design. Cute! 🙂
Damjana at AppleGreen Cottage says
Thank you, Sandra. It makes me proud to hear that from a designer like you 😉