
See how to make spiders out of pipe cleaners using this easy tutorial - probably the cutest diy spider craft you'll ever make!
Try this easy and fun pipe cleaner spider craft for kids and make tons of spiders for Halloween. And see why we even started crafting them!
If you are looking for more kids crafts, also check out
- these 10 cool spider crafts
- this spooky diy tissue paper ghost
- 10+ free Halloween Costumes to diy
- this fun Apple Search game for kids

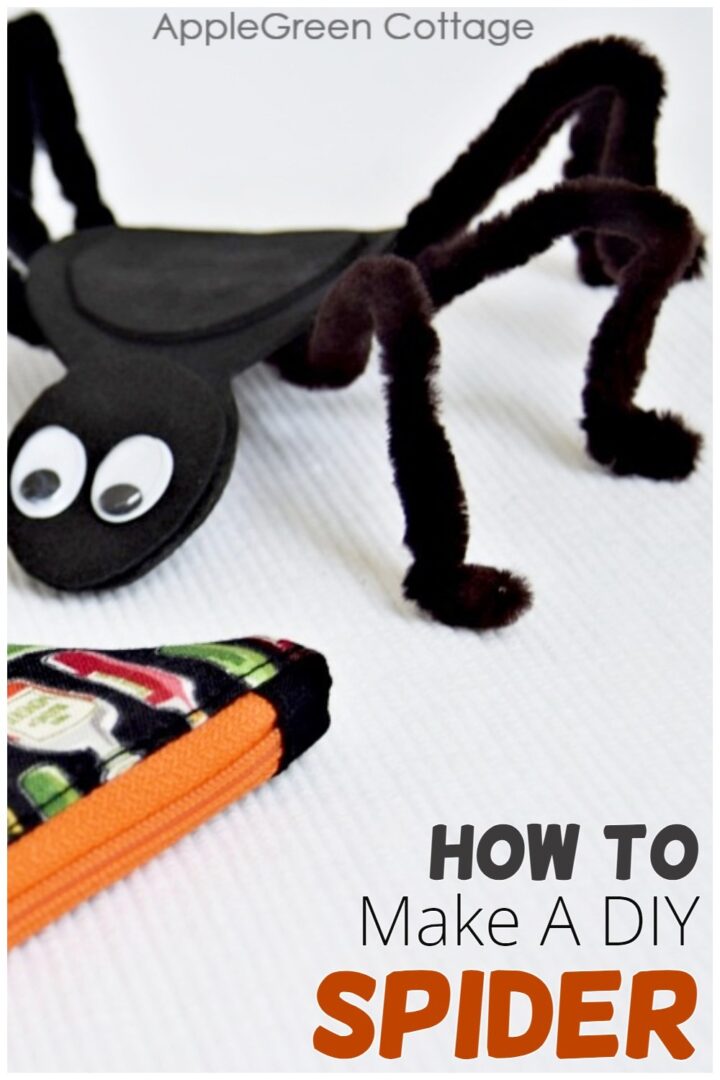
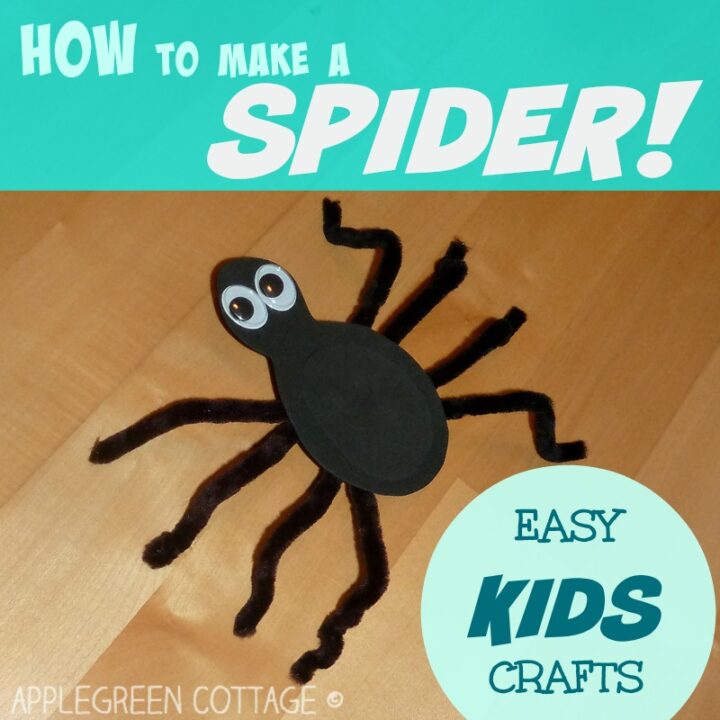
How To Make A Spider
My kids spotted a large spider visiting our lemon tree on the balcony this fall. We admired its beautiful colors, not daring to come too close to it. I did, however, take a photo of it and examined it in a more relaxed environment (i.e. not peeping into its large web) This was half a year ago and our toddler doesn't remember it at all. After we were reading something about spiders, I showed the photo to him and he seemed impressed. Asking if he could have one, I got crafty and came up with a simple idea.
It took us no more than 10 minutes to create the first spider out of pipe cleaners - and more than half of them were spent hijacking the craft boxes for materials.
Supplies for making a diy spider:
- black craft foam
- black pipe cleaners
- glue
- scissors
- googly eyes

How to Make Spiders Out of Pipe Cleaners
Step 1 - Gather supplies and cut pieces
Use a piece of black craft foam to cut out a shape that resembles the number 8. Cut two pipe cleaners in half, so you'll get 4 "sticks". Fold each of the sticks in half, meaning you'll get 8 spider legs.

Step 2 - Attach Spider Legs
Apply 4 dots of liquid glue onto the spider's 'body' as you see in the below photo.
(You'll notice below that I used wrong glue at first, noticing it immediately because it didn't stick. UHU - the Alleskleber didn't make it this time... So I had to clean the old glue off and placed Super Glue onto the surface. To avoid my mistake, it's best to check in advance whether the glue you are about to apply is appropriate for craft foam or not.)

Your kid can help here, placing the spider's legs onto the glue dots.

Step 3 - Create Spider Body
To secure the spider legs, you might want to add an additional circle of craft foam - our kid named this piece 'the spider's belly', as this will form the bottom part of the spider body.

So, the 'belly is attached.

Now flip the spider body to add an (optional) circle onto the upper part of the body (just an embellishment actually). See the next photo.
Step 4 - Add the spider's googly eyes
Now help the child attach the googly eyes.

Step 4 - Bend The Diy Spider's Legs
Now it's time to bend the spider's legs: we bent each of the legs twice: once in the middle, and once just at the bottom, to mark the 'foot'. This is how the spider became more of a live 'crawling' and 'jumping' creature. DONE! Your spider is ready for play!

If you place a finger onto the spider (pressing it onto the floor) and release it quickly, your spider will JUMP up! Our child really enjoyed this game, on and on.

And then, I also made some Halloween decor while kids played. Actually we all played together 🙂
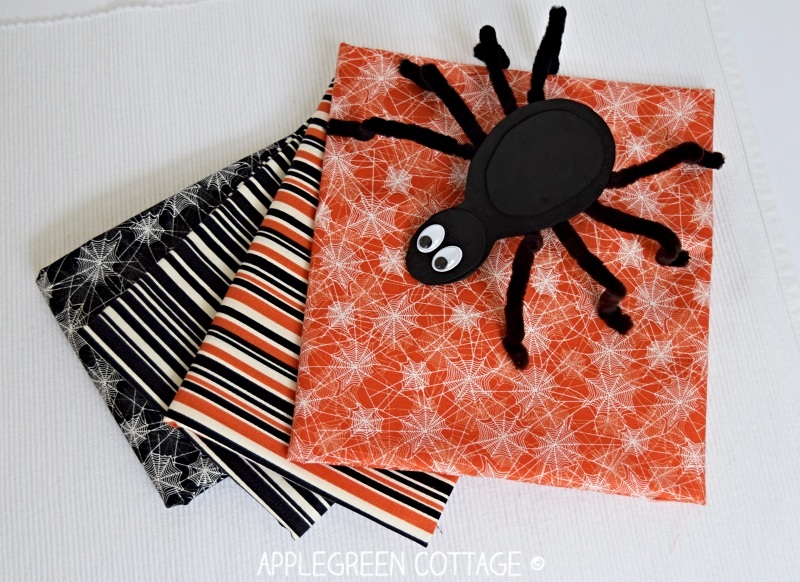
And this setting is more my kinda spider crafts 🙂 these spider web prints make a perfect setting for our spider. And here, can you see the diy spider really loves my other Halloween projects too?

This is a Halloween treasure pouch from THIS pattern (see here what it holds, kids were thrilled to see this!)

At the end of the day, the spider found a new home - our kid's miniature basketball rim. I thought it was spooky, but our kid doesn't share my opinion. He loves it!
I hope you liked this tutorial on how to make spiders out of pipe cleaners. Want to have it ready when kids ask for an easy spider craft this Halloween? Save to Pinterest:
WANT MORE FREE TUTORIALS AND GOODIES?
Get email updates and never miss out on new patterns, printables, and tutorials:
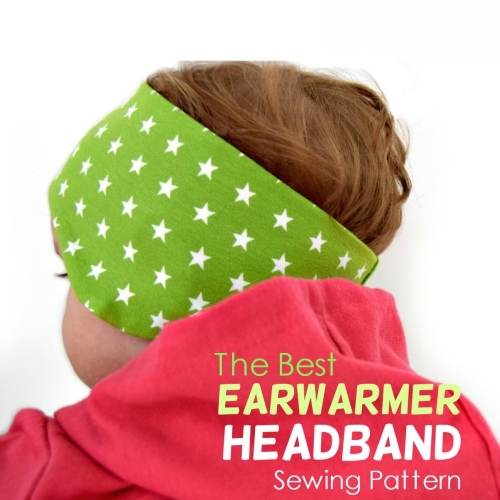
Or …check out the Earwarmer Headband pattern in 8 Sizes in our shop:


Crafty Mama in ME says
Thanks for letting me share this in my Halloween roundup that will go live tonight!
Damjana at AppleGreen Cottage says
Marina, sorry to hear that and I hope your local stores will stock up soon :). What about this store - just found it and it has a 25 HRK shipping fee, but if you'd need to buy more materials, it might come handy (they've also got googly eyes for you) - http://www.perlica.eu/trgovina/standardni-pribor/izrada-lutkiHave a great day, Damjana