
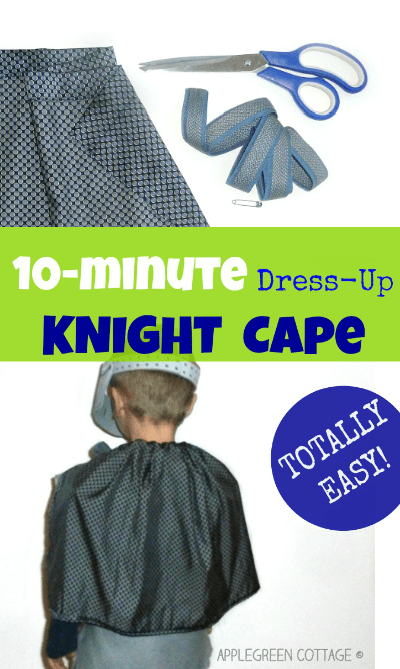
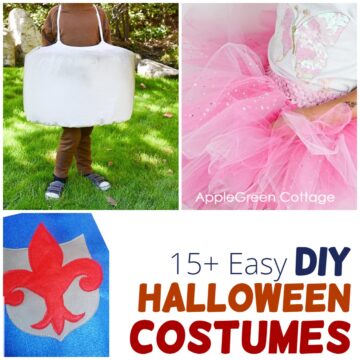
Create a quick and easy DIY knight cape for kids this Halloween! I'll show you the simplest way to make a cape that perfectly complements our popular DIY knight costume from before. It's the perfect last-minute Halloween costume when you're short on time!
This DIY cape is super simple, open at the front, and tied with a ribbon. Beyond a knight's cape, it easily transforms into a king's costume or whatever kids need for their pretend play. It's a versatile and fun addition to any dress-up collection!
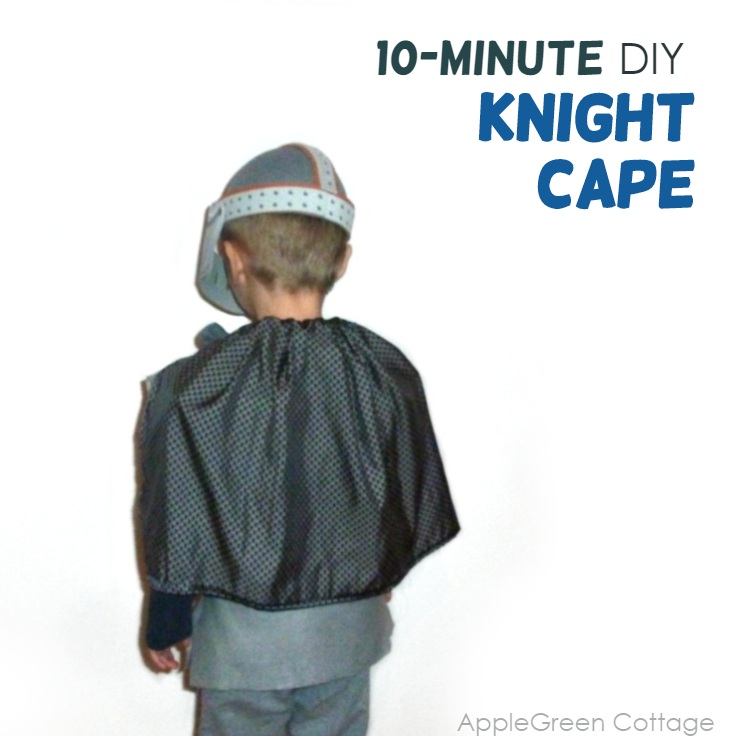
Table Of Contents
Now, let me show you how to make a diy cape like this at zero-cost!
Diy Cape Tutorial
I made this easy cape for a child to complete this Halloween costume of a certain little knight who explained to me that knights wore additional capes on tournaments. (What - you didn't know? Me neither 🙂
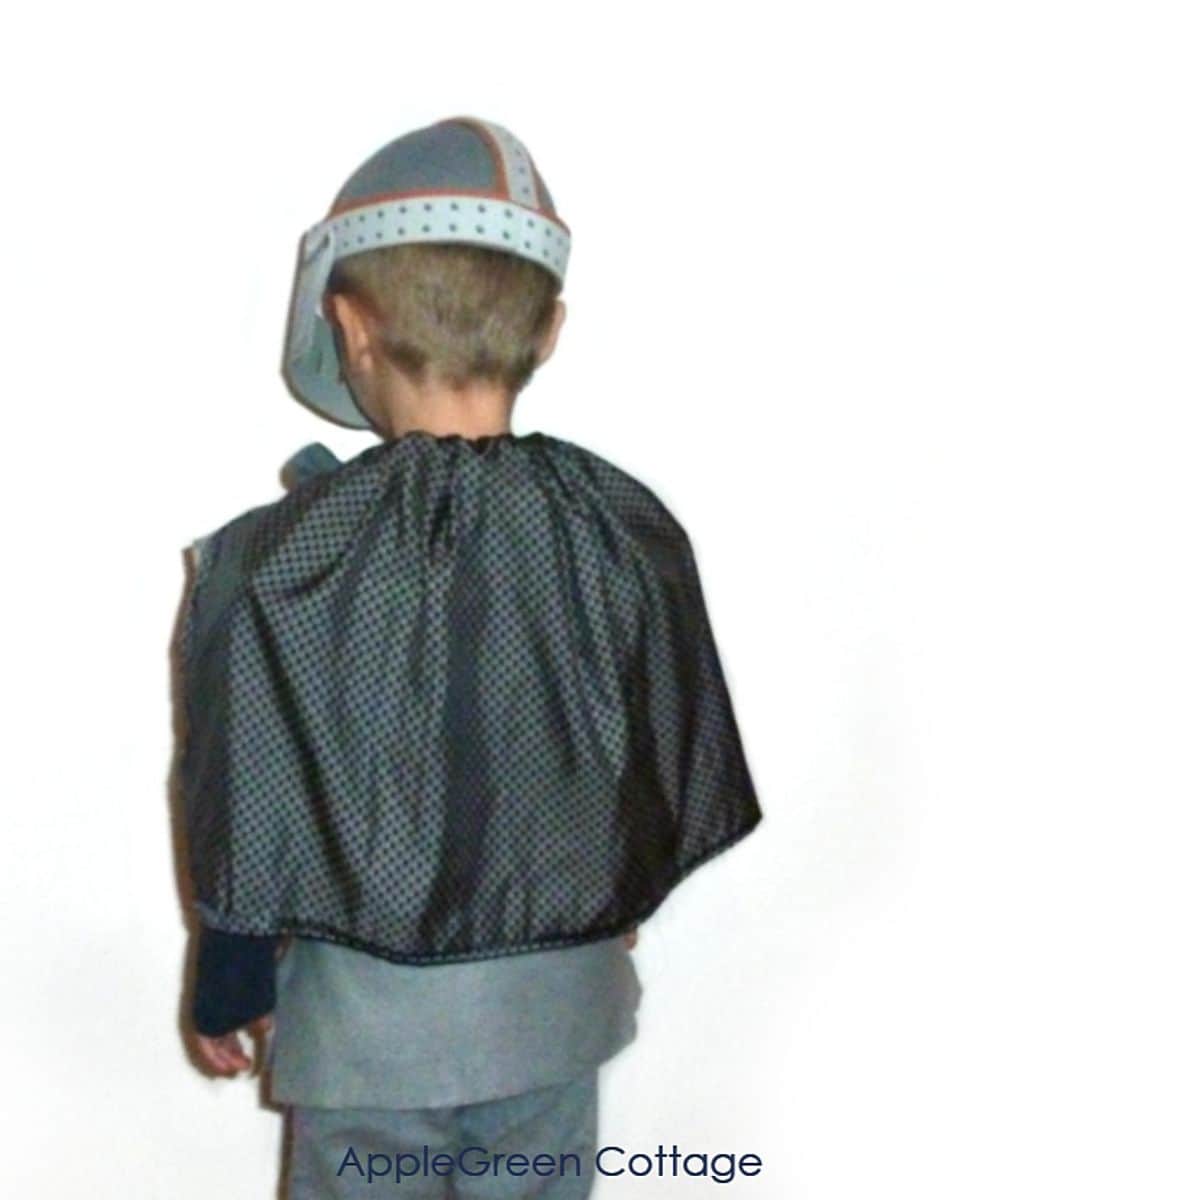
And to stay within the color range of the DIY knight tunic I had made just days before, I searched for something with a grey, metallic look. A never worn men's housecoat I dug out from the recycle pile looked like the perfect material. Ten minutes later and - done!
Supplies

- an old piece of clothing with an existing hem (old dress, coat, t-shirt, etc.)
- a ribbon
- a safety pin
- scissors
- tape measure
Now, let's break the entire ten-minute process into simple steps. It's totally easy, promise!
How to make a cape for a child
1) Find a suitable piece of material. Whatever you choose, look for something that has a sewn bottom hem, so you don't even need to make the casing for the ribbon.

2) Cut a rectangle from your fabric (the existing hem should be on the longer side of the cutout - see the above photo!):
- width: at least 10 inch (25 cm) wider than the shoulder-to-shoulder measure of the kid who'll wear the cape
- height: just to cover the shoulders of the cape wearer (20 inch was more than enough for us)

3) Hem the edges if your material frays. (IF you have time.)

4) Attach the safety pin on one side of the ribbon.

5) ...and guide it through the casing (i.e. through the hem from your old piece of clothing).

6) Gather the fabric by pulling the ribbon on both ends. You've just made a perfect simple cape for kids' pretend play or a Halloween party!
Just remember to closely supervise the little ones when playing with their diy knight cape, as the cape has a ribbon tie. Now, can you handle a last-minute Halloween kid's cape like this? You know you can!
Popular Questions
What are some fun DIY costumes to pair with a short cape?
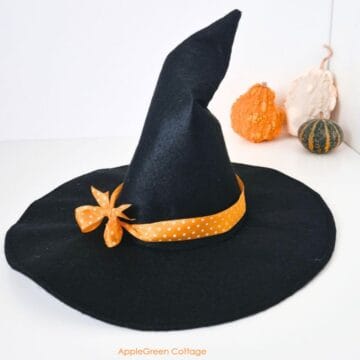
A short cape pairs perfectly with DIY costumes like this popular diy knight tunic, a superhero, wizard, vampire, Little Red Riding Hood, magician, or even as part of a little witch costume, with a matching DIY witch's hat.
What fabric to use to sew a small diy cape?
For a small DIY cape, great fabric choices include cotton for a lightweight option, satin or velvet for a more luxurious look, and fleece for something cozy and warm.
I love a metallic look for a homemade cape like this, it makes it way more versatile!
Related Tutorials
Check out more costume tutorials at AppleGreen Cottage:

Want More Costume Sewing Inspiration?
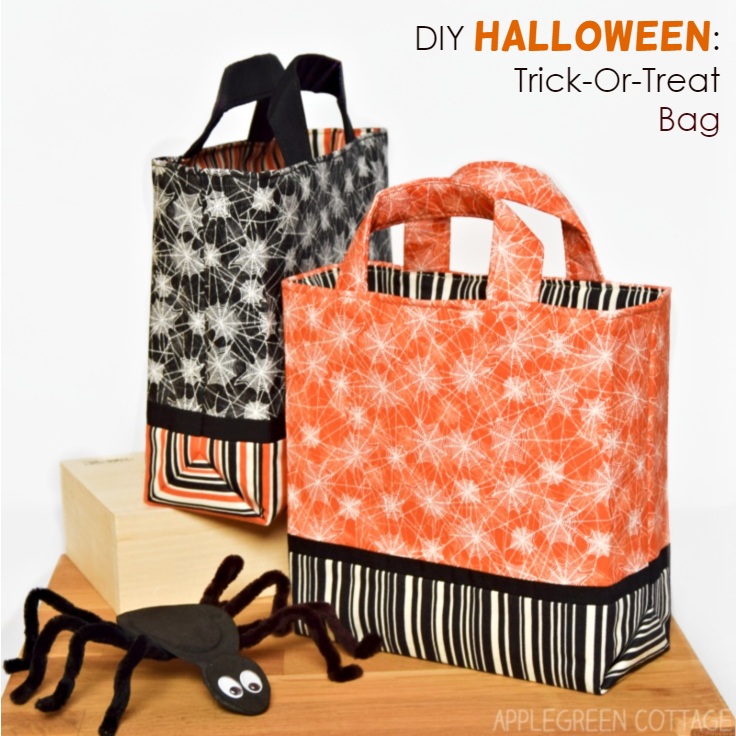
Or ...go straight to the gift bag pattern. Smart and simple construction, originally a gift bag but around Halloween, it doubles as an adorable Trick-Or-Treat bag - 6 sizes and designs for all your wishes!


Leave a Reply