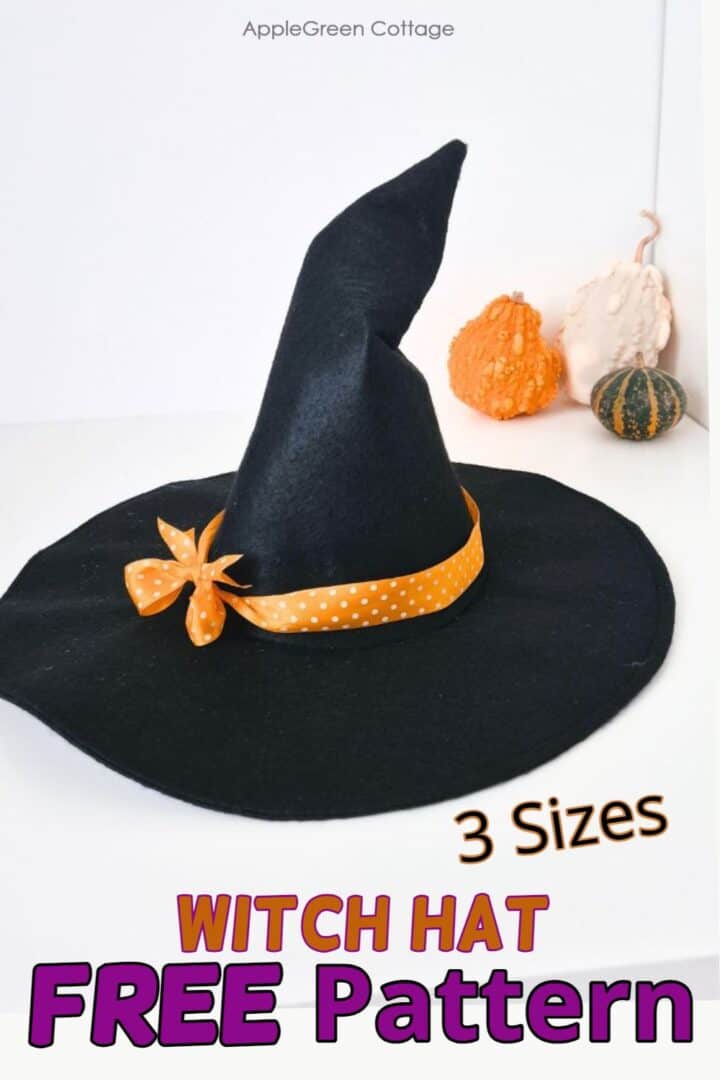
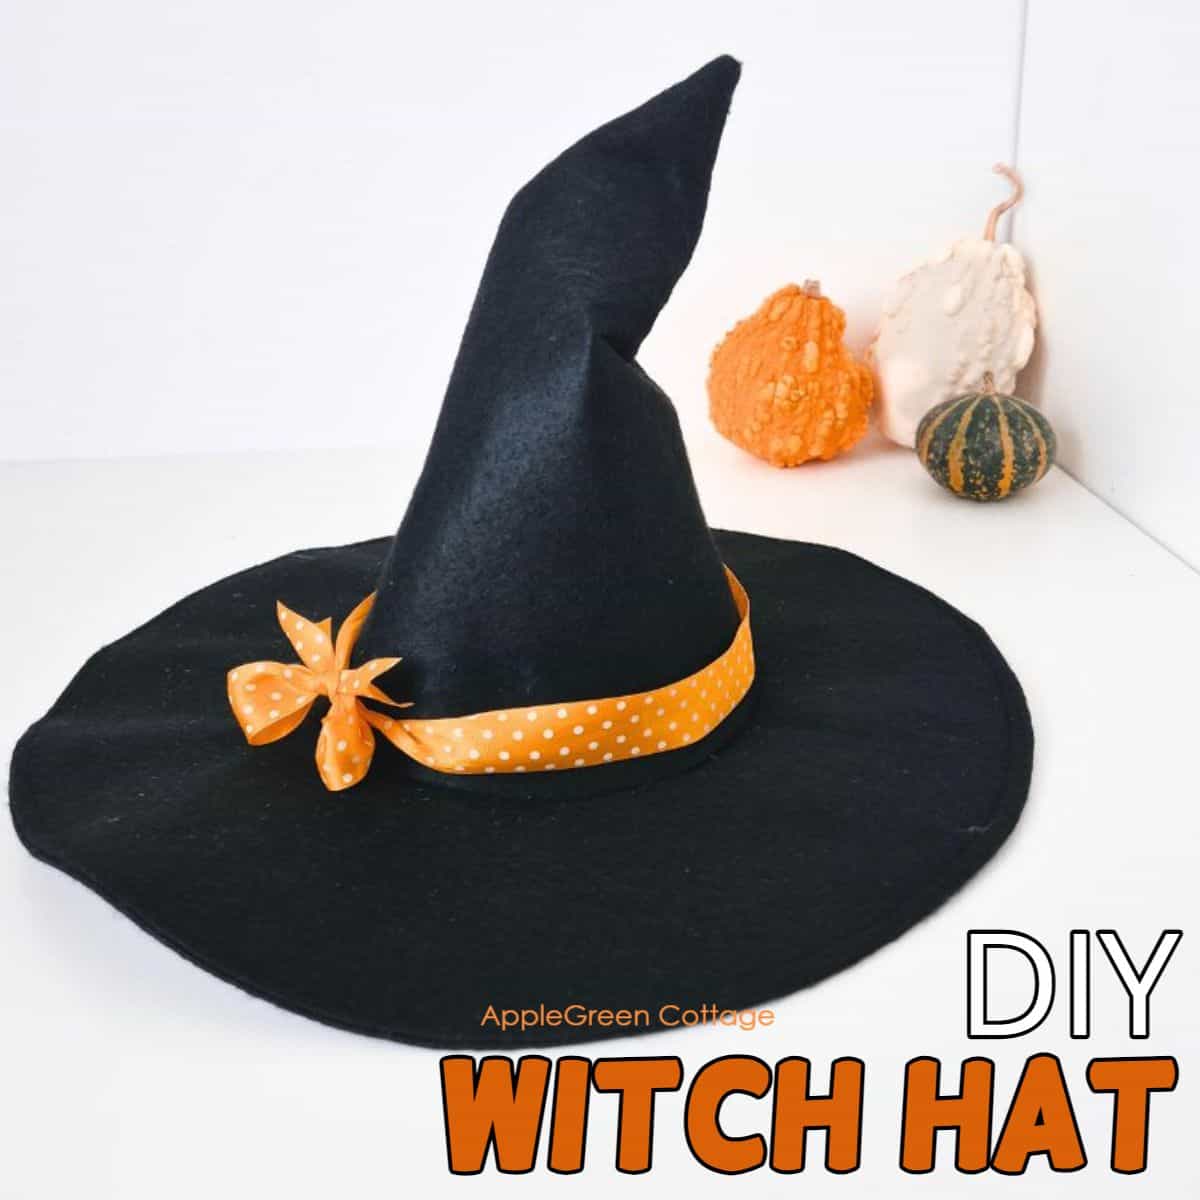
See how to make a witch hat for the entire family with my newest free witch hat pattern! Whether for Halloween, dress-up, or just for fun, this diy witch hat is perfect for adding a spooky twist to your wardrobe.
Grab the free witch hat sewing pattern in 3 sizes below and whip up a hat in no time!
(Also see below which two tutorials you can use to create a full DIY witch costume!)

This tutorial is also part of Printable Tutorials BUNDLE
100 PDF tutorials now, and growing!
Do you want a printable copy of the WHOLE tutorial? → See it HERE or get it in the huge-value BUNDLE!
Table Of Contents
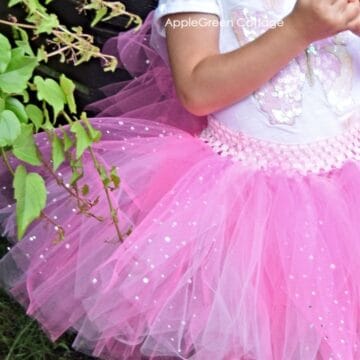
This felt witch hat pattern pairs perfectly with this adorable DIY tutu skirt, giving you a complete witch's costume that's homemade and easy to put together. You can leave it plain or embellish using tulle, DIY felt flowers, or a satin ribbon. Either way, this design always turns out fantastic!
Supplies
Shop my personal favorite sewing supplies on Amazon HERE.
- 2-3 mm thick black felt approximately 1-yard square (for the largest size)
- 36" by 18" of mid-to-heavy-weight interfacing (depending on the thickness of your felt)
- the usual: sewing machine, thread, tailor's chalk or marker
- pins or sewing clips
- scissors or rotary cutter and a cutting mat
- optional: decorations - ribbons, tulle, pompoms
- free pattern
What Felt To Use For A Diy Witches Hat

When making a witch's hat, go for a sturdy, better-quality felt - trust me, it makes all the difference! Skip the cheapest, thinnest stuff. You'll want at least 2mm thick felt, so the hat holds its shape and doesn't flop over.
A wool blend works beautifully for a more durable and polished finish but it's not required.
Sewing Video
Prefer watching over reading? Sit back, relax, and watch the witch hat sewing video I made for you. Then scroll down for measurements - or see step-by-step instructions too. (Can't see the video? Turn off your ad-blocker.)
Finished Sizes
This pattern comes in three sizes: Small, Medium, and Large. Here's my witch hat sizing chart for you to decide on sizing:
| Witch Hat Size | Head circumference | Inner Hat Diameter | Brim Diameter | Hat Height |
|---|---|---|---|---|
| Small (small kids) | 20" | 6.5" | 15" | 12" |
| Medium (teens) | 21" | 6.9" | 17" | 13" |
| Large (adults) | 23" | 7.5 | 18" | 13 ½" |
How To Sew a Witch Hat - TUTORIAL
First, you'll need to print the witch hat template:
Step 1 - Get the free pattern
Join our mailing list and get the pattern emailed to you:
Do you want a printable copy of the WHOLE tutorial? → See it HERE or get it in the huge-value BUNDLE!
Step 2 - Print and tape the pattern

Download the pattern file to a desktop, open it in ADOBE READER, and print at 100% size on paper or cardstock. I recommend not printing directly from a browser window or from mobile, as it could cause issues. Here's more on how to print pdf patterns.
Step 3 - Cut the pieces

Once you have your PDF pattern printed, select your desired size and cut:
- two brims and one upper cone-shaped piece from felt
- one upper piece and one brim (all full sizes) from heavy-weight interfacing
Step 4 - Apply Interfacing to the Upper Piece

Apply interfacing to the back of the upper piece. You'll either fuse it or baste it if it is not fusible. Since I used non-fusible interfacing, I machine-basted the interfacing, sewing at one eight of an inch away from the outer edge... -ish.
Top Tip - How to press felt
If you're using acrylic felt and need to smoothen it out after turning, take care not to press directly over felt. Use a pressing cloth and set your iron to low heat. Press each section briefly, lifting the iron after a few seconds to move to a new area.
Step 5 - Stitch the Upper Piece and Turn

Sew along the straight open edge using a quarter-inch seam allowance. Turn the piece inside out using a blunt item like a chopstick to gently push out the tip of the hat. It's ok if the top is a little bulky.
Step 6 - Sew the Brim

Place two felt brims on a flat surface and the stiff interfacing on top, and clip or pin all three layers in place. Stitch around using a ¼" seam allowance.

Trim the sewn edge for easier turning. Use pinking shears or cut tiny triangles into the seam allowance. Make sure not to cut into the seamline!

Turn right side out, smoothen, and topstitch around using a seam allowance ranging between ¼" and ⅜" to strengthen the brim. ↑

Optionally, baste the inner edge layers together - this will make assembling the hat in the next step much easier.
Step 7 - Join the Brim and the Upper Piece
NOTCHING - To make attaching the brim easier, cut small notches along the inner edge of the brim before attaching it to the cone shape - just about ⅛" deep. These notches will help ease the pieces together smoothly, ensuring a perfect fit:

MARKING - add 4 quarter marks to the brim and the cone, basically dividing the circle into 4 quarters. With the brim, I folded it in half and marked with tailor's chalk, then refolded it to bring the two markings together, and marked again on the folded spots:

Fold the cone the same way and mark the quarter points. Now you'll be able to match the quarter marks on both pieces. This will make it so much easier to start pinning!
Now clip or pin the bottom of the cone to the inside (raw) edge of the brim on the 4 markings.

Top Tip: Easing
At first, it may seem like the two edges of the brim and upper hat pieces don't align perfectly, but don't worry! The key is to match the stitching lines, not the raw edges. And the tiny notches on the inner edge of the brim will help you bring the stitching lines nicely together.

Now, add more clips and go all around the edge, then bring the piece to the sewing machine. Only one last seam to finish our Halloween witch hat:
Step 8 - Stitching step

Sew the brim to the hat top using a quarter of an inch seam allowance.
Finished, congrats! If you want to, you can cover the raw edge on the inside with bias tape, but honestly, no one will ever see that seam. I decided to leave mine as is.

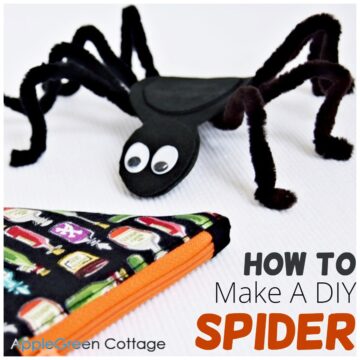
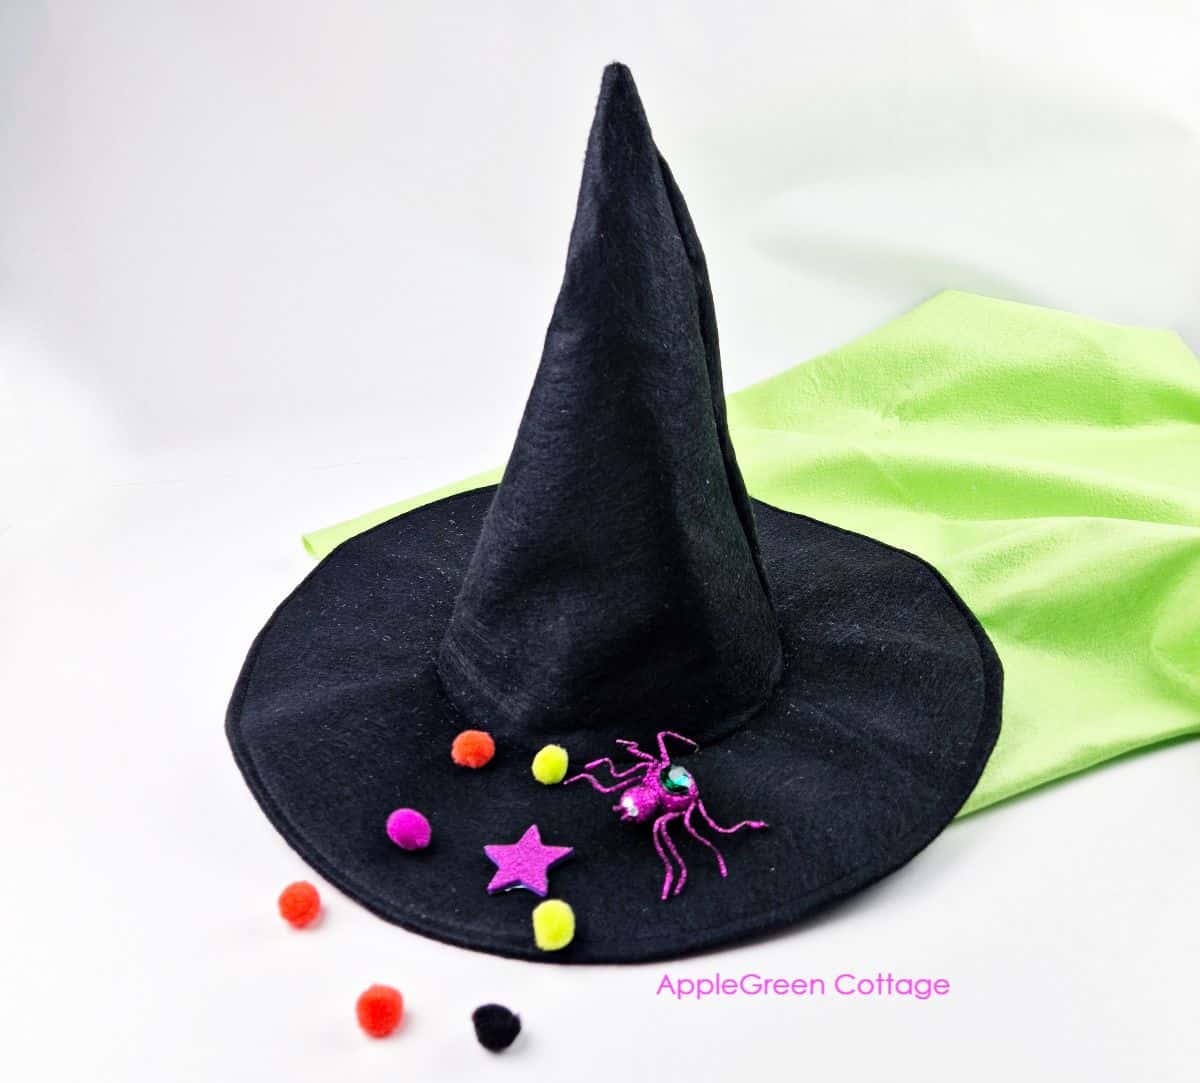
You can decorate your hat using felt flowers, tulle, pompoms, Halloween trinkets, easy felt bows, or the classic ribbon. Here's a Dollar-Tree-style spider I used with a large tulle bow (but you can make your own DIY spiders using pipe cleaners too!)
Popular Questions
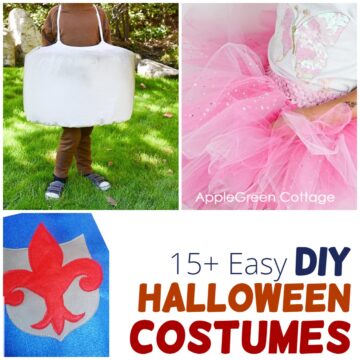
How To Make a Witch Costume Outfit?
If you're going for a witch costume for Halloween, these two tutorials will help you do just that:
- create a fluffy DIY witch skirt using this tutu skirt tutorial (no-sew!) and
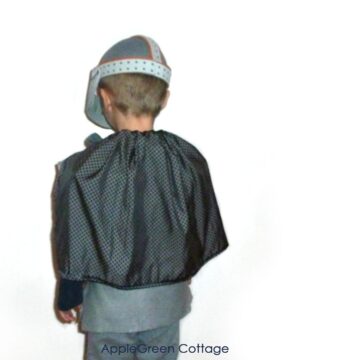
- this super easy short cape for the upper part of your DIY witch outfit. Ta-da! You've got your very own homemade witch costume!
'AppleGreenCottage's witch hat top pattern will be pretty stable because I've already included stiffening into the sewing steps. To make the cone stand stiff, you could (instead of adding interfacing to the top piece) hand-stitch a piece of florist wire inside the cone for extra structure, from top to bottom of the hat cone, to create a pointy hat top. Just be sure to tuck the wire in neatly and secure the ends well, so they won't poke through or cause any discomfort.
For a sturdy brim, the key is to use stabilizer on the back of the brim pieces - don't worry, I've already included this step in the tutorial! If you're looking for an extra-stable brim, another great option is to sew bias tape around the outer edge of the brim and insert florist wire inside the tape. This will give the brim even more structure. However, with our free witch hat pattern, you won't need this extra step, as the design already takes care of the stiffening for you!
Use the smallest size of our free witch hat pattern and follow the steps above. To keep it secure, especially if your toddler is extra energetic, you can attach double-fold elastic to each side of the brim to fit snugly under the chin. Bonus: the hat is roomy enough to be used again next year!
Want to make a no-sew witch hat? You can use our free 3-size pattern and a hot glue gun! If sewing isn't your thing, just use the glue gun to assemble the top cone, brim, and join the two pieces. I prefer sewing, but I get that every creative person is different. So, choose whichever method you like best.
Simply use the smallest size of our free witch hat pattern to create a toddler-sized witch hat, then use orange or purple tulle to whip up this cute no-sew tutu and add a super quick DIY cape - you'll find all these tutorials at AppleGreen Cottage.
This one's been bugging me, so I researched: while wizard hats are typically taller and adorned with stars or moons, witch hats tend to be shorter with a straighter brim. Wizard hats are often linked to magical scholars or sorcerers in fantasy and are seen in traditional or academic settings, while witch hats are associated with folklore, Halloween, and darker, more mystical imagery.
Related
Looking for other projects like this? Try these:
Conclusion
I hope you liked the tutorial on how to make a witches hat. These DIY witches hats are quick and easy to make, and you'll be able to them for years. Happy trick-or-treating!
Want a printable copy of the whole tutorial?
Do you want an ad-free, printable copy of this online tutorial? Get it in our shop. Or get the whole →BUNDLE!

And if you want to create even more, check out all the free sewing patterns here at AppleGreen Cottage. Or visit our FREE email series:

Join the FREE 6-part email guide and make super easy diy GIFTS - each in 30 minutes or less! You'll love it!
Check out the trending ZARYA Hip Bag pattern in our shop - perfect for carrying all your essentials - hands-free!