
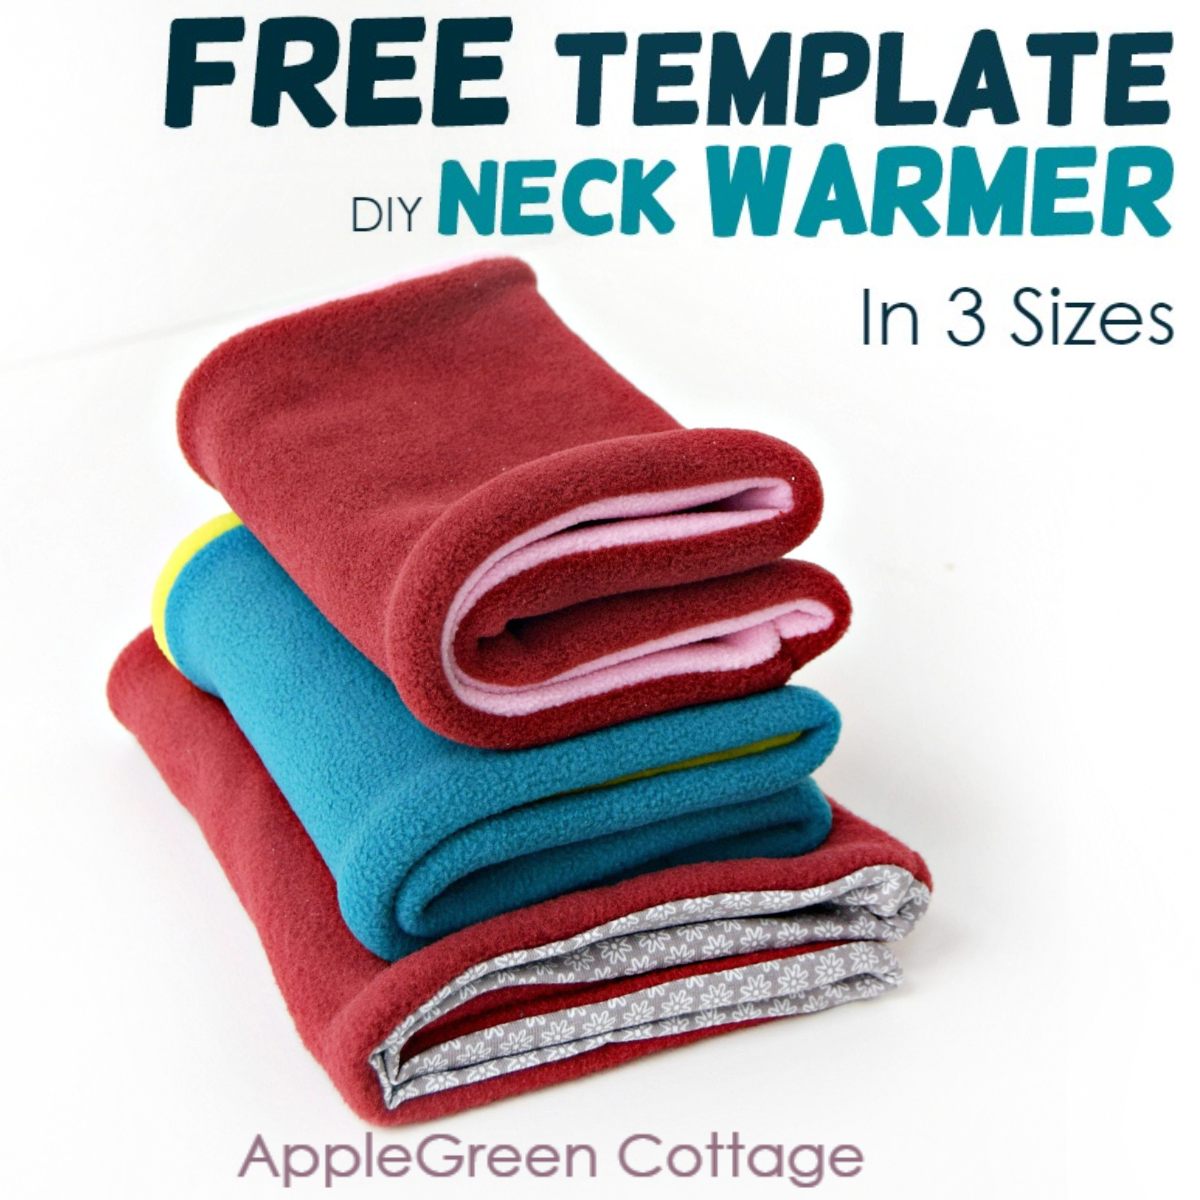
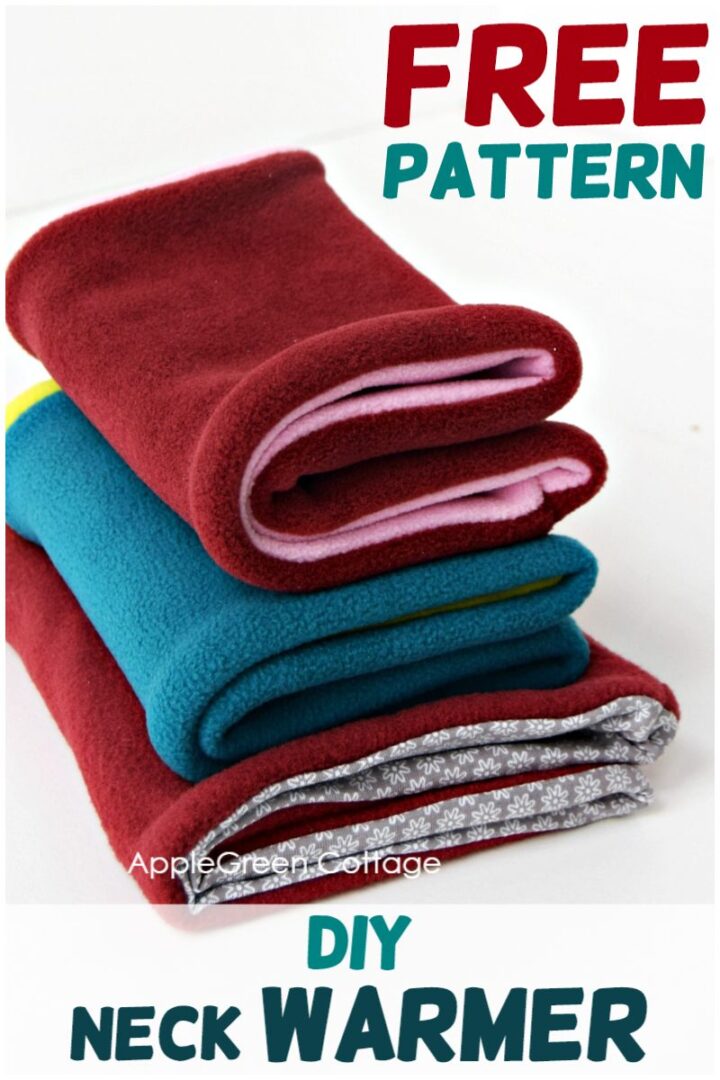
See how to make a neck warmer with our free neck warmer pattern - easy and quick!
This beginner sewing tutorial will teach you how to make a warm and cozy reversible fleece neck gaiter. It's an easy, super quick sewing project, and a great solution for those who don't like wearing (uncomfortable and bulky) traditional scarves. Good to mix and match to these Easy Diy Hand Warmers too.
Want an ad-free printer-friendly option of the whole tutorial + pattern? See the → optional PDF file in our shop.
Neck warmers are a hit every winter, keeping you warm and cozy. Best match them with the free heating pad pattern too.

Less searching. More sewing.
Keep 100+ printable AGC tutorials ready to print, save, and sew anytime.
Neck Warmer Pattern
If you haven't made a neck warmer yet, it's the perfect time to try this easy pattern! Neck warmers - also known as cowl scarves or neck gaiters - are fantastic beginner-friendly projects that make cozy, stylish gifts.

Today, I'm showing you how to make a double-layered reversible neck warmer in two colors. It will keep you and your kids super cozy and warm all winter long.
Warmer weather and you don't need a fleece scarf? I've got you covered! Make this easy infinity scarf from jersey instead!

Keep the winter chills away with this warm and cozy cowl scarf pattern.
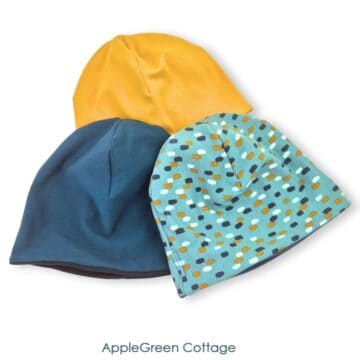
Make a Matching Winter Hat!
What is even better, this fleece cowl will sew up SO quickly, and you might end up making them in a set with our popular free fleece beanie pattern:
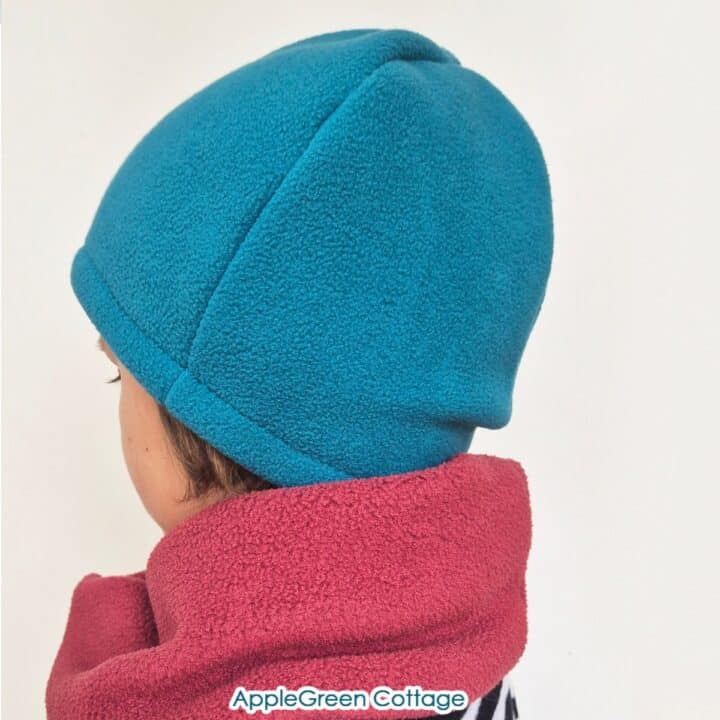
+1 Freebie: Fleece Hat
Make a set with our free fleece hat pattern:
Supplies for the Neck Warmer
- 2 pieces of fleece, the largest size requirement is 25" x 9" per piece (64cm x 23cm)
- matching thread
- the free template
Have some fleece leftovers from a previous sewing project? Good! Grab two pieces and let's go!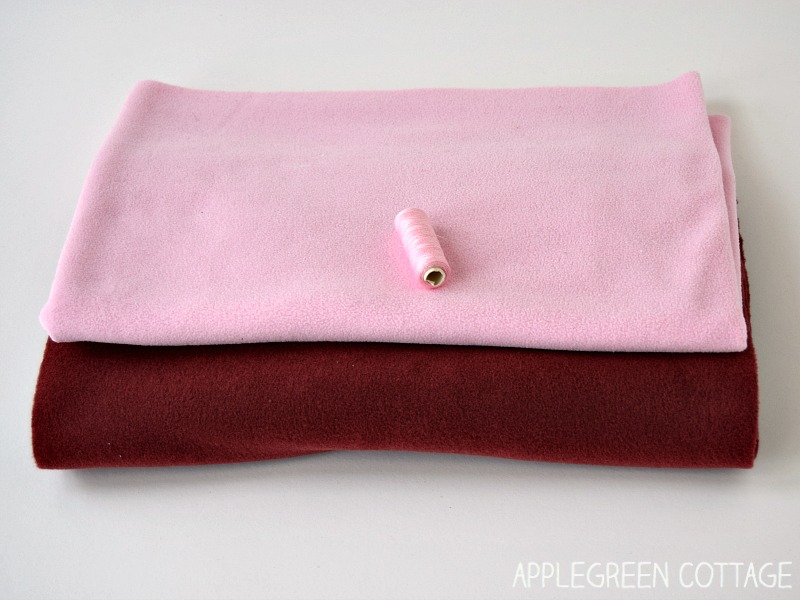
Bonus tip: you can use flannel for one layer out of the two. This will give you a thinner cowl scarf, and still a soft one. If using flannel, make sure to prewash it. See here why prewash flannel - always.

This fleece neck warmer is all about simple rectangles. To make it easier on you and to prevent the guessing game, I've tested a few sizes and chosen what worked best for me and my children.
Does your child refuse to wear a scarf because it adds too much bulk around the neck? A fleece neck gaiter pattern is a great solution for those who don't like wearing (uncomfortable) traditional scarves. Tried and tested!
What is the finished size of the Diy Neck Warmer?
Choose one of these three sizes:
TODDLER (1T - 3T): 21" x 7" (53cm x 18cm) = FINISHED size DIAMETER 10" (25cm)
CHILD (4 yrs-10 yrs) 23" x 8" (59cm x 20cm) = FINISHED size DIAMETER 11" (28cm)
TEEN + ADULT: 25" x 9" (64cm x 23cm) = FINISHED size DIAMETER 12" (31cm)

Reversible Fleece Neck Warmer Tutorial
You'll get an image for every little step. Follow me!
Step 1 - Get the free template
Join our mailing list and get the pattern emailed to you:
Do you want a printable copy of the WHOLE tutorial? → See it HERE or get it in the huge-value BUNDLE!
Step 2 - Cut 2 pieces

Once you've decided on the required size, grab your scissors and the ruler. Cut 2 pieces of the selected size. You don't need to add any seam allowance, it's already included.
Top Tip: Stretch direction is important here! Take care to cut the pieces so the material stretches most in the direction marked on the above image.
Step 3 - Sew The Long edges of the Neck Warmer Together

Place the pieces right sides together and align them.

Then stitch along the long sides using a ⅜ seam allowance and a stretchy stitch (a simple zigzag will be just perfect!)

This is how your fleece neck warmer looks like - a long tube. Trim the seam allowances if required.
Step 4 - Fold and Sew the Short Edge

Pull one end of the tube into another one, keeping the right sides together, like this:


Sew around the short end, leaving an opening for turning.
Step 5 - Turn Right Side Out

Turn right side out through the opening.
Step 6 - Close the opening on your New diy neck warmer

The final step to finish this fleece neck warmer is closing up the opening. I like to hand-stitch it shut - it's much easier to neatly catch the fleece layers by hand than on a sewing machine. And if you use this ladder stitch tutorial when hand-stitching, stitches don't show at all.

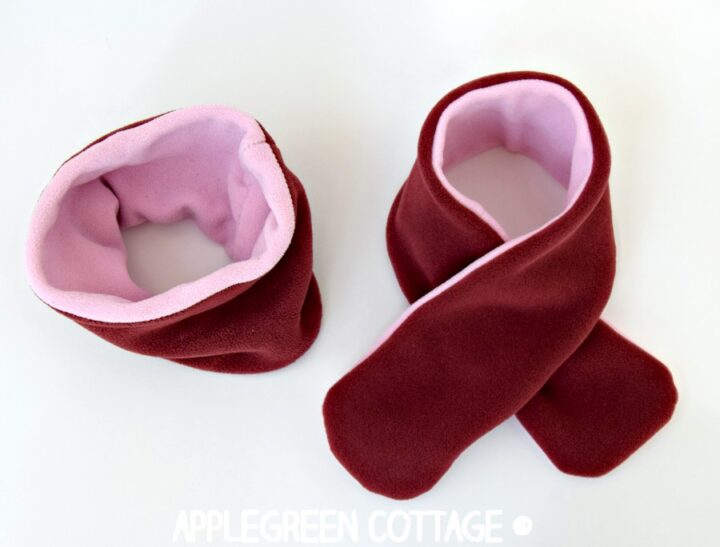
Finished - your own fleece neck warmer. Yey!
Alternatives to the fleece neck warmer pattern
You can mix and match materials - try to find your own favorite! Later on, I also made one additional neck warmer using one piece of fleece and one piece of soft jersey. Actually, I still prefer the double fleece version. Soo soft! But when it's not so cold outside, I love to have a jersey side as an option, because it does not make me sweat.

Also, speaking of alternatives to these diy neck gaiters: if you want to test out other types of scarves and wraps, check out these 10+ free scarves to sew.
More scarf sewing ideas
Have you seen the new baby scarf tutorial that's getting very popular? This free tutorial has a little something added - and it makes it a DIY scarf that will never fall off! Check out here how and why:
+1 idea: Smart Scarf
Make a set with our free fleece scarf tutorial:
What is the best size for a neck warmer?
As you see in the photo, the smallest one is the toddler size, the blue-and-yellow one is mid-size (4yrs to 10 yrs), and the largest one is for me. I quickly modeled it against my partner's chin and can confirm that this size will work for any adult.
It will keep you and your kids warm all winter long! Since winter is (hopefully) coming to an end soon, I was thinking whether I should just fast forward to Christmas sewing. It's so easy I just might.
Want a printable copy of the whole tutorial?
Prefer a full, ad-free and printer-optimized Printable Tutorial with both instructions AND pattern included? ↓↓
This tutorial is also part of Printable Tutorials BUNDLE
100 PDF tutorials now, and growing!


Renee says
Hi Damjana,
I just made this for my husband because he stays cold all of the time. He will wear yhis in the house to keep warm.
Thanks for a great and easy project. Love all of your ideas!!
Juanita O’Neill says
Clear, easy to follow instructions but mine would only be useable inside out! When I pull it thru the opening the stretch is gone! Won’t fit over head. What am I doing wrong?
Damjana says
Juanita hi,
a good question. Two things that come to my mind: have you pulled the entire piece right side out in step 6 (not just half of it)? When I only pull it halfway through, it would look like it's too small. And in step 5 make sure you have sewn the short edge with right sides together. Please let me know if this solves your issue, will you? xoxo, Damjana
Pam says
The length of the gaiter has to align with the stretch of the fleece so it will stretch over the head. Otherwise the stretch goes up and down where you don’t need or want it.
Vicki B. says
Thank you so much for this easy to follow tutorial! I just finished making a neck warmer for my niece for Christmas, it's the fastest I've ever finished a project and I used very soft, fuzzy, hard to work with polar fleece! I had a small panic moment before I turned it right side out thinking "omg this isn't going to fit over anyone's head!!" but once it was turned out the right way I understood and had a good laugh at myself.
Damjana says
Glad it worked out 😀 Happy holidays,
Elizabeth Hill says
Can anyone tell me what kind of fleece I should use? I’ve never used fleece before, and there seem to be so many different types, anti-pill, micro, polar, arctic, stretch. It’s too confusing 🤪
Michelle Norse says
I'm a beginner sewer & I made an adult snood from your pattern & I'm so pleased my first project went well! Thank you for the great pattern & clear instructions. I've made it for my husband & he is really pleased with the fit.
Damjana says
So happy to hear that!
Pamela Lebreck says
I just had to tell you..I have made thirteen of your neck warmers so far...still have two more to go. Everyone is getting one in with their Christmas present this ear. Your directions were easy to follow..ad they were fun to do. Thank you so much for sharing this idea with us. I look forward to your site and all your great ideas. Thanks again.
Damjana says
Pamela hi,
that's amazing, thank you!
Unknown says
I have made these and donated them to the school. Fast, easy, and they love them. Thank you!
Unknown says
Yours are the absolutely clearest and easiest to follow instructions I found! Thank you so very very much!!!!
Unknown says
Hi Marmalina,
Yesterday I was at the fabric store for some thread and saw that luxury fleece was on sale for 50% off(Yay!) I took advantage and found your web page for making neck warmers. Your instructions are perfect; clear, concise, and so easy to follow! I made 4 this morning from just 1 yd.(2 for my boys, 2 for my husband and father-in-law) for Christmas gifts. They are also very practical, especially for active kids - no more lost scarves! I definitely plan on making more and gifting them to loved ones. Who wouldn't love a handmade gift that keeps them cozy warm all winter? I also saw the post from the Cub Scout leader in Canada and agree this would make a great project for kids. My boys are Cub Scouts too so we will definitely try this with our den. Thanks SO much for taking the time and effort to share with all of us!
Rege
Damjana at AppleGreen Cottage says
Rege thank you, that's such a lovely comment. And yes you're right, it does make a great kid sewing project - I know of a few kids who've made their neck warmers from this tutorial. So happy I can help! xoxo,
marmelina says
With your tutorial it was fast and easy to make...and now it's a pleasure to wear those soft and cozy scarfs. Thank you!!!!
Teatime says
Thank you so much for these instructions. I am a Cub Scout leader in Canada and recent changes to our badge system require our Cubs to create "an article of winter clothing". Your clear instructions were my saving grace! This past Tuesday, our Pack produced 24 of them in a little over an hour and a half! The kids were thrilled and so proud to make these themselves. I have heard that several of them have insisted on wearing them ever since (both outside and inside!). This pattern was so forgiving for beginning sewers, looks great, and feels so soft and cuddly. A few of them asked about making hats and I gave them the idea of the previous poster. Thanks again!
Damjana at AppleGreen Cottage says
Teatime, that's awesome! Amazed about your initiative and the kids' enthusiasm, and thankful for your comment. Have a great day,
Honeybug says
I've just used you great instructions to complete a neck warmer interchanged with hat pattern. A friend had one and I've drafted a pattern from it. All it is, is exactly what you have done here and then I sew a channel about half an inch down from the top edge. Then I snipped a hole on either side of the vertical seam and inserted cord on a safety pin. Pulled the cord through, tied it off, moved the cord around so that the knot was hidden in the channel and then put the end of the cord through a toggle which allows the cord to pulled tight for a hat, loosened slightly to fit through a pony tail and stretched out completely to slide down over the head to be a neck warmer. Very happy with the results.
Damjana at AppleGreen Cottage says
A great idea, Honeybug, and thanks for sharing it! I need to try that out.
Ang says
I love this! I have been making simple (but warm) hats and mittens for the homeless. This will make a nice addition to the sets. Thank you!
Damjana at AppleGreen Cottage says
Happy to hear that 🙂
Connie Kresin Campbell says
Great tutorial, I've got some fleece and need to make a couple for my granddaughters! Thanks for sharing.
Damjana at AppleGreen Cottage says
You're welcome, thanks for visiting!
Anne says
I love this! I always end up with scraps of fleece that are too big to throw away but I otherwise have no use for them. Now I'll know to make neck warmers! --Anne
Pam @Threading My Way says
I do like the construction of your neck warmer, Damjana. Looks much easier than how I've been doing infinity scarves. A great tutorial, as always.