
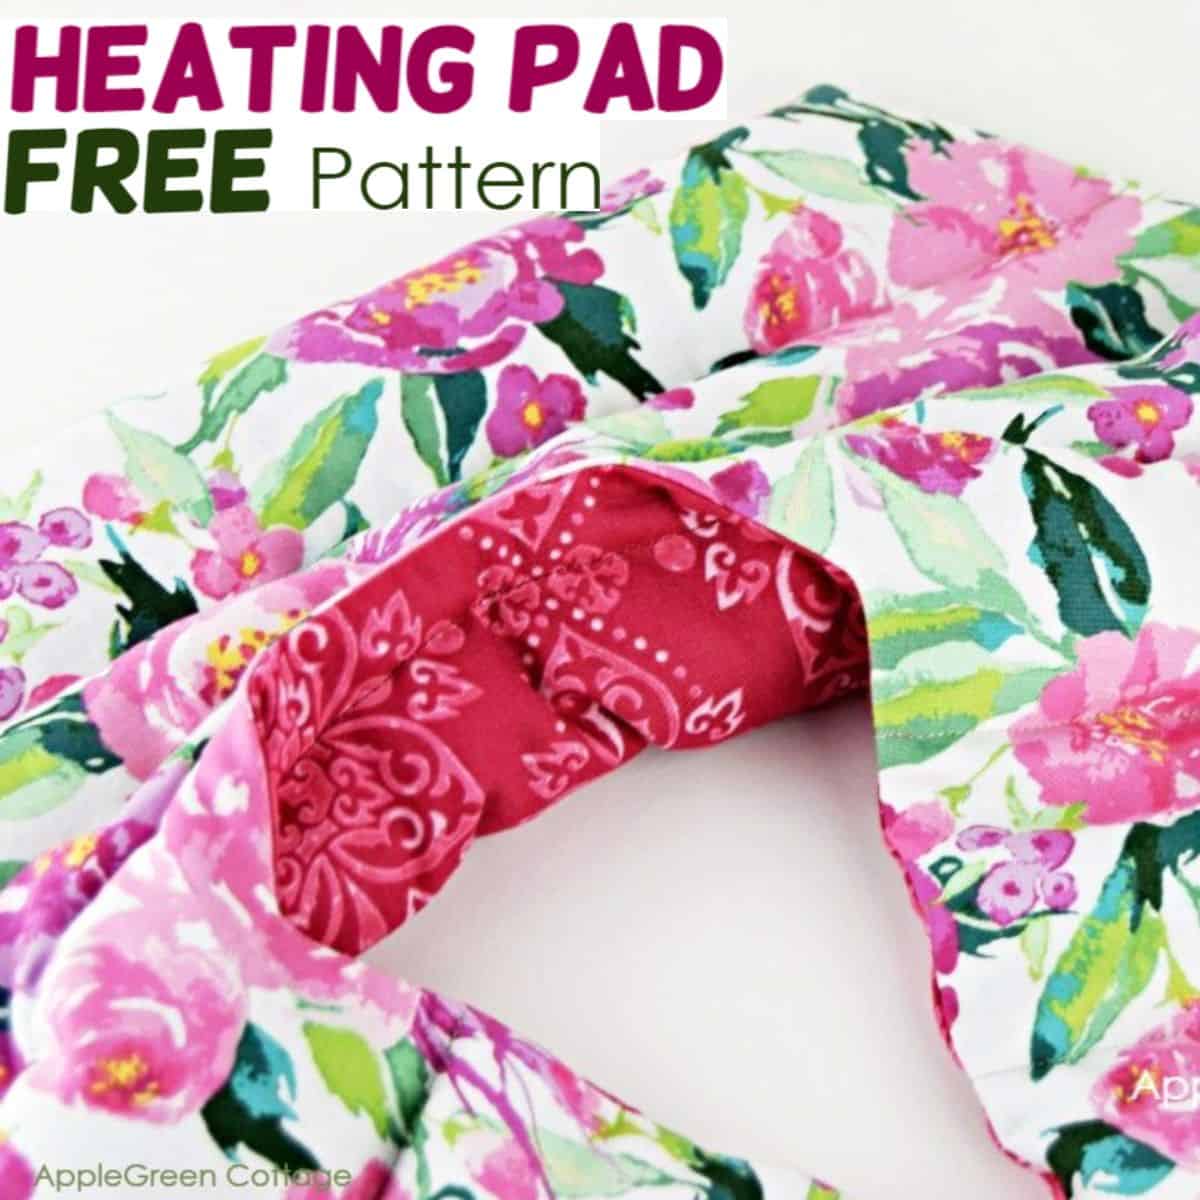
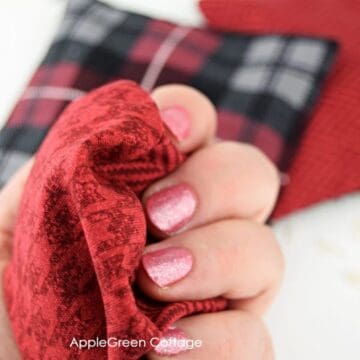
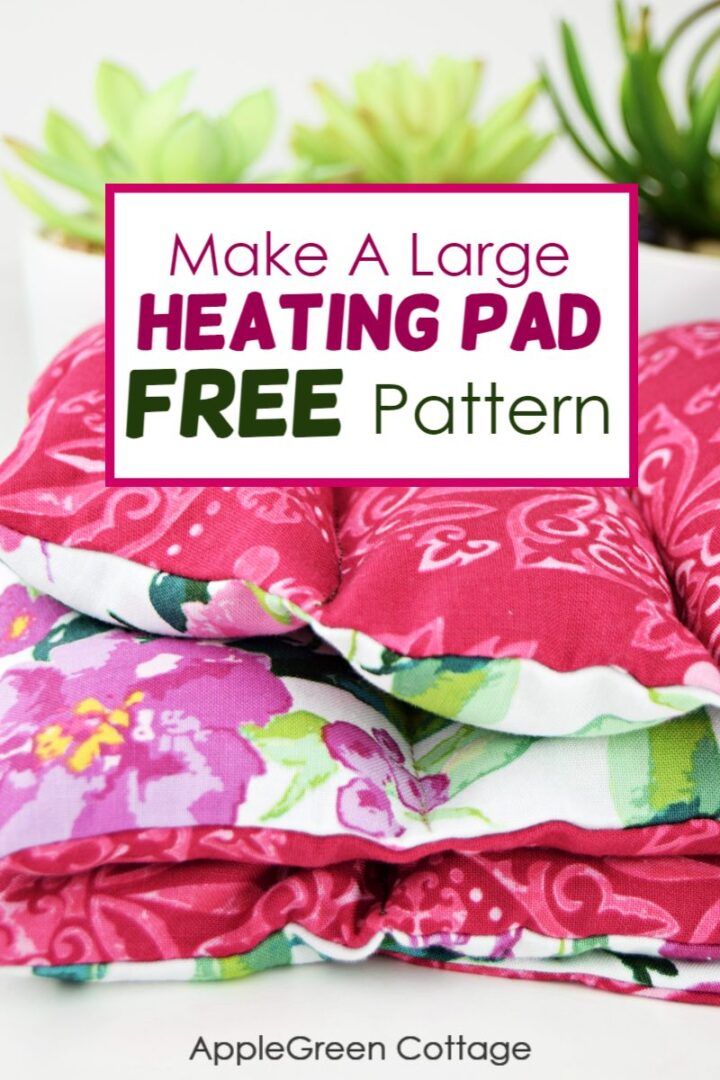
Sew a large diy heating pad that will cover both your shoulders and upper back, is comfortable, keeps warmth for a long time, and doesn't keep slipping off.
Scroll down to see how you can get this diy heat pack pattern for free.
Prefer an ad-free printer-friendly option of the whole tutorial+pattern? See the → optional PDF file in our shop.

This tutorial is also part of Printable Tutorials BUNDLE
100 PDF tutorials now, and growing!
***Disclaimer*** - Please always use 100% cotton fabric, thread, and batting. Heat in short intervals (no more than 4 minutes at a time) to prevent scorching. Never leave it unattended while heating or in use. AppleGreen Cottage is not responsible for issues that may arise from using your own Heating Pad.
Table Of Contents
Why You'll Love this Diy Heating Pad Pattern
- Perfect for Sore Spots: Designed to cover your entire back or shoulders, providing full relief.
- Stays in Place: No more slipping or adjusting - this pad stays put.
- Long-Lasting Warmth: Its large size ensures cozy, effective heat for longer periods.
- Better than Store-Bought: Unlike small commercial pads or makeshift towel solutions, this custom heating pad delivers exactly what you need.
- Unique Design: It's big, microwaveable, and even has sleeves.
My Favorite Large Neck and Shoulder Heating Pad Pattern
Soothe sore muscles or relax with this weighted DIY rice heating pad, designed for maximum coverage of your back and shoulders.
These large diy heating packs are perfect for soothing sore muscles, relieving back or shoulder pain, or just a relaxing treat after a long day. It sits nicely upon your upper back and shoulders, providing you with maximum coverage.
And I like to think I'm always able to make another one. So I stored my template online, and this is how you can use it too. As usually, I was taking photos all along the way, so you can make one for yourself too. (Scroll down to see how to get the pattern for free.)
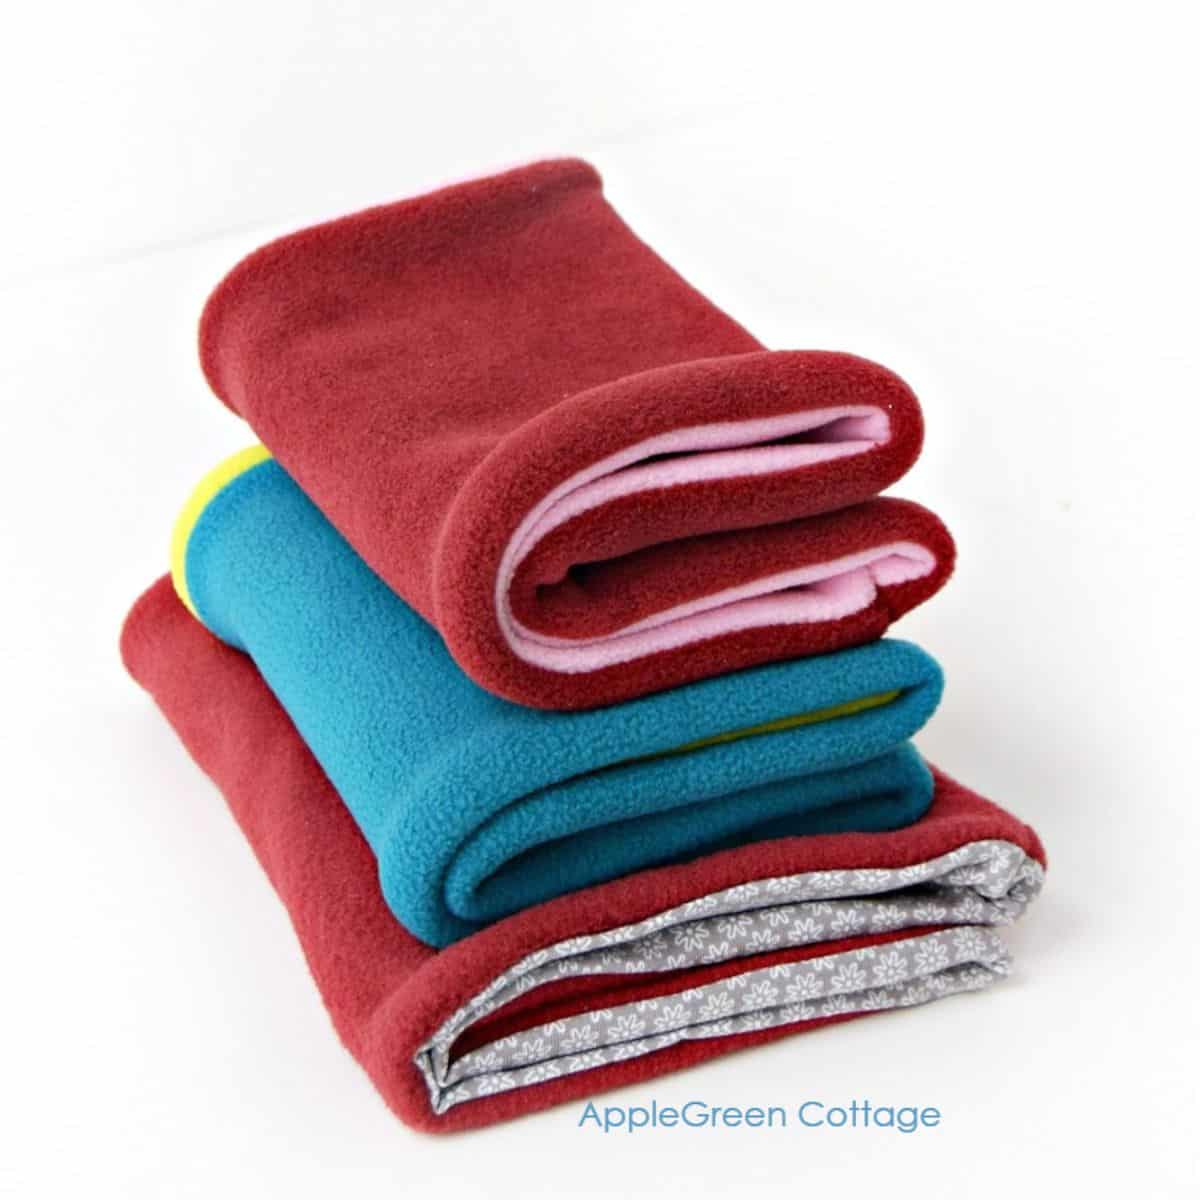
You can microwave it to use as diy microwaveable heating pads, or put them into freezer and they make awesome diy cold packs too. You can store it somewhere close by, like in this practical storage bag that will prettify any living room while providing a great hiding place for your homemade microwave rice heating pad 🙂 - do you know my Allina pattern?
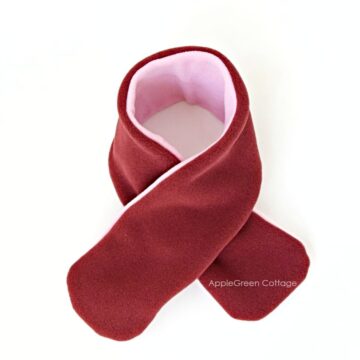
The size of the large diy heat pack
The finished size of the heating pad will be approximately 17" wide, 19" tall (43cm x 48cm). The narrow stripes have a length of 10" (25cm), making sure the pack won't keep sliding off.
Supplies
Shop my personal favorite sewing supplies on Amazon HERE.
- cotton fabric (prewash!): 4 fat quarters or
- half a yard of cotton for the inner layer (can be muslin) plus half a yard of cotton for the outer layer
- dry, uncooked rice 6 cups (1.5 kg) + 2 cups of dried lavender*
- A funnel
- sewing machine, needle, thread, pins or sewing clips,
- scissors or rotary cutter plus cutting mat
- printable heating pad pattern (it also includes hand warmer pattern, as a bonus!)
Weight of this Diy Heat Pad
*I initially added 8 cups of rice and it felt too heavy for me. This is why I suggest using up to 6 cups of rice and adding 2 cups of dried lavender or any other lightweight dry filler that can be microwaved. Increasing the number of compartments will also reduce the required amount of fill. (See Step 5) The finished diy heat pack won't be packed full. And shouldn't - read the note below.
When you add 6 cups of rice plus 2 cups of lavender, the total weight including fabric should be around 3.5 lb (1.75 kg) Cherry pits are lighter than rice, see the bottom of this post for more about other filling options for the heat pad.
Now, off to the tutorial, to see how to make a microwavable heating pad.
Sewing Steps
Note that you'll have to prewash your fabric because this pattern does not have a removable cover. You won't be able to wash it once sewn.
Step 1 - Print the pattern and Cut the Fabric
You can join our mailing list and get the pattern emailed to you:
Do you want a printable copy of the WHOLE tutorial? → See it HERE or get it in the huge-value BUNDLE!
This heating pad will be sewn with 2 layers of cotton since it's large and I wanted to prevent any rice from finding a way out.
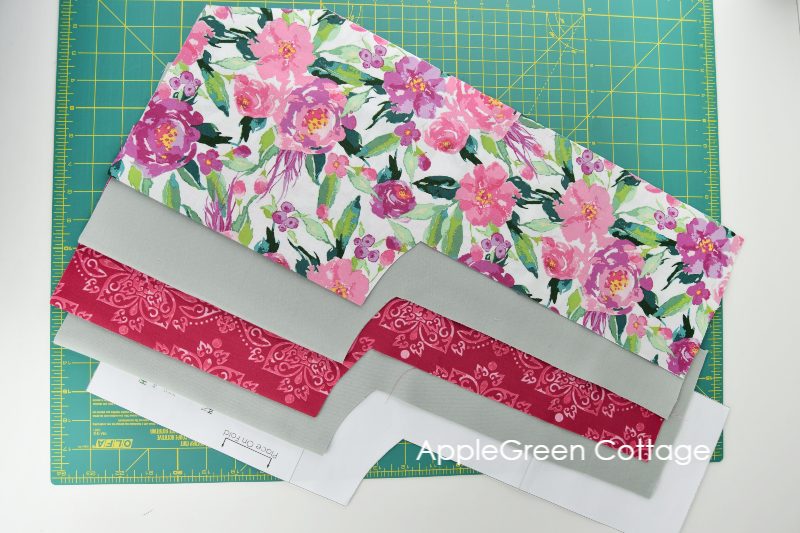
Using the pattern, cut 4 pieces:
- 2 from whatever cotton you have (won't be visible, can be muslin)
- 2 from outer fabric (can be quilting cotton, can be 2 different ones, I used the beautiful Hampton Garden collection by Lila Tueller) I figured my eyes deserve some pampering too 🙂
Step 2 - Stack The 4 Pieces
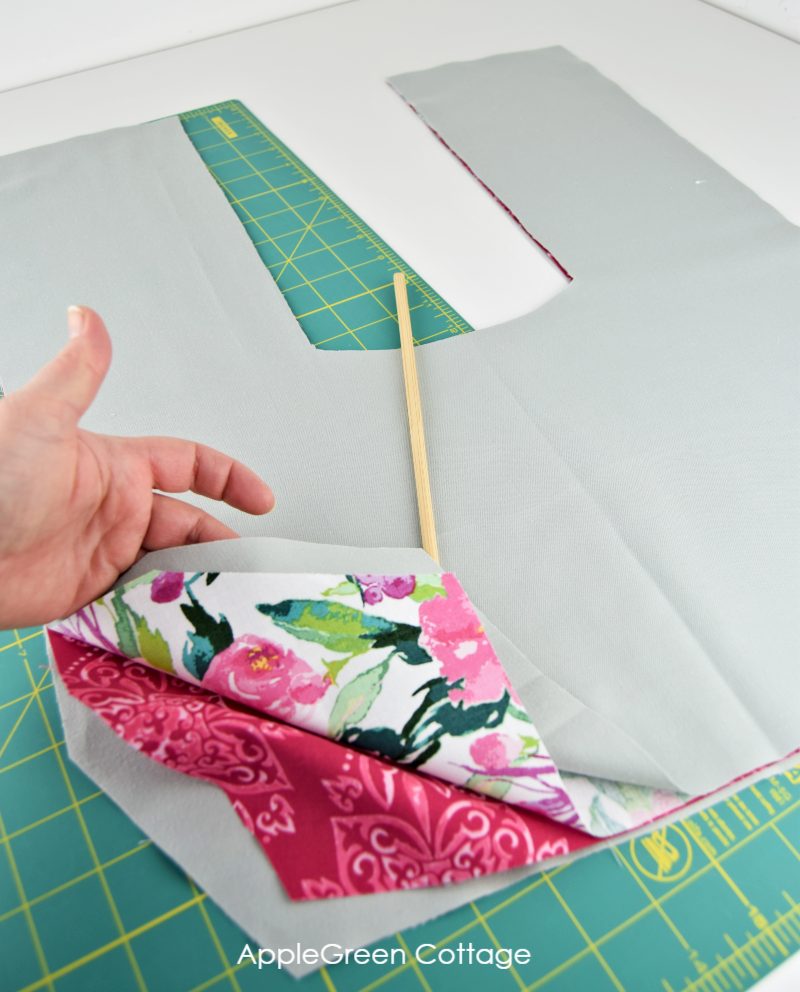
Place the pieces on a flat surface in this order:
- inner layer
- outer fabric right side facing up
- outer fabric facing right side down
- inner layer
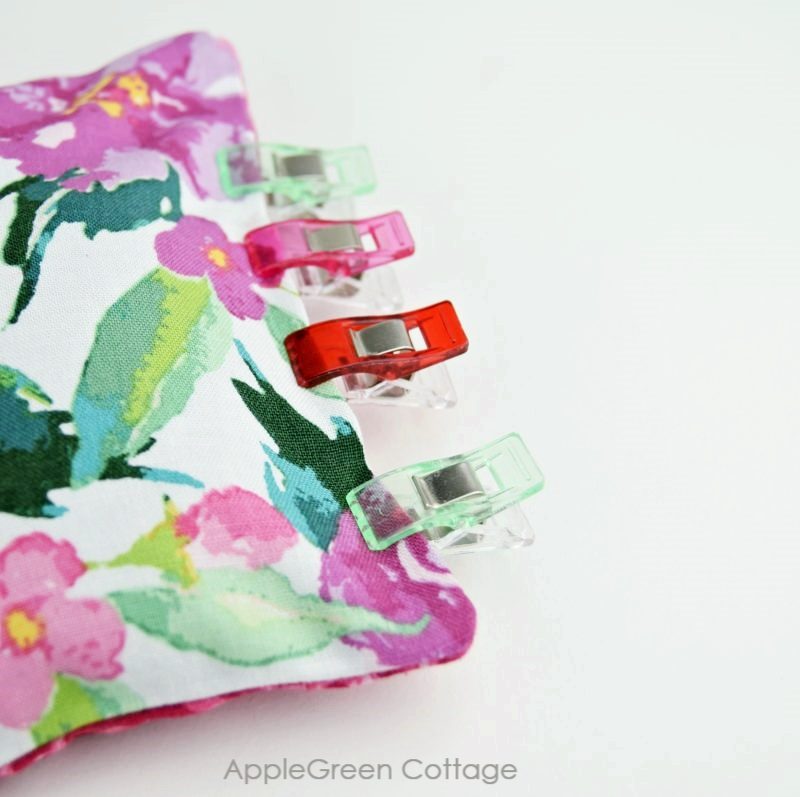
Pin or attach sewing clips. It doesn't really matter which side the inner layers are facing, they won't be visible.
Step 3 - Sewing Step
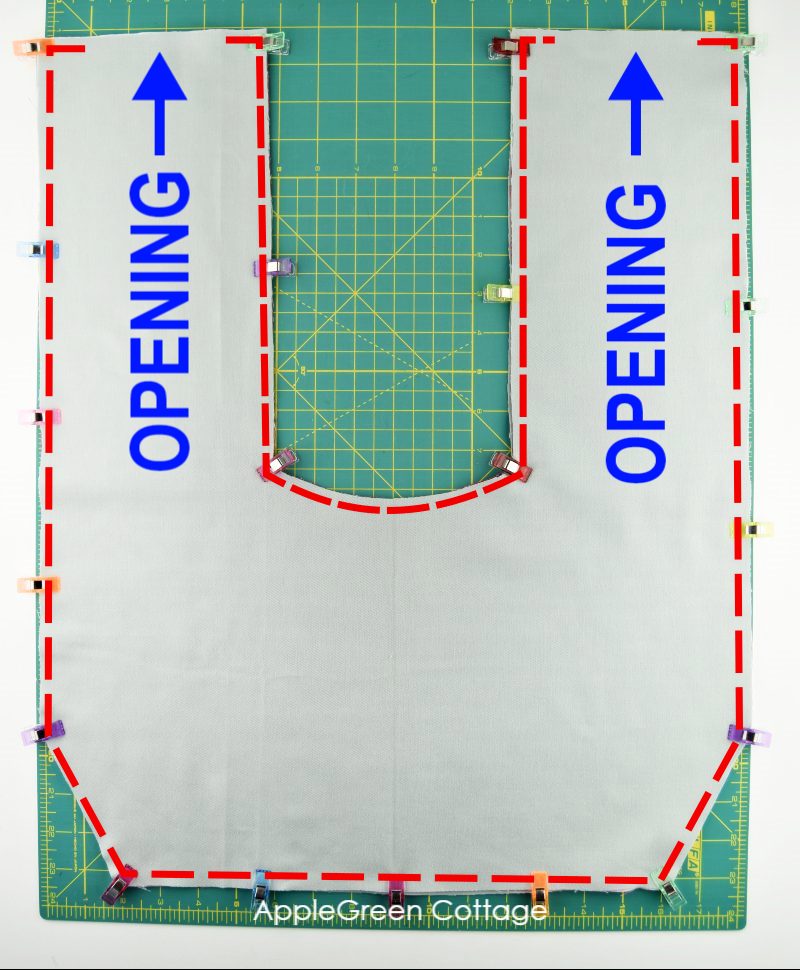
Stitch around with a ⅜" (1 cm) seam allowance, leaving 4 inches (10 cm) openings on each short end. Use a strong seam: either stitch twice or use a triple seam.
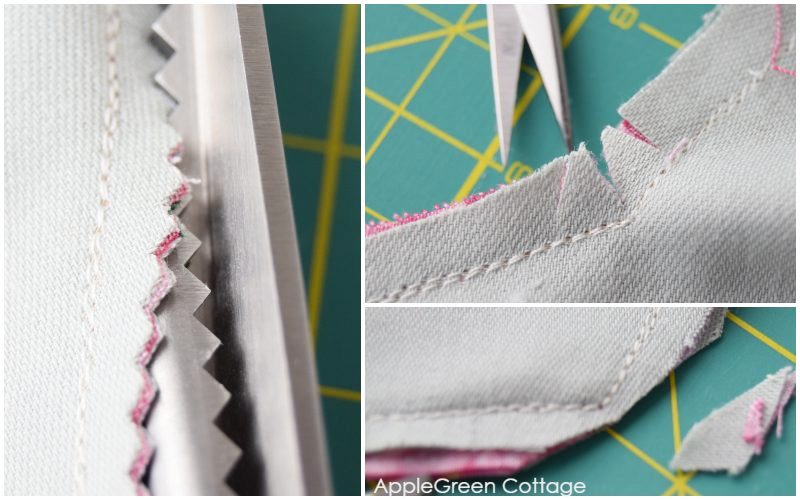
Trim the seam allowance, clip the curves, and notch the corners in the seam allowance, for easier turning.
Step 4 - Turn right side out
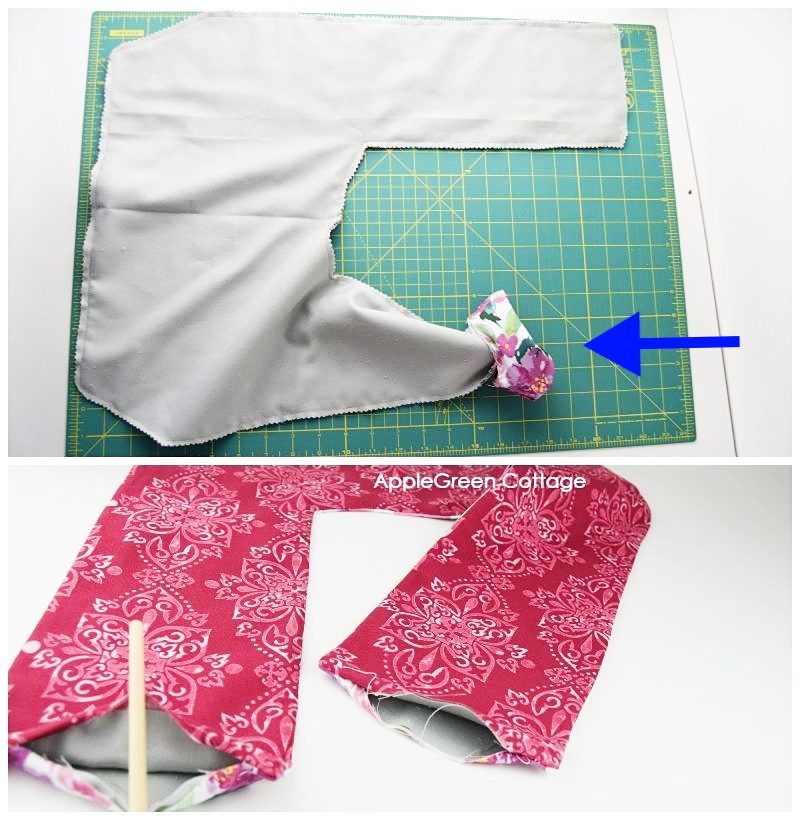
Turn right sides out by pushing all the fabric through ONE opening only. (Don't try to turn one side through one hole, and the other side through the other hole. It won't work.) Push the tips out using a point turner tool or another non-sharp object like a knitting needle. Don't use anything sharp since it might make holes in your fabric. Also, now's the time to press.
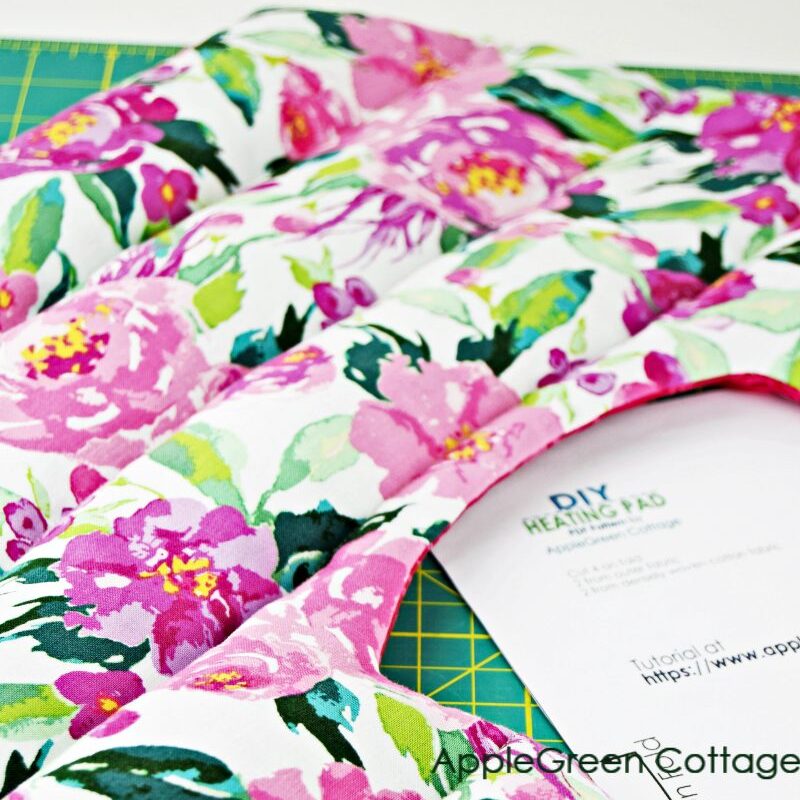
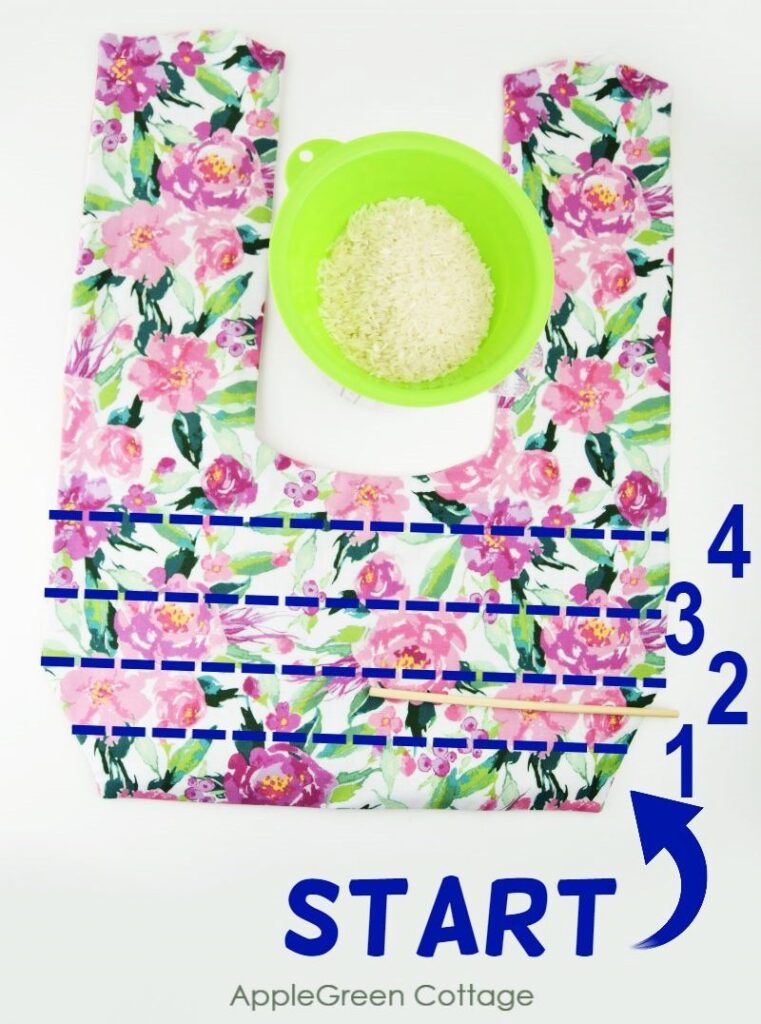
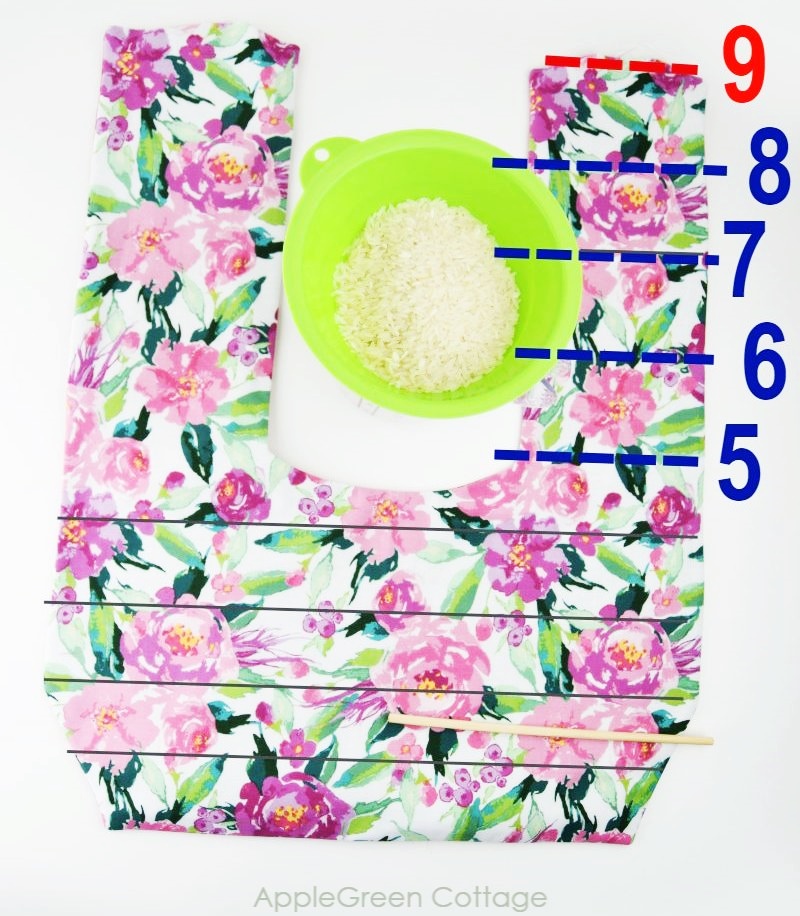
Step 5 - Fill and Sew the 'wide', bottom area
In short, here you'll start filling the mixture into the pouch, making compartments along the way.
Since this heat pack is large, you need to divide it into several compartments to keep the filling in place. You'll sew them one by one, each time adding just a portion of rice using a funnel, and then 'sealing' it using your sewing machine.
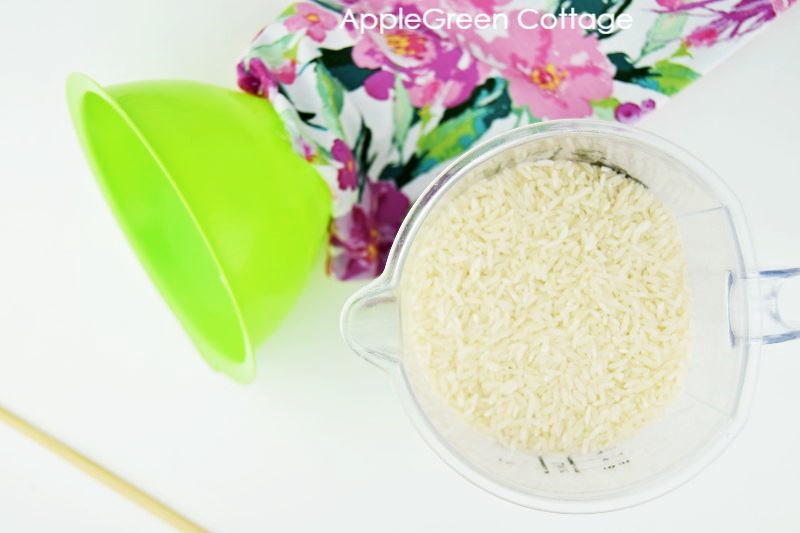
Start by pouring approximately ¾ cup of the filling through one of the openings at the top.
Then make sure the mixture is spread evenly across the bottom (pull up and shake a little.) Move the rice away and sew your first 'compartment' seam.
How wide apart do the stitching lines need to be?
I sewed cca 3 inches (7 cm) apart, using my seam guide at the beginning and eyeballing the distance later, but I suggest you make your seams closer to 2-inch intervals. The more compartments you make, the more even the distribution of rice. Don't go narrower than 2 inch (5 cm).
I planned to use my seam guide but then later just eyeballed a 2 to 3-inch (5-7 cm) distance between the seams. You can, of course, draw lines using a chalk marker, but small differences won't affect the functionality.
This is an optional divider-pocket distribution. I made fewer compartments, but this would be optimal:
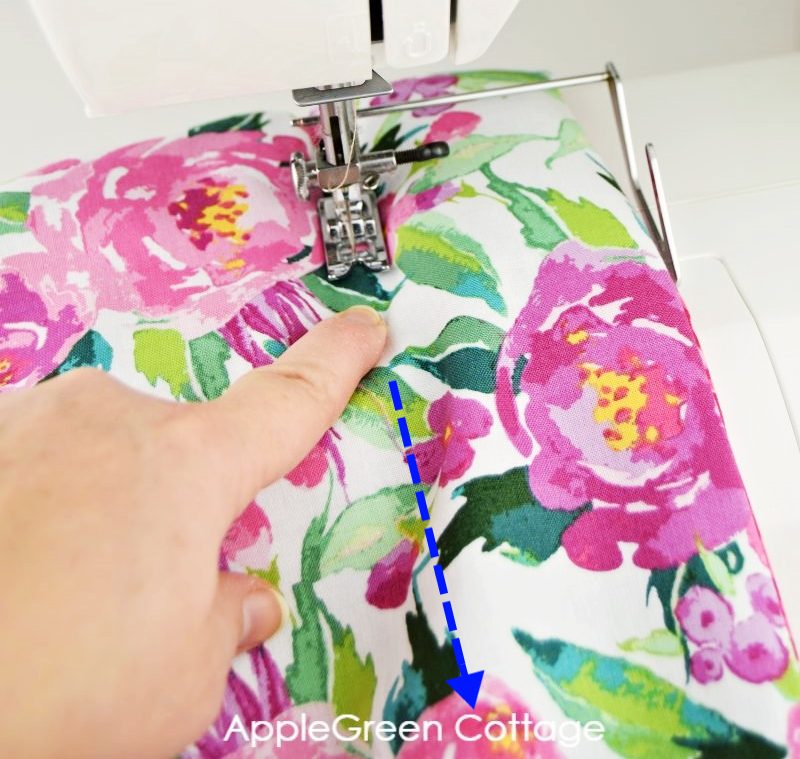
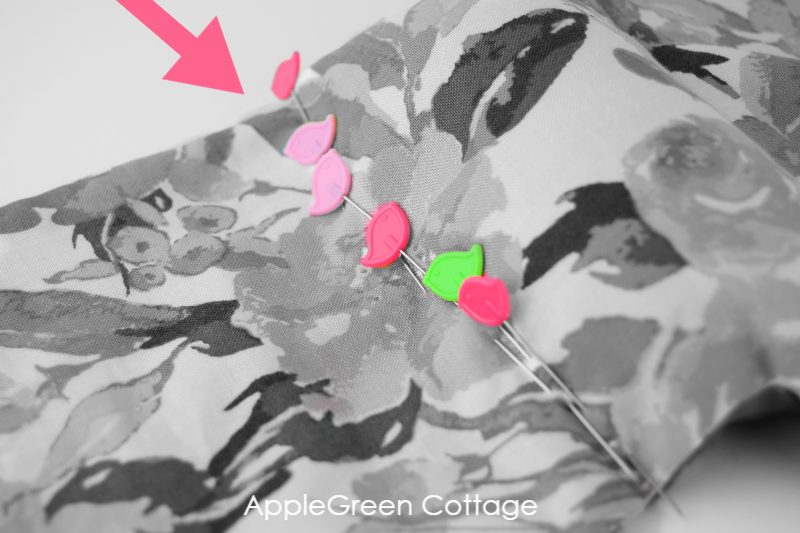
Tips: Prevent getting rice under your sewing foot
When sewing, take care to move all rice and lavender bits out of the way, to prevent breaking the needle. Feel free to use pins to move the rice away before sewing, like here:
Continue sewing, each time adding another ¾ cup of rice then stitch the area closed - repeat for all the 'wide' pockets. You can use a bit less rice for the top one (fifth one counted from the bottom). The pockets won't appear full, and also, shouldn't.
Step 6 - Fill and sew the narrow sleeves
Slowly work your way towards the top of the heating pad on one side only, till you get to the top on one side. In the narrow sleeve area, you'll only add half a cup of mixture per compartment.
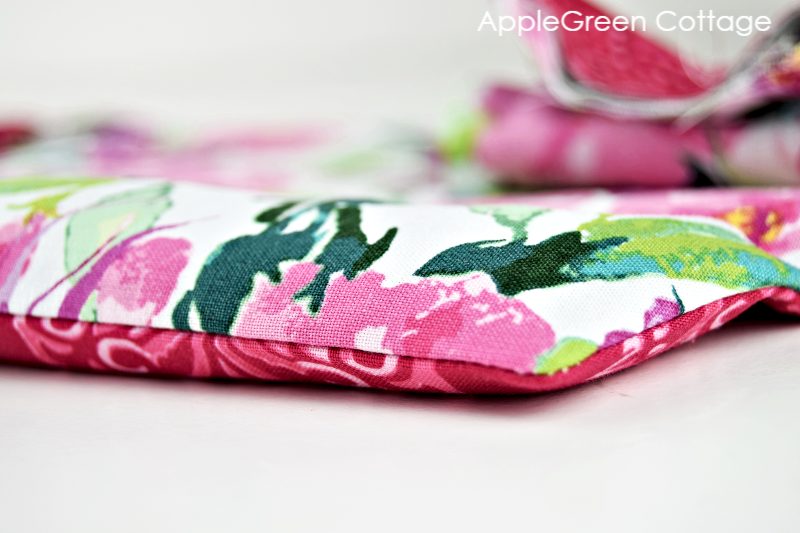
Step 6 - Top seam
When you get to the top, stitch the top opening by top-stitching twice close to the edge:
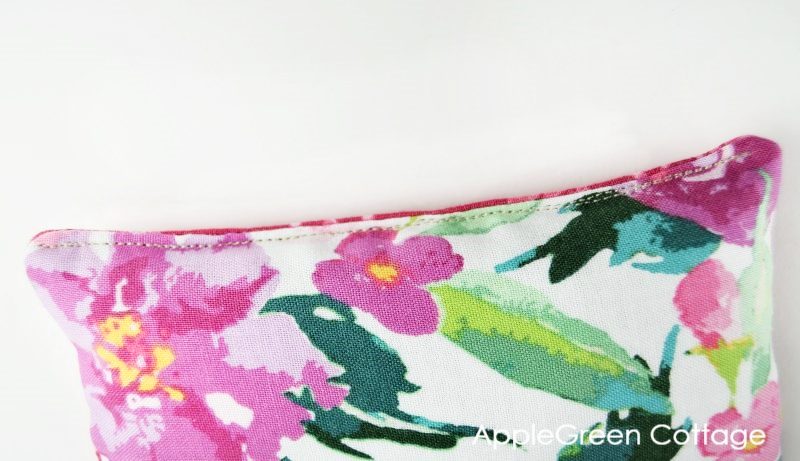
Repeat with the other narrow sleeve and you're done.
Related Ideas
Additional Tips
To use warm, place on a clean, dry plate and microwave for 1 minute. Depending on your microwave wattage, then again for another minute or two if needed. I never use more than one-minute increments, usually, 2 minutes are enough. I never heat more than 3 times a minute (total 3 minutes) - you don't want the smell of burnt rice.
Also, a reader has just shared a clever idea with me. It's about preventing the rice from burning: you can place a coffee mug half full of water together with the heating pad in the microwave. Rice won't burn and the steam penetrates the pack, giving you moist heat which is always better than dry heat. Thank you, Barbara!
See, a homemade heating pad with rice is not the only option: you can make your own diy microwave heating pad with a number of different organic fillings. Options include: clay beads, flax seeds, cherry pits, walnut shells, whole corn, wheat, and more.
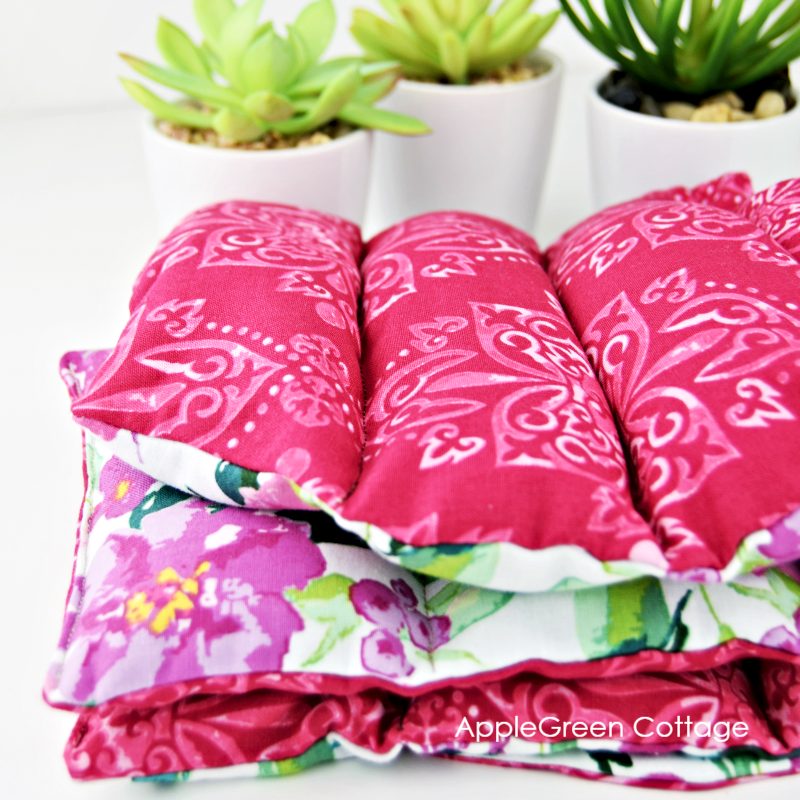
These pillows are a nice gift idea for your loved ones and of course for yourself.
How much filling for this large diy rice heating pad?
PLS NOTE: This rice heating pad is not meant to be super full, as it would make it, firstly, too heavy, and secondly, too difficult to sew. The compartments will only be filled between ½ and ¾, and this makes it comfortable. It will also enable it to fold properly and fit easily into the microwave.
Fill this large diy heating pad with no more than 6 cups of rice due to weight, and some light filler like lavender. I initially added 8 cups (1.8 kg) of rice and it felt too heavy for me (though yes you can buy similar back heat pads in shops with a weight exceeding 4 lb as well). This is why I recommend mixing rice with a few cups of lavender - your diy microwave heat pad will be fuller - yet not too heavy. Lavender is lightweight and with its beautiful scent, it brings this project up a notch. Scented heat pad, sewn with a beautiful print, the best combo!
Want a printable copy of the whole tutorial?
Prefer a full, ad-free and printer-optimized Printable Tutorial with both instructions AND images included? ↓↓
This tutorial is also part of Printable Tutorials BUNDLE
100 PDF tutorials now, and growing!


Morgan says
This is such an awesome tutorial! I'm planning to use this to make Christmas gifts for my in-laws. Just one question - have you tried anything outside of lavender? The in-laws have sensitive sinuses, and I was researching if coffee beans would be microwave safe since she's a big coffee drinker. Anything you might recommend?
Thanks for sharing this project!
Vonne Goudreau says
Can’t wait to try this pattern.
Sue says
I love this project and I am working on my second Heating pad.
First - I suggest you may want to heat up some of the rice and lavender mixture to see if the aroma is tolerable. I found that it was not good for us. It could be the lavender we bought it was fragrant without the heat.
Second- I found using a pant hanger with strong clips to hang the heating pad from helps me level the fill and pin it before sealing the pouch. I poured in the filler for one pouch. Then fold down the 2 narrow pieces and clip with the pant hanger at that fold. Hang it on a doorknob which frees up both hands to manipulate the filler and pin above the rice fill about 3/8" from the sewing line. I found this made it much easier. I used my zipper foot when sewing across the filled pouch and that keeps the least presser foot over the line. It took a little practice, but it was easier to avoid the pins.
I plan to reduce the filler by about 1 Tablespoon for the first pouch next time. It was the most difficult to pin and sew. The angles off the lower corners reduce the room for the filler to spread out.
It is a great project and much appreciated when I want a heating pad but no cord to keep me in one place to use it. Great idea and as always, your patterns and instructions are wonderful. Thank you.
Damjana Jakos says
Sue hi, great suggestions, thank you! I'm glad you like AppleGreen Cottage patterns. xoxo, Damjana
Christine says
I'm wondering if spruce or pine can be added.. essential oils or real needles?
Maura says
Essential oils should be fine. But you should definitely NOT use real pine needles! They will eventually dry out, and when dry, pine needles are extremely flammable. (I've even seen them used in homemade firestarters.)
Sharon says
For the second inner layer, could I use one of 100% cotton batting (microwave safe batting) and one of cotton? It would certainly add softness and cushion. I would assume using both inner layers of the batting would make the heat pack too bulky and maybe even interfere with the heating properties? Thank you!
Damjana says
Sharon hi, a good question. I too believe that a single layer of batting, as you describe, is enough to add some softness to the pack. However, very important: any batting that is used in an item that goes into the microwave MUST be 100% cotton, to prevent scorching, or even fire hazard.
Ayden says
Just completed this project! I accidentally scaled the pattern wrong when printing it off but it turned out great and was easy to adjust, I was making it for my little sister so the slightly smaller pattern also worked out in my favour! Thanks for sharing the free pattern, it was a quick and easy project!
Damjana says
Ayden hi, thank you, I'm so glad the mistake turned out into your favor. Never stop sewing! xoxo Damjana
Darlene Leahy says
I found this pattern today and it is just what I need for my sore neck and shoulders. Thank you.
Kelsey L Wulf says
Hi there! I was wondering if the second layer is necessary or can you skip it? Thanks!
Damjana says
Kelsey hi,
a great question. The sescond layer is not necessary. But I recommend adding it to make sure the rice stays contained. If you only use one layer, make sure to use fabric with a high thread count (that is, densely woven). Enjoy your project,
Damjana
Antje says
Hello Damjana,
Thank you for all the tips and step-by-step instructions (plus free pattern) you are giving here.
I have been looking into sewing myself a large heating pad for a while, and wanted to use clay beads (so the pad can be washed), but can I find any online? It's very odd! The internet seems to offer anything - but loose clay beads (let alone non-toxic ones)!
Do you have any idea where I could source some (I'm in the UK)? Do you have any experience using them in a heating pad? Do they hold heat well?
Kind regards
Antje
Leslie Bilyeu says
I'm looking forward to making these as gifts. Where did you purchase the lavender you used? Thank you.
Damjana says
Leslie hi,
thank you! Oh about the lavender, I got it in an artisan shop when on vacation in Provence, but depending on where you live, consider looking into a local shop. Gift shops in my area all carry small lavender-filled pouches.. Hoep this helps a bit. Happy sewing, Damjana
Martha Wells says
Thank you. I am looking forward to making this!
Teresa says
How do I print out pattern for heat pad?
Damjana says
Teresa hi,
a good question, I'm happy to help: 1 - it gets emailed to you when you enter your email address in step 1 of the tutorial above. 2 - once ordered, you'll be emailed the PDF template. Save the PDF to your computer. 3 - Then open it in Adobe Reader and 3 - print.
Let me know if this helps. Enjoy, Damjana
Chrissy Luna says
Thank you for sharing.