
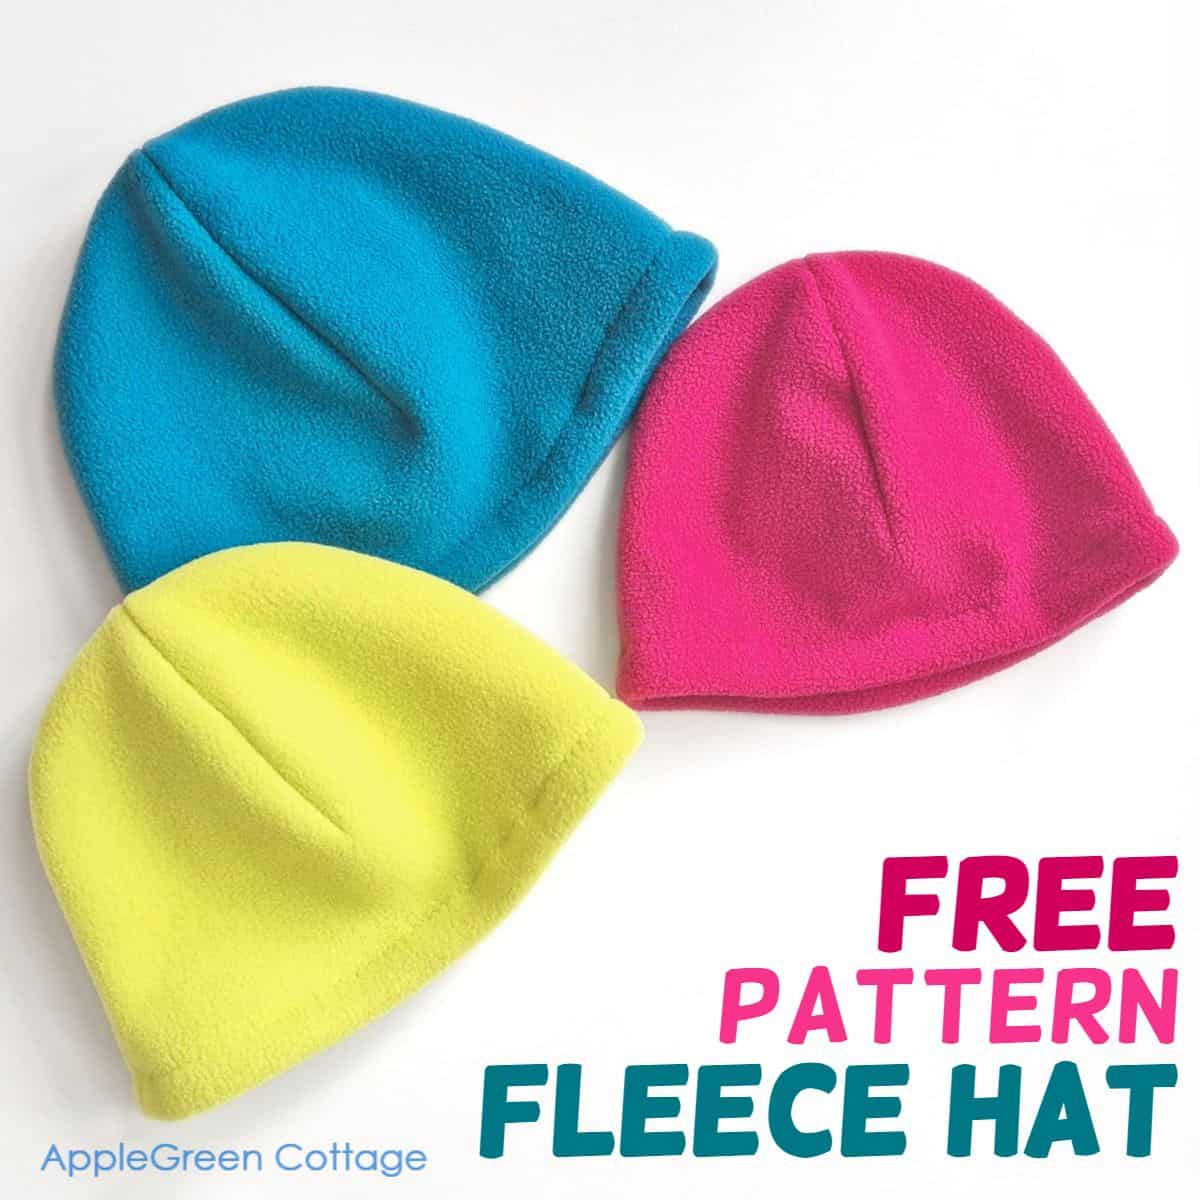
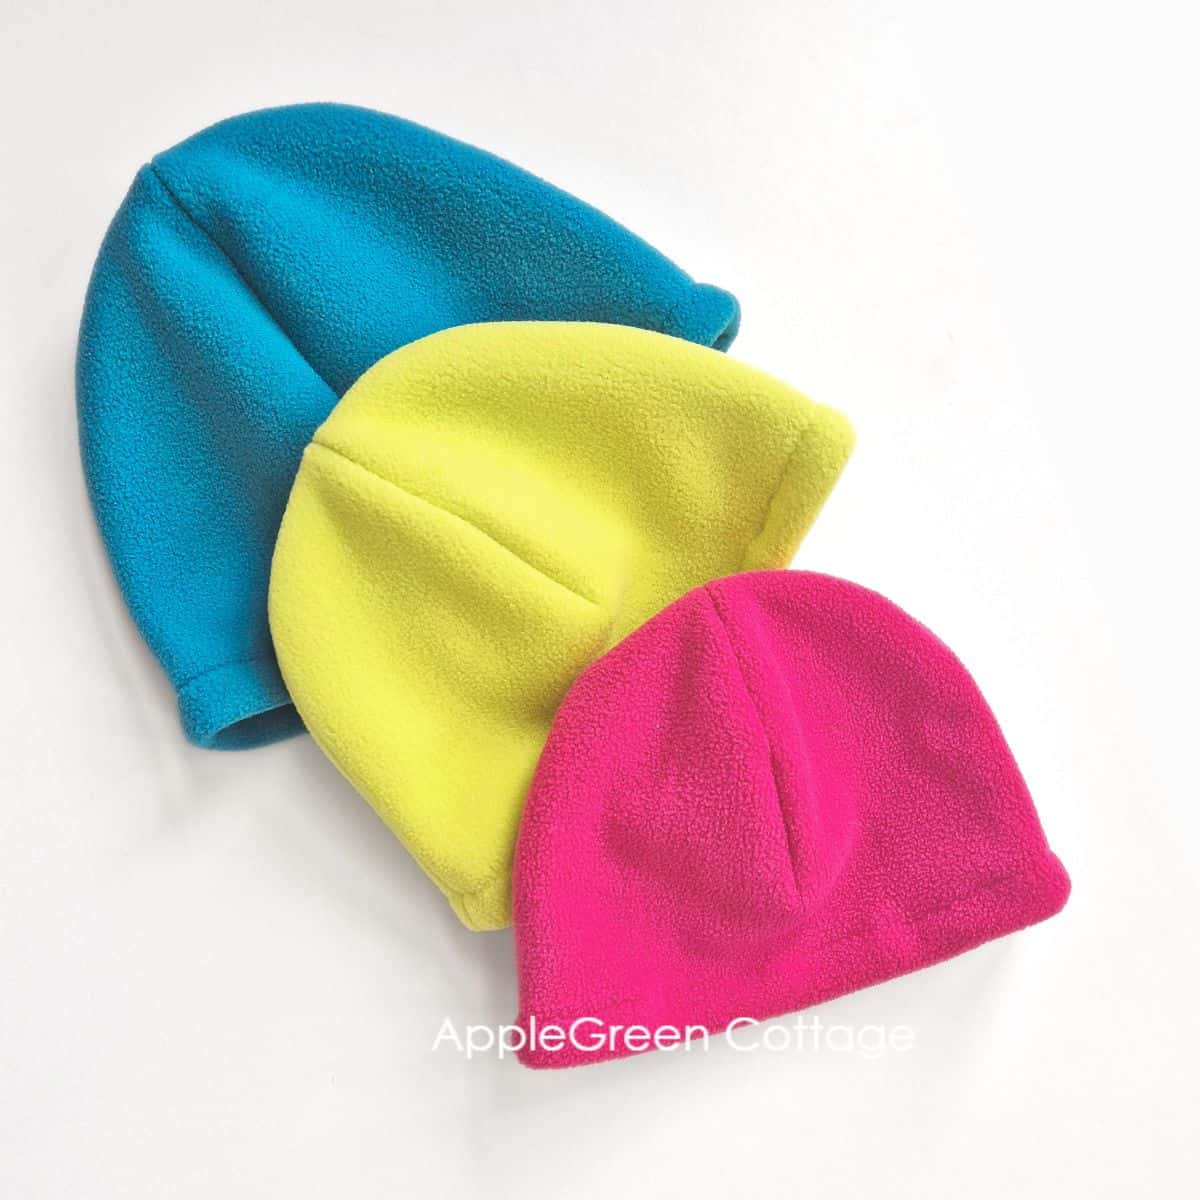
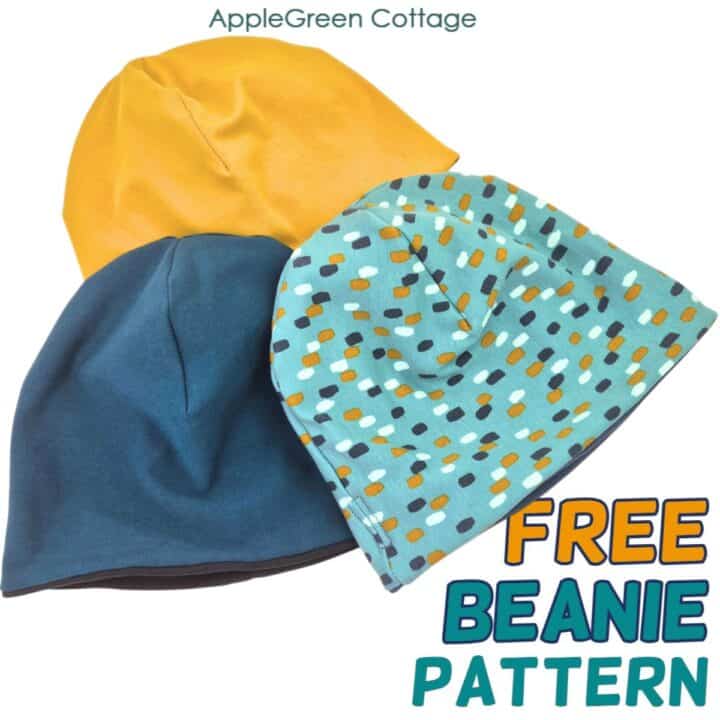
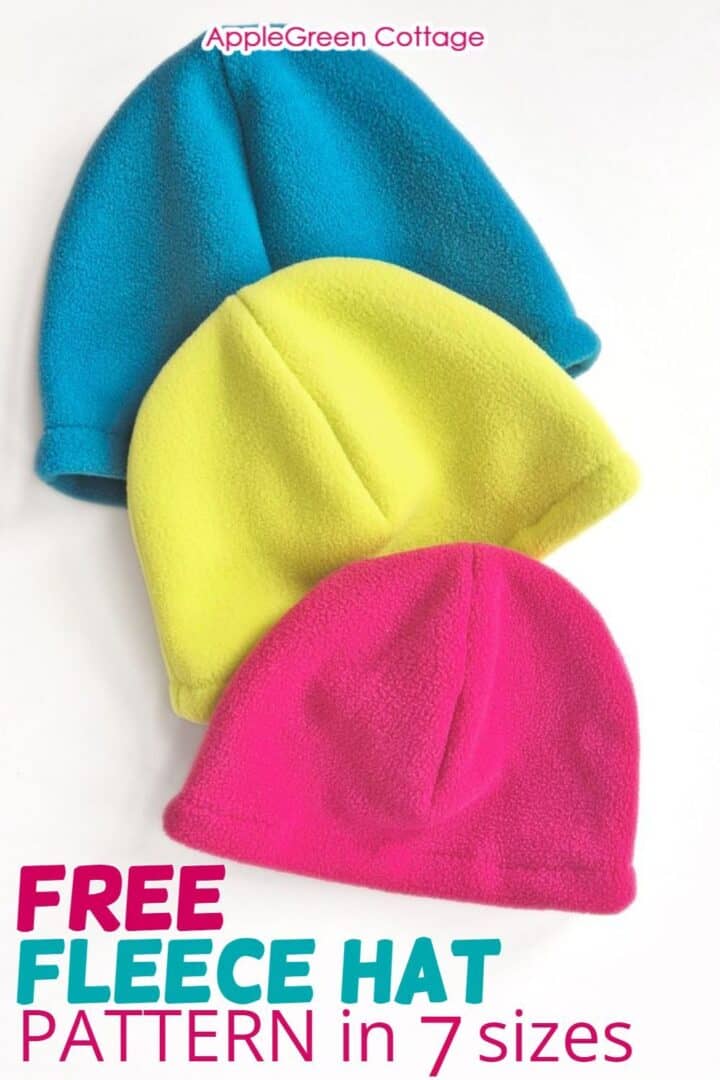
Sew an easy winter hat for the whole family using my free fleece hat pattern - it comes in 7 sizes from baby to adult large!
Cold days kept us indoors last week, so I decided to whip up a simple fleece hat pattern. With just three seams and a hem, it's quick and easy to make - and perfect for staying cozy all winter!
Prefer an ad-free printer-friendly option of the whole tutorial+pattern? See the → optional PDF file in our shop.

This tutorial is also part of Printable Tutorials BUNDLE
100 PDF tutorials now, and growing!
Table Of Contents
- Stay warm with this DIY fleece beanie
- Sewing Video
- Supplies
- What materials to use with this winter beanie hat pattern?
- Fleece Hat Sewing Pattern Sizes
- Make a Matching Neck Warmer!
- How to sew a fleece hat - STEPS
- How to determine the stretch direction
- +1 Freebie: Cowl Scarf Pattern
- Variations
- Helpful Tips For Sewing With Fleece
- + FREE Beanie Pattern
- How to finish seams using a serger
- Related
- Want a printable copy of the whole tutorial?
Stay warm with this DIY fleece beanie
This cozy winter fleece hat is available in 7 sizes for children, teens, and adults - perfect for the whole family! Scroll down to get it now, and if you're new to sewing with fleece, check out the fleece sewing tips that will make your diy fleece hat even more comfortable.
Are you here for even more winter accessories? You'll love this neck warmer pattern and this scarf tutorial. Make sure to check out my popular earwarmer pattern in my shop too - it comes in 8 sizes from baby to adult!
Sewing Video
Prefer watching over reading? Sit back, relax, and watch the simple slideshow video I made for you. Then scroll down for measurements - or see step-by-step instructions too.
Supplies
Shop my personal favorite sewing supplies on Amazon HERE.
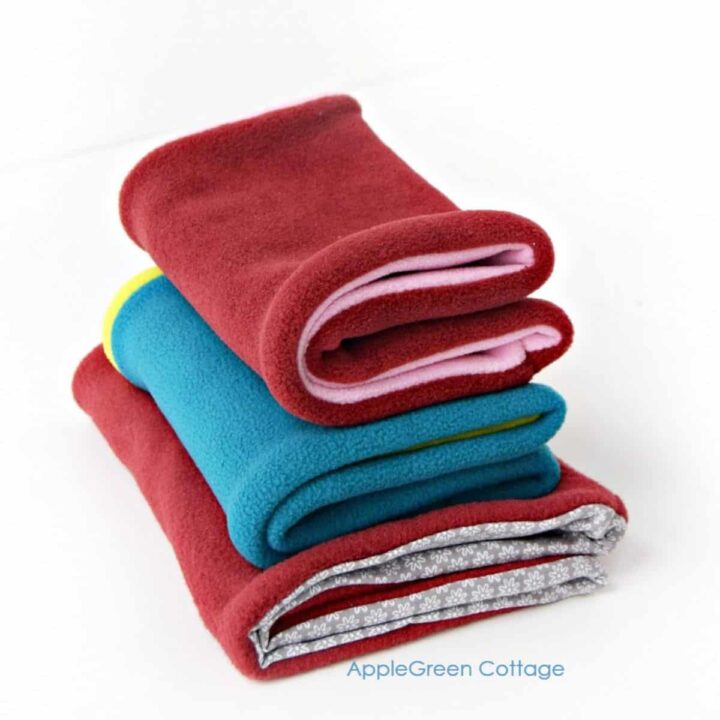
- ⅓ yard of fleece fabric
- coordinating sewing thread
- sewing machine or serger
- ballpoint needle, iron, pins
- scissors or rotary cutter and a cutting mat
- free fleece beanie hat template in 7 sizes
What materials to use with this winter beanie hat pattern?
This is a pattern for knits, and your seams need to be somewhat flexible to account for stretch. You'll want to either sew with a narrow zigzag or a special stretchy stitch if you are working on your sewing machine.
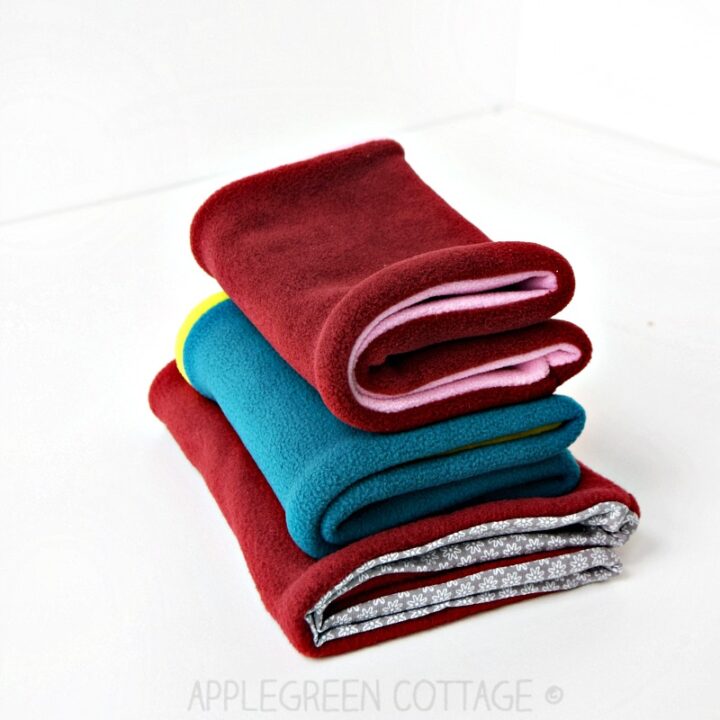
Feel free to use any type of fleece with lots of stretch (ideally 30% or more). Fleece fabric includes a wide variety of types and textures. The most common ones are polar fleece, lambskin fleece, microfleece (a bit thinner), athletic or performance fleece (a bit denser), antipill fleece, etc. - I also used a two-color fleece which is a tiny bit thicker.
Other materials
This pattern is also suitable for cuddle/plush/coral fleece fabric, Minky, French terry, and other knits with lots of stretch. Opt for one size larger if using knits with less stretch (sometimes Sherpa fleece, sweatshirt fleece).
Fleece Hat Sewing Pattern Sizes
The free fleece cap pattern comes in 7 sizes, for everyone from tiny babies to adults in your life.
The pattern might look smaller than your head size, but no worries - it's meant to be that way! This fleece hat pattern uses negative ease, meaning it's designed slightly smaller than your head size so it stretches for a snug, comfortable fit. This way, it stays comfortable and secure without being too loose.
APPROXIMATE Finished Hat Circumference (Unstretched):
- Baby size - 17"
- Toddler size - 18"
- Child size 4-6 yrs - 18 ½"
- Child size 7-10 yrs - 19 ½"
- Teen / Adult SMALL size - 20 ½"
- Adult MEDIUM size - 22 ¼"
- Adult LARGE size - 23"

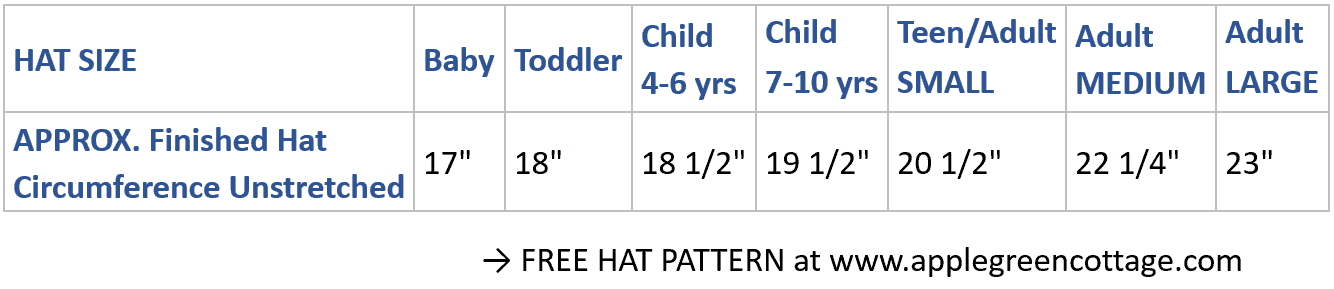
How to choose the right pattern size for the fleece hat?
Measure the person's head by measuring around the forehead and down to the base of the head in the back. Take 1" or 1 ½" away to find the right hat size in the chart above. This is due to the 'negative ease', explained above.
What stitch setting to use for sewing with fleece on a domestic sewing machine?
My favorite zigzag stitch length is 2.6 and just a 2 for width. I find it flexible enough while not too dense. With the thicker fleece, I use a longer stitch length around 3.5. It can vary, everyone has their favorite.
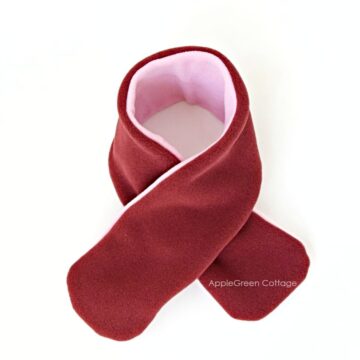
Make a Matching Neck Warmer!
What is even better, this winter beanie hat will sew up SO quickly, and you might end up making them in a set with our popular free cowl scarf:
+1 Freebie: Neck Warmer
Make a set with our free cowl scarf pattern in 3 sizes:
How to sew a fleece hat - STEPS
Step 1 - Get the free pattern
Join our mailing list and get the pattern emailed to you:
Do you want a printable copy of the WHOLE tutorial? → See it HERE or get it in the huge-value BUNDLE!
Step 2 - Cut the 2 fleece hat pieces
Using the pattern cut two pieces in your desired size. The greatest stretch should be across the width of the fabric - running side to side:
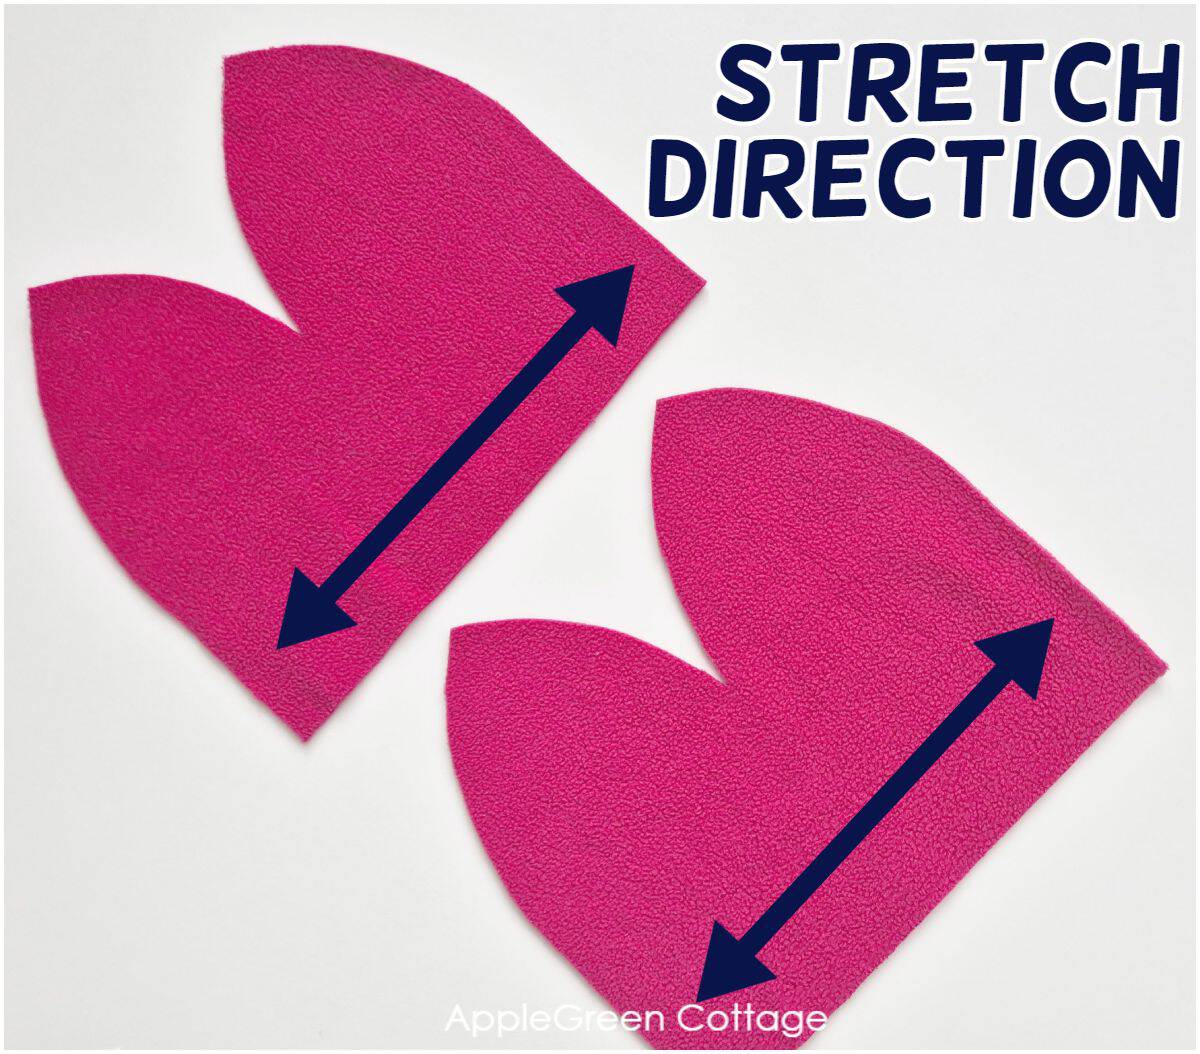
How to determine the stretch direction
Pay attention to the direction the fleece stretches! The stretch should run side to side - otherwise, you won't be able to wear the fleece hat.
To find the stretch direction of fleece, gently pull the fabric side to side and up and down-the direction with more stretch is the crosswise grain.
Step 3 - Sew The 2 Darts
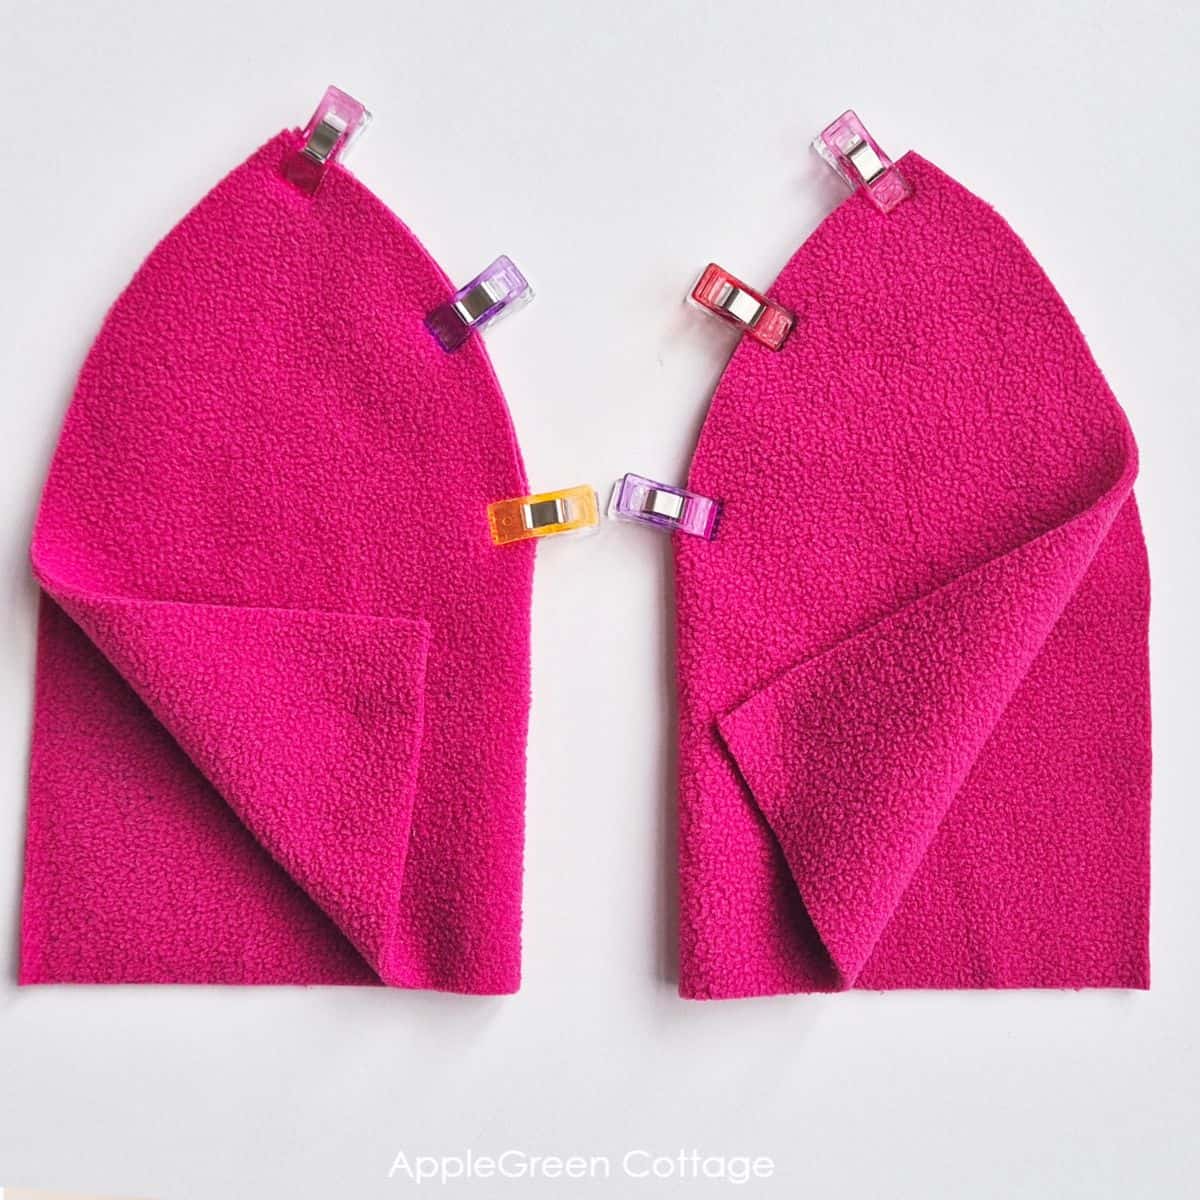
Fold each of the two pieces in half as indicated in the photo above, then pin or clip the darts. Then sew them with a ⅜ inch seam allowance - use a stretchy stitch! If you have a walking foot, use it.
It's easier if you start at the tip and work into the dart point (where the two edges meet). Here's a tutorial on how to sew darts if you need more help.
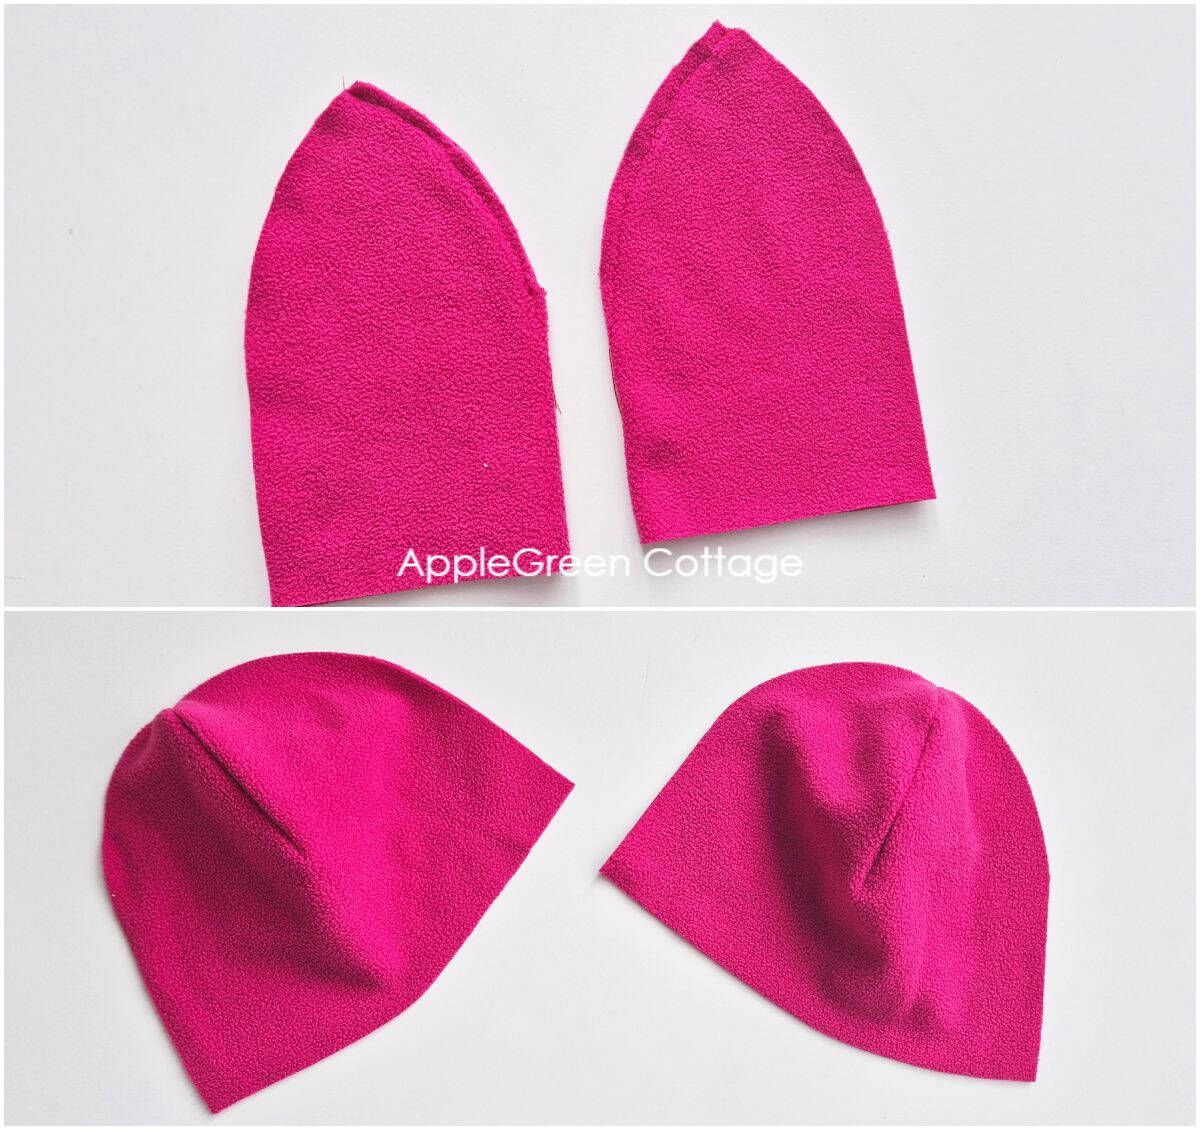
Open the pieces.
Step 4 - Pin or clip the 2 Pieces together
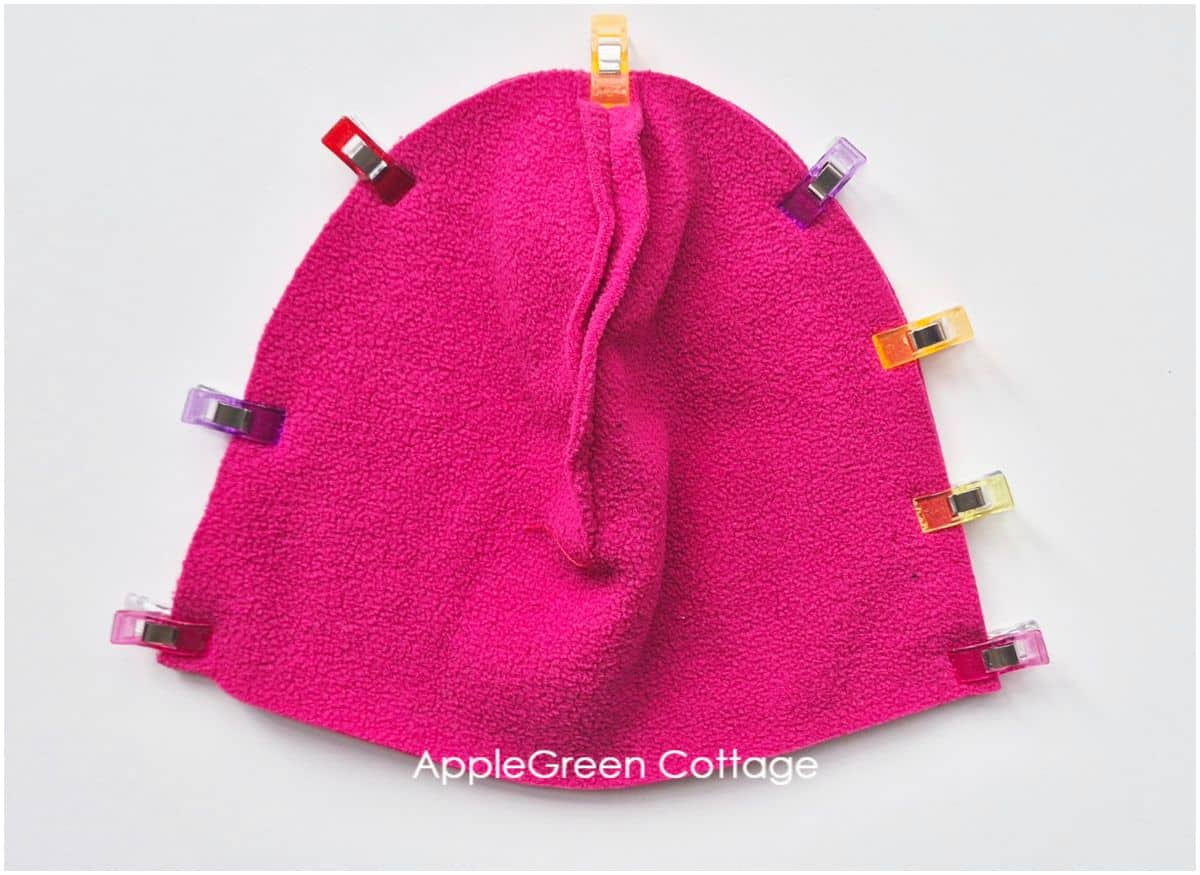
Clip or pin the two main pieces of fabric with the right sides together. Make sure to match up the seams at the top of the cap, I usually first pin the top to ensure that.
Top Tip: reduce bulk
To reduce the bulk at the top of the hat, pin the two seams with an open seam allowance. This will also help you get the top seam neat and not skewed. I'm showing you the detail on one of my other hats sewn with two-sided fleece, as it's easier to see.
Step 5 - Sew the 2 pieces together
Once you've pinned the two pieces together, sew them with a zig-zag stitch using a ⅜" seam allowance, or serge with a serger.
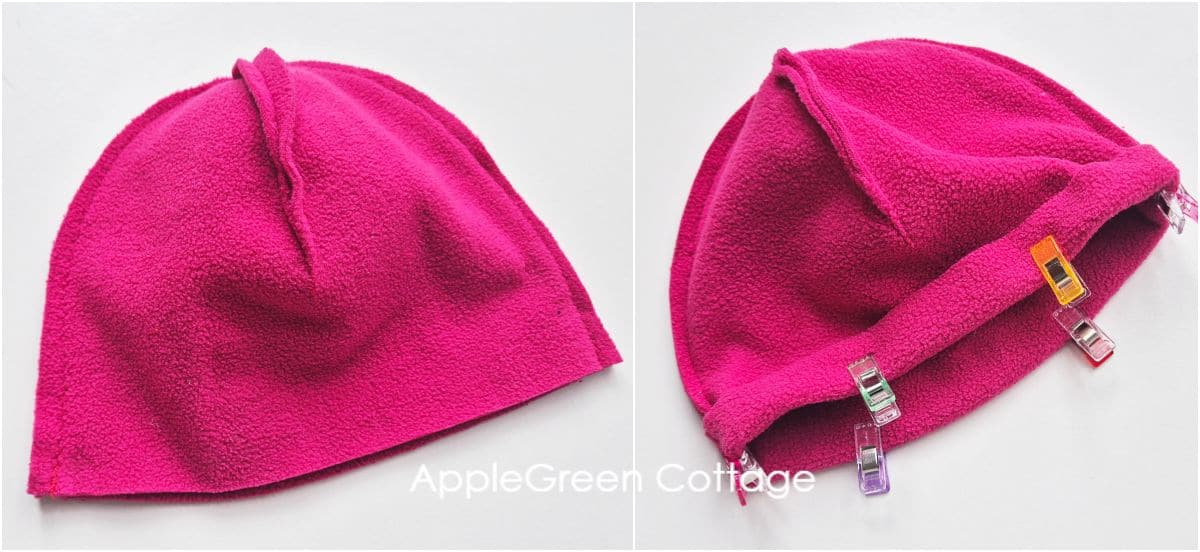
Stitch around starting on one side, all the way to the other side. Secure stitches when starting and finishing your seam.
Step 6 - Fold the Bottom to Hem
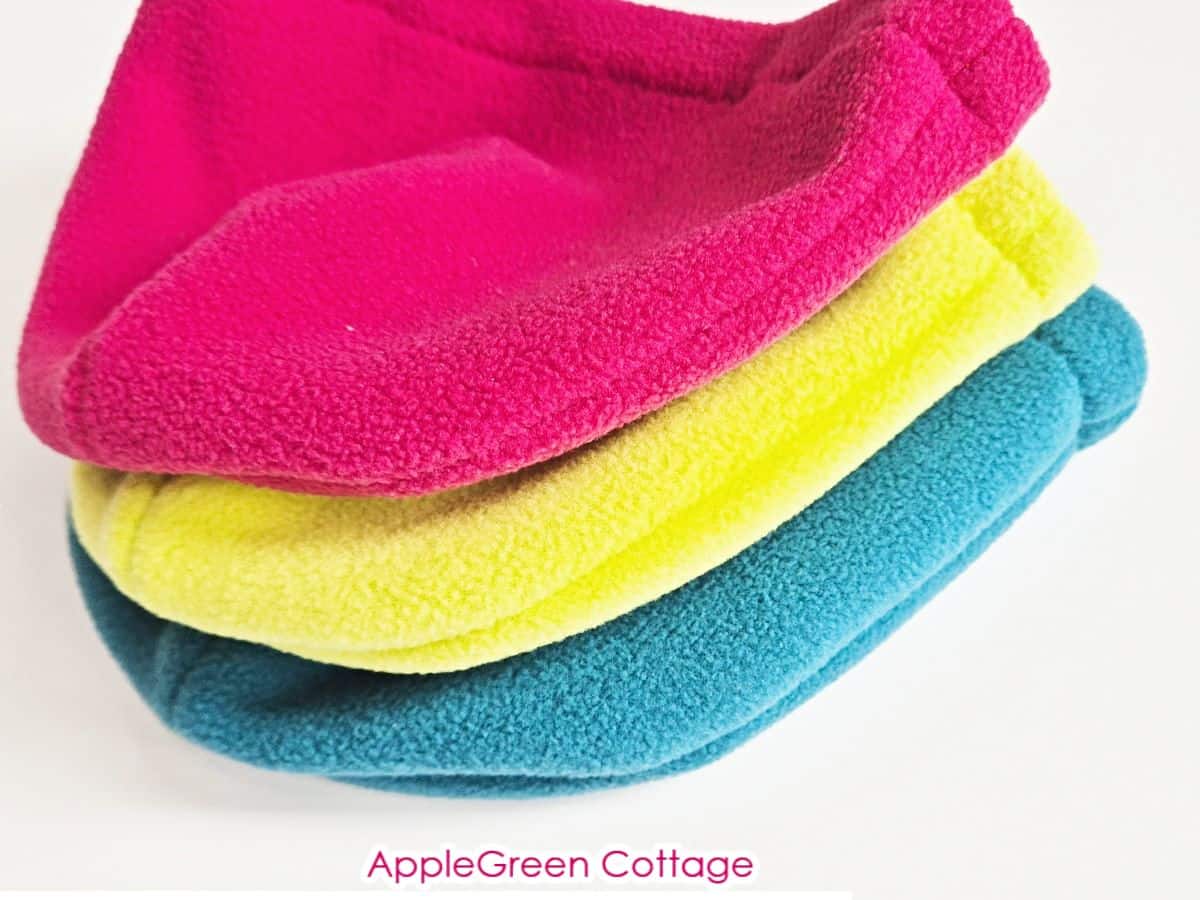
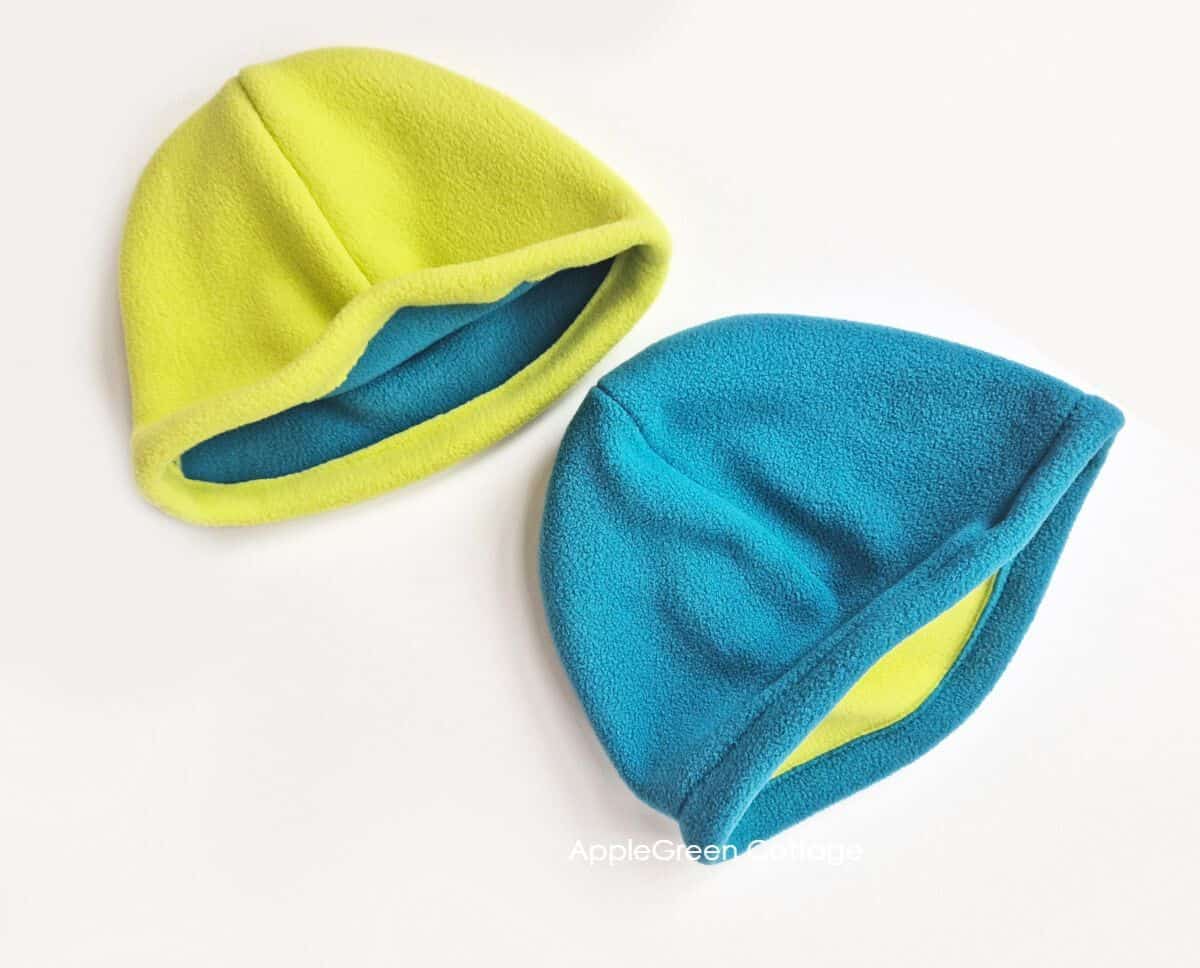
Then fold approximately ½" up to 1" of the bottom edge of your hat to create a hem. I usually fold it by 1". (And since fleece doesn't unravel, you only need to fold once. No double-folds here.)
Step 7 - The Final seam
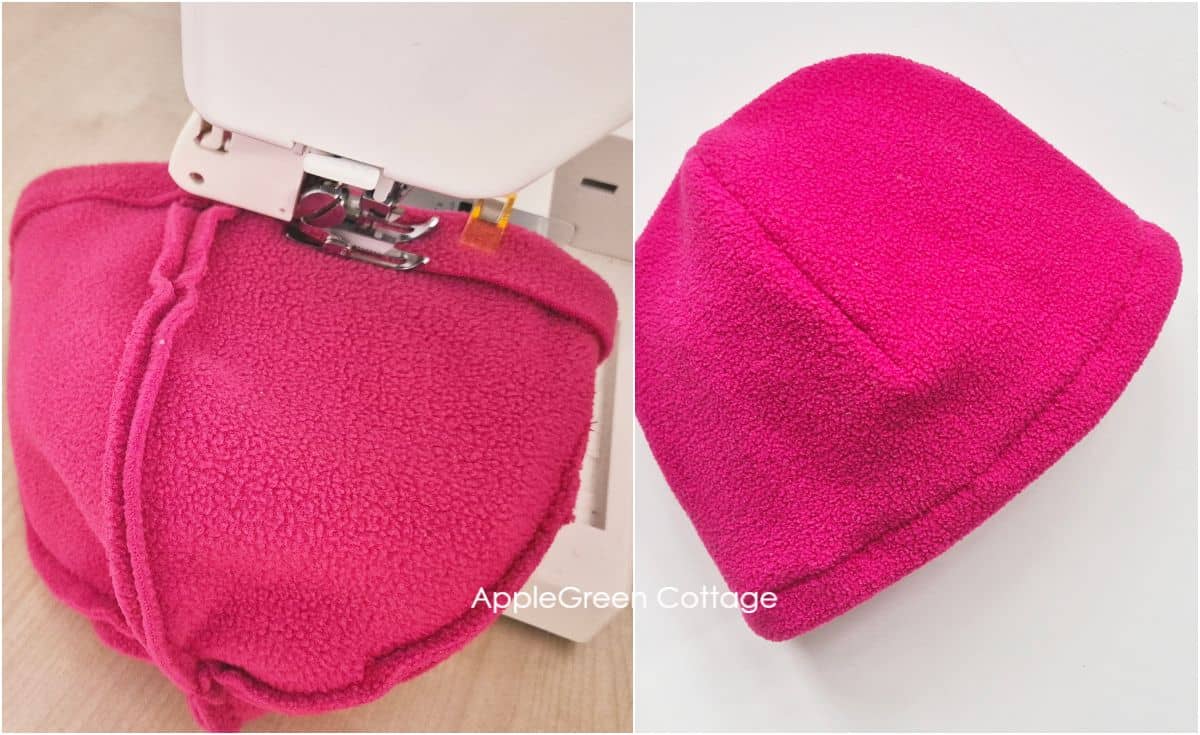
Stitch around with a zigzag stitch, then turn the hat right side out. (See how I used my walking foot again? It made the seam easier.) Finished, congrats!
+1 Freebie: Cowl Scarf Pattern
Once you've finished your fleece beanie you might like to try this matching free cowl scarf pattern in 3 sizes from Toddler to Adult.
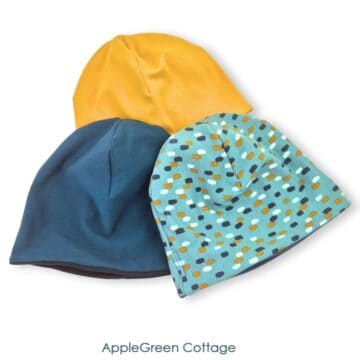
Variations
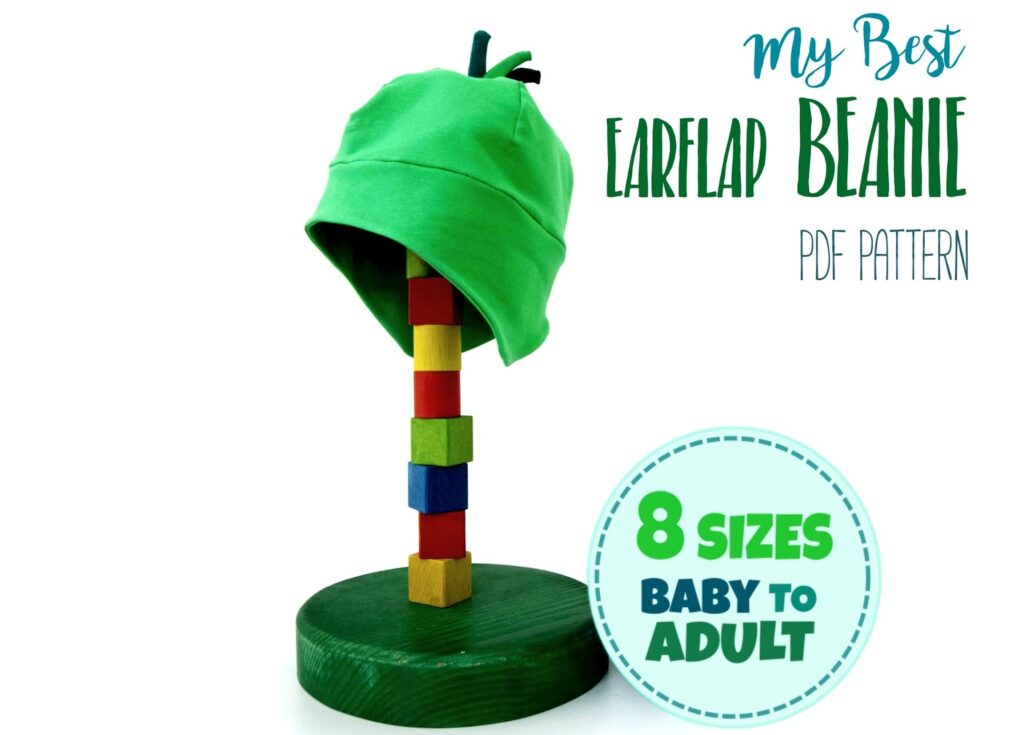
Customize your fleece beanie with a pom-pom, cozy ear flaps, or a decorative patch for a unique touch! If you like your ears protected in the cold - I certainly do! - take a look at my other beanie pattern in our shop.
Also, check out this cute earflap beanie pattern in our shop:
Now, as promised, a list of tips and ideas to make it easier for you:
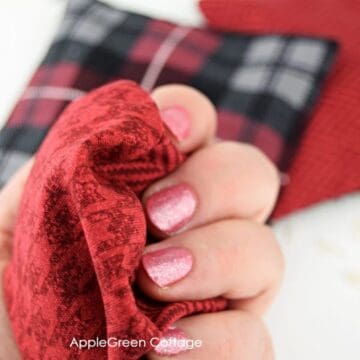
Helpful Tips For Sewing With Fleece
No. It's as simple as a zig and a zag. Literally: In the tutorial above, I showed you how to sew a fleece beanie using a simple zigzag stitch on a domestic machine. You can use any type of stretch stitch on a regular sewing machine, or sew your beanie using a serger: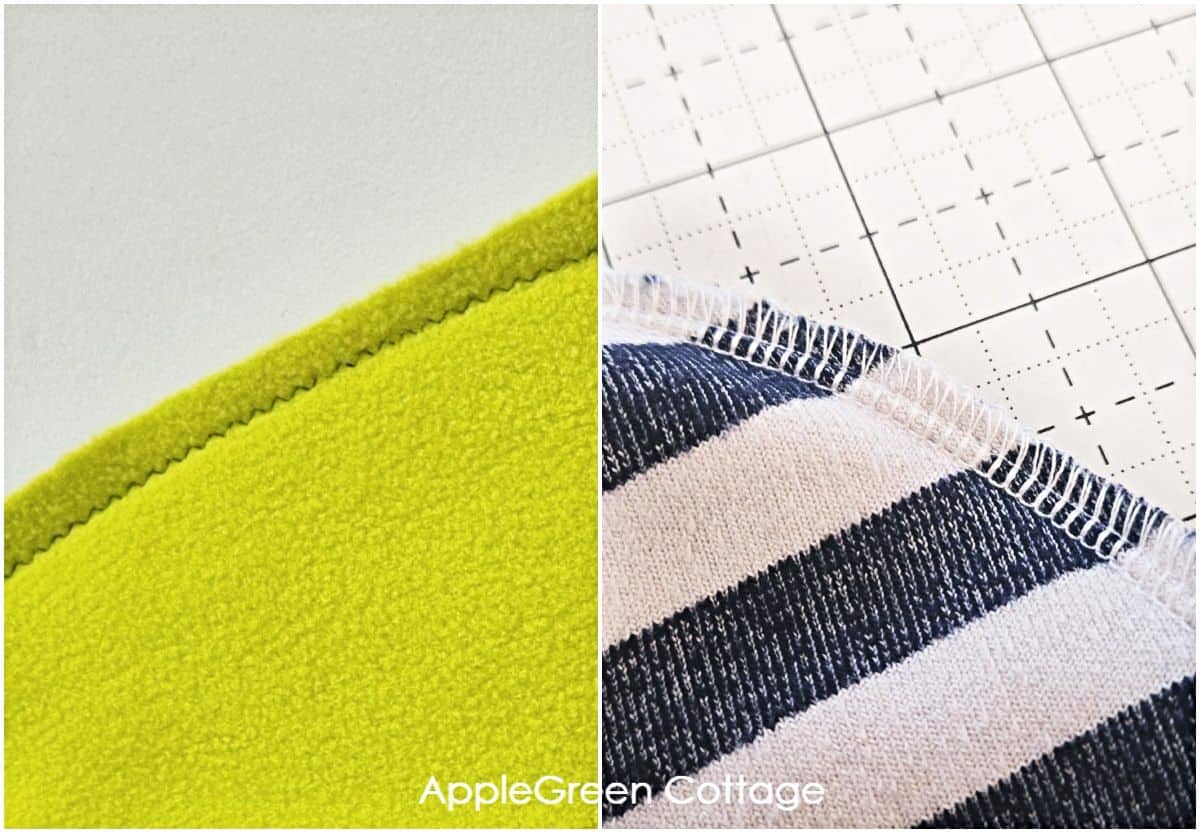
Hold your fleece and pull slightly. The edge will curl to the wrong side of the fabric.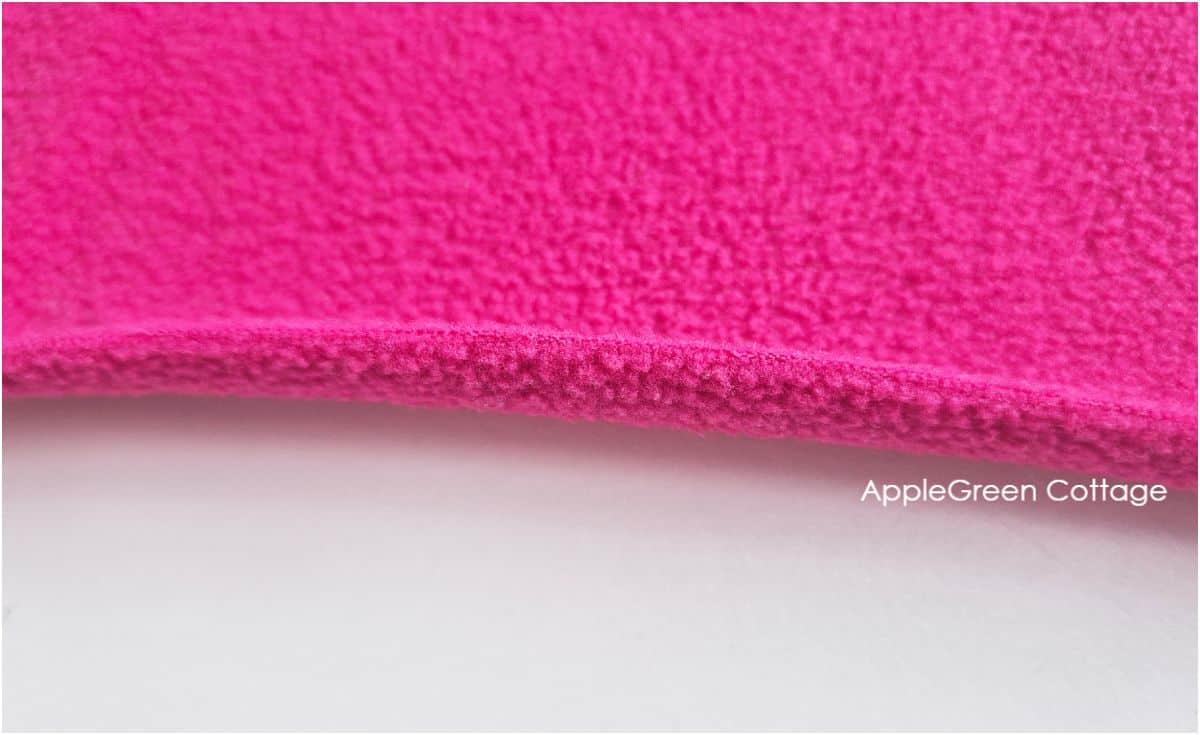
To find the stretch direction of fleece, gently pull the fabric side to side and up and down-the direction with more stretch is the crosswise grain.
You can either sew fleece on a regular sewing machine using a stretch stitch or use a serger. The simplest (and amazingly effective) stretch stitch is a zigzag. I also suggest using a walking foot if you have one. See my beginners' guide on sewing with knits and stretchy fabrics.
My favorite stitch length is 2.6 and just a 2 width. I find it flexible enough while not too dense. It can vary, everyone has their favorite. If you have issues sewing, lengthen the stitch length to 3.5 - this should prevent puckering. 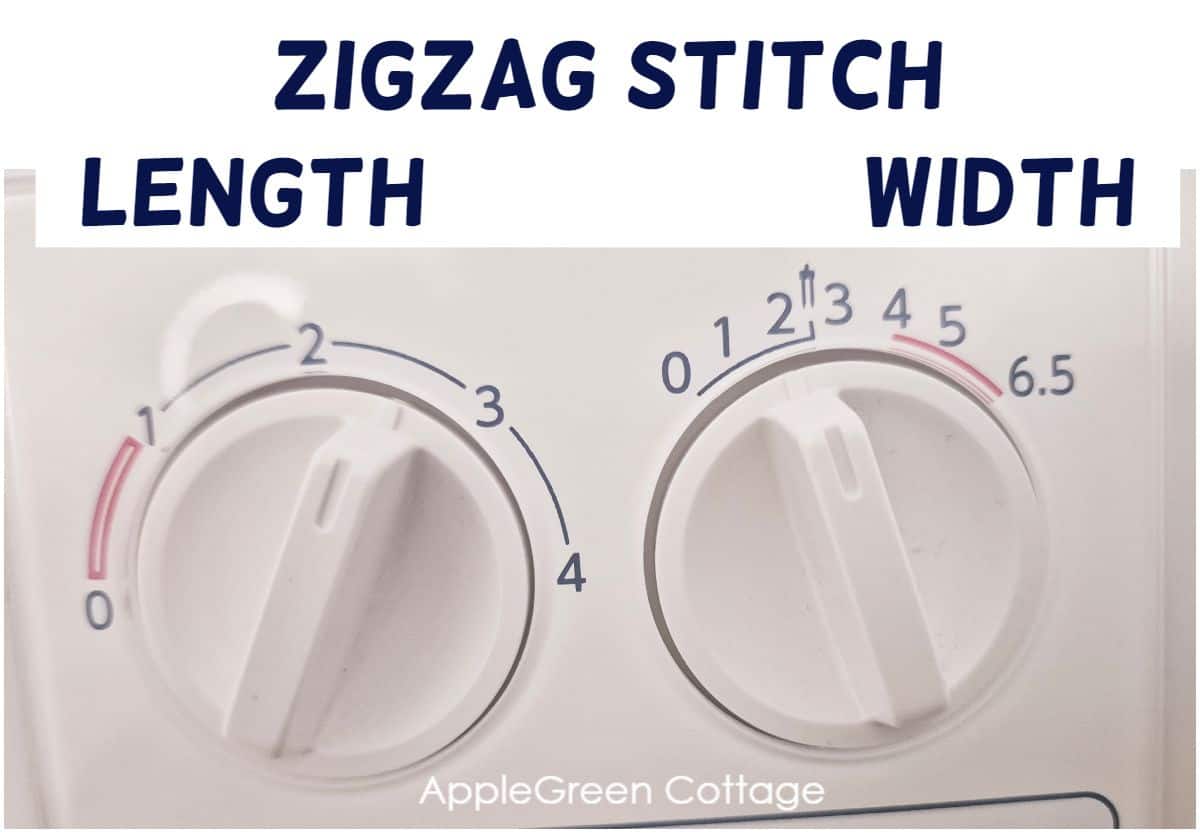
Fleece is known for its ability to stretch when worn, meaning it's comfortable and flexible. It also has excellent recoverability, meaning it returns to its original shape after use. However, fleece can shrink if washed in hot water or dried on high heat.
Standard head circumferences, just general guidance, and the actual sizes can vary:
- Baby - 3 to 6 months / 6-12 months - 17" / 18"
- Toddler - preschooler (12 months - 3 years) - 19"
- Child (3 - 10 years) - 20"
- Pre-Teens and Teens - 21"/22"
- Adult Woman - 22.5"
- Adult Man - 24"
+ FREE Beanie Pattern
Make a lined, reversible beanie!
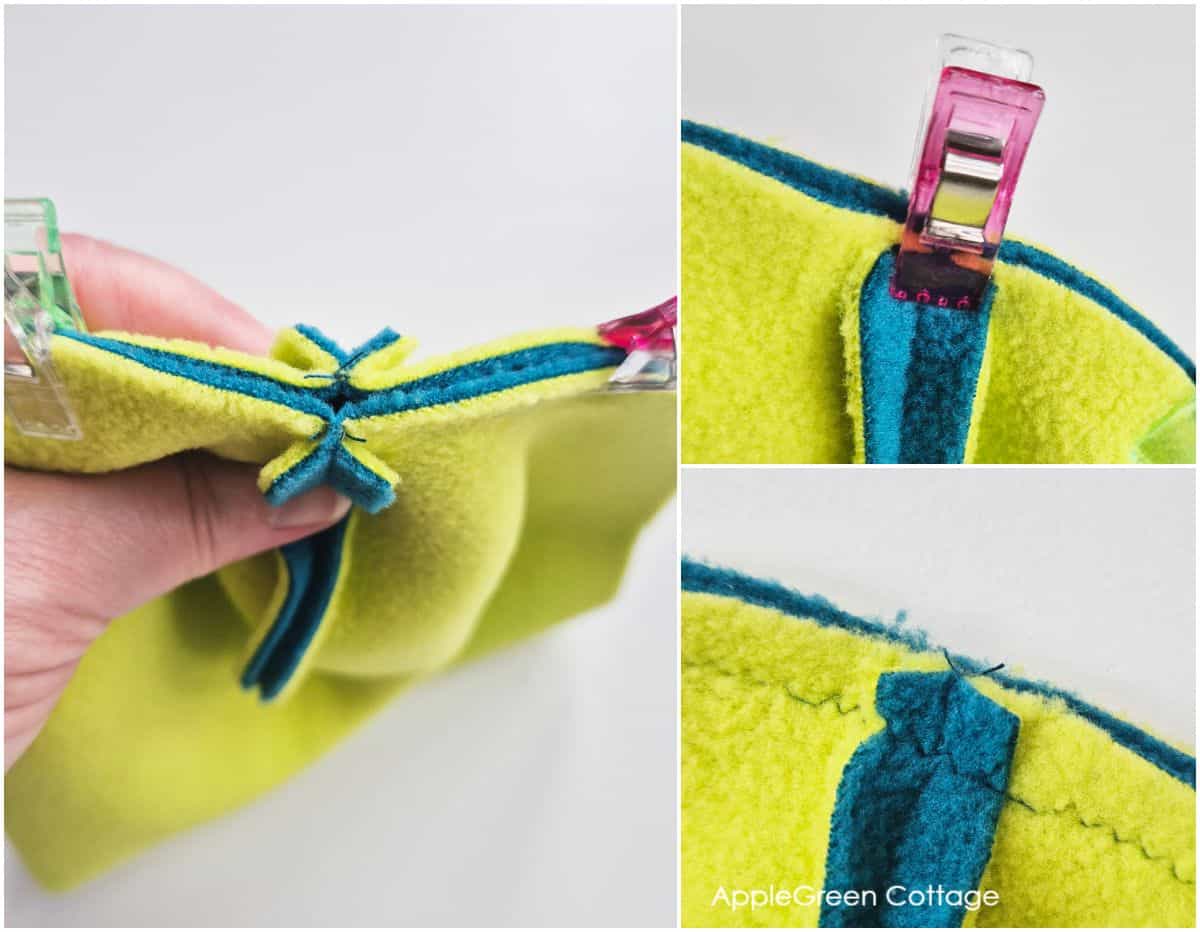
How to finish seams using a serger
Above I showed you how to sew it on a domestic sewing machine. Here, just a tip on finishing a serger seam neatly and prevent unraveling.
- leave a longer tail
- Thread the serger tail through a large-eyed needle, like a tapestry needle, then insert it into the seam stitches.
- Weave the tail back along the seam allowance to secure it, and trim any excess.
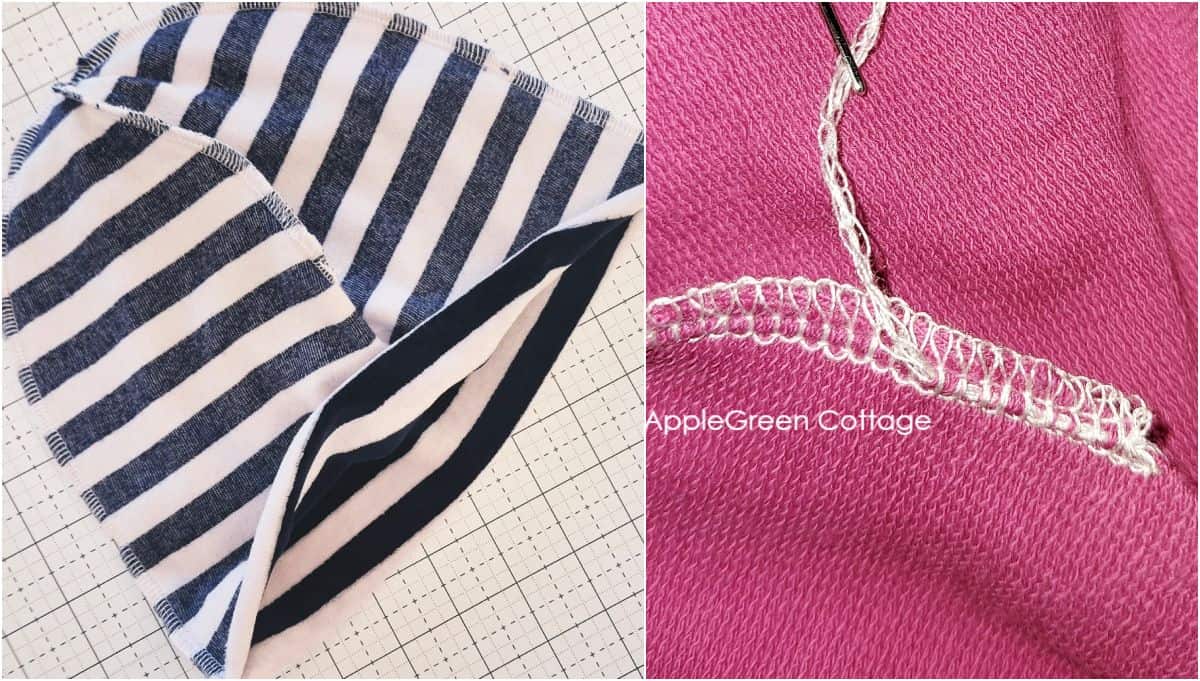
These photos show other types of knits, but the process is the same as with serging fleece.
Related
Looking for other projects like this? Try these:


Conclusion
I hope you liked the tutorial on how to make a fleece hat for winter. As always, I'd love to see if you've made a fleece beanie hat using this tutorial. Please post a picture to Instagram and tag me @applegreencottage or #applegreencottage - so I can take a look!
Want a printable copy of the whole tutorial?
Prefer a full, ad-free and printer-optimized Printable Tutorial with both instructions AND pattern included? ↓↓
This tutorial is also part of Printable Tutorials BUNDLE
100 PDF tutorials now, and growing!

~Chrissie O. says
I happened completely coincidentally to find this pattern the night before Halloween - after my daughter had informed me of a Trunk or Treat event at DHHS and that my 3 month old granddaughter needed a costume! Yikes! Found this pattern and a yard of terra-cotta fleece, and turned her (car seat and all!) into a pumpkin, with a car seat drape, a scarf embellished with felt leaves and green pipe-cleaner curlicues, and THIS HAT, with a brown felt stem and pipe-cleaner curlicues.
The instructions were super-easy, it came together in literally minutes - it took longer to fashion a stem and curl the pipe-cleaners than it did to sew, and the head circumference measurements were invaluable! It fit perfectly!! I didn't bother to make it lined, as it was for a costume, but it'd take a whopping 15 minutes more if you wanted to do so! Very grateful - it was priceless!!!
Damjana Jakos says
Chrissie hi, I'm so glad you liked the free pattern and instructions!
Peg says
Lovely hat. I wear in winter to bed as I cool down room for sleeping. This will be much used pattern