
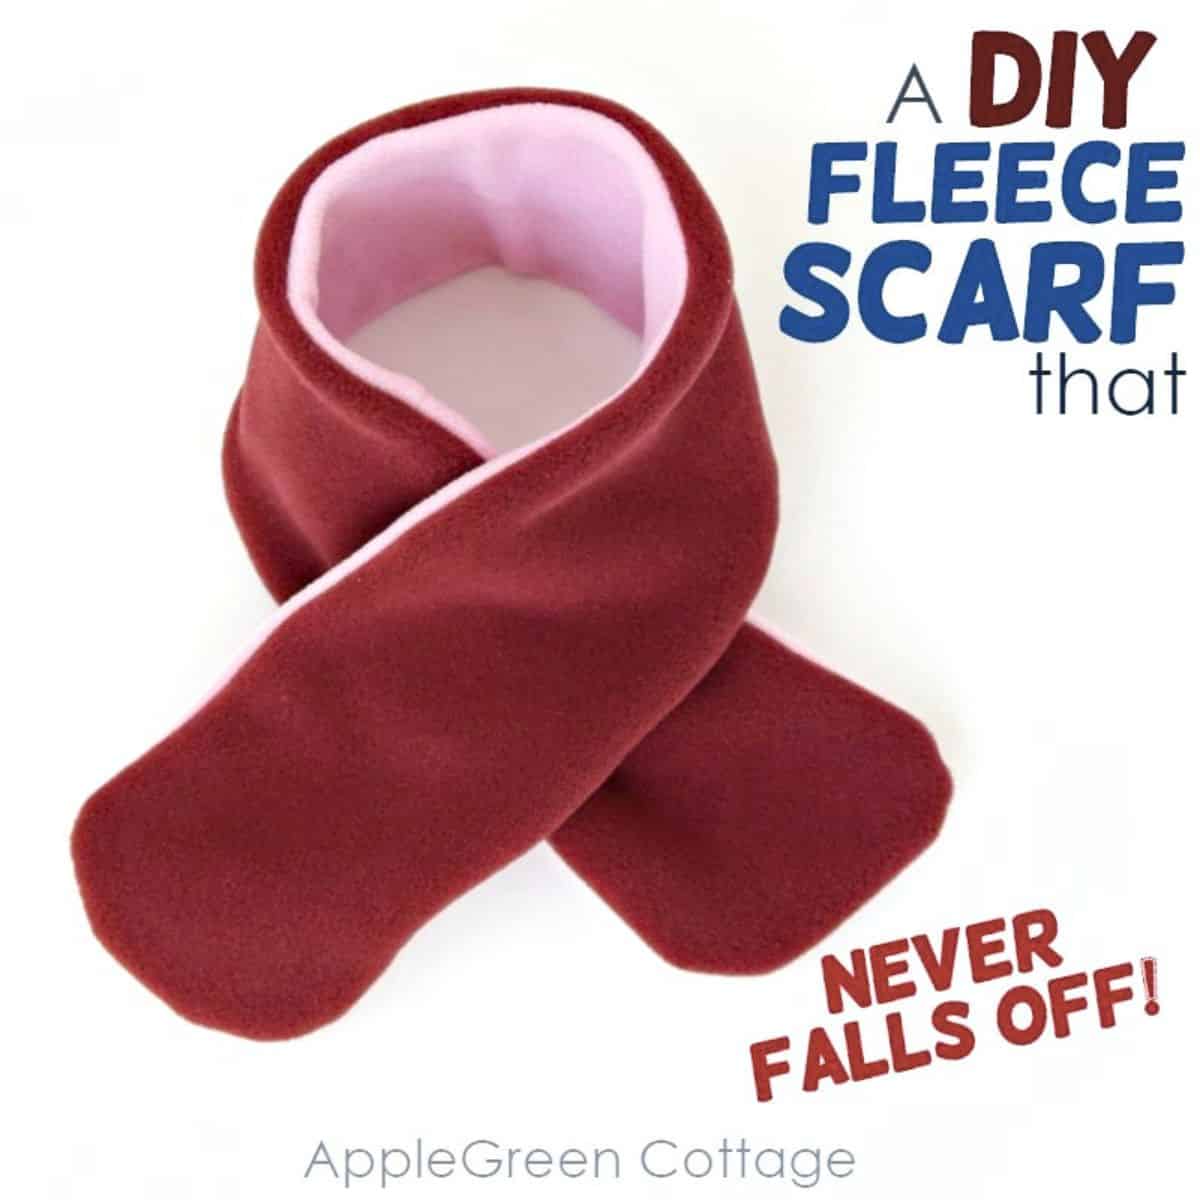
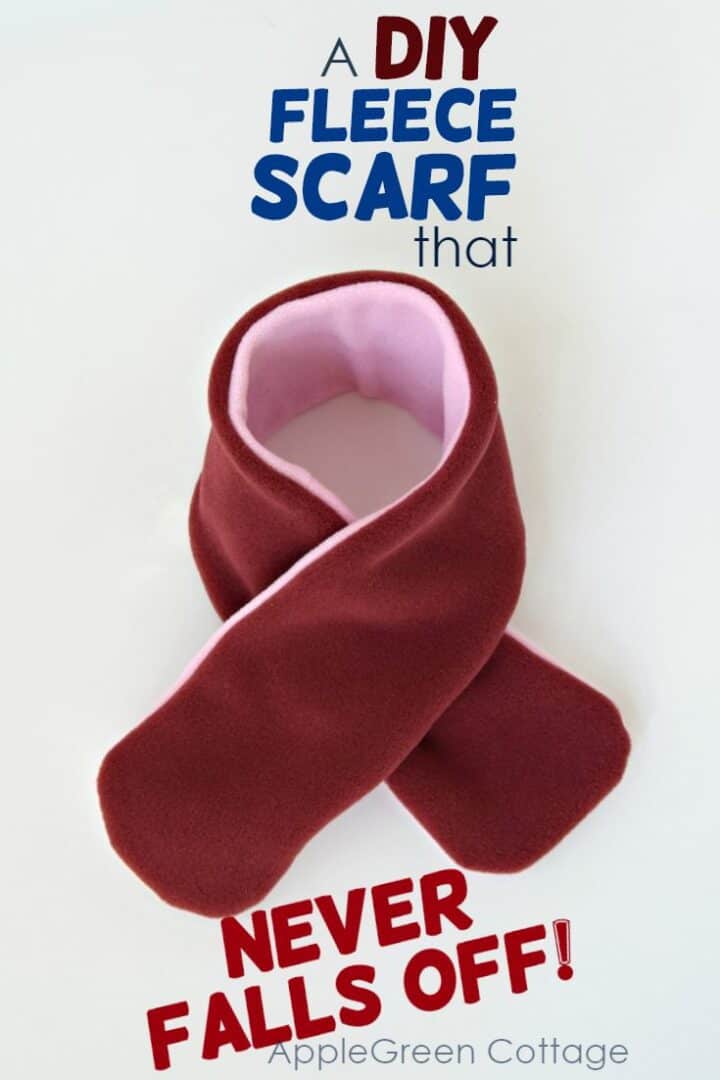
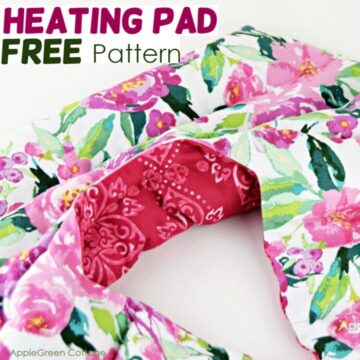
Make a diy fleece scarf that will never fall off. See why not - and learn how to sew one!
This diy winter fleece scarf is breathable, lightweight, soft to the skin, and comfortable to wear. And you don't need to pull it over your head when putting it on. This is what makes it a great diy scarf for babies, but all kids and grown-ups will love them too.
This scarf tutorial has a secret ingredient you'll want to try out!
Prefer an ad-free printer-friendly option of the whole tutorial+images? See the → optional PDF file in our shop.

Less searching. More sewing.
Keep 100+ printable AGC tutorials ready to print, save, and sew anytime.
Table Of Contents
- Diy Fleece Scarf
- Supplies
- What Scarf Size to Sew?
- Make a Matching Winter Hat!
- How To Make A Fleece Scarf
- Why this scarf design is great for kids
- Optional: A diy fleece scarf with fringes
- Best of the two worlds: a fleece scarf and a neck warmer set!
- Want a printable copy of the whole tutorial?
- WANT MORE FREE TUTORIALS AND GOODIES?
This fleece scarf tutorial makes a great gift idea for the winter months. It will neither require a lot of material nor time. I created it together with this neck gaiter pattern for convenience:
Here's how to sew a fleece neck warmer if you want to sew them both in one go. Practical! And they both make a great accessory for toddlers when they are learning to put on clothes.

I love the cowl version of our scarves, but for babies, this stay-put scarf is a game-changer! No pulling over the head means no fuss - perfect for keeping little ones warm and happy all winter.
Diy Fleece Scarf
Now, let's make a nice little diy fleece scarf. Actually, this one was made for my toddler daughter, but you'll want to make them in all sizes once you see the smart addition to it. First, feel free to check out the slideshow video I made for you:
Supplies
Now, let's see what supplies you'll need.

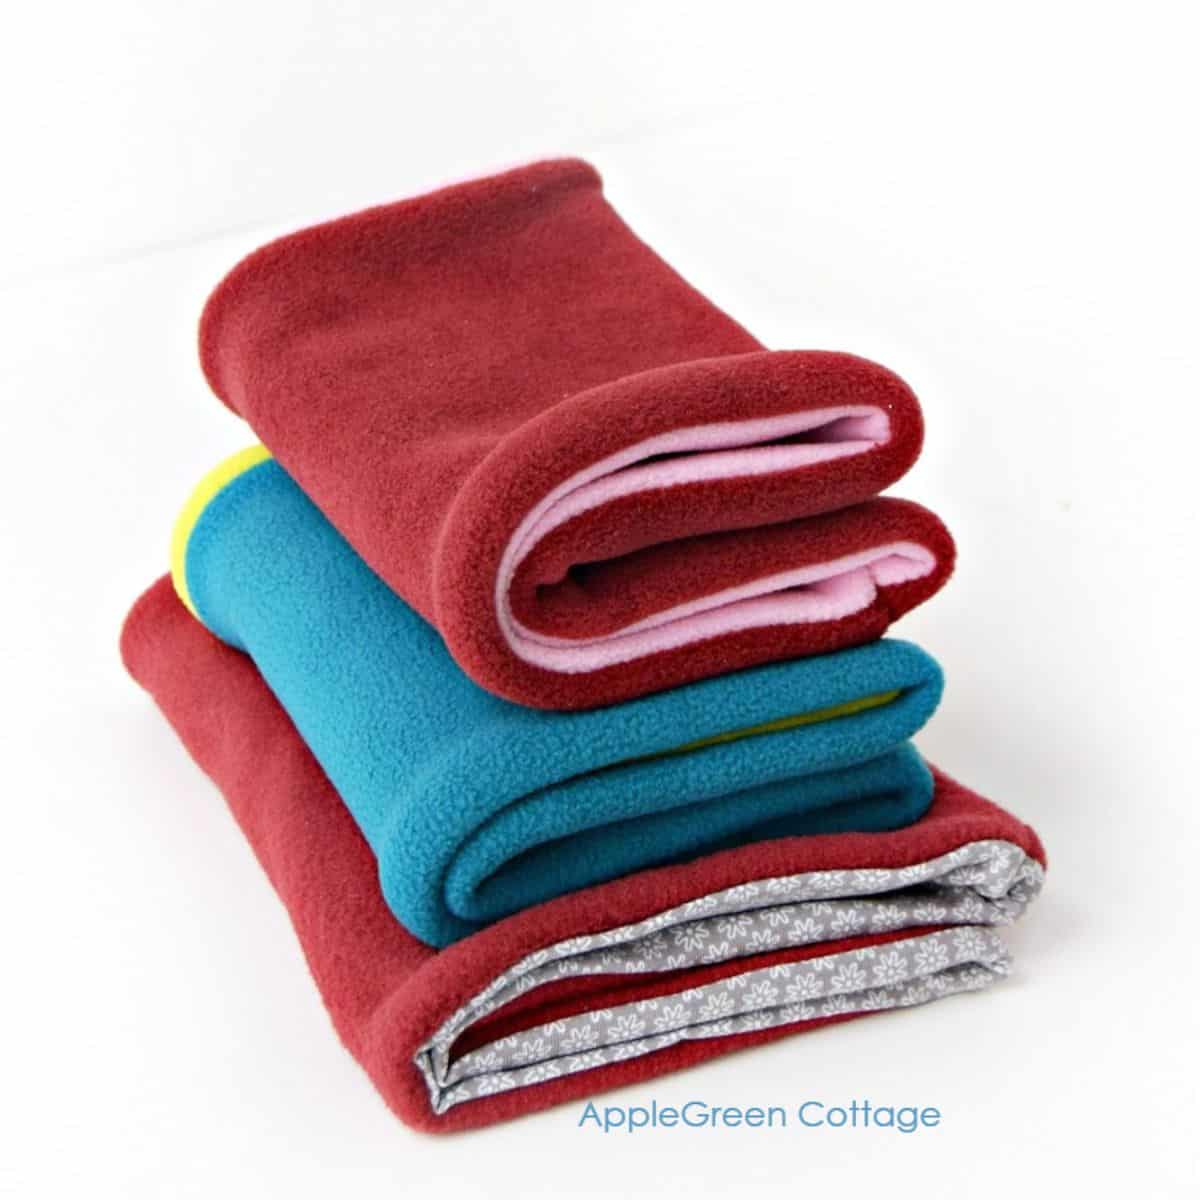
- 2 contrasting or complimentary-color pieces of fleece, dimensions 30" x 5" per piece (76cm x 13cm)
- 1 piece of fleece (same color as the backside of the scarf) - 4 ½ inches x 3 inches (12cm x 8 cm)
- ruler, scissors, or rotary cutter + cutting mat
- matching thread, pins
Shop my personal favorite sewing supplies on Amazon HERE.
I also added an option for how to make a fleece fringed scarf, please see the tips at the end of this tutorial. In the case of a fringed fleece scarf, you'll need a bit longer pieces of fleece than indicated in the supplies list above, say by 5 inches each of the 2 larger pieces. (recommended but not absolutely necessary)
What Scarf Size to Sew?
I've made this diy fleece scarf to fit a baby. You can easily adjust it to fit any size. You do not need a fleece scarf pattern for this one.
As you'll see, it's all about simple rectangles. To make it easier for you, I'll just show you what dimensions I used:

These will work for a baby and toddler size. And if an older kid happens to need a bulk-free way to protect just the neck - this is the same dimension you should go with for them, too.
But if you need to cover the chin up to the nose, I suggest you go with the neck-warmer version here.
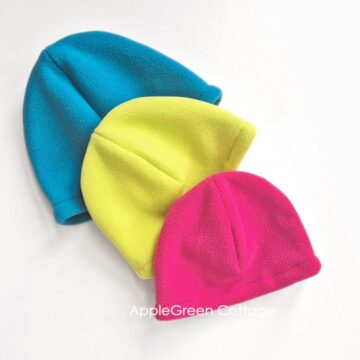
Make a Matching Winter Hat!
What is even better, this fleece cowl will sew up SO quickly, and you might end up making them in a set with our popular free fleece beanie pattern:
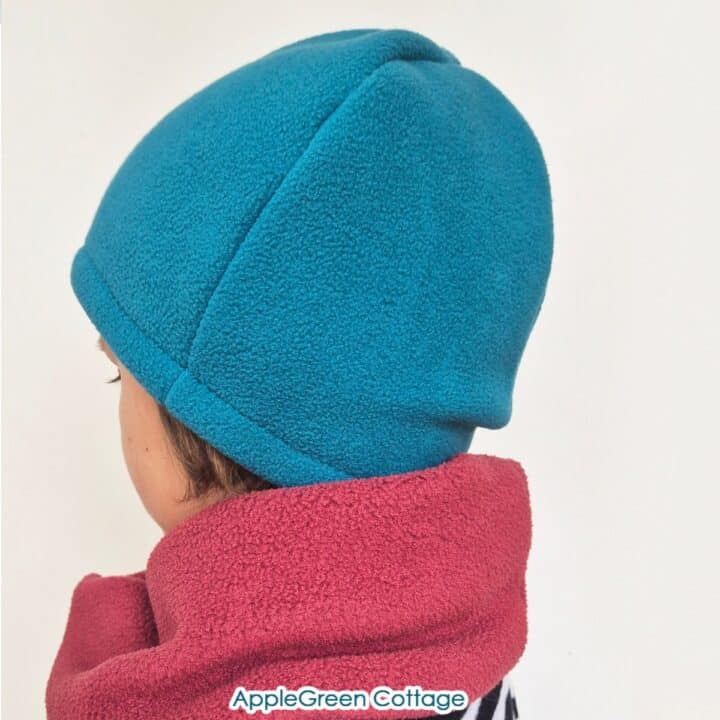
+1 Freebie: Fleece Hat
Make a set with our free fleece hat pattern:
How To Make A Fleece Scarf
This project uses a ⅜" seam allowance.
Step 1 - Cut the fleece
Once you've decided on the required size, grab your scissors, or even better, a rotary cutter, and the ruler. Cut 2 main pieces (30" x 5") and one small strap piece (4 ½" x 3"). You don't need to add any seam allowance, it's already included.
Step 2 - Create the small strap
We'll start with the small piece, the stay-put strap holder:

Fold the small piece along the long side, right sides together (if you have a right side).

My piece of fleece does have a right and wrong side: I noticed it only after prewashing the fleece.
Turn right-side-out and move the seam to the center, like this:

Step 3 - Attach the small strap to the main back piece
Take one of the larger pieces, the one that will form the backside of the scarf. Place the strap on it, taking care to keep the seam facing up - later on, we'll flip it over, so it won't be visible anymore.

Also, one end of the flap needs to be 9 inches away from the end of the main piece. Pin the first short edge and ..

... stitch in place.

Flip the strap over towards the outer end of the scarf piece, and pin the other short edge in place. The center seam is not visible anymore. Now you'll attach the other end of the strap, and you have two options:
a) topstitch over it, as marked below:

or b) machine stitch by going below the strap. It is easier than it looks like, and I prefer it this way.

7) Strap attached:

Step 4 - Sew the main 2 fleece scarf pieces together

Place the 2 main pieces right sides together:

Pin and stitch around, leaving an opening for turning.
Top Tip: I used a narrow zigzag stitch to keep the seam flexible.
Option: Sew round ends
If you wish, you can make rounded ends instead of rectangular ones. I did, and it looked like this:

Notch the rounded portions, or clip corners if you left them square. This quick sewing tip will help you.
Step 5 - Turn and finish the seam

Turn inside out through the opening. Stitch the opening closed.
I usually hand-stitch it shut, because it's easier than trying to catch the fleece layers on a machine. See how to sew the ladder stitch when hand-stitching, stitches don't show at all.

Done!
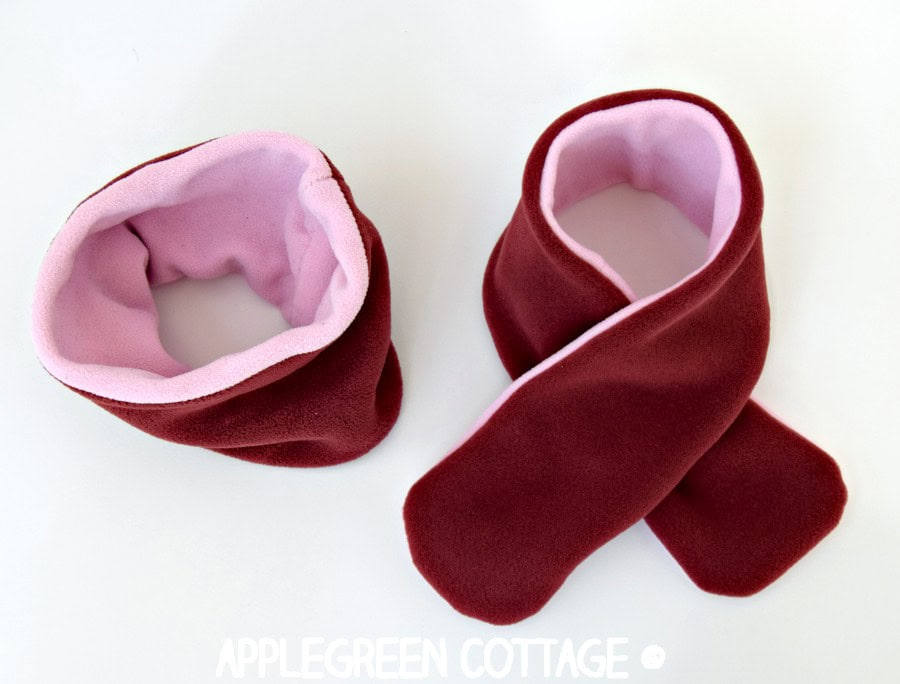
Why this scarf design is great for kids

Though I said it's a baby scarf, it is well suited for toddlers, as well as for older kids, too. Due to the easy use, my daughter enjoys putting it on and pulling one end through the strap. Going out with kids during winter? Never a problem to put on this fleece scarf!

This little strap will hold the scarf in place. Works great!
Optional: A diy fleece scarf with fringes
Do you want to add fringes to your fleece scarf? I'm adding an option for how to make a fleece scarf with fringes while keeping it a double-layer scarf. Please see these tips:
NOTE No 1 on supplies: In the case of a fringed fleece scarf, you'll need a bit longer pieces of fleece than listed in the supplies above, say by 5 inches for each of the 2 main pieces (recommended but not absolutely necessary)
NOTE on the SMALL STRAP: if you cut the fleece longer by 5 inches as recommended, then the little strip that holds the scarf in place should be placed (not 9", but) 11 inches away from the short end.
Sewing Step
When you make a fringed fleece scarf using the above method, the only change would be in the sewing step:
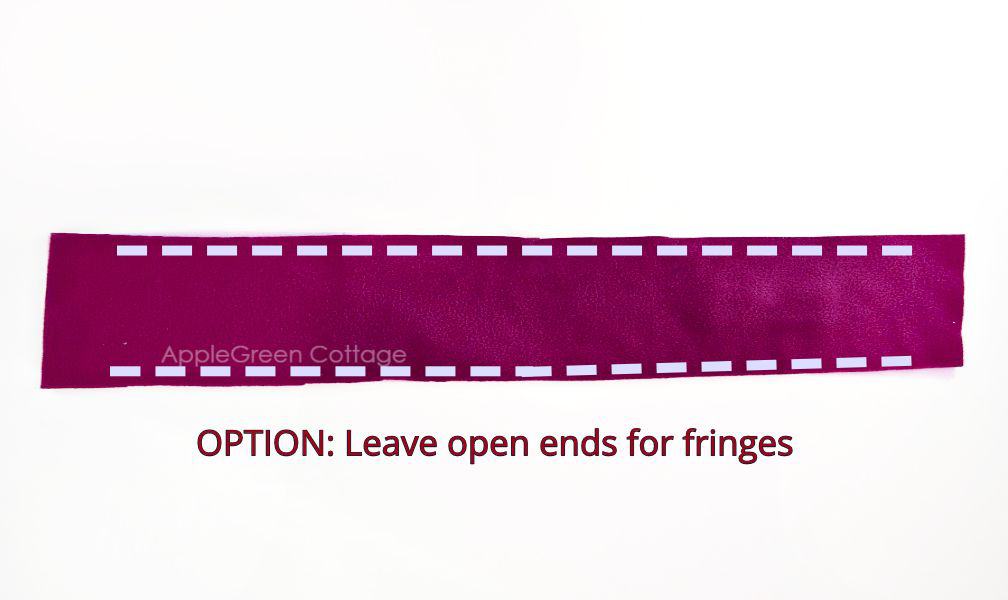
- once the strip is attached and the 2 main scarf pieces placed with right sides together, you'll just sew 2 straight seams along the 2 long edges, as marked in the image above.
- Turn the tube right side out and cut the fringe on each open end: a series of 3-inch long slits along the short ends of your fabric, ½ inch apart.
- Pull the fringe. Take each fringe piece and gently pull it to stretch it out. This will create a nice, soft edge for your scarf. Double-colored!
That's it! Your double-layer fringed fleece scarf is now ready to wear.
Best of the two worlds: a fleece scarf and a neck warmer set!
What you see next to the stay-put fleece scarf is my last year's cowl neck scarf I made for my daughter then. Feel free to check out the tutorial with the free 3-sized template included. The largest one is suitable for adults, too!
Oh, and while sewing, don't forget to make a few super easy diy pocket hand warmers - use the 4 free templates to keep your hands all toasty and warm.
Save for later:

Want a printable copy of the whole tutorial?
Prefer a full, ad-free and printer-optimized Printable Tutorial with both instructions AND images included? ↓↓
Prefer an ad-free printer-friendly option of the whole tutorial+images? See the → optional PDF file in our shop.
This tutorial is also part of Printable Tutorials BUNDLE
100 PDF tutorials now, and growing!
WANT MORE FREE TUTORIALS AND GOODIES?
Get email updates and never miss out on new patterns, printables, and tutorials:
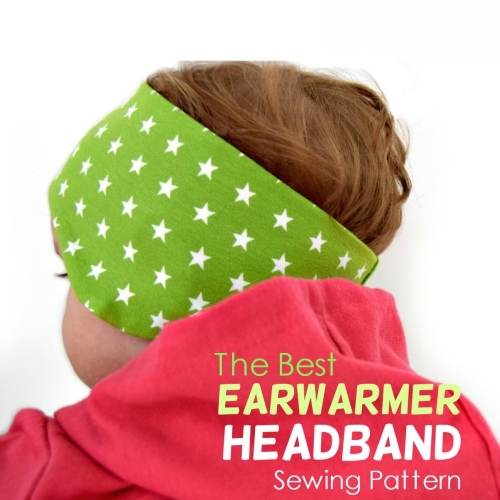
Or …check out the Earwarmer Headband pattern in 8 Sizes in our shop:
Connie Blanco says
I just love this scarf!! I am going to make a few for nieces and nephews. Do you have an adult pattern? It seems perfect for adults as well!
Joy Owen says
I made these for my grandchildren last year. They are such a success that I have been asked for more so that they can have another each in their outdoor play clothing sets at nursery. I am always delighted when I get requests for more items that I have sewn. Thank you very much for the idea, pattern and clear instructions.
Damjana says
Joy hi,
I'm SO glad to hear that. Thank you!
Cucicucicoo: Eco Crafting & Sewing says
What a great idea! So simple, but I can imagine that it's a perfect life-saver! 🙂 Lisa
Damjana at AppleGreen Cottage says
Thank you, Lisa 🙂
Pam @Threading My Way says
You're waiting for the end of Winter, and I'm hanging out for cooler weather, Damjana. Clever idea to add the tab to keep in place.
Damjana at AppleGreen Cottage says
Thanks, Pam, and I need to admit that always when I publish a tutorial when the season is ending, I think to myself that it will be right on time for my Australian readers. 🙂
Kathy says
Thank you for this! I hope I have some big enough fleece in my stash. I'd like to make one for my little granddaughter for when they get back from Florida. I also checked out the neck warmer too. I do like something around my neck in the house during the winter (and I can't tolerate a turtleneck type top), but don't like the length of a scarf because it gets in the way. The neck warmer would be perfect for that.
Damjana at AppleGreen Cottage says
Kathy,happy to hear you'll be able to use both of the free tutorials. Happy sewing,