
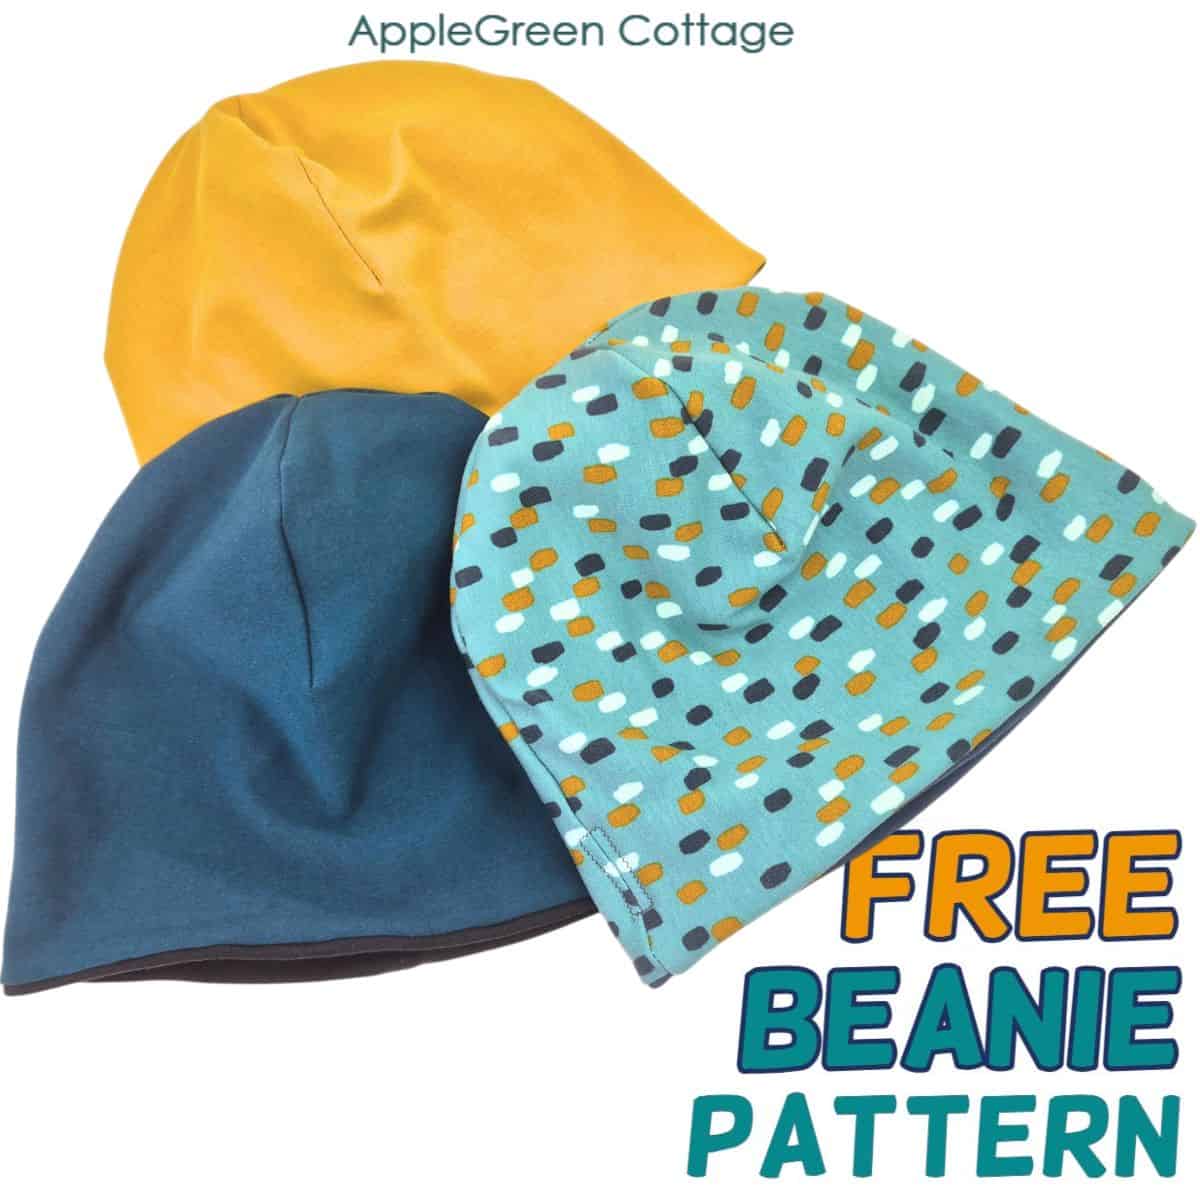
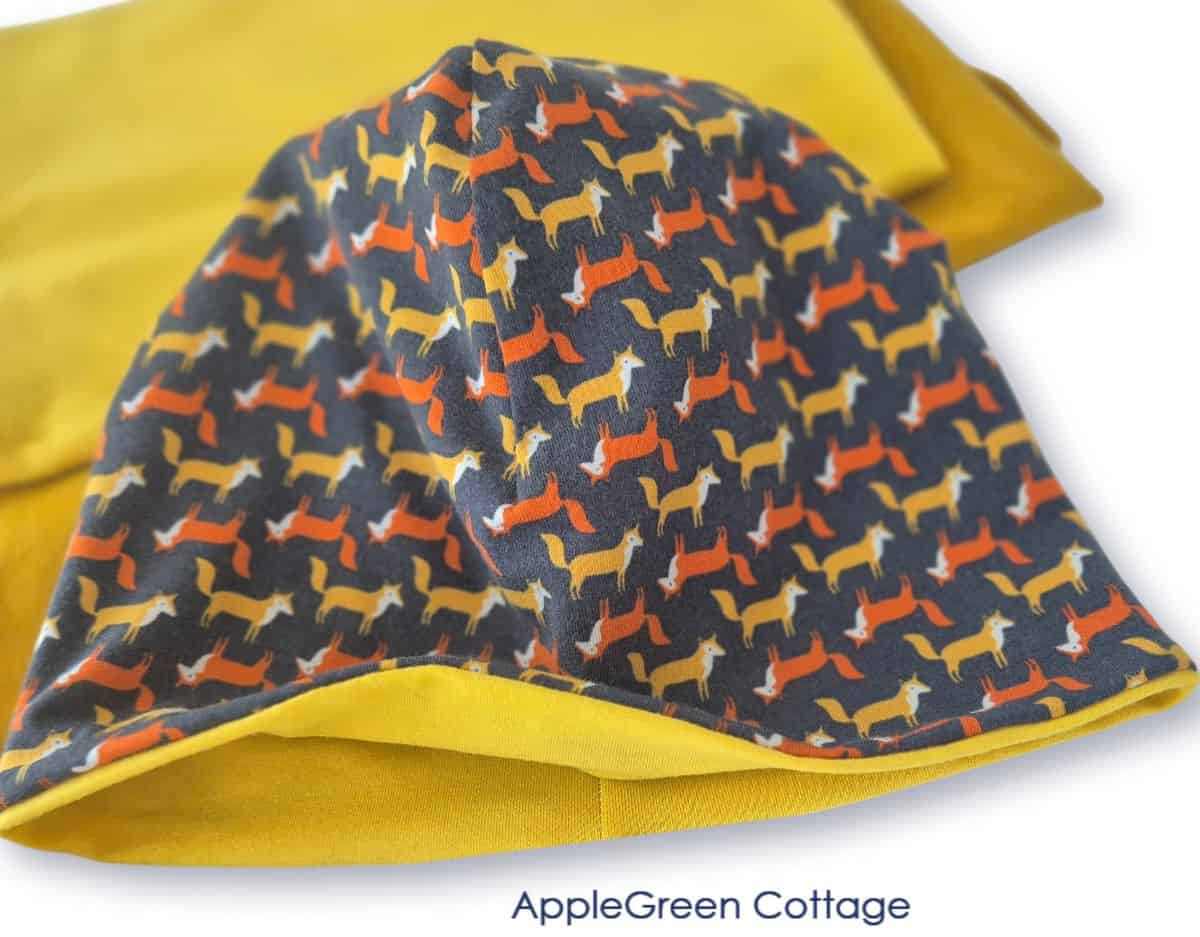
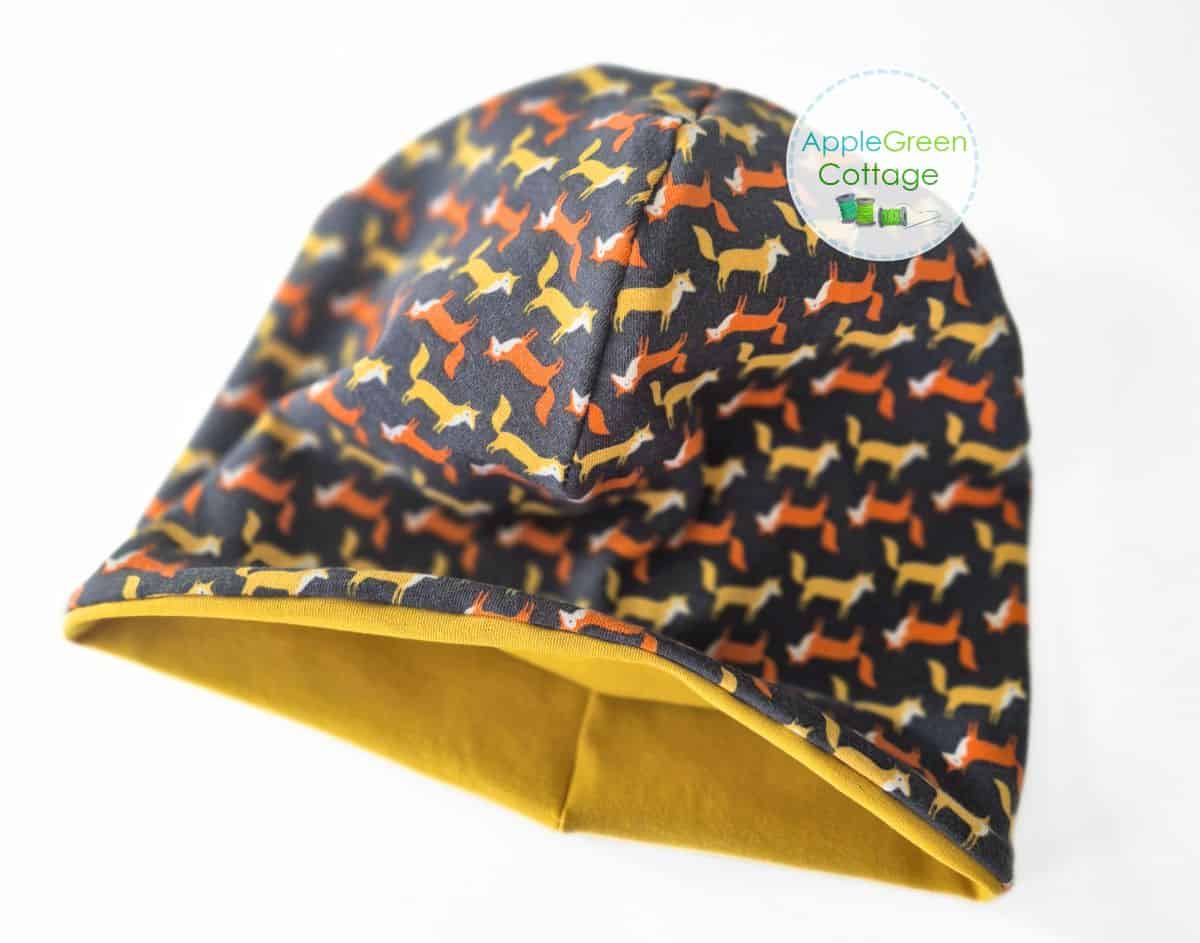
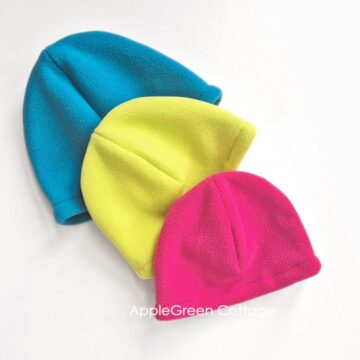
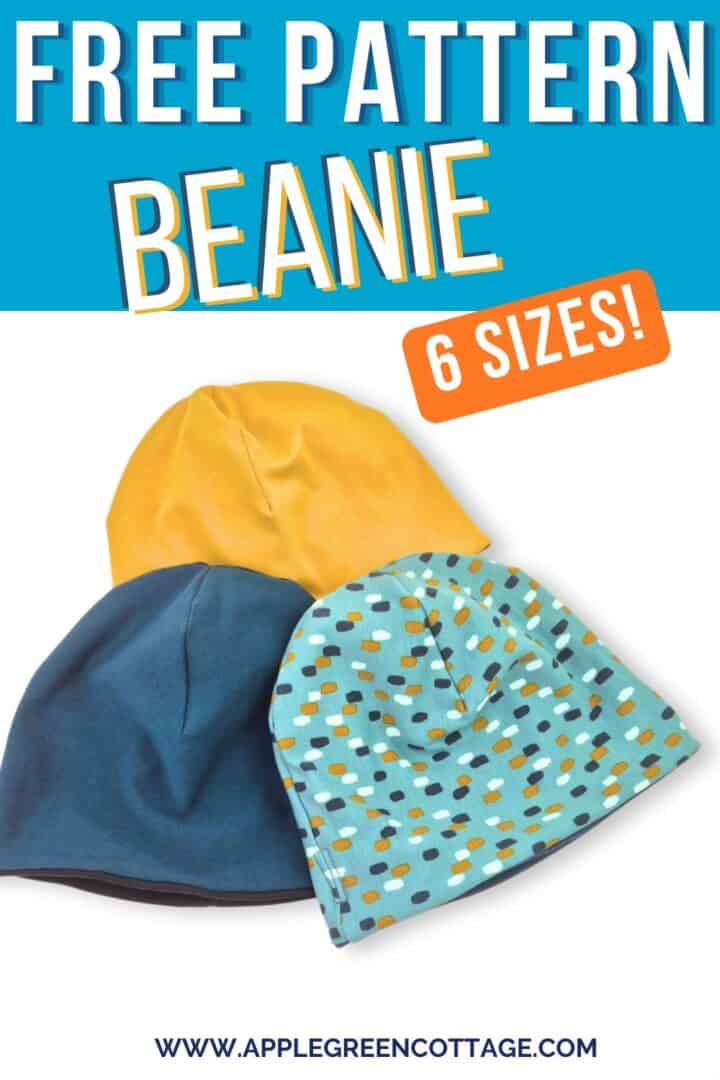
Sew an easy reversible beanie hat for the whole family using my free beanie hat sewing pattern - it comes in 6 sizes from baby to adult large!
It's quick to cut, simple to sew, and ready to wear in no time. And since this beanie is reversible, you get two looks in one - with no exposed seams inside. Yay!
I've made so many beanies over the years, testing different top curves until this one became my favorite: soft and comfortable for kids and adults. And don't miss the clever little layer-fixing tip below!
Prefer an ad-free printer-friendly option of the whole tutorial+pattern? See the → optional PDF file in our shop.

This tutorial is also part of Printable Tutorials BUNDLE
100 PDF tutorials now, and growing!
Table Of Contents
Why You'll Love This Beanie Pattern
Here's why this free beanie pattern is such a good one to sew:
- Reversible - two looks in one
- No exposed raw seams
- Quick to cut and sew (with very little fabric)
- 6 free sizes for the whole family
And the best part? It's quick enough to make again - which is useful when beanies get lost, outgrown, or worn until they're no longer 'good enough' for school. Ask me how I know - I've just made four new ones.
Are you here for even more accessories? Make sure to check out my popular earwarmer pattern in my shop too - it comes in 8 sizes from baby to adult!
Sewing Video
Prefer watching over reading? Sit back, relax, and watch the simple slideshow video I made for you. Then scroll down for measurements and sew.
Supplies
Shop my personal favorite sewing supplies on Amazon HERE.
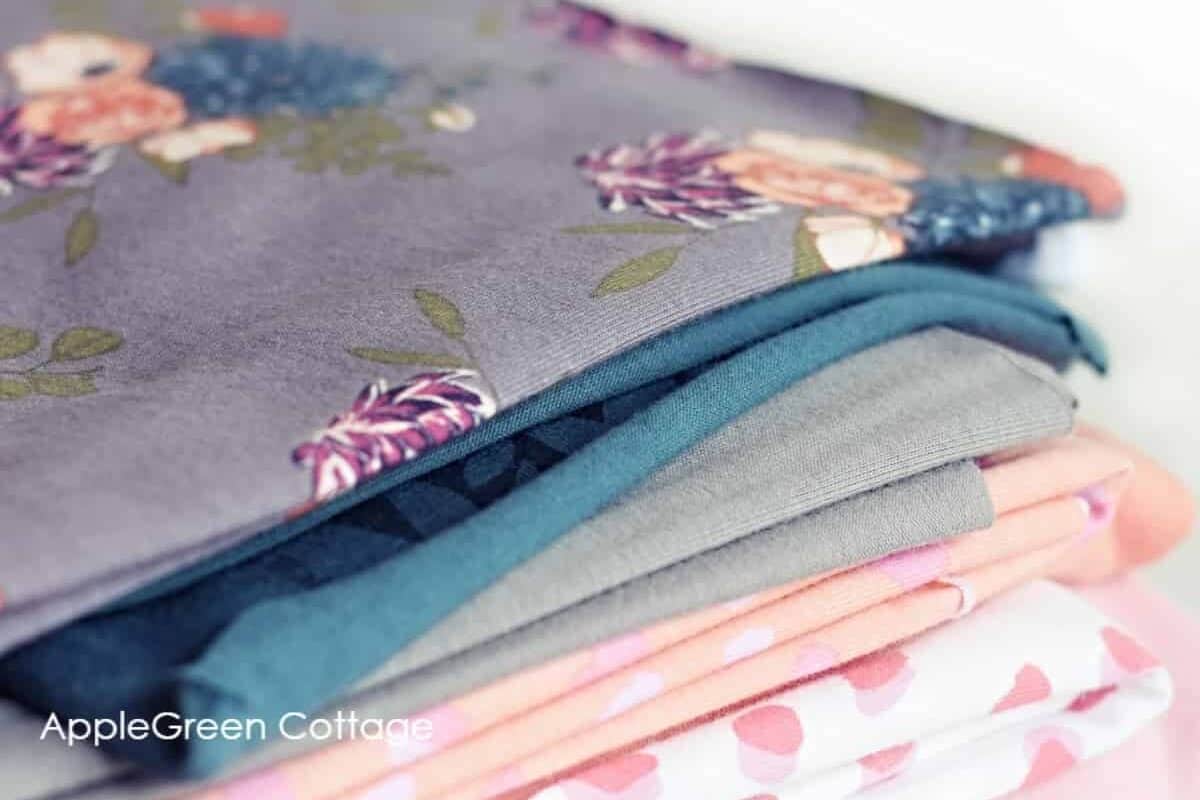
- two colors, each ⅓ yard of knit fabric (start with cotton jersey or French terry) - prewash it because knits will shrink!
- coordinating sewing thread
- sewing machine or serger
- ballpoint needle, iron, pins
- scissors or rotary cutter and a cutting mat
- free beanie hat pattern in 6 sizes
What materials to use with this reversible beanie hat pattern?
This beanie pattern is made for knit fabrics. Choose a knit with good recovery - it should stretch, then bounce back without staying loose or wavy.
Good options include cotton jersey, other jersey blends, French terry, and thinner sweatshirt fleece. If you use thicker knits or fabric with less stretch, choose one size larger.
New to sewing jersey? See my top tips for sewing with knits.
Beanie Sewing Pattern Sizes
The free pattern comes in 6 sizes, for everyone from tiny babies to adults in your life.
How to choose the right pattern size for the beanie hat?
The pattern might look smaller than your head size, but no worries - it's meant to be that way! It uses negative ease, which means the finished hat is slightly smaller than the head, so it stretches for a snug, comfortable fit.
Measure the person's head by measuring around the forehead and down to the base of the head in the back. Take 1" or 1 ½" away to find the right hat size in the chart below. This is due to the 'negative ease', explained above.
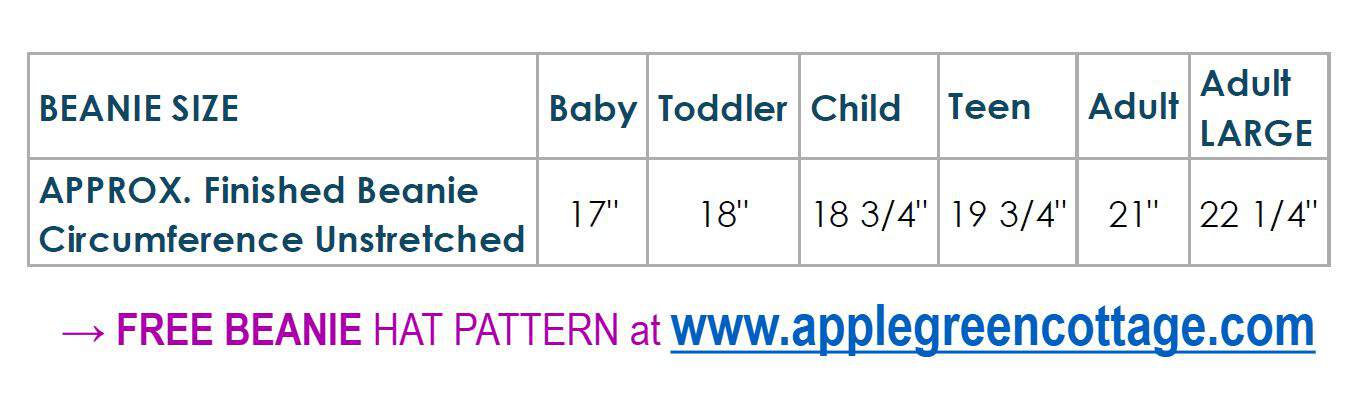
APPROXIMATE Finished Hat Circumference (Unstretched):
- Baby size - 17"
- Toddler size - 18"
- Child size - 18 ¾"
- Teen size - 19 ¾"
- Adult size - 21"
- Adult LARGE size - 22 ¼"

If you use thicker knits or fabric with less stretch, choose one size larger.
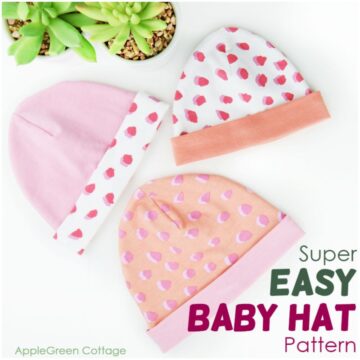
Need smaller baby sizes?
You're in luck - I've got a free baby hat pattern for you. A different pattern design, but made specifically for babies. 3 sizes!
What stitch setting to use for sewing with jersey on a domestic sewing machine?
You'll want to either sew with a zigzag or a special stretchy stitch if you are working on your sewing machine. (I used serger in this tutorial.)
My favorite zigzag stitch length is 2.6 and just a 2 for width. I find it flexible enough while not too dense. Wide zigzag or faux overlock stitch when I want to hem and stitch in one go. With thicker materials, you can use a longer stitch length around 3.5. It can vary, everyone has their favorite.
How to sew a beanie hat - STEPS
Step 1 - Get the free pattern
Join our mailing list and get the pattern emailed to you:
Prefer an ad-free printer-friendly option of the whole tutorial+pattern? See the → optional PDF file in our shop.
Step 2 - Print the pattern
Tape the pattern pieces together along the marked edge and cut out the appropriate size. Choose the size that fits your head. For a looser fit, choose one size larger.
For best results, download the PDF to a desktop or laptop, open it in Adobe Reader, and print at 100% size.
How To Print this PDF file
For best results, download the PDF to a desktop or laptop, open it in Adobe Reader, and print at 100% size. (I recommend not printing directly from a browser window or from mobile, it could cause issues.)
Step 3 - Cut the 2 beanie hat pieces
Using the pattern cut two pieces in your desired size. The greatest stretch should be across the width of the fabric - running side to side:
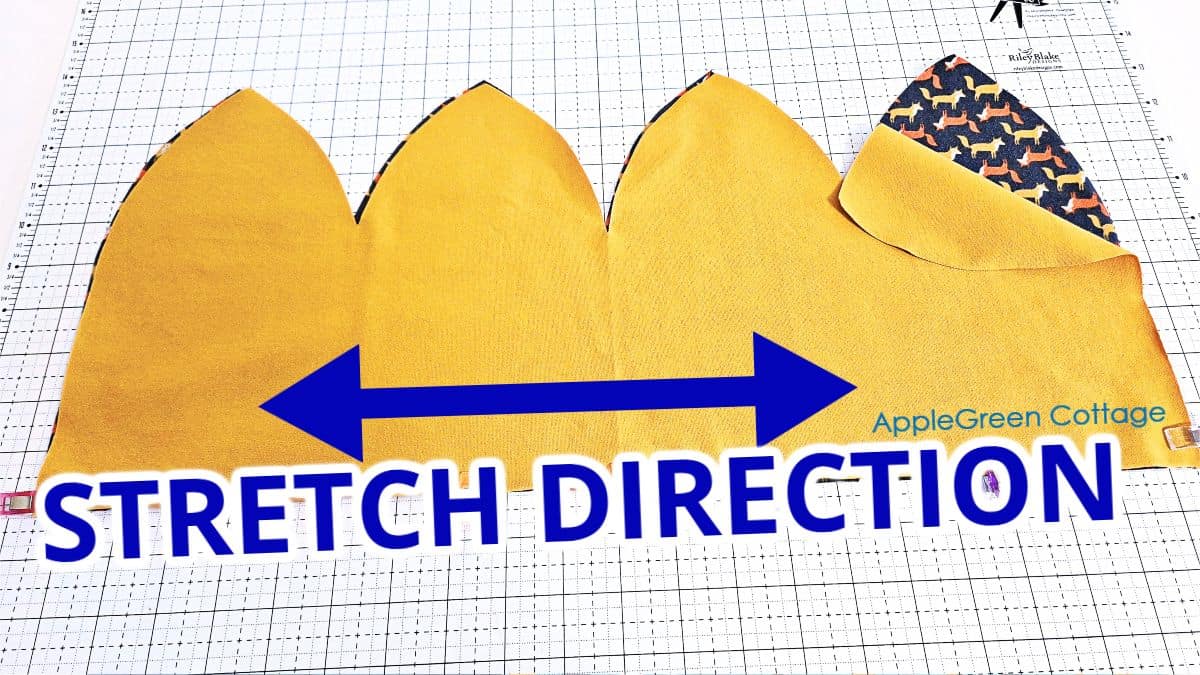
How to determine the stretch direction
To find the stretch direction, gently pull the fabric side to side and up and down. The most stretch should run side to side.
Step 4 - Sew The Exterior and Lining together
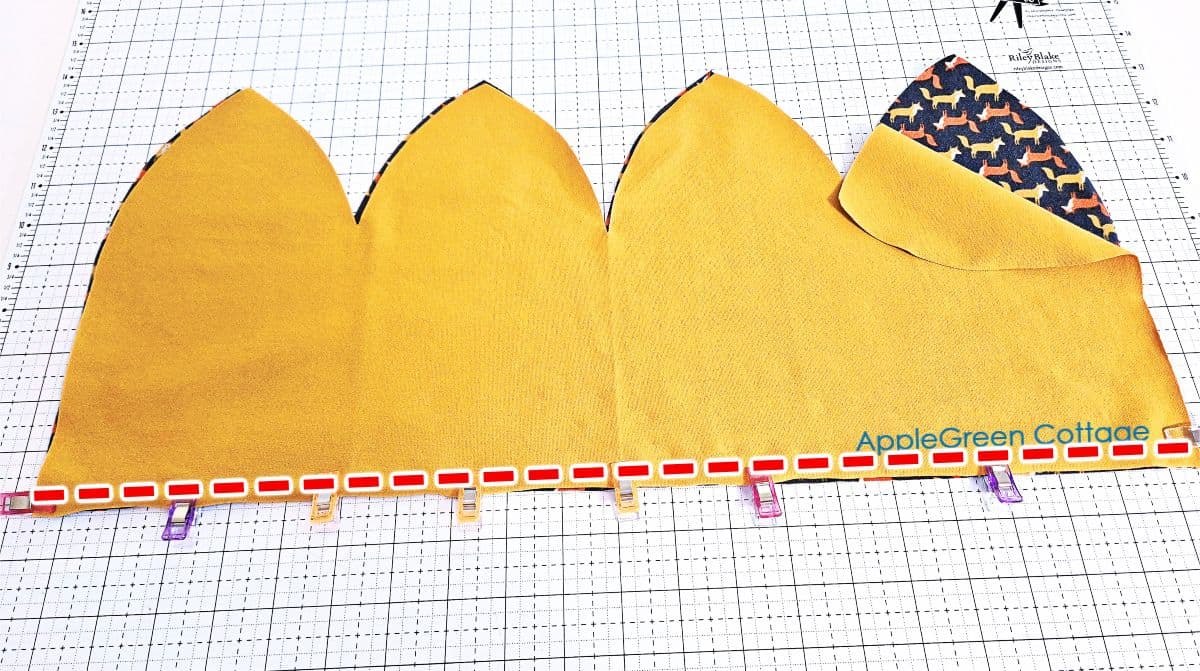
Place the two pieces with the right sides together and sew along the long straight edge. Use a stretchy stitch - the simplest and perfectly effective way is to use a zigzag stitch. I sewed it with a serger.
Top Tip
Use a narrow zigzag or stretch stitch when sewing jersey or other knits, so the seam can stretch with the fabric without popping.
Open the sewn piece and lay it flat with the right side facing you.
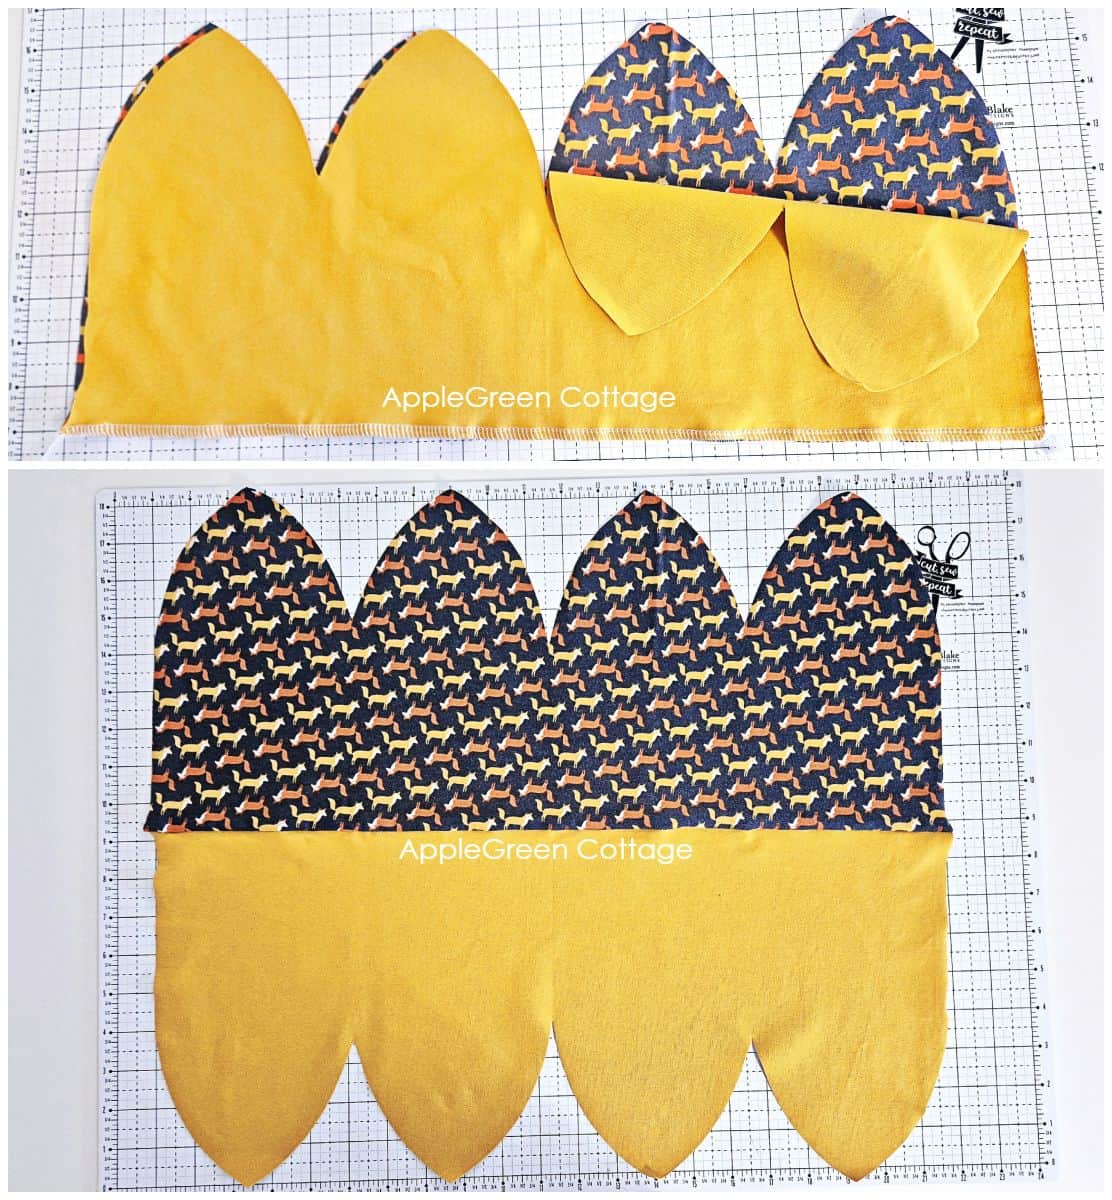
Step 5 - Sew the 4 Darts
Next, fold the left and right ends over toward the center, right sides together. Clip or pin the top and bottom dart areas - leave the center dart open for now.
Then sew them with a ⅜" seam allowance - use a stretchy stitch.
It's easier if you start at the tip and work into the dart point (where the two edges meet). Here's a tutorial on how to sew darts if you need more help.
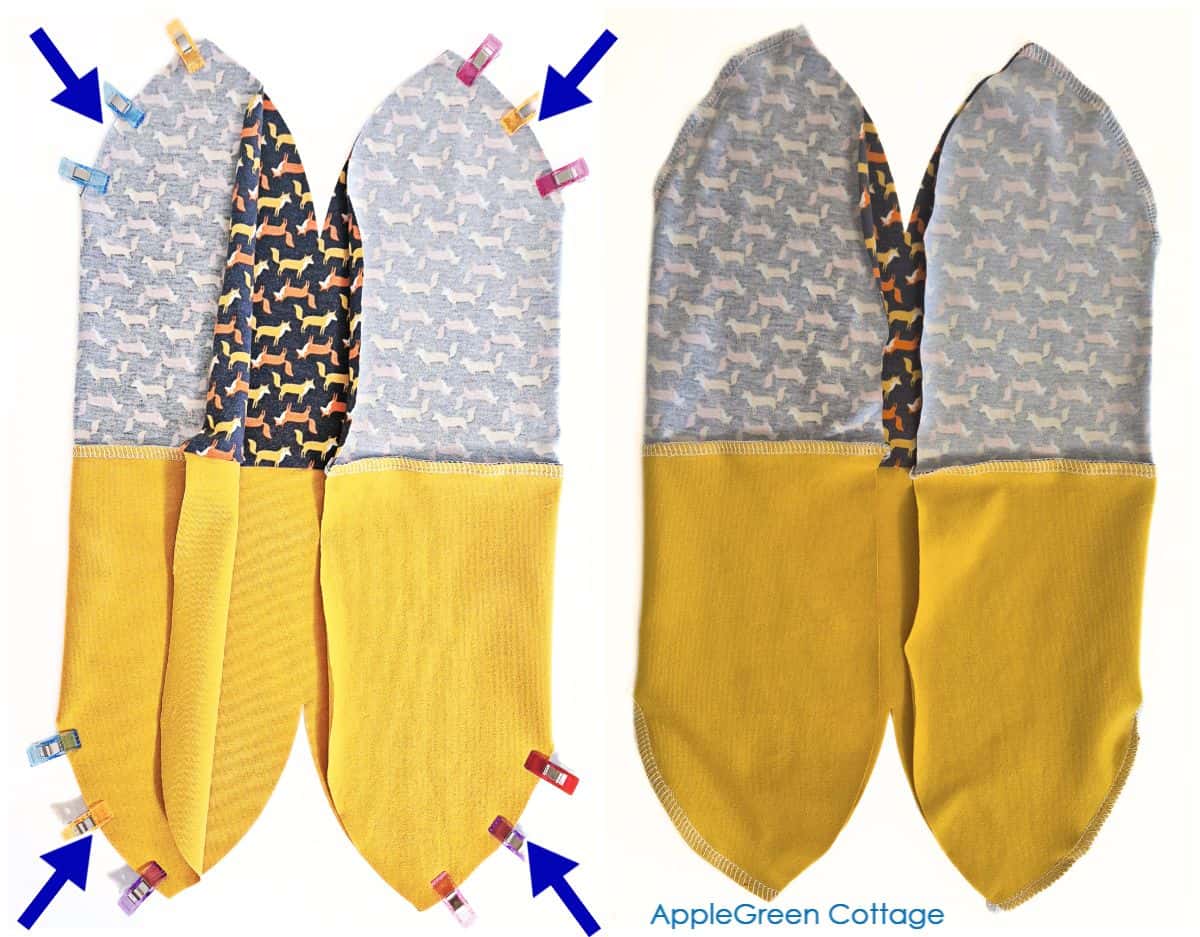
Step 6 - Refold
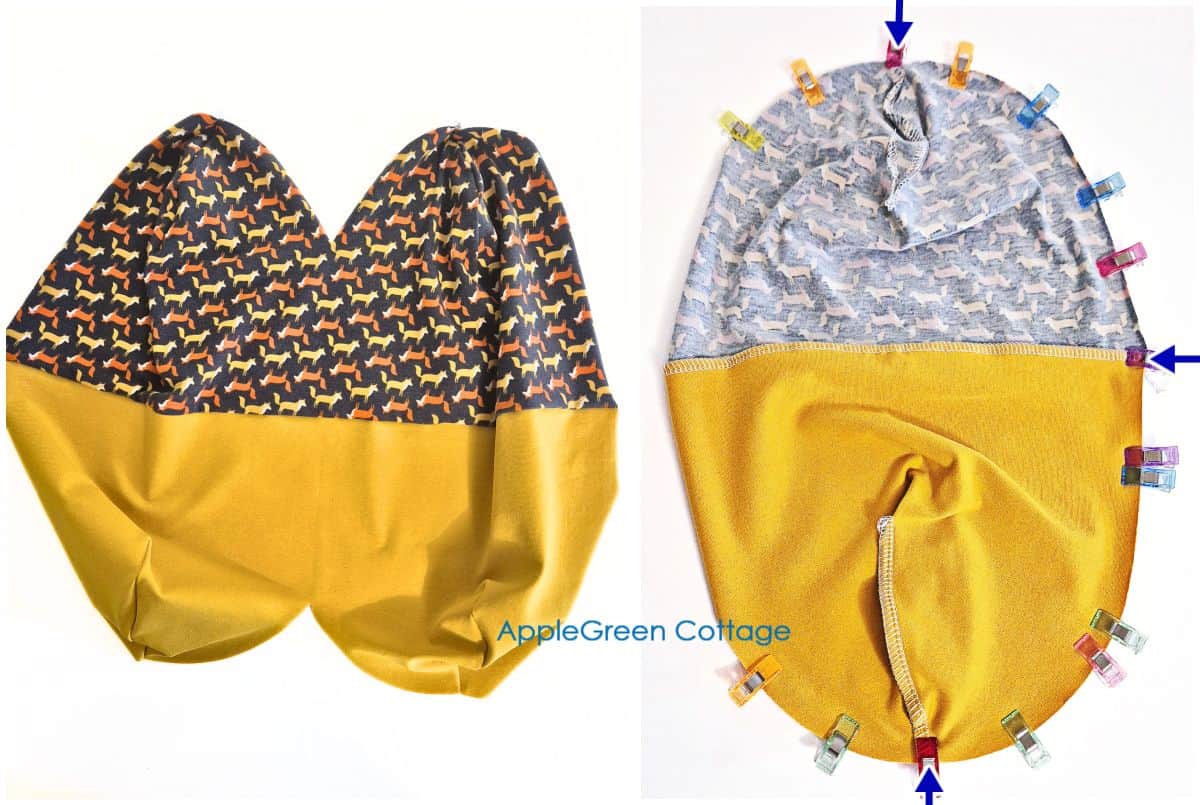
Open the piece, then refold along the raw edge and clip or pin all the remaining raw edges together. Take a moment to match the seams carefully at the top and side - this is what gives the beanie a neat rounded finish. See the three blue arrows above.
Step 7 - Sew around
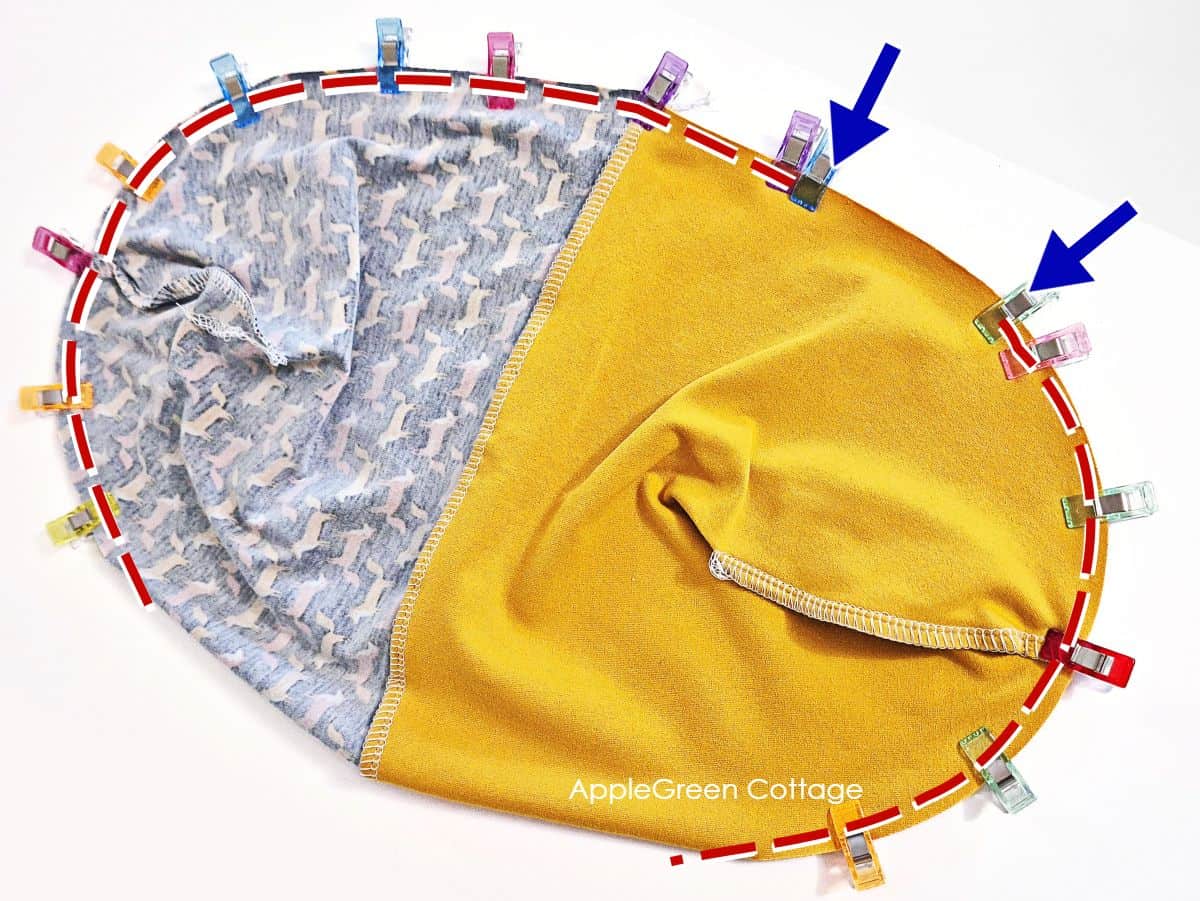
Once you've pinned the two pieces together, sew them with a zig-zag stitch using a ⅜" seam allowance, or serge with a serger, leaving a 3" turning hole in the lining.
Step 8 - Turn and close the opening
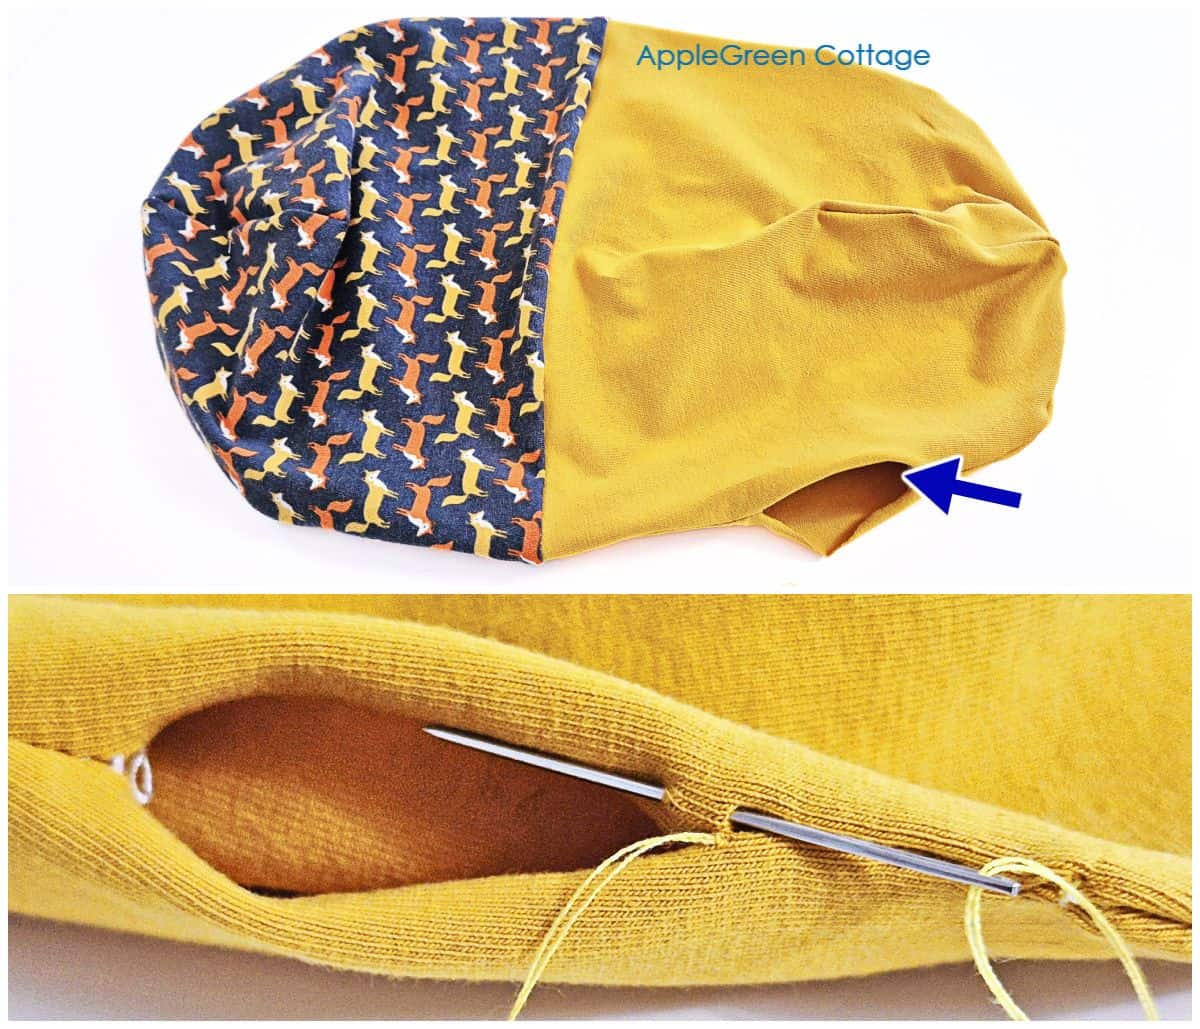
Turn the hat right side out through the opening. Fold the seam allowances of the turning opening inwards.
Hand-stitch the opening to close it, using a ladder stitch. This keeps the finish neat on both sides.
Now you can push the half of the hat with the turning opening into the other half as lining. Finished, congrats!
Variations
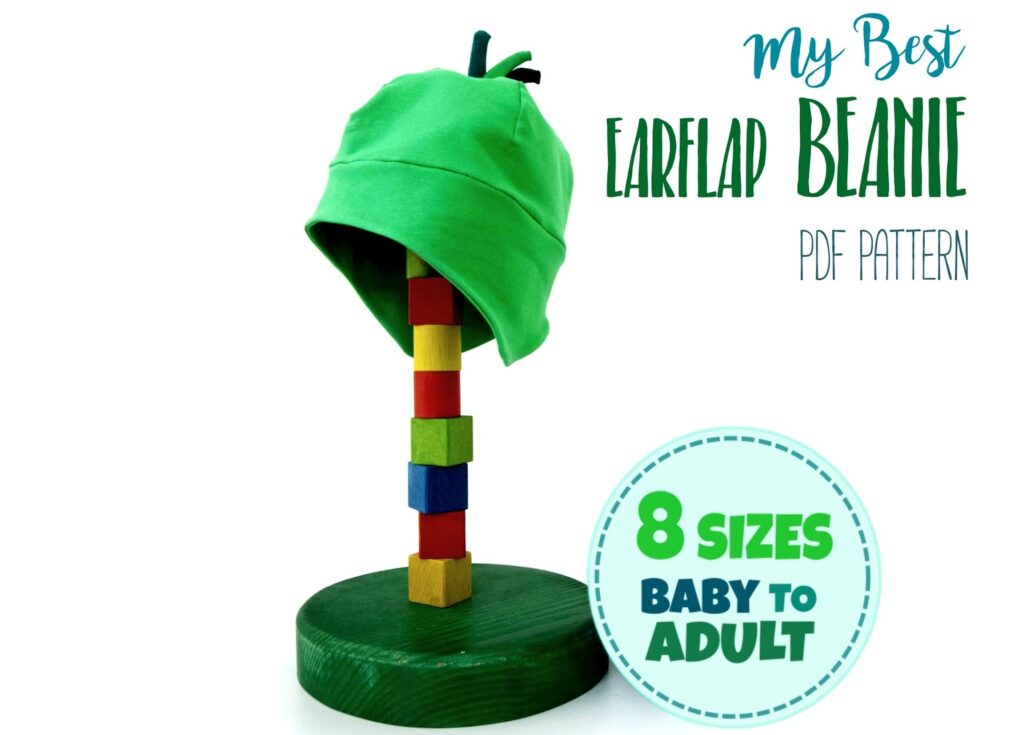
Customize your beanie with a pom-pom, cozy ear flaps, or a decorative patch for a unique touch! If you like your ears protected in the cold - I certainly do! - take a look at my other, earwarmer beanie pattern in our shop.
Also, check out this cute earflap beanie pattern in our shop:
Tips For Sewing With Knits
Now, as promised, a list of tips and ideas to make it easier for you. The first one's my favorite:
Clever Tip: Keep the Layers Together
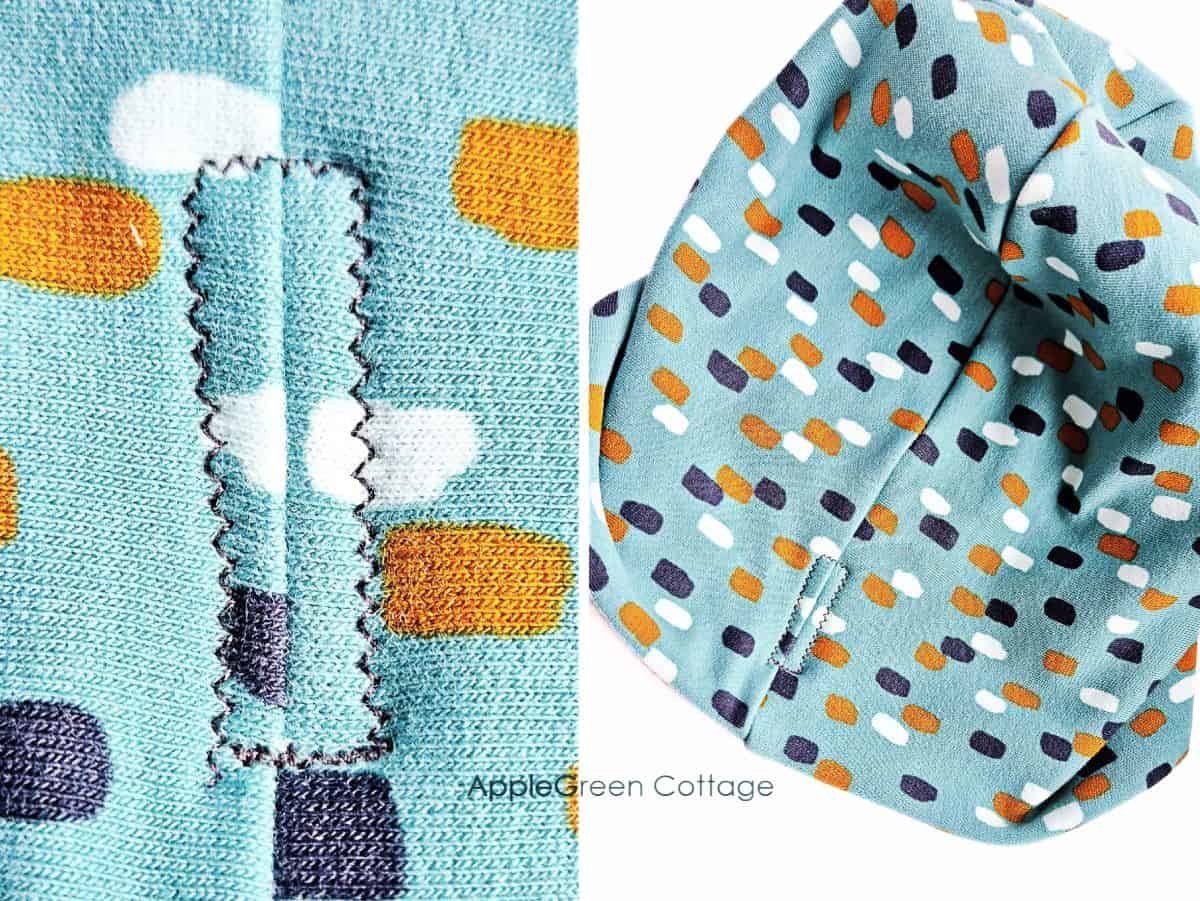
Want the inside and outside of your beanie to stay put? Stitch a small rectangle along the back seam, through both layers. It anchors the two hats together - so the lining doesn't twist, shift, or try to escape. Still looking neat!
No. You can use any stretch stitch on a regular sewing machine, or sew your beanie with a serger.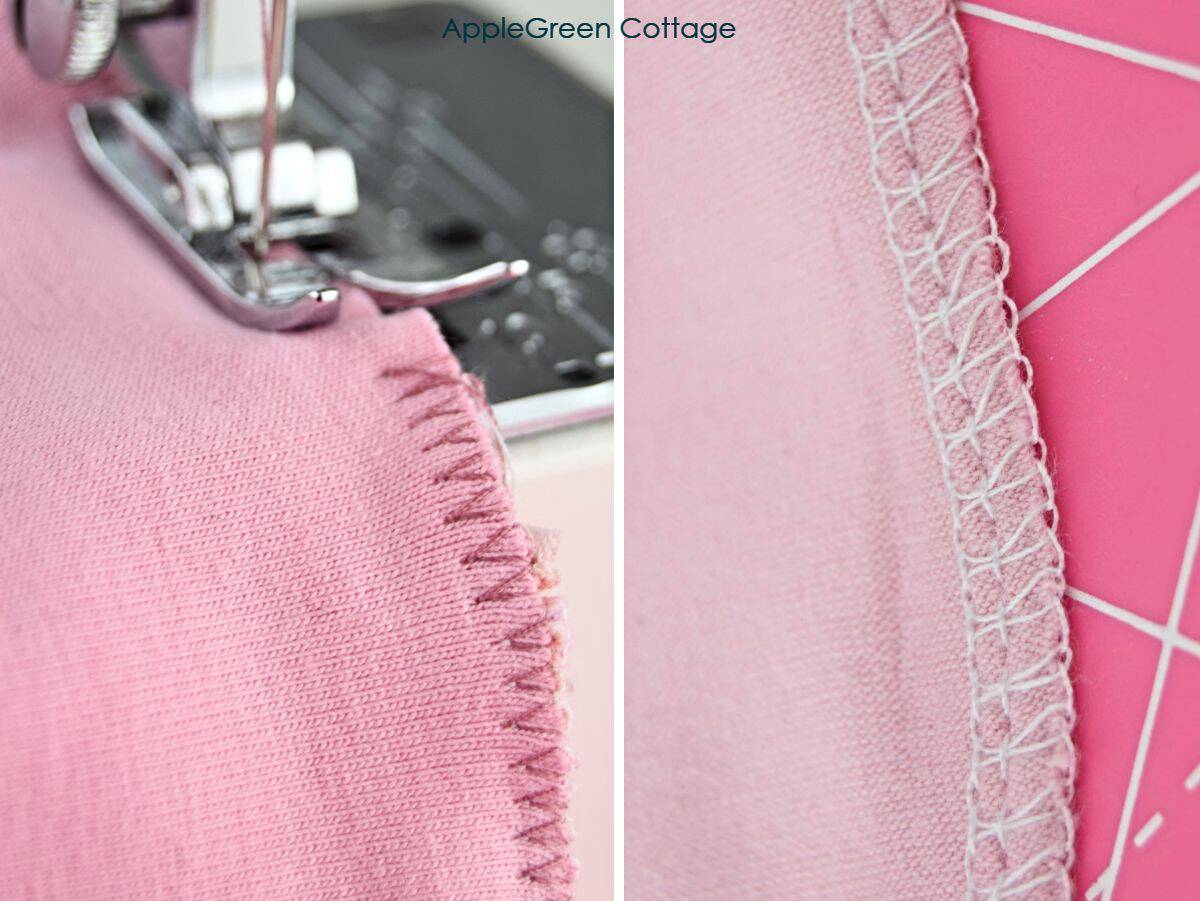
Hold your jersey and pull slightly. The edge will curl to the wrong side of the fabric. Also, the right side is usually smoother, while the wrong side may look slightly looped or duller.
To find the stretch direction of jersey, gently pull the fabric side to side and up and down - the direction with more stretch is the crosswise grain.
You can either sew knit fabric on a regular sewing machine using a stretch stitch or use a serger. The simplest (and amazingly effective) stretch stitch is a zigzag. I also suggest using a walking foot if you have one. See my beginners' guide on sewing with knits and stretchy fabrics.
Yes! Just use a stretch stitch so the seams don't pop when the fabric stretches. When I use my regular sewing machine, I imitate the serger: use the widest zigzag to catch all layers and finish the raw edges in one go.
My favorite stitch length is 2.6 and just a 2 width. I find it flexible enough while not too dense. It can vary, everyone has their favorite. If you have issues sewing, lengthen the stitch length to 3.5 - this should prevent puckering. 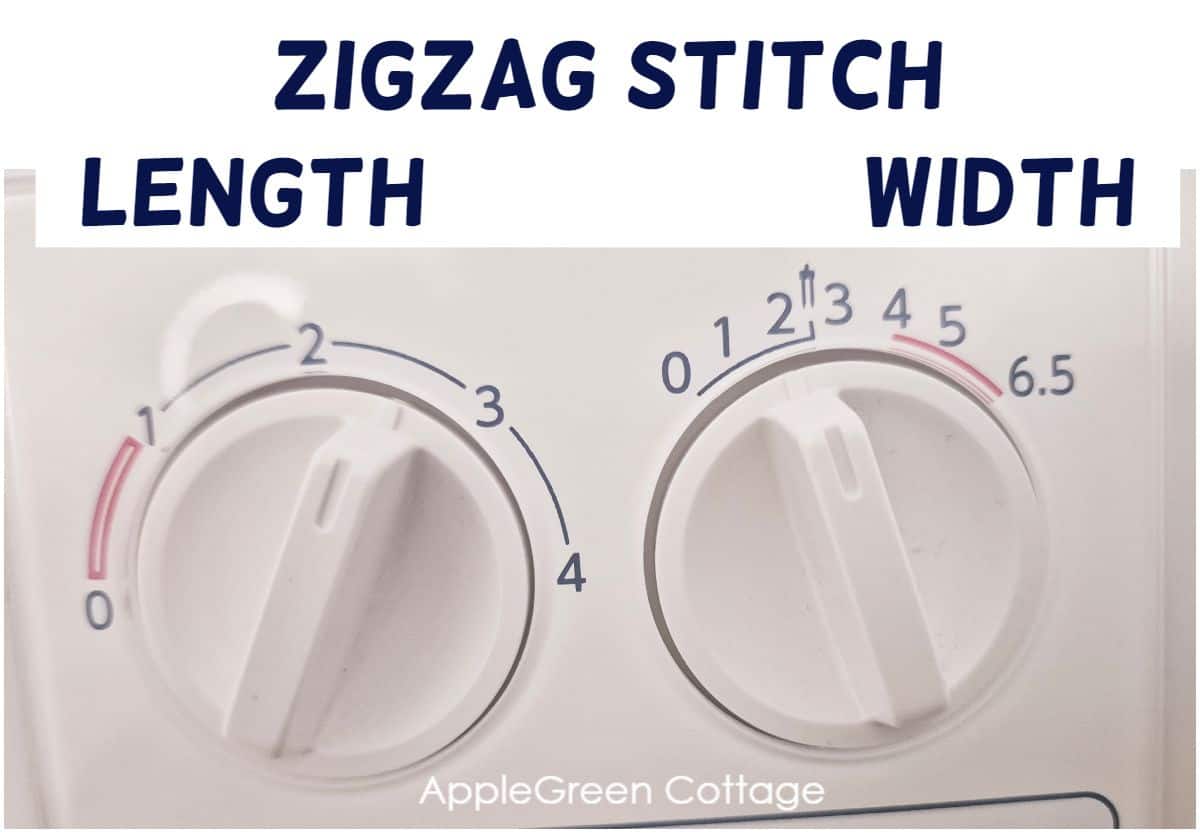
My suggestion for your first project? Get yourself a yard of cotton jersey that has a weight of around 8 oz (that is short for ounces per square yard)- equivalent to around 270 grams per square meter (GSM). Or 10 oz /340 gsm if using French terry or interlock knit. I like this weight range because it's easy to work with (see my earwarmer headbands)
Absolutely! It's one of my favorite knits, and beginner-friendly too, as it does not curl that much! For a beanie, 10 oz French terry can work well, especially if it has good stretch and recovery. It will make a warmer, slightly more structured beanie than jersey. Perfect for this earwarmer pattern set!
Need an extra large size because you are using heavier knits or knits with less stretch? You can use the largest size from my fleece hat pattern. It has a slightly different top curve, but works beautifully with sweatshirt fleece. Cut it on the fold and add the lining piece.
How to Secure Serger Tails
Here's a quick way to finish a serger seam neatly and prevent unraveling.
- leave a longer tail
- Thread the serger tail through a large-eyed needle, like a tapestry needle, then insert it into the seam stitches.
- Weave the tail back along the seam allowance to secure it, and trim any excess.
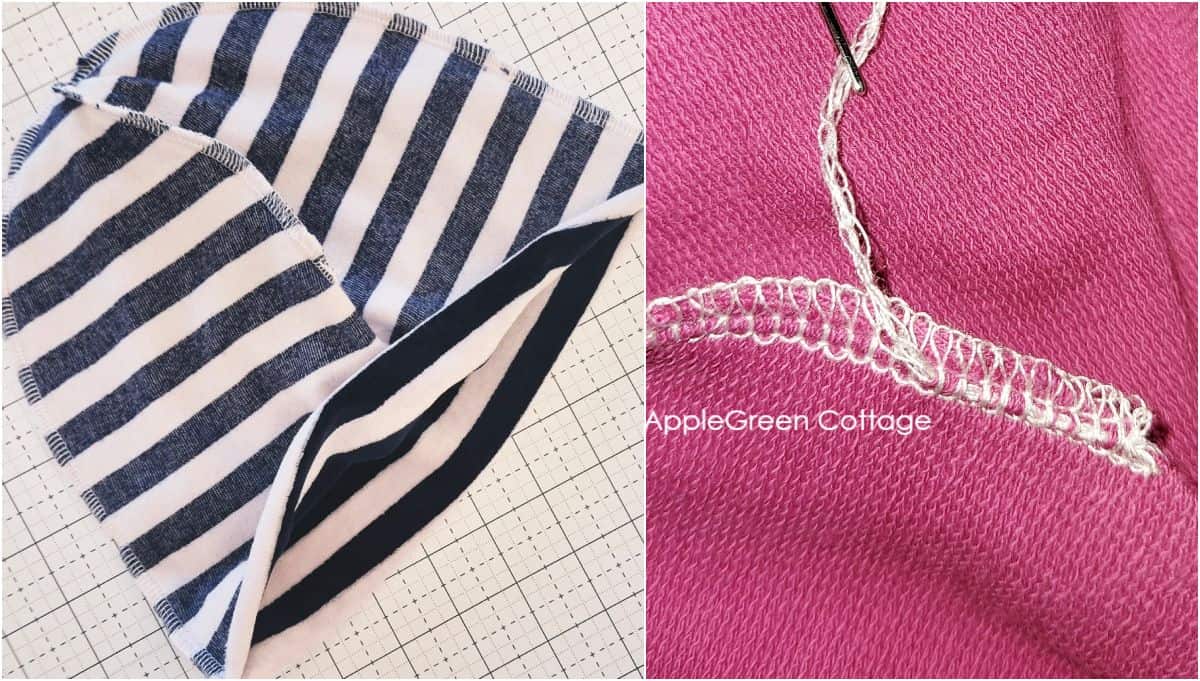
These photos show other types of knits, but the process is the same as with serging jersey.
More ideas
Looking for other projects like this? Try these:
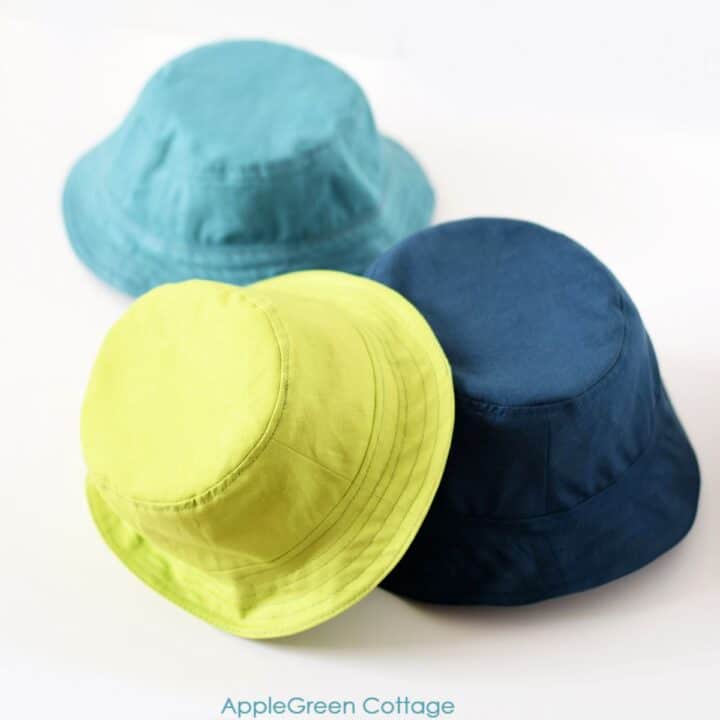
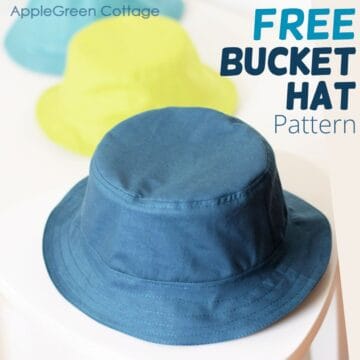
+ FREE Bucket Hat Pattern
Conclusion
I hope you liked the tutorial on how to sew up the free reversible beanie pattern. As always, I'd love to see if you've made a beanie hat using this tutorial. Please post a picture to Instagram and tag me @applegreencottage or #applegreencottage - so I can take a look!
Want a printable copy of the whole tutorial?
Prefer a full, ad-free and printer-optimized Printable Tutorial with both instructions AND pattern included? ↓↓
This tutorial is also part of Printable Tutorials BUNDLE
100 PDF tutorials now, and growing!


Leave a Reply