
See how to pin a pattern to fabric and how to cut fabric using a sewing pattern. These helpful tricks can be awesome for anybody who has just started learning how to sew, and there are even a few tips in here for the most avid sewers.
Also, more sewing tips and tricks coming your way! After sharing how to use all kinds of smart household materials to trace a pattern, I'm going to show you some really helpful tips on how to pin a paper sewing pattern to fabric and cut the fabric afterward. This post is part of the learning to sew series, I hope you'll like it.

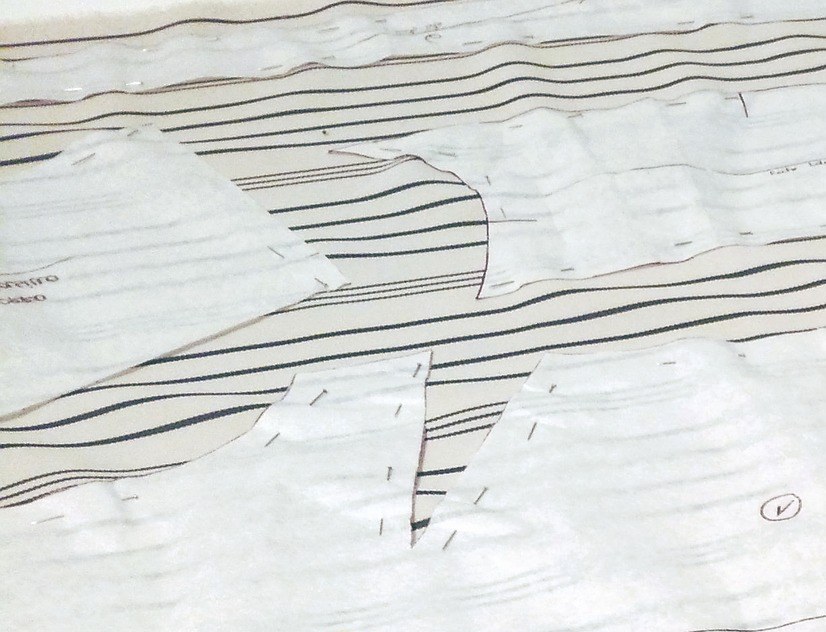
Being so excited to start a new sewing pattern can be great until you feel like you are looking at a bunch of hieroglyphics when you see all the lines and marks in the pattern. These different tips and tricks can make every sewing project you complete from here on out as easy as pie to finish. Whether you like sewing clothes, home décor, or toys, learning how to properly pin your patterns is a good skill to have!
Also, make sure to check out these smart and useful sewing related tips:
- how to add fusible interfacing
- my best bag sewing tips
- how to start hand-sewing
- 10+ clever sewing hacks you need to know!

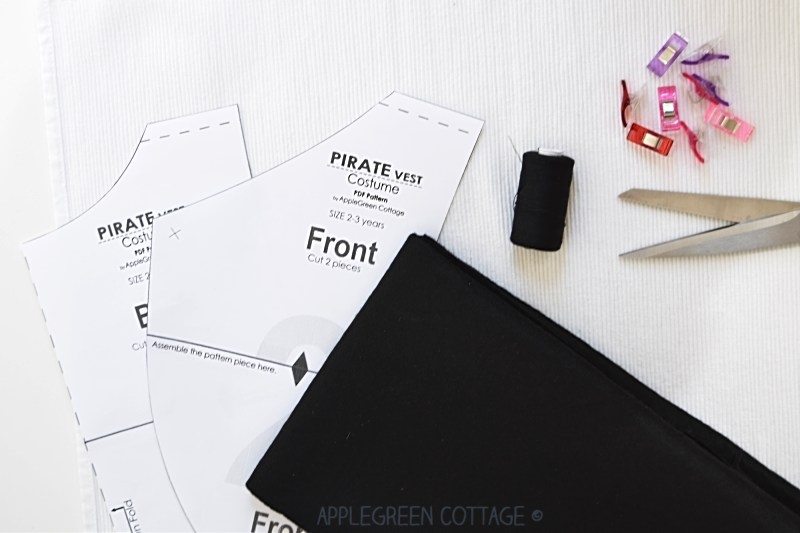
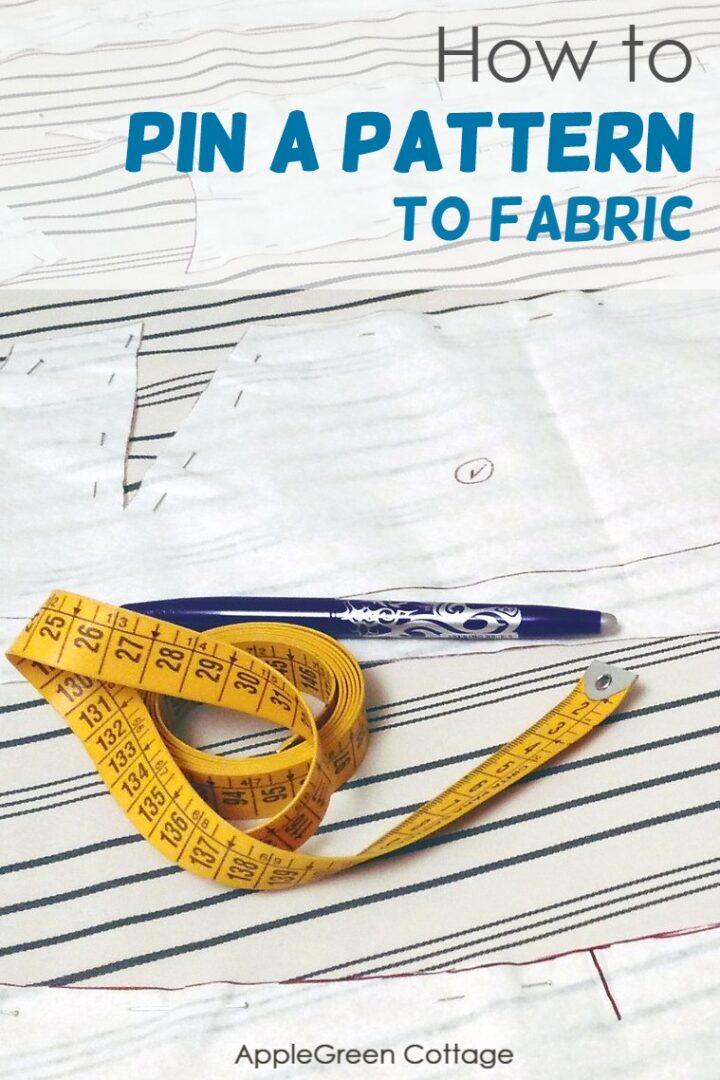
How to Pin a Pattern to Cut Fabric
Have you learned how to print a pdf sewing pattern? Good! Now, the next step is learning how to pin a pattern to fabric.
What to do First
- Before you pin a pattern to fabric, you need to make sure everything is ready to go. Prepare your fabric and iron your pattern to ensure that your measurements are as precise as possible.
- If you're working with stretchy fabric, make sure you know the stretch direction of your fabric before you pin! Check out our guide on sewing with knits - it also includes 7 top tips to sew with knits, and stretch direction is included.
- Get to know your fabric before you sew. You want to find where the grain is as well as decipher how your fabric will act when you sew it. Ask yourself does it stretch, and will it shrink?
- Make sure to transfer pattern markings. See below for more tips on transferring pattern markings.
- Cut out your pattern from your paper.
Cut just outside of the line. It is much better to have pieces that are a little too big than too small. This will also allow for some error while cutting your fabric.
Bonus Tip: The way you pin your pattern to your fabric depends on what kind of fabric you are pinning. If you are using a delicate fabric, you want to use as few pins as possible or maybe even decide to opt for pattern weights instead. Silk, for example, does not heal well from too many pin pricks. Never pin faux leather, as holes from pinning will not heal.
1) Gather all of your materials and make sure your space is clean. You want to pin your fabric on a flat, clean surface.
2) Read the FULL directions to your pattern before doing anything else. You do not want to miss specific instructions.
3) Cut out your pattern.
4) Lay out your fabric. Most patterns have specific instructions as to how to lay out your fabric. You will often need to layer the fabric in two layers to cut two pattern pieces. Consult your pattern to determine where the sides of the fabric should face.
5) Your pattern will have an arrow to show you how to follow the grain of the fabric. The grain of the fabric is the direction the fabric has been weaved. You often want to sew along the strongest part of the fabric which is with the grain.

6) Now you can begin pinning your pattern! You will want to pin your fabric in a way in which makes it easier to cut. This means you do not want your pins sticking over the edge. You will want to place pins along the long edges, and you will not need a ton of pins in order to pin your pattern. All you need is enough to keep your fabric steady while you trace or cut out your pattern.
Make sure to pin at all corners to ensure that you are able to cut these sections out as precisely as possible. Also, you'll need to transfer all significant pattern markings to your fabric.
How to Transfer Pattern Markings
Pattern markings such as darts, lines, button markings, and dots need to be transferred to your fabric to ensure accurate results when you sew. And think about folds, tucks, and pleats! These all need to be placed exactly as indicated by the markings on the pattern, or you'll end up with a sewn project less than ideal.
Make sure to use proper marking tools. The most common tools are tailor's chalk, marking pencil, disappearing ink pen, tracing wheels. And by saying proper marking tools, I also meant the testing part: I have made too many mistakes using a marker that would show through the right side of the project. don't repeat my mistake(s), test that (black?) marker on a scrap piece first!
How to Pin A Pattern to Fabric
What to do first
Sewists pin in all kinds of ways. You need to find the way that works best for you. Many skip the pins altogether and use binder clips or pattern weights to trace. If you do want to know how to pin a pattern with pins, you can either pin it horizontally or vertically. These two methods look like this.
Vertical pinning vs horizontal pinning of fabric
How to Know Which Pinning Method to Use
You can really use either method that you feel most comfortable with. Both methods come with their own pros and cons.
- Pros for Vertical Pinning: Pinning vertically can require less pins and may end up with a more precise cut.
- Cons for Vertical Pinning: Pinning vertically means you cannot pin on the seam, so if you are using delicate fabric the damage the pins do could be more noticeable.
- Pros for Horizontal Pinning: Horizontal pinning means that any damage the pins do will be closer to the seam of your project, so any damage it does will be practically invisible when your sewing project is complete.
- Cons for Horizontal Pinning: Horizontal pinning can make the fabric bunch more.
Pinning a Pattern to Sew
In order to pin a pattern to sew, you follow the exact same instructions as when pinning the pattern onto the fabric to cut it out. Do exactly as your pattern tells you.
Bonus tip: make sure to always double-check that the right sides of the fabric are facing in the right direction in accordance with your pattern. Next thing to learn? HERE: How to insert the needle into your sewing machine, and how to thread a sewing machine. One can't even start sewing without knowing this, can one?
Love to sew but hate pins? Here's an alternative - see sewing without pins.
WANT MORE FREE TUTORIALS AND Sewing Patterns?
Get email updates and never miss out on new patterns, printables, and tutorials:
Or …check out the SOPHIA Fold-Over Clutch in our shop:


Cucicucicoo: Eco Crafting & Sewing says
Great post and tips! 🙂 Lisa