
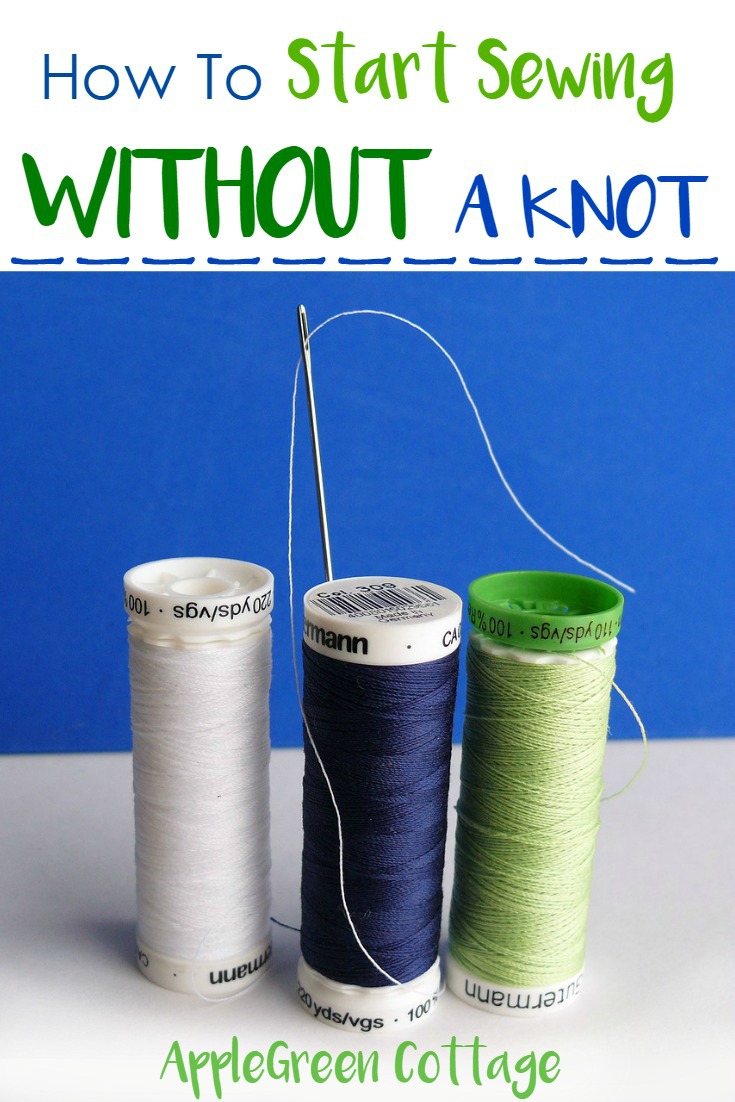
See how to start sewing without a knot. You'll love this smart sewing hack!

This is a quick sewing tip for when you need to sew by hand again - it will take you no time to learn it but will make your hand-stitching project neat! I used it on all my drawstring pouch patterns (they're free!) and many bag sewing projects you'll find here at AppleGreen Cottage. Also check out the beginner's guide - learning to sew. Then read on and learn how to start sewing without a knot.
Especially handy for when you need to sew on a button - No more ugly knots at the back of your project!
Do you remember trying to hide that knotty end of your thread when you accidentally started sewing from the right side of the fabric and pulled the first stitch from the wrong side? Yep, that was happening to me way too often! I was so happy when I found out about this trick.
Oh, and if you're here for sewing hacks, make sure to also check out these 10 popular hacks for sewing, and these 10+ smart sewing tips. These will make your sewing so much easier!.
Since I've been hand-sewing a bit more these weeks (and my camera is never very far away from me), I've taken a few shots to show you how to do a no-knot start.
How-To Start Sewing Without A Knot
It's so easy, really! First, here's a video slide show for those of you who prefer video how-tos. Later on, there's a photo tutorial.
Sewing Video
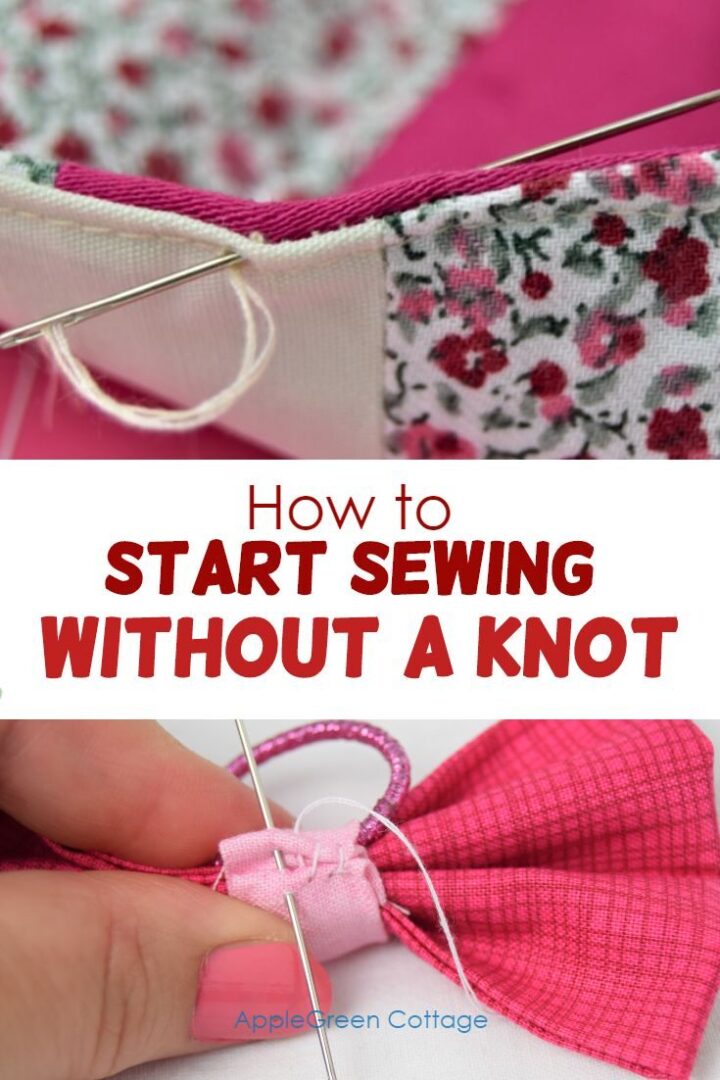
Photo Tutorial - How To Start Stitching Without A Knot
1) Cut one long piece of thread and fold it in half. Then, thread the two ends through the needle.
To be honest, sometimes it's easier to grab the loop end, and thread that one through the needle. Easier to me, you choose your way!

2) Start: Bring the needle out from the back of the fabric (in this case, felt). Do not pull the thread all the way through, the loop should stay nicely visible on the back. (See next image)

3) Position the needle very close to the first stitch and pull it through to the backside:

4) Now, guide your needle through the loop on the backside...

5) ..and pull. Done. Everything is flat, no annoying knots on any side!

Love love love this little trick! Now that I've finally managed to get it onto my camera, I've even sewn a few missing buttons that had been waiting on my table for a long time. Did I mention this no-knot trick is a huge time saver when sewing buttons by hand?
I'm sure those who often do embroidery have known this for ages, but for some of the readers, this might be a great new little trick. Hope you'll like it!
A Super Neat Way to Fasten Off the Seam
Bonus tip! Readers have been asking how to fasten the sewing off at the back side if you're not concerned with how the backside looks. For example, when it gets covered by another layer later:
Once you do the last stitch, pull it through to the wrong side of the fabric. Then go through the last loop twice and pull. That creates a good knot that is invisible.
How To Hide The Knot Between Two Layers
If you found this tutorial helpful, I'm sure you'll want to hear about this one too: it's for when you want to hide the thread ends. Easy and doable for everyone. My readers love it too!

Best Sewing Tips: How To End Stitching Neatly
And are you curious about what I did out of that blue circle of felt in the photos above? These cute little felt flowers. Check them out, it's a cute little sewing tutorial with a few new free PDF templates.
Happy sewing!
Want More Free Patterns?
Get email updates and never miss out on new patterns, printables, and tutorials:
Or …check out this popular PDF pattern - the Kalina Mini Wallet in our shop. So practical!


Eva says
A great tip, thank you!
Aynfarika says
Genius I wonder if this will work for cross stitch projects as well? I'll have to try it!
Damjana at AppleGreen Cottage says
Aynfarika,sure it will, go ahead!
Home Sewn By Us says
Hi Damjana,
This is so cool! I cannot say it is new to me because I am a long time cross stitcher, and we used this trick in CS. I am wondering what that cute little blue circle will be when it grows up, so I'll go check. ~smile~ Roseanne
Ana Sullivan from The Lost Apron says
I understand how this works at the start. Then you have a double thread with a tail going forward (to stitch with). You sew your button or whatever. Then how do you finish? Any tips? Also, any tips on not having the needle slip off your thread or not getting your tail sewn into your project?
Damjana at AppleGreen Cottage says
Hi Ana Sullivan,this how-to might help you: http://www.applegreencottage.com/2017/11/how-to-finish-seam-top-stitching.html Happy sewing!
turnat says
am completely amazed! how after the years of hand quilting & other sewing I've done have I not seen this trick? I bet I'll do it from now on. THANK YOU!
Gwen
Gayle says
That is a fabulous idea and will come in very handy. Thank you for sharing.
Damjana at AppleGreen Cottage says
Thank you 🙂
Anne says
This is so smart!! I'm going to start doing this for all my hand sewing! Anne
trixi says
I love that method of starting to sew!!
sandi says
i'm so embarrassed. how can you get to the age of 62, raise 4 kids, 16 grandkids, 5 great-grandkids, sew on 900 mega-gillion buttons, made a mega-million cuddle toys, and at least 300 million booboo healers, not to mention quilts stacked to the roof and not learned this trick. YOU ARE AMAZING, and have my attention forever. thanks.
Damjana at AppleGreen Cottage says
Sandi, hilarious - this is one of my fav comments I've ever gotten, thanks! And wow that's a lot of kids running around you! You must be a power machine to handle all that - and also manage to sew that many toys! (And quilts! I am in awe of anyone having so much discipline to finish a quilt, let alone a bunch of them!) Have a great day,