
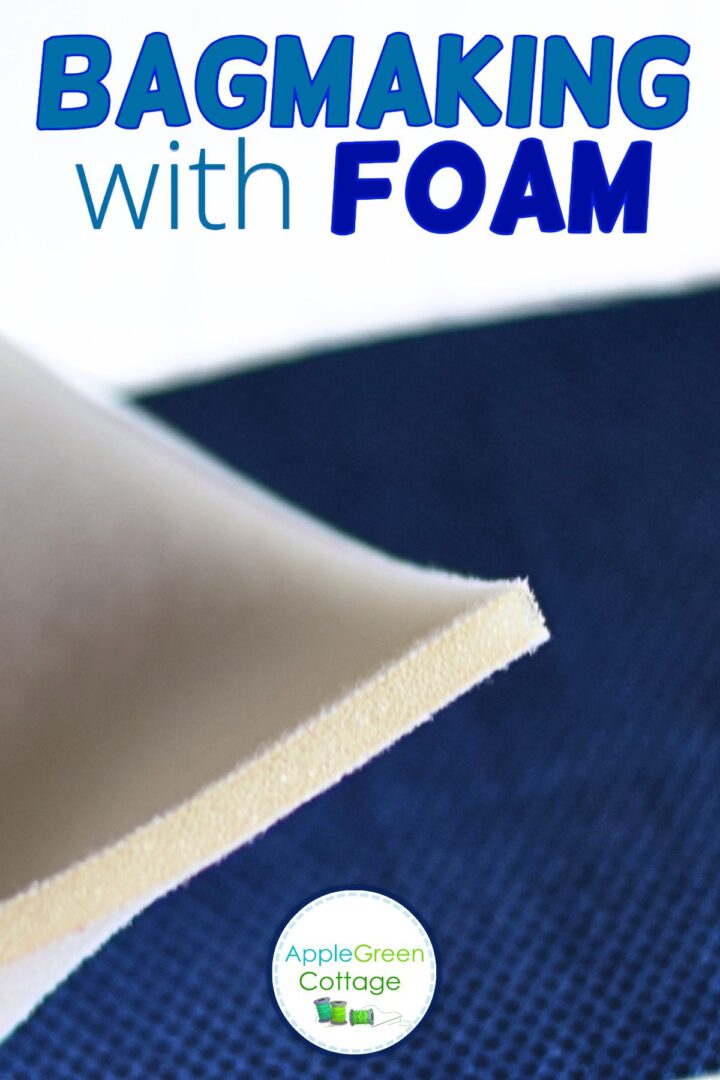
See how to sew bags with foam. If you've ever made a bag that felt a little too flat, a little too floppy, or just not quite as polished as you hoped, foam might be exactly what you need.
Foam is one of the easiest ways to give a bag more body, more shape, and that lovely finished feel that makes it look more professional.
And the good news? It's not hard to sew with once you know a few basics. Let's go over what bag foam does, how to use foam stabilizer, and how to get the best results.

New to bagmaking? Grab our FREE quick cheat-sheet:
Table Of Contents
- Prefer a deep-dive? Bagmaker's Interfacing Guide
- Why bagmakers love foam stabilizers
- What is fusible foam stabilizer
- + FREE Glasses Case
- How To Attach Fusible Foam
- What is Sew-In Foam Stabilizer
- How To Sew Non-Fusible Foam?
- Foam Stabilizer Projects Ideas
- Foam vs Decovil Light
- Your Questions Answered
- Free Quick-Start CHEAT-SHEET
- Prefer a deep-dive? Bagmaker's Interfacing Guide
Want to go deeper?
Prefer a deep-dive? Bagmaker's Interfacing Guide
Foam is a fantastic choice for bags because it works with almost any material - quilting cotton, nylon, vinyl, cork, or faux leather. Especially if you've already sewn a few bags, foam is a wonderful next stabilizer to try.
Why bagmakers love foam stabilizers
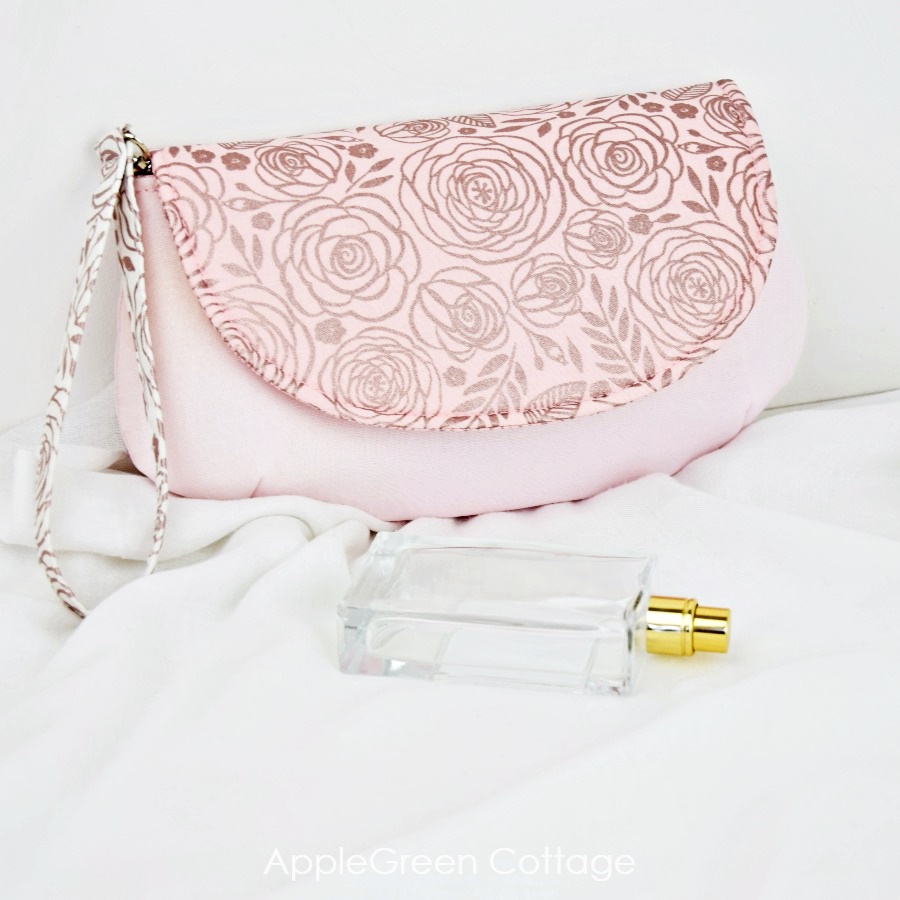
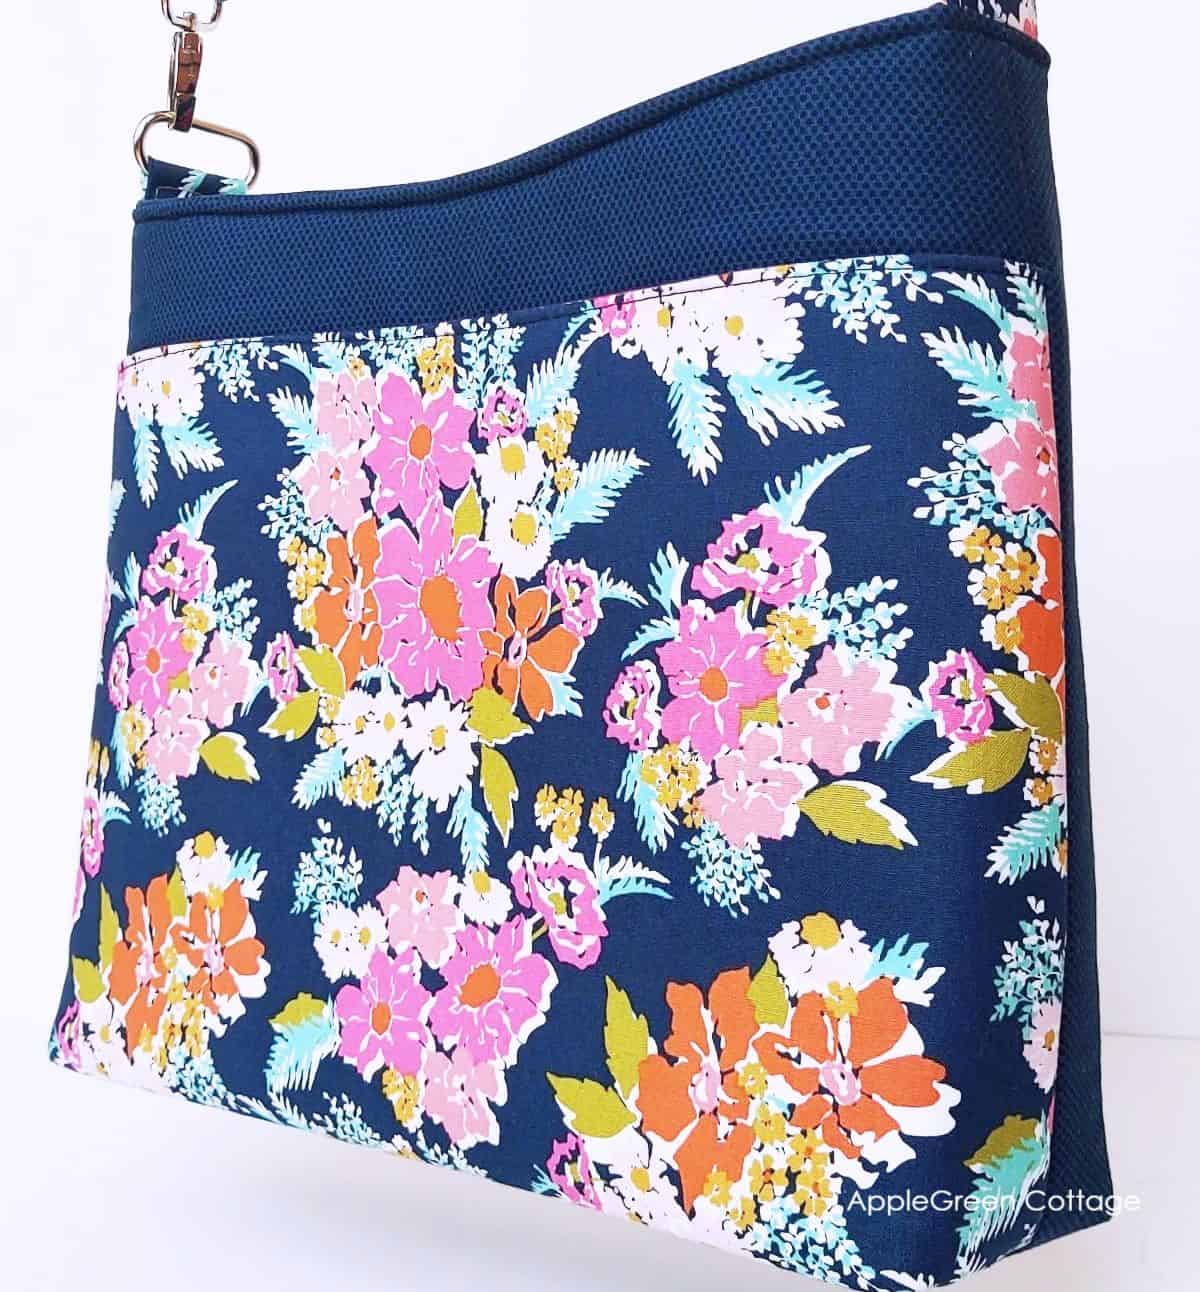
Foam gives a bag body, shape, and a softly padded feel without making it stiff. That is why it works so well for handbags, travel bags, pouches, quilted bags, and larger bags that should hold their shape. The bag just bounces back after being squished, yay! Like this foam-backed GLAM GIRL Purse:
What is fusible foam stabilizer
Fusible foam is a soft foam stabilizer with a heat-activated adhesive on one side, so it can be pressed onto fabric. I used fusible foam on my free glasses case pattern:

+ FREE Glasses Case
How To Attach Fusible Foam
Cut the foam slightly smaller than the fabric. Many bag patterns (mine too) have separate pieces specifically for foam/stabilizers, and this makes it easy to cut them smaller.
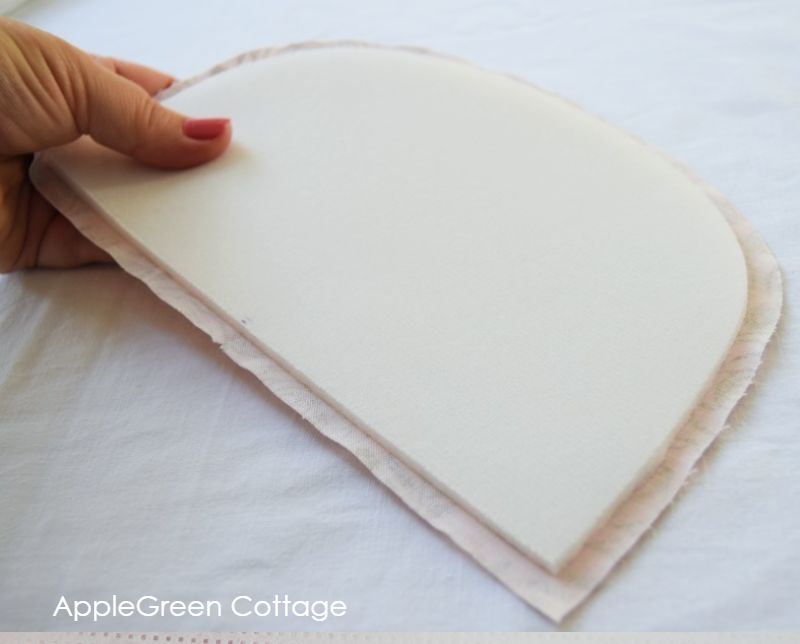
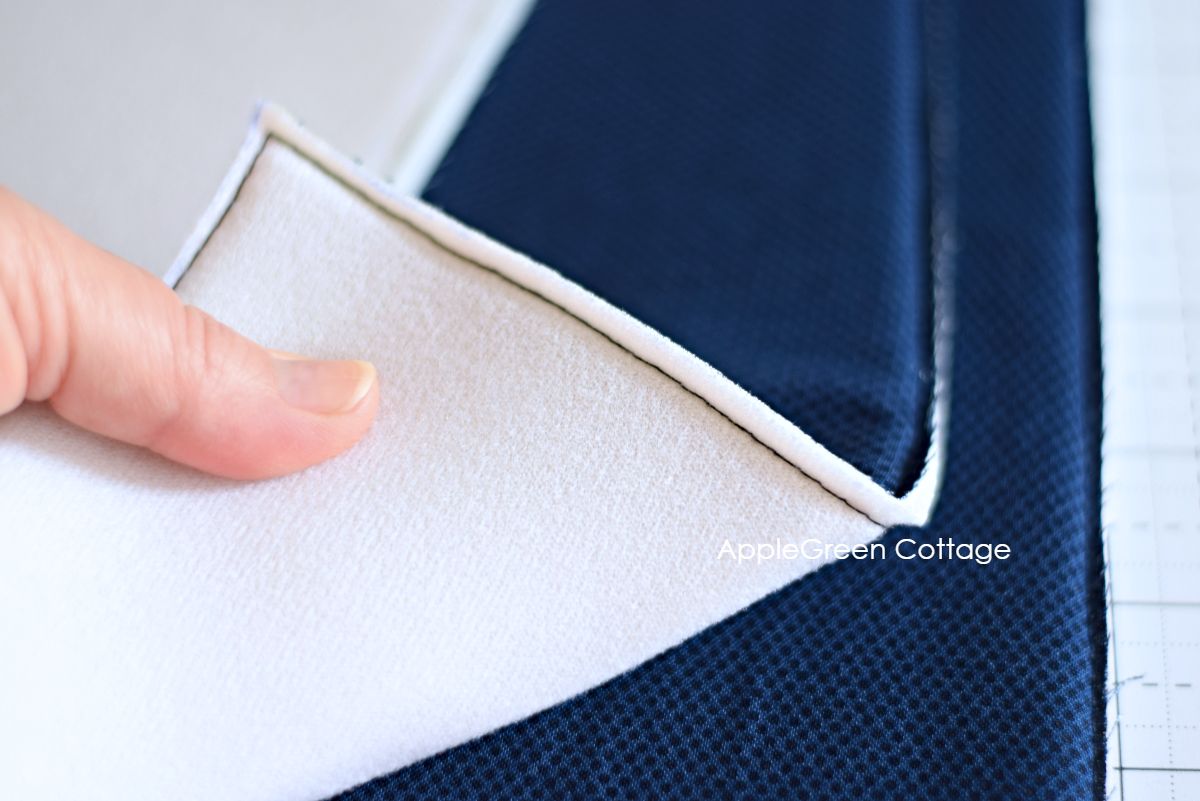
If you don't have a separate (smaller) pattern piece for stabilizer, cut a regular size piece and then trim off the seam allowance before you fuse the piece to your fabric, like shown in the image below.
Then simply fuse the foam to the back of your fabric (can be interfaced already). Make sure to read the manufacturer's instructions for fusing.
What is Sew-In Foam Stabilizer
Sew-in foam is, like the fusible one, usually made of soft polyurethane foam, often laminated to a thin fabric layer on one or both sides:

I made one of my SIRINA bags using foam:
How To Sew Non-Fusible Foam?
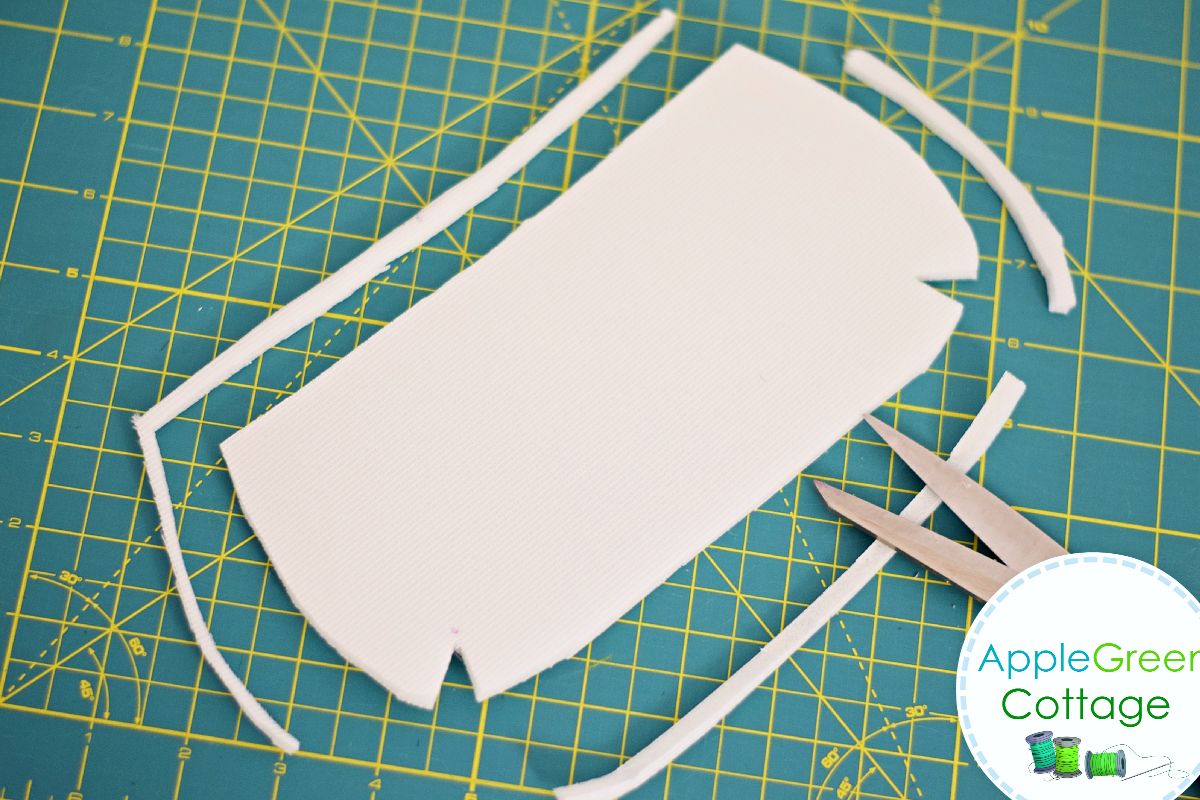
If you use the non-fusible foam, you cut the same size as your fabric, then baste in place, and then sew the layers together. After that, you cut the foam around the seam so you have as little excess left as possible when you assemble your bag. My go-to sew-in foam is Style-Vil.
Foam Stabilizer Projects Ideas

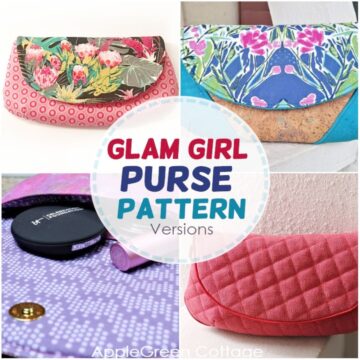
You can also check out my GLAM Girl Purse pattern if you want to give fusible flex foam a try.
When not to use foam for bags
Foam is usually not the best choice for:
- very small wallets
- tiny pouches with many layers
- places where you need crisp folds
- projects that should stay flat rather than padded
In those cases, other stabilizers will be a better fit.
Foam vs Decovil Light
Foam and Decovil Light give very different results. Foam feels softer and more cushioned, while Decovil Light gives firmer structure. Want more on Decovil Light? See my full article about Decovil in bagmaking.
How to Quilt Foam for Bagmaking
- Cut the fabric and foam a little larger than needed.
- Layer and baste them together.
- Quilt the layers.
- Cut the final pattern piece after quilting.
Quilting shrinks the piece a little, so this order gives you the right size in the end.
Your Questions Answered
Not necessarily. Foam does not need to be fully fused to the fabric to work well. Many bagmakers simply hold it in place with quilting, basting stitches, or temporary spray adhesive. That is one reason sew-in foam is so popular.
I love fusible foam, but mainly use it on smaller pieces like the curvy GLAM GIRL purse. However, some bag makers will stay away from foam if it's fusible, as it will sometimes cause wrinkles on the fabric if you're using lightweight materials, say quilting cotton.
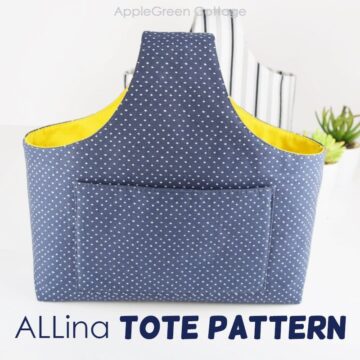
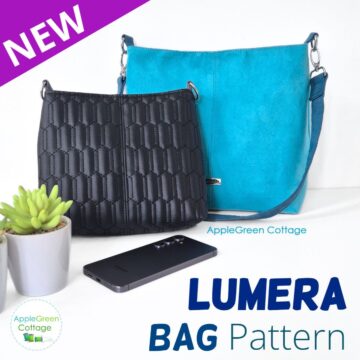
Foam is not usually the very first stabilizer I'd suggest for a first bag. But once you've made a few bags and feel comfortable with basic construction, foam can be a wonderful next step. This Lumera bag is a beginner friendly project you can easily try with foam.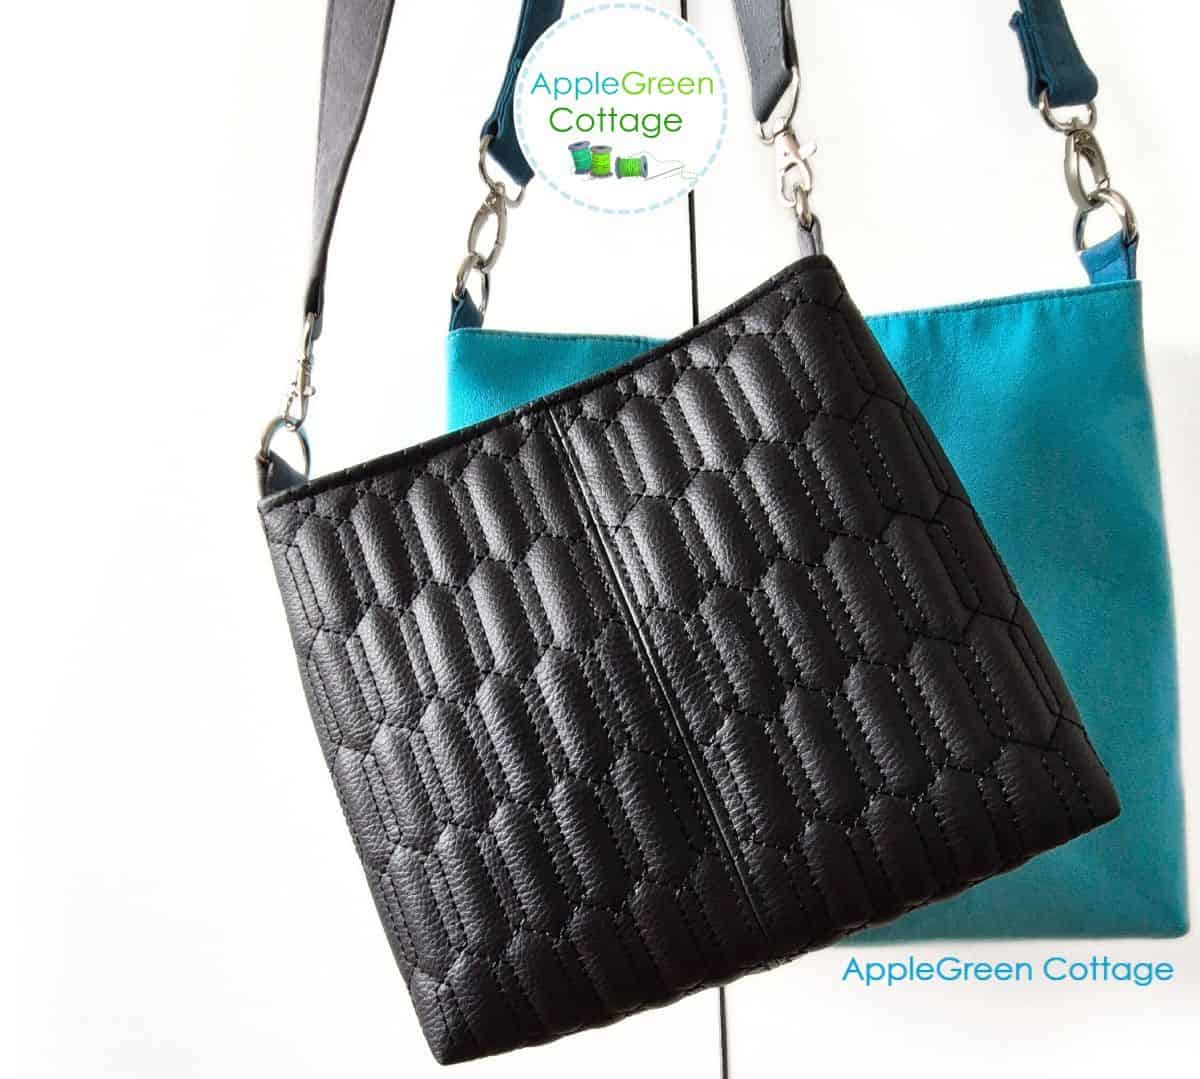
Foam is bulky, but surprisingly easy to sew with. The only thing to think about is to keep it out of seam allowances so the layers do not get too thick. Your sewing foot can only be lifted to a certain height - and that is limited with domestic sewing machines.
Conclusion
Foam is one of the cool ways to upgrade the feel of a handmade bag. It adds body, shape, and softness in a way that makes a project feel more finished right away. Not every bag needs it. But for many bags, it can make all the difference.
If you've been curious about sewing with foam, I hope this gives you a clear place to start.
Free Quick-Start CHEAT-SHEET
Want to skip the interfacing overwhelm? Get my Quick-Start CHEAT-SHEET- a simple 2-page PDF to help you choose the right interfacing for your first few bags:
Prefer a deep-dive? Bagmaker's Interfacing Guide


Leave a Reply