
See how to quickly and easily change the needle on your sewing machine. With clear, step-by-step photos this will be an easy task! At the end of this tutorial, you'll also find a quick printable step-by-step list you can use to change your needle in less than a minute! If you need more details, I also added additional tips that will make you a pro, instantly!
Whether your sewing machine needle has broken or is dull and needs changing for you to start working on a new sewing project, this tutorial is perfect for you.
Table Of Contents
Now, I'm guessing you've just gotten a sewing machine and you'd like to start using it. Here's where I can help! One of the most important things you'll need to know as a beginner sewist is how to change the sewing machine needle. It's a simple but essential skill to use a sewing machine. But first, this:
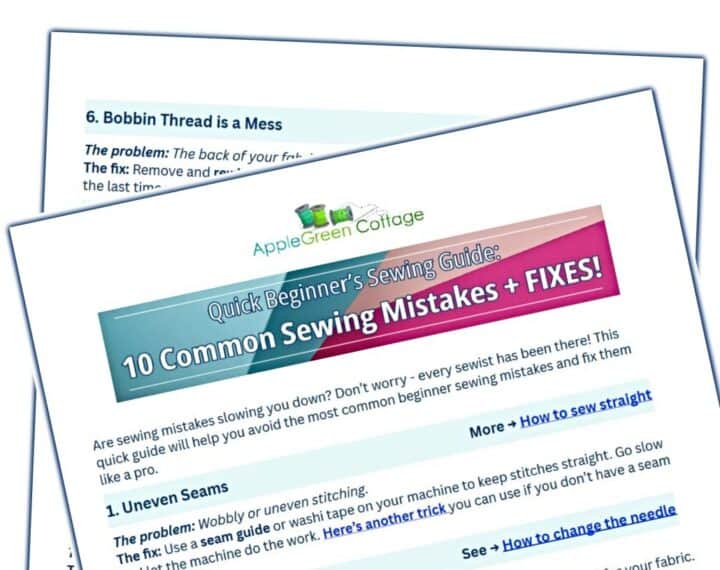
Quick-Fix Sewing Mistakes - Beginner Guide
Stop Sewing Mistakes - Grab Your Quick-Fix Guide Now! ✂️
In this tutorial, we'll guide you step-by-step on how to change the needle on a sewing machine. You'll learn how to do it safely and quickly. No fuss, and the best thing: it's nearly the same on all brands of household sewing machines. Later on, you can also see how to put thread into the sewing machine.
So, let's get started and learn how to replace the sewing machine needle!
How to replace a sewing machine needle in 8 easy steps
One thing is clear, you cannot sew without it. See these easy steps on how to insert the needle into your new machine, or how to change a broken needle on your sewing machine.
Step 1 - Turn off the sewing machine
Turn off the sewing machine to work safely.
Step 2 - Top Needle Position
Raise the needle to its highest position using the hand wheel on the side of the machine. This will make it easier to pull out and replace the sewing machine needle.
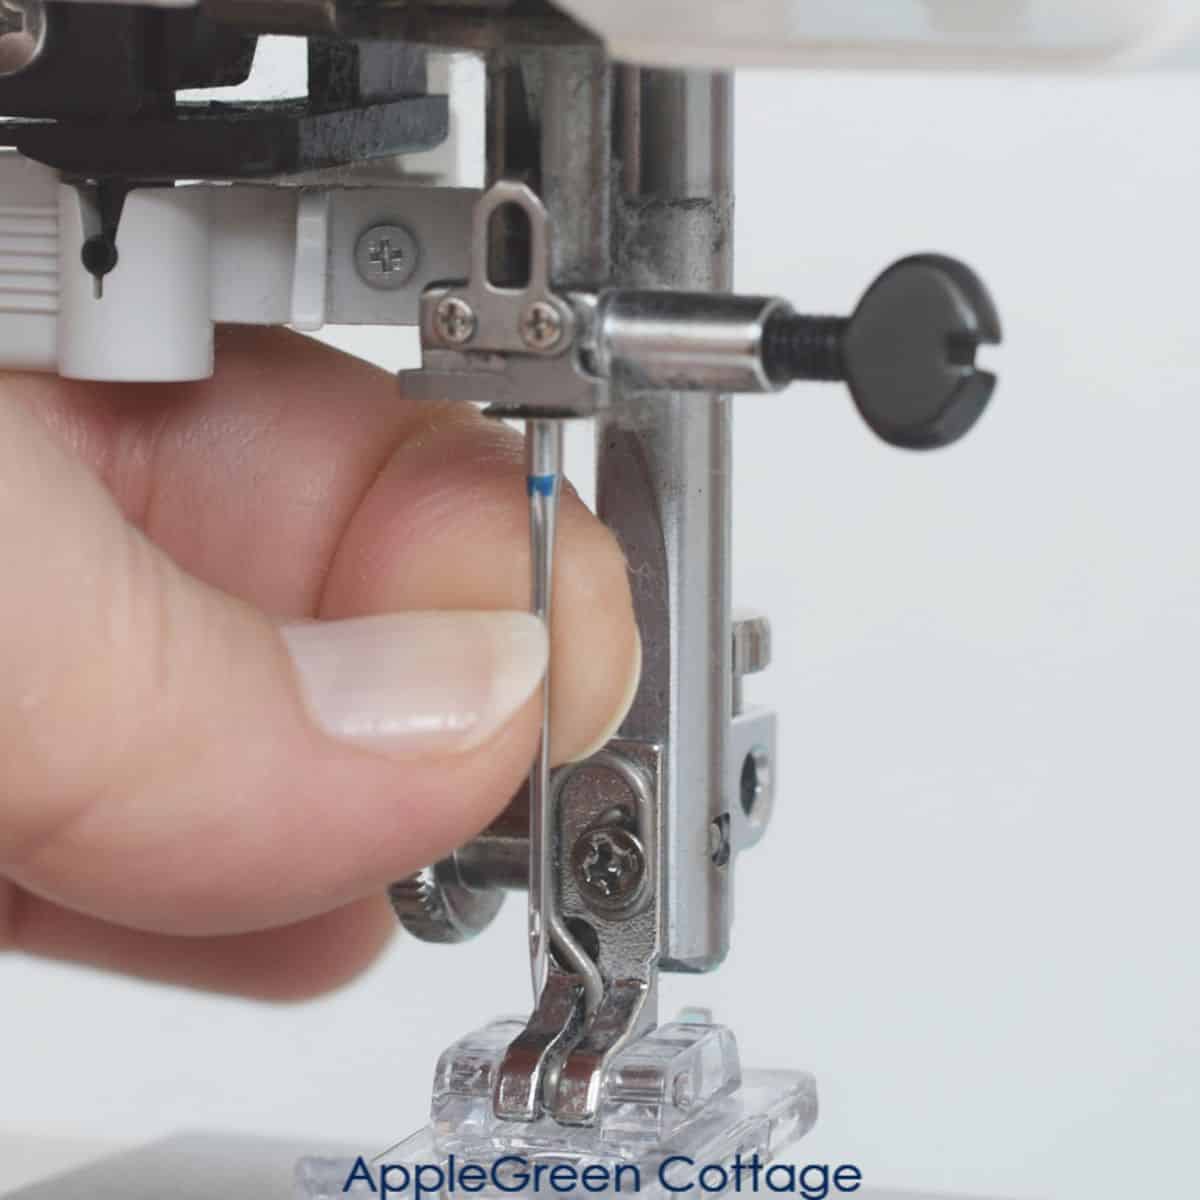
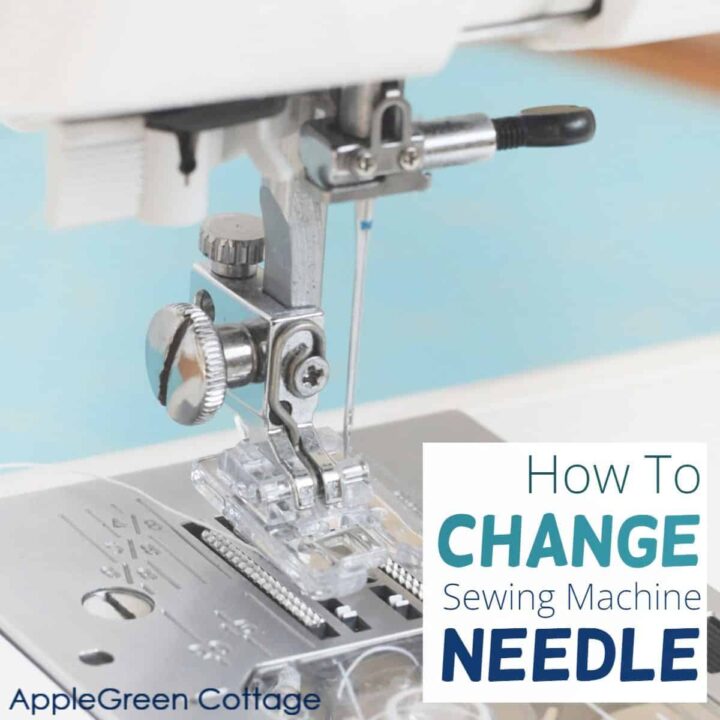
Step 3 - Loosen the clamp
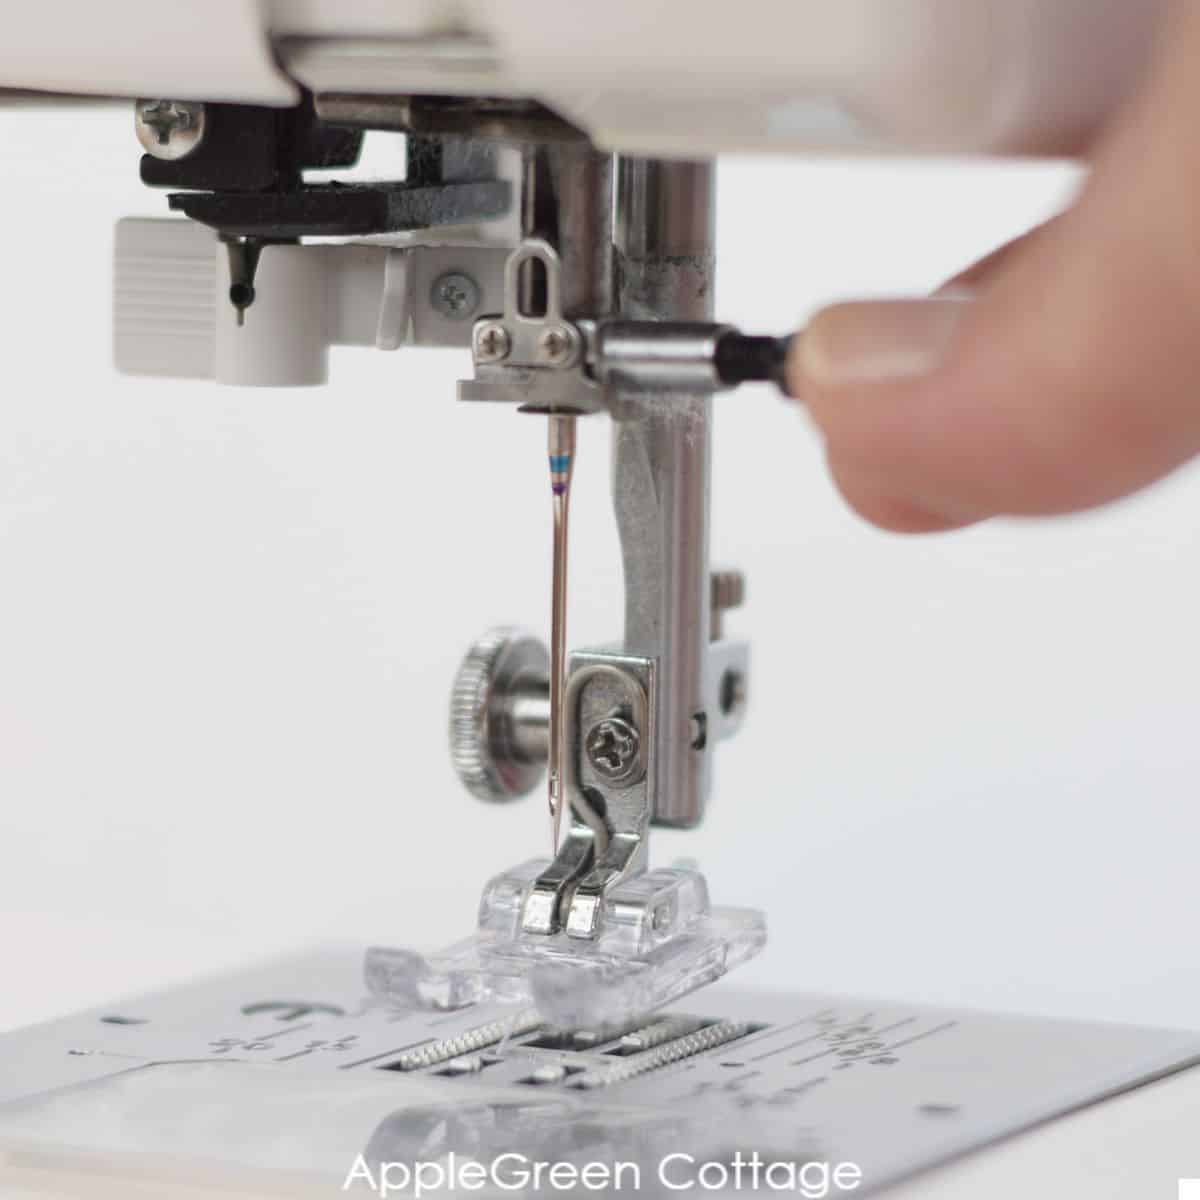
See the black clamp? That one is easy to turn with your fingers. You do not need any special tools, just turn the clamp a little and it will loosen. Also, at this point, I'll usually grasp the needle with the other hand to prevent it from falling out. (I couldn't here, because I was holding my camera 🙂
Step 4 - Remove the old needle
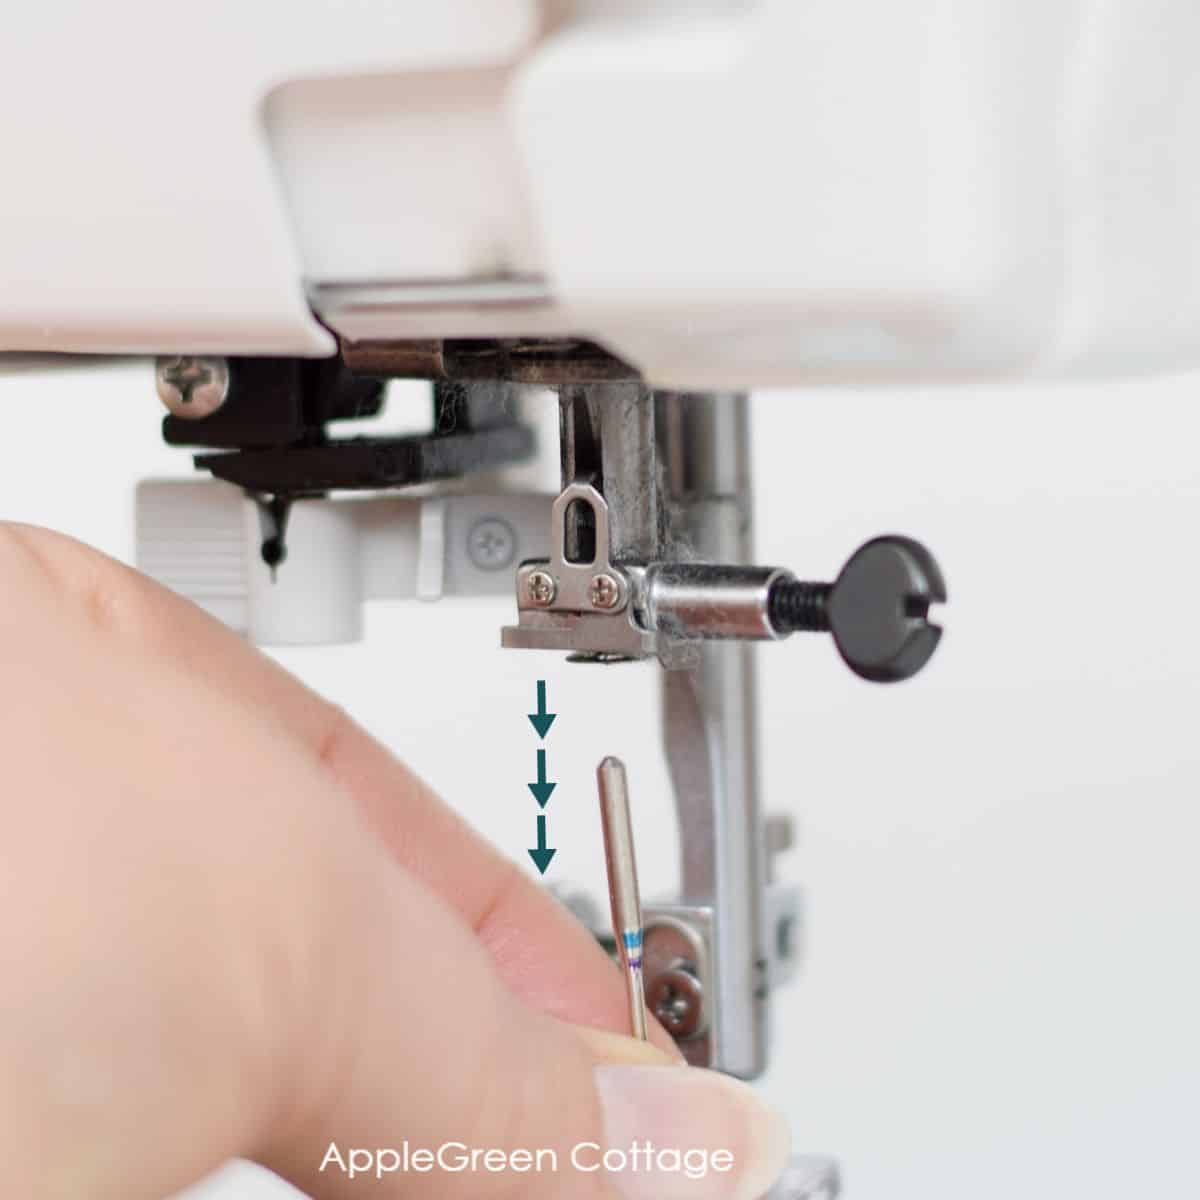
To remove the needle, carefully hold the needle and pull it down and out of the machine.
Step 5 - Position the new needle
Take the new needle and position it under the needle holder with the flat side facing away from you.
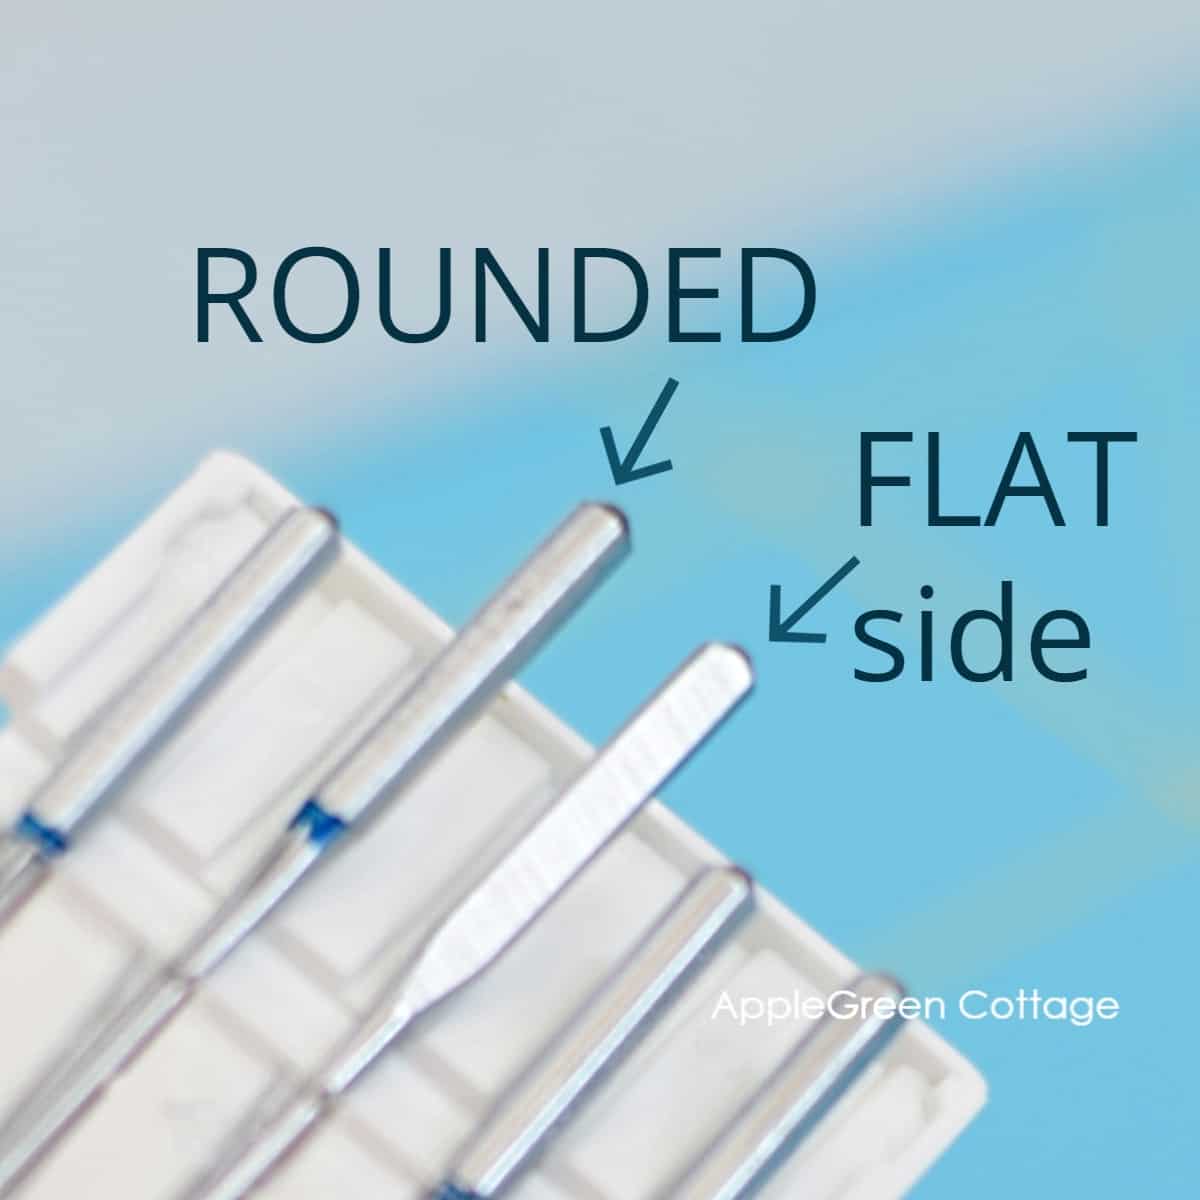
NOTE: You'll need to insert it with the flat side on the shank facing away from you - towards the back of the machine.
Step 6 - Place the needle into the needle holder
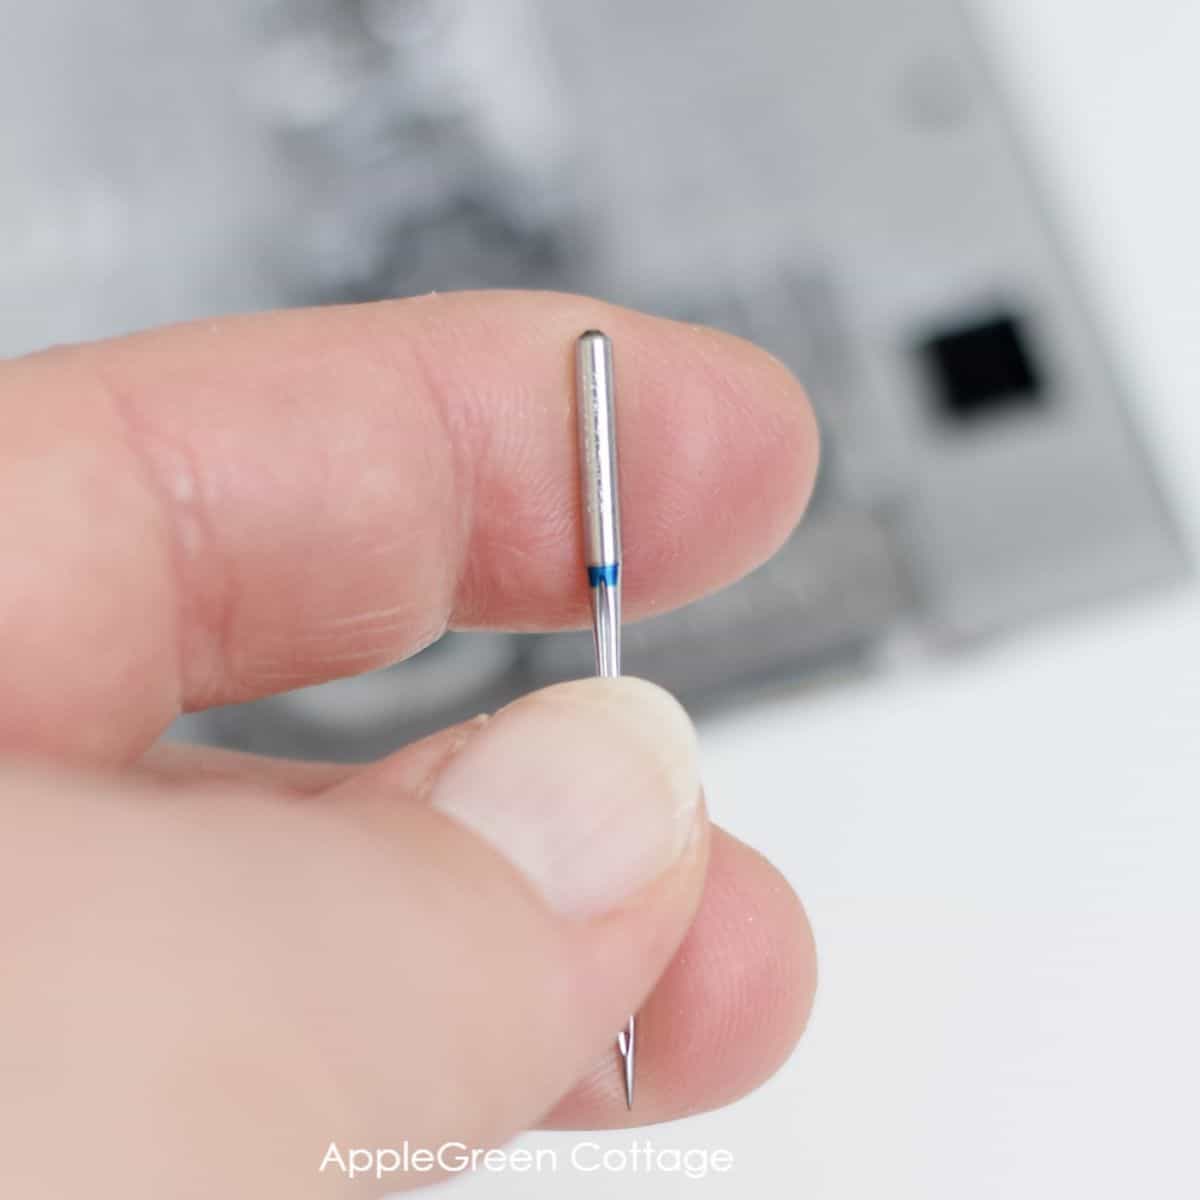
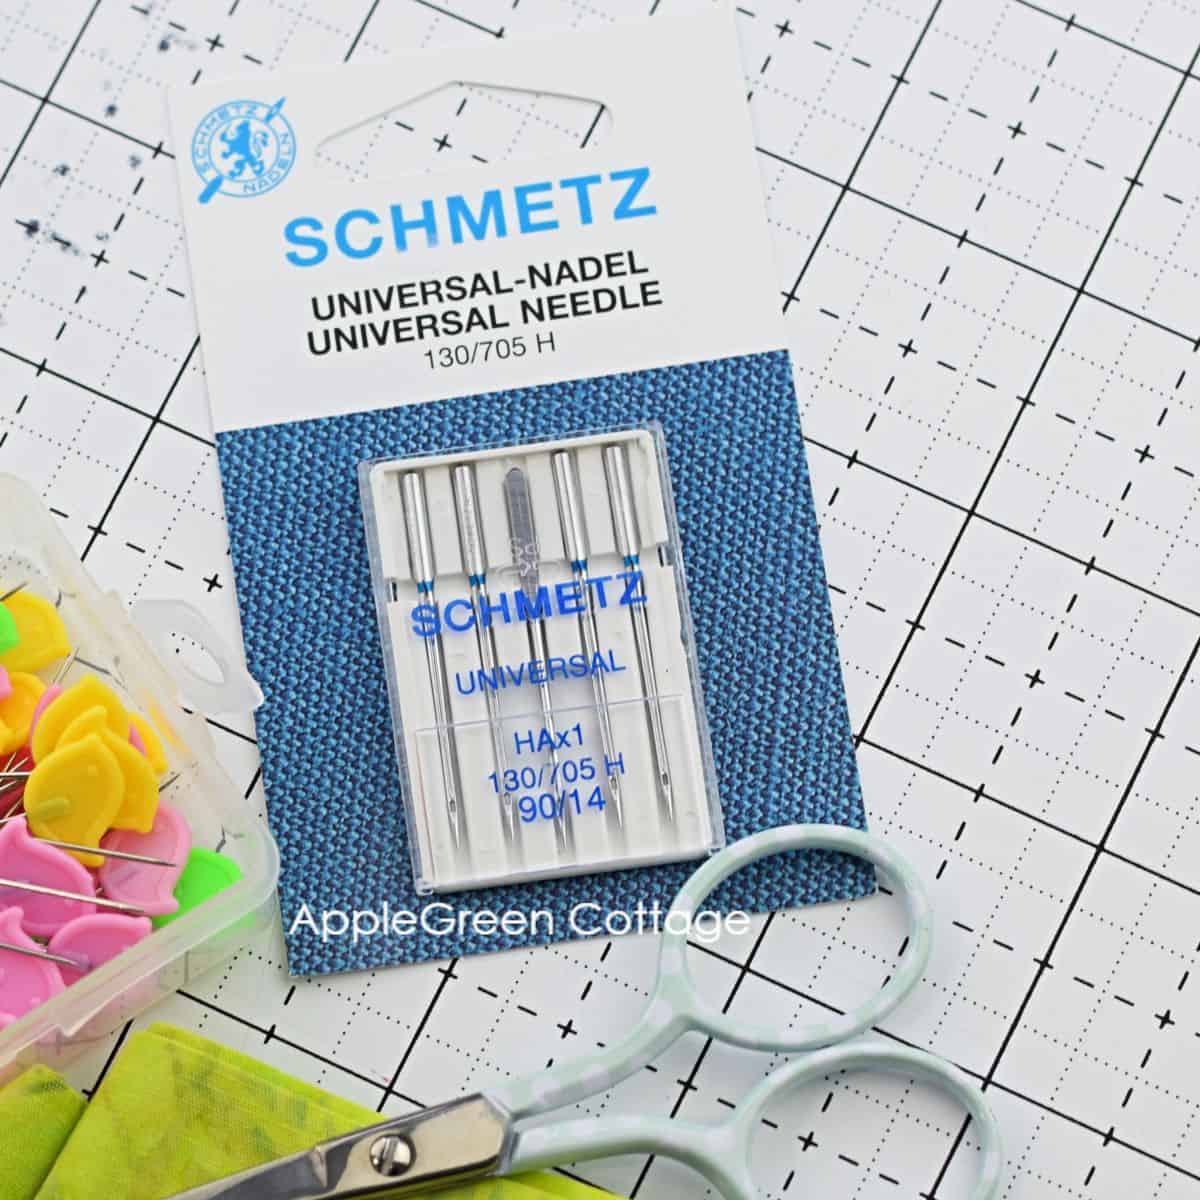
Now push the needle shank up into the needle holder gap, as far as it will go. What you see in the photo is a Schmetz universal needle, my favorite sewing machine needle brand. These have a blue line just below the shank.
Step 7 - Tighten the clamp
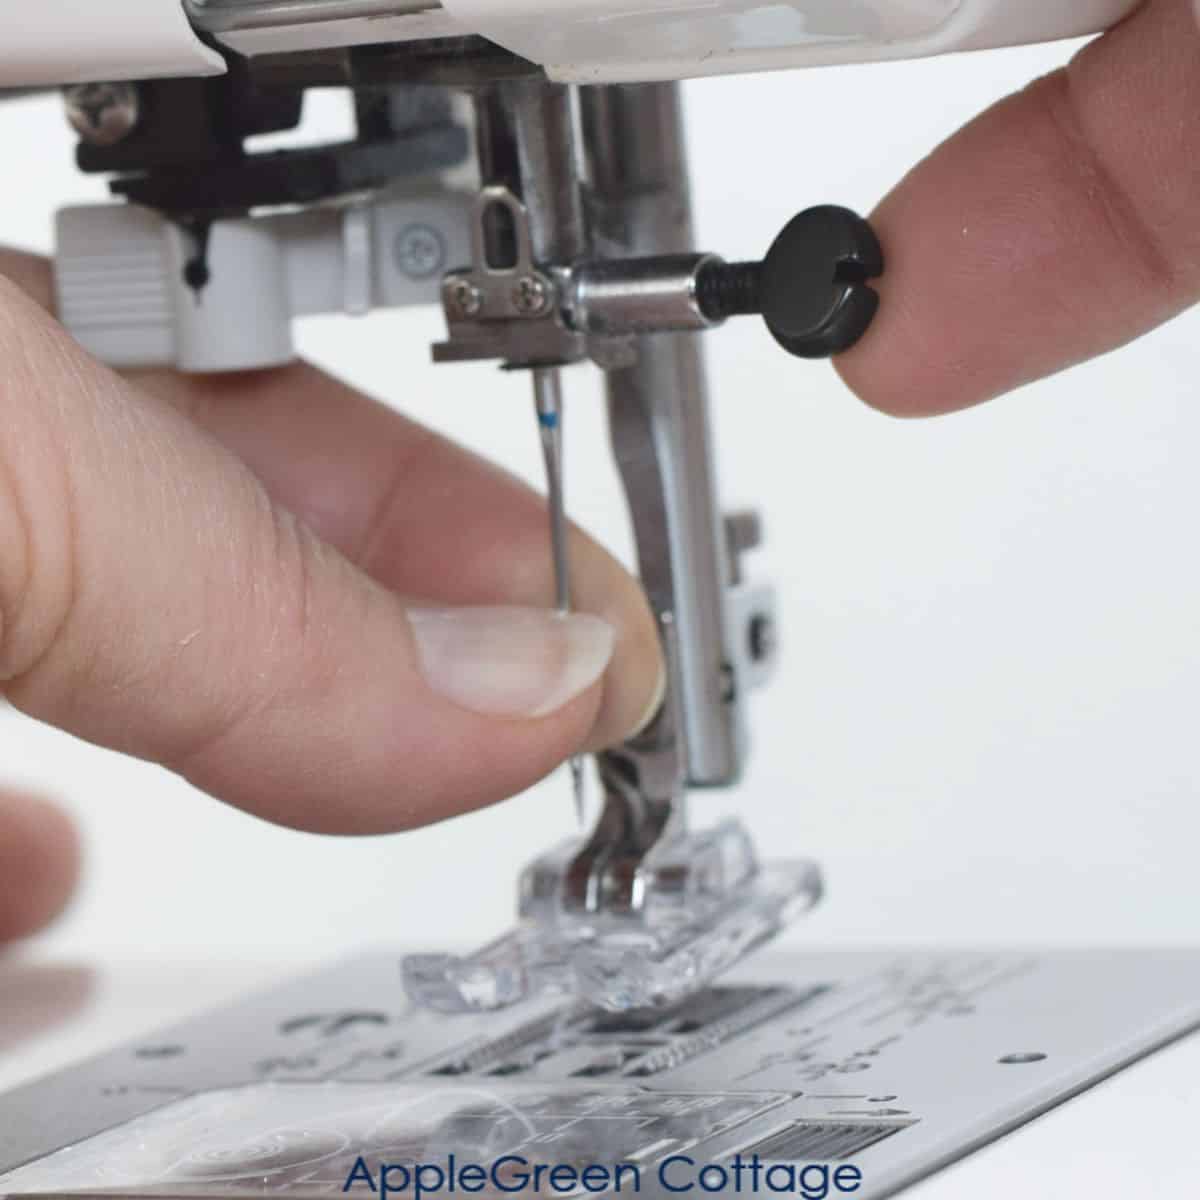
Tighten the needle clamp screw. The photo above shows how the clamp looks on my Janome sewing machine. It's flattened so you can turn it using your fingers, and the slight indentation enables you to use a screwdriver too.
Step 8 - Check!
Finally, double-check that the needle is firmly in place. One more thing I always do: I lower the presser foot and turn the hand wheel to make sure the needle clears the plate and moves smoothly.
That's it! Now, all you need to do is rethread your sewing machine needle. Make sure to place the thread from front to back through the eye of the needle. You should now be ready to start sewing - or sew your first straight seam on a sewing machine with your newly installed needle.
Tips On Sewing Machine Needle Change
Here are a few additional tips to make it even easier for you:
Which Way Do You Put a Needle in a Machine?
The blunt end of a sewing machine needle has a rounded side and a flat side.
You should place the needle into the machine with the flat side facing the back of the machine. This means that the rounded side should be facing forward.
When do you need to change the needle on a sewing machine?
A reader sent me an email asking how often should you change the sewing machine needles. (A great question, Lynn!): so, all in all, it's a good idea to change your sewing machine needle after every 8-10 hours of use.
This will ensure that your sewing machine works properly and produces good-quality stitches. Always change the needle if:
- needle becomes dull or bent
- after sewing with heavy or thick fabric, or
- this is a no-brainer: if the needle gets broken.
If you sew a lot with heavier textiles, leather, and upholstery fabric, it's good to get specialty needles, and probably also a stronger sewing machine - check out this budget heavy duty sewing machine review.
On which sewing machine brands can I use this tutorial for changing the sewing needle?
Since the mechanics related to the changing of the sewing machine needle is pretty much the same on all sewing machines, you can use it on the majority of the general home sewing machines - this tutorial is also useful if you're looking for information on how to change the needle on a Brother sewing machine, or on changing the needle on a singer sewing machine.
It can also be used for most other brands of sewing machines, including Janome, Juki, Pfaff, Bernina, and many others.
What size needle should I use for my fabric?
Sewing machine needles come in a variety of sizes. The type of needle you should use for your fabric will depend on the weight and type of fabric you are using.
When choosing needles consider that the smaller the number, the lighter weight fabric, and thread you should be using. Here are some general guidelines:
| Needle sizes | Which fabric to use it for |
|---|---|
| 60/8 and 70/9 | or light-weight fabrics such as silk, chiffon, and organza |
| 80/12 and 90/14 | medium-weight fabrics such as cotton, linen, and rayon - I love the 90/14 size for quilting too. |
| 100/16 and 110/18 | heavier fabric like denim, canvas, and upholstery fabric |
Always test your needle and thread on a scrap of fabric before beginning your project to ensure that your stitches look neat and even. 90/14 is my favorite size in general, for sewing with quilting cotton.
What type of needle should I use for my fabric?
There are several types of sewing machine needles, each designed for specific fabrics. Here are some common types:
- Universal needle: Suitable for sewing most woven and knit fabrics.
- Ballpoint needle, and stretch needle: Ideal for sewing knit fabrics as it pushes through the fabric without piercing and damaging the fibers.
- Jeans needle: Designed for sewing heavy-weight fabrics like denim, canvas, and upholstery fabric. I love using it for bagmaking projects when I have to deal with several layers. It gives my machine a bit more leeway in dealing with thick layers.
- Leather needle: Used for sewing leather, suede, and vinyl.
- Quilting needle: Features a special tapered point, making it ideal for piercing multiple layers of fabric, batting, and stabilizers commonly used in quilting.
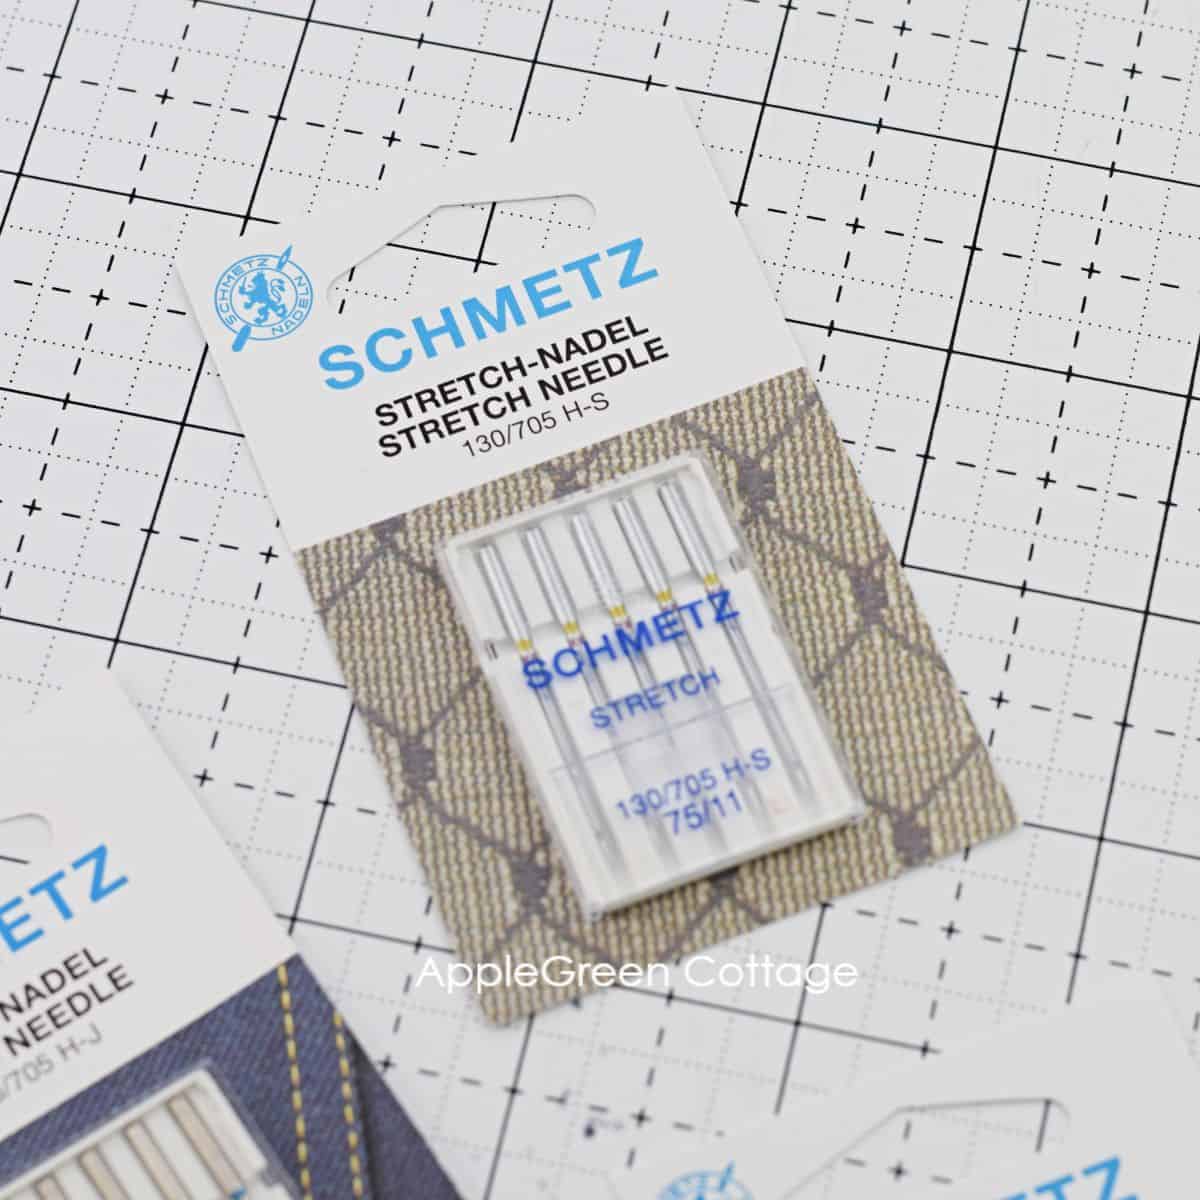
Use a ballpoint or stretch needle with knit fabric
Please note that while you can often use a universal needle in place of any specialty needle, you can't with knit fabrics. Knit fabrics, such as jersey, interlock, and rib knit require a ballpoint needle or a stretch which will prevent the needle from piercing and damaging the fabric fibers.
What is the most common sewing machine needle?
My recommendation: Schmetz universal needle, size 80/12 or 90/14. This is a sewing needle that will get you through most of your sewing projects.
Printable Steps
Print Steps
How To Change the Sewing Machine Needle - 8 EASY Steps
See how to change the sewing machine needle in 8 steps
Materials
- a new sewing machine needle
Instructions
- Turn off the sewing machine.
- Raise the needle to its highest position using the hand wheel on the side of the machine.
- Loosen the needle clamp by turning the screw on the side of the needle holder.
- To remove the needle, carefully hold the needle and pull it down and out of the machine.
- Take the new needle and insert it into the needle holder with the flat side (shank) facing away from you - towards the back of the machine.
- Now push the needle up into the gap, as far as it will go.
- Tighten the needle clamp screw.
- Finally, double-check that the needle is firmly in place. One more thing I always do: I lower the presser foot and turn the hand wheel to make sure the needle clears the plate and moves smoothly.
Notes
See the tutorial for additional tips to make it even easier.
Recommended Products
As an Amazon Associate and member of other affiliate programs, we earn from qualifying purchases.
Conclusion
Don't forget to share this tutorial with your friends and family who are also starting their sewing journey. And for those searching for this information on Google, the keywords "sewing machine needle", "how to change a needle on a sewing machine", and "sewing for beginners" will bring them right to this tutorial.

Join the FREE 6-part email guide and make super easy diy GIFTS - each in 30 minutes or less! You'll love it!


Leave a Reply