
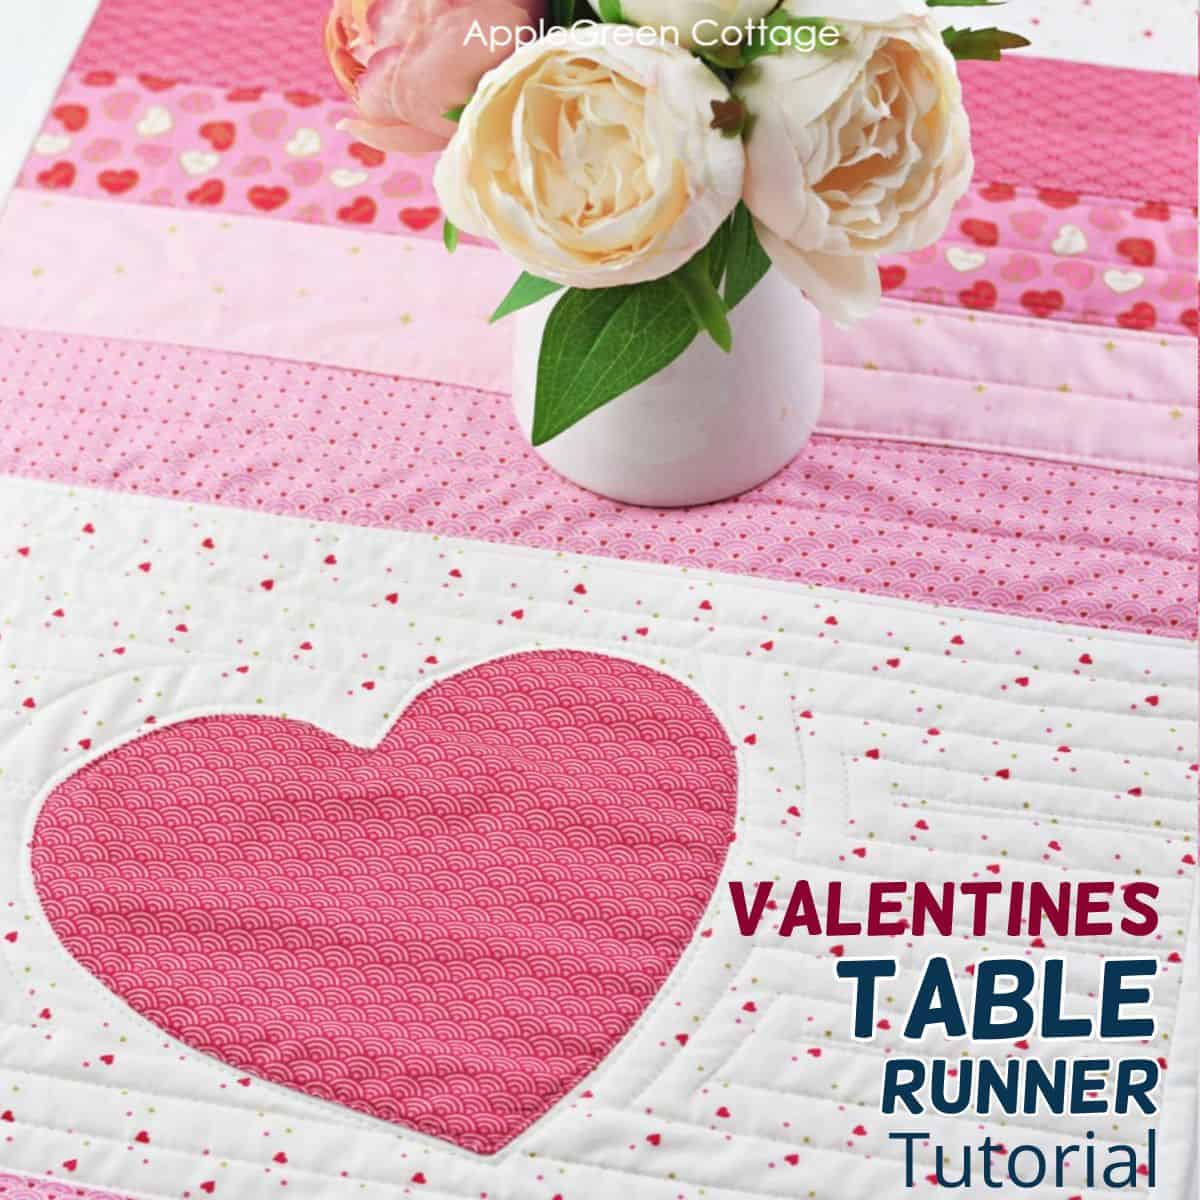
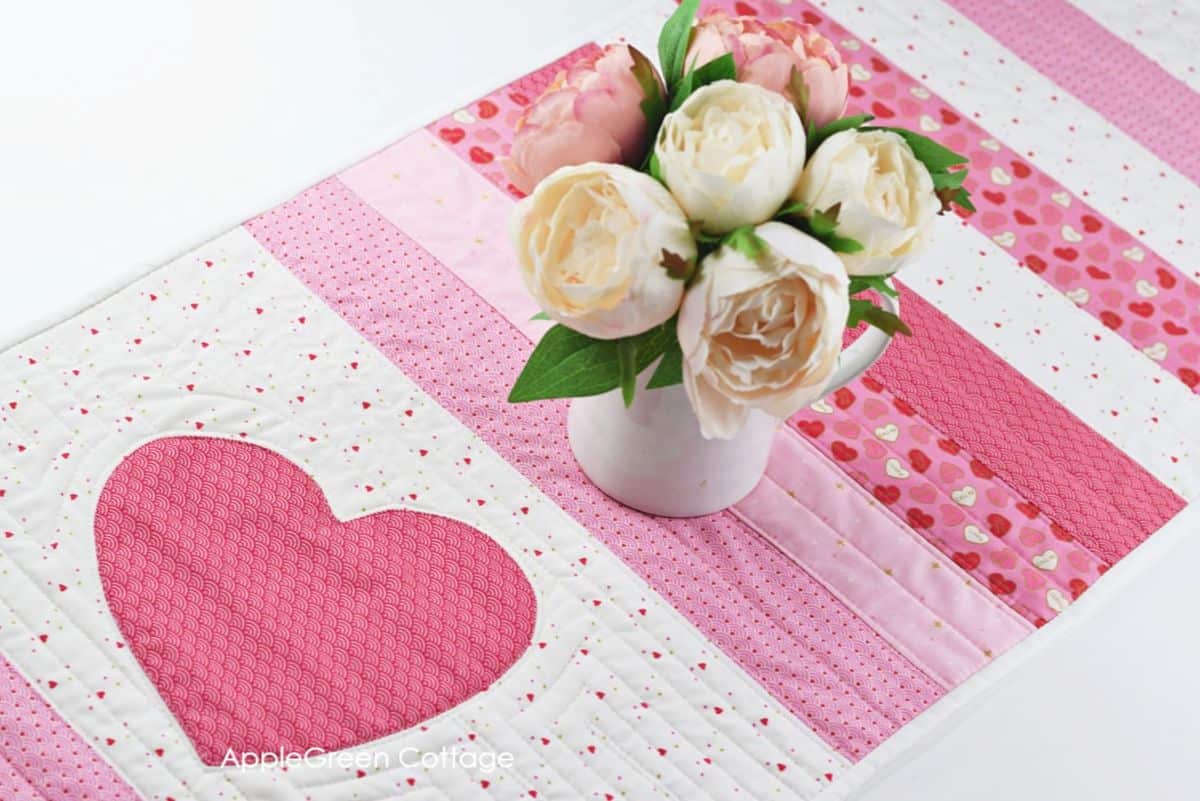
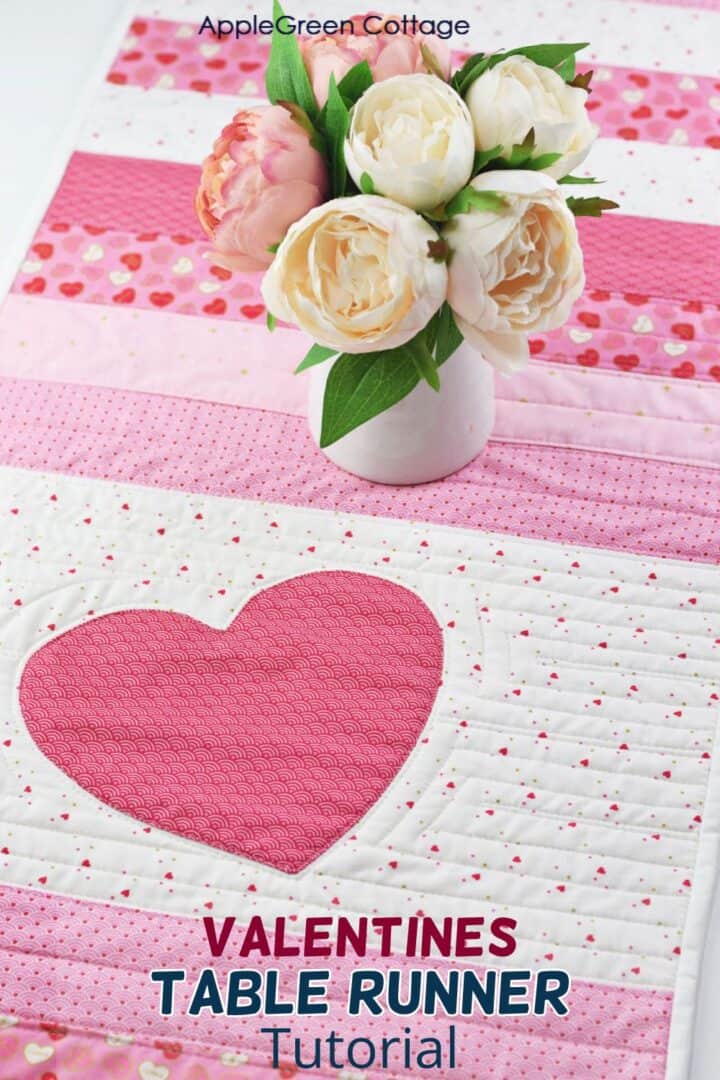
Create a beautiful quilted Valentine table runner everyone will love. This easy quilted table runner pattern is perfect for beginners, and one of my favorite valentine sewing projects. See why!
I already have a few handmade table runners, but it couldn't hurt having one just for the occasion, right? This is an easy valentine's day sewing project that is sure to impress - and I wanted you to be able to remake it.
The tutorial below will show you how to make a Valentine table runner with straight seams and a simple heart applique - scroll down to get the free printable heart template, too.
Prefer a pieced heart block? Check out my heart square quilt block tutorial!
Want a printer-friendly option of the whole tutorial without ads? See the → optional PDF file in our shop.

This tutorial is also part of Printable Tutorials BUNDLE
100 PDF tutorials now, and growing!
Table Of Contents
This Valentine's Day runner is such a lovely way to showcase different fabrics, little by little. And you definitely can't go wrong with a heart design for Valentines, right!
Why you'll love this table runner project
- Simple, beginner-friendly construction
- Great for using up fabric scraps
- Saves on yardage
- A pretty, no-fuss décor piece you can use every day
This easy quilted table runner with heart applique uses up all those scrappy strips of lovely fabric you couldn't throw out but didn't know what to do with. You do need half a yard piece for the backing though, but that's the only large piece you'll need in this project.
If you've been following Applegreen Cottage for a while, you know that I love qayg techniqe. Really easy, and I love the results. Always! The quilt as you go construction makes this Valentines table runner a great beginner quilting project.
You can find out more about quilting as you go here - and how to use this technique pretty much anywhere. But let's get back to our quilted runner idea. Also, don't forget to check out our new, popular SewPretty HOME series:

Join the FREE 7-part email course and make 6 beautiful items for your home! You'll love it!
What is the size of this Valentines table runner?
This table runner quilt finishes at 40" by 16" - I chose this particular size for several reasons. First, your backing can be cut on WOF so you don't need to buy extra fabric yardage. And secondly, the width of the quilt-as-you-go table runner is just right to use any fat quarters you might have in your stash.
TUTORIAL - Steps
Here is a step-by-step tutorial for making a quilted table runner for Valentine's Day:
Step 1 - Fabric Selection
Gather your materials: fabric for the top and bottom of the runner, and batting. This is how I chose my fabric:
- select the fabric pieces in colorways that will work best for your project. (either similar or contrasting, whatever you like best), mine are in the red-pink-white range
- keep in mind that one larger piece of print or solid will need to be the background for the heart applique (10 ½" by 18")
Make sure the area for the heart applique has a print that will give you enough contrast to the fabric print you chose for the heart applique. I chose white print.
To help you choose your color scheme for the front of your table runner, here's mine, from the Mint for You collection by Melissa Mortenson:
If you have scraps left, also consider sewing up a few matching diy coasters. So pretty, and easy too!
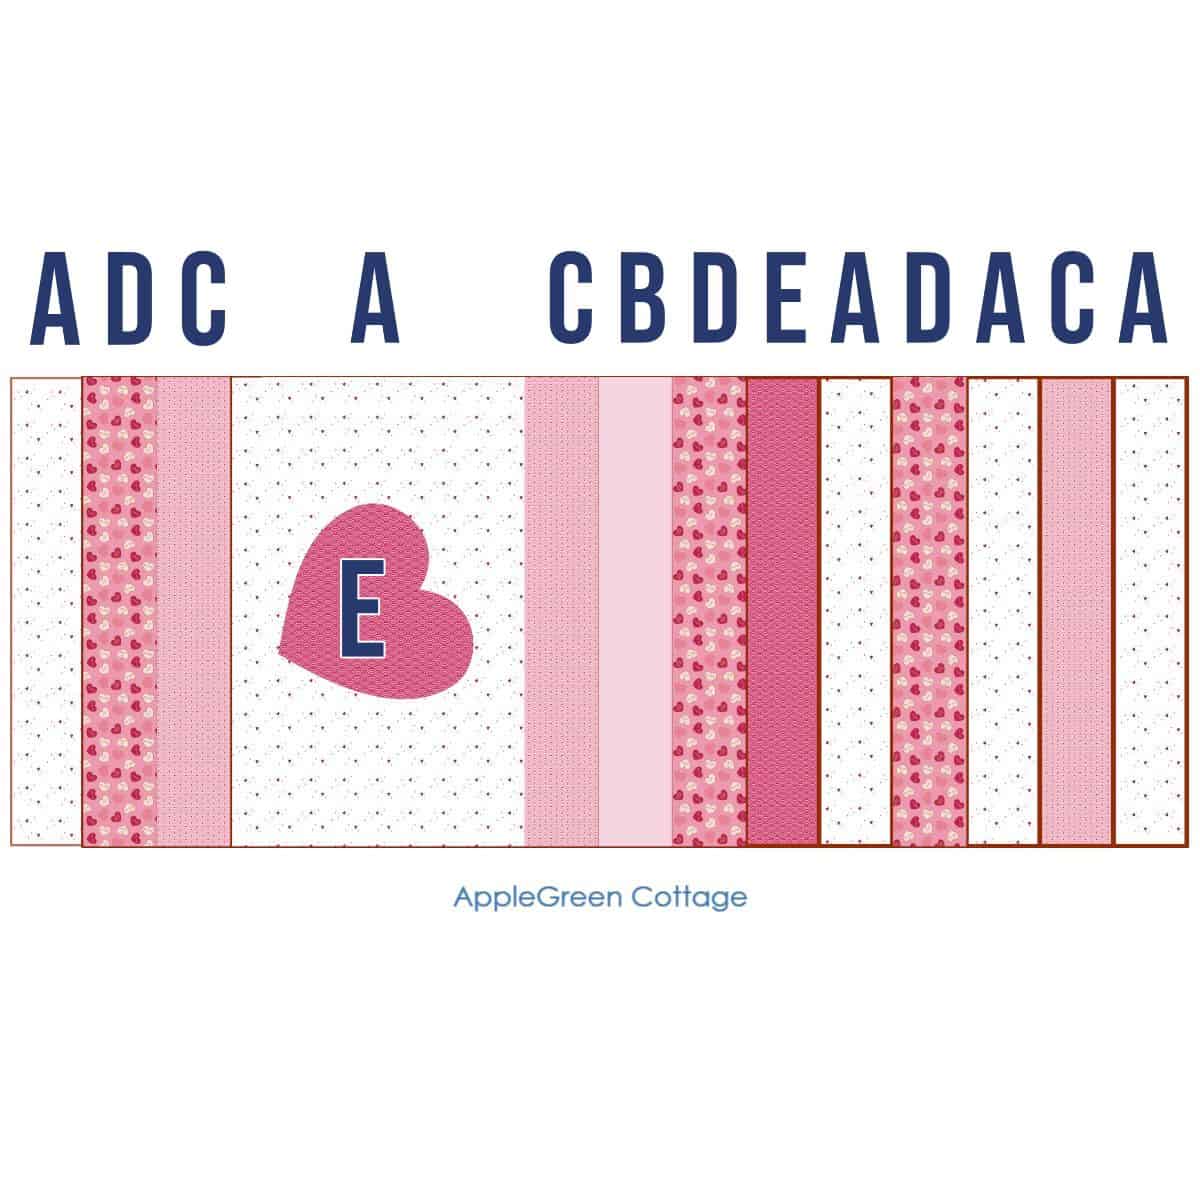
Step 2 - Cutting Instructions
What I did was simply use twelve 18" by 3" strips plus a larger piece, 10 ½" by 18" block of the loveliest little Sprinkle Hearts print. And added a heart applique in red.
Cut:
- (one) piece 10 ½" by 18" in White Sprinkle Hearts print as background for your heart applique
- (12) strips of 18" by 3":
- 4 strips in White Sprinkle Hearts print (Fabric A)
- 1 strip in Light Pink (Fabric B)
- 3 strips in Blender Pink (Fabric C)
- 3 strips in Pink Conversation Hearts (Fabric D)
- 1 strip in same fabric as the Heart shape (Fabric E)
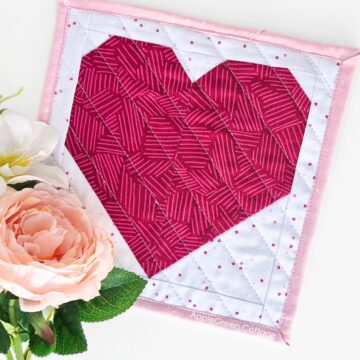
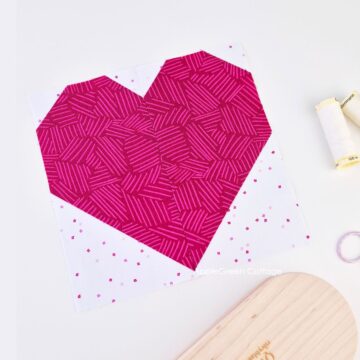
- Plus, you'll need one 8" by 8"piece of Fabric E for the heart applique. Click through to the mug-rug tutorial to get a free heart template in several sizes.
For the heart applique, you'll also need roughly the same size thin fusible interfacing - thin, soft and pliable, I use Vilene H200.
Batting and backing: cut a piece of 43" by 19" from the backing fabric and from batting, respectively. If your fabric has at least a 43" width, you can cut on WOF - and save on yardage. That's what I do.
Binding: you'll need to cut 3 stripes from the width-of-fabric and sew it together to get approximately 130" or 3.5 yards of binding. I used Cloud White solid by Riley Blake Designs. (Might be my favorite white in the fabric world!)
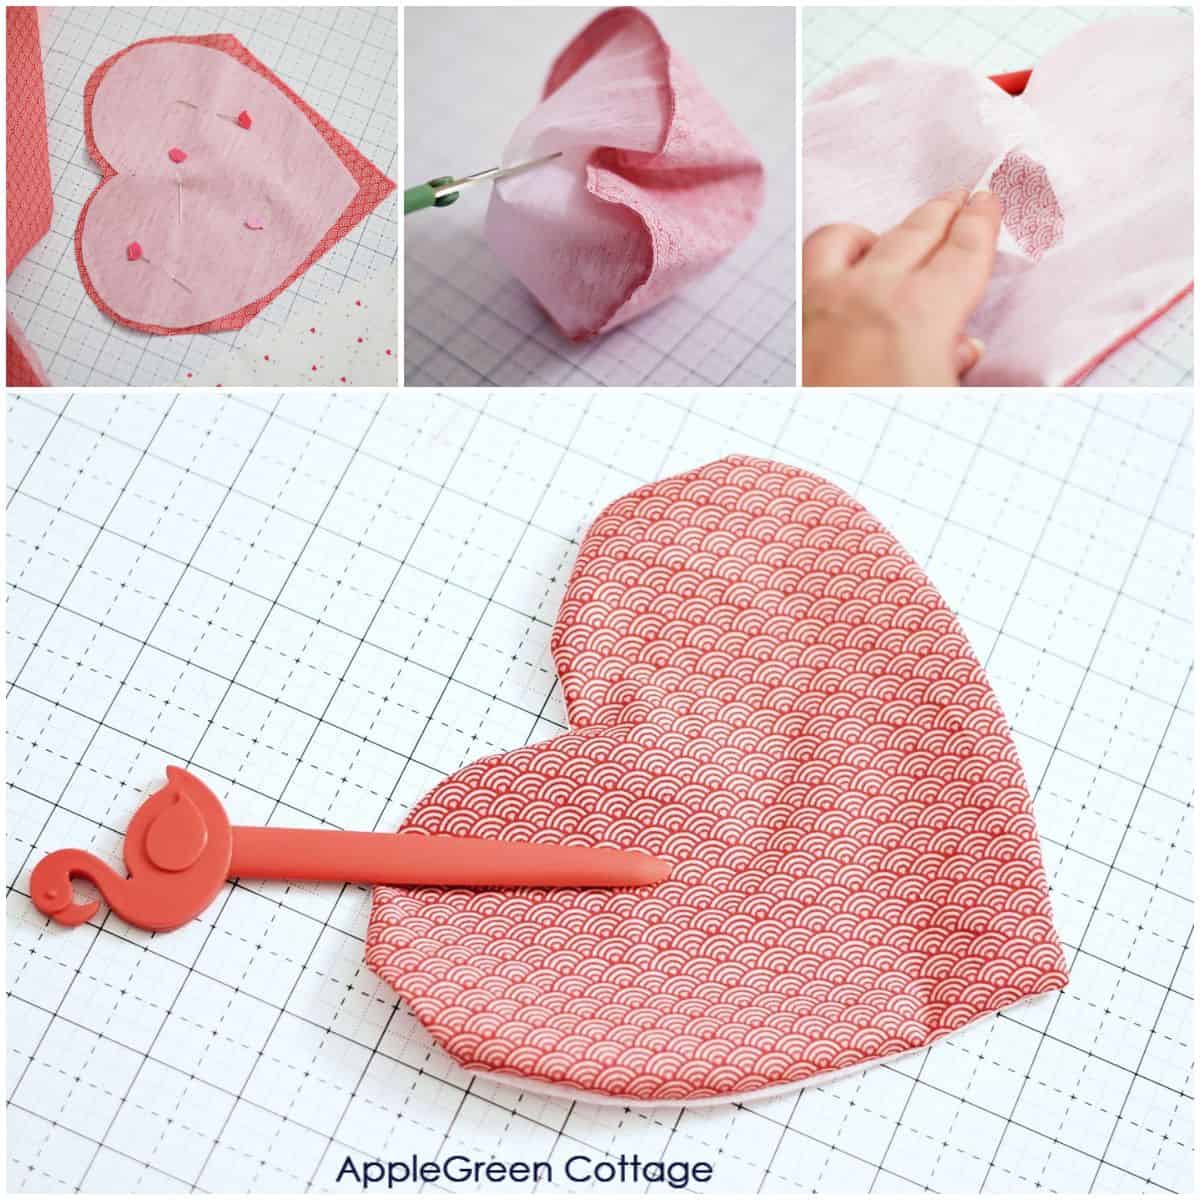
Step 3 - Make a Heart Applique
If you decide to add a heart applique like mine, feel free to follow this turned applique tutorial - I also used the largest size heart template from this appliqued mug rug tutorial.
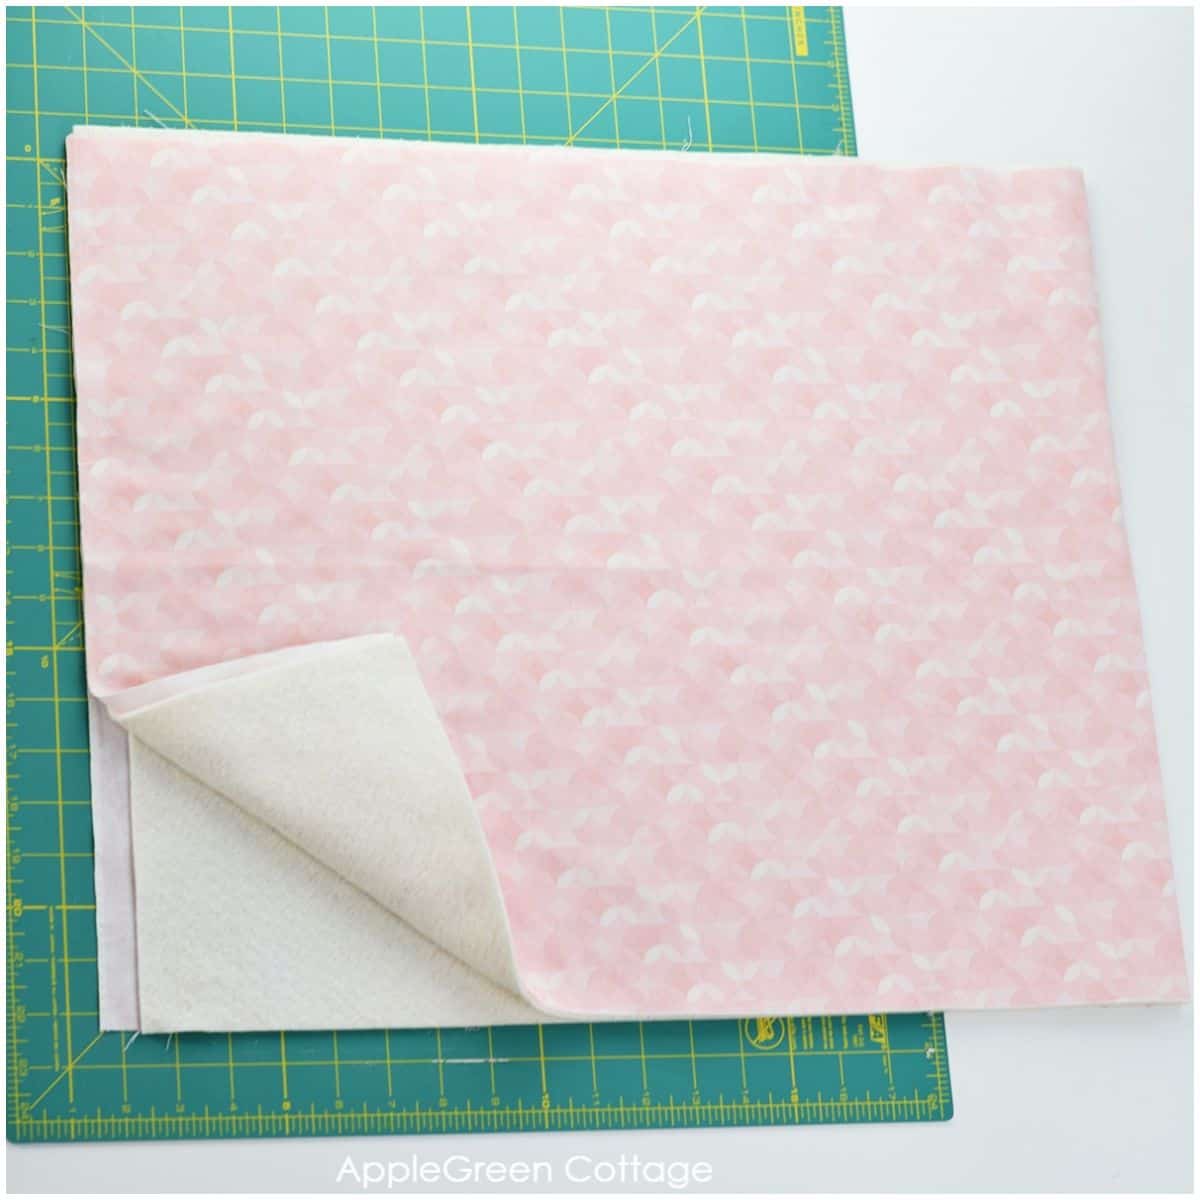
Step 4 - Prepare batting and backing
Place your backing fabric on a flat surface, right side facing down. Press it so it's completely flat and without puckers. Then place the batting over it, it should be approximately the same size. I use a basting spray (one like Odif 505) to keep the two layers together.
Fold in half and mark the center crease line on bating.
Step 5 - Arrange Fabric Pieces

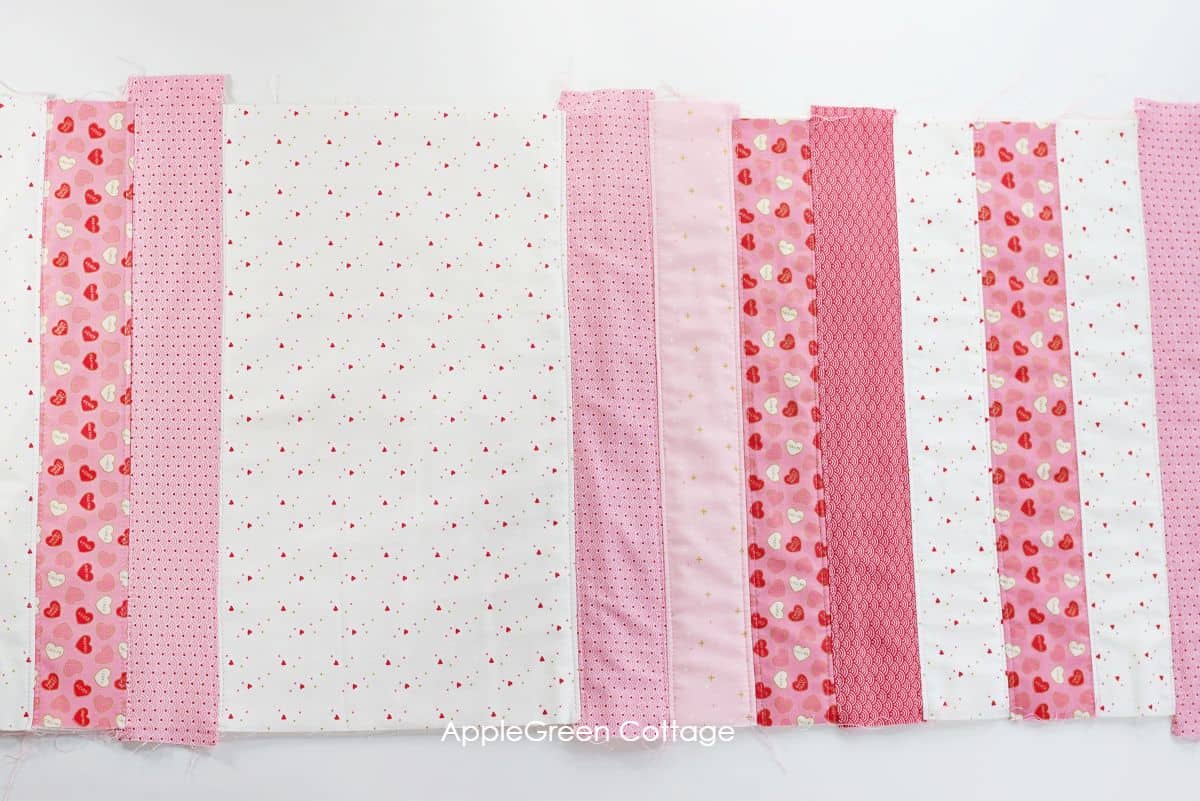
Arrange the strips in the order you want them to appear on the finished runner. From what I'll call the 'left' side of the runner, you'll have three narrow stripes, then the large piece, followed by the rest of the narrow stripes:

Move the strips to the side, away from batting, but keep them in order. First, you'll need the two strips in the center - the Light Pink (Fabric B) plus Blender Pink (Fabric C), see image above.
Step 6 - Attach The Central 2 Pieces
We'll start by attaching the fabric in the center. I highly recommend starting in the center as this will minimize shifting. To do so, place the Blender Pink (Fabric C) along the center line - right side up, and cover it by the Light Pink strip (Fabric B), so they are right sides together.
Then stitch using a ¼" (6 mm) seam allowance:
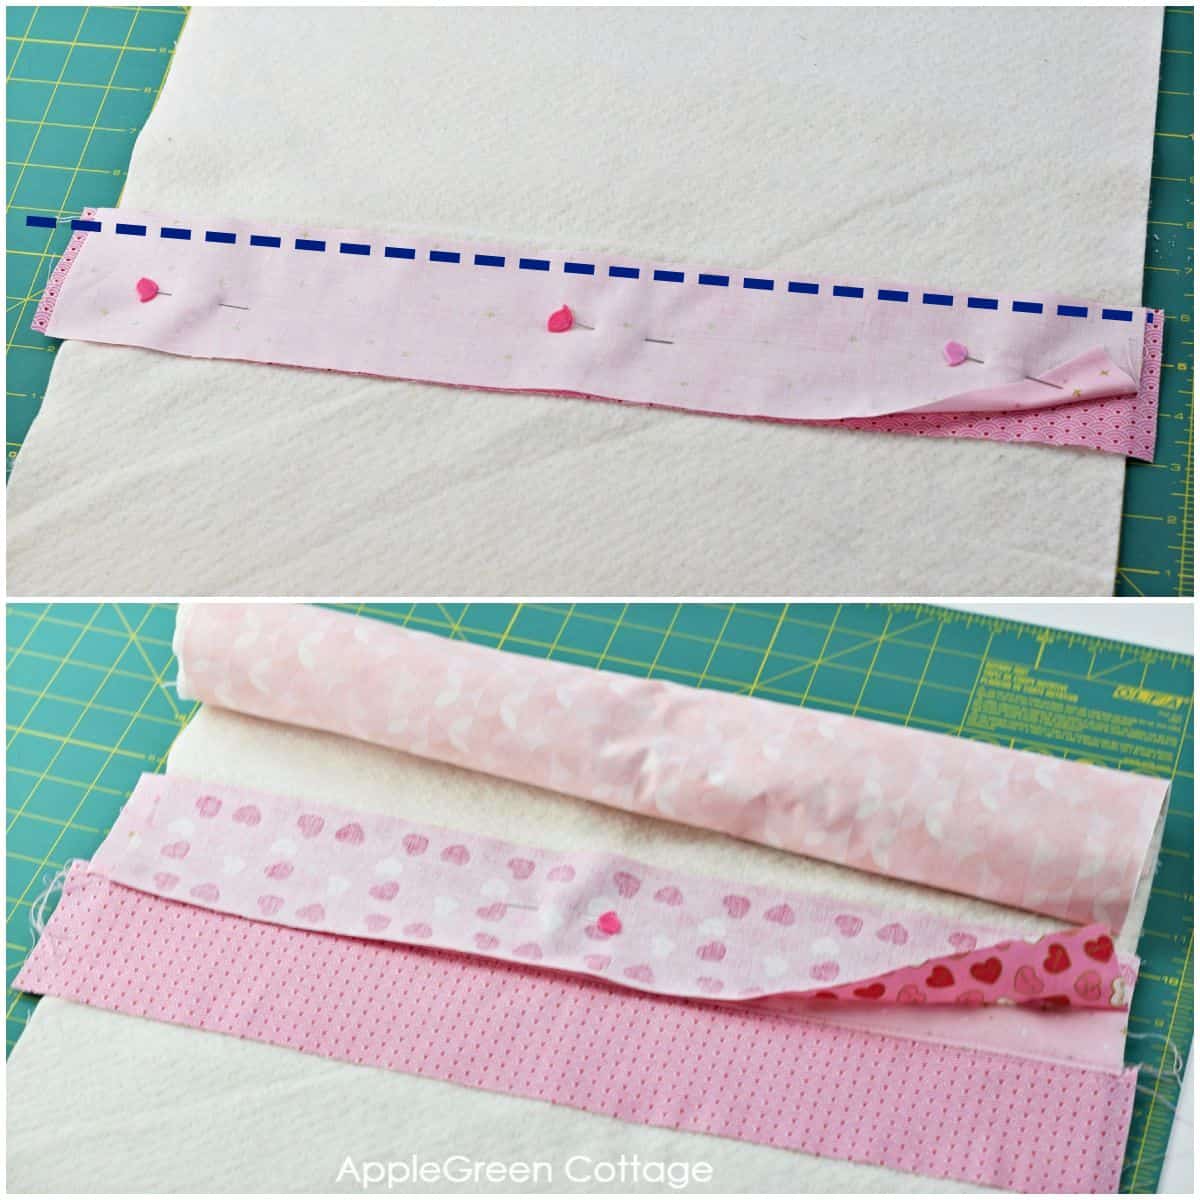
After you've sewn along the right edge of the fabric using a ¼" seam allowance (6 mm), open the pieces and press well. Also, I topstitch on both sides of the seam for stability.
Tip: It is helpful to roll the excess batting/backing from the right side, making it easier to fit into your machine.
Step 7 - Attach Strips to the right
Now we'll add all the remaining pieces from the right-hand stack the same way:
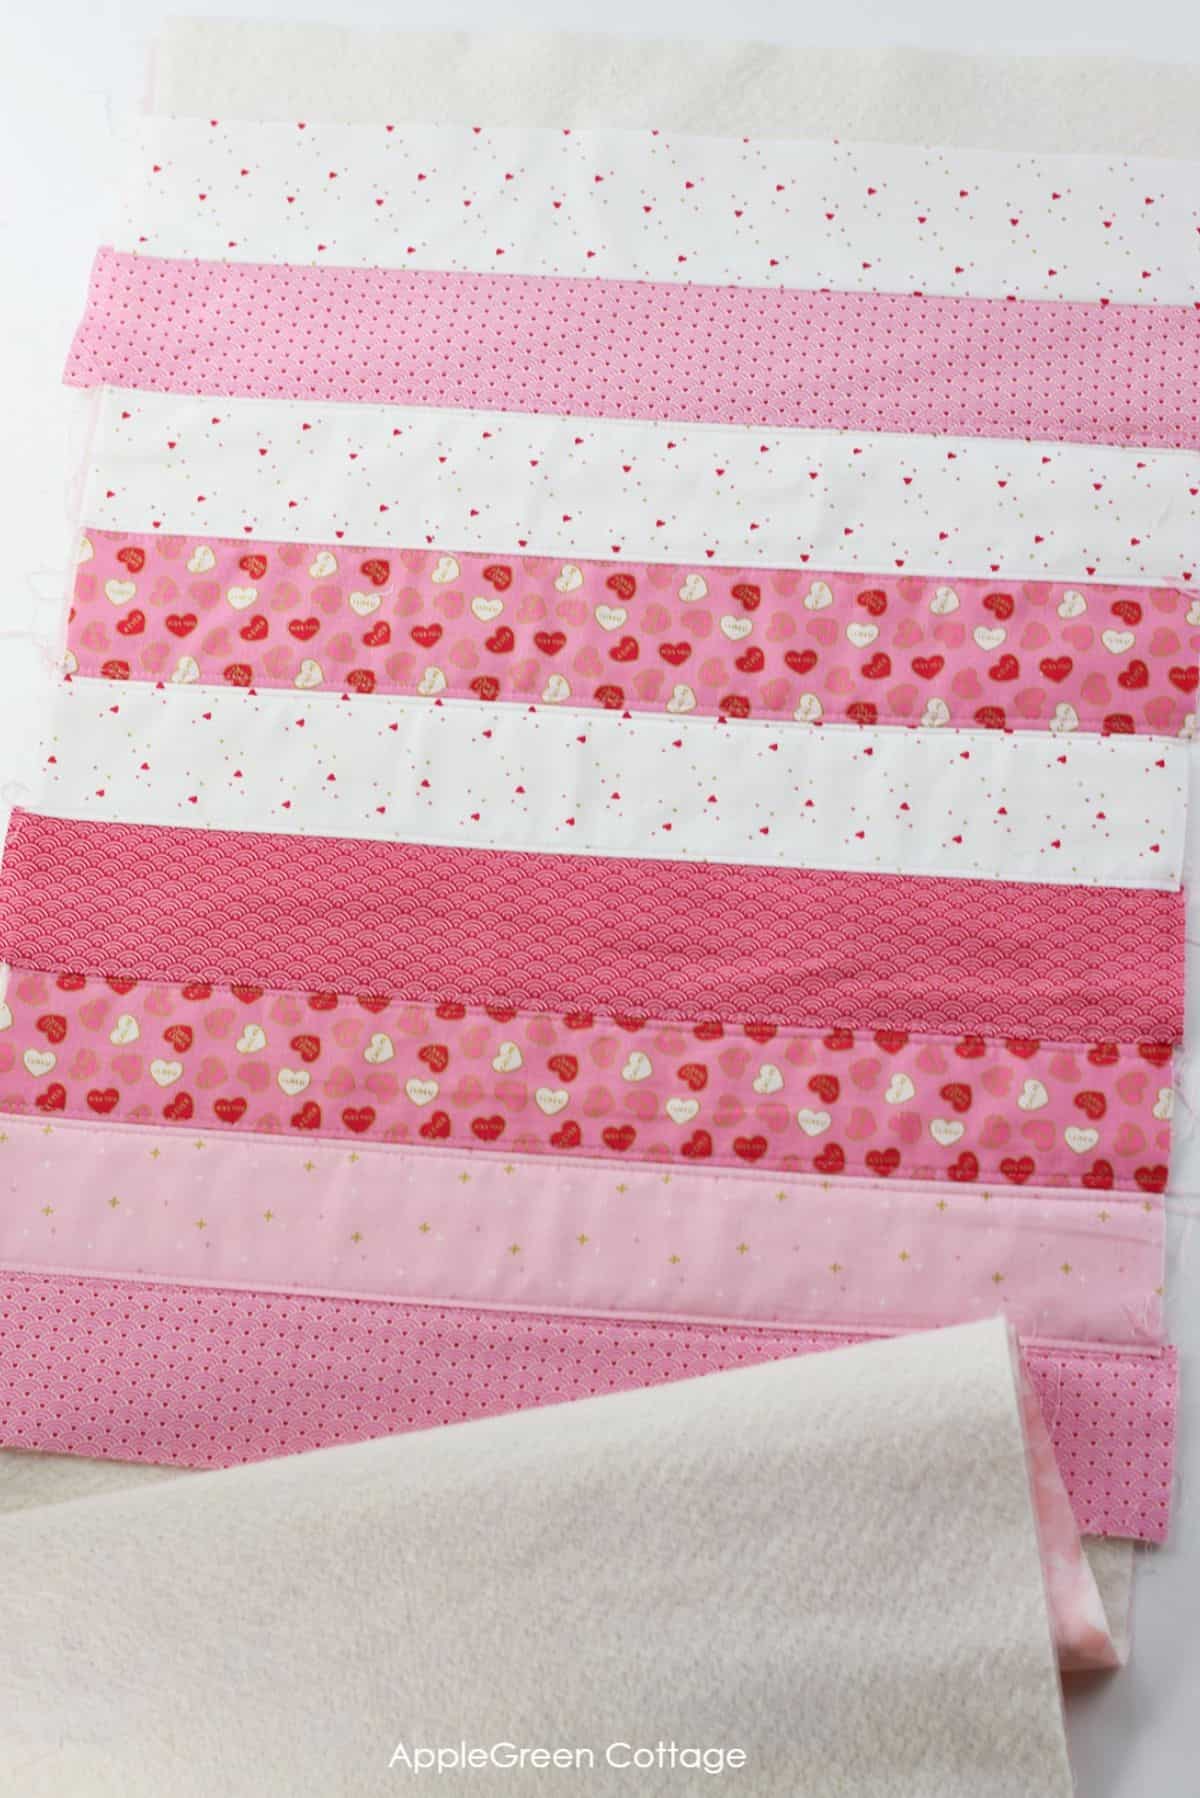
Place the next strip from the 'right-side' pile on the previous piece with right sides together, pin, and stitch along the right edge using the ¼" seam allowance. Open and press.
Pin, sew and press after each strip is added, until you've used up all the strips and reached the edge of the batting.
Step 8 - Attach strips on the left
Once you've sewn all the strips from the right-hand pile, do the same with the left-hand pile. This means starting with the large piece, and adding three narrow ones at the left-end. Don't forget to press each time.
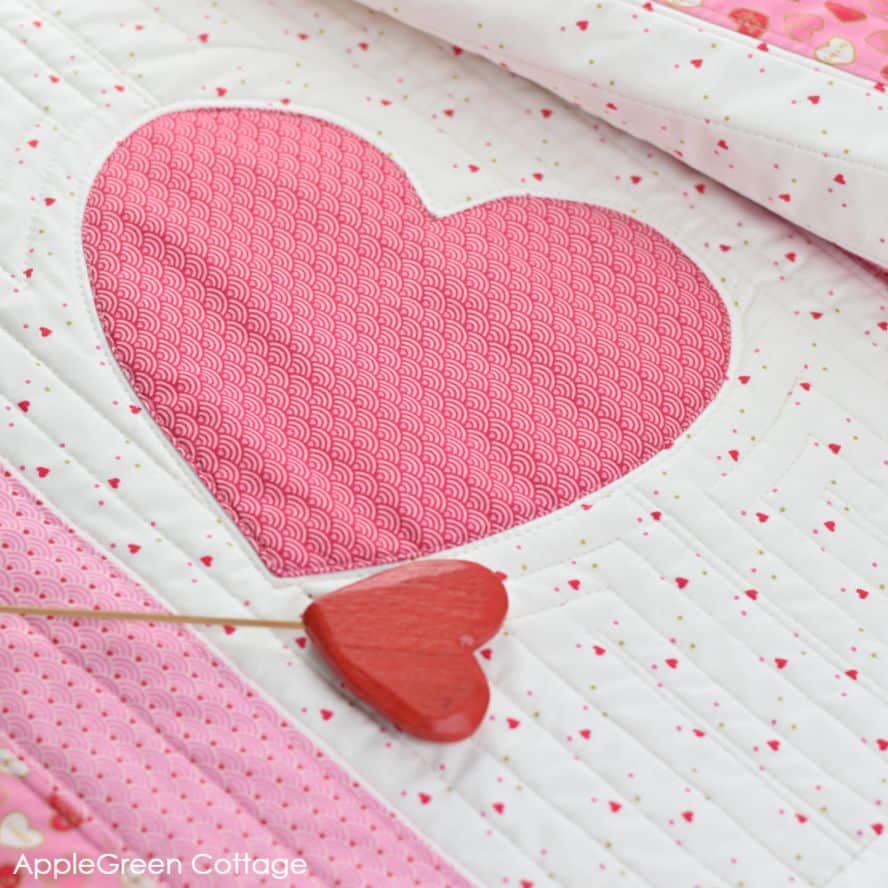
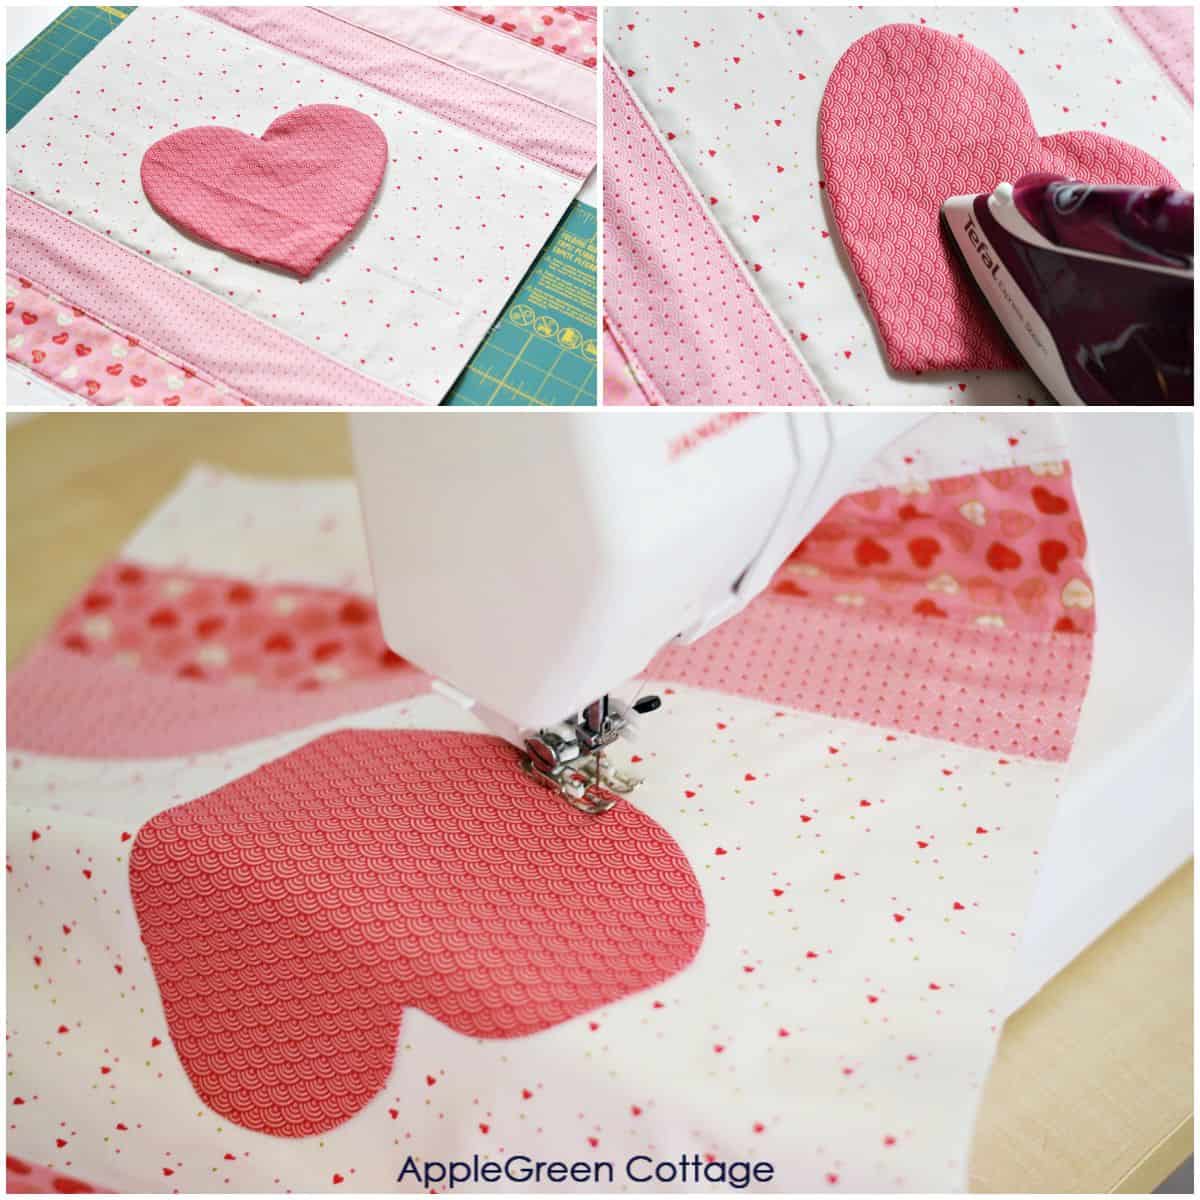
Step 9 - Add the Heart Applique
If you decide to add a heart applique like mine, feel free to follow this turned applique tutorial.
In short, you'll want to attach the fusible interfacing-backed heart applique to the runner, first using iron on a moderate heat setting. Then edge-stitch the heart shape to the runner.
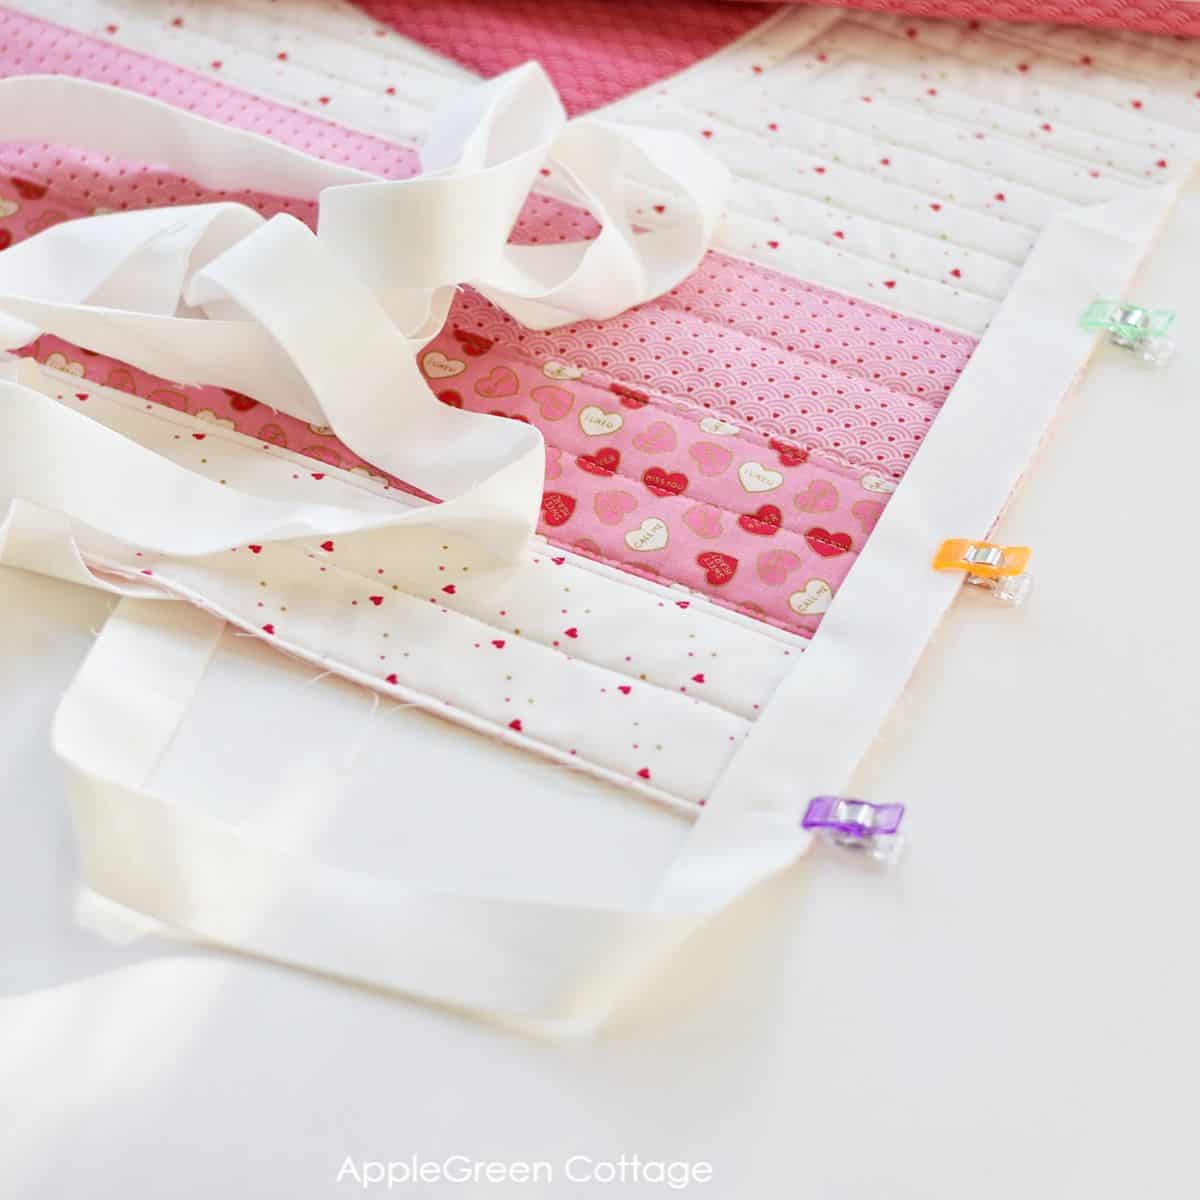
Step 10 - Optional - quilting lines
If you want to, you can add some more quilting. Use a walking foot to help keep the layers even. I played with the heart shape around the applique, the rest was (again) all straight-line quilting. It never disappoints!
Step 11 - Square up the quilt
Once your quilting is complete, use a quilting ruler and a rotary cutter to cut off any excess fabric, batting and backing, to get all corners to 90 degrees.
Step 12 - Add Binding to your Valentines Quilted Table Runner
First, take your 130" long strip of binding and press in half if you haven't yet. Attach binding. If you're entirely new to quilt binding, check out my easy quilt binding tutorial - I show you how to machine bind your quilt, and where to start (and why).
It can be easier for you to start attaching the binding at the back of the table runner. Here I started machine binding on the front side of my runner quilt. Plus, use this clever binding hack!
HOW TO START SEWING BINDING AT THE FRONT
Since some of you will definitely want to try this way of applying quilt binding, let me show you quickly how to do it if you start at the front of your quilt sandwich. The images are from a different tutorial, one on a basic quilted tabel runner tutorial - but I hope it helps you anyway:
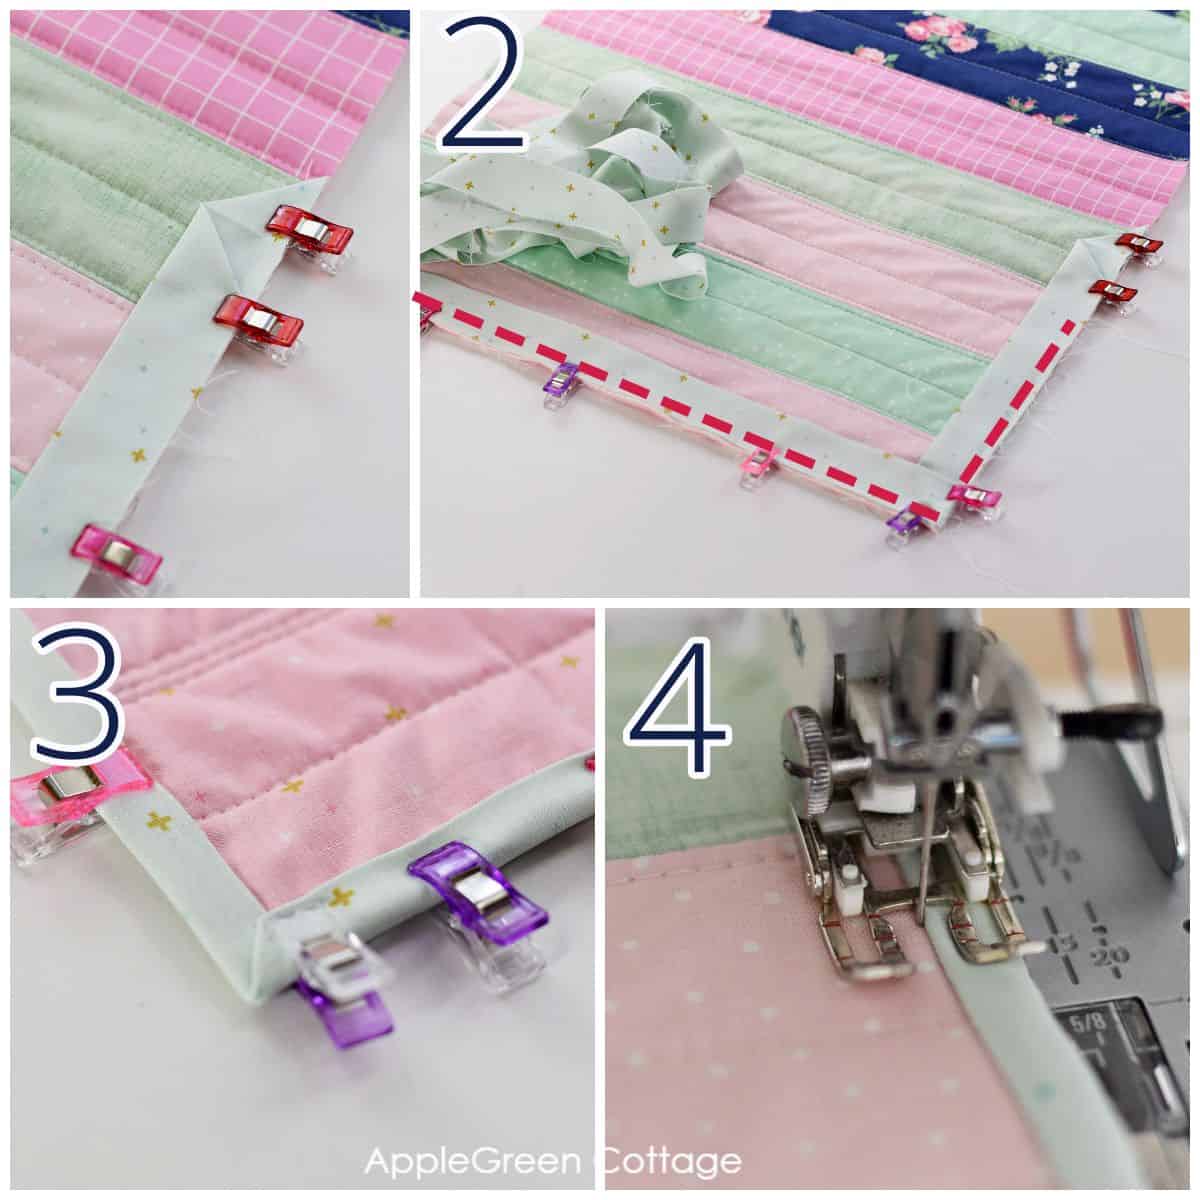
- First, get your binding ready.
- Start attaching binding on the front. (see image 2)
- Then fold it backwards (see image 3) and
- ... finish by machine stitching it in place from the front (see image 4). I did that by stitching in the ditch, and keeping an eye on the back to make sure I caught every layer.
This is what I also did on my panel quilt tutorial. It took me some more time to bind but it turned out beautiful.
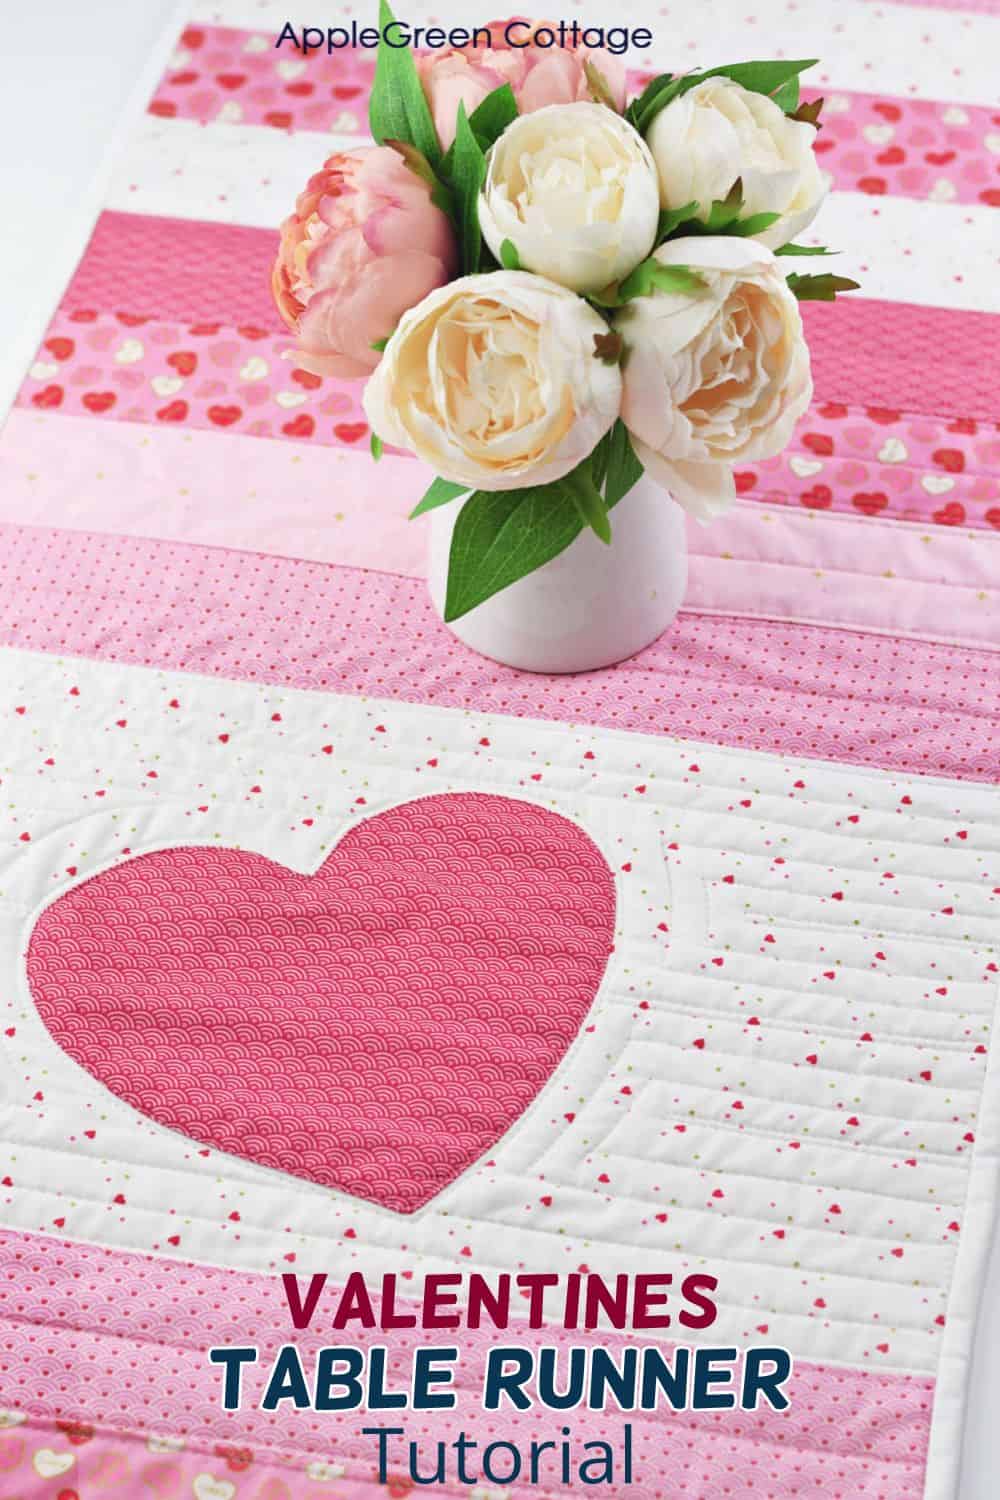
Enjoy your new quilted table runner for Valentines Day! A table runner like this one will definitely add color and visual interest to your table setting on Valentines day. And the heart applique adds an extra touch of romantic and sentimental feeling. I absolutely want to see your make, tag me @applegreencottage if you sew it up!
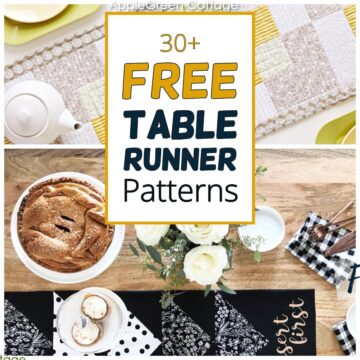
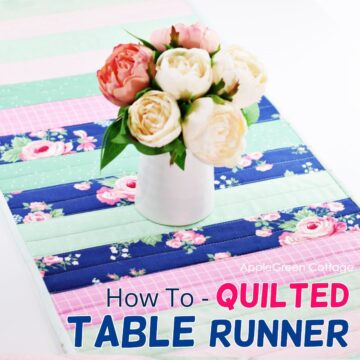
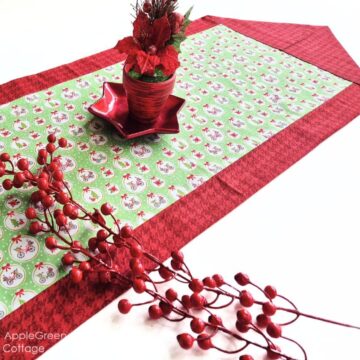
More Table Runner Patterns
WANT A PRINTABLE COPY OF THE WHOLE TUTORIAL?
Do you want an ad-free, printable copy of this online tutorial? Get it in our shop. Or get the whole →BUNDLE!


Join the FREE 6-part email guide and make super easy diy GIFTS - each in 30 minutes or less! You'll love it!
Carolyn Dean says
Love your email. You describe step by step in simple to follow directions for beginners.