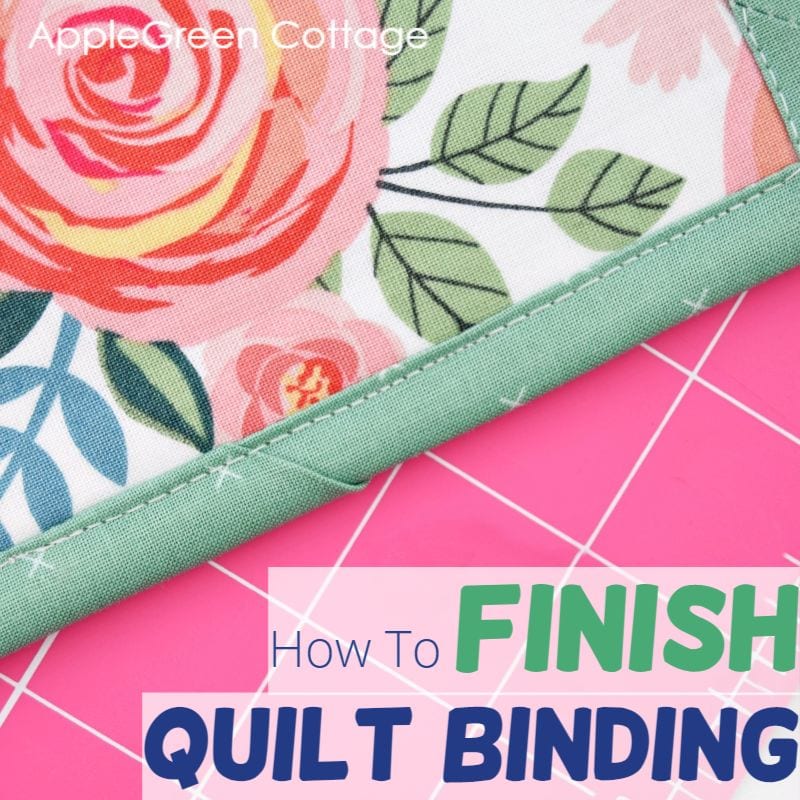
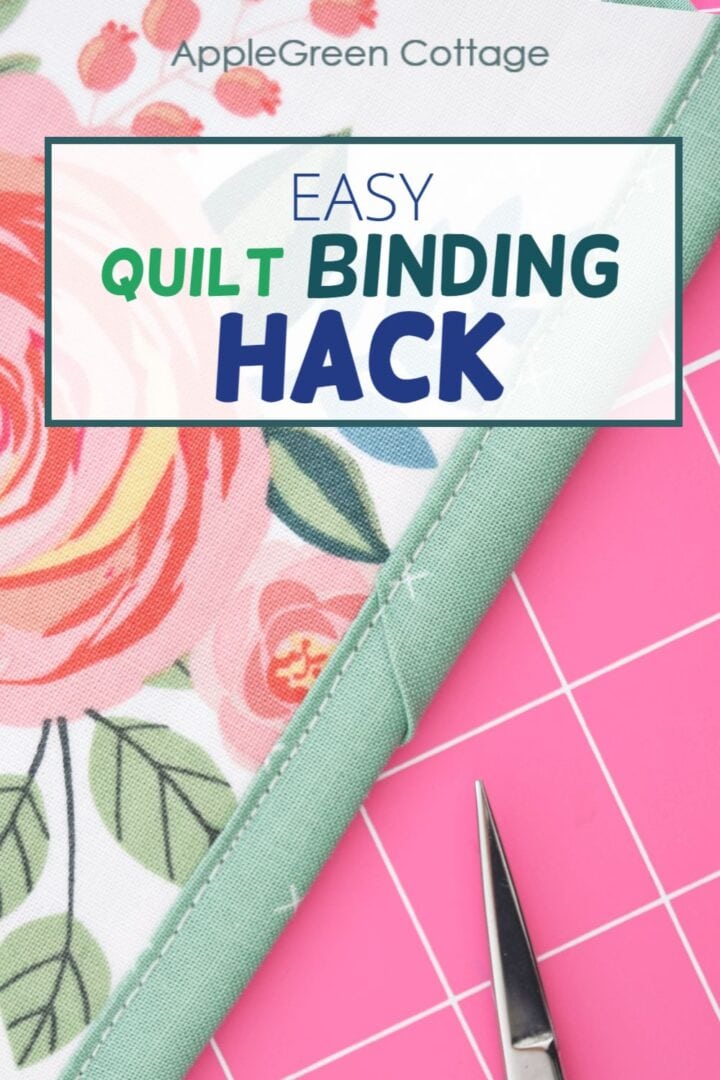
See how to finish binding on a quilt - the easy way. This little trick will make your quilt binding look just as perfect, but with less effort. You'll love it!
Looking for more quilting ideas? Check out these free tutorials:
- One basic quilt block tutorial to start your quilting journey with
- this quilted Christmas tree skirt
- How To Frame a mini quilt
- diy quilted needle book
- or this quilted potholder tutorial
How to finish quilt binding
I have a confession to make.
One you've probably already guessed if you have been following AppleGreen Cottage for a while. When sewing, I don't do everything by the book. Actually, my favorite part of sewing are sewing hacks and shortcuts.
But usually, I don't mess with sewing binding. It just has to be done precisely, correctly. Otherwise, you'll end up either not happy about visible stitches, or ripping seams on your nearly finished project. None of which I like to do.
So I cut and sew the binding on my mini quilts precisely as described in this binding tutorial.
With one little exception:
This Tiny Quilt Binding Trick.
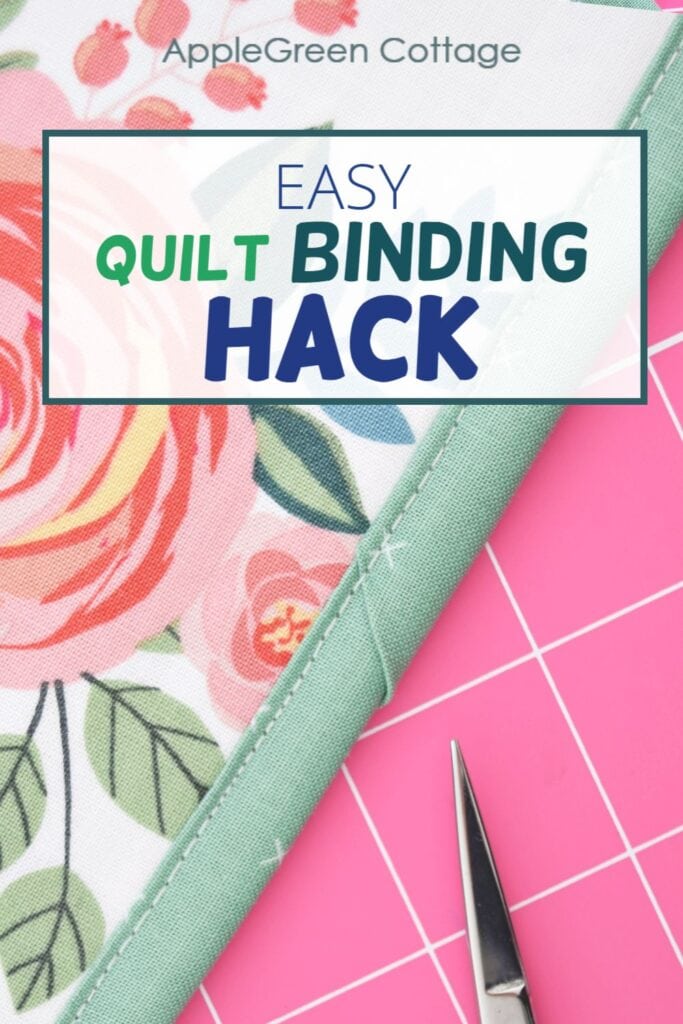
It makes all the difference! I have realized I can skip that matching and aligning part at the very end. The finishing touches don't require math at all.
So I'll show you a little hack where you just wrap the tail of your binding into the starting part. It makes sewing quilt binding so much easier! Are you ready? (Super useful for when you make one of these best free baby quilting patterns -so cute!)
Step 1 - Cut your binding
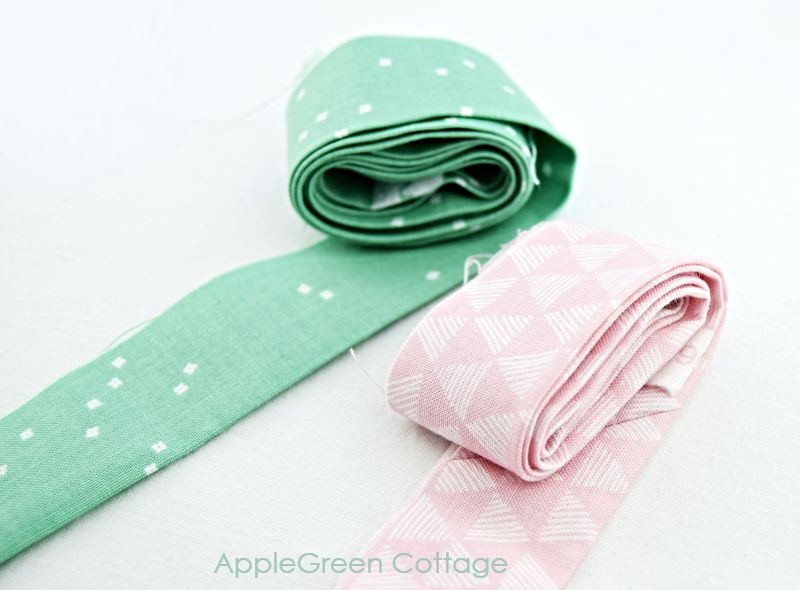
Measure how much quilt binding you need and cut it at a width of 2 ¼" (my usual one) or an eight of an inch wider if you've got a thick (or double) batting layer.
Fold in half all the way through, and press well. You get a nice strip of batting. Prettier than store-bought.
Step 2 - Fold the Binding End
A single folded triangle will make all the difference:
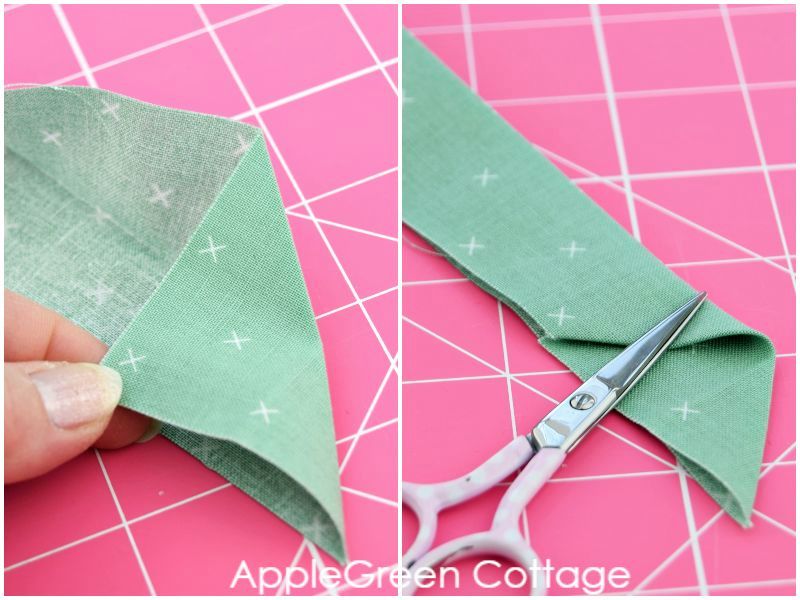
Grab one end of the binding (here: the right end of binding with face side down).
- Open the pressed center fold.
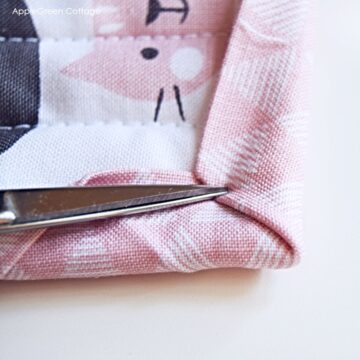
- Now hold the top corner, and fold one corner towards the wrong side of the fabric, so you create a triangle.
- Now refold your binding along the original edge, and press the creases.
Step 3 - Go around
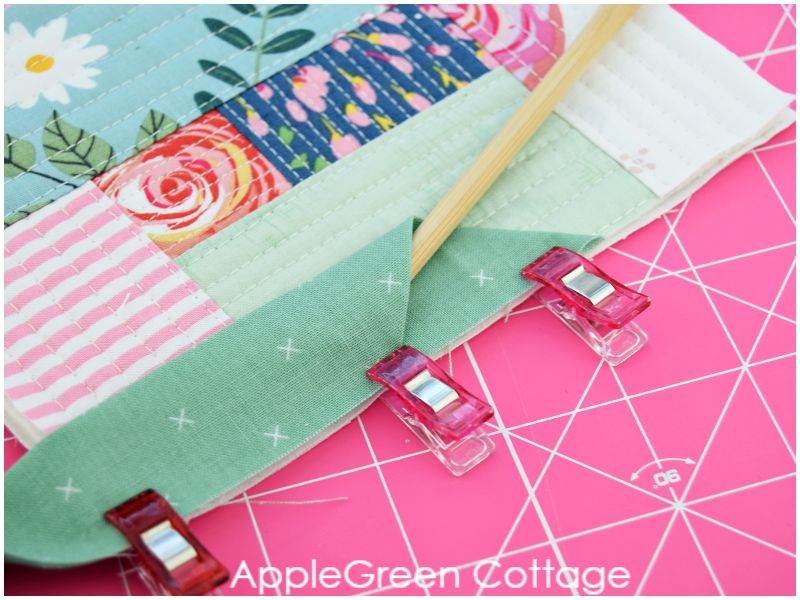
When attaching binding, go the usual way: start at the middle of an edge if your quilt is larger, or - if you are making a mini quilt, or something like this quilted mug rug project, start just two inches or so from the bottom of an edge. As low as possible.
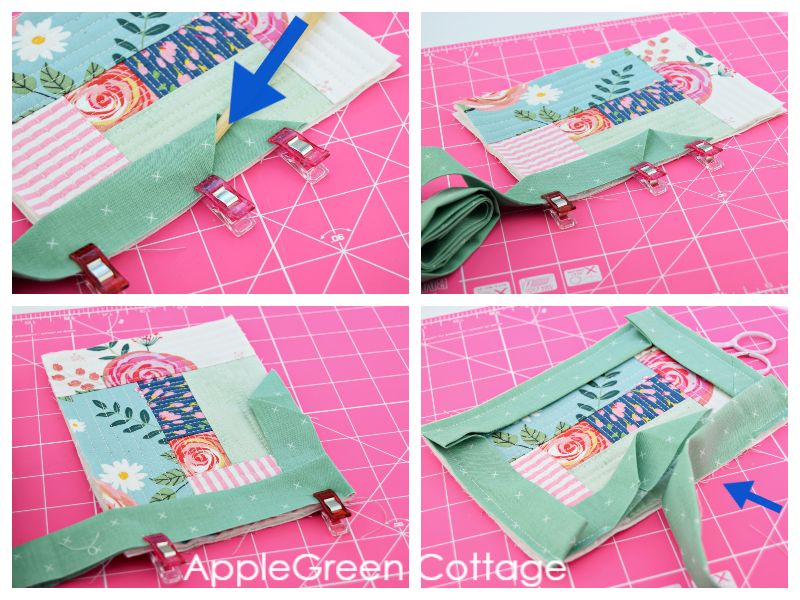
Then sew around the quilt, and when you get back to the beginning edge, stop an inch before the 'triangle' starts. Again, a detailed how-to of this part is described in this binding tutorial.
Step 4 - Cut and Tuck The Tail In!
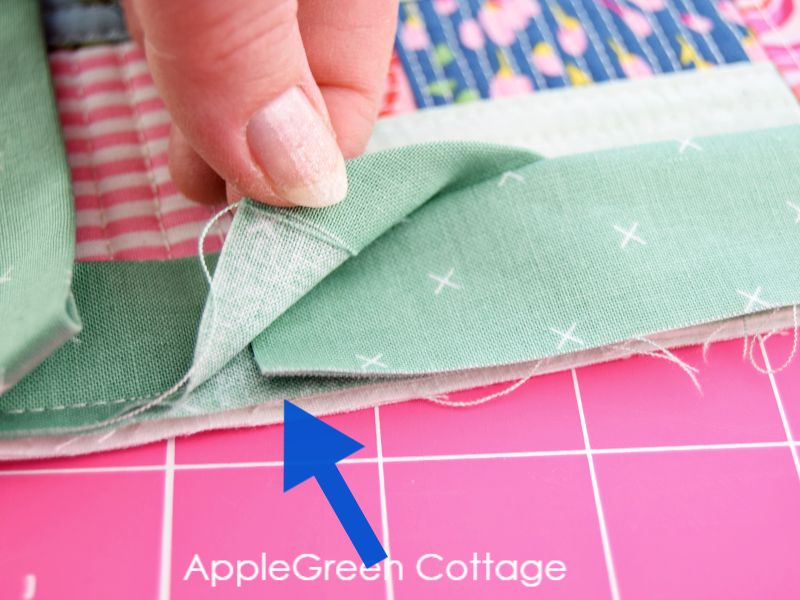
This is the hack part! But let me explain in detail:
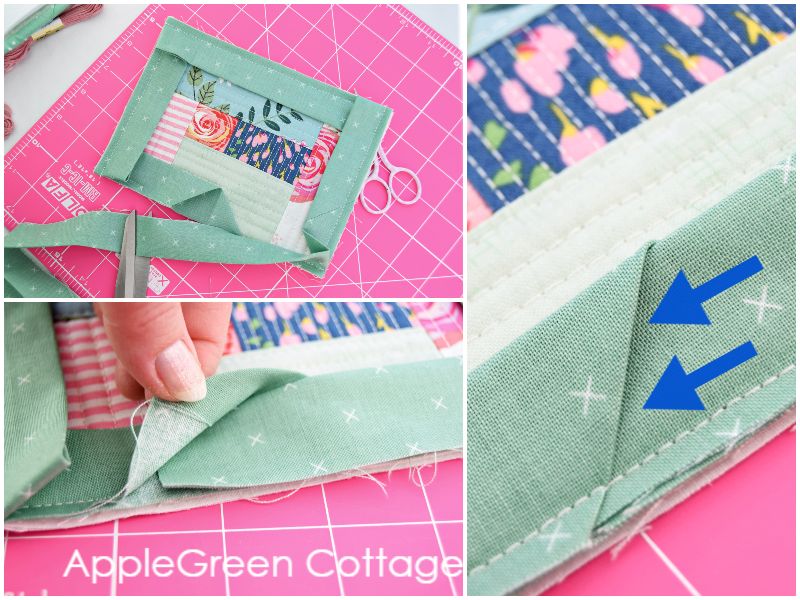
This is all you need - no measuring:
- cut the binding so that reaches just half an inch past that triangular fold from the beginning. Mind the gap - the binding tail needs to reach PAST that spot, so it's not visible!
- Tuck the binding end into the gap - inside the binding triangle, press and finish the seam to generate a continuous seam.
Step 5 - Finish off binding on the other side
No math, you have joined the start and the end by burrying the tail. How cool is that!
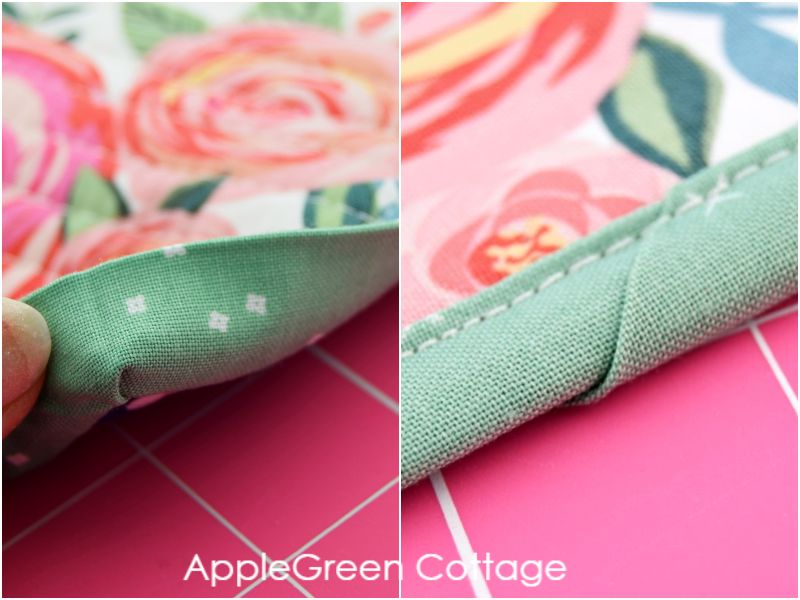
Proceed the usual way, turning the binding to the other side and finishing - this part is the same as in the aforementioned binding tutorial. You've probably done it like a hundred times anyway. If not, this binding finish how-to will make it a lot easier. 🙂
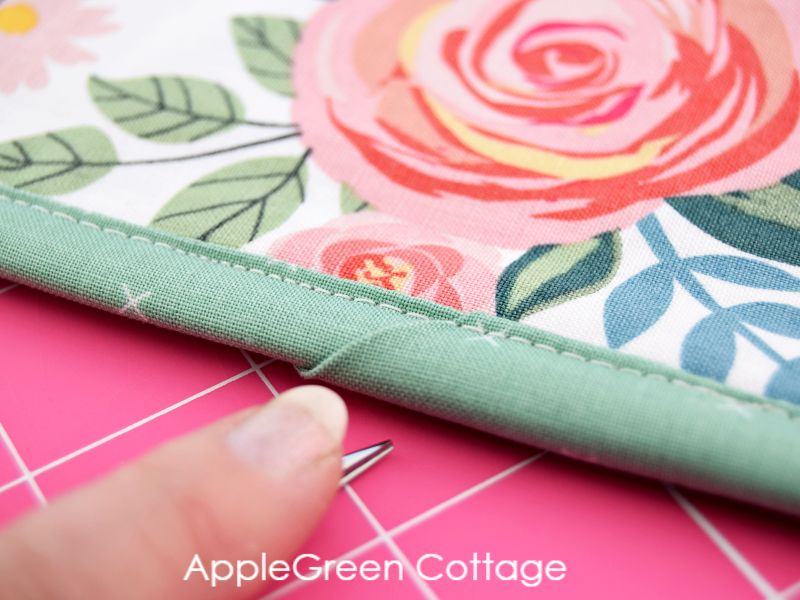
If you liked this tip, I bet you'll love to see my favorite way for how to hang a quilt . Or for a change, wanna skip binding? - Take a look at this quilted mug rug tutorial - but shh! 🙂
Save to Pinterest so you don't forget about this little binding trick:
Want More From Learn To Sew Series?
Did you like this sewing machine stitches guide? If yes, feel free to see more of the basic sewing tips series:
- the master guide for learning to sew
- What are the Must-Have Sewing Tools?
- Sewing terms glossary
- Beginner sewing tips you'll need to know if you sew
- These are the basic sewing machine stitches
WANT MORE FREE TUTORIALS AND GOODIES?
Get email updates and never miss out on new patterns, printables, and tutorials:
Or …check out the popular Aiden Cell Phone Purse in our shop. Guess what's on the back of this cool phone bag!

Bella
So great!! Thanks for this. Have been quilting for years abd this part has always flummoxed me...until now! Yay!! 🙂
Brenda
This binding tip blows my mind and I cannot wait to share it with my mom, who has been quilting for several decades and taught me to quilt. I am so excited to use it on my next project!!!!
Carol L
I've also used this method many times. Sometimes I will stitch over the "flap", especially if this is on a baby quilt, table runner or placemat that might see a lot of washing and handling. Don't want those baby fingers to be poking around in the gap!
Thanks!
Carol
Candy White
This is a game changer!!!
Jan Homberger
You've made my day - your quilt binding hack! I have been using this same technique for several years. It is so much easier and looks fantastic. I have been critisized and told that this method was wrong, but I have continued using this method because it works for me - and, apparently, works for YOU!
Thanks for the validation!
Joan
Your critics are incorrect. This way to bind a quilt or other item is not wrong. True, it is not traditional, but that does not make it wrong.