
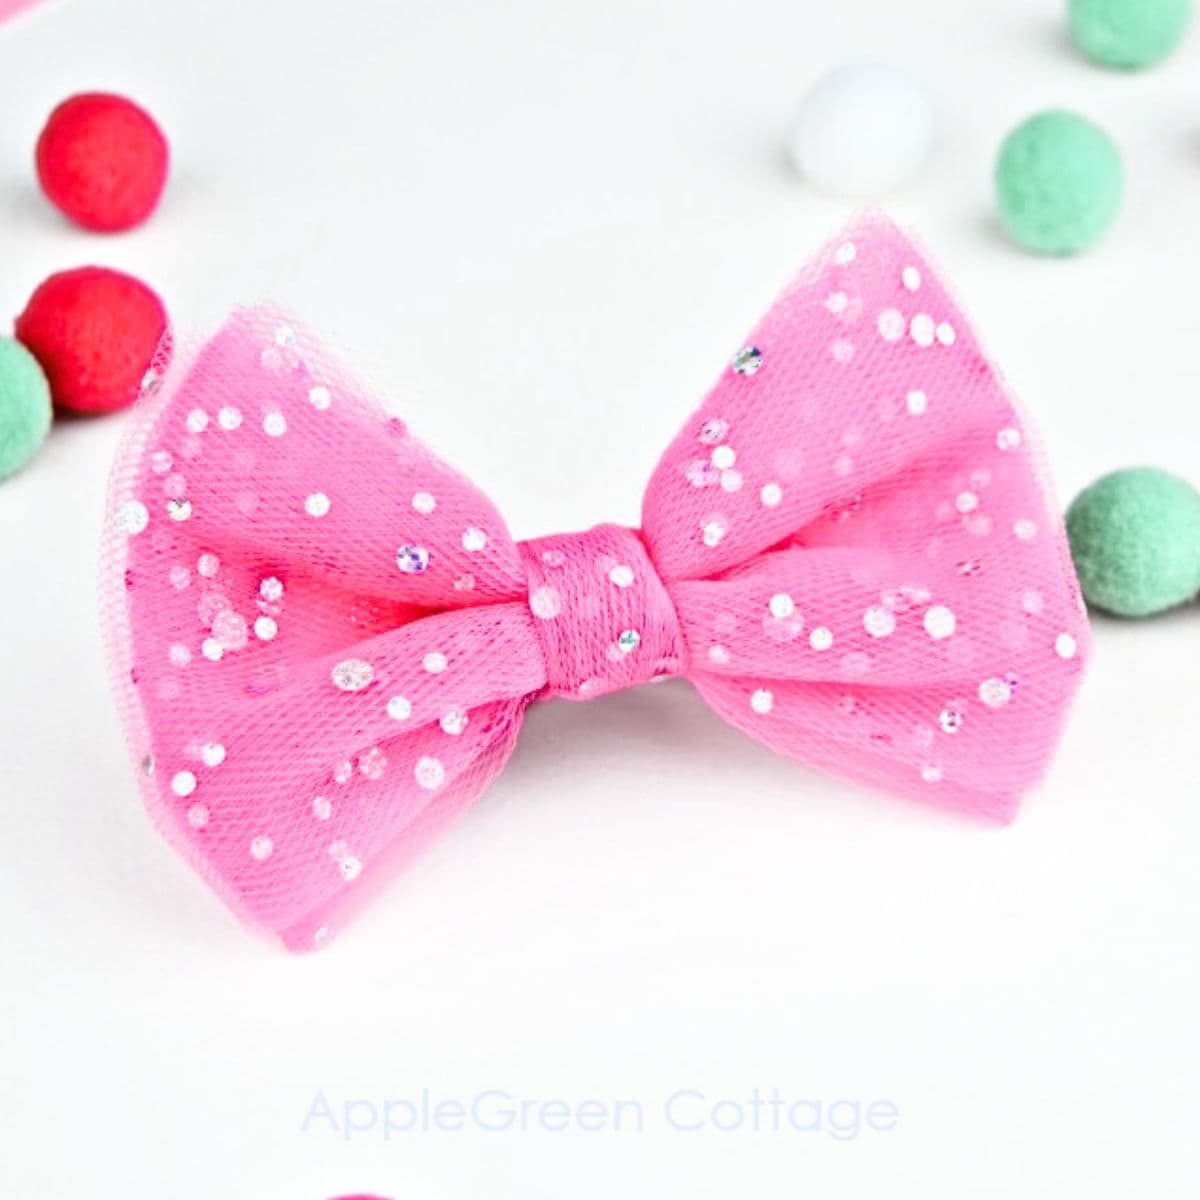
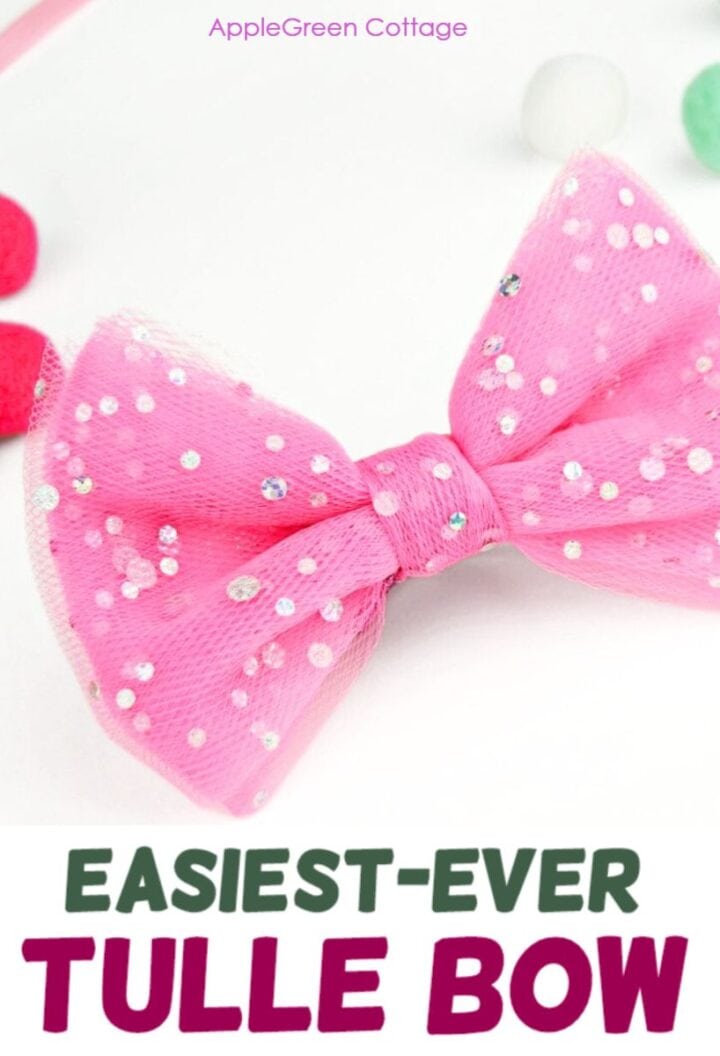
Ready to make a tulle bow in just minutes? This quick, no-fuss tutorial (with video!) shows you exactly how to create beautiful, fluffy bows-no templates, measuring, or sewing needed!
Perfect for adding a stylish touch to gifts, decor, or any craft, these tulle bows are as easy as they are stunning. Let's dive in and make your first one in under 5 minutes!

Table Of Contents
These diy tulle bows are so easy to make - and when you start, you'll have a dozen of them made in minutes! If you liked these diy scrunchies, you'll absolutely love these too - scroll down and watch the video and the photo tutorial.
How To Make A Bow Out of Tulle
Learn how to make a fluffy, stylish tulle bow with these simple steps! These DIY tulle gift bows are perfect as charming gift toppers or adorable hair ties. They're so easy to make, you might find yourself creating a whole collection! Check out the quick video I made just for you to get started.
Tulle Bow Video
Supplies
You'll need
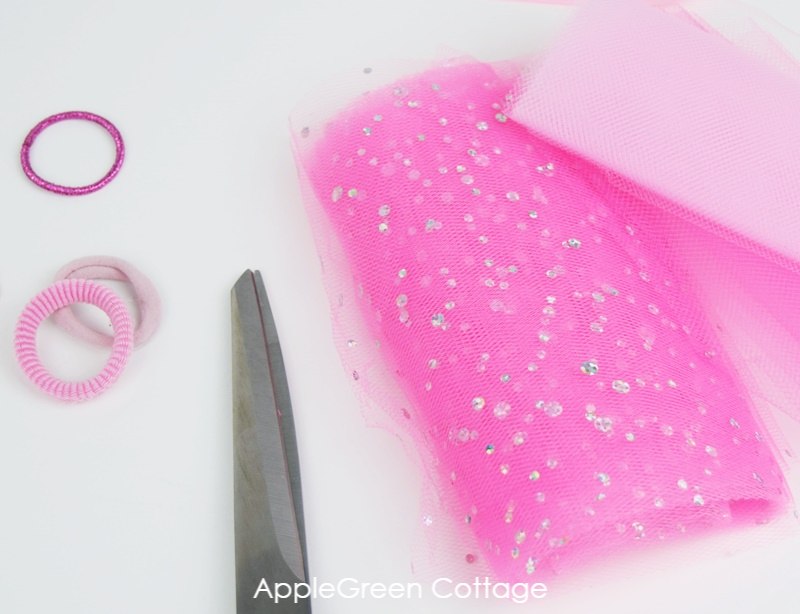
- two yards' length of 6″ wide tulle (or glitter sequins tulle) - 6" wide tulle rolls come in 10 or 25 yards, so you'll have enough for a lot of tulle hair bows
- elastic ties (ponytail ties)
- scissors
You can make a fuller or a more transparent bow, depending on the length of your tulle piece.
Shop my personal favorite sewing supplies on Amazon HERE.
Make a Set!

+1 Idea: Tulle Skirt
Make a set with this adorable tulle tutu tutorial:
Diy Tulle Bow Tutorial
Step 1 - Cut the Tulle pieces
Cut two pieces of tulle from your 6" wide spool
- one piece should be 1 ½ yard long, (it can vary, depending on how transparent you want your bows to be.)
- and one just half a yard long - this is to tie off your tulle bow
Step 2 - Wrap the Long Piece
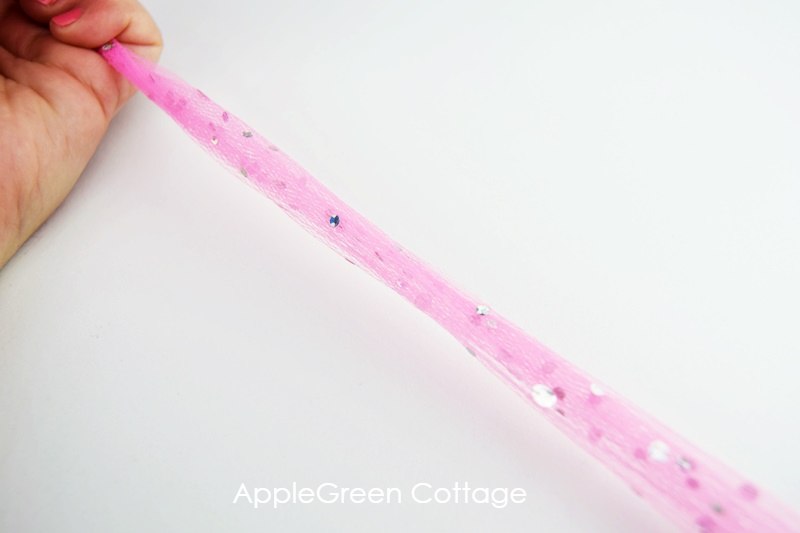
Fold the long piece in half lengthwise so the strip width is no longer 6" (now it's 3" only) and place one end between your palm and your thumb, like this:
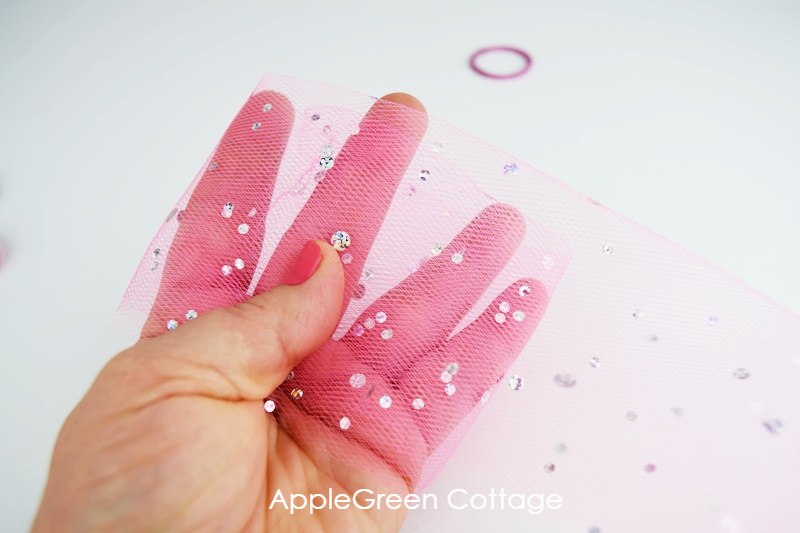
Now start wrapping the tulle around your hand, I like to keep my fingers apart so the tulle bow will be a bit larger:
Keep wrapping it over and over and over again, until you've used up your whole tulle piece. That will be around 11-14 times around your hand.
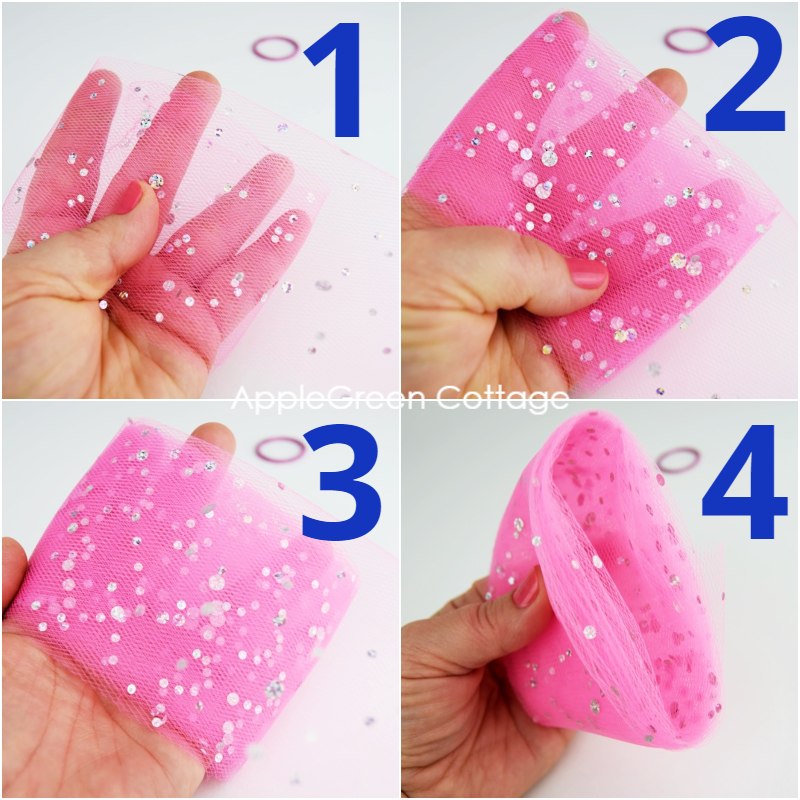
Step 3 - Add the small tulle piece and the Ponytail tie
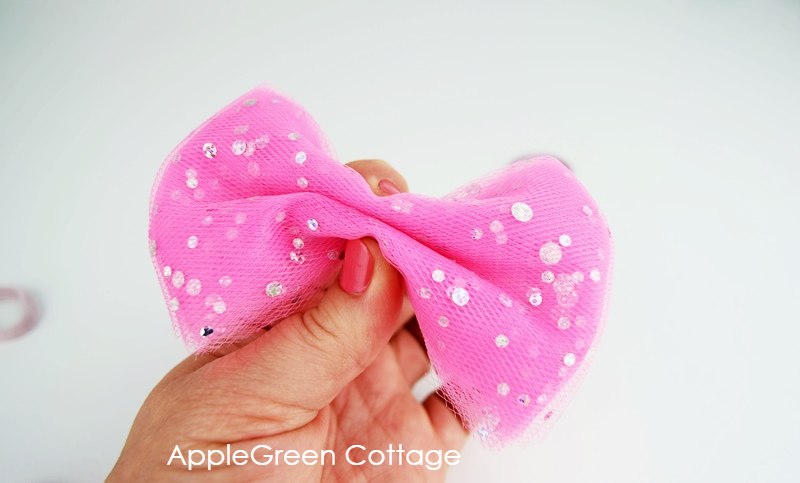
Next, grab the piece in the center, fold it accordion-style, then pinch it closed. (see the photo above) so you get a bow shape.
Take your small piece of tule and wrap it around the gathered center (see 1), then add a ponytail tie (see 2). Double-knot the tulle piece on the back of the bow (see 3 and 4)
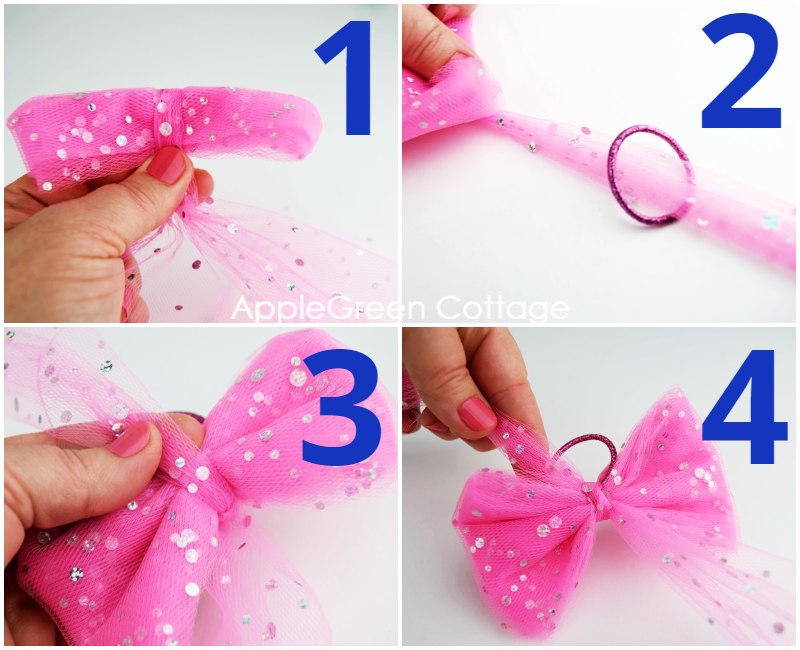
Then wrap it a few times around the pleated center, and tie it off at the back side.

Variation: instead of tying it off, you can also use a hot glue gun to keep the tulle ends in place. Enjoy!
Popular Questions
A tulle bow is perfect for DIY projects because it's lightweight, holds its shape, and comes in various colors, adding charm to any decor. Tulle doesn't fray, so no sewing is needed, making it quick, budget-friendly, and easy for all skill levels.
I've made tons of these adorable tulle hair bows, like in this hair tie tutorial, where I attach a ponytail tie. But these cuties go way beyond hair! Use them on wreaths for charming home decor, tie a big one on dining chairs for festive flair, or even make Christmas tree decorations. They're perfect gift toppers too! Mix in some DIY felt bows or flowers like these for an extra-special touch - these DIY toppers are as delightful as they come!
You'll only need two yards' length of 6″ wide tulle (or glitter sequins tulle) to create a tulle bow in this tutorial. And since 6" wide tulle rolls come in 10 or 25 yards, you'll have enough for a lot of tulle bows.
Plan for 6-9 yards of tulle for wreaths, chairs, or big statement pieces, depending on how fluffy you'd like them.
Related Ideas
If you like making accessories, check out these easy projects, too:

Want More Free Patterns?
Get email updates and never miss out on new patterns, printables, and tutorials:
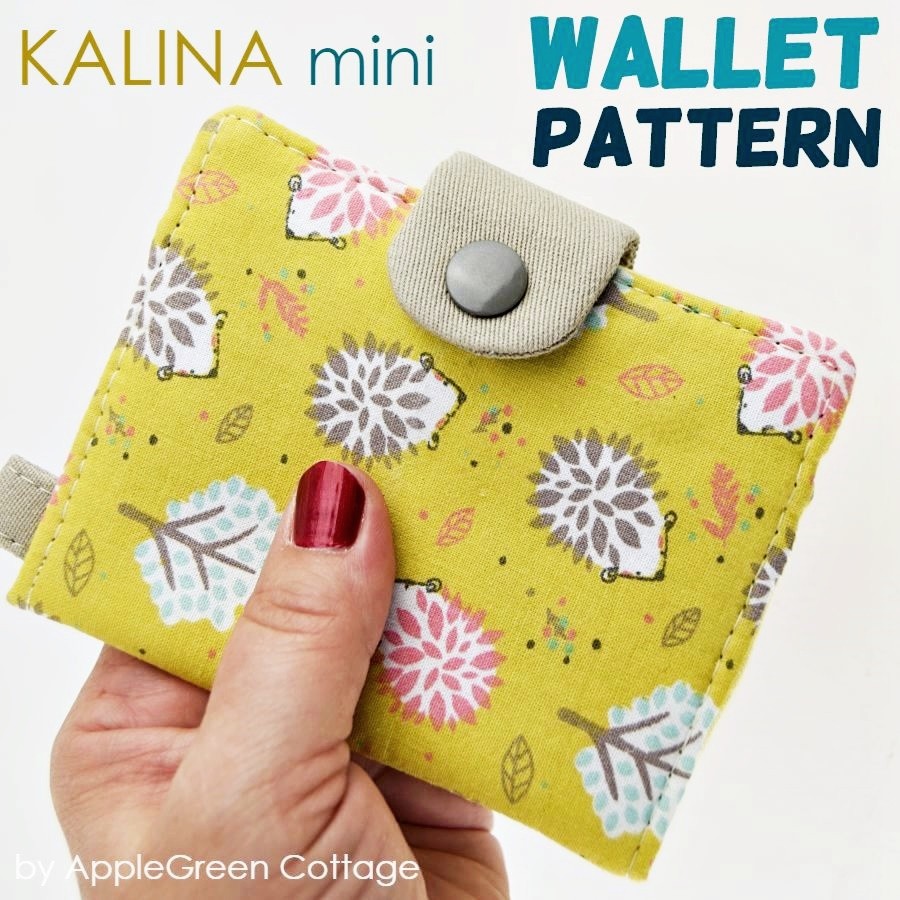
Or …check out this popular PDF pattern - the Kalina Mini Wallet in our shop. So practical!

Kim says
My granddaughters are going to LOVE these!!
Damjana says
Kim hi,
so happy to hear that 🙂
Damjana
Lisa says
My new grand will too! I have so many plans for her!!!!