
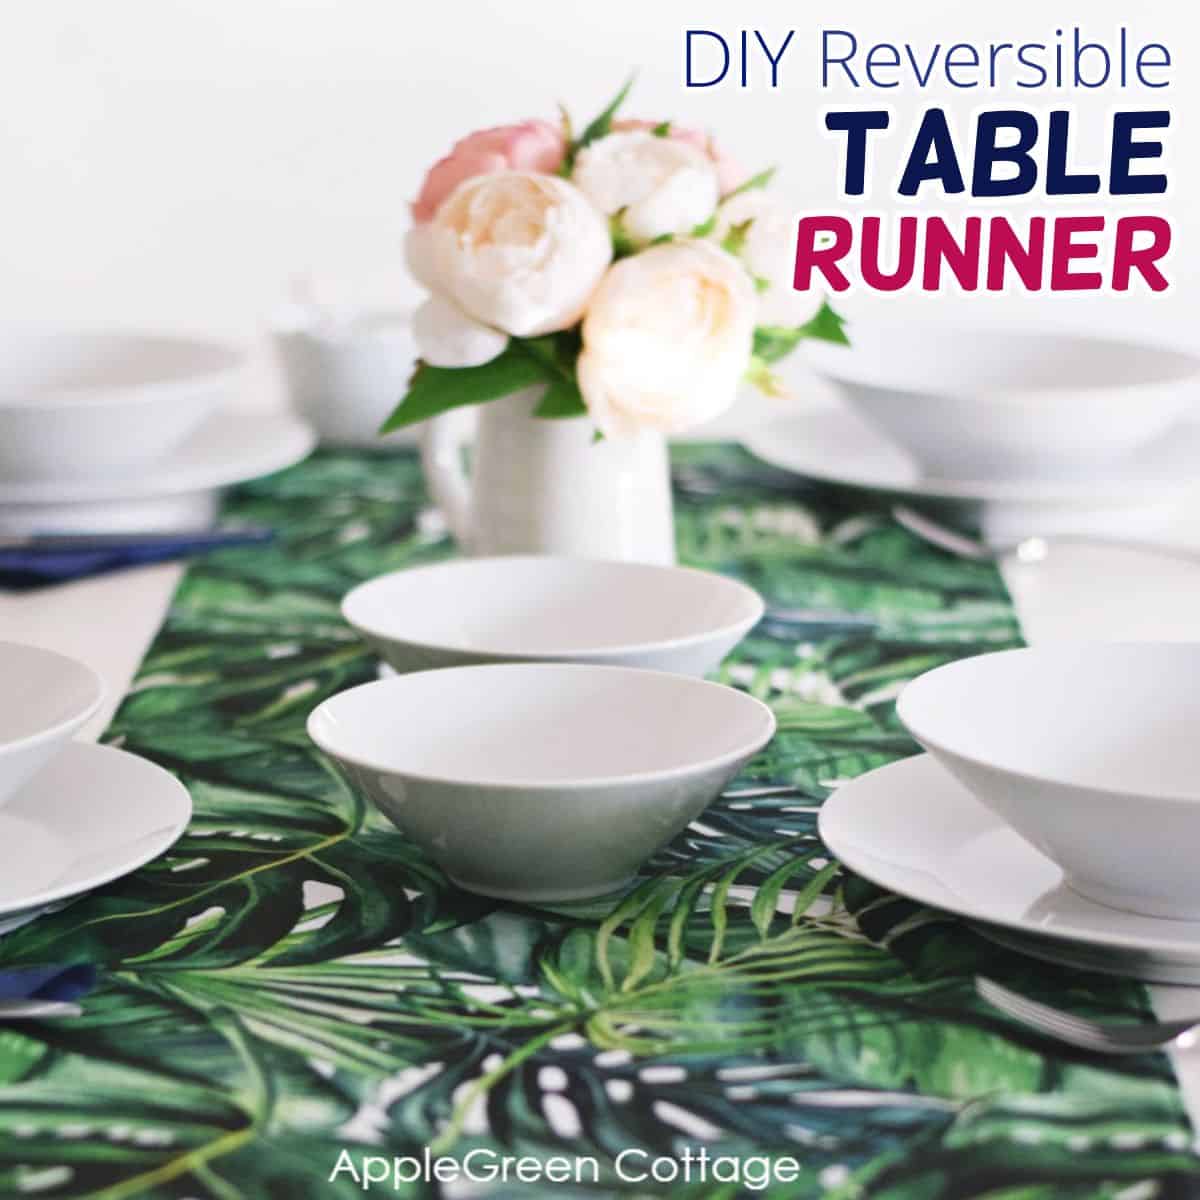
See how to make a table runner with backing that looks beautiful - the easy way! A table runner is one of the most basic sewing projects and is a great choice for beginners. Also, they make your home beautiful, instantly!
Bring some handmade charm to your home - brighten it up in less than an hour!

This tutorial is also part of Printable Tutorials BUNDLE
100 PDF tutorials now, and growing!
If you like sewing for home, also check out this diy throw pillow cover- Easiest Ever! Or, to stay with the table runners, learn how to make a runner with points.
SUPPLIES
- 2 yards of fabric per table runner in total - but to make a reversible table runner in two fabrics, you'll need 2 yards each
- if using quilting cotton: you'll need to cover one fabric piece with fusible fleece or interfacing (2 yards x width of your table runner)
- matching thread, sewing machine, iron, pins or sewing clips, scissors
Also, good to have: rotary cutter, quilting ruler, and a self-healing cutting mat (I have 5 of them, all these by Olfa)
I also made these cute floral placemats you see in the photo above!
What material is best for table runners?
What is the best fabric for a table runner, you ask? First, you'll want any table cloth to be easily washable, and it must stand the warmth radiating from your plate (or casserole). Quilting cotton is great because it's available in tons of colors and prints, but I prefer canvas, home decor-weight because I don't need to interface it. Saves tons of time! Linen and damask are among my favorites, too. And chambray works beautifully for table linens in general: dining table runners, placemats, and potholders too - take a look here!
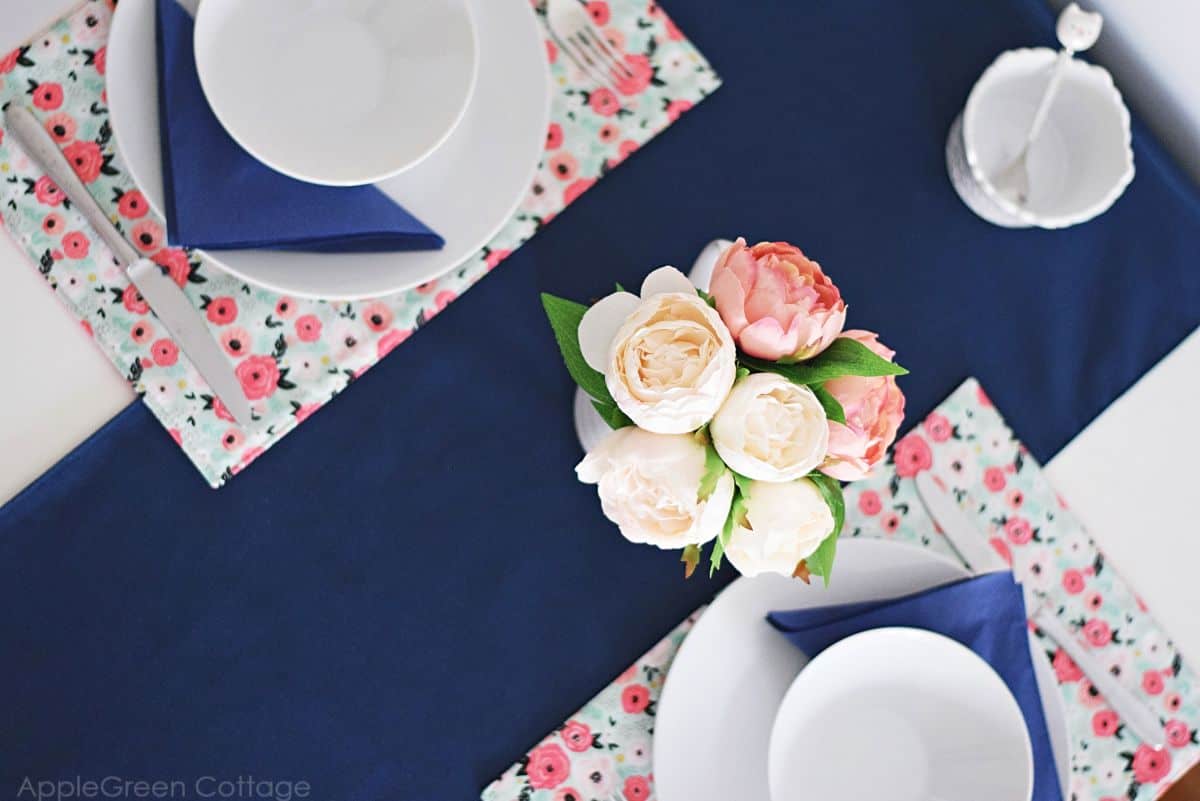
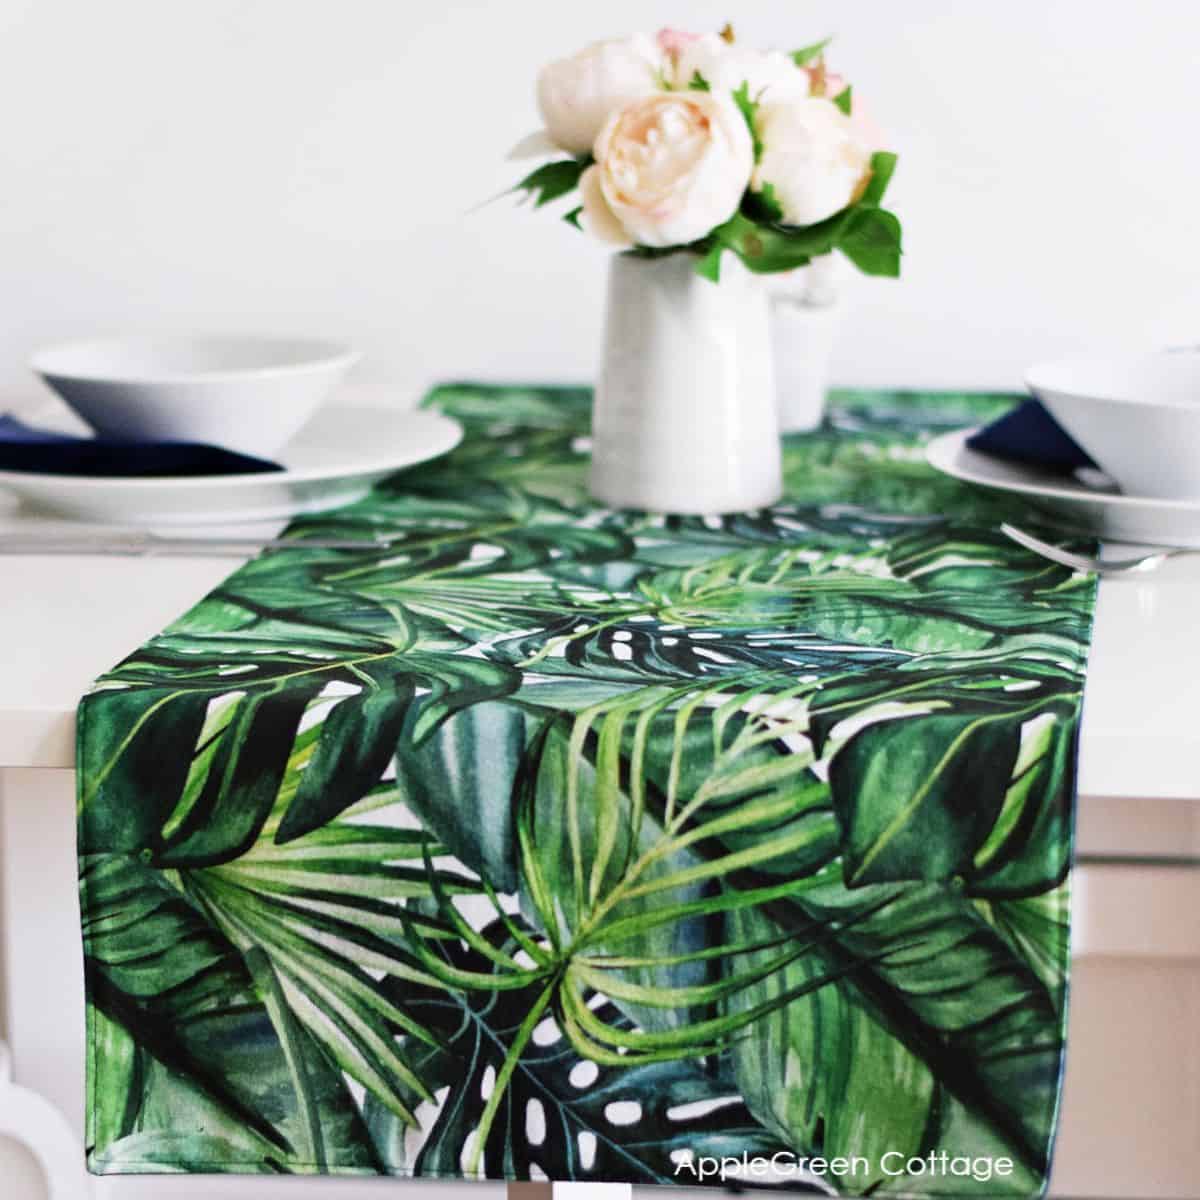
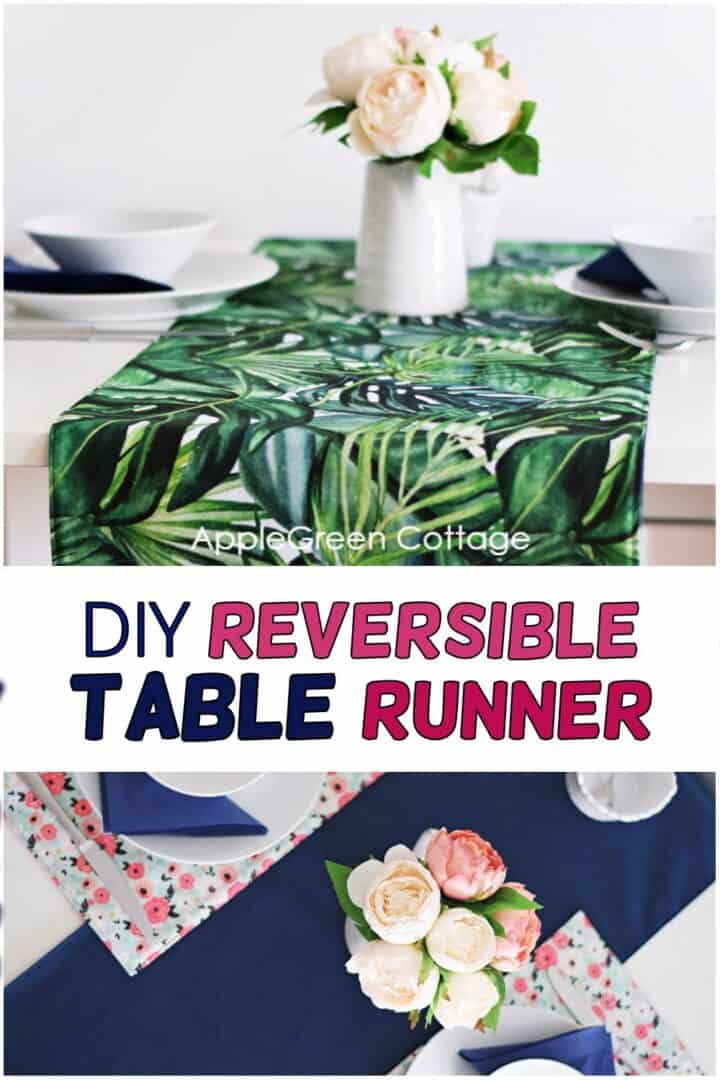
I chose home decor for my handmade table runner: a solid on one side and a print on the other. Easy to flip! For more tips on what fabric is best for table toppers, see the tips section below the tutorial. And, before I forget to mention, you might want to see our new SewPretty HOME email series:

Join the FREE 7-part email course and make 6 beautiful items for your home! You'll love it!
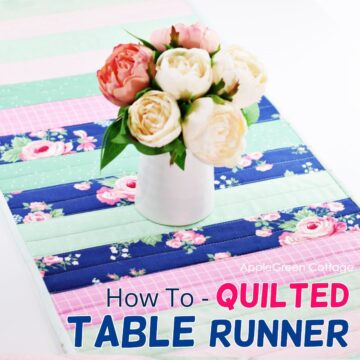
How to make a table runner that is reversible?
These instructions will show you how to make a reversible table runner for a 7 ft wide dining table size. Solid will be my backing fabric, and the floral print will be on top, for more festive table settings.
Step 1 - Measure Your table
Measure the length and width of your table. These are the standard cutting dimensions for your table runner:
- fabric length: table length + 6" overhang on each side +1" seam allowance
- fabric width: (at least) a third of your table width + 1" seam allowance
About table runner width... I have a slightly non-standard preference to make my table runners just a bit wider than that - so it's fair to admit that I would mostly just divide the table width by 2, and call it a day.
My example:
- table length 60 inches - cut 60" + (6"+6"+1") = 2 yards of fabric length
- table width 32 inches - divide by 2 = 16" of fabric width
Step 2 - Cut Your fabric
Cut two rectangles from your fabric, in our case 2 yards by 16". Since these are two long pieces, it's easier for me to cut them folded in half.
Let me show you how, you'll start with one fabric piece:
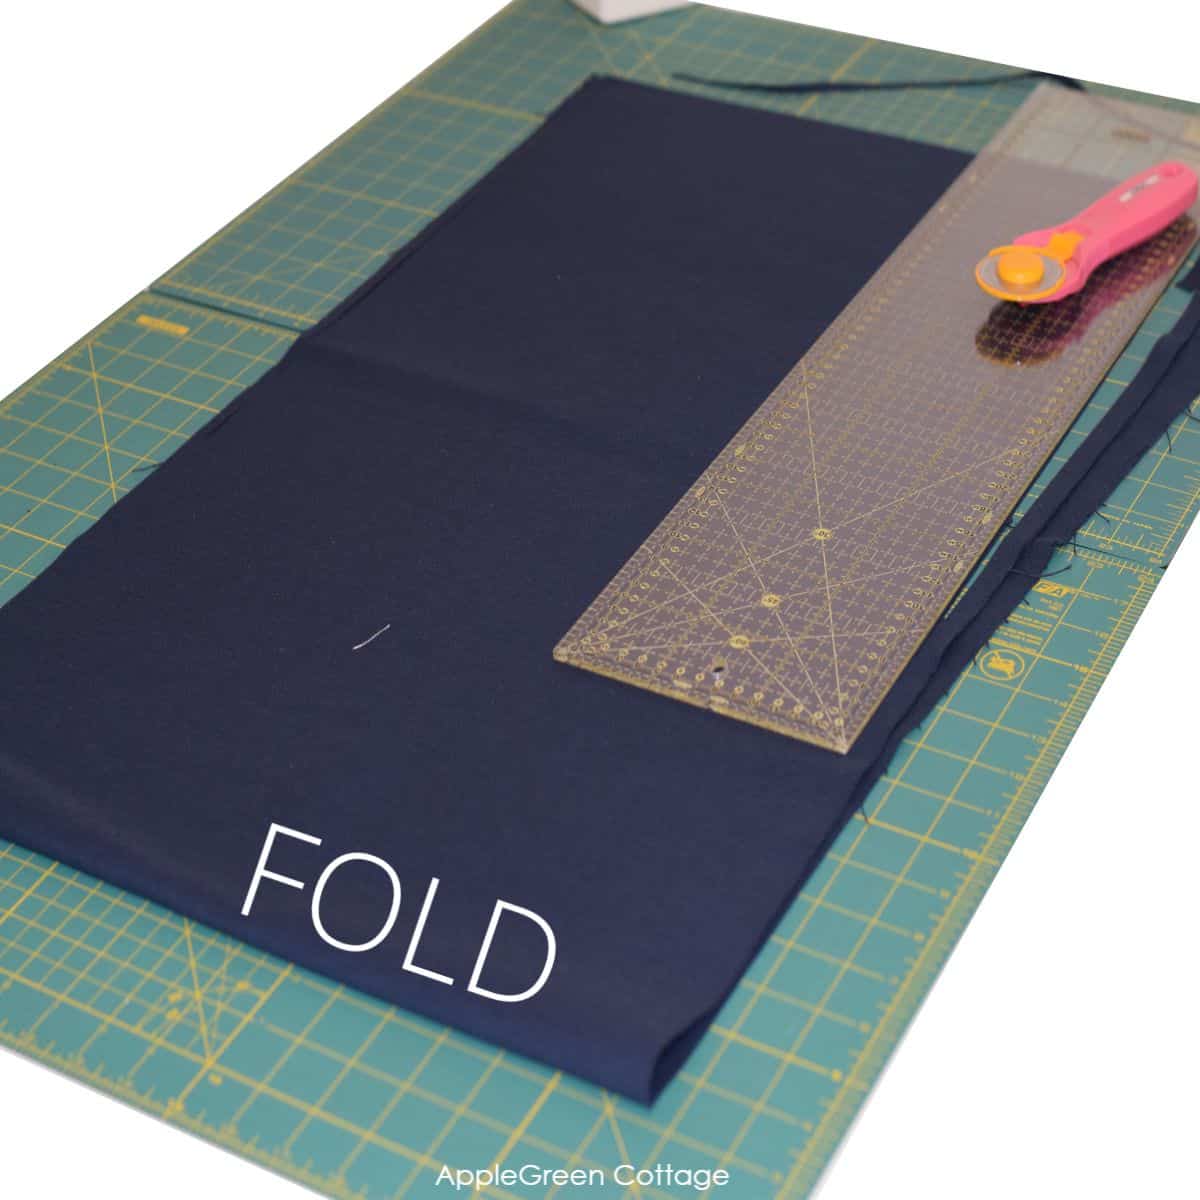
- Fold one long strip in half so it gets shorter.
- Square up the 3 non-folded edges of the fabric: cut off excess fabric on both short and long edges.
- Once squared up, place it over the other piece and use as a guide to square up the other fabric piece too:

NOTE: If using quilting cotton, you'll also need a piece of fusible fleece - this one should be smaller by an inch both in width and length. Fuse fusible fleece to the back of one fabric piece.
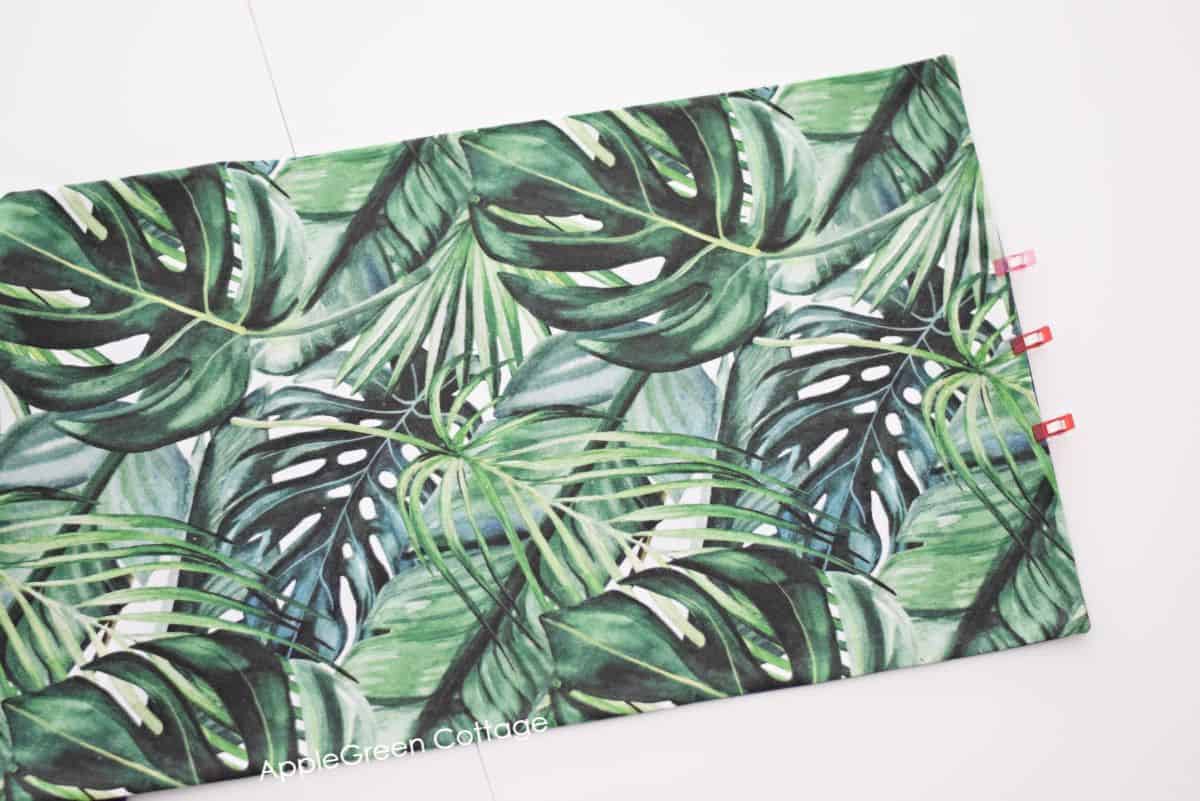
Step 3 - Pin And Sew
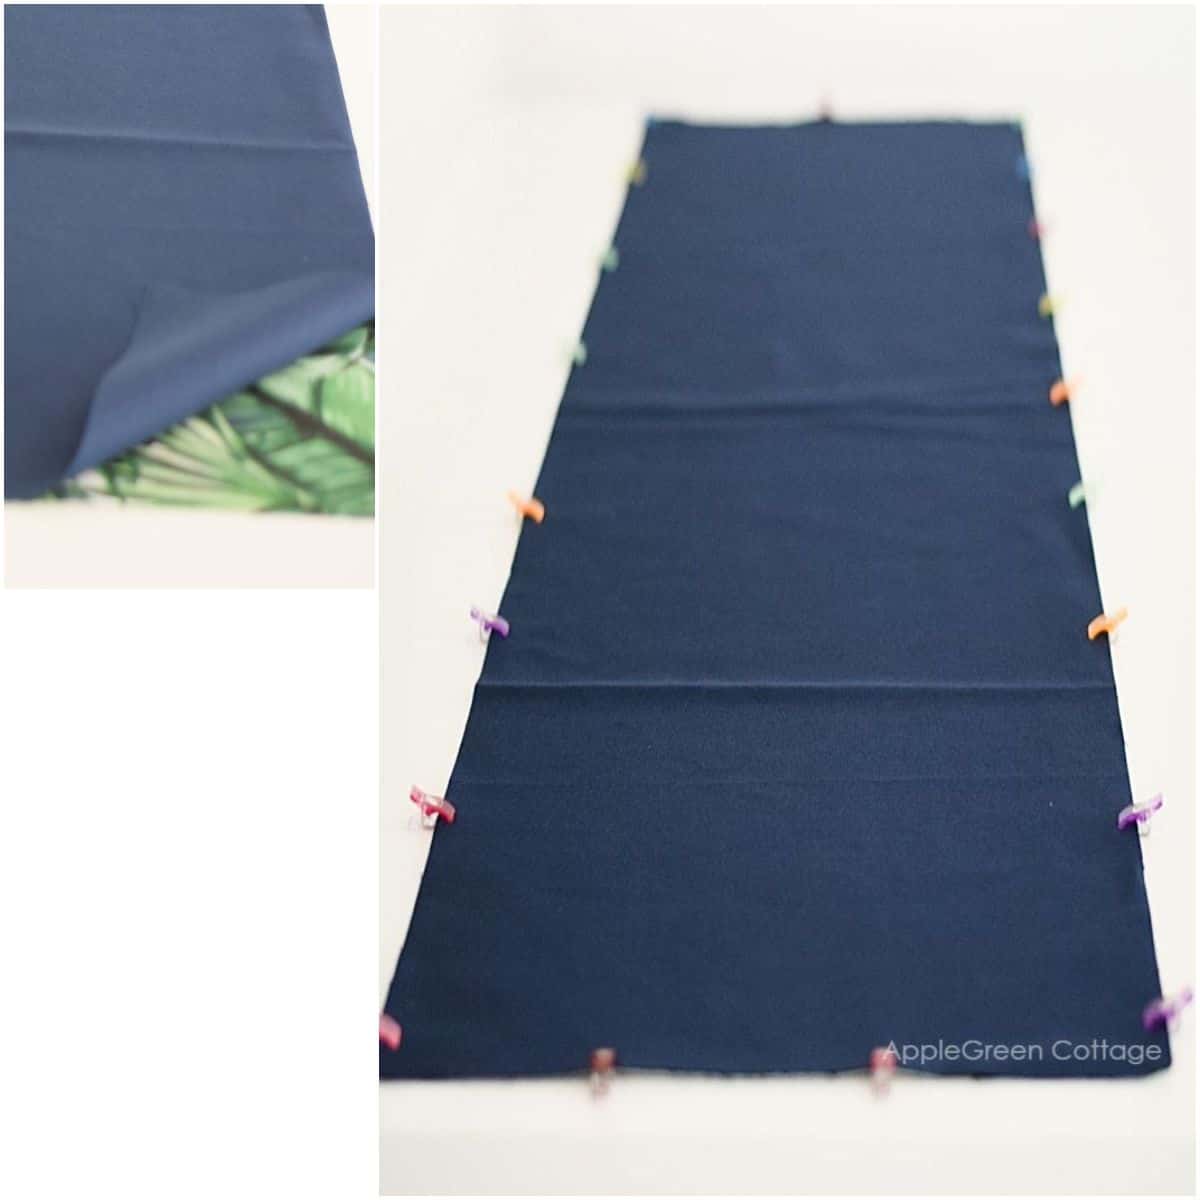
Unfold both pieces and place them with the right sides together. Pin around or use sewing clips to keep the fabric in place.
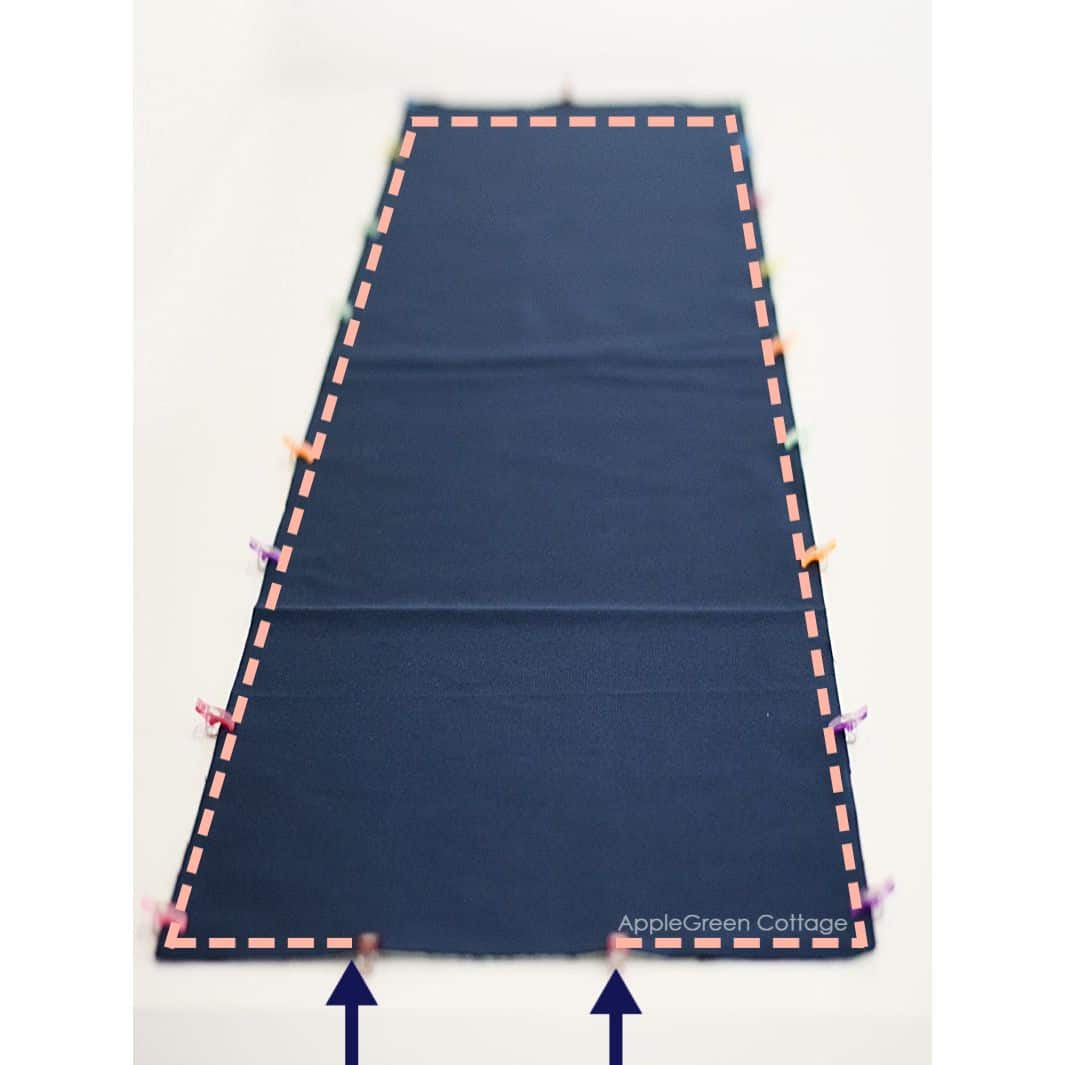
Sew around using a ½" (1.3cm) seam allowance. Make sure to leave a gap of a few inches for turning on one short side.
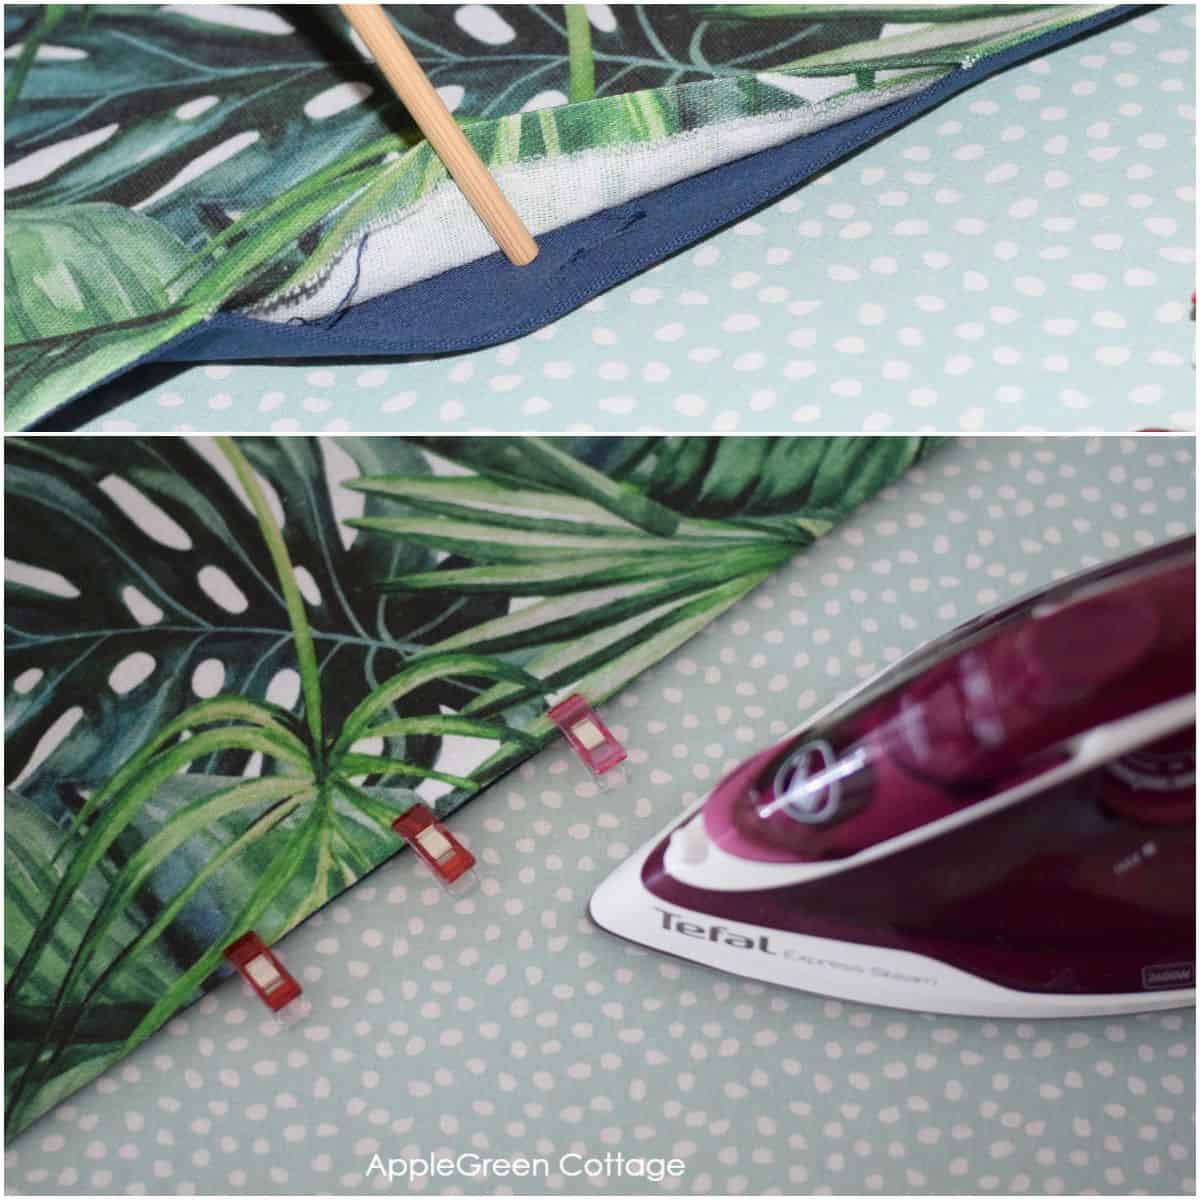
Step 4 - Trim Corners
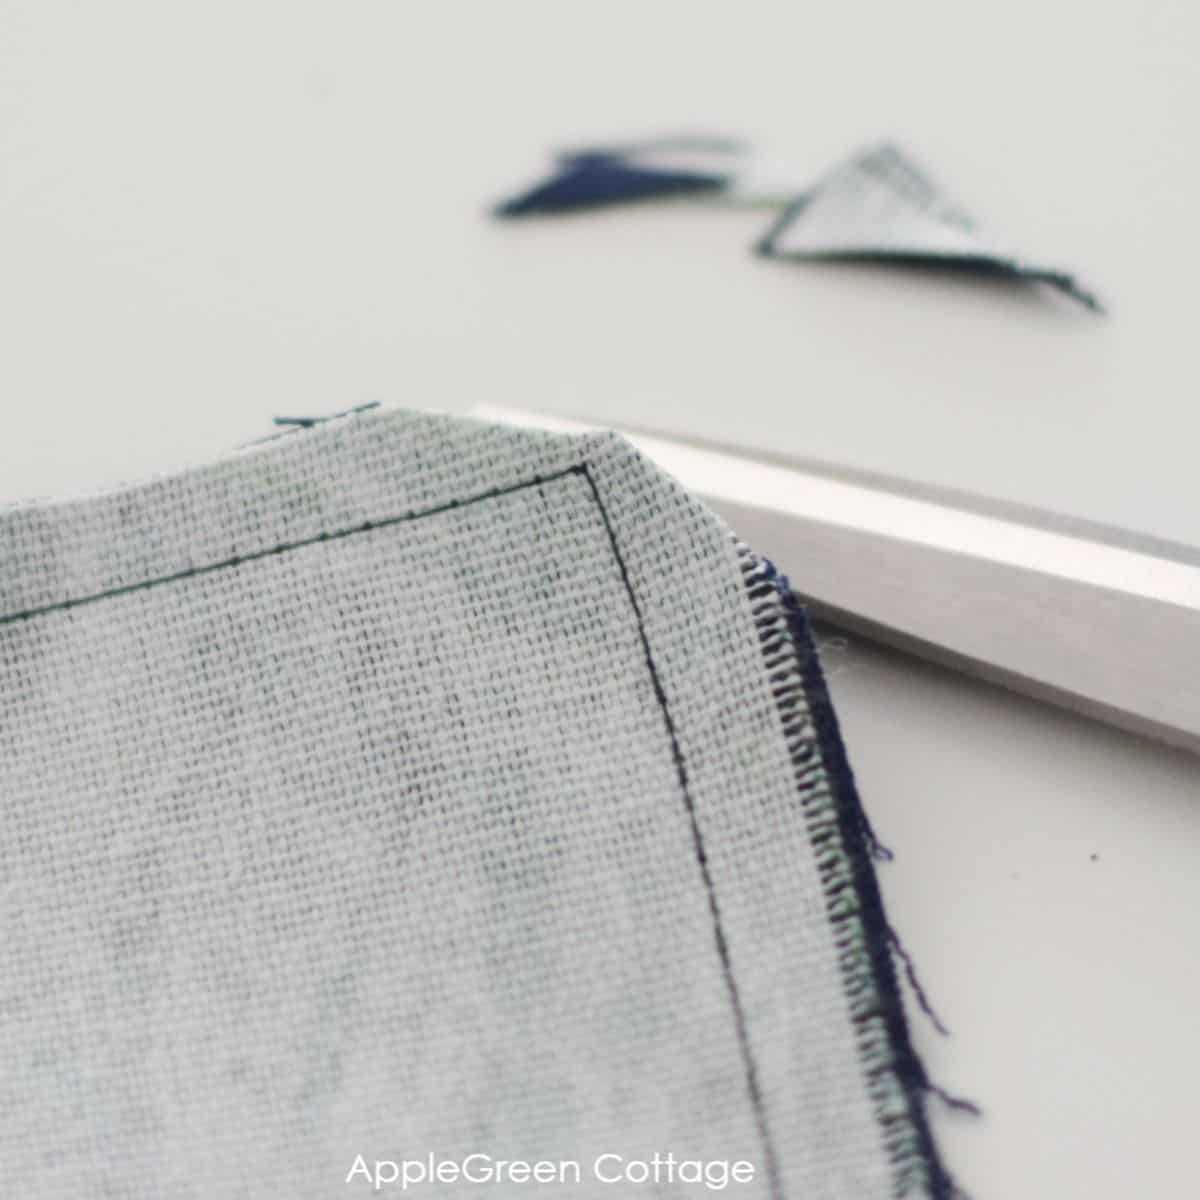
Trim the corners to prevent bulk on the finished corners.
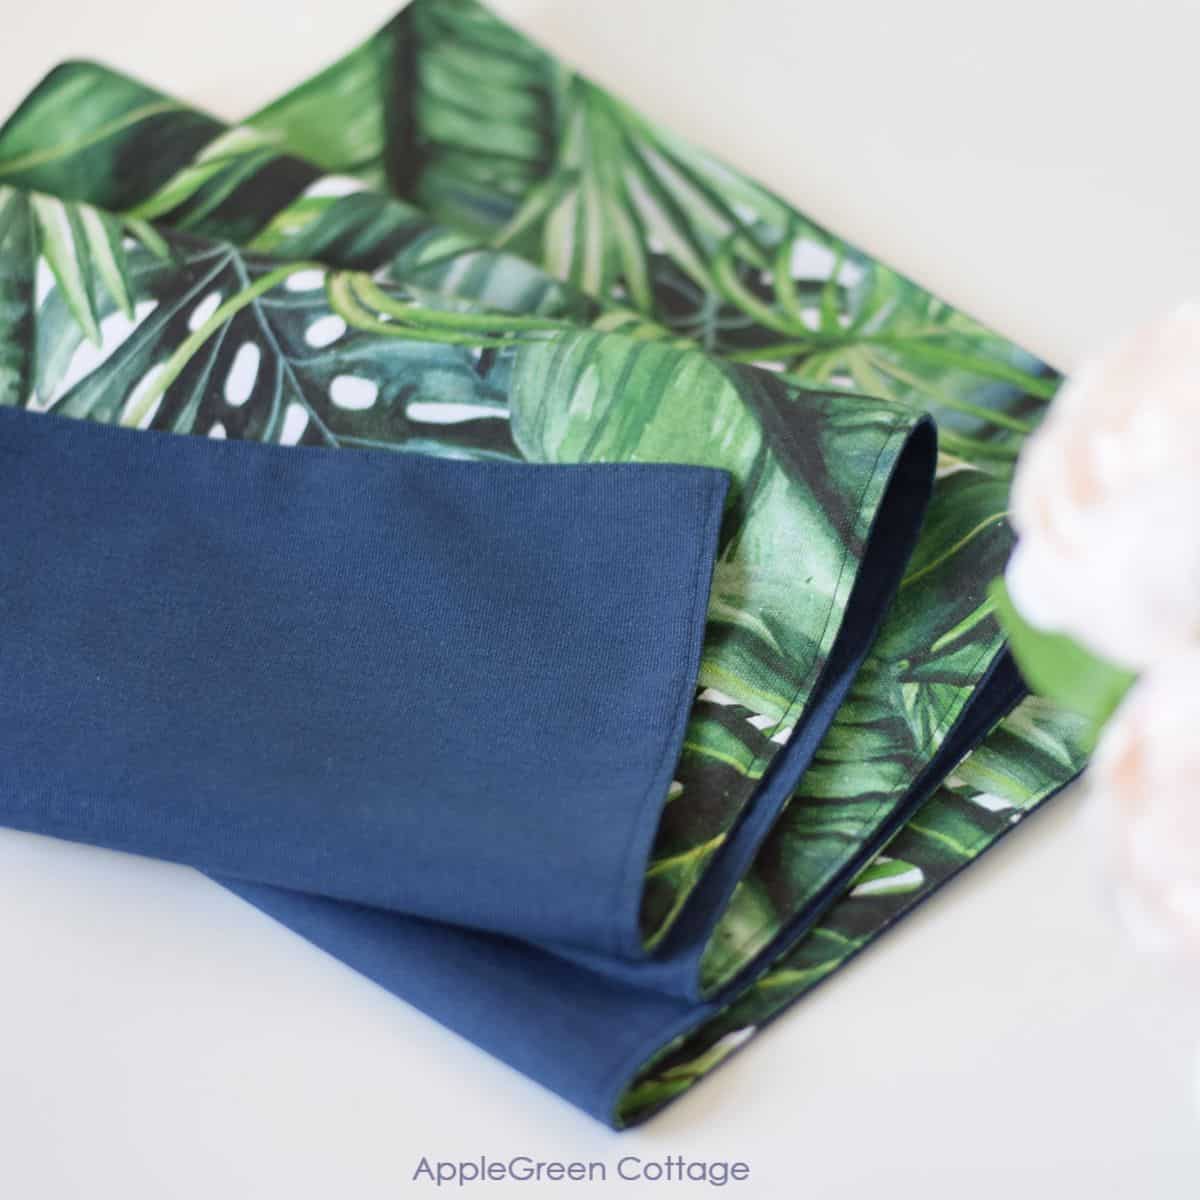
Step 5 - Turn And Press
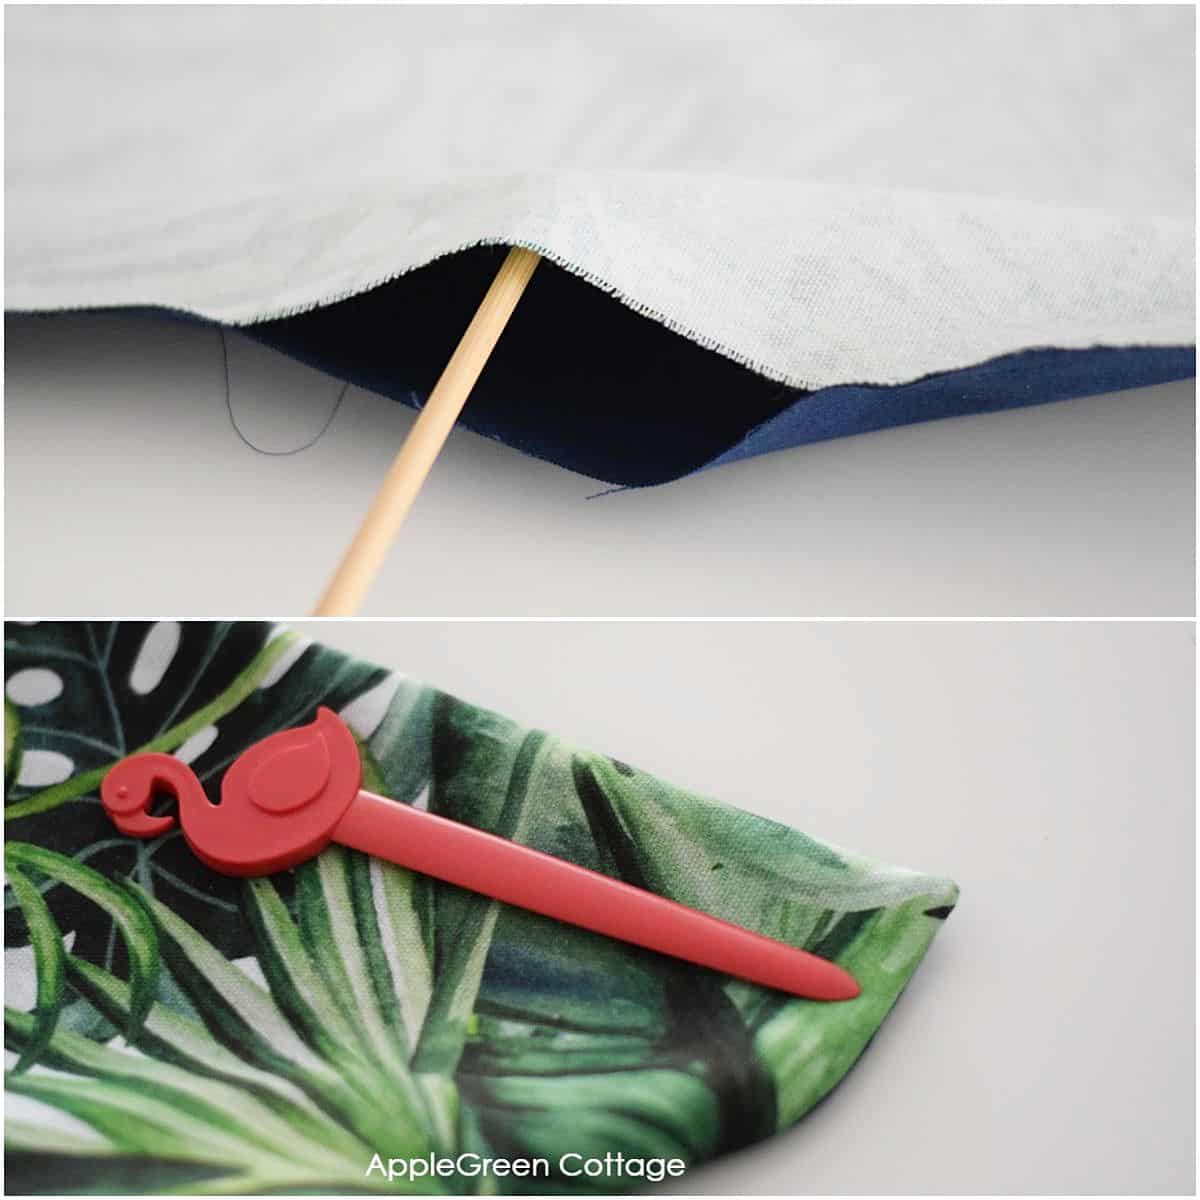
Use a point-turning tool or a chopstick to turn the fabric right side out, poke the corners out, and press well.
Turn the raw edges on the turning hole towards the inside and press, too.
Step 6 - Topstitch your diy table runner
Topstitch around the entire table runner using a narrow seam allowance of ¼" (0.7cm) - this will close the turning gap, too.
TIP: your topstitching will look prettier if you use a longer stitch length than usual. I go all the way up to 4 mm and it always looks good! That is something between 6 and 7 stitches per inch.
Optionally, you can topstitch another round on your finished table runner, this time approximately an inch away from the outer edge. It will help you fix your layers and - well, it looks pretty.
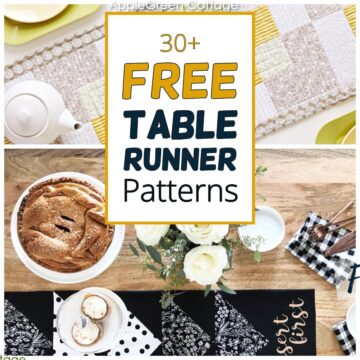
Your diy table runner is finished. And see, no hemming was needed at all! I hope you've enjoyed this how to make a table runner tutorial. Just a few more questions to answer for my readers (you):
Helpful Tips
How do I choose a table runner fabric print?
Especially if sewing a reversible tabler runner like this one, it's always good to be practical. While prints look beautiful, you might want to go for clean, solid effect some other day. You can therefore choose a solid for one side and a print for the other.
As for colors, white, light grey, beige and everything in between will be a classic choice. Prints will give your diy table runner a fresh and vibrant look. Darker solids like navy, or deep gray might hide stains better.
This is why I chose a dark solid on one side and a color-rich, vibrant print on the other. Easy to use in any setting!
Or, you can use different themed fabric prints on each side, like fall-themed on one side and Christmas on the other side.
Which fabric is best for a table runner?
Cotton has a classic style which makes it practical, simple, yet elegant.
Linen table runners have a rustic look.

+Free Oven Mitt Pattern!
Use matching fabric and create this cute oven mitt - 2 sizes, no binding!
Blends of different materials such as linen-cotton are easy to care for and machine-washable. No matter if a placemat, a diy napkin, or a table runner. It applies to all these.
Why I use decor weight fabric to sew table runners.
You know I like using interfacing, batting, and everything that makes my bags and projects better-looking. Still true. But with table runners, if you use decor weight fabric, you don't even need to add any interfacing.
So here's my best time-saving tip to sew table runners: use decor-weight fabric so you can skip interfacing. This fabric type will instantly beautify your table setting, with minimal effort.
Simple and smart. Because with projects like this one, adding interfacing would take you more time than the actual sewing. That's why I recommend going with decor weight fabric for both sides. Get the fabric, square it up, sew around and - done. Hello, my pretty home!
How much should a table runner overhang?
Usually, 6" on each side of the table is enough. If you use a larger table cloth underneath the table runner, it's best the table runner is shorter than the tablecloth.
What are the standard sizes for table runners?
Oh these will vary a lot, depending on the table sizes. Usually, you'll find them in lengths between 36 to 108 inches. Widths will differ too, and are usually between 10 to 15 inches.
Can a table runner be shorter than a table?
Not recommended if you're using it on its own. But if you add a base cloth underneath, one that is covering the entire table and hanging over it, you can play with the table runner sizing, and use it as a table topper - those are usually smaller, narrower, and shorter than the table itself.
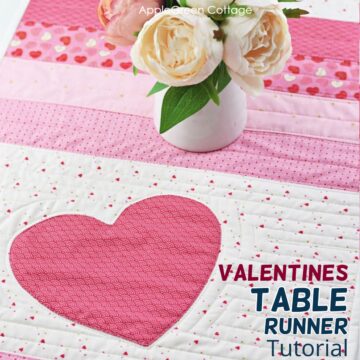
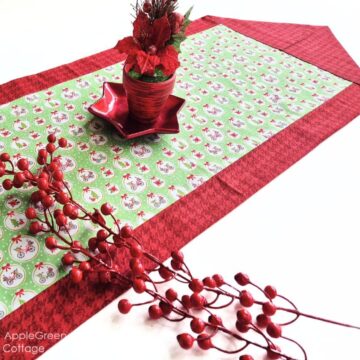
If you liked this tutorial and love sewing for home, also check out the Hanging Storage Basket tutorial, or more table runners to sew. Happy sewing!
More Table runner tutorials
Want More Free Patterns?
Get email updates and never miss out on new patterns, printables, and tutorials:
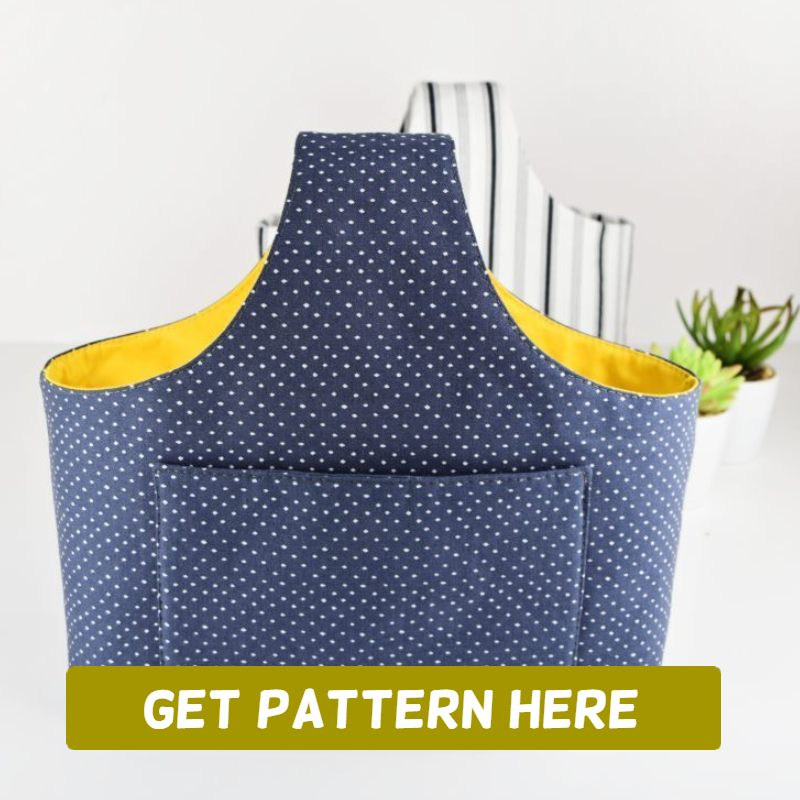
Or check out this pretty ALLina project bag pattern in our shop - for all your storage needs:


Jean Cherep says
Damjana,,
Thanks for all of your posts. I was hoping that you would remember the monstra fabric name foe this project.
Jean
Robyn Lidstone - Australia says
Thanks for sharing the design for this lovely table runner, Damjana. Your generosity is appreciated.
I'll raid my stash to find the most suitable fabric to produce this for my dining room table. I like that it is reversible.
Margo says
I just stumbled across your site while looking for a pattern for mitred napkins and I have to say it’s the best instructions I have seen. Very easy to follow, especially for a newbie 😉
Look forward to more from you
Margo
Alexandria says
Thank you for the lovely table runner pattern.
Damjana says
Alexandria hi,
you're welcome, enjoy the project!
Damjana