
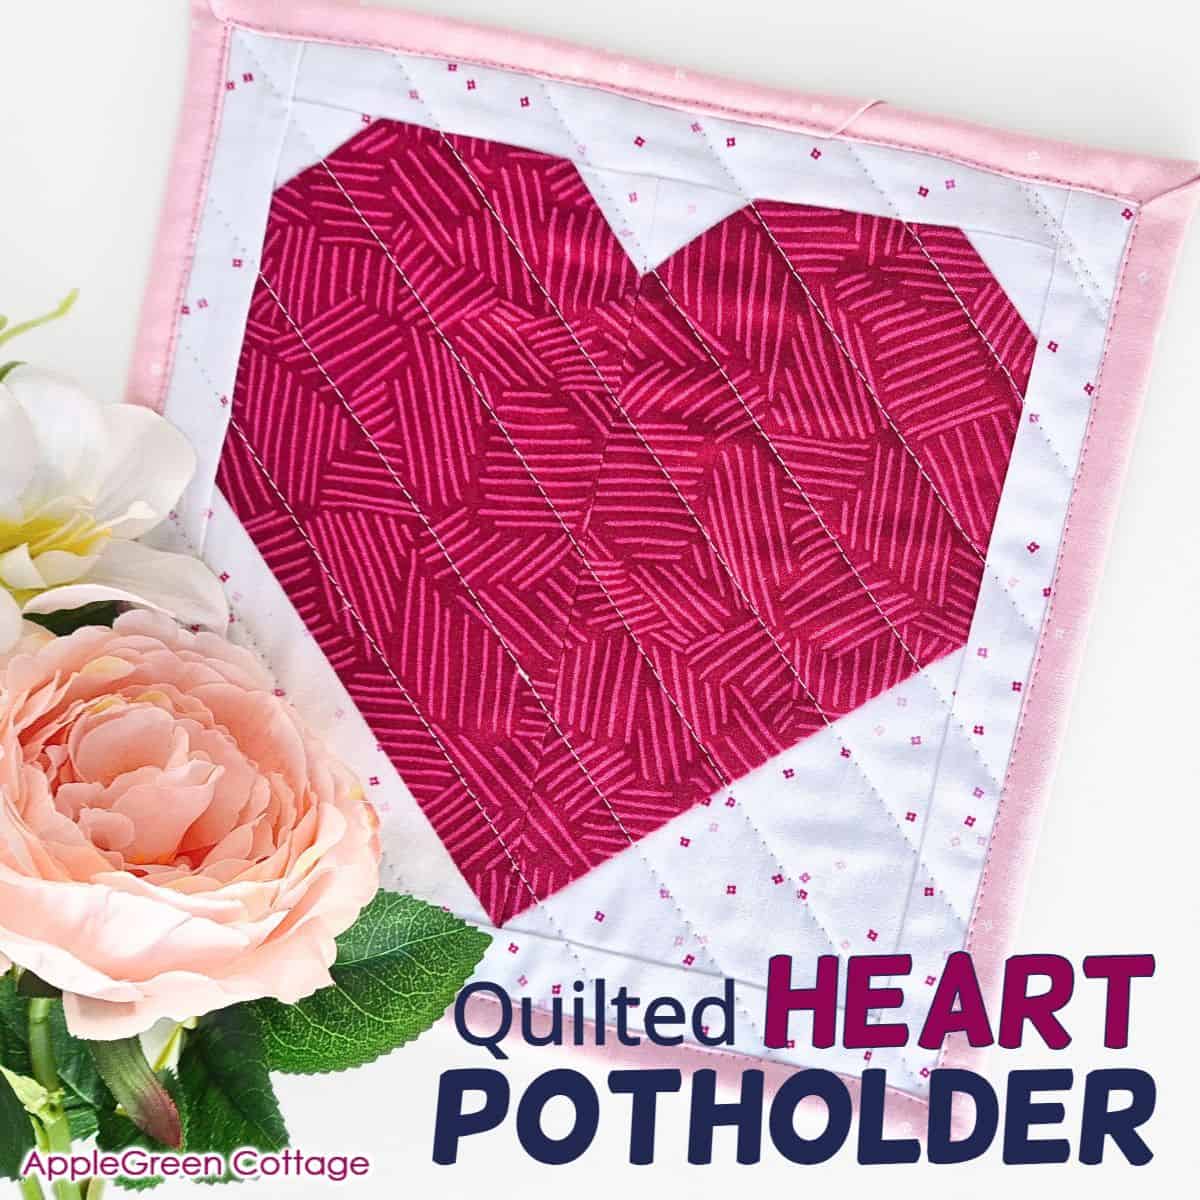
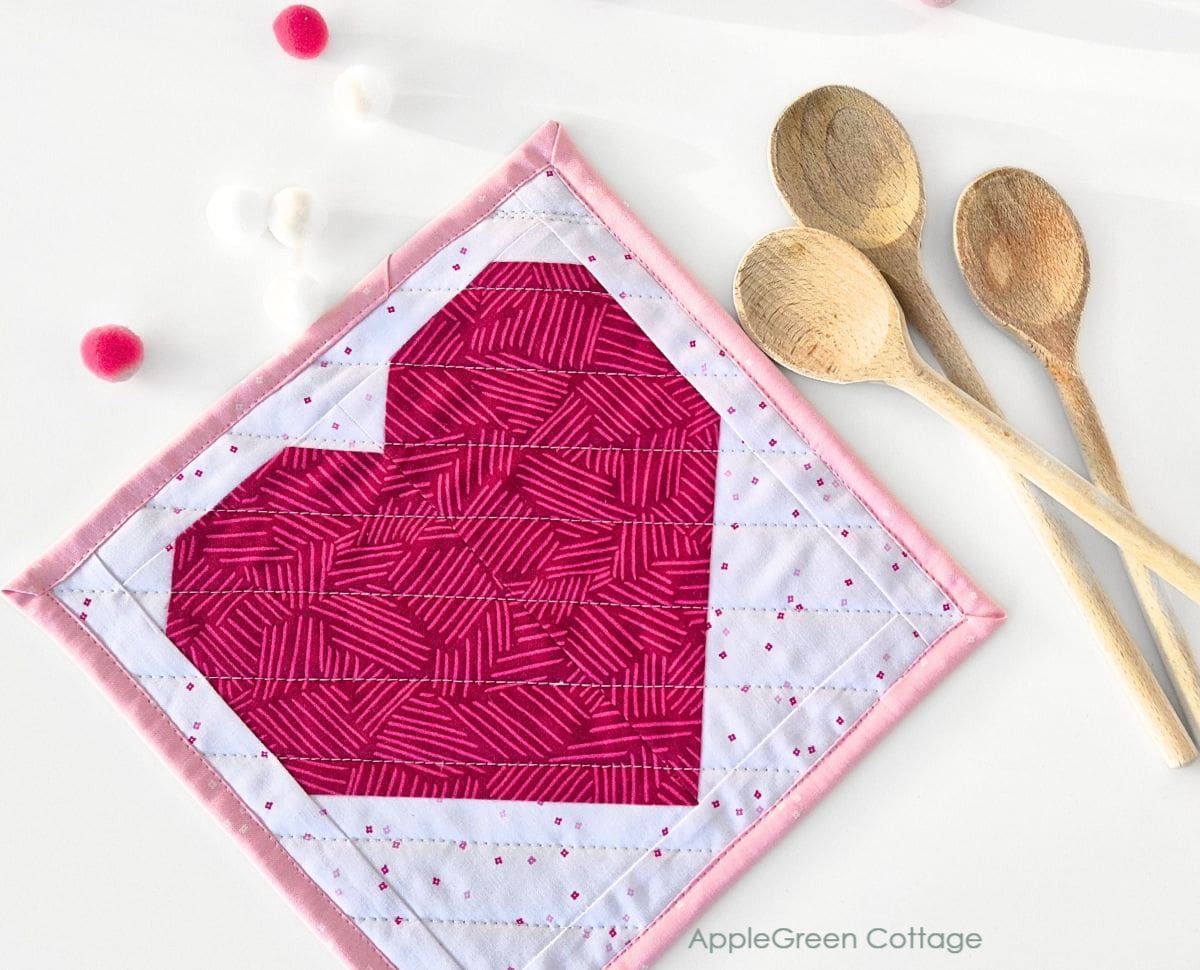
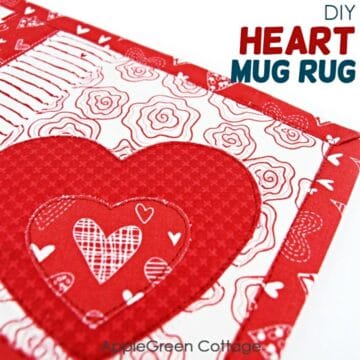
See how to make a quilted heart potholder using our free heart potholder pattern - as easy as it is adorable! Using a simple heart block, you'll make a perfect gift or something special for your kitchen.
This is beginner-friendly and fun - no tricky techniques to stress over. So grab some fabric, the free heart block sizes cheatsheet, and let's whip up a sweet project that's sure to bring a smile!
The heart block cheat sheet includes 10 sizes - for all your heart quilt designs.
Prefer an ad-free printer-friendly option of the whole tutorial+heart block cheat sheet? See the → optional PDF file in our shop.

This tutorial is also part of Printable Tutorials BUNDLE
100 PDF tutorials now, and growing!
Table Of Contents
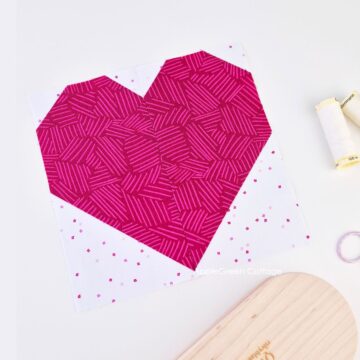
Last time I showed you how to make a heart square quilt block. This time, I'll show you how to turn that heart square quilt block into a lovely Valentine's potholder - step by step, from start to finish, no skipping parts!
Sewing Video
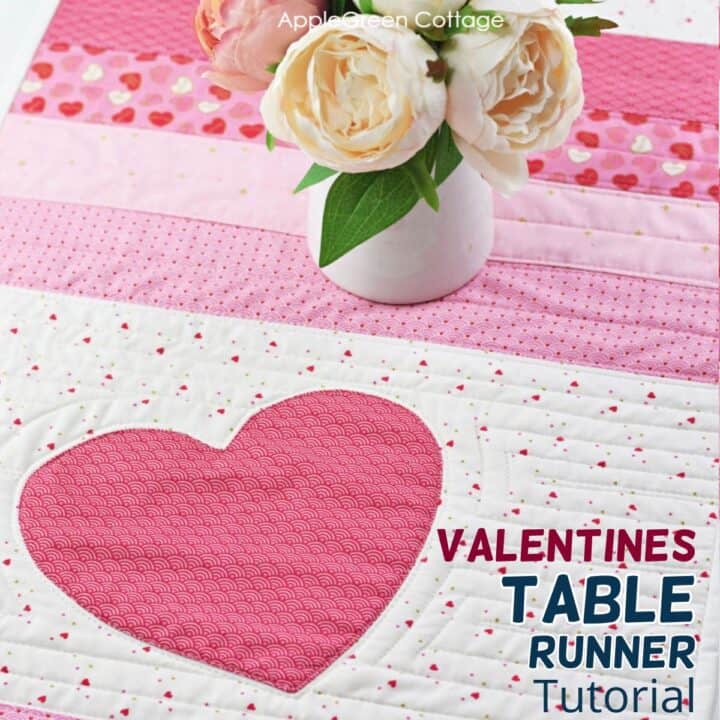
+Make A Set!
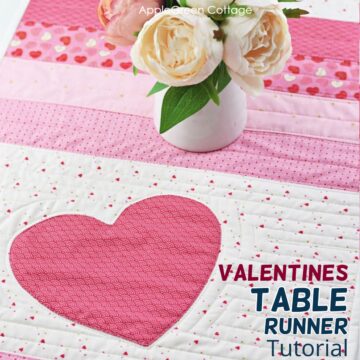
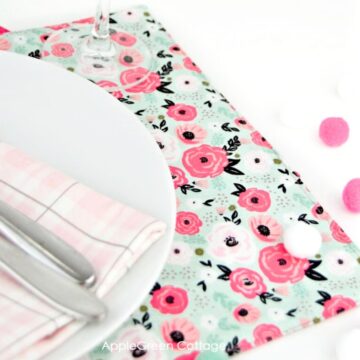
Make an easy valentines table runner - beautiful Valentines home decor.
Supplies
Shop my personal favorite sewing supplies on Amazon HERE.
These are the supplies you need with this project, from start to finish:
- a fat quarter of background fabric (depending on what size you choose)
- less than a fat eighth of heart fabric - for the heart design
- binding (use our free binding calculator here)
- batting and backing, 10" square each
- the usual: sewing machine, thread
- a rotary cutter and a cutting mat
- free cutting directions for 10 (!) heart quilt block sizes
Finished Sizes
We will create a 9 ½" potholder here, with a 7" finished square heart block. I want to use it as a hot pad when needed, this is why I opted for this, larger size.
Depending on what pieced heart size you choose as your center, you can make your heart potholders in any size you wish! Simply join our mailing list and get all the extra cutting sizes (3 ½" to 12 ½").
Heart Potholder Tutorial - STEPS
This tutorial is created for beginners in mind, with every step explained. To sum up, first we'll cut the fabric and create the top layer, and then quilt and bind this beautiful heart potholder. Let's start!
Step 1 - Get the Free Heart Block Measurements
Get all 10 heart block cutting sizes (3 ½" to 12 ½") emailed to you when you join our mailing list here and decide on your desired size.
Prefer an ad-free printer-friendly option of the whole tutorial+heart block cheat sheet? See the → optional PDF file in our shop.
Step 2 - Cut All Pieces - Cutting Directions
Here are the cutting directions for a 9 ½" finished potholder, with a 7 ½" heart block. Feel free to use different sizes from the free chart.
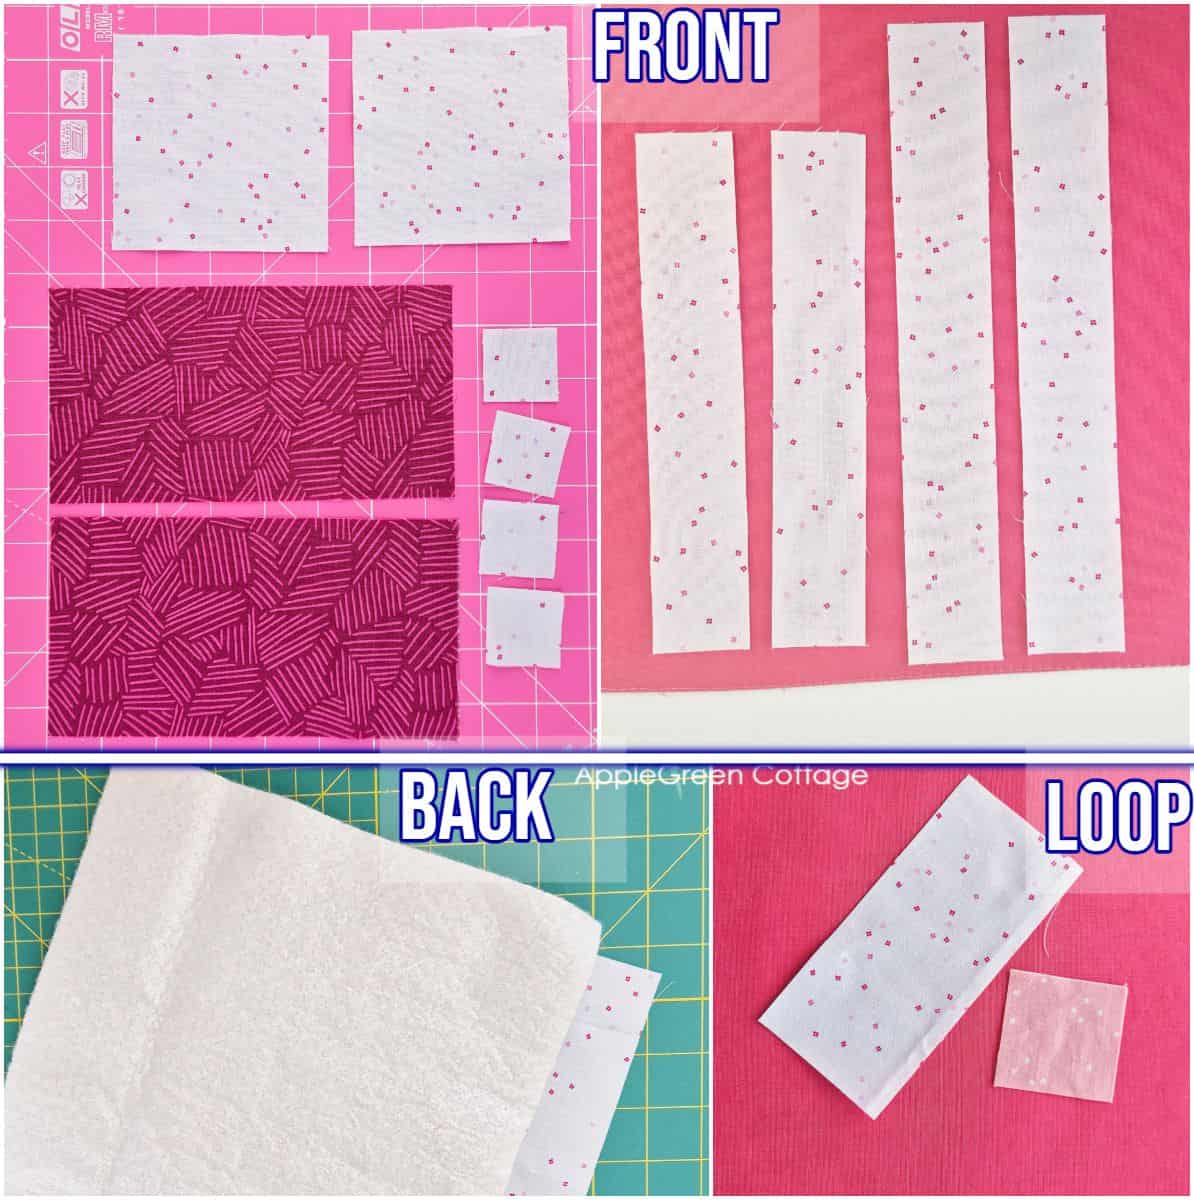
1- For the front:
From background fabric, cut:
- (four) 1 ½" squares from background fabric
- (two) 4" squares from background fabric
- (two) 1 ½" by 7 ½" strips
- (two) 1 ½" by 9 ½" strips
From heart fabric, cut (two) 4" x 7 ½" rectangles.
2 - Back, binding, and batting
Cut binding: 1 strip, 2 ½" wide by WOF (width of fabric) from any fabric you choose.
From backing fabric and batting, cut (one) 10" square each.
3 - The hanging loop:
Cut (one) 1 ½" square and (one) 6" by 2" strip. I used matching fabric scraps.
Step 3 - Draw Diagonal Lines
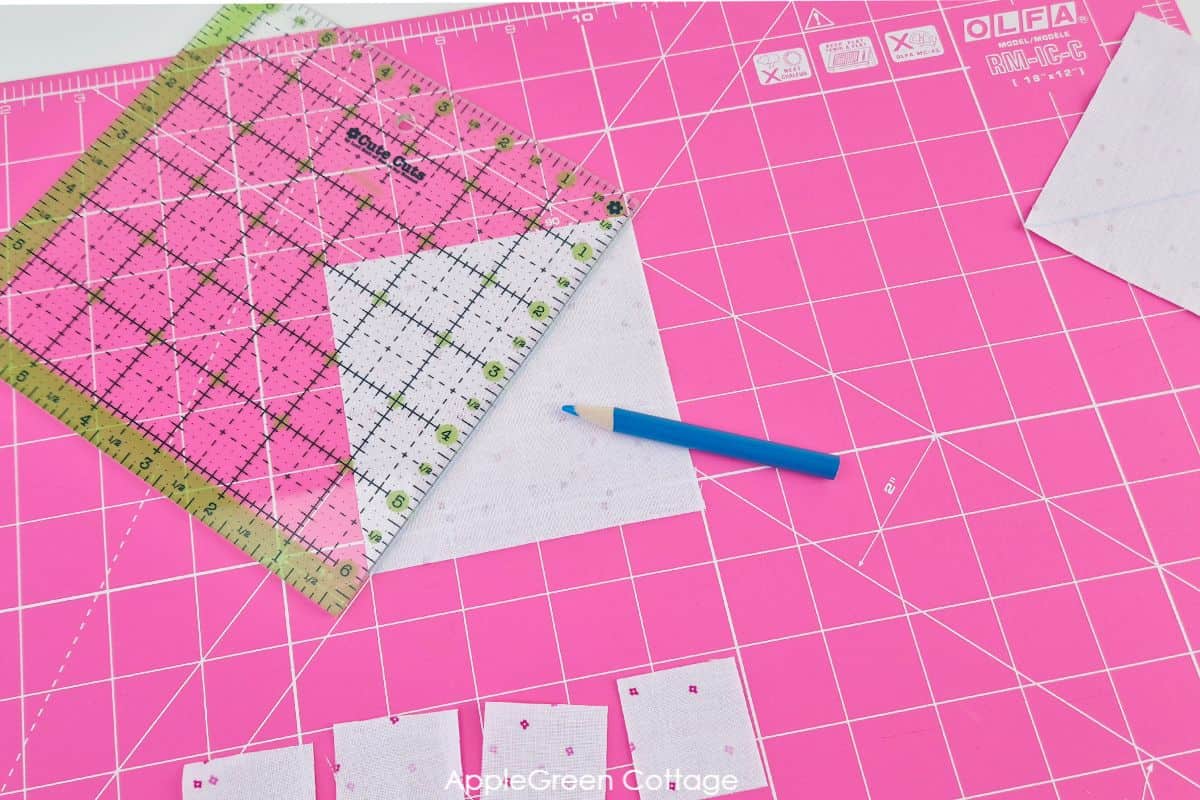
Mark all your top squares: use a fabric pencil to draw a diagonal line across each of the squares: the two 4" and the four 1 ½" squares. Always mark on the wrong side of the fabric.
Step 4 - Sew the Bottom of the Heart Block
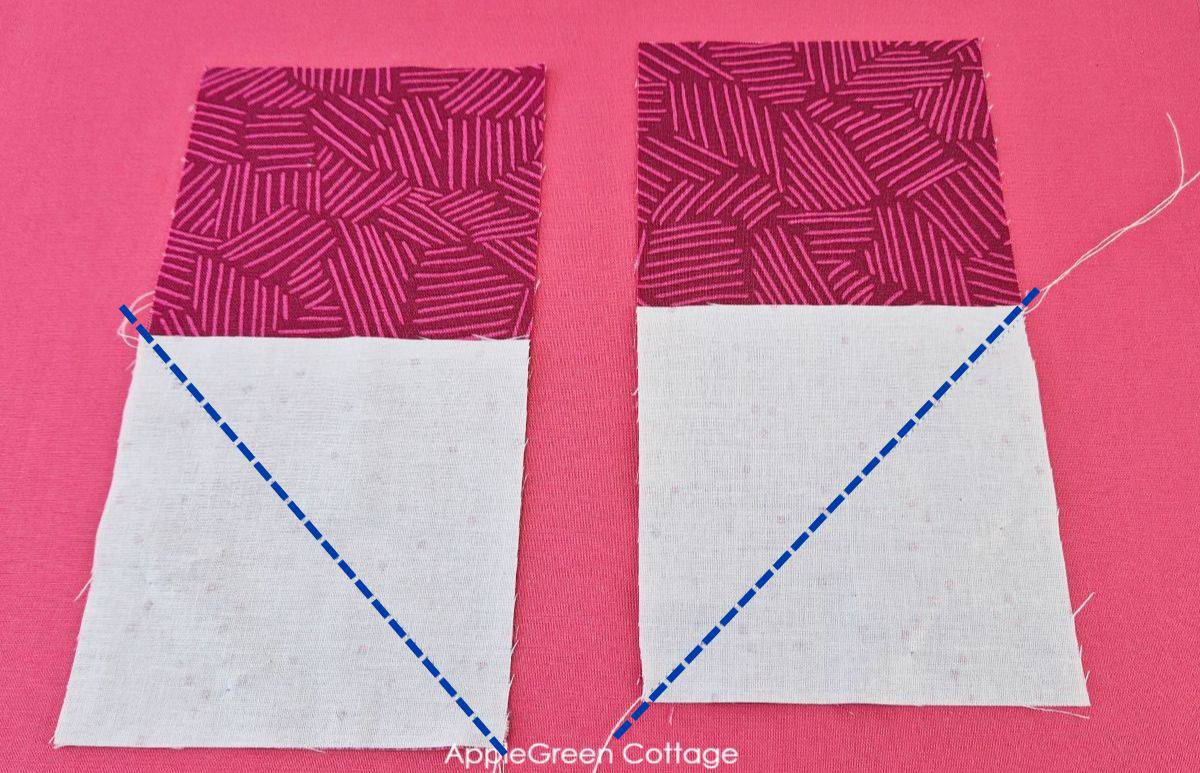
Place and Sew: Place the larger marked background squares along the bottom of the heart strips, right sides together - with the marked lines as shown (mirrored placement).
Sew directly on the marked lines.
Trim and Press: Trim the corners to leave a ¼" seam allowance, then press the seams open, or to the darker side.
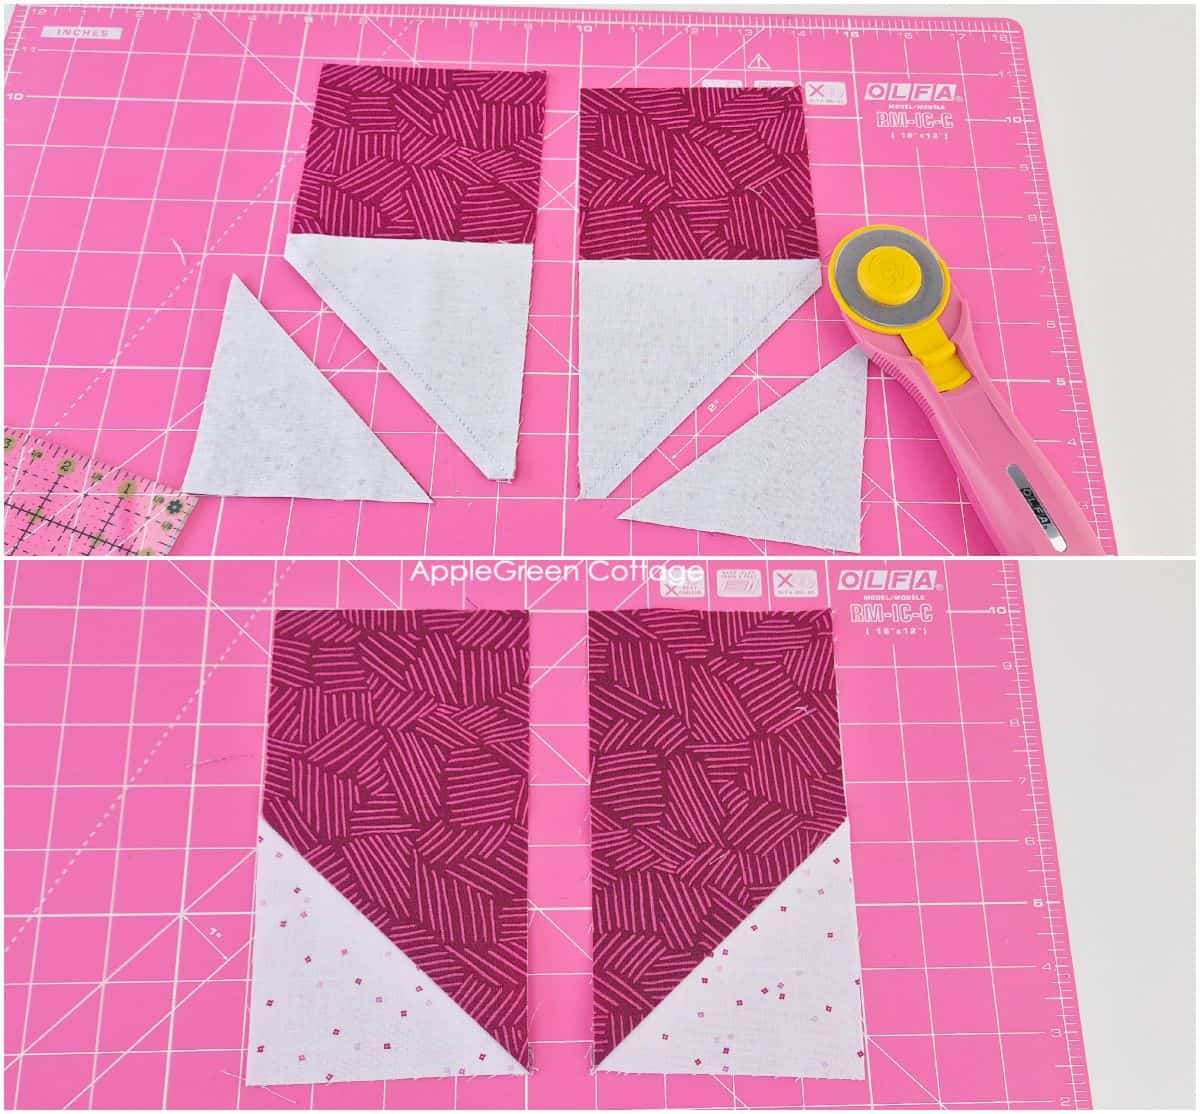
Step 5 - Sew the Top of the Heart Block
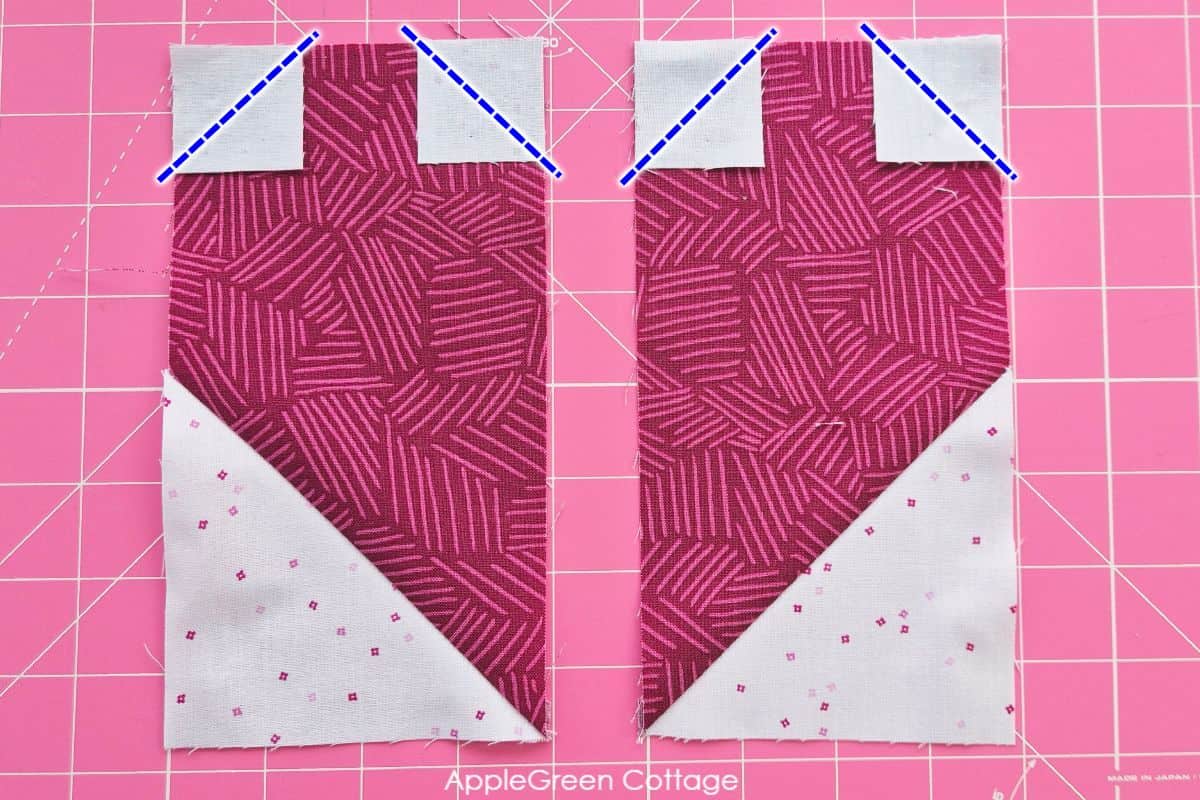
Place the 4 small background squares on top of each heart fabric rectangle in the upper corners, with the right sides together. Sew directly on the marked diagonals, as shown in the image.
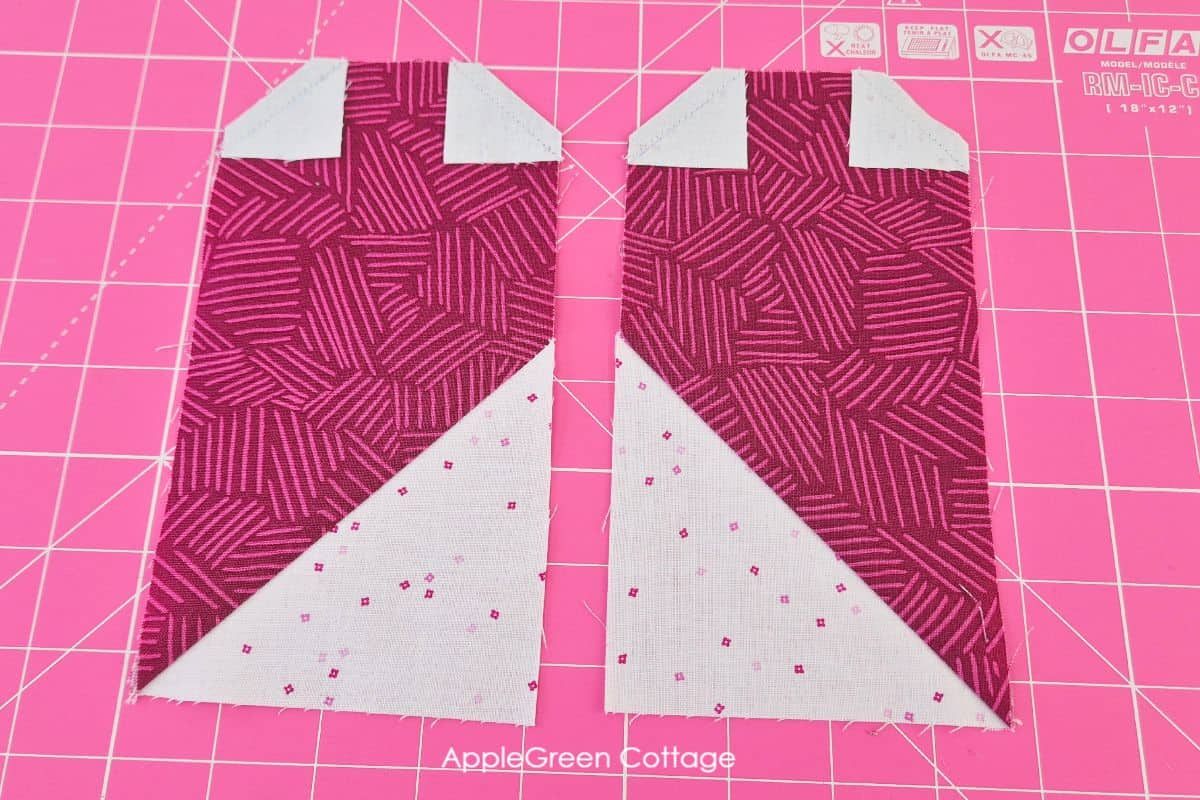
Trim and Press: Trim the corners to leave a ¼" seam allowance, then press the seams open, or to the darker side.
Step 6 - Assemble the Heart Block
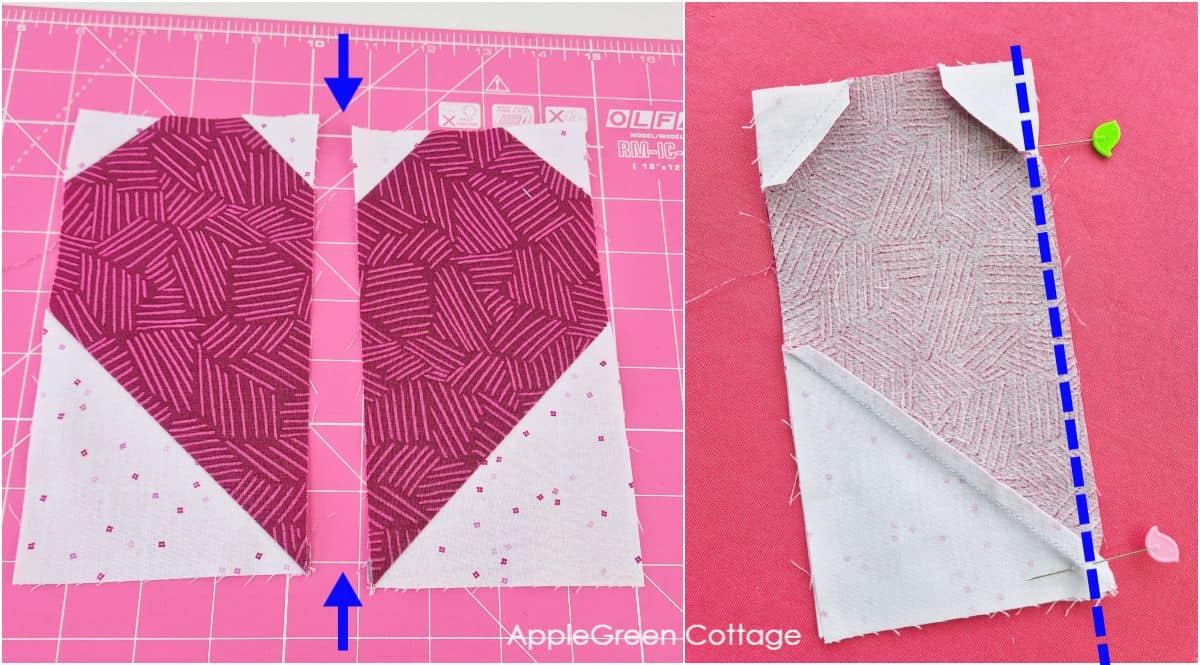
Join the left and the right halves: Place the two halves of the heart block together, right sides facing. Sew a vertical seam along the side that has nearly no background fabric. (= the center of the heart)

Press the Seam: Press the seam open for a flat finish.
Step 7 - Add Borders
Now we'll add strips around the heart block. Not absolutely necessary and you can even skip this step, but it will make your potholder more elegant. This is how. Use the 4 additional strips from background fabric:
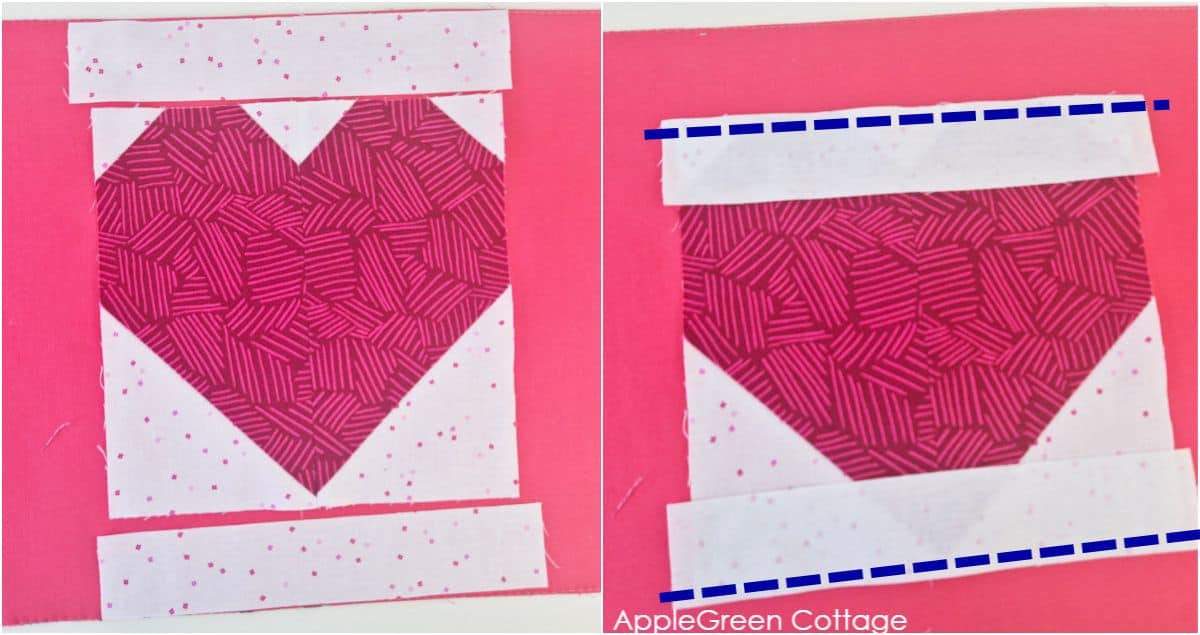
Add the two shorter strips as top and bottom borders by joining the 1 ½" by 7 ½" strips to the top and bottom of the heart. Press the seam allowance away from the heart. Square up the block.
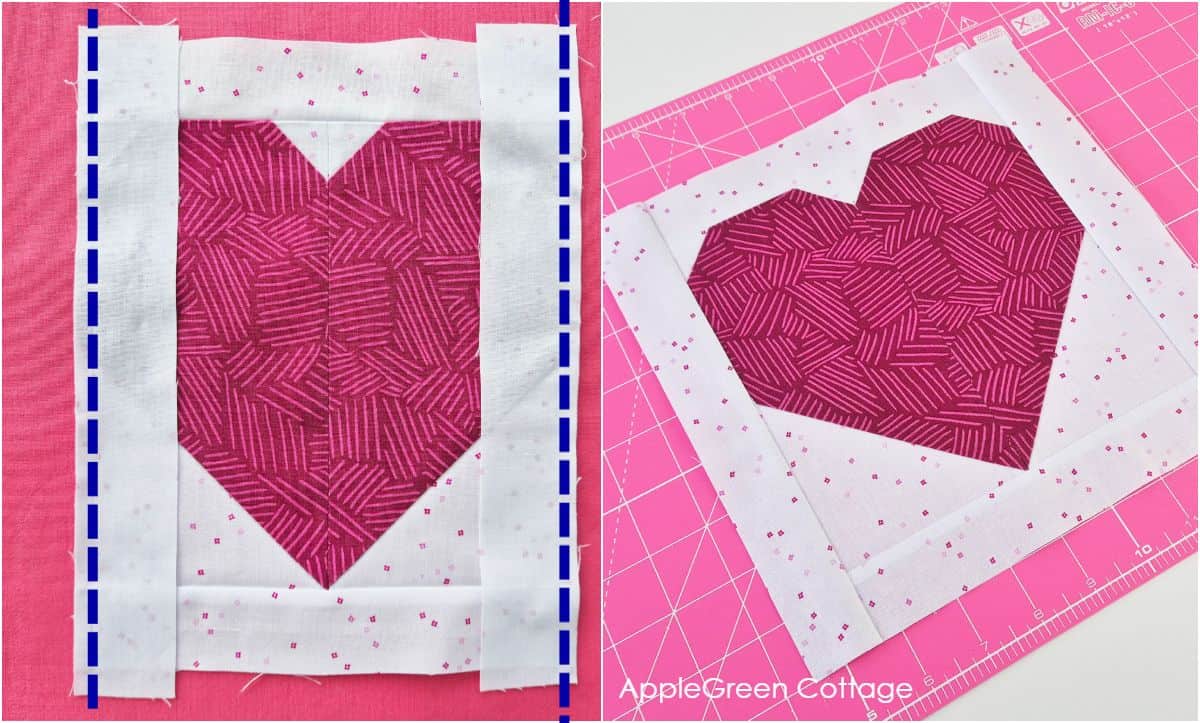
Add the two longer strips as side borders by joining the 1 ½" by 9 ½" strips to the left and right of the heart block. Press the seam allowance away from the heart.
Step 8 - Layer and mark quilting lines
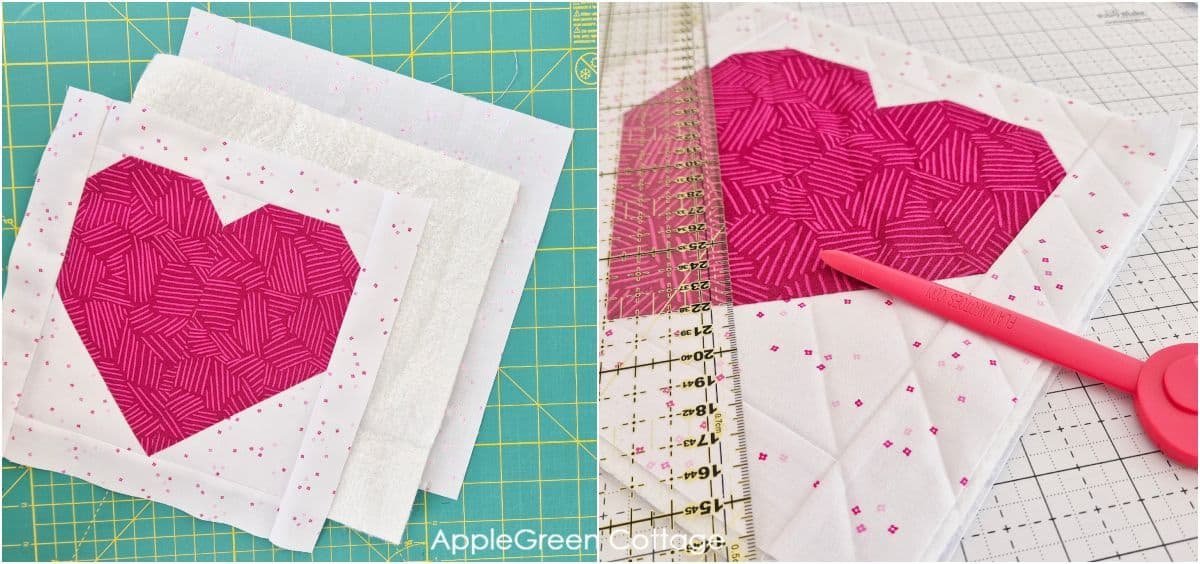
Layer the backing (right side down) + batting + top (right side up). Once I spray-basted the layers together, I simply marked diagonal lines using my pretty Flamingo Stiletto Tool. You can also use fabric markers instead.
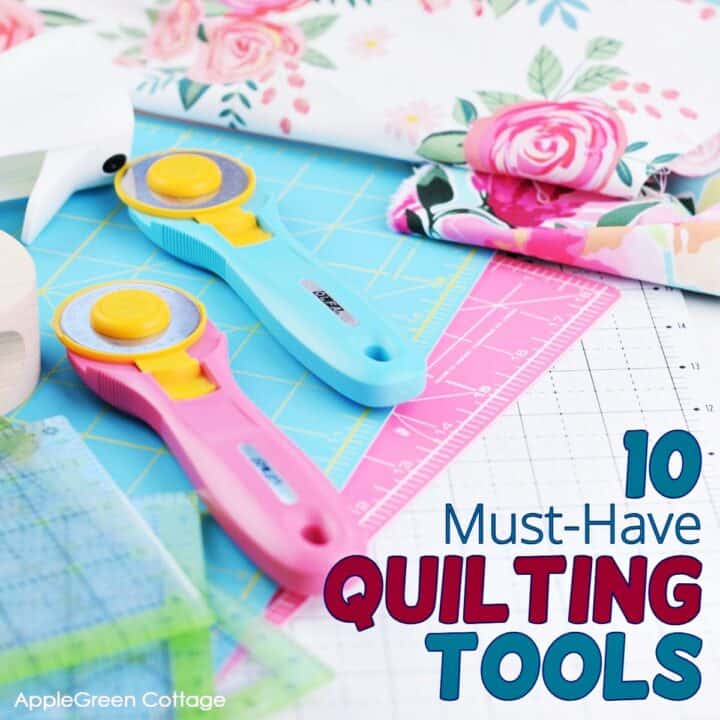
See My 10 Favorite Quilting Tools
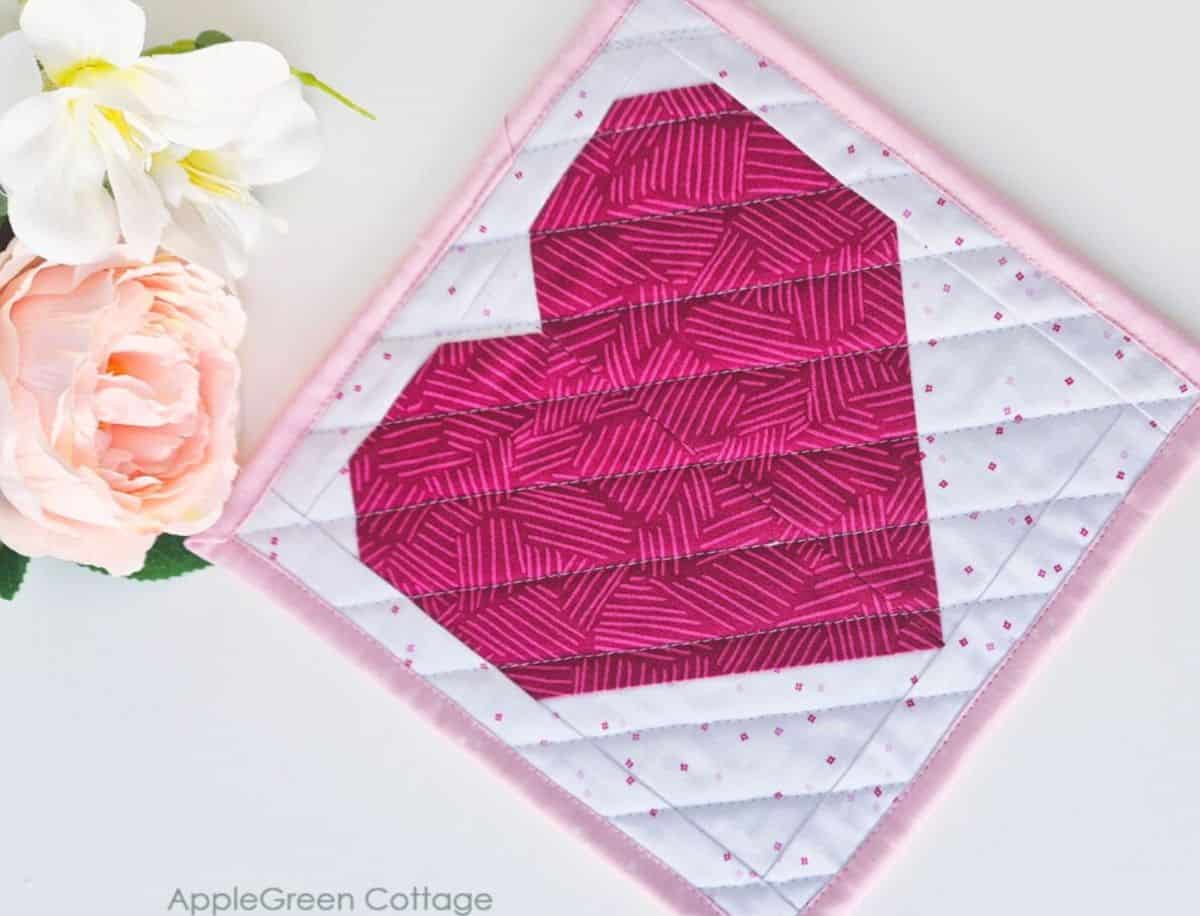
Step 9 - Quilt and Square Up
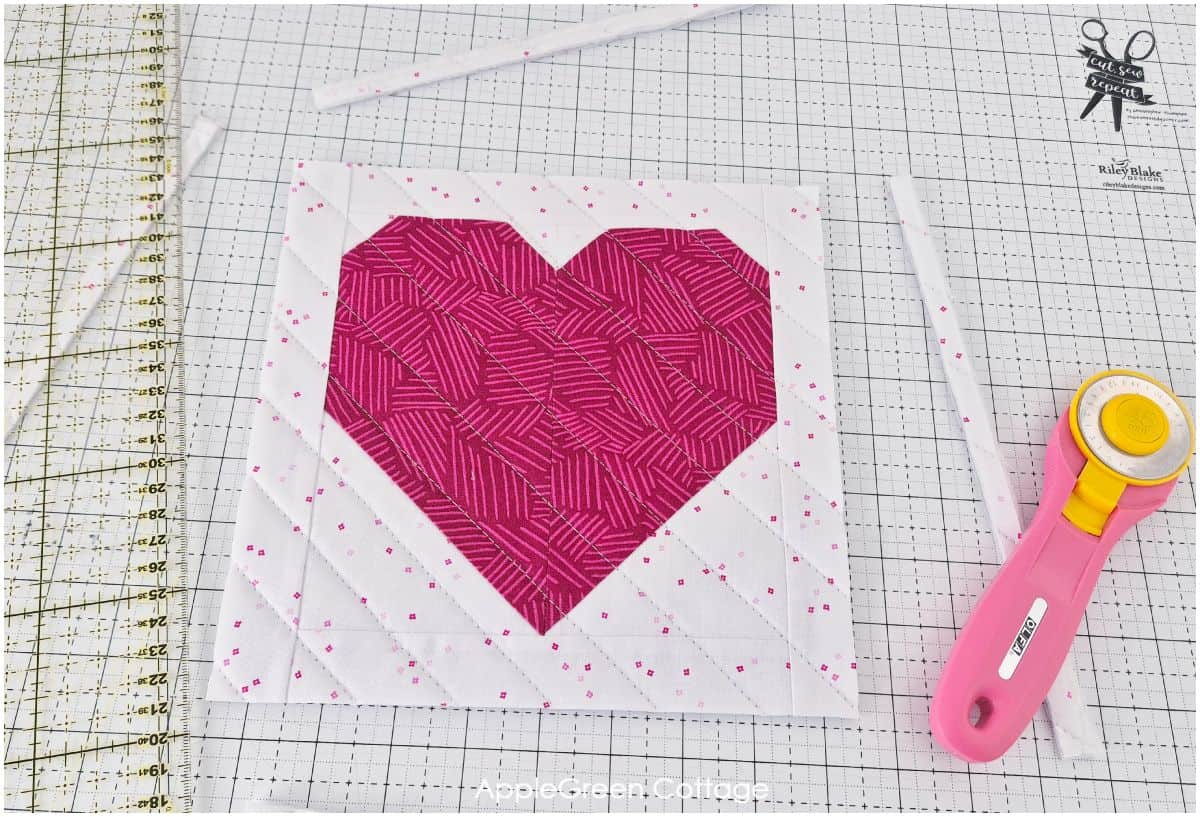
I used one of my favorite 14 straight-line quilting designs (all these are so easy and effective, check them out!)
Always trim and square up your block for precise results. Even a tiny bit of excess fabric makes a difference. The finished block should measure 9 ½"square.
Step 10 - Create the hanging loop
This is how I create the hanging loop:

Using the 6" by 2" strip,
- fold the two long raw edges towards the center with the wrong sides together, then
- fold along the center too. Press. You have 4 layers now.
- Edgestitch along both long edges.
Step 11 - Attach the hanging loop
Now, this is my favorite way to add a loop to a potholder. I did it with this simple potholder pattern without binding, and with these easy four-patch potholders.
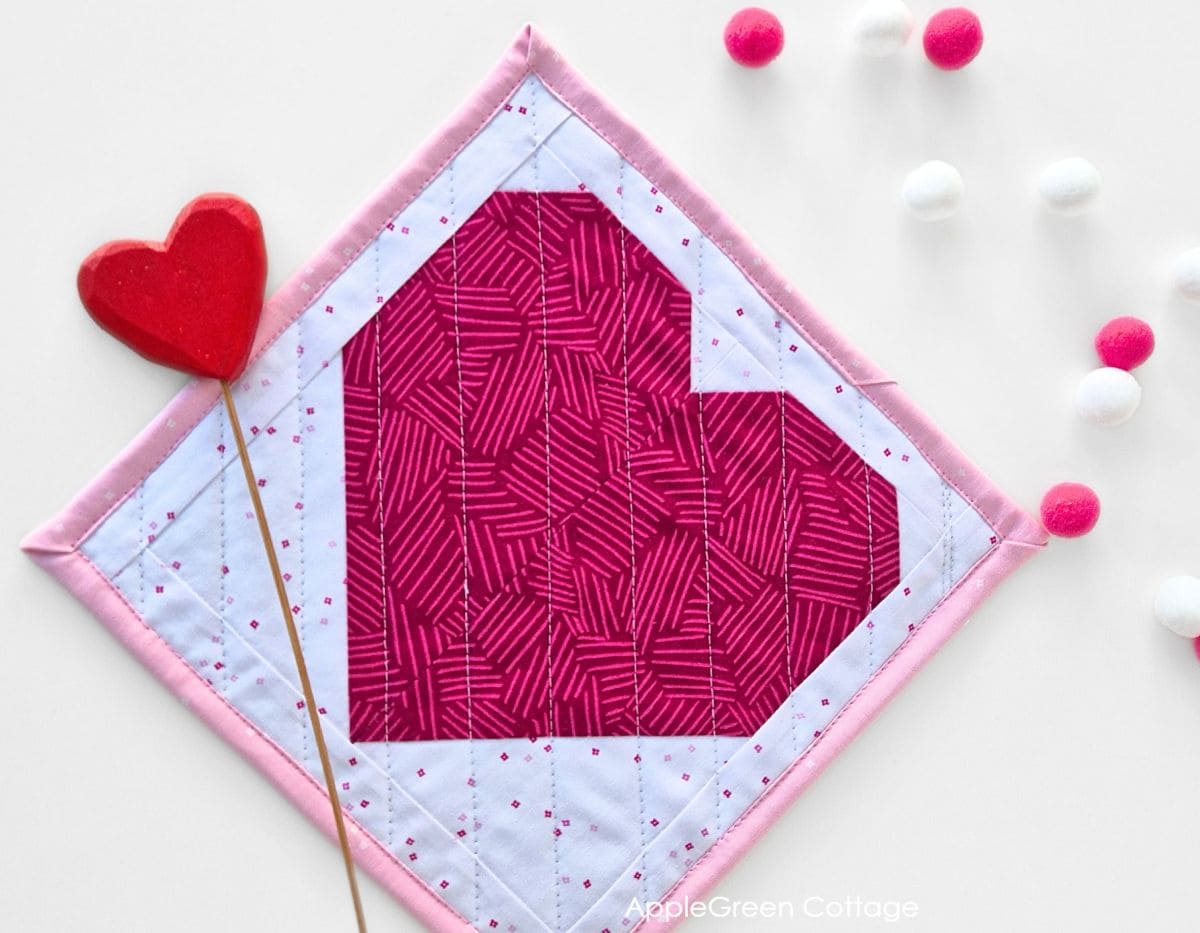
Fold your new loop in half. You'll sew it to the top corner on the back of your potholder. Like this:
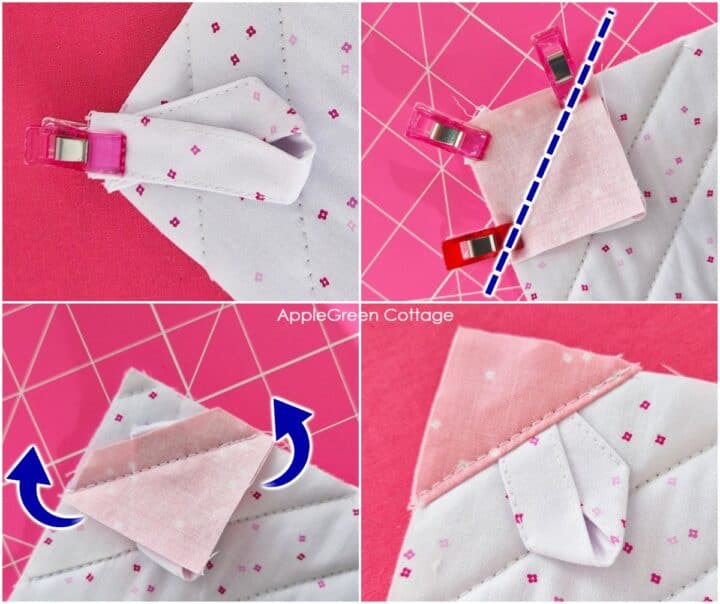
- Fold the loop in half then place it into the top corner, with the raw ends directed towards the corner. See photo (1) above.
- Baste and cover with the 1 ½" square - the square should be the wrong side up and aligned with the corner of the main piece. Pin and sew across the diagonal, catching the hanging loop into the seam.
- Then cut off the extra fabric and loop ends in the corner to reduce bulk, and fold the sewn square back. You get a triangle.
- Topstitch along the edge to secure the hanging loop and add some structure to this bit of fabric. Loop done.
Step 12 - Bind the raw edges
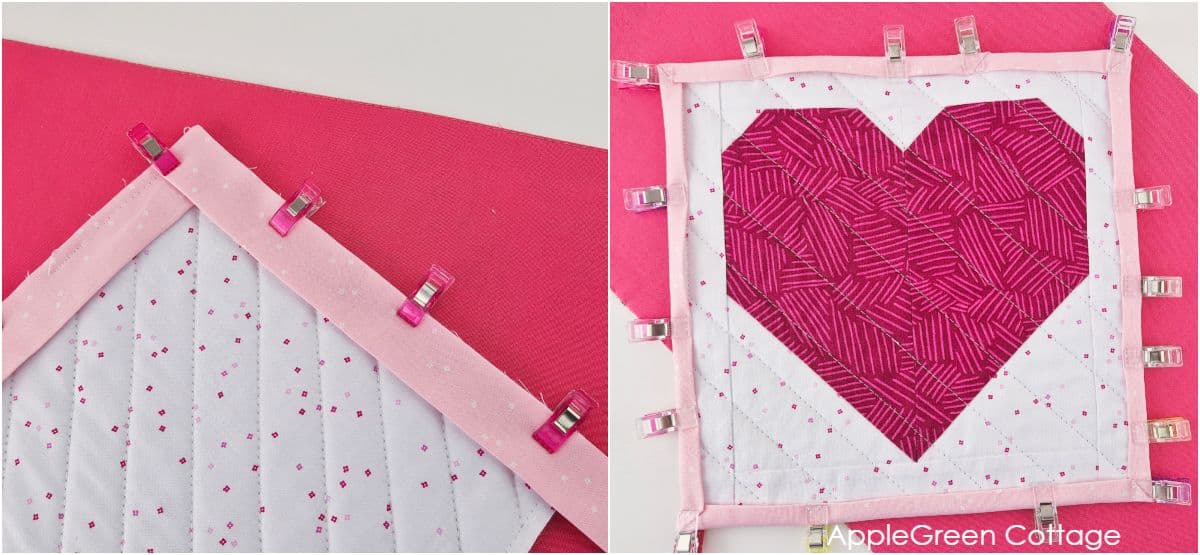
Take your long strip of 2 ½" binding and press it in half (wrong sides together) if you haven't yet. Then attach binding to the potholder.
New to binding? I've got you covered: jump to this page and learn to add binding to your potholder. (I'll safely guide you through every single detail, promise!)
Also, feel free to use this must-see binding hack, it will make it even easier to finish your project!
I hope you enjoyed this tutorial! Make sure to grab the free quilted heart potholder pattern - it comes in 10 sizes and can be used to make a mug rug, a wall hanging, or even a full baby quilt!
+Make A Set!
Make an easy valentines table runner - beautiful Valentines home decor.
Popular Questions
Now, as promised, a list of tips and ideas to make it easier for you:
A lot of quilt patterns use the stitch-and-flip method - and it's so simple! Just draw a diagonal line on the back of a square, place it on a corner of another fabric (right sides together), sew along the line, trim the extra bit off, and press it open. Stitch, then flip - exactly what we did in this heart block tutorial!
To align the points, double-check your seam allowance is a scant ¼ inch and press seams carefully before joining sections. Pinning at key intersections also helps ensure precision.
To hold the binding edge on your corners in place, you can use a dab of school glue, spread it (make sure everything stays under the folded part of the binding) - fold the binding in place, and set it with a hot iron. The school glue will keep the front side in place. No fuss!
There are several standard sizes for square potholders, anything between 6" and 10". I currently use 7" potholders in my kitchen from this potholder tutorial. And since I'd like to have a larger one that could serve as an occasional hotpad on the dining table, this tutorial shows how to make it a larger size.
I used one layer of Insul-Bright, but for extra heat resistance, use two layers of Insul-Bright or one Insul-Bright plus a layer of cotton batting. Avoid polyester batting-it won't block heat effectively. Read more about interfacing, including Insulating thermal batting, in this guide on interfacing.
And while you're at it, why not make your quilt block math even easier with our free calculators?
Tips for Perfectly Sized Quilt Blocks
- Always double-check your measurements before cutting the pieces.
- Draw your diagonal lines with a fine fabric pen. The thinner the better.
- Sew with a scant ¼" seam allowance.
- Always square up your block when finished sewing.
More Easy Valentines Ideas!
Looking for more Valentines projects? Try these:

Want a printable copy of the whole tutorial?
Prefer an ad-free printer-friendly option of the whole tutorial+heart block cheat sheet? See the → optional PDF file in our shop. ↓↓
This tutorial is also part of Printable Tutorials BUNDLE
100 PDF tutorials now, and growing!
Or see this easy and quick modern quilt pattern:
Randomize Quilt Pattern
Love modern quilts but want something simple - and NO tricky points to match? →THIS.

Louise V. says
I just made this pretty potholder!! Your instructions were so easy to follow and I referred to your binding tutorial for the perfect finish. I'm sure I need to start on another one now--- this would make a lovely gift too! Thanks so much!!
Damjana Jakos says
Louise hi - that’s amazing! I’m so happy you liked my tutorials. 😊 I agree, these potholders make such thoughtful gifts. Can’t wait to see your next one!