
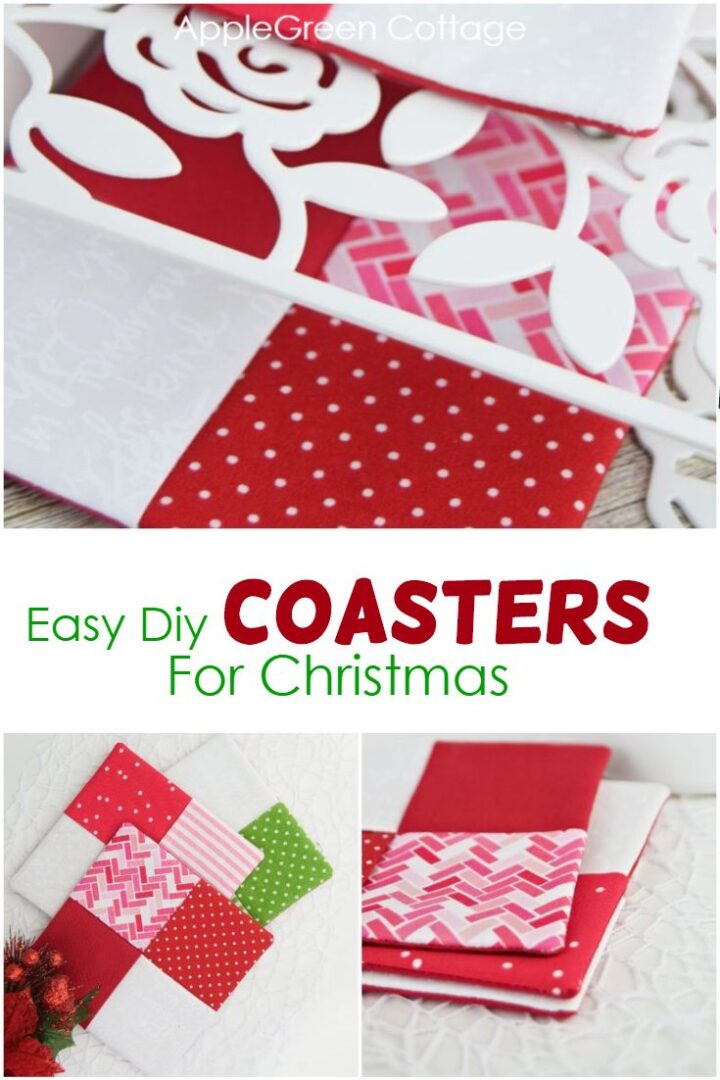
See how to make coasters - a whole set in less than half an hour!
Want to sew something quick, useful, and festive? They're easy to make, look beautiful on any table, and are perfect for holiday decorating or gifting. After making these felt coasters ages ago, I decided it was time for a fabric version - something just right for Christmas, Valentine's Day, or any cozy get-together.

Want an ad-free, printer-friendly option of the whole tutorial? See the → optional PDF file in our shop.
Or grab this pretty freebie first:
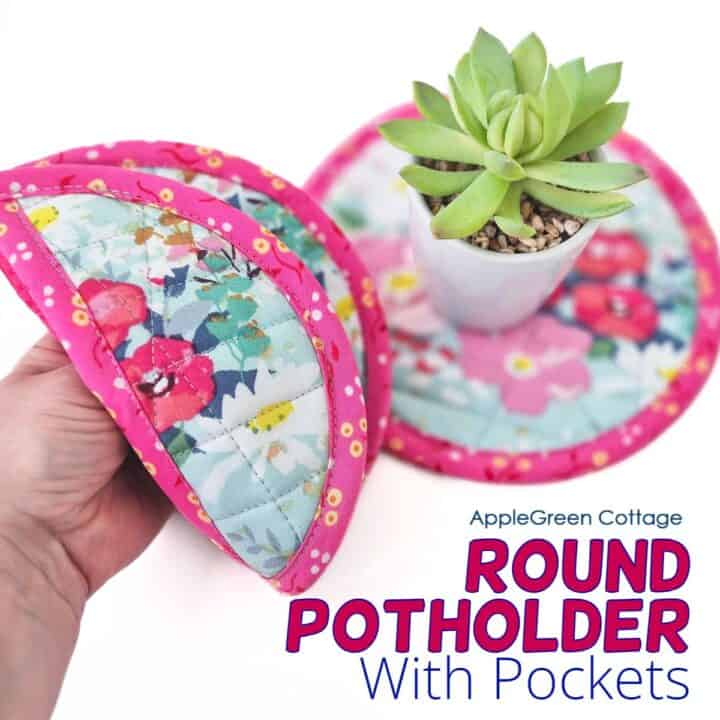
+ FREE Pocket Potholder
Why You'll Love These Fabric Coasters
- Quick and easy - Done in under 30 minutes!
- Beginner-friendly - No fancy skills or tools needed.
- Scrap-happy - Great way to use leftover fabric.
- Giftable - A thoughtful handmade gift, perfect for hosts.
Are you here to sew things for your home? You'll love this popular SewPretty HOME series:

Join the FREE 7-part email course and make 6 beautiful items for your home! You'll love it!
Fabric Coasters You Can Use All Year
These cheerful coasters add a pop of color to your table - perfect for holiday decorating and everyday use!
- Use them at Christmas with a DIY poinsettia centerpiece
- Pair them with Valentine's placemats for a cute February setup
- Or keep them out year-round - no themed prints means they fit in anytime!

This tutorial is also part of Printable Tutorials BUNDLE
100 PDF tutorials now, and growing!
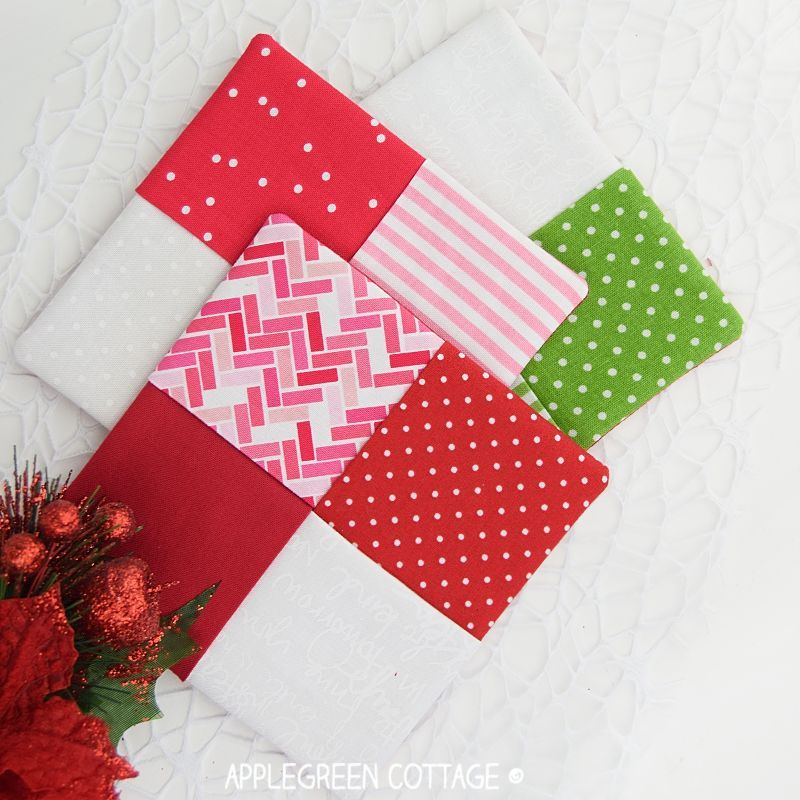
💡 Fabric tip: I skipped the holiday motifs and used red, white, and green prints instead. That way, they feel festive but still versatile.

Supplies
- five scrap pieces of fabric (5" or 13cm squares) in your favorite color combination
- a 4 ½ inch (11.5cm) square of fusible fleece
- matching thread
- sewing machine
- scissors
- optional: rotary cutter and cutting mat (I use this one by OLFA)
Shop my personal favorite sewing supplies on Amazon HERE.
Steps
Cut Your Fabric Pieces - Step 1

Cut five 5" (13cm) squares. One will become the back of the coaster, the other 4 will form the front. Also, cut one 4 ½" square (11.5cm) from fusible fleece.
Add Fusible Fleece - Step 2

Fuse a piece of fusible fleece onto one of the fabric pieces. This fabric piece will form the back of the coaster.
Folding Step - Step 3

Fold the remaining four of your squares in half, wrong sides together and press.
Stack The Pieces - Step 4

With your bottom square right side up, layer the rectangles onto the square covering it. See the image above.
When placing down the fourth rectangle (see #4 on image above), flip up the first piece and tuck the last one under the first piece - they will overlap, just like the rest of the folded pieces.
Sew Around - Step 5

Clip or pin all the pieces in place, then sew along all four edges using a ¼" (7 mm) seam allowance. NO need to leave a gap for turning.
Trim Corners - Step 6

Trim the corners to reduce bulk. Here's a good guide on clipping corners if you are new to sewing.
Turn Right Side Out - Step 7

Turn the coaster right side out, reaching into the center between the rectangles.
Press The Finished Diy Fabric Coaster - Step 8

Push out the corners and press. Voila!
All done and ready for holiday decorating! Hosting or visiting? These DIY coasters make perfect hostess gifts. I love having a few sets ready - just tie with a pretty ribbon and you're good to go!
More Ideas
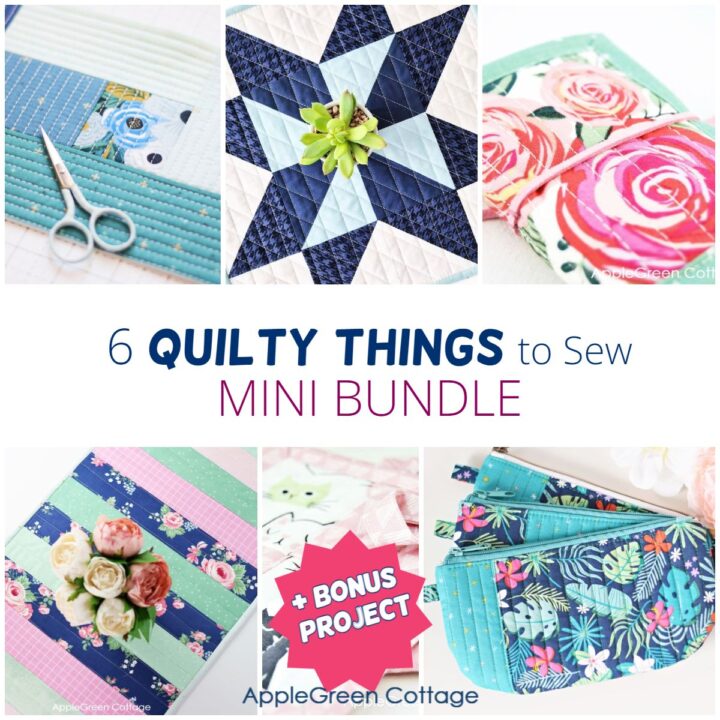
6 Quilty Ideas +BONUS
Love a quick quilty win? Don't miss THESE!
If you like sewing for home, check out these tutorials too:
Also, make sure you visit my other post, a roundup of cute little holiday decoration projects from me and my friends and fellow bloggers. All easy and free projects you can make in under an hour. Or check out these diy coasters I made using the same technique but in a different format - so cool!
Want More Free Patterns?
Get email updates and never miss out on new patterns, printables, and tutorials:
Or check out this pretty ALLina project bag pattern in our shop - for all your storage needs:

Want a printable copy of the whole tutorial?
Prefer a full, ad-free and printer-optimized Printable Tutorial with both instructions AND images included? ↓↓
Less searching. More sewing.
Keep 100+ printable AGC tutorials ready to print, save, and sew anytime.


Lori says
I made mine with the fleece added and then did some of my practice quilting after I turned it to the right side as a little flourish!
Bonita Mathieu says
I love all your wonderful patterns. You are very detailed and offer great sewing techniques. I have tried several of your patterns with great success.
Wishing you and your family a wonderful Holiday Season.
Damjana says
Bonita hi, thank you, same to you and your loved ones,
xoxo Damjana
Cecilia says
Exelente, me encantó y lo voy a confeccionar, gracias por compartir
Momo G says
These are adorable, and I want to make some as a gift for a son’s family. I have a tip: I plan to use Insul-Bright to make them 1) heat-resistant, and 2) provide a moisture barrier. I also like these so much I want to enlarge them for pot holders! Thank you!
Sherry says
I am new and get confused. I had a question on the fusible fleece. Once you turn it inside out is that on the outside of it or on the inside? So when it's done do you see it? Didn't see what the back looked like on the finished project. Thanks for your help
Damjana says
Sherry hi,
a good question! When assembling the pieces, you need to place the one with the fused fleece so that the fleece is facing down. Image in Step 4 might help a bit: see the part marked with '1'. So when you turn the entire thing inside out, the fleece is buried between layers. Hope this helps. Happy holidays!
Janaki Vishwanath says
I have the same doubt. Wether the fusible fleece to be placed on the wrong side of the fabric or right side.
Damjana says
Janaki hi,
always place fusible fleece on the wrong side of the fabric. Happy sewing!
vicky myers says
I love the construction, such a clever way to avoid turning out along an edge (and for me inevitably ending up a little wobbly!)
Cucicucicoo: Eco Crafting & Sewing says
What a clever construction method! When I saw the pictures, I just assumed that it was a mini-patchwork. I love how you sort of wove the pieces together! 🙂 Lisa
Damjana says
Hihi, Lisa, you know me: clever little tricks and sewing hacks are always my favorites! xoxo,
Domenica | Easy Sewing for Beginners says
These look like very festive coasters. I love the way you turned them out to finish off the project. Thank you for a great tutorial ?
Anna says
I think I'll try this, it's so hard to get all the edges neat when you leaveone open for turning out then sew it up afterwards. This is a perfect solution!
Damjana says
Anna, thanks! Yep, I fell in love with folding because it gives an illusion of a perfectly sewn piece when in fact it's a super easy workaround even novice sewers can easily master. Love little sewing hacks, always 🙂
Crafty Staci says
I love a project that allows you to combine different prints on a small item. Great gift idea!
Damjana says
Agree, the scrap bin is always hiding so much cute fabric for cute little projects! <3
Sum of their Stories says
That's brilliant! I use this method to make little tissue pack pouches but have never thought to make coasters - genius!
They really would make a lovely gift too.