
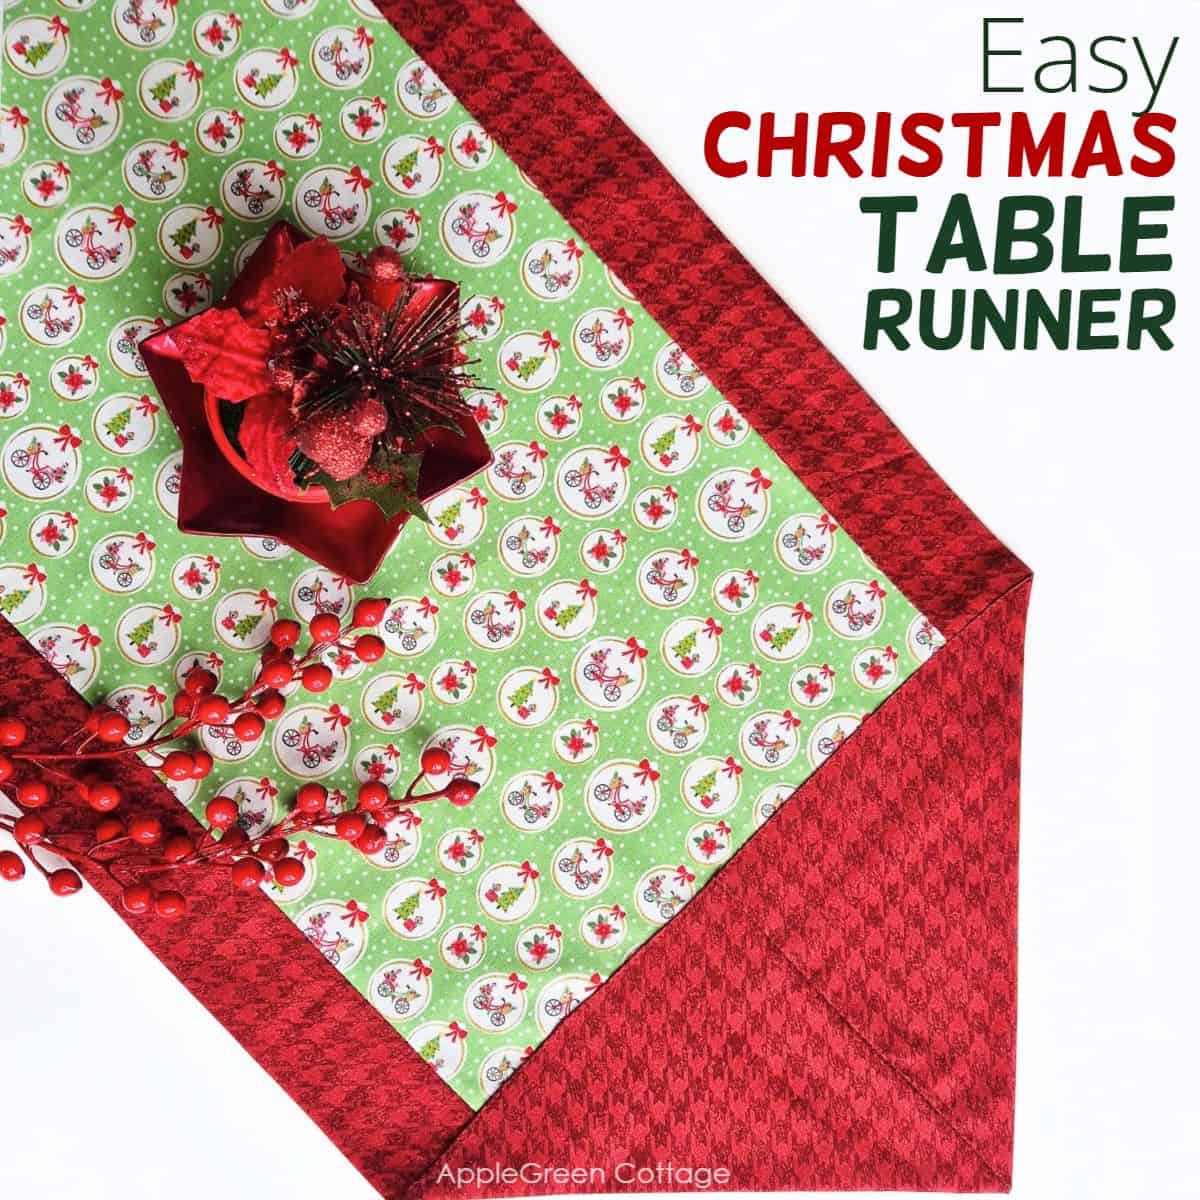
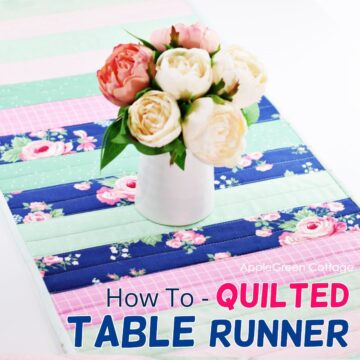
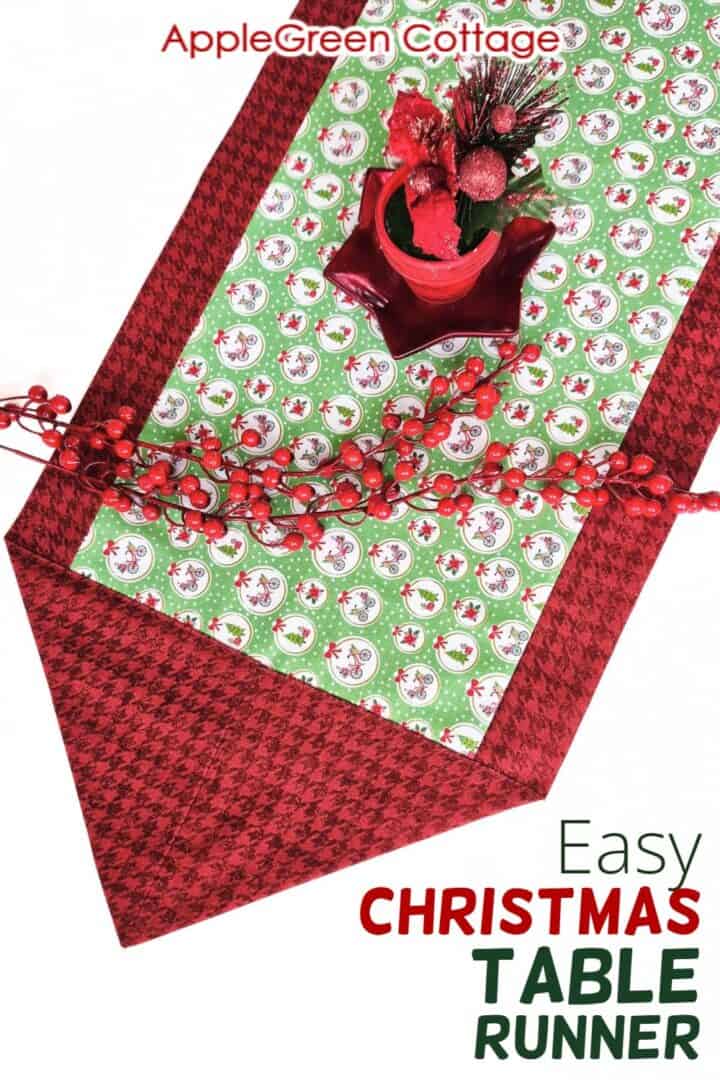
See how to sew a beautiful, easy Christmas table runner with perfectly pointed ends. This quick and easy project is perfect for holiday decor!
Bring some handmade charm to your home - no math, just stitch and fold. This tutorial makes it so simple!

This tutorial is also part of Printable Tutorials BUNDLE
90+ PDF tutorials now, and growing!
Table Of Contents
If you like sewing for Christmas, also check out this classic Christmas pillow tutorial, and DIY gift bags - easiest ever!
It is also called a 10-Minute Table Runner!
Did you know this table runner has always been called a 'ten-minute table runner'? While it's definitely one of the quickest projects you'll ever sew for your table, I'd say it's more of a 'one-hour table runner pattern', depending on your pace. But it's still super easy.
I just had to try creating it, and it's true: just a few seams, amazing result. And, no math at all if you use the cutting directions I show you below. Let's do this!
What makes it even better? It's the easiest way to sew a table runner with pointed ends - no tricky 45-degree angles, no complicated math. Just sew, fold, turn, and voilà! You've got a beautifully finished, perfectly pointed table runner.
Also, you can use it as a reversible table runner, since the back side is a single fabric print. No raw edges anywhere. Isn't that awesome?
If pointed ends aren't your thing, you can use this rectangular table runner tutorial instead. Or a hexagonal one:
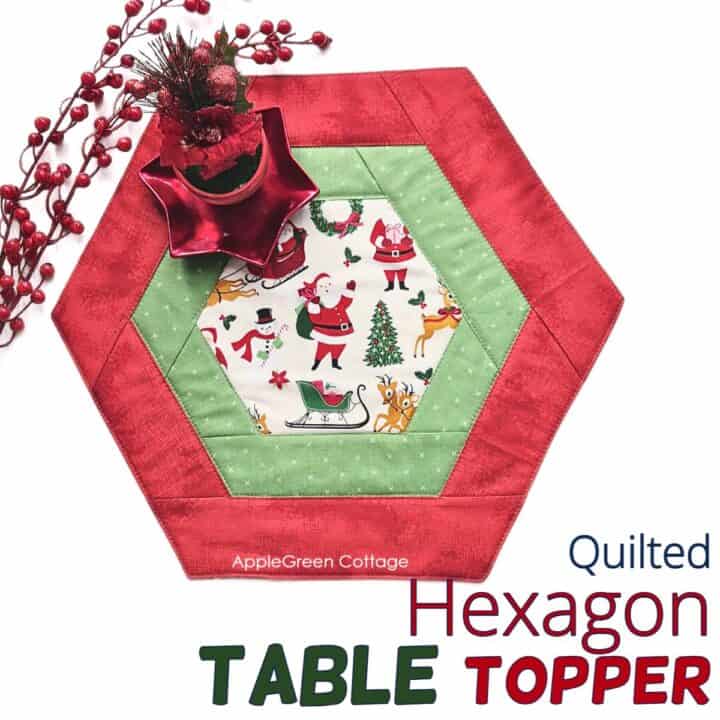
+Free Hexi Tabletopper Pattern
Use matching fabric and create this cute diy tabletopper for Christmas!
Quick Table Runner Sewing VIDEO
Finished Size
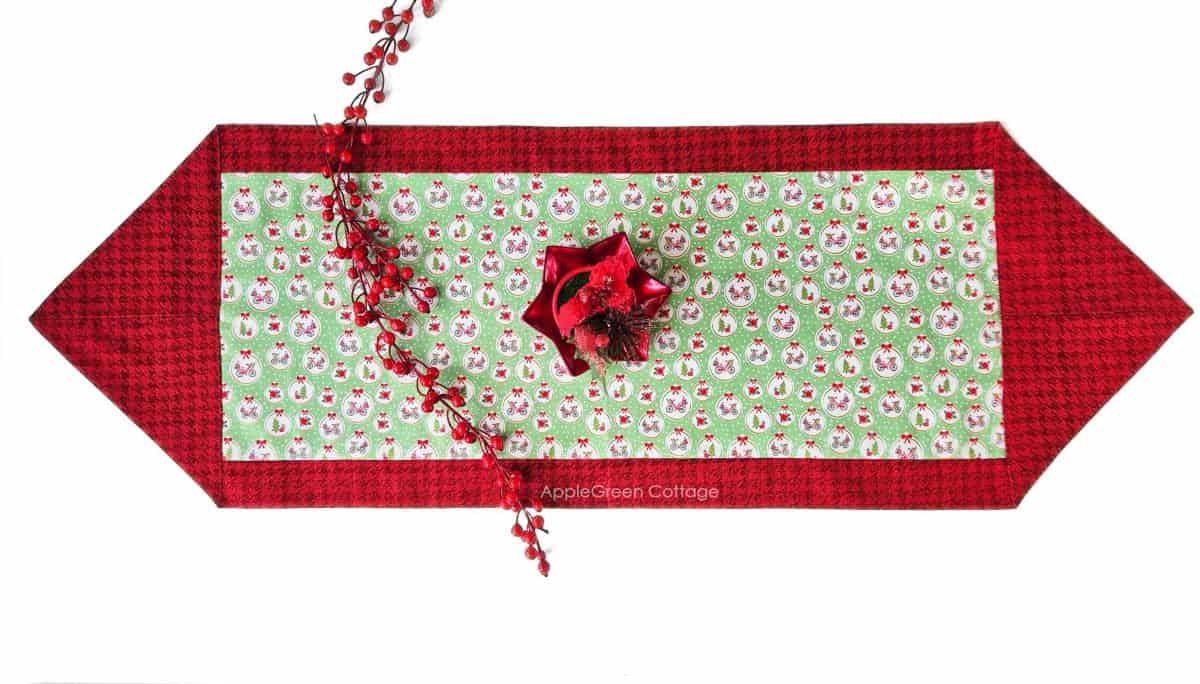
The runner in this tutorial has a finished size of 42" by 14". If you want a Christmas table runner hanging over the table, also see the tips under the tutorial.
Supplies
Shop my personal favorite sewing supplies on Amazon HERE.
You will need:
- Two coordinating fabrics (one for the center and one for the border).
- For the back+border fabric: a ½ yard piece.
- For the center fabric: approximately a ⅓ yard piece.
- matching thread, sewing machine, iron, pins or sewing clips, scissors
Also, good to have: a rotary cutter, a quilting ruler, and a self-healing cutting mat (I have 5 of them, all these by Olfa)
How to sew a Christmas table runner quickly - STEPS
These instructions will show you how to make a table runner with points.
Step 1 - Press the fabric
Give both fabric pieces a quick press to remove wrinkles.
Step 2 - Cut your fabric
Cut two rectangles from your fabric, using the full width of the fabric. Mine were:
- 11" by 43" for the Christmas theme print fabric (cut on the width of fabric - wof)
- 18" by 43" for the border fabric (cut on wof)
Fabric Cutting Tip
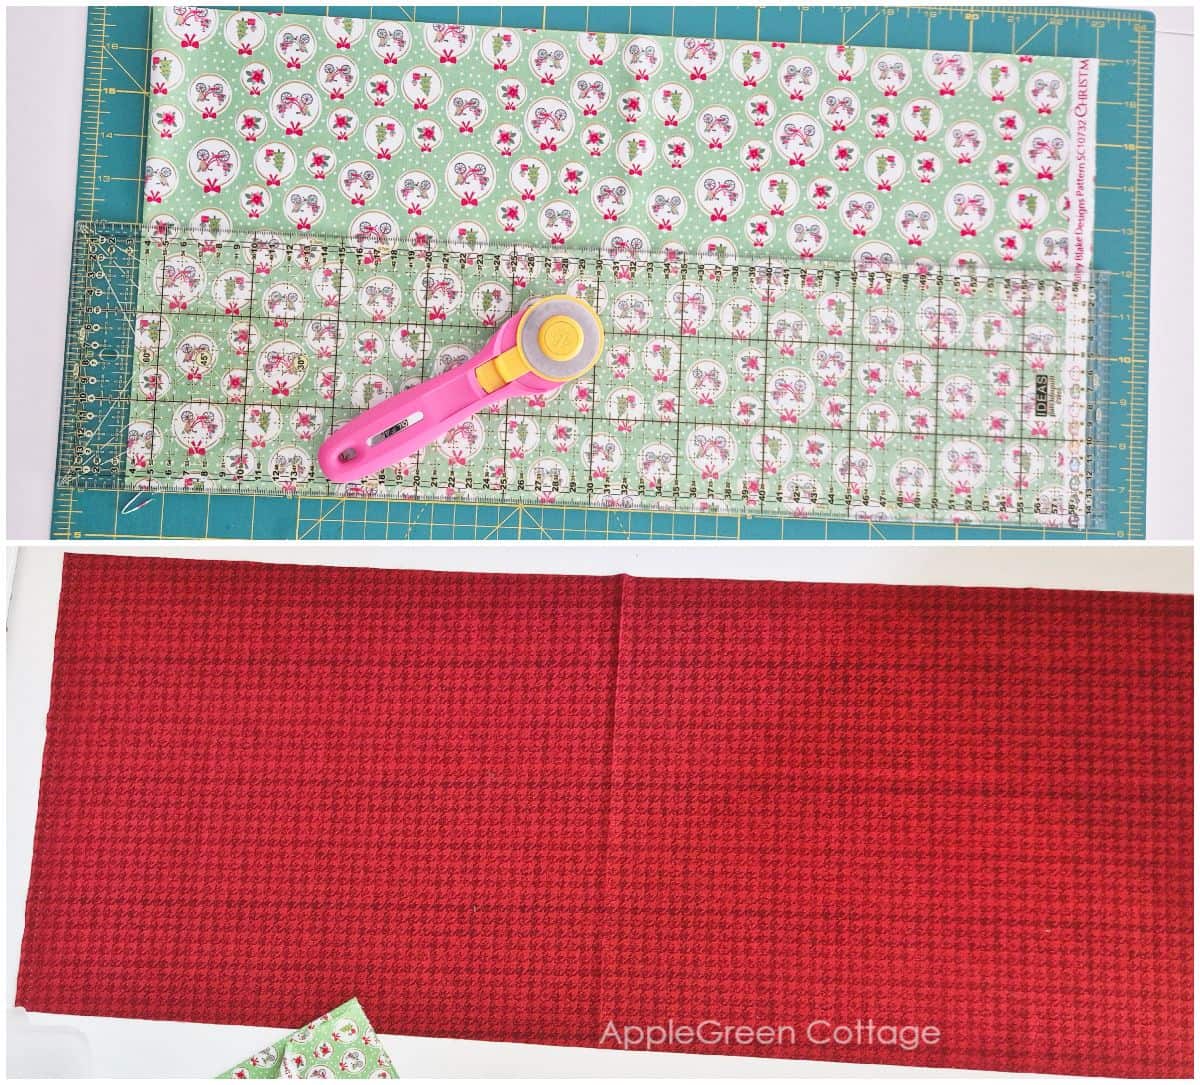
See the green fabric folded in half in the above photo?
To make cutting easier, first, fold the fabric width in half. Make sure the selvage edges are aligned before you cut. Folding it in half makes cutting your fabric on the width of the fabric easier and faster.
Step 3 - Sew the first long edge
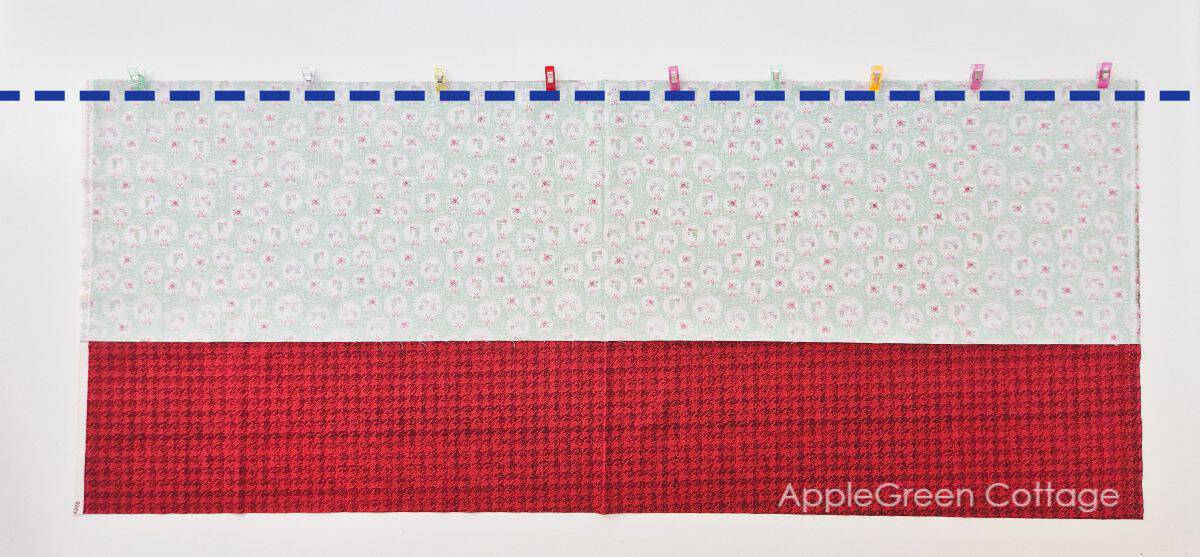
Lay your border fabric right side up on your workspace. Place the center fabric right side down on top of the border fabric, aligning one of the long edges. Pin along that edge.
Sew using a ¼" seam allowance.
Step 4 - Sew the Other Long Edge
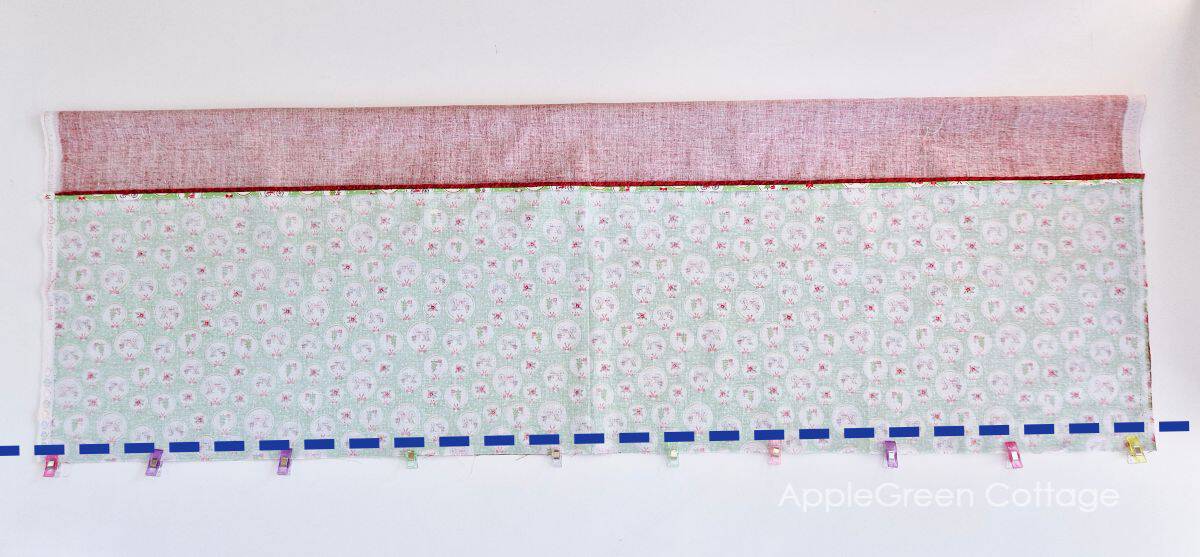
Shift the fabric and align it on the other long edge and sew again, usign a ¼" seam allowance. This will create a long tube.
Step 5 - Press the Seam Open and Turn
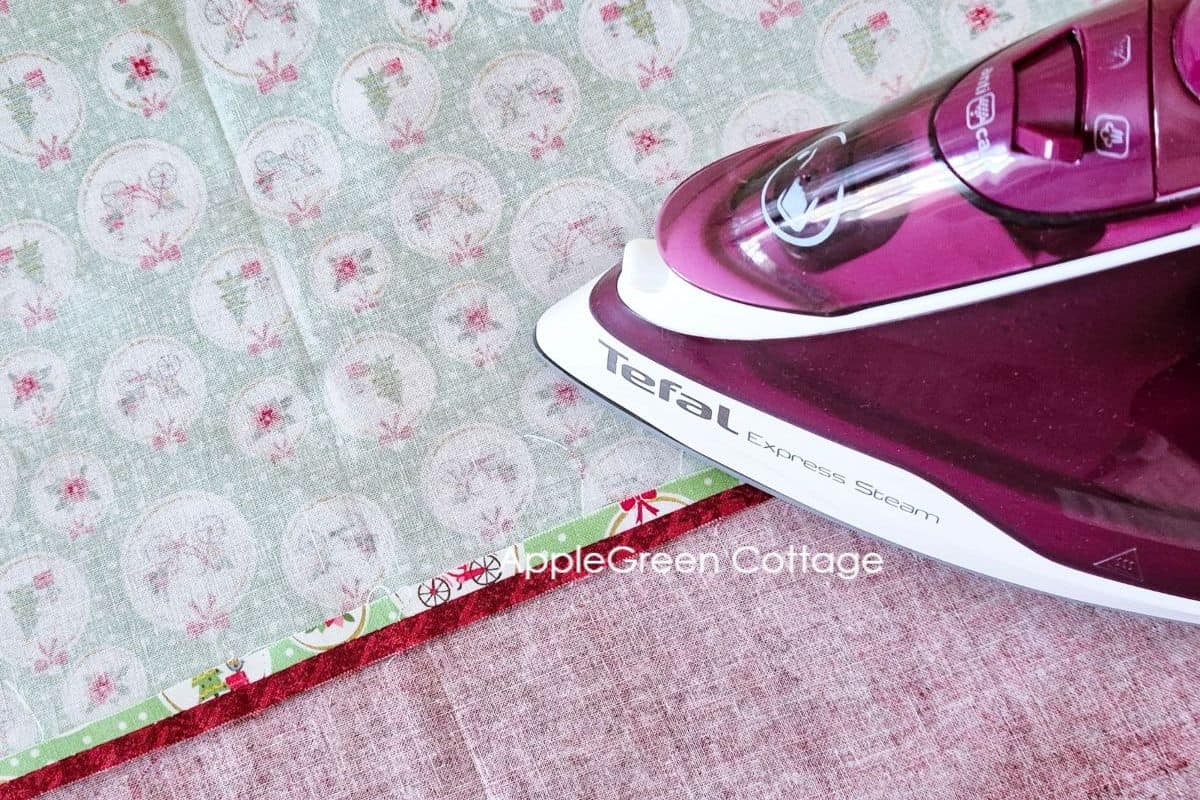
Press the seams open.
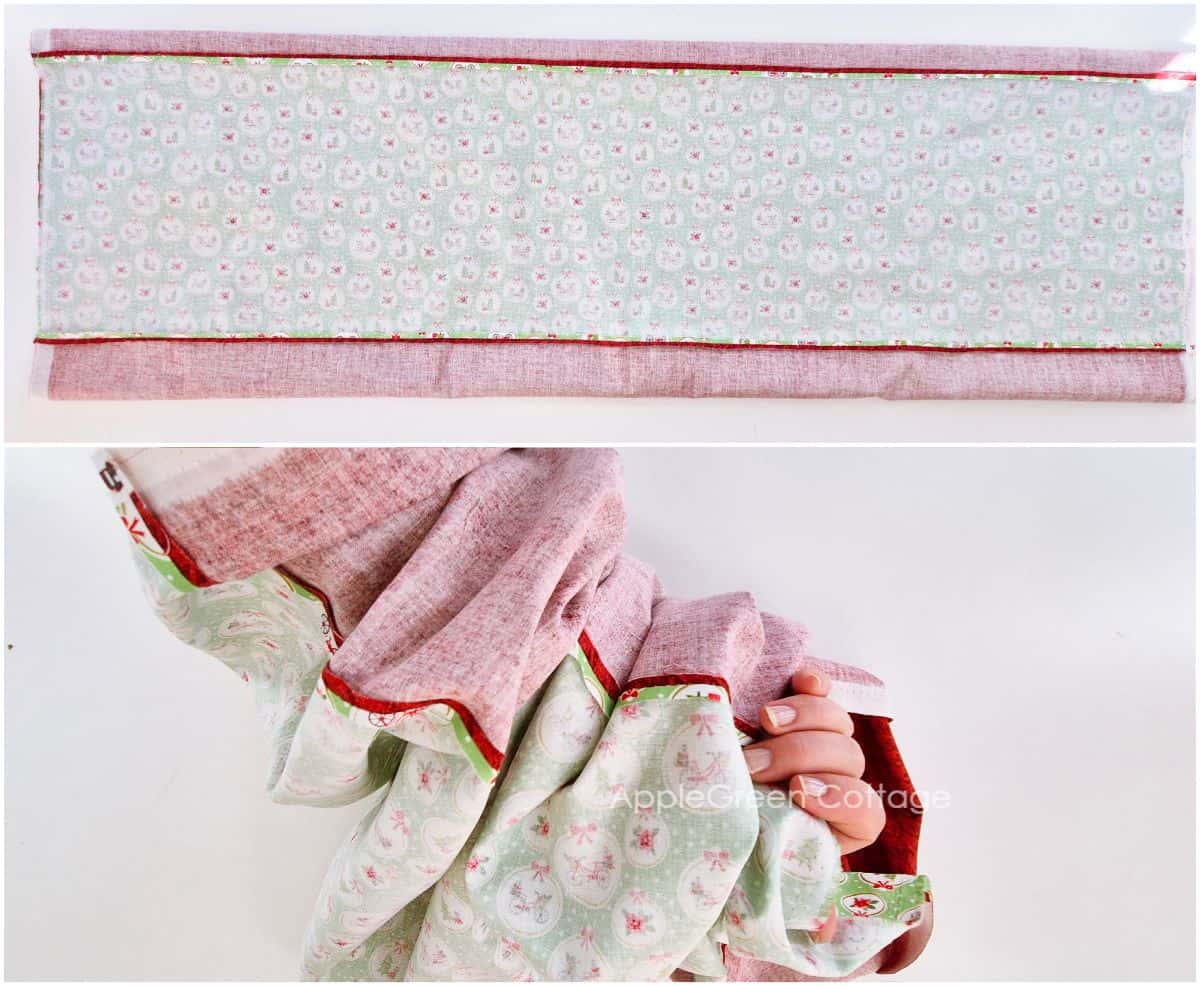
Turn the tube right side out.
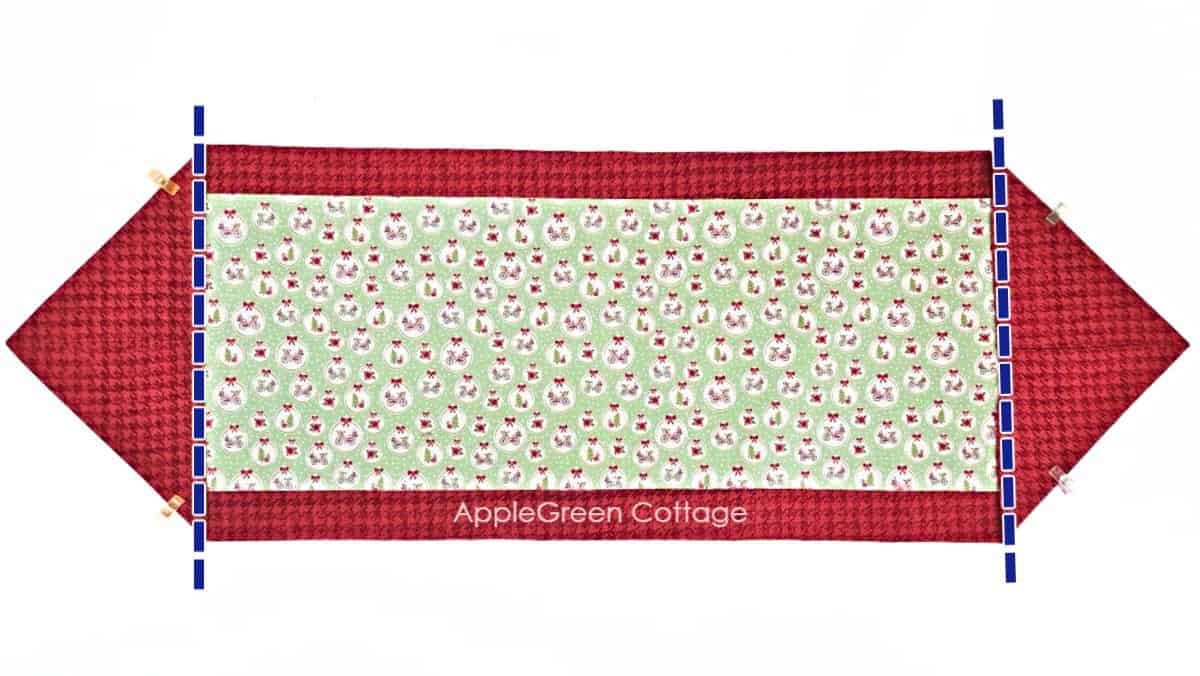
Now we'll create equal borders on both long edges of the runner. Measure the size of your border fabric on both edges. This ensures there is an equal amount of border fabric on each side of the center fabric. Or, do this, without measuring:
Top Tip - How To Create Equal Borders
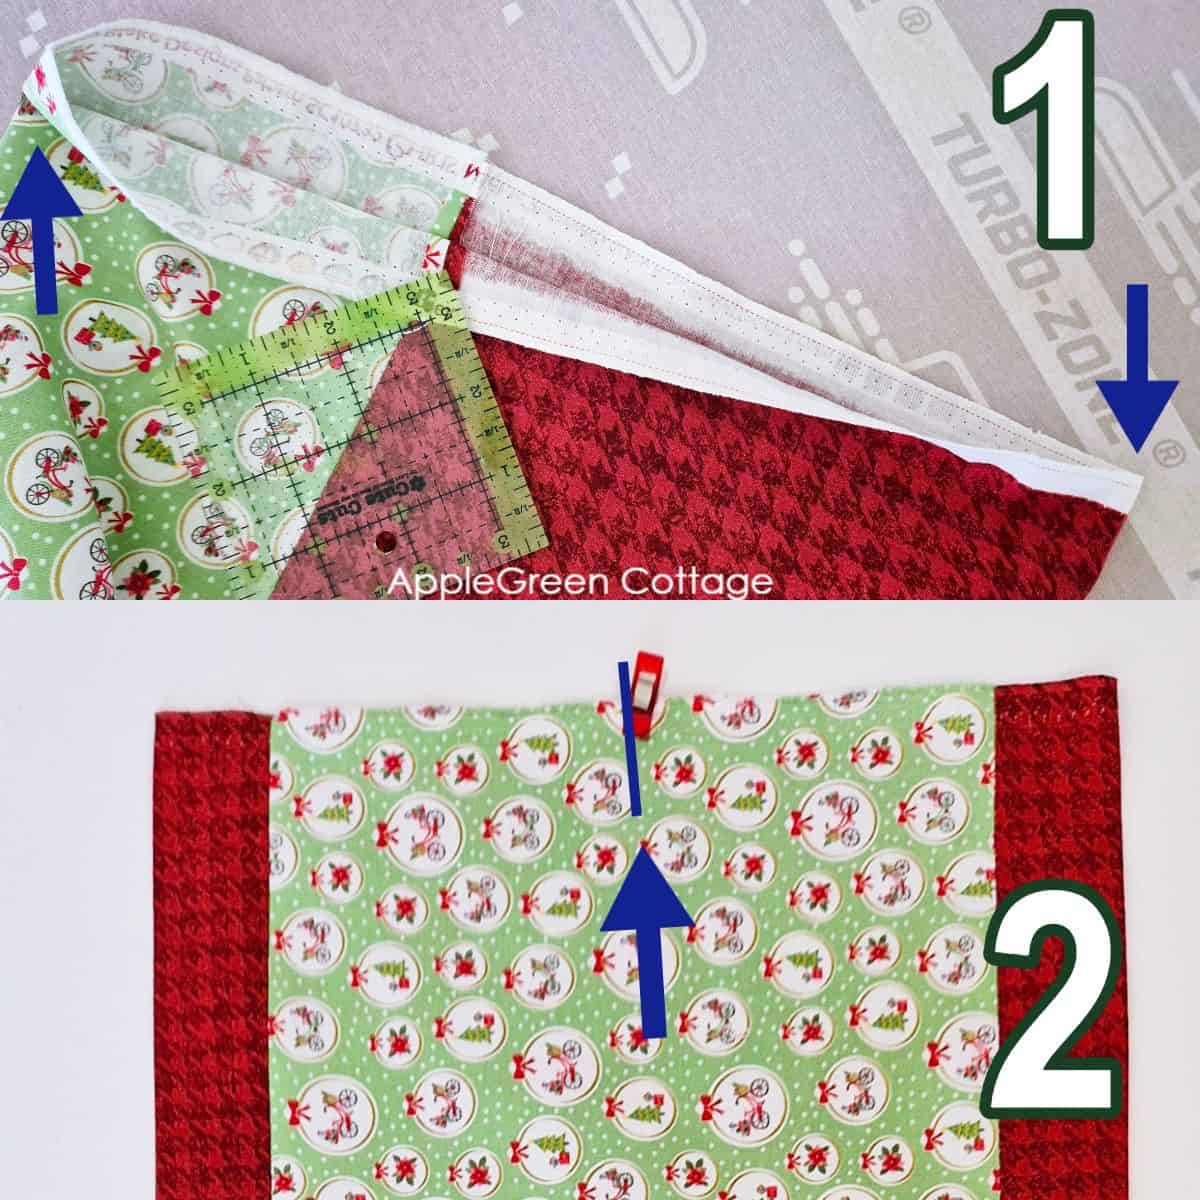
- Bring the two ¼" long seams together and pinch the two folded edges - see the 2 blue arrows.
- Place the two pinched spots together and pin. This is the center of your table runner.
- Repeat on the other end of your runner and press.
Step 6 - Fold and Sew Along the Short Edges
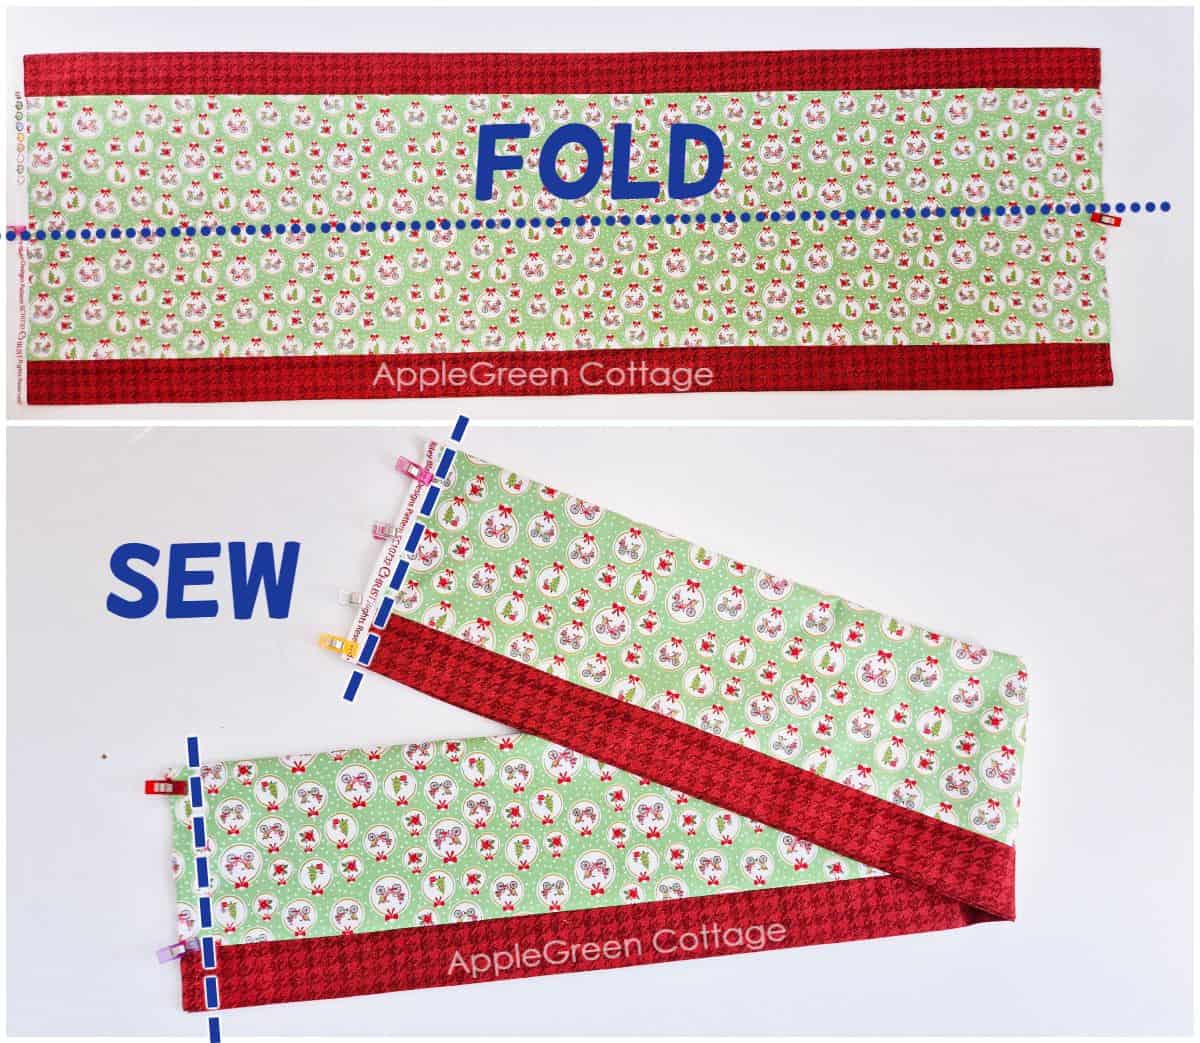
Fold the table runner in half, with the backing fabric facing itself.
Align the edges, then pin across the two raw edges.
Stitch with a generous ½" up to 1" seam allowance, to make sure the selvage edges are not visible in your finished Christmas table runner.
Step 7 - Clip the corners and turn the ends
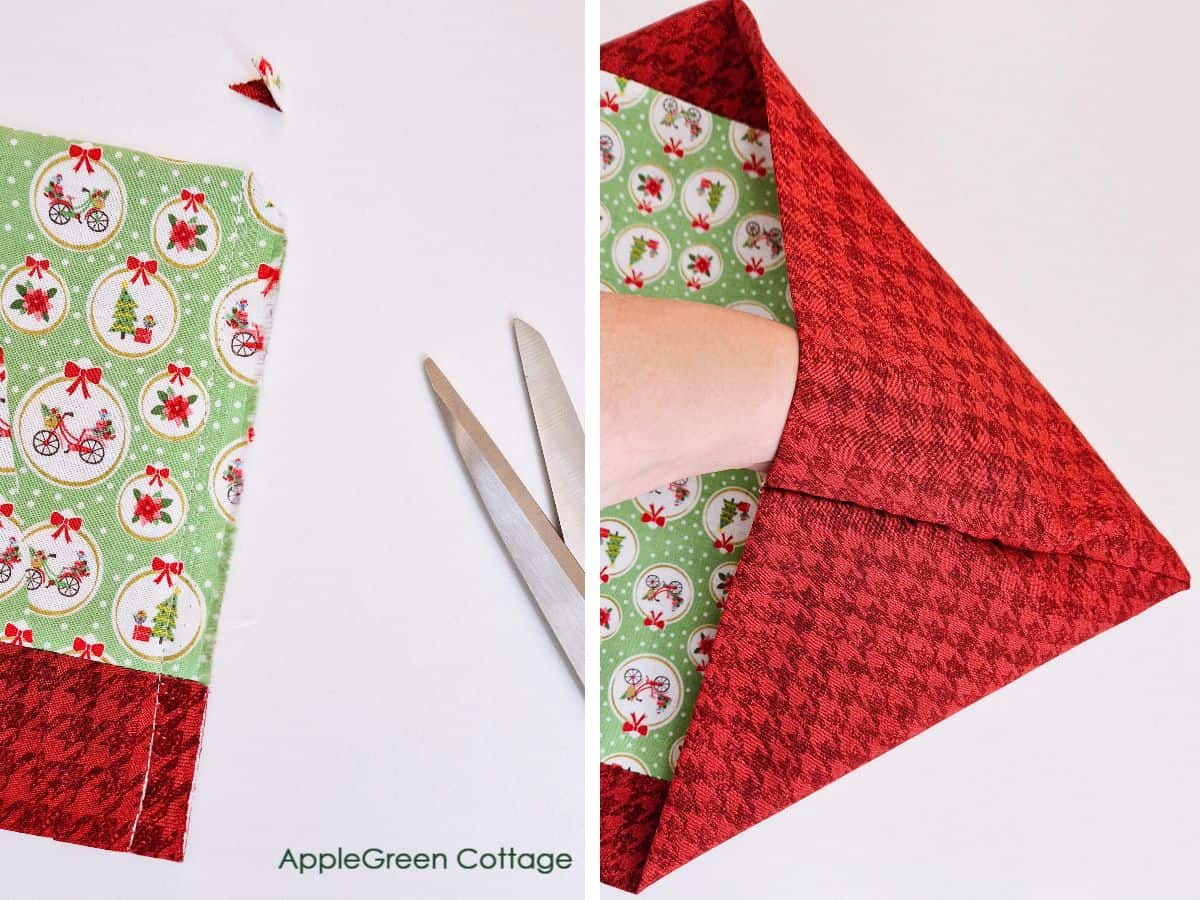
Carefully clip the corners to reduce bulk, making sure not to clip into the seam.
Turn the fabric at the end to hide the seam allowance. The back fabric will now show up as a triangle at the end of the table runner, forming a pointed end. How cool is that!
Repeat on the other end, straighten, and press.
Step 8 - Sew the ends in place
Press and topstitch along the triangular end of the flap. You can also topstitch along the long ends for a neat finish.
Topstitching Tip: your topstitching will look prettier if you use a longer stitch length than usual. I go all the way up to 4 mm and it always looks good! That is something between 6 and 7 stitches per inch.
Press to remove any remaining wrinkles, and enjoy your beautiful, handmade Christmas table runner.
I hope you've enjoyed this how to make a Christmas table runner tutorial, even if it's not exactly a ten minute table runner, is it? LEt em know how long it takes you to sew it up, and if you share your makes on Instagram , tag me @applegreencottage. I'd love to see it!
Helpful Tips
Just a few more questions to answer for my readers (you):
Which fabric to sew up this Christmas table runner tutorial?
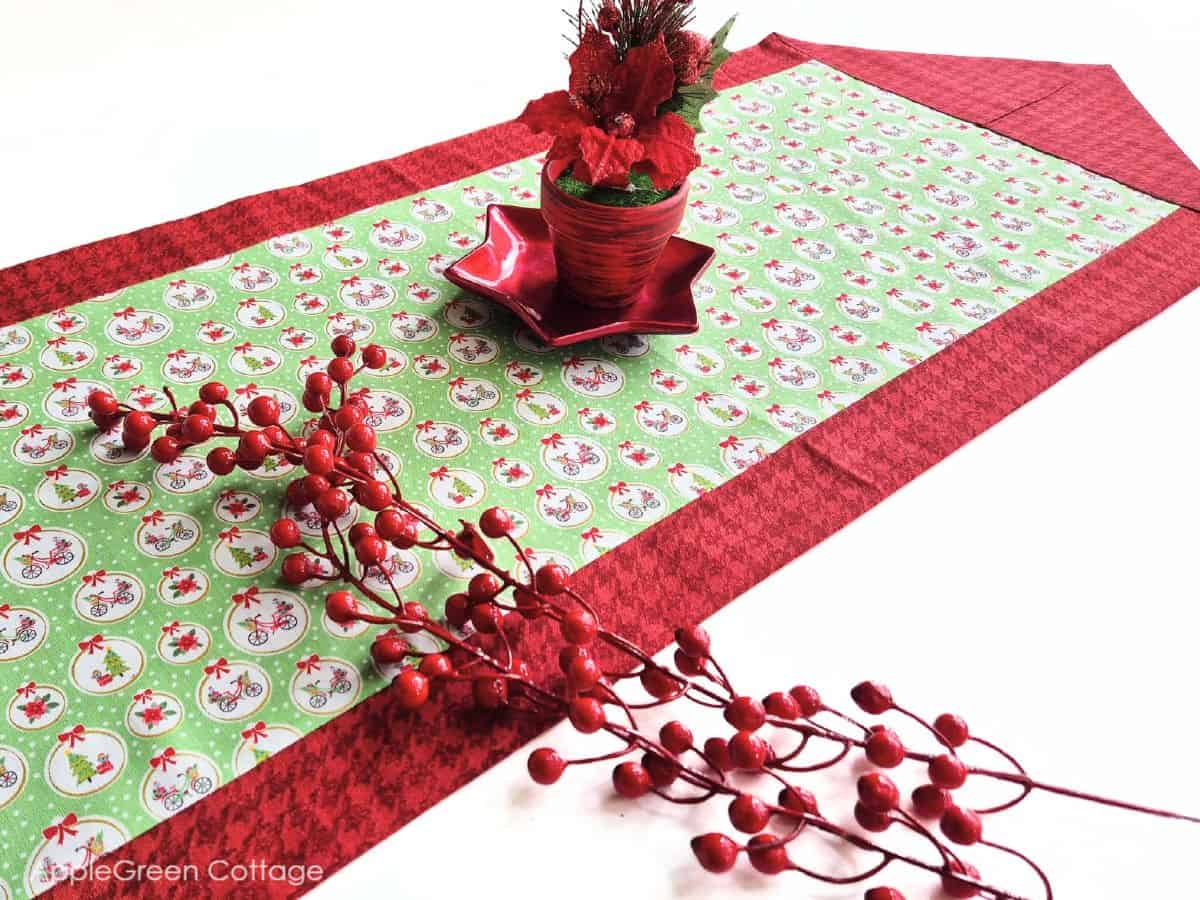
Quilting cotton is a great option for both the center and backing. As for the center fabric, opt for a Christmas-themed print. You can also use something with a bit of sparkle to add extra holiday cheer. (Like my pretty bicycle bauble print, did you spot the golden sparkles?)
Pair that festive print with a contrasting solid, or a blender for the sides and backing, and you've got yourself a quick and stunning holiday runner. When I turn my pretty DIY holiday-themed runner, it turns into a beautiful, all red Christmas table runner.
Should you use batting or interfacing for this pointed-ends table runner?
This table runner requires no batting or interfacing. It's even easier to sew without any, which makes it space-saving when stored, as well as great for beginner sewists.
How do I embellish this Christmas table runner?
If you'd like to add embellishments, you can do it at the end. Consider lace, ribbon, or pom-poms on the folded corners. Sew them in place by securing along the seam. Feel free to add your own creative touches, and happy sewing!
What are the standard sizes for Christmas table runners?
Oh these will vary a lot, depending on the table sizes. Usually, you'll find them in lengths between 36 to 108 inches. Widths will differ too and are usually between 10 to 15 inches. The runner in this tutorial has a finished size of 42" by 14".
How to make a Christmas table runner long enough to overhang?
How much should a table runner hang off the edge? Since this table runner has a 7" pointed end, the perfect overhang on each side of the table is 8". In this case, you'll get the desired finished table runner size by adding 2x8" to your table length. This means you will most probably need to cut your fabric on the length, not on the width of the fabric.
Can a Christmas table runner be shorter than a table?
Absolutely! Especially if you add a base cloth underneath, one that is covering the entire table and hanging over it, you can play with the table runner sizing, and use it as a table topper - those are usually smaller, narrower, and shorter than the table itself.
If you liked this tutorial and love sewing items for your table, also see more table runner patterns to sew. Happy sewing!
Want a Printable Copy Of The Whole Tutorial?
Due to popular demand, I created an ad-free, easy-to-print 10 minute table runner pdf. It's part of our HUGE Printable tutorials Bundle in our shop, but you can also get a separate file in our shop.
Do you want an ad-free, printable copy of this online tutorial? Get it in our shop. Or get the whole →BUNDLE!

WANT MORE FREE TUTORIALS AND GOODIES?
Get email updates and never miss out on new patterns, printables, and tutorials:
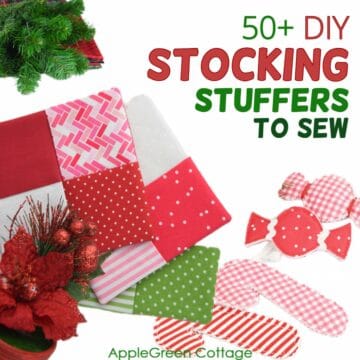
Or …check out the gift bag pattern in 6 sizes in our shop - a super easy no-corner-boxing sewing project. Reusable gift bags for all your future gifts!


Leave a Reply