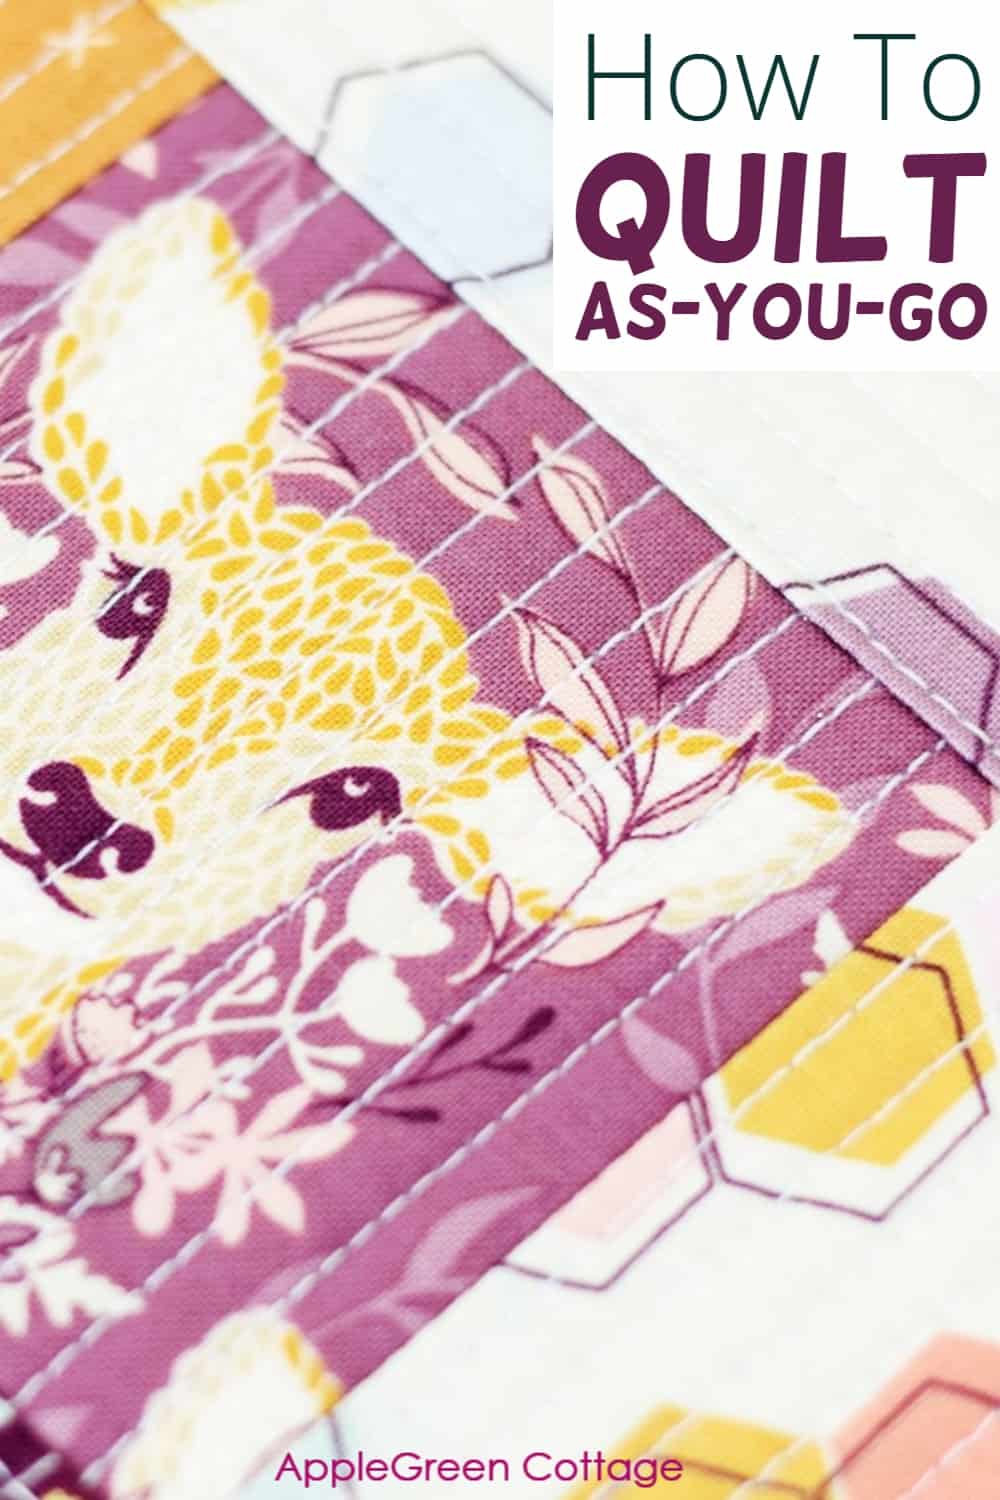
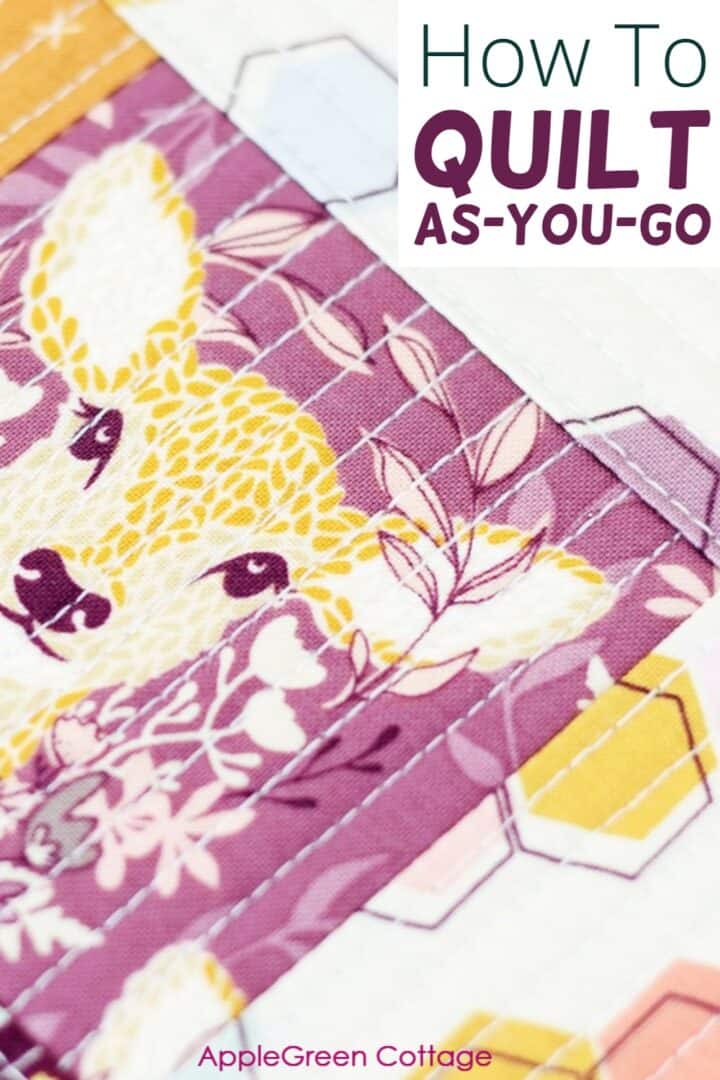
Never made a quilt as you go block before? This tutorial will show you all about quilting as you go method - easy and for beginners. Video included!
Quilting as you go will give you gorgeous panels without the extra money, just by piecing your scraps into colorful, beautiful new patchwork pieces. Take a look into your fabric scraps bin and grab a few of your favorite pieces and a few prints that work well with your chosen favorite. Ready? Let's start!
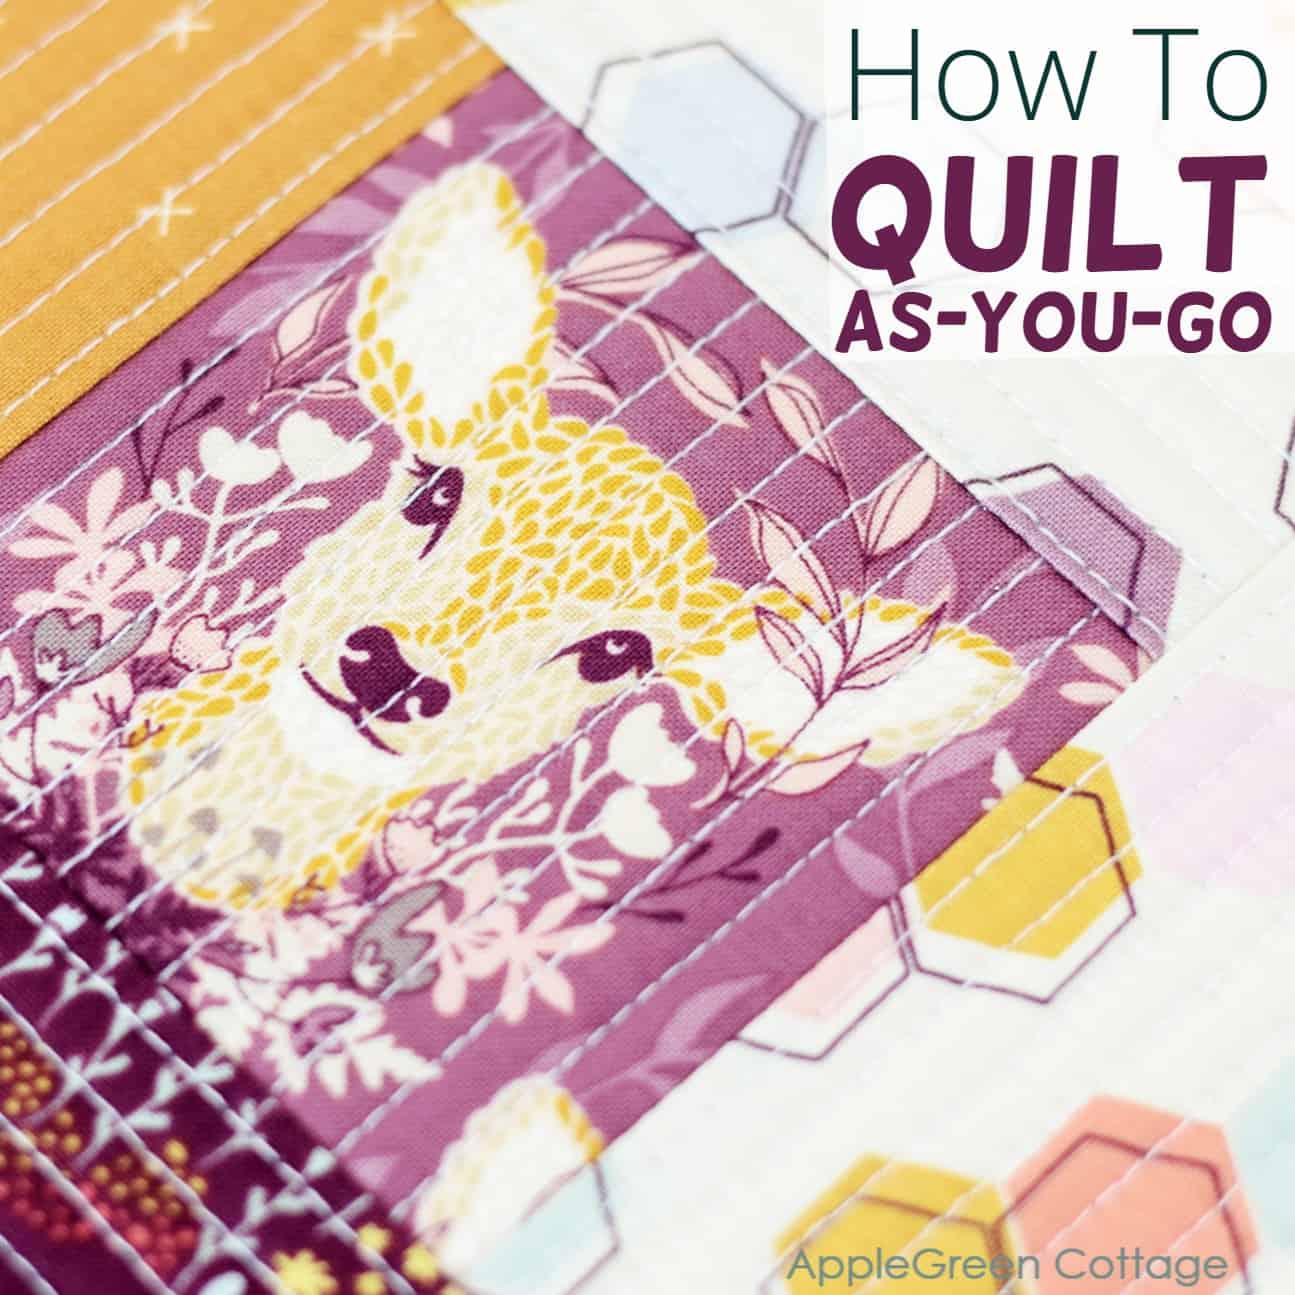
Today, I'd like to show you how to quilt as you go. It's one of my favorite ways to create a quilt-as-you-go panel for my zipper pouches, bag flaps, mug rugs, placemats, pillows, and the like. Also, you'll see how to make an impro log cabin quilt block. Easy. Suitable for beginners. Truly.
Qayg is not just beautiful. Qayg quilting is my therapy. The peaceful, repetitive straight line stitching gives me the peace of mind I sometimes need. Also scroll down to see what I never (or almost never) do with my qayg blocks. And this exactly keeps it a super easy technique.
Already starting to love quilting? Check out these too:
- this huge baby quilt patterns list
- or this strip quilted table runner pattern
Table Of Contents
What is QAYG? What is quilting as you go?
Literally, quilting as you go technique is a quilting technique when you quilt each piece of fabric simultaneously with piecing the quilt. In practice, you'd select the bit of fabric to go into your quilt, stitch it on - and quilt it right here and now. Then move on to the next bit, and quilt it. This way, your quilt block is turning into a quilt as you go. Hence the name, quilt-as-you-go, or even shorter: qayg.
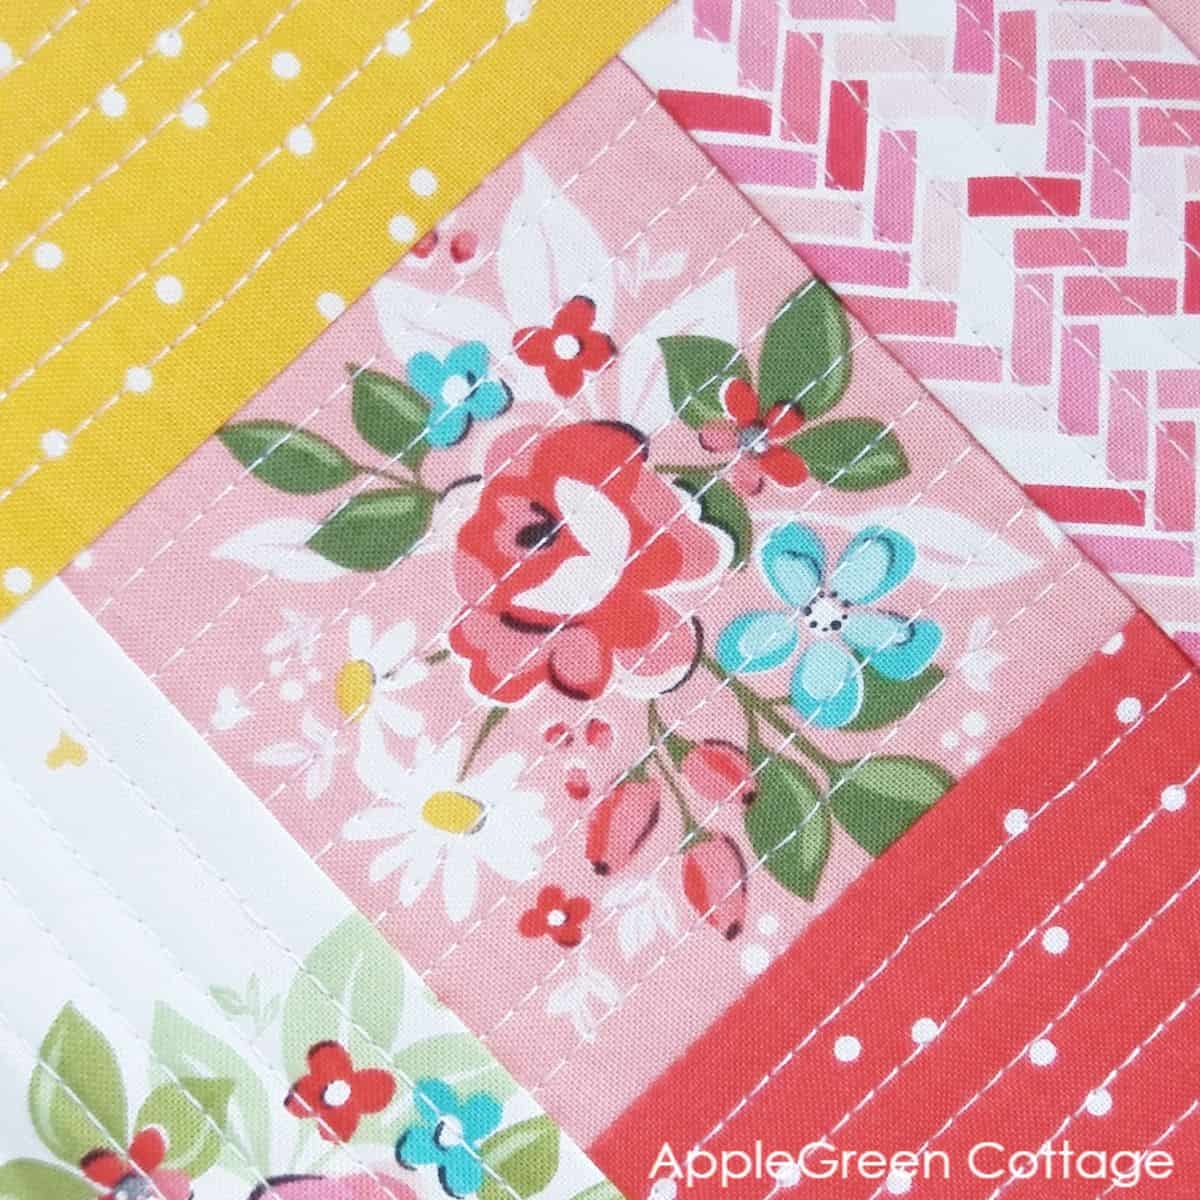
Sometimes you'll hear about sew and flip quilting method - which is the same. The only difference is that the term sew-and-flip quilting describes the process of how the individual fabric pieces are placed on the batting - but rest assured, same as making a quilt-as-you-go. I'll explain everything in a bit.
Supplies for a quilt as you go
You'll need
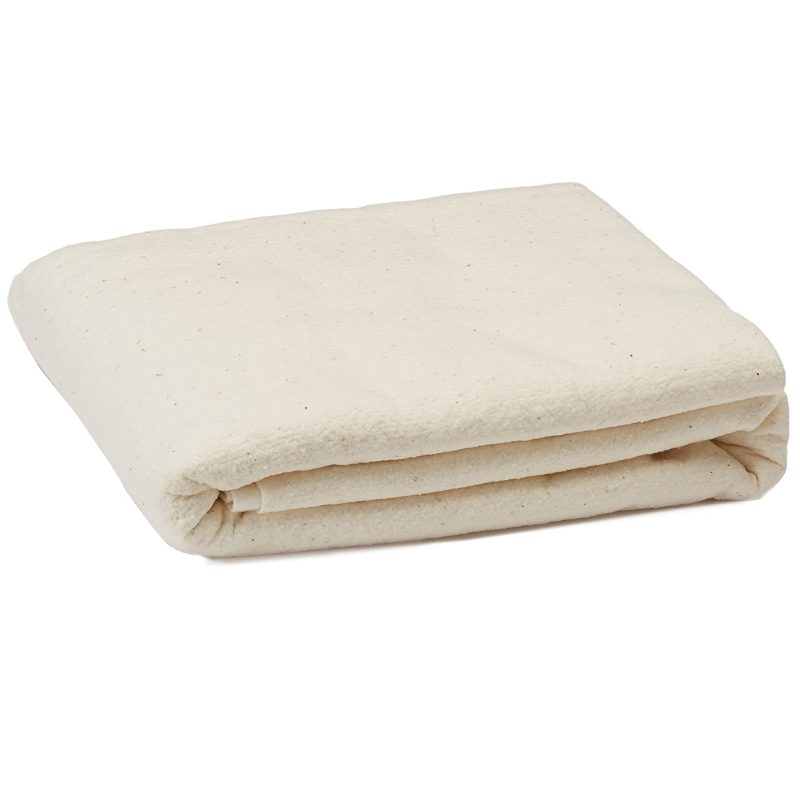
- quilt batting the size you want your semi-finished qayg panel - choose a few inches more than you actually need! (this tutorial: 16" by 9")
- same size or a bit bigger - utility cloth, muslin or some other quilt backing material
- scrap fabric
NEW: scroll down to the end to see the dimensions of all the pieces I used to make this quilt-as-you-go block
Good to have tools:
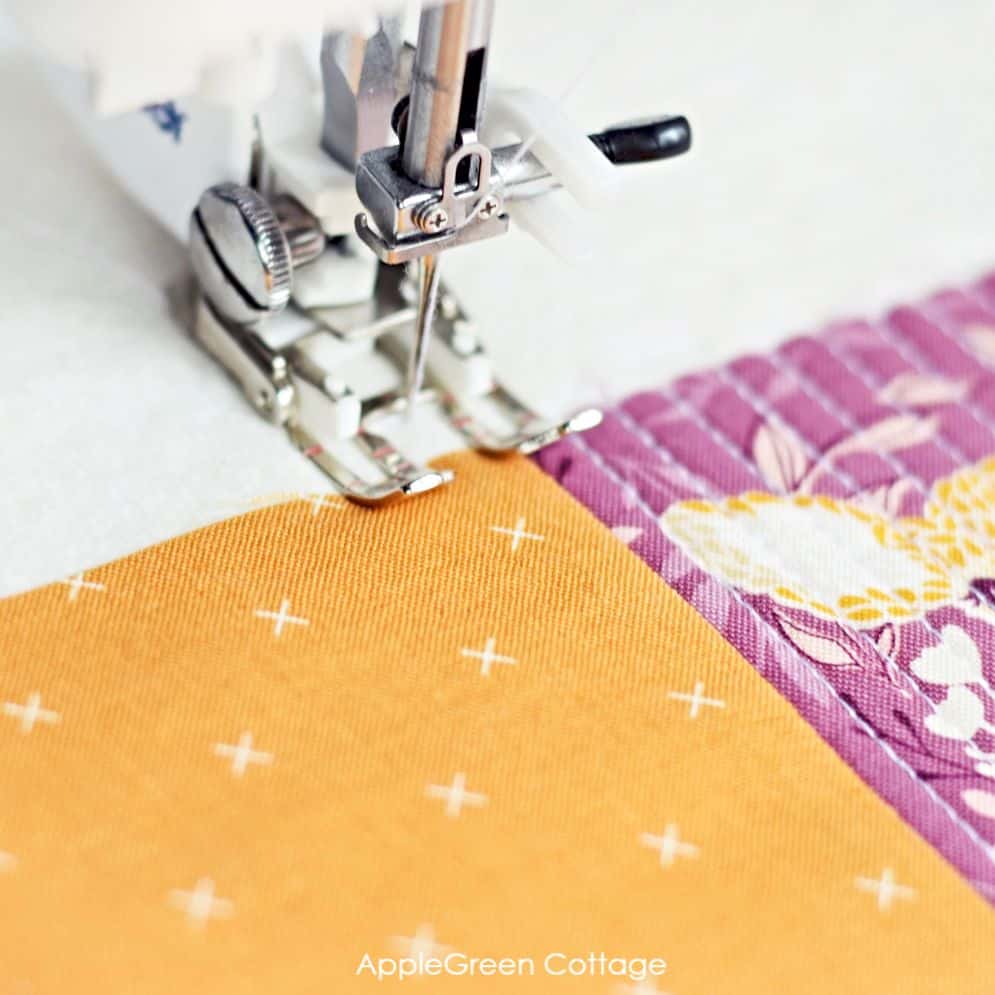
- walking foot, strongly recommended, for any quilting project
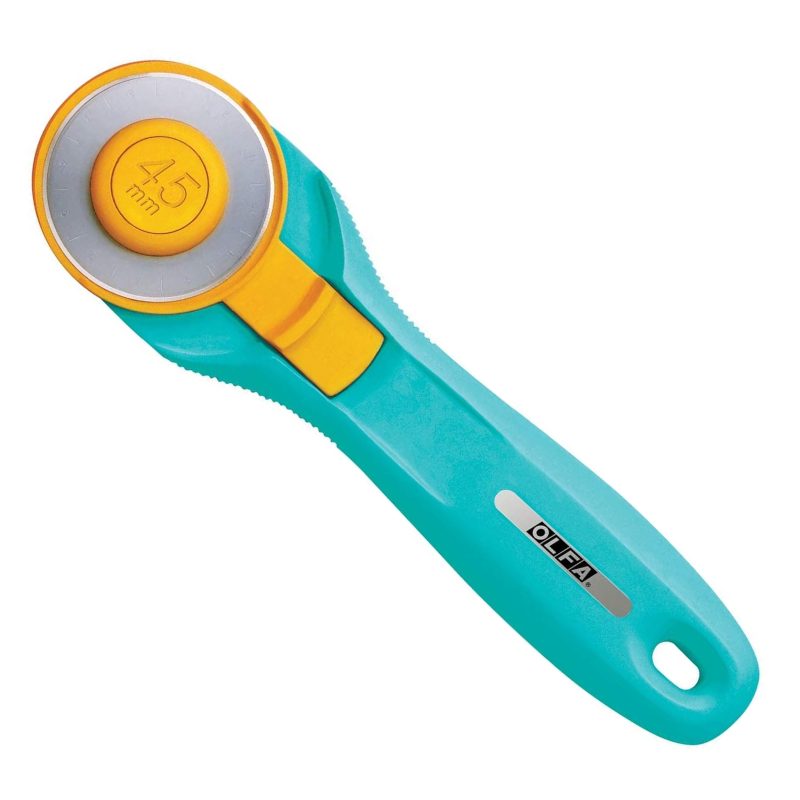
- rotary cutter
- quilting ruler,
- self-healing cutting mat (I have 5 of them, all these by Olfa)
- a portable diy ironing board - my tutorial! - so you don't need to get up every single time!
- also see this list of best quilting tools for beginners
Quilt As You Go Video
First, there's a quilt as you go video you can watch on this page, just to give you an overview:
Now the step-by-step with photos :
How To Quilt As You Go Tutorial
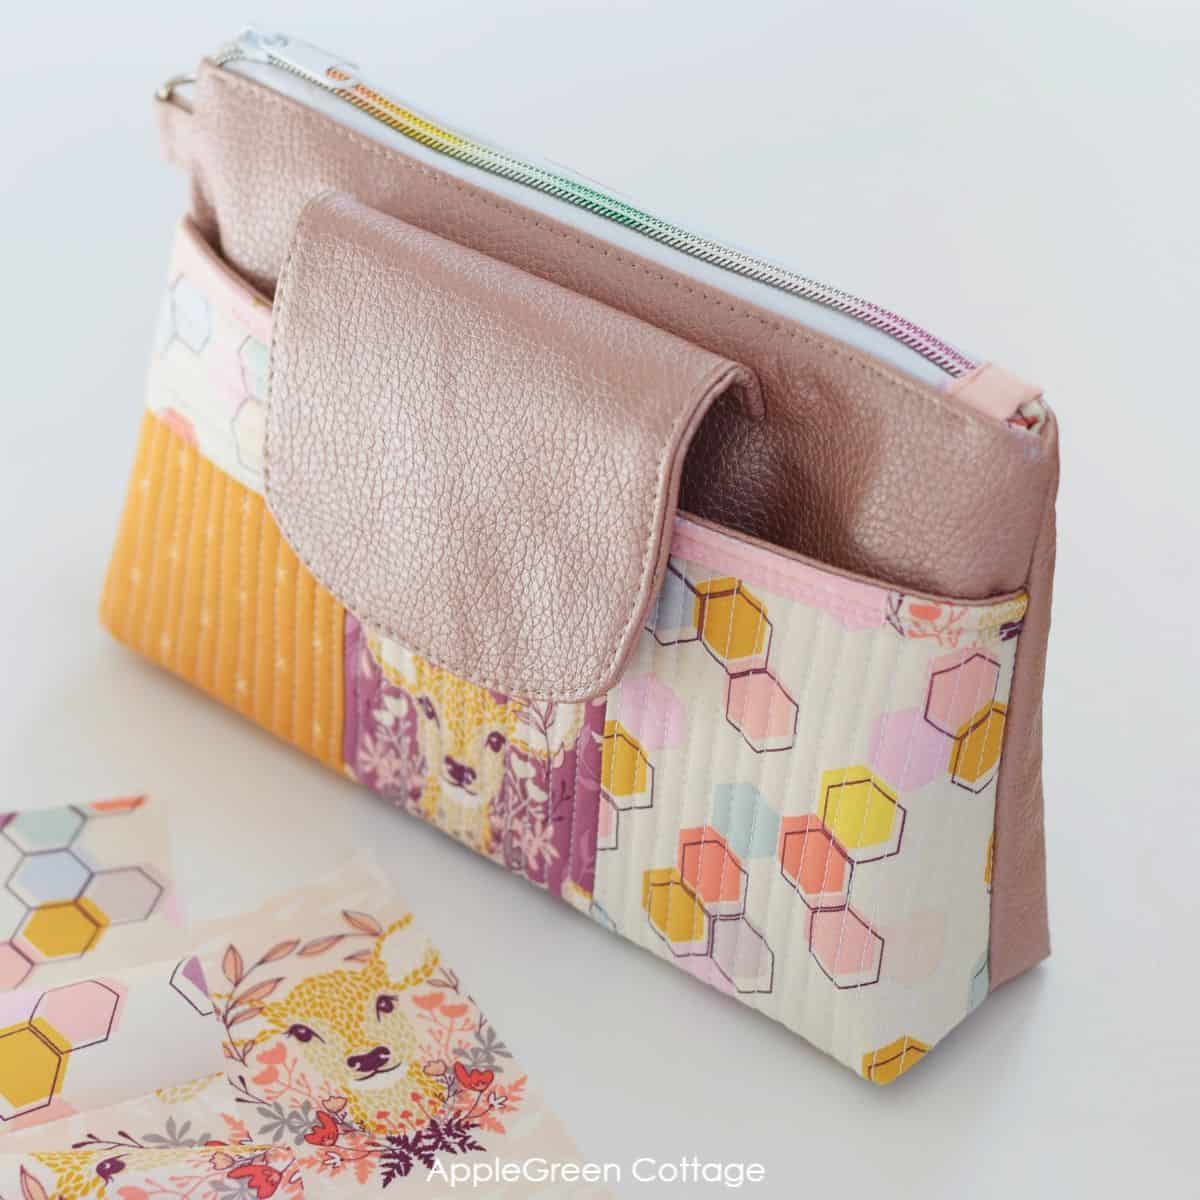
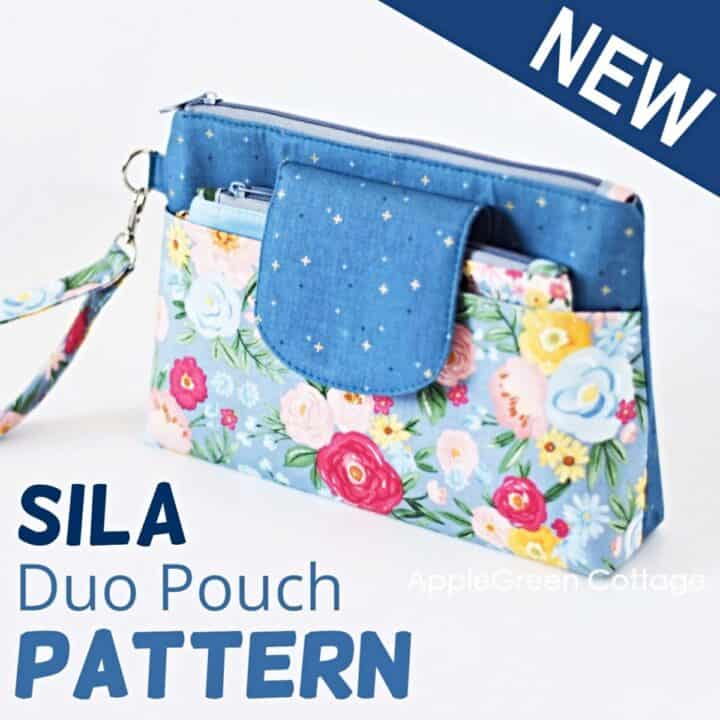
Before you start, you'll need to decide what size of your finished quilt as you go quilt you want to have. I am making the front pocket to this SILA Duo zipper pouch pattern, so I need something at least 14" by 7" - so I opted for batting size of 16" by 9":
Once you know what size you're aiming at, start with fabric selection:
Step 1 – Prepare Batting and Backing
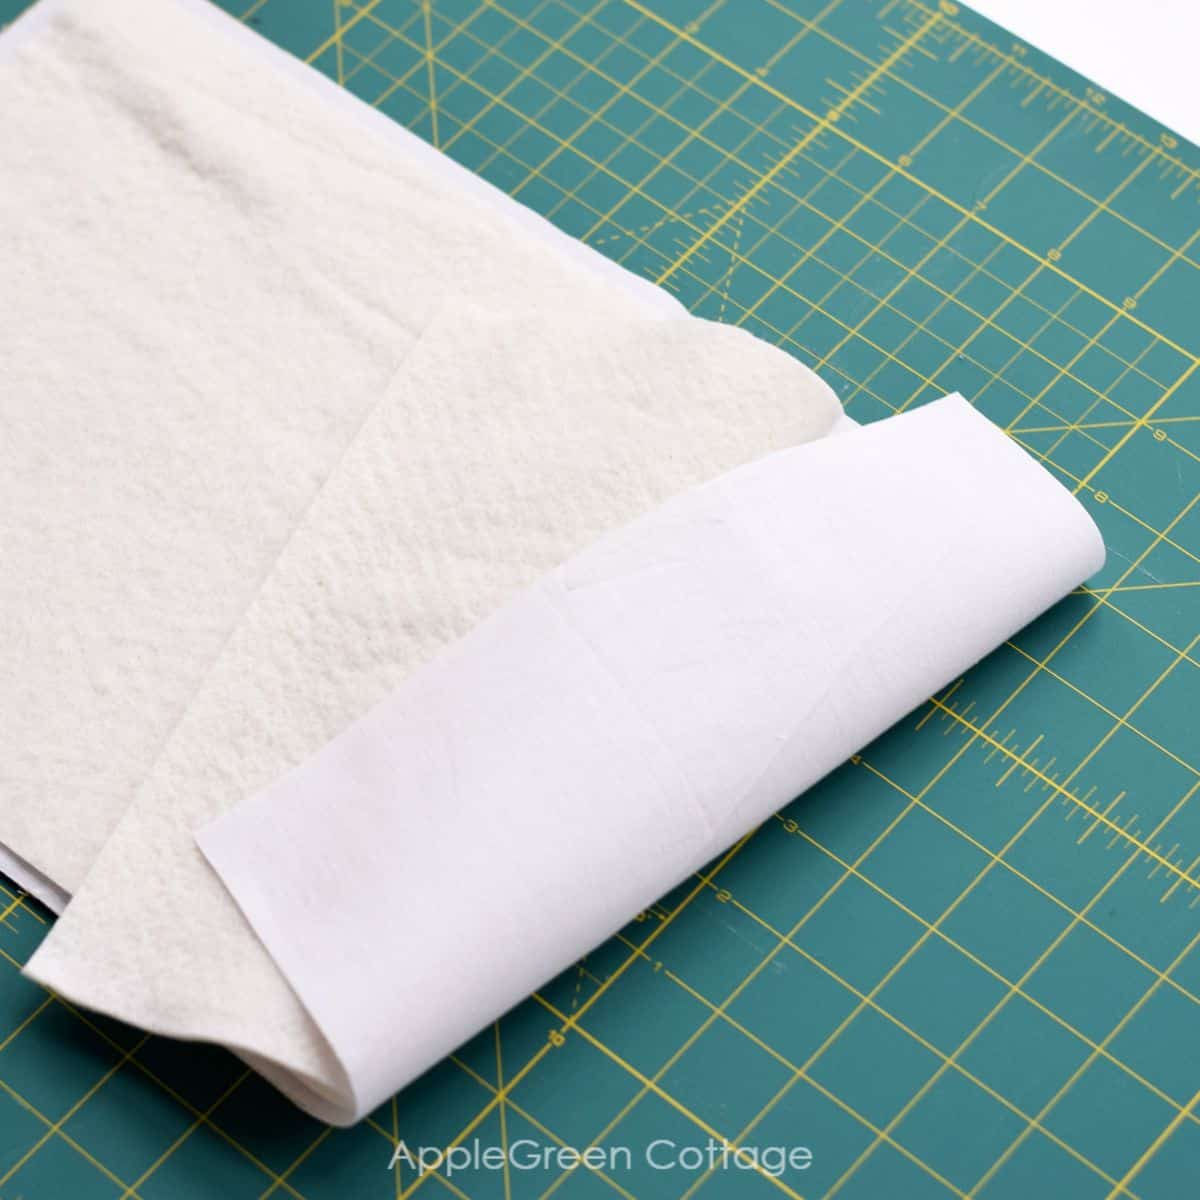
Place the utility cloth on a flat surface. No puckers, press it flat first. Then place the batting over it, it should be approximately the same size, or just a tad smaller. I use a basting spray (one like Odif 505) to keep the two layers together.
Step 2 - Select Fabric
This step is fairly subjective:
- select the fabric pieces in colorways that will work best for your project.
- choose the focal point: a central piece, it might be tiny floral fabric scrap, or a large, bold colorful piece, or an illustration on fabric (I love Minki Kim's collections for that!) This will be the central point of your quilt as you go panel.
- you'll then mix and match the center by adding contrasting pieces, or - if you are after a low-volume color combination, similar color choices.
Or, just pick a few of your favorite colors you want to work with, solids are totally amazing with this quilting technique! This is what I collected. And changed, matched, mixed during the sewing process too:
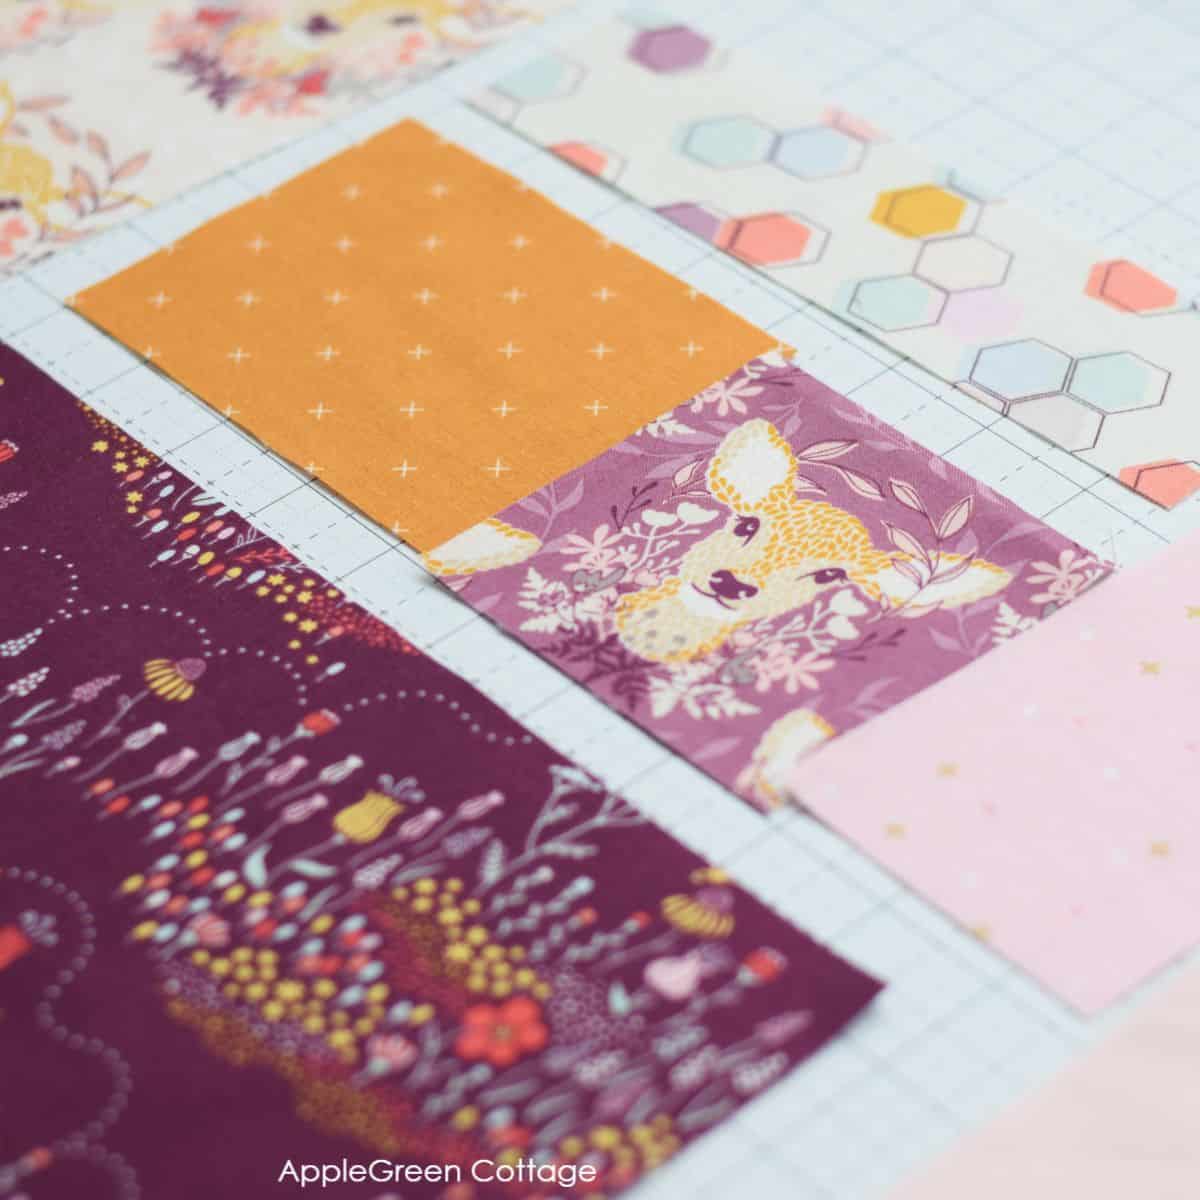
USEFUL TIP: If you plan to use your panel on a bag like I did, it's useful to have the bottom a bit darker than the top and to work around the color of the rest of the bag you're making. I had some beautiful metallic rose faux leather I wanted to use. So plan ahead.
Step 3 - Arrange Fabric Pieces
Arrange the scrap pieces for the top layer - in the order you want them to appear on your quilt. Just a bit of planning, no hard rules here. I usually want to know what comes next, and I change my mind in the process often. Totally good to change your mind!
We'll assemble the quilt block in a merry-go-round fashion. Basically, we're making a cabin log quilt-as-you-go block. Even if you haven't ever done it yet, this turns out great. Every single time. This simply means that we'll move in a circle, from the smallest center piece towards the outer edge, from the smallest piece to the largest piece. Either clockwise, or the counterclockwise direction, everything is ok. Just don't switch directions in the midst of quilting. Stick to one.
Here's a quick slideshow of the circular direction, one I did here in this example, for you to use as help:
Step 4 - Attach Piece No 1
Place the main, focal piece at the central spot, or just a bit off-center. I sometimes spontaneously start placing it just a bit off, towards the right. Not necessary at all. Here I started in the center.
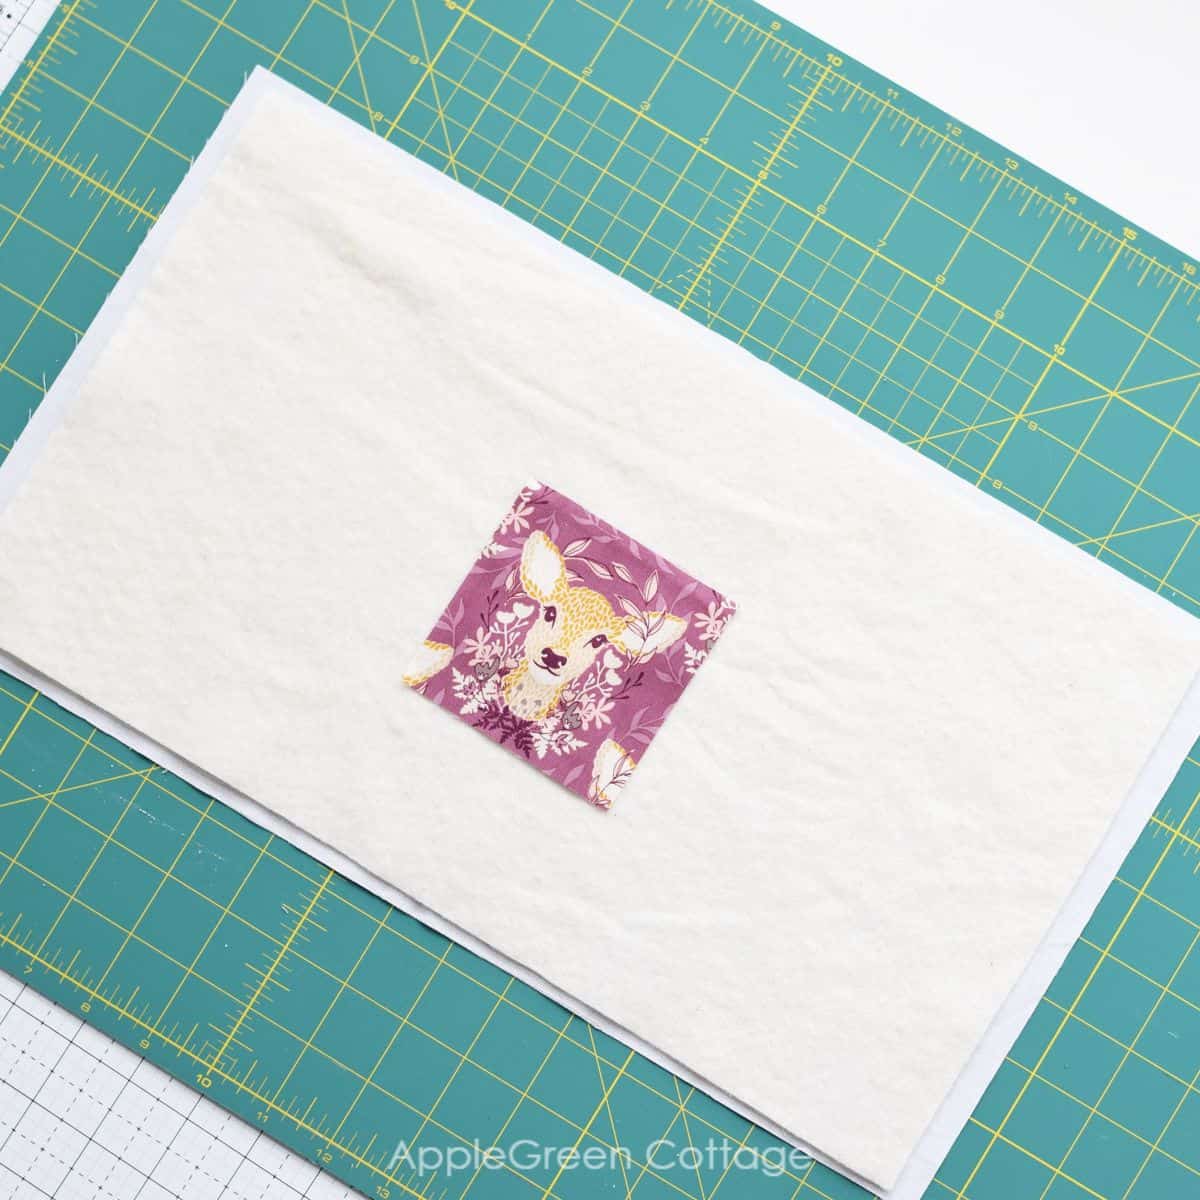
Now when you sew your first patch down, you'll start half an inch away from the edge and stitch it down with either horizontal or vertical lines. If you start with vertical, you'll be able to carry it over to the next patch too.
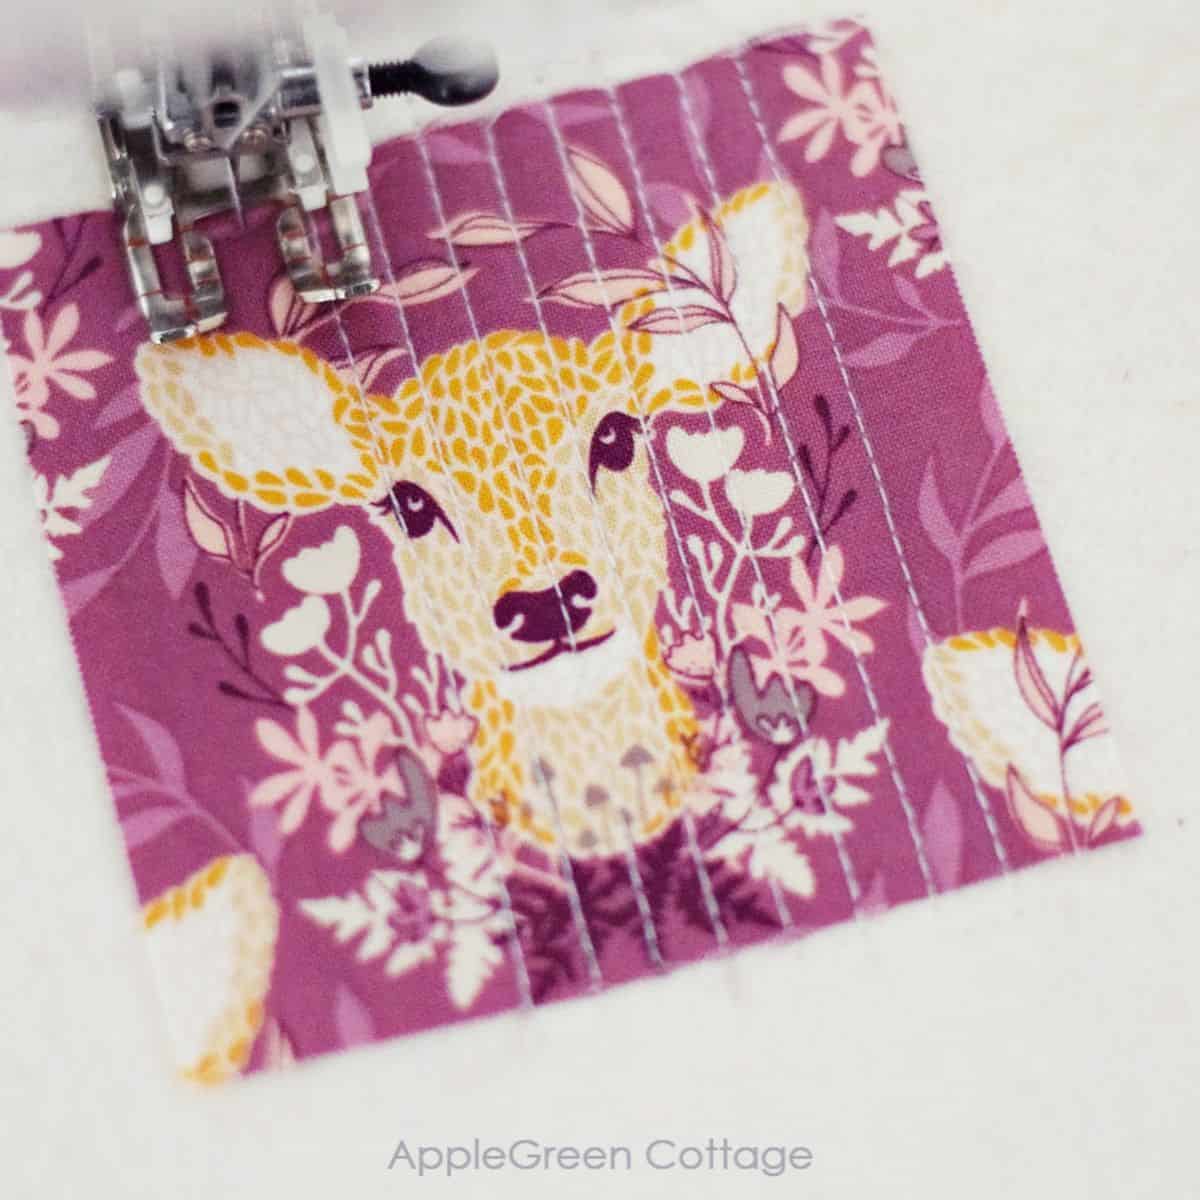
Start at approximately ½" inch or 1.2 mm away from one and go to the other edge of the patch in regular intervals of ¼", till you work your way out to the other side of the piece.
Straight-line quilting. I love it. The stitching lines never need to be perfectly straight, yet the result is always perfect. It's easy to do matchstick quilting on qayg, but take a look for 13 more easy quilting designs - all straight lines and beginner-friendly!
Step 5 - Attach Piece No 2
Place your second piece on the left side of the first piece. (Or right if you're going in the counter-clockwise direction)
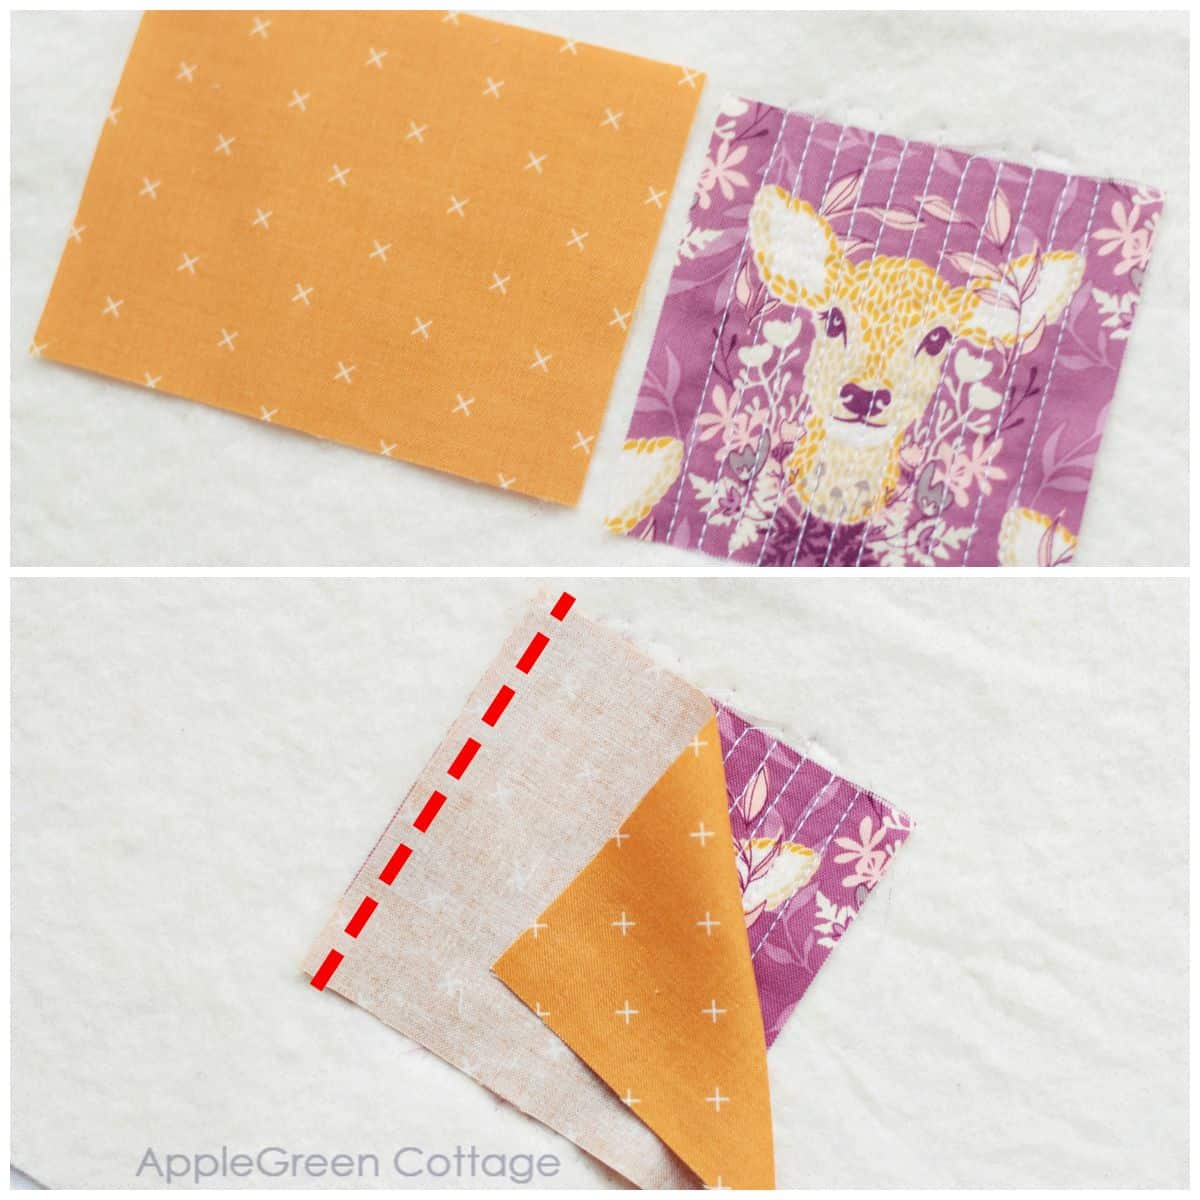
With the right side of the fabric facing down, align with the edge of piece #1 and sew in place using a ¼" seam allowance. See photo above.
Now flip the second piece to show the right side up and press away from the center. And strip-quilt it using vertical lines, starting close to the focal piece:
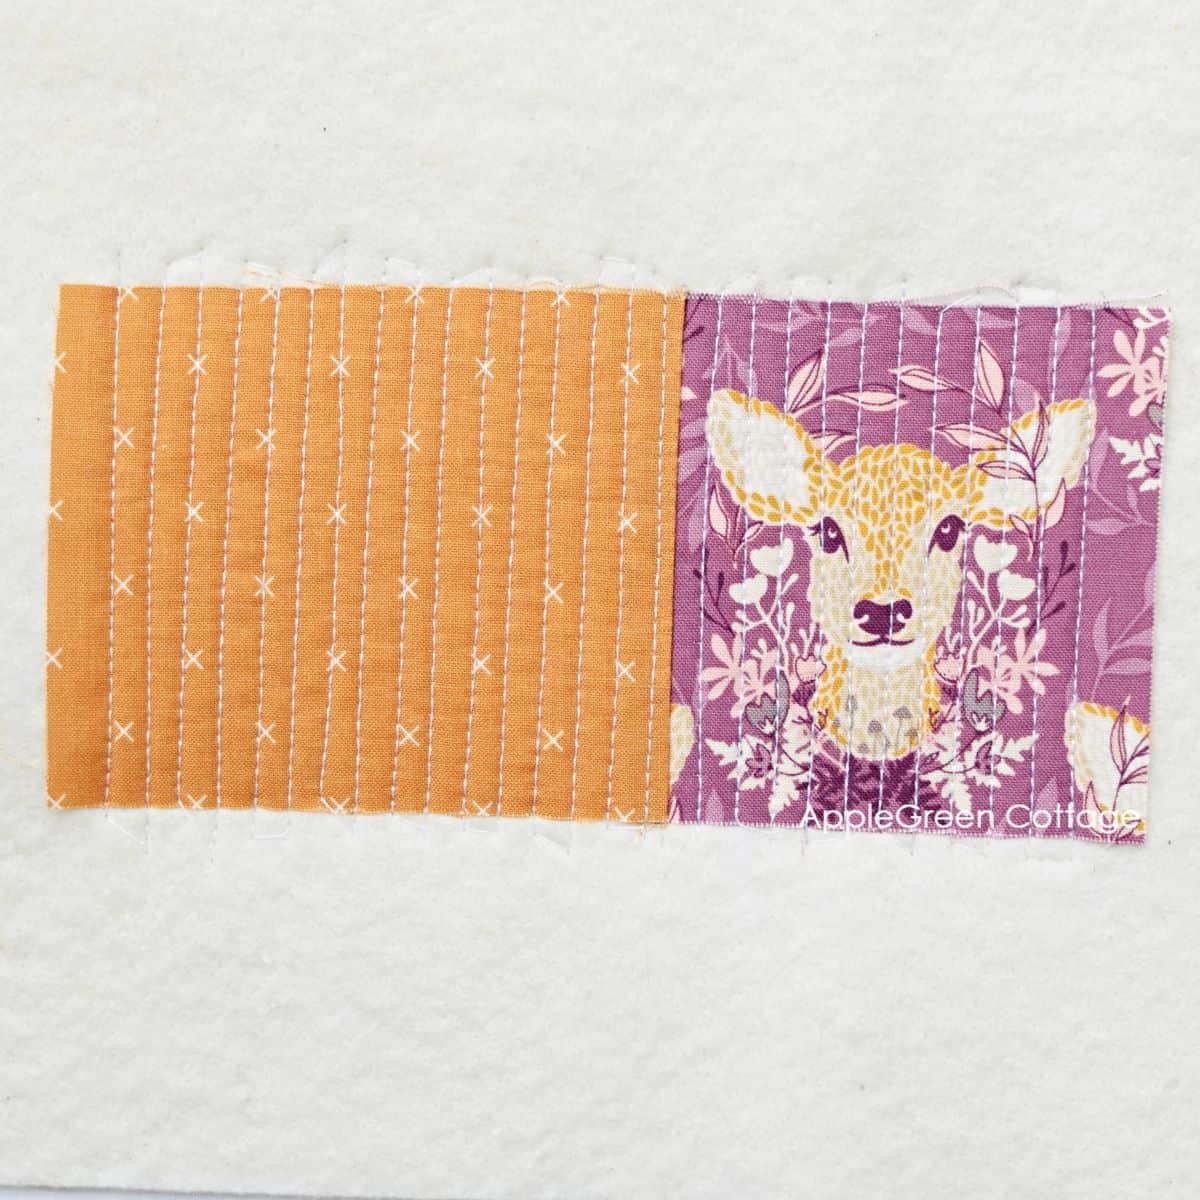
Step 6 - Attach Piece No 3 ... And Keep Going
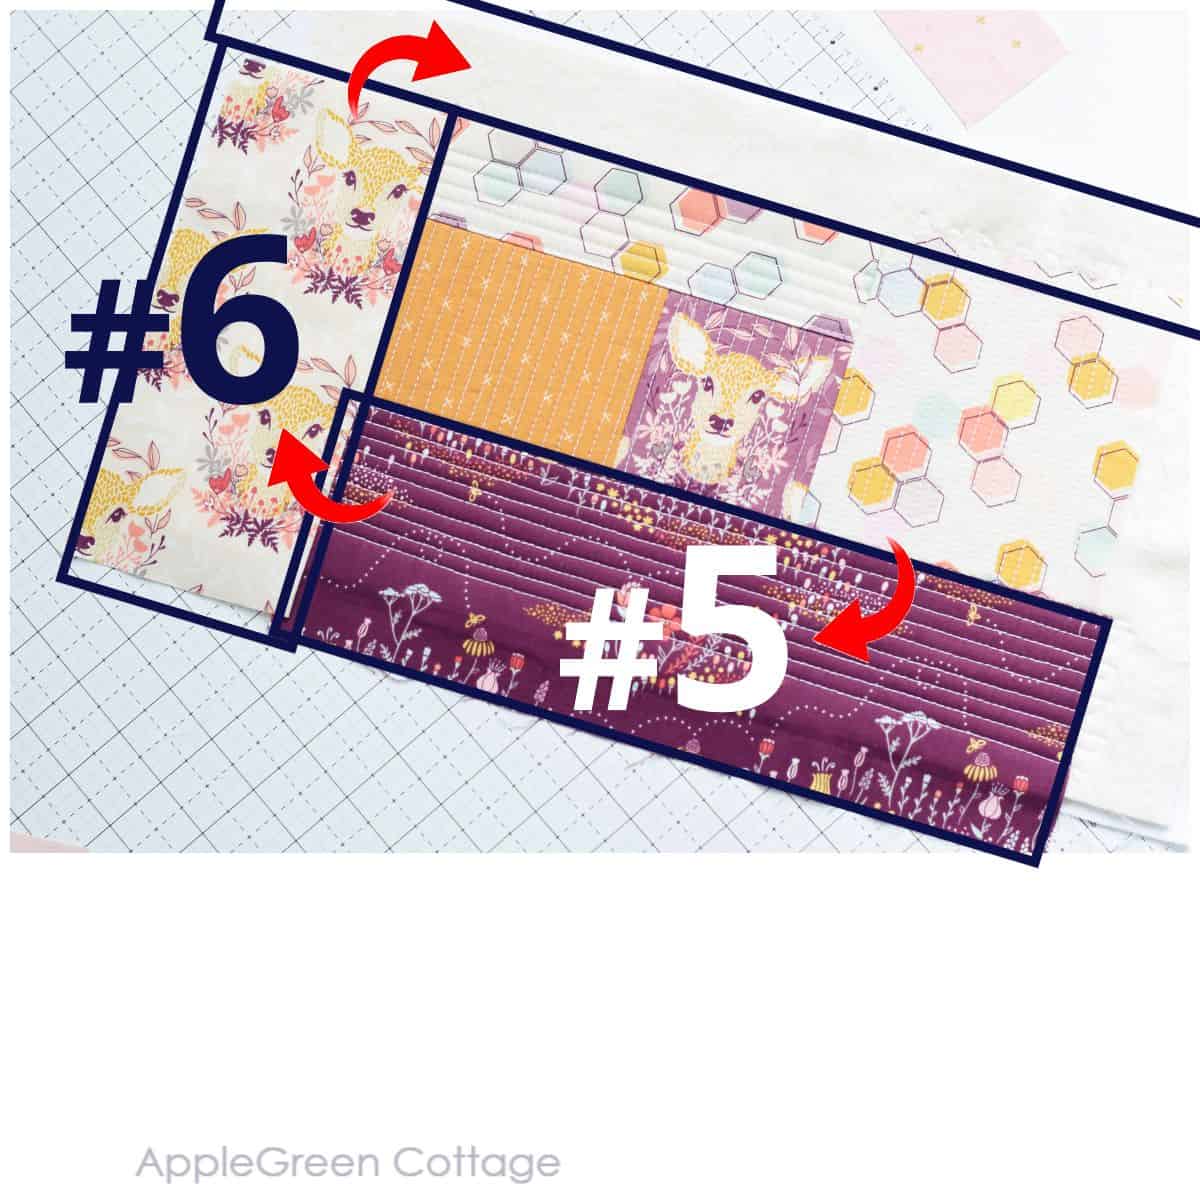
Piece 3 comes to the top. It will need to be wide enough to be sewn over BOTH of the bottom pieces: notice the width?
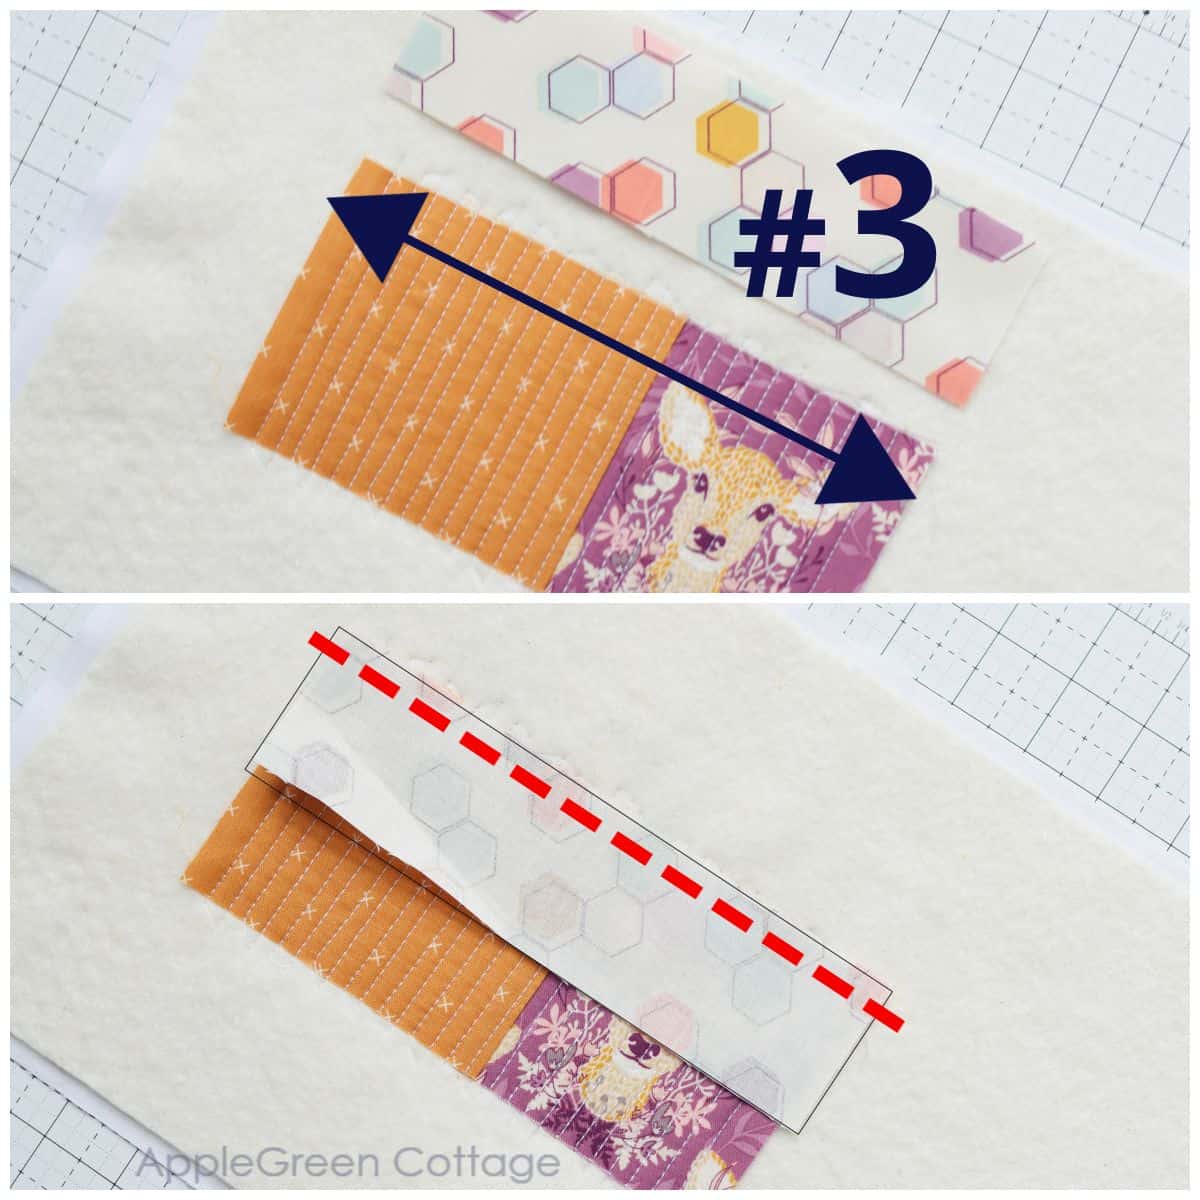
Same procedure: place the piece with the right side facing down, aligned along the top sewn-in pieces' edges. Sew in place using again a ¼" seam allowance. Flip, press, quilt in place. And move over clockwise and add piece no 4:
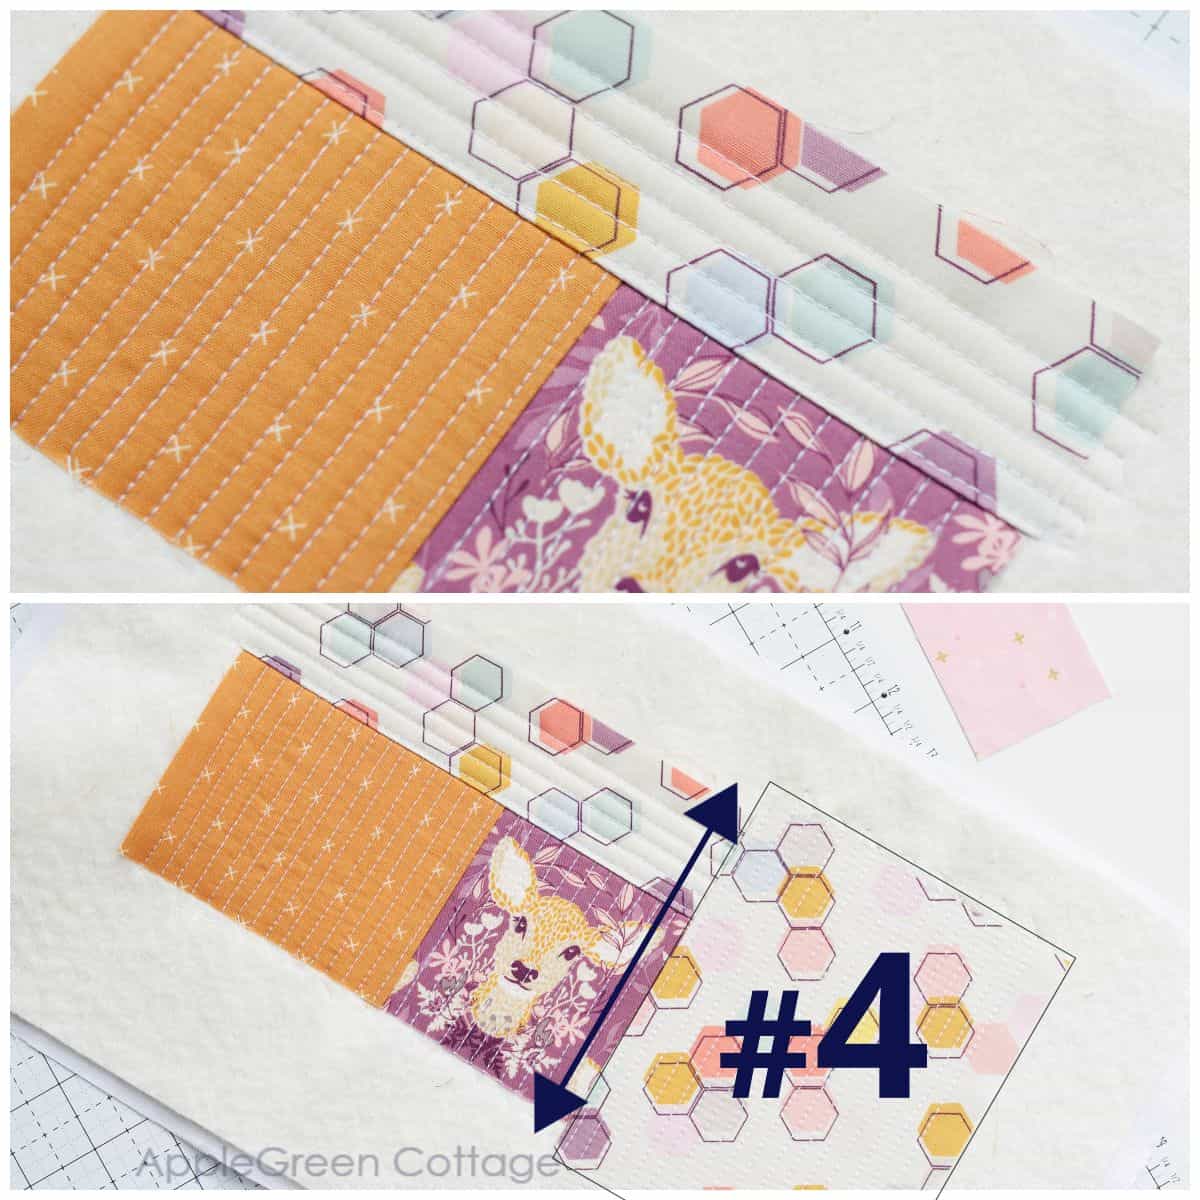
Continue clockwise, each next piece needs to cover the entire width/height of the previously quilted pieces:
The pieces required get larger and larger. Feel free to piece together a few scraps to get that length. Simply stitch pieces with right sides together. Like I did to my piece No 7:
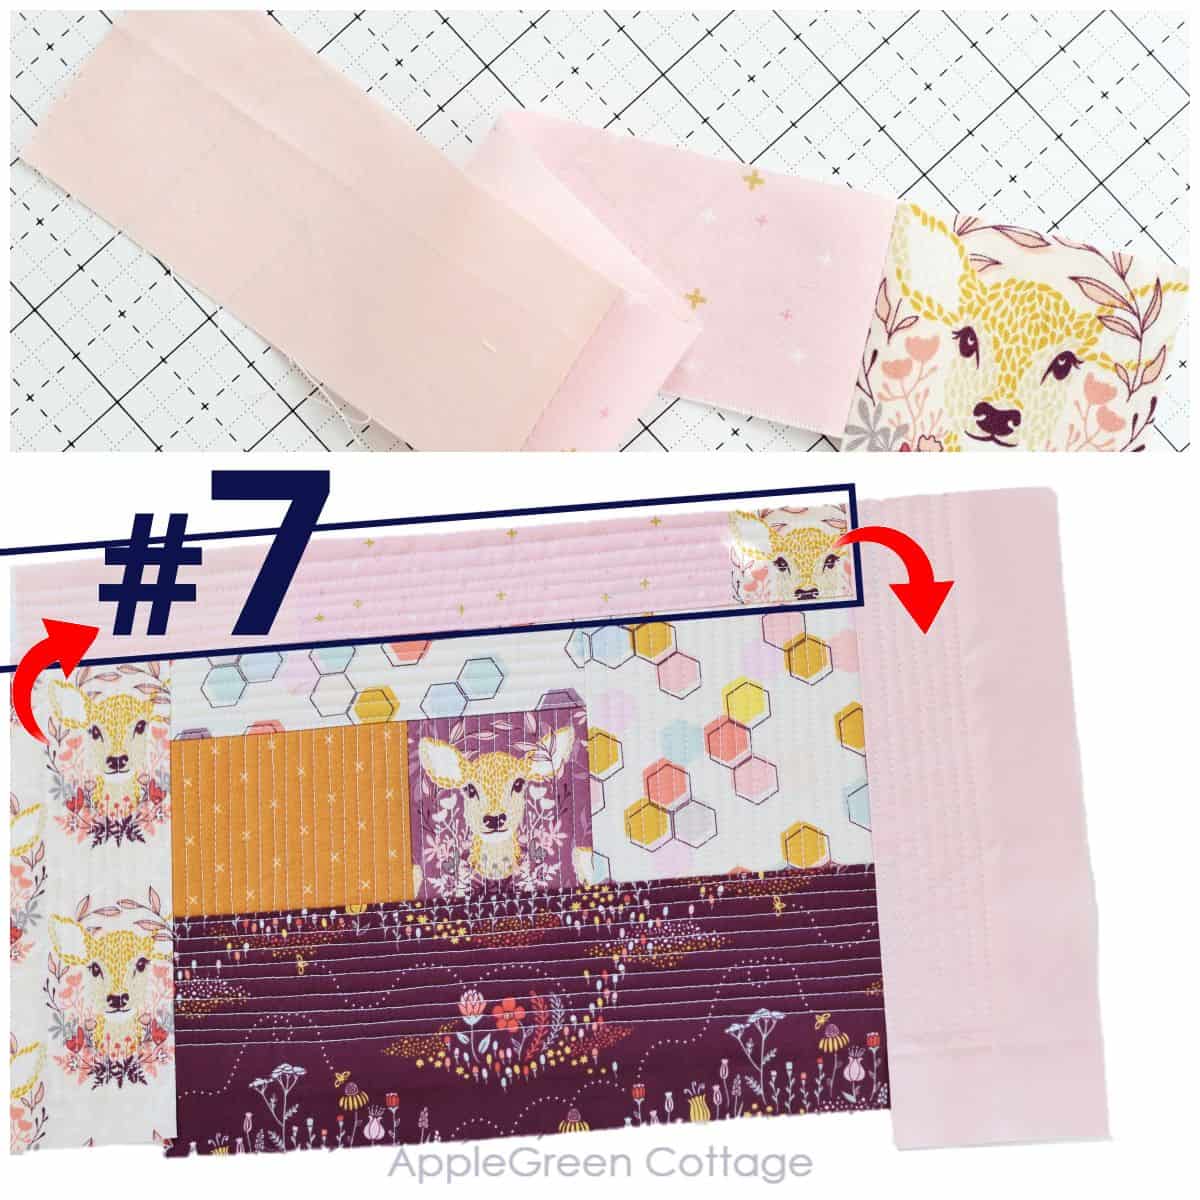
Continue until you've covered all batting. And here's your flip and sew quilt as you go. I love both the process and the result!
Step 7: Square it up
I use my quilting ruler and a rotary cutter to cut off any excess fabric, batting and backing, and to get all corners to 90 degrees.
Step 8: Finish
Here you'll either attach binding if you're making a placemat, a mug rug, a needle book, a ... mini quilt!
How to attach binding, plus this clever hack will make it even easier!
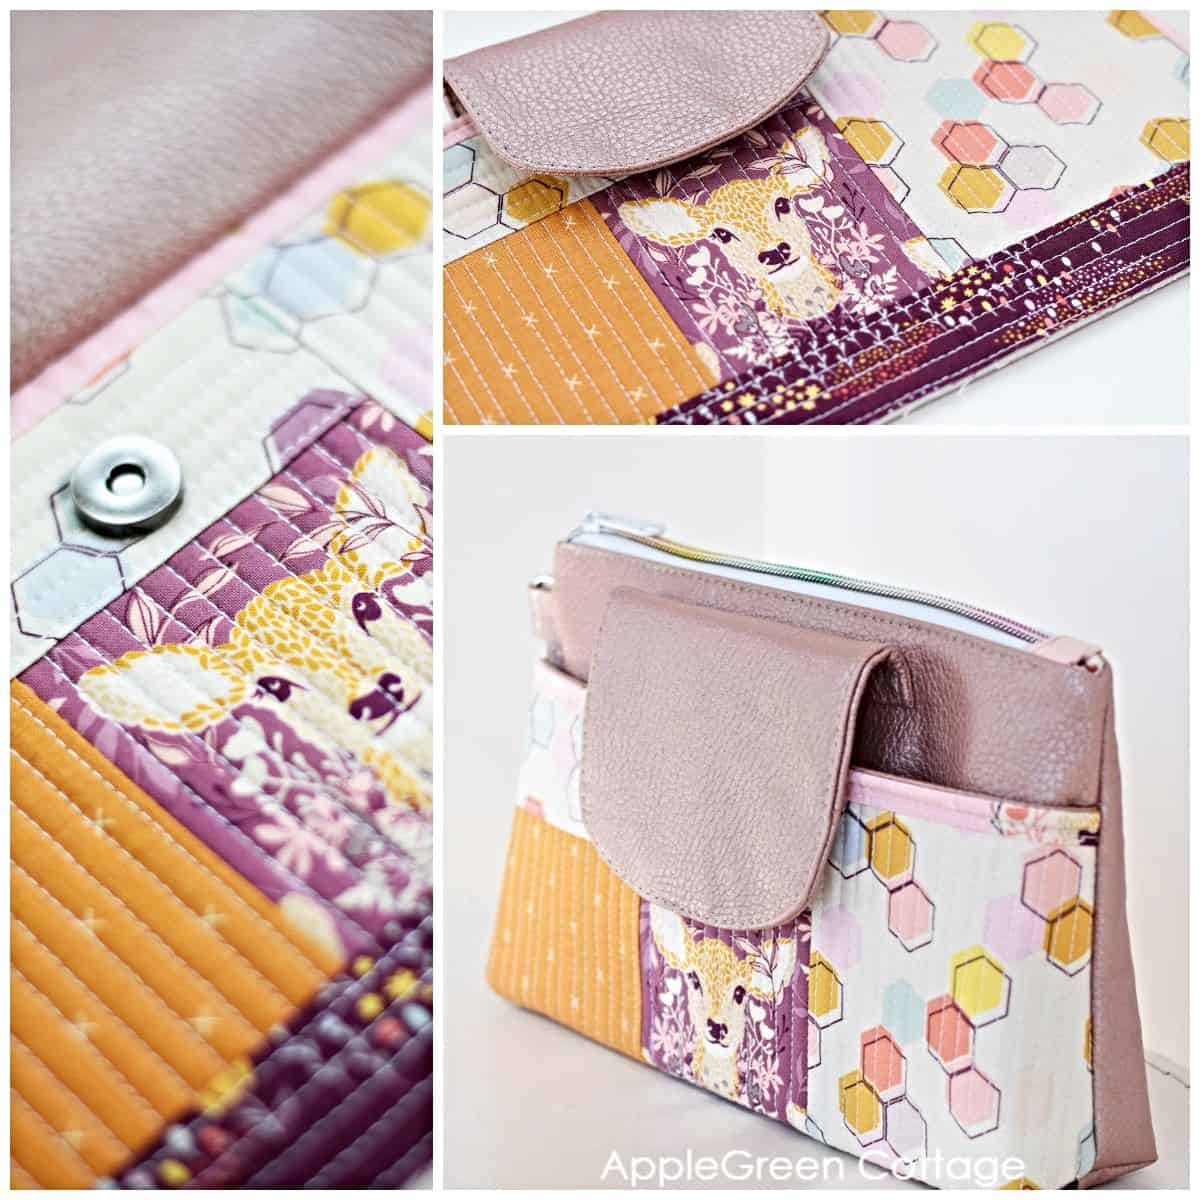
Or simply cut to the size needed to integrate it into a different sewing project like a bag flap, a pouch pocket, even sew an entire zipper pouch with it!
Tips for Quilting As You Go
First, here's my secret to happy qayg-ing:
I always just make a single qayg block.
I don't really care about joining the individual quilt blocks into a larger quilt as you go piece. It's the part of creating a single qayg block that sparks my interest, and is, honestly, the most useful part of quilting as you go technique for me.
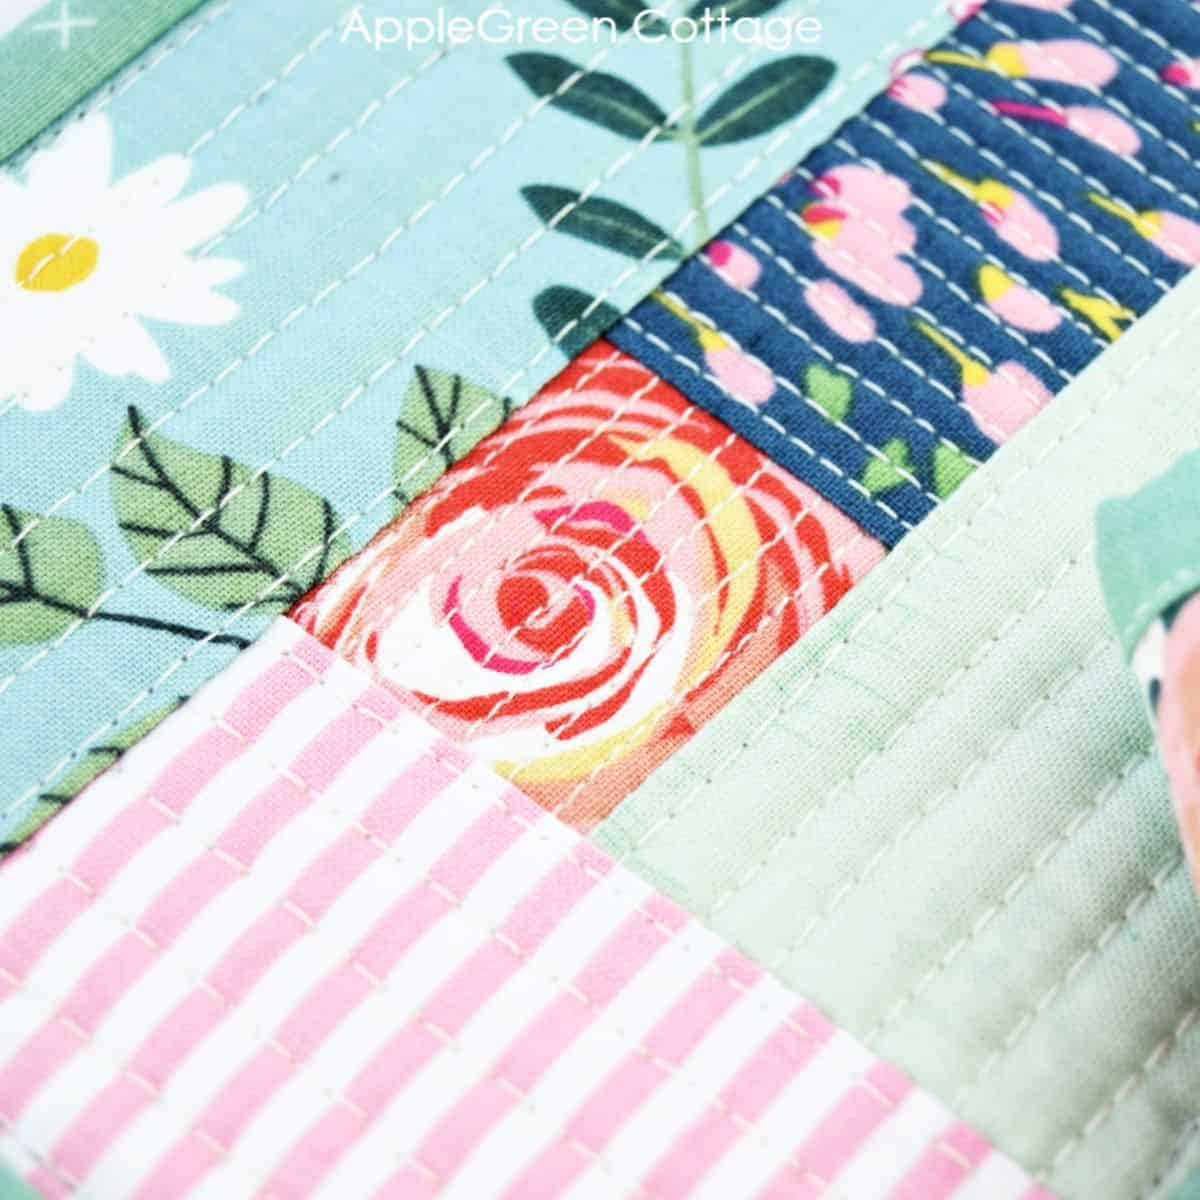
This is why I always think of the size of the quilt as you go block I need for my sewing project, and select the size at the beginning. Scroll down to see what you can do with one single quilt block.
Now, a few answers to the most popular questions about quilting as you go:
What can I use the quilt as you go panels for?
Besides the obvious 'mini quilt', there are a dozen of easy items you can make with it, and they will all look gorgeous, with your unique design:
- quilt as you go mug rug
- quilt as you go placemat
- quilt as you go needle book
- quilt as you go table runner
- quilt-as-you-go tote bag
- quilt as you go zipper case (I've made tons!)
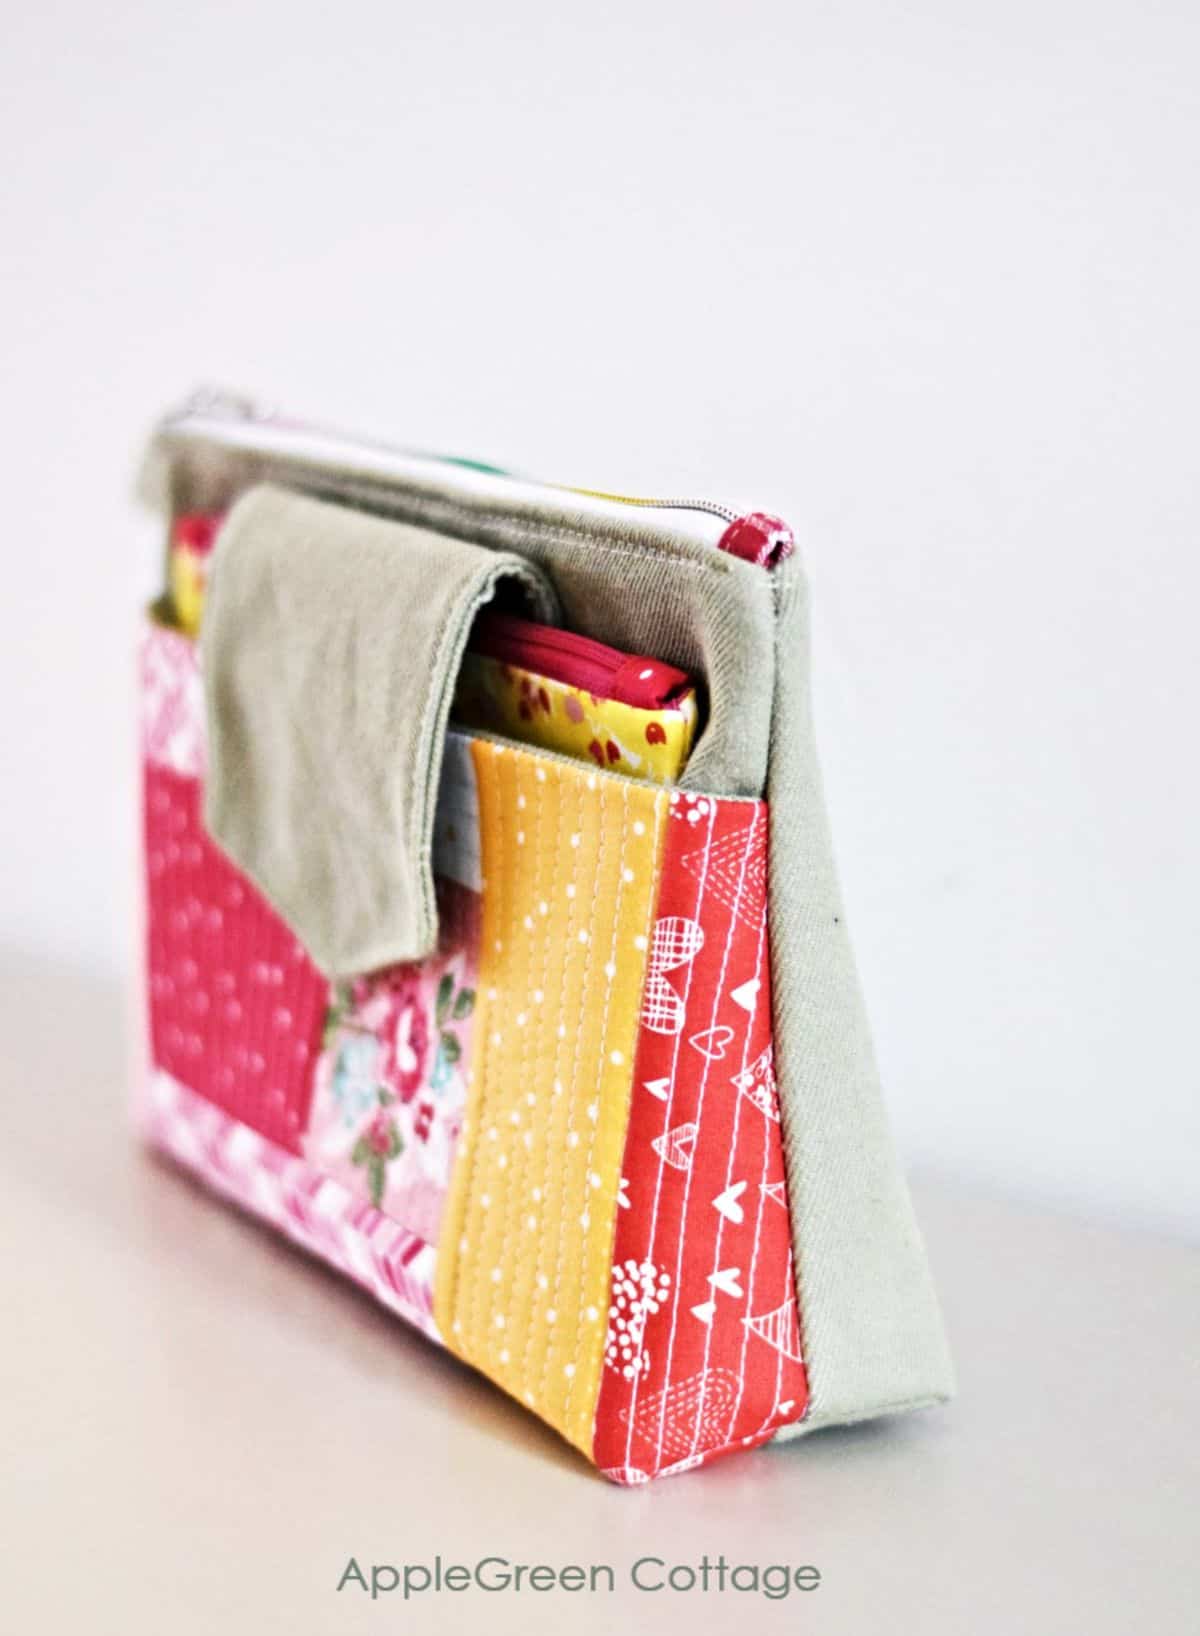
- quilt as you go makeup bag like the one you see below.
You can also make potholders, coasters, and fabric bowls using the quilt-as-you-go technique, and add a touch of style to your kitchen. Or create an inviting, cozy nursery by creating a quilt-as-you-go wall hanging using the same color scheme as the baby blankets - which, guess what! - you can also sew using qayg technique. Also, these are perfect for gifting to new parents.
What to use as the center of your quilt as you go block?
Chose one of your favorite fabric prints, and fussy-cut it. Or you can use a perfectly classic pieced quilt block as a center of your quilt-as-you-go panel. See how to make a heart square quilt block and you can use it as your quilt center!
How to Use qayg blocks in Bag Making?
Easy. But you need to plan ahead and design your single qayg block in the size that will fit the planned bag project.
For example, the QAYG tutorial above will give you the generous size for the full-width pocket on my popular SILA Duo Bag pattern:
Do I need to attach the backing when making a qayg block?
Some techniques involve attaching the quilt backing during the quilt as you go through the process, some add the backing at the end of the project, depending on how you join quilt-as-you-go blocks.
Both ways will work if you sew a qayg panel like mine. (I don't always work by the book, you know that by now I guess 🙂
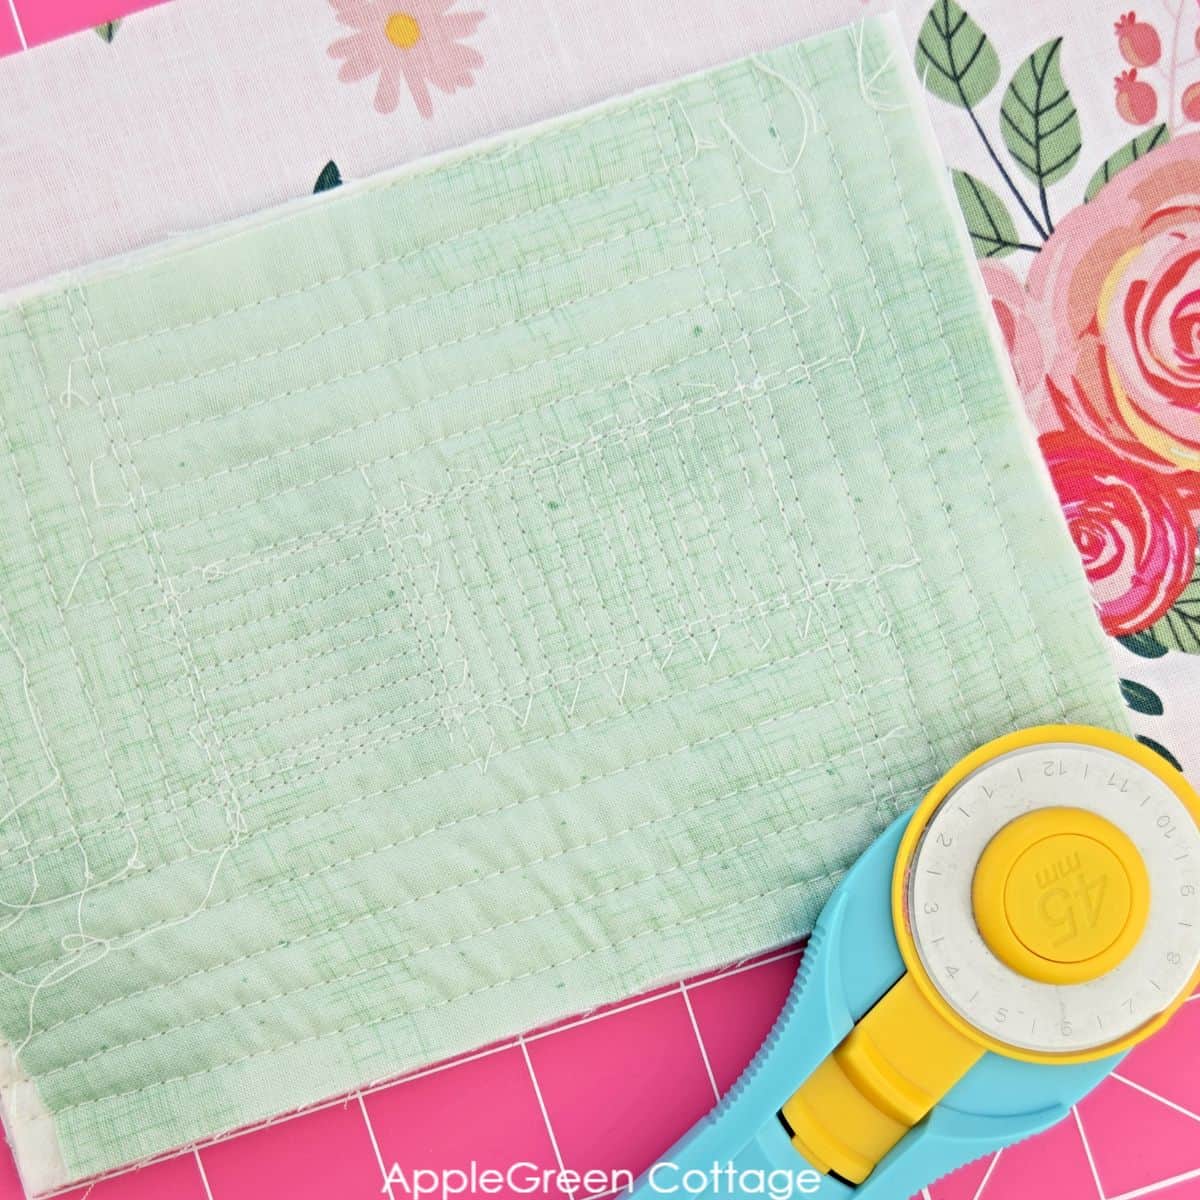
Most often, I work WITH backing fabric while making a qayg block, not afterward. This is because I love to include qayg blocks into the bags, and pouches I design.
But NOTE that the quilt backing fabric does NOT show in my finished product. I cover it with lining or another, pretty layer of fabric.
This is how I decide whether or not to work with batting only, or simultaneously with batting AND backing:
- Can my machine handle batting as the bottom layer? If there's too much tugging while I sew without backing, I'll definitely add some sort of backing - like a utility cloth, muslin, or plain white quilting cotton - just to make the sewing smoother.
- If my machine can handle the batting layer with no issues, I'll go without backing. But in this case, I know I'll have to clean my machine soon, as lint will get accumulated faster, and my machine will need cleaning sooner. Not my fav part.
- Another criterion: if I want my quilt-as-you-go block a bit stiffer, so I will not need to interface it before turning it into a bag flap, or a pouch pocket, I'll definitely add the backing layer when quilting as I go. Another point pro adding backing.
A list of pieces used for this exact quilt block
Here are the minimum dimensions of all the pieces I used to make this quilt-as-you-go block. Please note that you CAN use larger pieces, especially on the outer edges - the listed ones are minimum sizes:
| Block No | Min measurements (width x height) - can be larger! |
|---|---|
| #1 (deer) | 3 ½" by 3 ½" |
| #2 | 4 ½" by 3 ½" |
| #3 | 7 ½" by 2" |
| #4 | 5" by 6" |
| #5 | 12" by 3" |
| #6 | 3 ½" by 8" |
| #7 | 16" by 2" (pieced) |
| #8 | 9" by 2" |
Quilt as you go patterns
What can I sew with the quilt as you go technique?
Ohh, a lot! Quilt as you go table runners, mug rugs, makeup bags. Use qayg panels as bag flaps like @mopheaded1 made this Aiden pouch. Also, I've made countless zipper pouches with the quilt as you go panels:
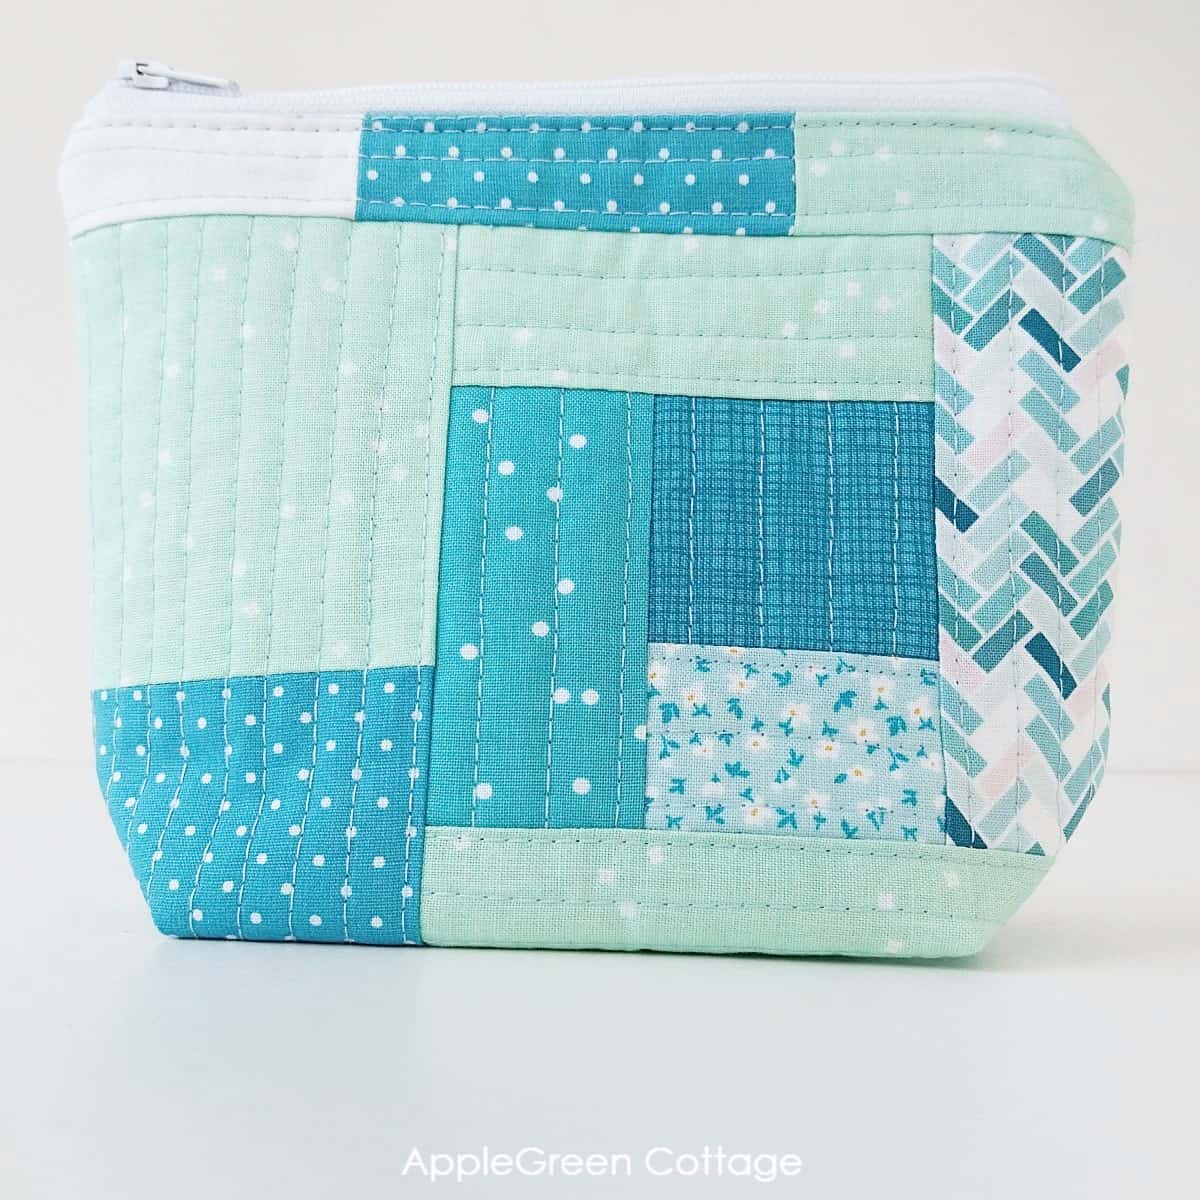
Those make the best diy gifts. Unique, can almost never turn out the same, the closest to 'made-from-the-heart' what I've ever come in sewing gifts. Give quilting-as-you-go a try, you'll be hooked for life! (And your scrap bin will suddenly become the most precious source of inspiration, ever.)
I also love strip-piecing and then straight-line quilting small bits together. Or, this super easy folded flying geese hack! But this is a story for some other time. Happy sewing!
Print Steps
Quilt As You Go - Quick Steps To Print
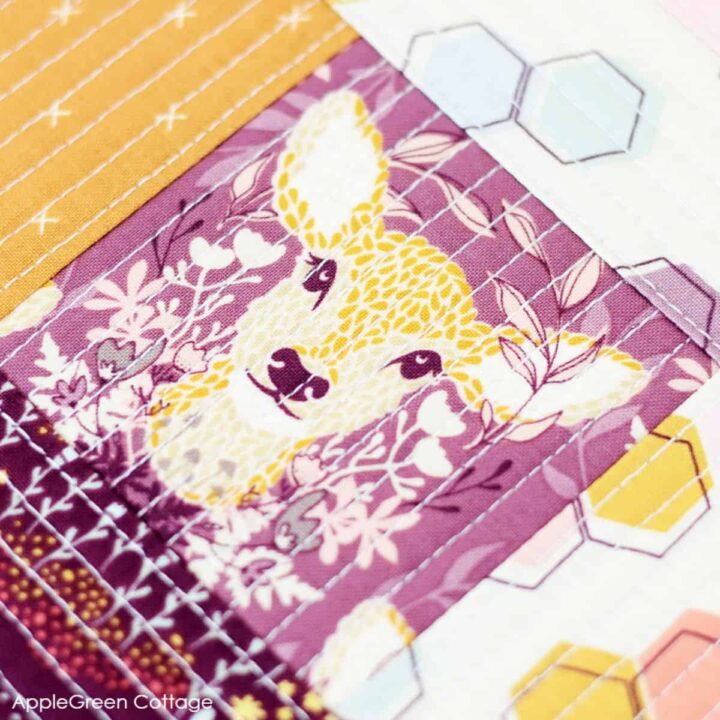
Quilt as you go tutorial - quick steps to print
Materials
- batting
- backing
- fabric scraps
- thread
Tools
- sewing machine
- a walking foot
- quilting ruler
- rotary cutter
- cutting mat
- optional Odif 505
Instructions
- Cut your batting and backing a little larger than the finished size you need.
- Use spray adhesive to join batting and backing.
- Place your first, focal piece somewhere in the center of the backing, with right side up, and stitch in place with horizontal stitches every ¼".
- Stop stitching half an inch before the end of the fabric piece.
- Place another fabric piece onto the first one, with the right side down and aligned along the left edge.
- Sew along the matching edge using a ¼" seam allowance.
- Flip open, press, and quilt.
- Place another scrap with right sides facing, aligned at the top edge of the two pieces. Make sure the third piece covers the entire width of the two pieces combined.
- Flip over, press, and straight-line quilt.
- Next, keep moving in the clockwise direction, adding pieces to the edges of teh already quilted ones. Make sure every next piece will cover the entire with/length of the previous one.
- Continue until you have covered the batting.
- Press and square up your quilt-as-you-go block - use a tutorial at AppleGreen Cottage to decide on the project to use it in.
Notes
Read the entire tutorial at AppleGreen Cottage for bonus tips to make your quilt-as-you-go process easy and neat!
Recommended Products
As an Amazon Associate and member of other affiliate programs, we earn from qualifying purchases.
WANT MORE FREE TUTORIALS AND PATTERNS?
Get email updates and never miss out on new patterns, printables, and tutorials:
Or …check out my latest PDF pattern in the shop – the SILA Duo Zipper Bag pattern. Two patterns in one, see more here:

Miss Riain says
Love this tutorial. I'm curious what kind of utility fabric you're using when trying to make a stiffer panel. Thanks!
Damjana Jakos says
Hi, great question! For this project, I used a piece of bleached cotton muslin. It's a bit coarser and heavier than the quilting cotton I'm used to, with slightly uneven threads. I think Joann's carries bleached muslin if you're looking for something similar.
Claire Hewitt says
Great project. One quick question. When you are stitching the straight lines do you back stitch each end of the line?
Thanks.
Damjana says
Just when stitching a piece on the previous one, not when 'topstitching' that is quilting the piece in place.
Stephanie says
Love using scraps! One year for Christmas I made everyone your market tote. I then pieced all those discarded triangles to make zipper pouches. I felt so accomplished not wasting anything!
Susan says
Hi! Thank you for sharing this very detailed explanation on how to start a QAYG piece. I have attempted this in the past but somehow kept getting it mixed up. I think, perhaps, I was just attaching the fabric pieces to them individually. My question is what stitch length would you suggest? For example, do you use the same stitch length to initially attach the squares to each other as you do to quilt?
Karen Little says
Thank you for your tutorial on qayg. It is so clear and simply written. I have looked at many qayg patterns and tutorials over the years but this is the best one I have found. Thank you for writing this and taking such nice clear photos. This technique will now be on my "to do" list.