
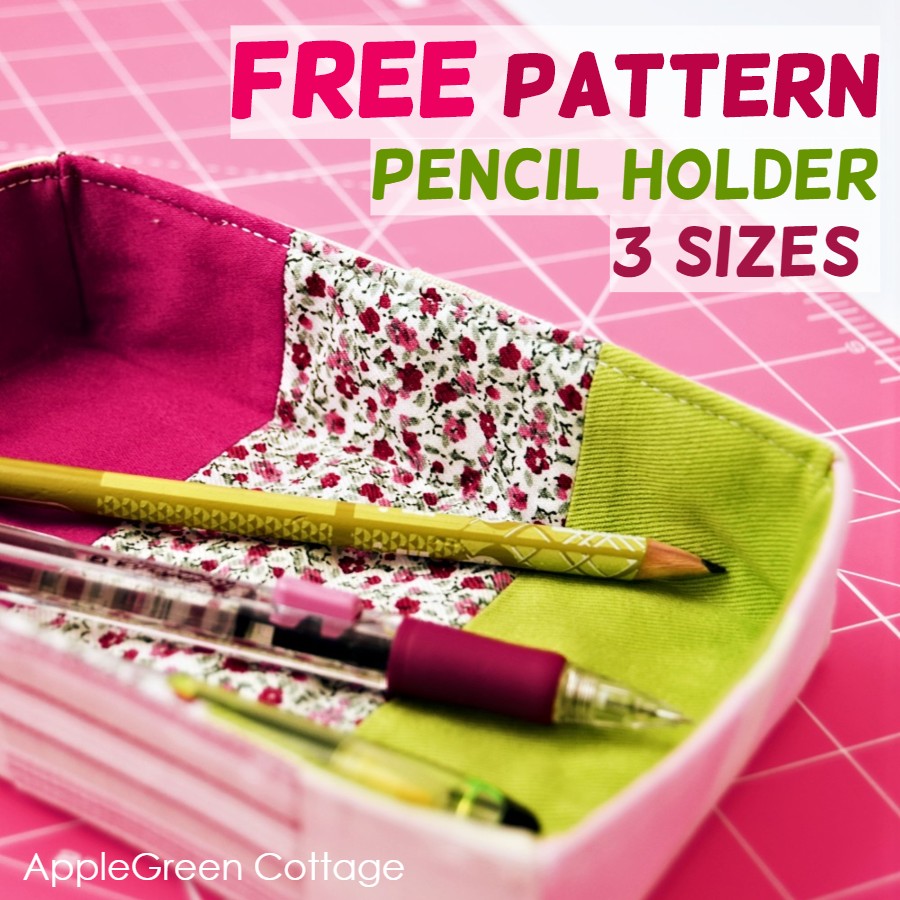
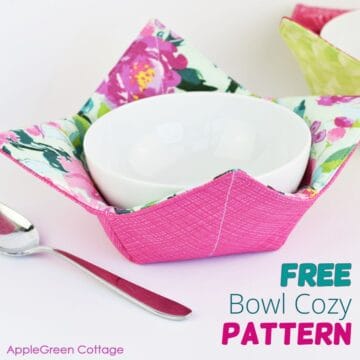
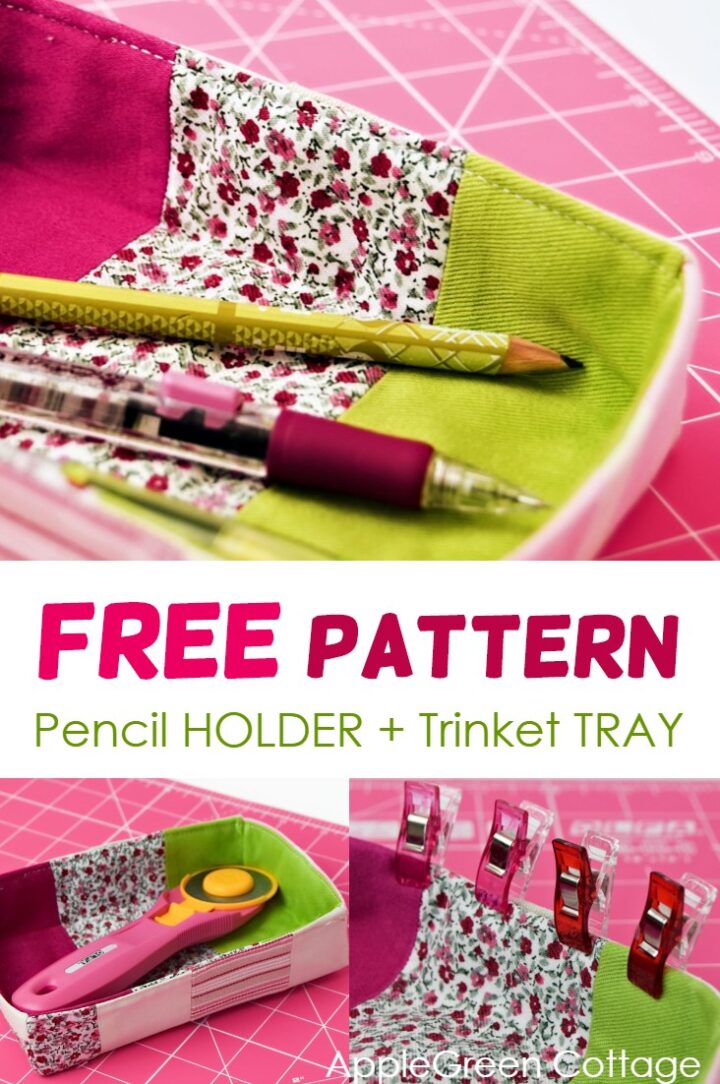
Sew a cute pencil holder using this free sewing pattern in 3 sizes and the easy sewing tutorial. It has so many uses!
It's very practical to keep your stationery - or sewing tools and supplies close at hand. And if you've been craving some order on your sewing table, now's just the perfect time to achieve it - with this easy and fun project. Scroll down to see how to sew one!
Prefer an ad-free printer-friendly option of the whole tutorial+pattern? See the → optional PDF file in our shop.

This tutorial is also part of Printable Tutorials BUNDLE
100 PDF tutorials now, and growing!
Table Of Contents
If you like sewing storage items, check out our popular SewPretty HOME series too:

Join the FREE 7-part email course and make 6 beautiful items for your home! You'll love it!
Why You'll Love This Quick Pattern
- Fast, scrap-friendly sew with a pretty, useful result
- So many uses - pencil holder, desk tray, drawer organizer, or counter tidy
- Perfect key catcher for the entryway (no more searching!)
- Great for small tools you want close by while crafting
The Story Behind the Pattern
I often unwind from computer work by sewing something quick and fun - no pressure, just fabric and ideas. While planning new projects one day (with pencils and scraps everywhere), I realised my desk really needed a simple, handy pencil tray. That little mess is exactly what inspired this easy pattern.
I realised I needed a place to toss my pencils while working - not another zipper pouch, just something open and easy to grab from. So in my next sewing break, I grabbed a few fabric scraps, skipped the measuring, and stitched up a quick patchwork pencil tray (pure fun, slightly wonky lines and all!)
But then I thought that this was a project many of my readers would simply LOVE! Grabbing my camera and off it went: here's another tutorial for you to use, and make tons of easy pencil holders for you. Or for your kids, or as an easy back-to-school gift. Make a lot of them and you've got a colorful diy drawer organizing system!
Diy Pencil Holder Video
First, for those of you who like video, I've made a slide-show to get the feeling of how easy it is to sew one:
3 Finished Sizes
- LARGE: 8 ¼" length, 5" width, 1 ½" height (21cm x 13cm x 4cm)
- MEDIUM: 6 ¼" length, 4" width, 1 ½" height (16cm x 10cm x 4cm)
- SMALL: 4" length, 3 ¾" width, 1 ½" height (10 cm x 9.5cm x 4cm)

Supplies
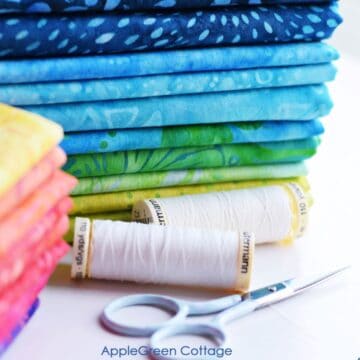
- two fabric pieces in your favorite prints: in total, you'll need less than a fat quarter for the largest size
- high-loft fusible fleece: 8" x 11 ½" (21cm x 29cm) or less for smaller sizes
- sewing machine or needle, pins or Wonder clips
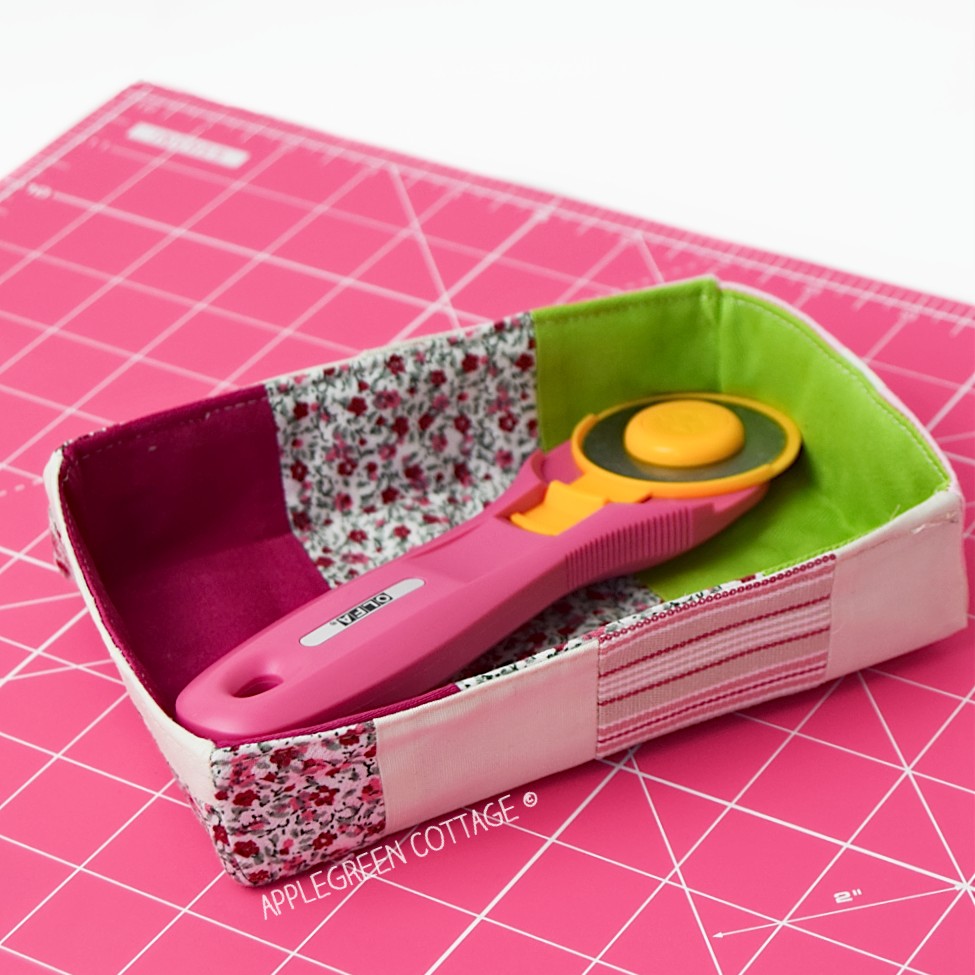
- iron, scissors, or rotary cutter plus cutting mat (I use this one by Olfa)
- the PDF Pattern file
Shop my personal favorite sewing supplies on Amazon HERE.
How To Make the Fabric Pencil Tray More Stable?
To add stability to your fabric tray, you can use stiffer interfacing alternatives, such as a layer of SF101 plus Pellon Craft Fuse, Vilene S320, SewFuse Plus, or even Decovil Light.
Also, feel free to visit this interfacing guide for beginners - it will make your (interfacing-related) sewing life so much easier!
Diy Pencil Holder Tutorial
This project uses a ¼" (6 mm) seam allowance. It is already included in the printable template.
Step 1 - Get the Free Pattern
Get the free template here when you join the mailing list:
Prefer an ad-free printer-friendly option of the whole tutorial+pattern? See the → optional PDF file in our shop.
Save to your computer, open in Adobe Acrobat Reader, and print the free PDF template to a piece of cardboard or paper.
Step 2 - Cut The Fabric
Decide on the size - small, medium, or large. Then use the template to cut these pieces of fabric:
- 1 piece from outer fabric (light, cream here)
- 1 piece from lining fabric - this is the one that will be visible, actually!
- 1 piece from fusible fleece - cut it on the seam allowance to reduce bulk when sewing.

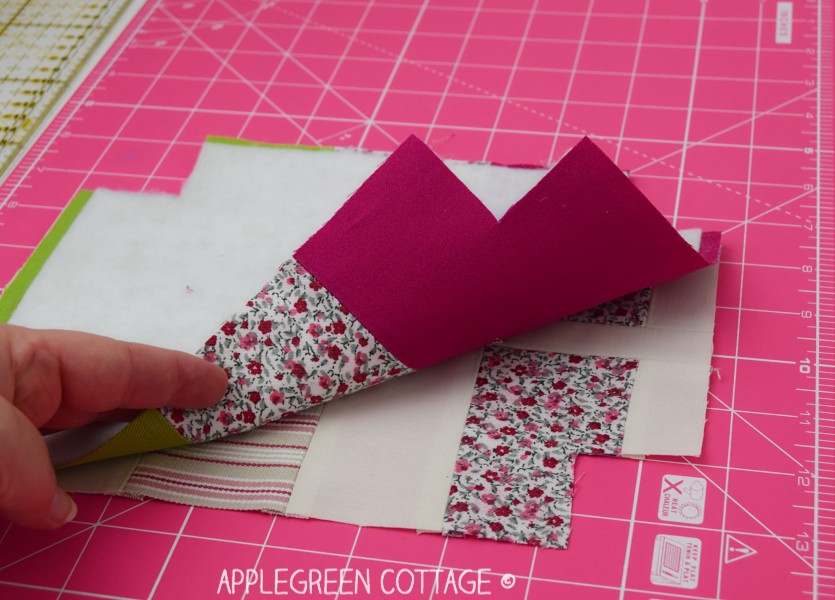
OPTIONAL: instead of using a whole piece of fabric per layer, you can create random patchwork pieces from small fabric scraps. This is what I did here. I occasionally create patchwork panels when I'm in the mood for sewing but have no particular project in mind (utilizing scrap pieces is so easy this way!)
Step 3 - Add Fusible Fleece
Next step: attach fusible fleece to the LINING piece. (The lining layer will be in contact with the pencils when finalized.)
Use this quick how-to if you're not used to working with fusibles:
New to fusible interfacing? See how to add fusible fleece. Or visit our free
Step 4 - Place Pieces Together
Moving on, place the two pieces right sides together.
Step 5 - Sew
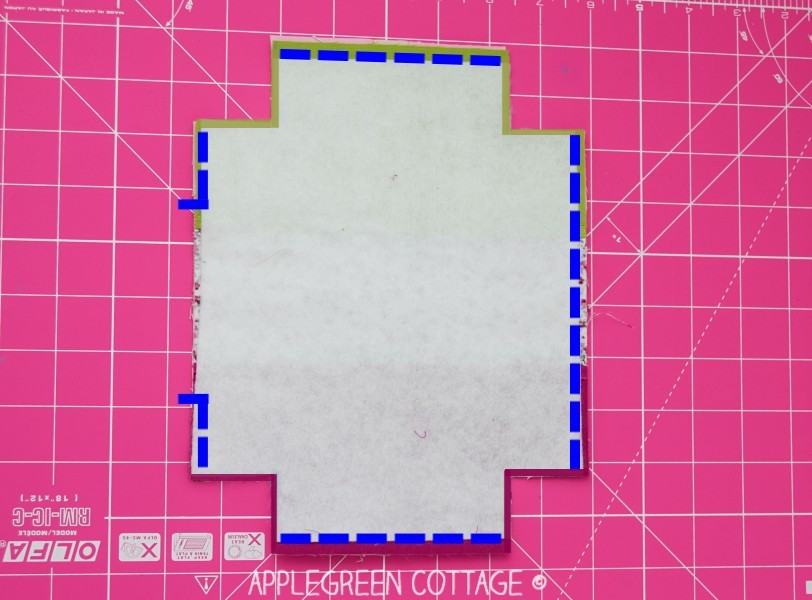
Stich around using a ¼" seam allowance, leaving out the corners AND a few inches on one of the longer sides, for turning. See the markings on the image above.
Step 6 - Box the Corners
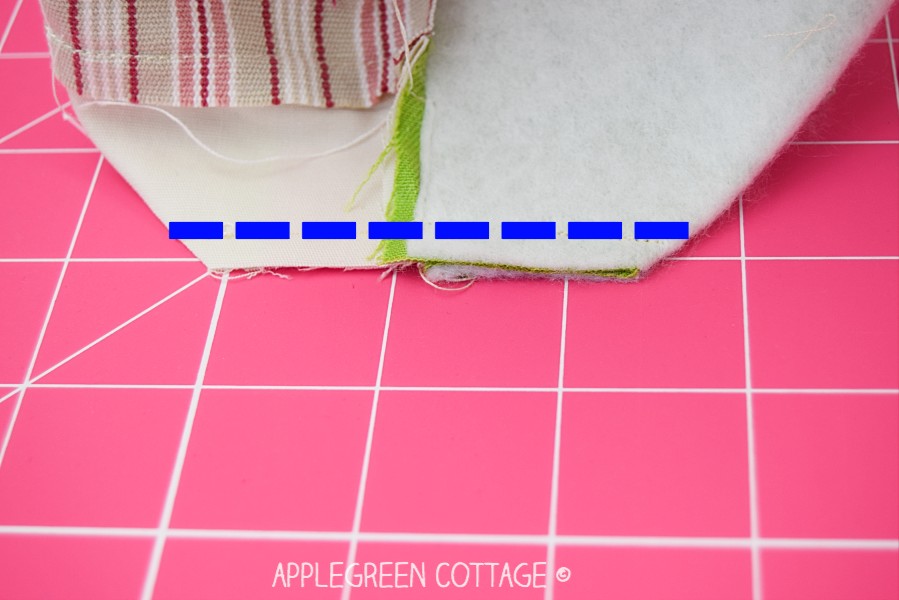
Box all four corners that are still open:
- Fold the corner flat matching up the two side seams. The side seams should lie directly one over the other.
- Pin.
- Then stitch over the (blue dashed) line. Backstitch at the beginning and end of the seam to reinforce it.
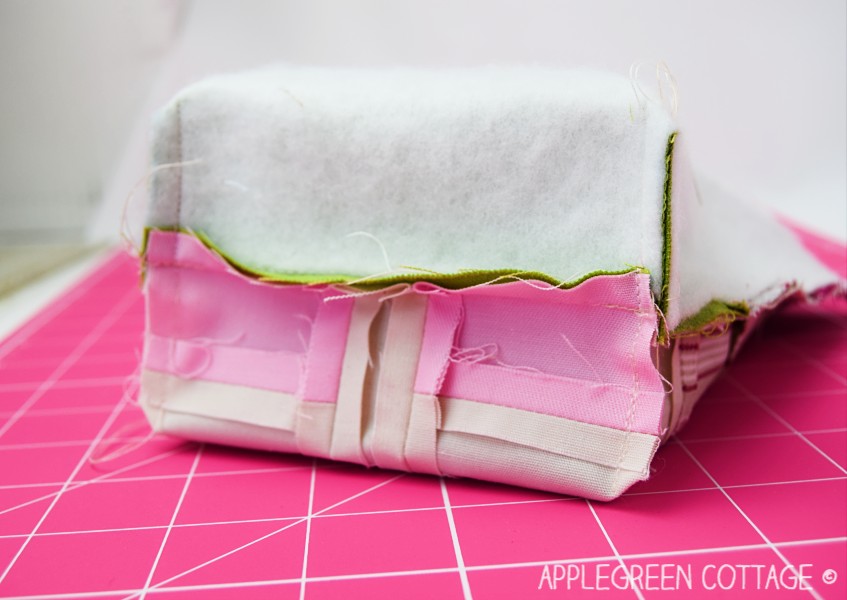
Repeat on all four corners.
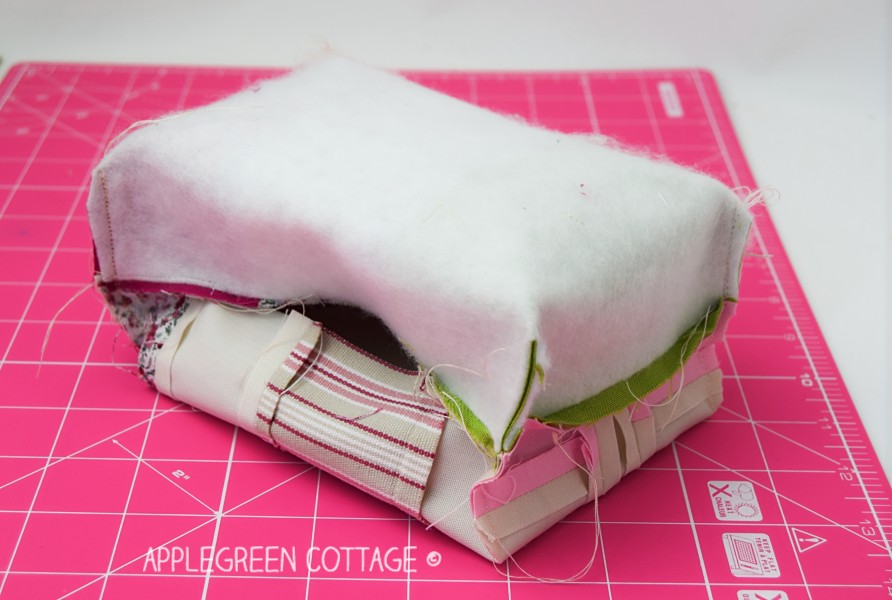
NOTE: What you see in the image above is the opening I left for turning. Yours won't look this messy if you use a single fabric piece instead of a pieced one.
Step 7 - Turn Right Side Out

Turn right side out.
Push the tips out using a point-turner tool or another non-sharp object like a knitting needle. I had a chopstick at hand, it did quite alright. Don't use anything sharp since it might make holes in your fabric.
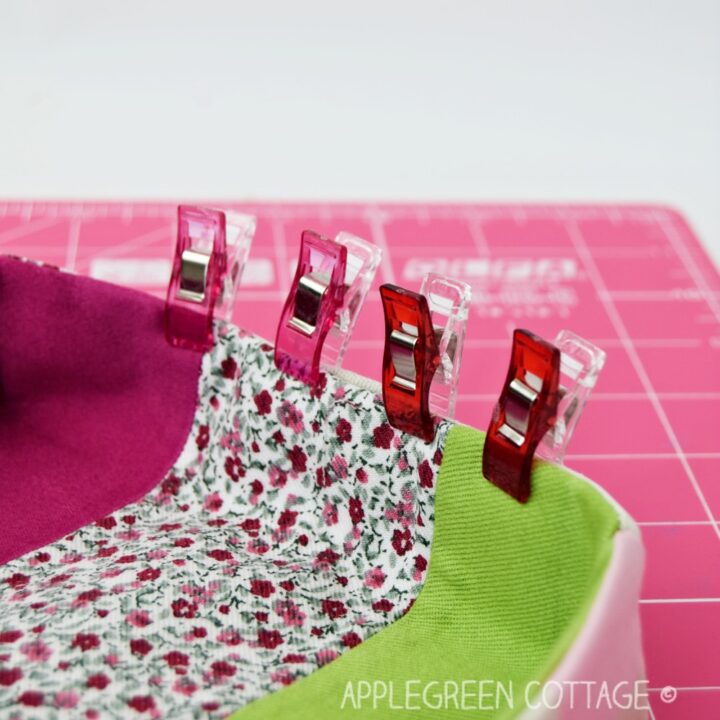
Step 8 - Press And Topstitch
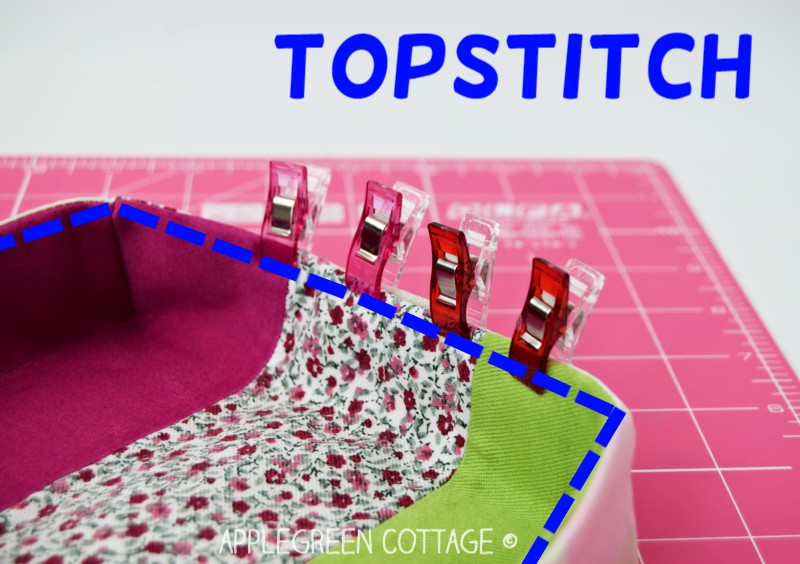
Push the 'outer' layer down to touch lining (wrong-sides-together), so you get a tray form. Press, especially at the opening - turn under the seam allowance, and pin or use sewing clips to keep it in place.
Then topstitch around the top edge.
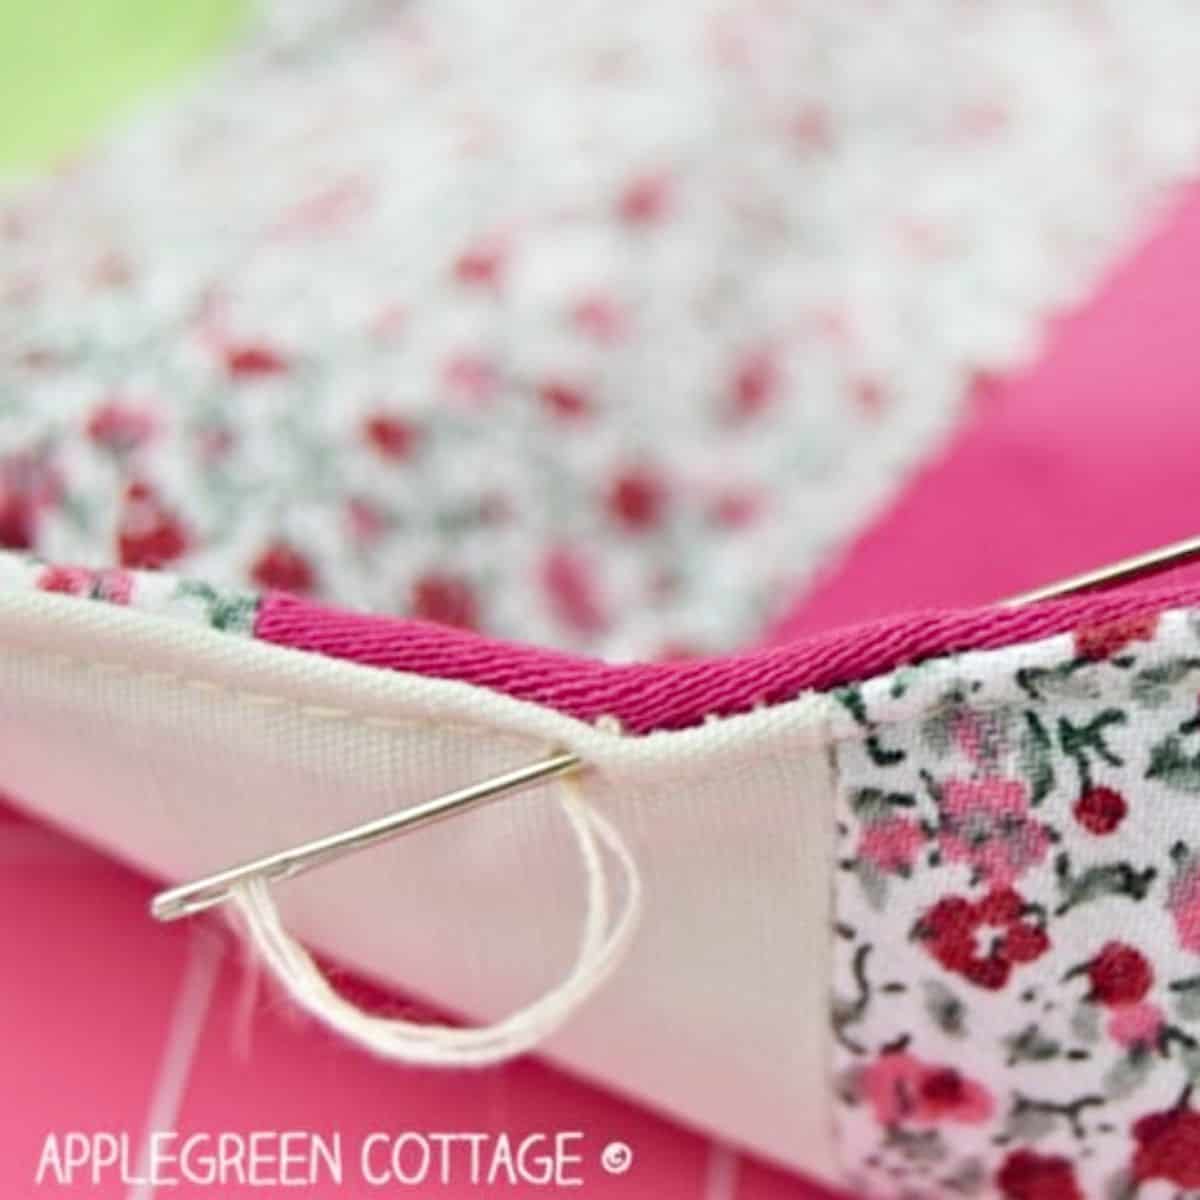
FINISHING TIP
Bury the thread ends: when topstitching, you'll end up with a few thread ends that are best hidden if buried. See this tutorial how to bury thread ends and make your topstitching look neat and polished.

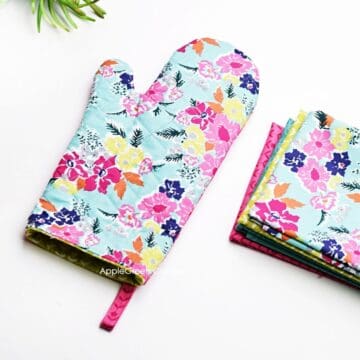
+Free Oven Mitt Pattern!
Use matching fabric and create this cute oven mitt - 2 sizes, no binding!
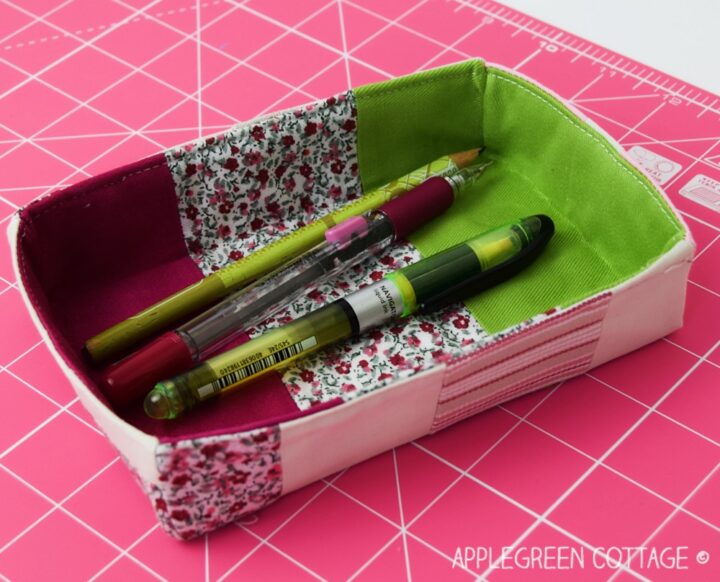
The pencil holder is finished! I hope you've enjoyed the process. If you want to, check out more ideas to sew, this post is part of my Diy Storage Series - 17 Amazing Diy Storage IDEAS. Enjoy!
More Ideas
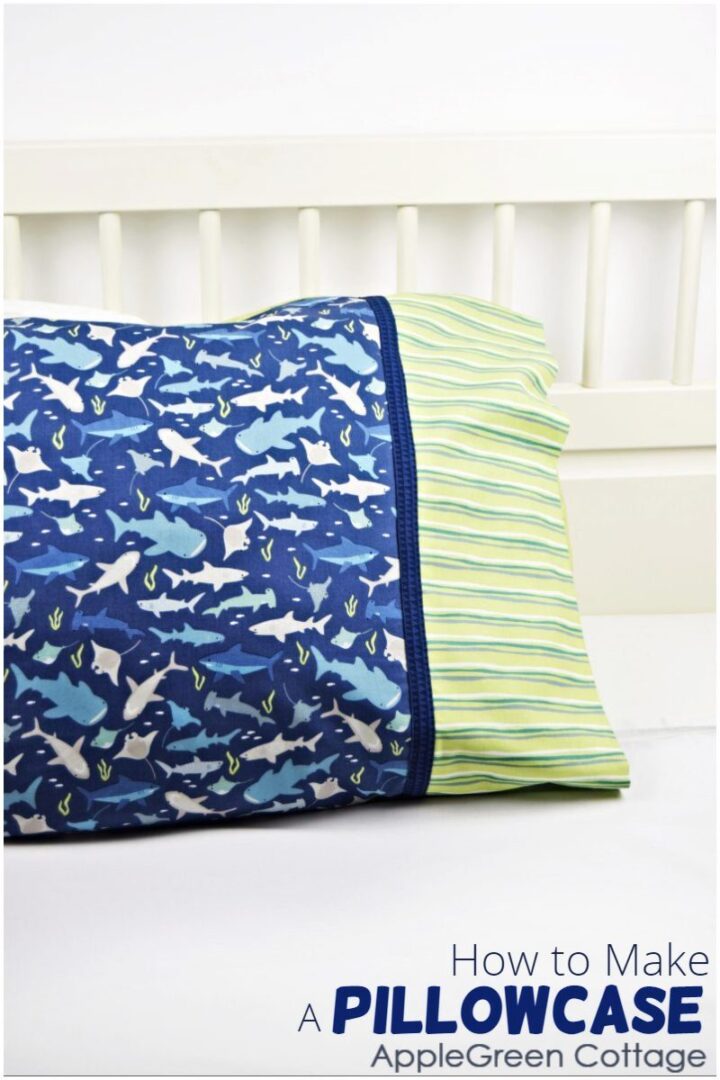
+Make THIS Pillowcase Too!
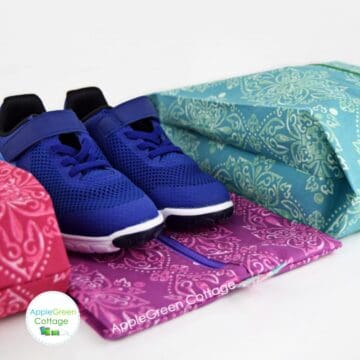
If you like sewing for home, check out the free table runner patterns, hanging storage with pockets (smart!), sew curtains (the easy way!), or make these medium sized fabric baskets (so sweet + video too!)
Want a printable copy of the whole tutorial?
Prefer an ad-free printer-friendly option of the whole tutorial+pattern? See the → optional PDF file in our shop.
Less searching. More sewing.
Keep 100+ printable AGC tutorials ready to print, save, and sew anytime.

Join the FREE 6-part email guide and make super easy diy GIFTS - each in 30 minutes or less! You'll love it!


Susan says
What a fun little project! I chose the middle size and it is just perfect right next to my sewing machine to hold my scissors and seam riper.
Very easy instructions, was able to complete the project in no time at all. The most difficult part was choosing the fabric! I plan on making a few more for little gifts.
Thank you for sharing your great ideas!
Rachel Sanchez says
Thank you for your inspiring tutorials! I study all of your free patterns (and several I have purchased), and I often learn a much better way to achieve what I'm visualizing than the way I would have tried it myself. 😉 Yesterday, for example, I borrowed the basic construction method from your pencil holder tutorial to draft and assemble a perfectly-sized napkin basket for our table... I used leftover fabric from my matching set of potholders, which I also made using bits and pieces of your potholder patterns! There is something SO satisfying about a cheery matching set of functional kitchen items. Thanks again, Damjana!
Jen says
I seriously love your patterns! They are SEW easy to follow. 🙂 I took a page from your book and used scraps for my pencil holder (I used it for my lotions and hand sanitizers on my home office desk). I made this at lunch...start to finish! Thanks for great tutorials and awesome patterns!
Damjana says
Jen hi,
I'm so happy you loved the pencil holder pattern. Please tag me @applegreencottage if you post your fabric tray on IG, I'd love to see it!
xoxo, d
Diana @ Plum & Petal Sews says
Great project Damjana! The color combinations are beautiful. Looks way more attractive than a standard pencil cup!
Damjana at AppleGreen Cottage says
Diana, thank you, you're so kind!
Damjana at AppleGreen Cottage says
Judy,I'm so happy my free pattern helps! Happy sewing,
Pam @Threading My Way says
Pretty and practical, Damjana. I'd be lost if I didn't have a tray on my desk.
Damjana at AppleGreen Cottage says
Thanks, Pam!
Maxine Butcher says
Love this. Can the top stitching be done on the machine?
Damjana says
Maxine hi,
a great question - sure! I always topstitch on my home sewing machine, it's not particularly strong, so I believe every machine can handle it. Enjoy!