
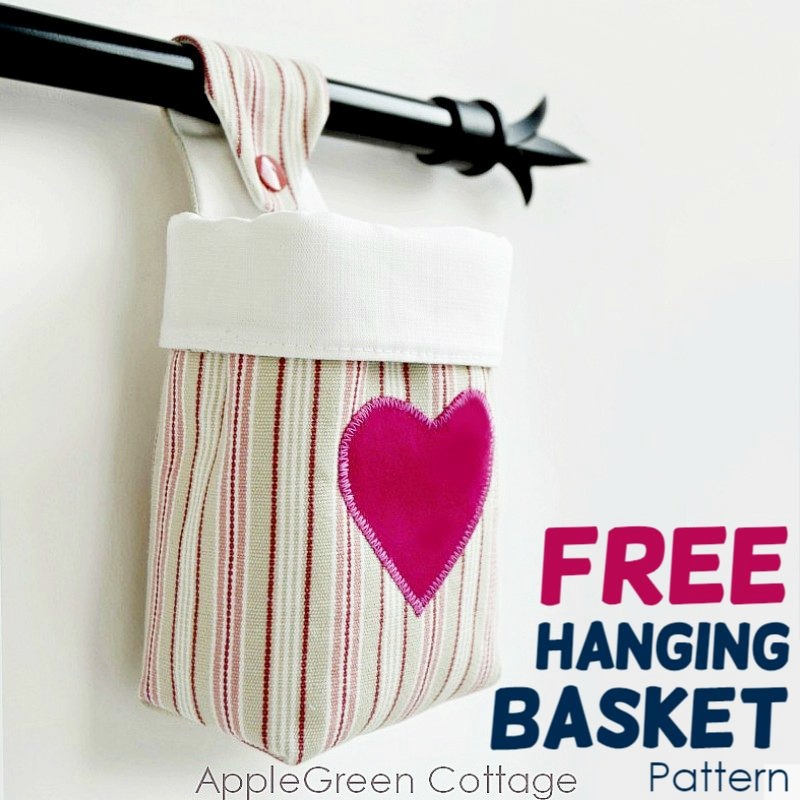
Here's how to make an adorable, small hanging storage basket. It's a handy little DIY storage basket to hang in a craft room for all your sewing supplies, in a child's room to store pencils or crayons, on a kitchen utensil rack, or wherever you need to store little items.
Make sure to get the free template below and sew a beautiful set of hanging organizers - for your pretty home!
Prefer an ad-free printer-friendly option of the whole tutorial+pattern? See the → optional PDF file in our shop.
If you like sewing baskets and storage bins, check out these Clever Diy Storage Ideas, or try our popular SewPretty HOME series:

Join the FREE 7-part email course and make 6 beautiful items for your home! You'll love it!
Table Of Contents
Hanging Storage Basket
This little hanging storage basket is a real treasure when it comes to storing small items. And since the hanging strap can open, you can hang it anywhere and remove it easily.
Instead of just using a ribbon or making a wide hanging sleeve or a fixed loop, I opted for a hanging flap. It can be opened and closed using a KAM snap. Just so you can simply detach it. Easier to move, attach anywhere and remove when you don't need it anymore.

It makes a great DIY Valentines day basket gift, too!
Supplies
Shop my personal favorite sewing supplies on Amazon HERE.
For the fabric basket alone:
- free pattern
- 2 pieces of 12x8 inch midweight cotton
- 12 x 8 inch of fusible fleece (or any other type of interfacing you prefer)
- coordinating sewing thread
- sewing machine, iron, scissors or rotary cutter+mat, pins, ruler
PLUS For the hanging strap:
- 1 piece of 6" x 2 ¾" (15.5 x 7cm) midweight cotton or home decor fabric (same as the basket fabric!)
- another piece of cotton for lining - same size
- 1 piece same size fusible fleece (or any other type of interfacing you prefer)
- one set of KAM snaps pieces (4 pieces: 2 caps and a socket and a stud piece)
- KAM snap pliers (best get them in a set)
- an awl
Finished size
The hanging basket is 3.5" wide, 2" deep, 5" tall (with the top folded). The FINAL (straightened) hanging strap size is 2 inches wide by 5 inches long (when sewn in).
2 TUTORIALS:
I split this tutorial into two parts to keep things loading fast - too many photos slow the page down. Now let's get back to sewing:
Part 1 - Make The Hanging Strap

Part 2 - Hanging Storage Basket Tutorial
Before starting the basket, make your hanging strap, using the hanging strap tutorial above. Done that? Great!
First, here's a video slide show for those of you who prefer video how-tos. Check it out here:
Now, on to the text:
Step 1 - Get the pattern
Join our newsletter and get the pattern emailed to you, instantly:
Prefer an ad-free printer-friendly option of the whole tutorial+pattern? See the → optional PDF file in our shop.
Step 2 - Print pattern and cut fabric
Print out the template, then use it to cut out 3 main pieces: 1 piece from outer fabric (here stripes), 1 from lining fabric, and 1 piece out of fusible fleece as interfacing.

If you want an applique on your basket, now's the time to do that. Click through to my tutorial if you haven't done an applique yet: Tutorial here.
Step 3 - Sew the Top
Using your iron and a protective piece of cloth, apply fusible interfacing to the wrong side of the outer fabric.
NEW TO INTERFACING? - Check out our Interfacing Guide for Beginners - all the tips in one place!

Place the lining and outer fabric right-sides-together (RST), then pin to prevent the layers from shifting. Stitch using a ⅜ sewing allowance (= 1cm) along the top line.
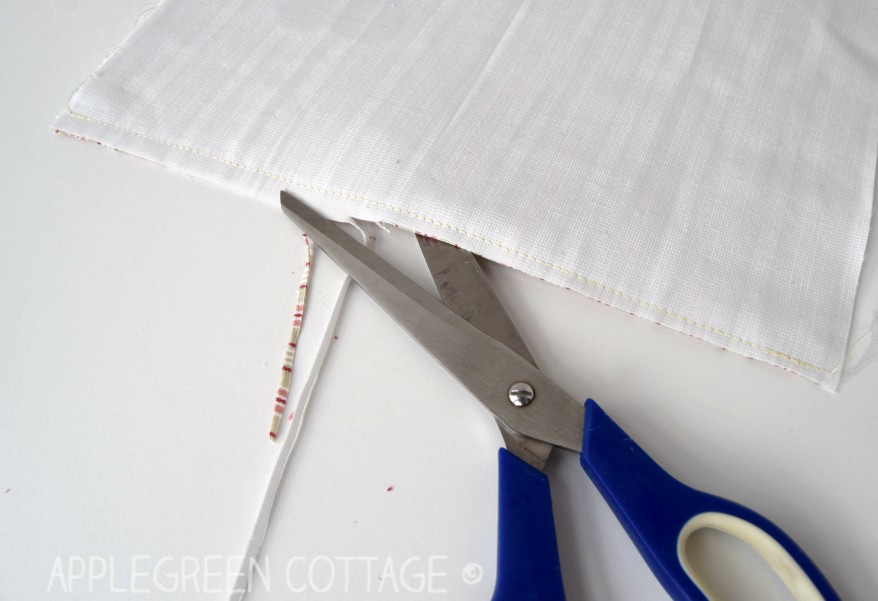
Trim the seam allowance to ⅛. It will reduce bulk and make your basket look nicer.
Step 4 - Attach The Hanging Strap
Now unfold the sewn piece and place it face-up on the sewing table. We're about to add that hanging strap! The how-to for making the strap and for attaching the KAM snaps is here at this link: Hanging Strap Tutorial
Now I believe you've made the strap, so let's continue to attach it to the basket. Here:

Place the strap 1 inch away from the upper edge of the (future) basket. Make sure to have both the basket fabric face-up AND the strap/flap should have the outer fabric (here stripes) visible, i.e. facing up.
DETAILS:
You want the KAM snap detail to show on the front, so pay attention to how the strap piece is placed. It needs to be like in the image: do you have the outer layer (here: stripes) visible? Good. Another option would be to hide the KAM snap to the back, but that would only make it look like a regular hanging loop/sleeve. However, if you prefer that, sure you can do it.

Using a ⅜" (1 cm) seam allowance, stitch the flap in place. Then trim the seam allowance to ¼" (7 mm).

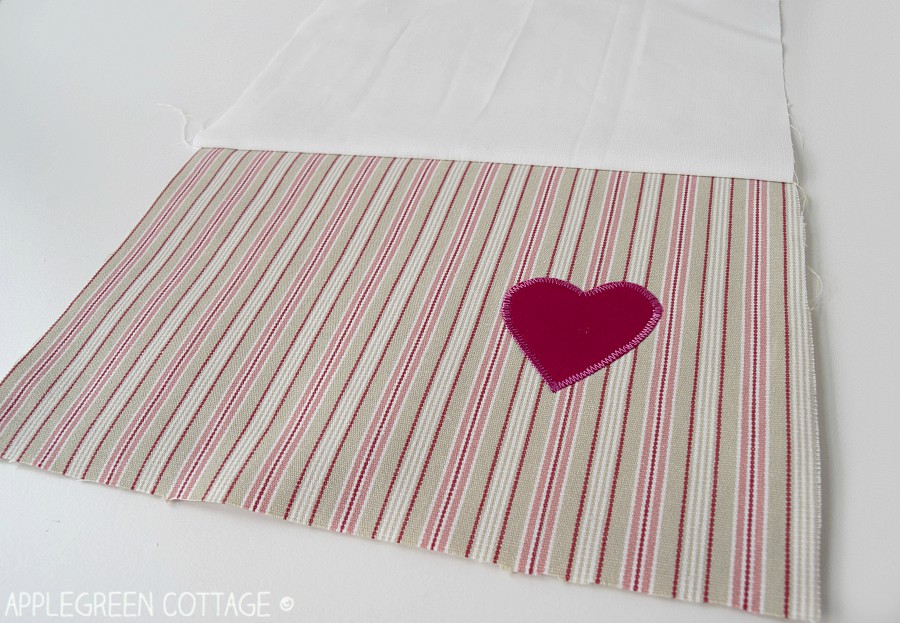
Step 5 - Fold and Sew the main Piece
Flip the strap over to the other side, and topstitch at ⅜ (1cm) or less, just enough to hide the raw end of the strap. Strap attached, yey!

Place the sewn piece face-up on the sewing table. Then fold it once again, right sides together, but this time putting both outer fabric fold onto itself, and lining folding onto itself. Like this:

Pin in place and then stitch around, leaving a 2.5-inch (~ 6cm) gap for turning in the lining. Once sewn, clip the corners on the seam allowance. You'll never go back to the simple diagonal corner-cutting once you see this how-to.
Step 6 - Box the Corners

Box the corners. That's 2 straight stitches on outer fabric (see image above), and 2 more on lining.
A few quick notes that might be just what you need:
- The basket is still turned right-sides together.
- Place one bottom corner on your table, so that the side seam is in the center. So, it's folded.
- Now stitch across the triangle about an inch in. (blue dashed line in the image)
- Do the same on the remaining 3 corners.

Snip off the excess corner material.
Step 7 - turn right side out and close the gap

Turn right side out. Use a point-turning tool or a stick (not sharp!) to push out corners. Press if needed.

Stitch the opening closed.

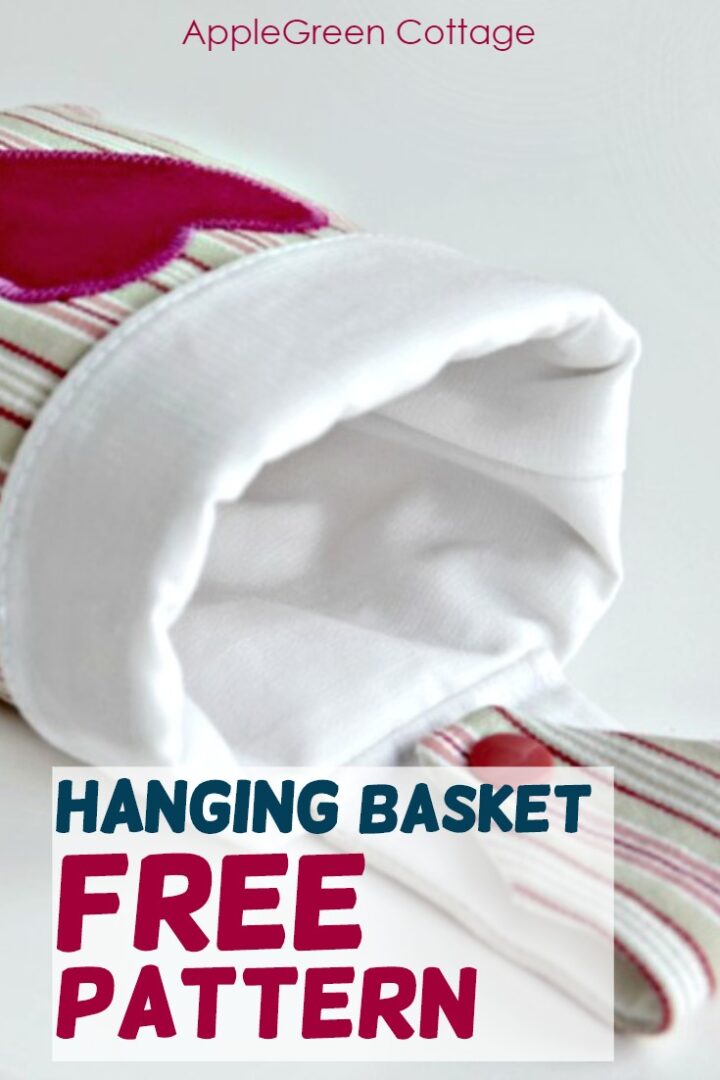
Tuck the lining in.
Step 8 - Topstitch

Then topstitch the top edge. Press for a nicer finish. Fold the top down, done!
WANT MORE FROM LEARN TO SEW SERIES?

Did you like this interfacing guide? If yes, feel free to see more of the basic sewing tips series:
- the master guide for learning to sew
- What are the Must-Have Sewing Tools?
- Basic Machine Stitches
- How To Sew Zippers (Free Guide!)
- Sewing terms glossary
- Beginner sewing tips you'll need to know if you sew.
How To Use the Diy Hanging Storage Basket
These hanging storage baskets can have tons of uses:
You can hang them on a door handle, a hook, a closet rod, or just about anywhere you can use some extra storage. They are perfect as key storage in your hall. A hanging storage basket like this one makes great storage for small items. Or hold your supplies in your craft room.
You can use one as a take-along basket: throw in your necessities like phone, keys, tissues, usb key, and grab it as you leave the house. You'll never forget anything! Or hang it in your car as a car caddy. And just an idea for the spring and those with a green thumb: they can hold a small flower pot.
Make tons of these hanging storage baskets, and hang them in sets to beautify your home. If - and when you do, post pics, I'd love to see what you make!
Want a printable copy of the whole tutorial?
Prefer a full, ad-free and printer-optimized Printable Tutorial with both instructions AND pattern included? ↓↓

This tutorial is also part of Printable Tutorials BUNDLE
100 PDF tutorials now, and growing!


Michelle Isenhoff says
I made a pair of these to hold my reading glasses, one to hang on my sewing cart and one on my headboard, as they're always getting buried under my cutting tools or falling off my bedside table. Works perfect! Excellent tutorial. Fun and easy to make. Thank you!
Pauline says
I really love the fabric that you have used for your basket. The white cotton looks so soft. My sewing mat, is going to be red once I make it. This fabric would coordinate very well. Where did you get both fabrics. I hope mine turns out as good as yours. Im just learning to sew.
Charlene says
Hi. I just finished sewing the Hanging Storage Baskets for my Granddaughter's bedroom & she loves them. I'm including a picture now I'm sewing more for my 4 other grandchildren. Thank you so much
Damjana says
Charlene hi, awesome that you're able to use my tutorial to sew for your grandchildren. This basket pattern is a popular choice for diy pencil holders and hanging organizers for all the things school kids need to have on their desks. I'm sure your little ones will enjoy your gifts. xoxo
jennifer says
I just made this in around 30min. I was planning on hanging it on a command hook, so I used a hair tie for a loop instead of the strap. It didn't turn out as cute as it would have been with the strap, but still turned out great! I love simple projects that come together so quickly in an afternoon. My attention span is too short to tackle larger projects most of the time. Thank you for the clear tutorial!
Damjana says
Jennifer,
I'm so glad you liked the tutorial. Happy sewing,
Karen Stewart says
Hi,
I have just made one of these in less than an hour and I love it so much I will be making a complete set for my daughter's makeup, and bits and bobs.
(maybe we will get her more organised lol)
Thank you so much
Damjana says
Karen hi,
that's great! Making them in a set makes these baskets even prettier, and the lined-up bins themselves already give that 'organized' feel to a shelf. Glad you like the tutorial,
milliesmom says
I LOVE LOVE LOVE this basket!! I'm going to make one of mine a bit bigger so I can use it to put my clothespins in. The clothespin bag I have is made with really thin fabric and it tore after 1 season, so this I think is going to be stronger in that it has more layers plus I'm going to use outdoor fabric for outdoor furniture. Then I can wash it when it gets too dirty and it'll last longer. It's really cute and I can't wait to make some. I've been setting up my craftroom and getting all the storage done. Thanks so much the tute is so well done it'll make it so much easier to follow!
Damjana says
milliesmom,
so glad you like it, people really love this pattern for storage of tiny items. Me too! Happy sewing,
xoxo Damjana
Donna Jones says
I just made this in less than an hour! Its super cute!
Damjana says
Yey, I'm happy you liked the experience. I'd love to see what you make. 🙂 xoxo,
Damjana
Eckerlinchen says
Danke für die Inspiration und das tolle Tutorial. Die Hänge Körbchen sind perfekt ? LG, Delia
Damjana says
Delia,
super! Danke, dass du dich gemeldet hast. mfG,
Anonymous says
This is so adorable ! Just finished making one , just need to add button & button hole being I have no snaps . I don`t know how to send pic but if I do I will send to you . You did a fantastic job on tut , very easy to follow . GOD BLESS & Thank you so much. Glenda
Damjana at AppleGreen Cottage says
Glenda hi,happy to hear from you. You're one of the first ones to make the basket following this tutorial, and I'm glad it all worked out for you. No worries about sending the image - but if you like, you can join our Facebook group at https://www.facebook.com/groups/AppleGreenCottage/ and post it there. I'm always happy to see my readers there,
Charlene says
Hi. I just finished sewing the Hanging Storage Baskets for my Granddaughter's bedroom & she loves them. I'm including a picture now I'm sewing more for my 4 other grandchildren. Thank you so much
Linda K says
Great tute and love your detailed pictures too. I know a lot of work goes into making a tute and you wrote an exceptional tute here. Thanks!
Damjana at AppleGreen Cottage says
Linda,thank you! Yes it's quite some work, but so rewarding! Love to see my tutorials bring value to our sewing community, and comments like yours always make my day.
Pam @Threading My Way says
An awesome basket and an easy to follow tutorial to make it up.
Damjana at AppleGreen Cottage says
Thank you, Pam.