
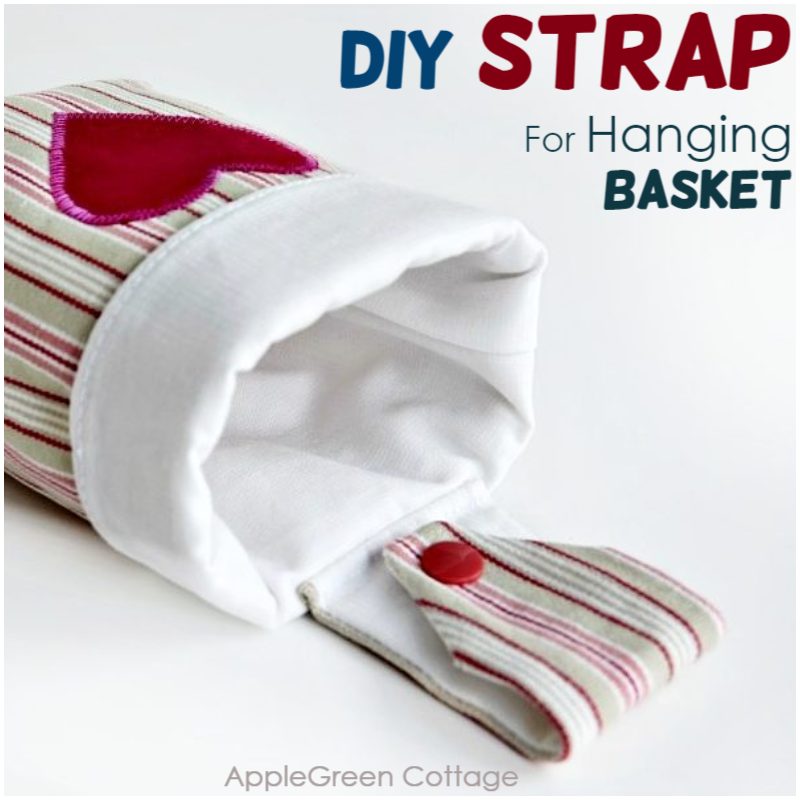
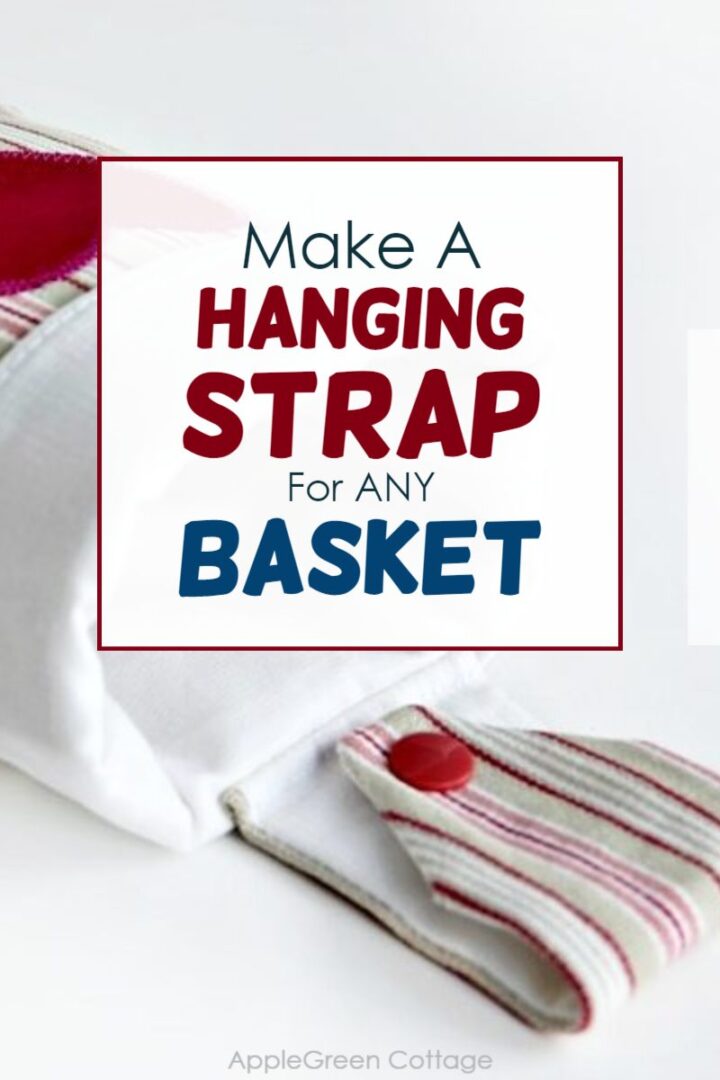
Learn how to make straps for hanging baskets. As promised, here's the tutorial for the hanging strap template, enabling you to turn all your regular bins into cute multi-tasking wall hanging bins. Scroll down to get your own free pattern!

This tutorial is also part of Printable Tutorials BUNDLE
90+ PDF tutorials now, and growing!
This post includes affiliate links. Thanks for your support. If you like sewing baskets, bins, and other useful storage stuff, check out these too:
- 7+ Clever Diy Storage Ideas - You Need Them NOW!
- This single-handle tote
- Gorgeous Diy Toy Storage For Kids' Room
- Sew A Basket - In 3 Sizes
How To Make Straps for Hanging Baskets
You can use this strap tutorial for any projects you'd need it for, of course. However, originally, I made it as part of the hanging basket tutorial. I'm showing it on a separate page to prevent a long download time due to a lot of step-by-step images here. (Nobody likes it when opening a webpage takes like forever, right?) Now quickly back to sewing:
Supplies to make Basket straps
You'll Need:
- 1 piece of 6 x 2.75 inch (15.5cm x 7cm) midweight cotton or home decor fabric (same as the basket fabric!)
- 1 piece same size cotton for the lining
- and 1 piece of same size fusible fleece (or any other type of interfacing you prefer)
- coordinating sewing thread
- sewing machine, iron, scissors or rotary cutter+mat, pins, ruler
- one set of KAM snaps pieces
- KAM snap pliers - best get them in a set
- an awl
- template (free for subscribers, you can join here.)

The FINAL (straightened) hanging strap size is 2" wide by 5" long (when sewn in).
How To Make Straps For Hanging Baskets
Step 1 - Get and print the template
Print the hanging basket template if you haven't yet, then use the STRAP piece.
Step 2 - Cut Pieces + Add interfacing

Using your STRAP piece, cut out 3 pieces of fabric:
- 1 piece from outer fabric
- one from lining fabric, and
- 1 piece out of fusible fleece /stabilizer.
Using your iron and a piece of cloth, apply the stabilizer to the wrong side of the outer fabric.
Step 3 - Sew the pieces together

Place the lining and outer fabric right-sides-together. Then stitch around, leaving one side open (the side opposite the slanted end). You'll need that for turning.
Step 4 - Turn right side out
Turn the piece inside-out, using a chopstick, a point-turner tool, or something else that is not sharp. (You don't want to poke a hole into the fabric.)

Step 5 - Add snaps
This is the flap-form piece. Now we'll add the KAM snaps. First, make sure you have all four parts of a KAM snaps set:
- 2 caps. They will be installed on top of the outer fabric layer. See the image below.
- 1 socket piece
- 1 stud piece
Get your KAM pliers and the awl ready. If you've never installed a KAM snap before, here's all you need to know: how to add kam snaps. Easy. Promise.

Use the marks on the PDF template or choose your own place to pierce the holes for KAM snaps. Use your awl and pierce two small holes through all layers, just to allow the cap prong through.
NOTE:
- On the SLANTED end of the FLAP: use 1 cap + 1 stud piece
- On the other (unfinished) end of the FLAP: use 1 cap + 1 socket piece
You'll recognize the stud piece as it is flat on one side.

First, push the cap pin from the front side to the back through the hole.

Then place the stud piece onto the cap pin from the other side of the fabric.

Using your KAM pliers, squeeze the two pieces firmly together. The plastic cap pin will get flattened, holding the snap together.

Repeat on the other side of the flap, this time using a cap + socket piece.

Place them together, align, and squeeze using your KAM pliers.

9) Here, finished!

The strap is finished and ready to be attached to your sewing project.
Step 6 - Attach onto your Basket
See here how to attach a hanging strap to the basket I was making
NOTE: Instead of KAM snaps, you could also use a button on one side and make a button hole on the other side of these straps for hanging baskets:
But these snaps are so much quicker! Attached in no time. The main reason for me using snaps was, well, I had to pick up my kids from daycare. Sorry, buttons. I used KAM snaps because these are so quick to make, and I was running out of time. You'll understand. Do you prefer buttons or snaps? Let me know!
This tutorial is also part of Printable Tutorials BUNDLE
90+ PDF tutorials now, and growing!
You Can Add This Hanging Tab To any Basket!
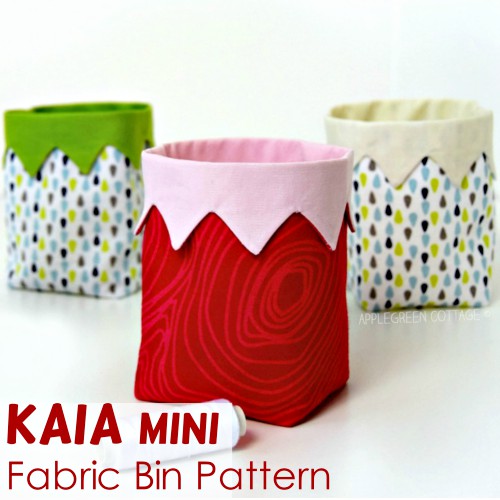
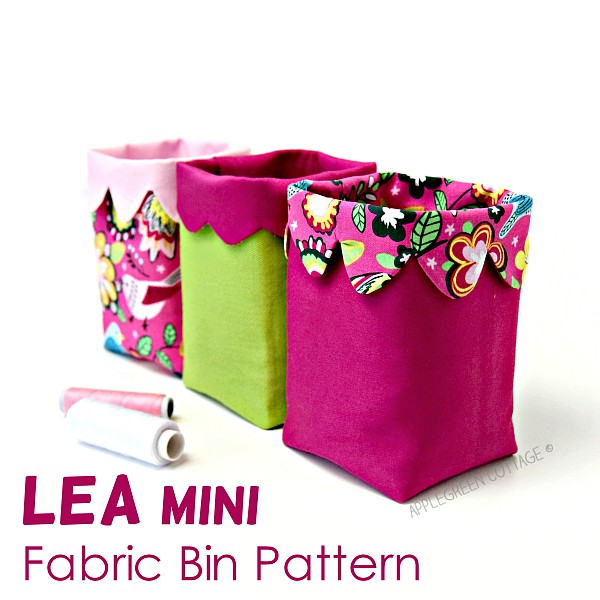
The strap can be used on any basket you want to transform into a hanging basket. Feel free to check out two of my popular bin patterns you can use with the strap:


Rosi says
I will definitely make one for my bathroom for my watch, earrings ec
Patty says
Thank you for this tutorial. I will be making these for Christmas gifts.
Patty says
Thank you for this tutorial. I am going to make some for gifts this Christmas.
Sum of their Stories says
What a useful tutorial. thank you. Pinning.