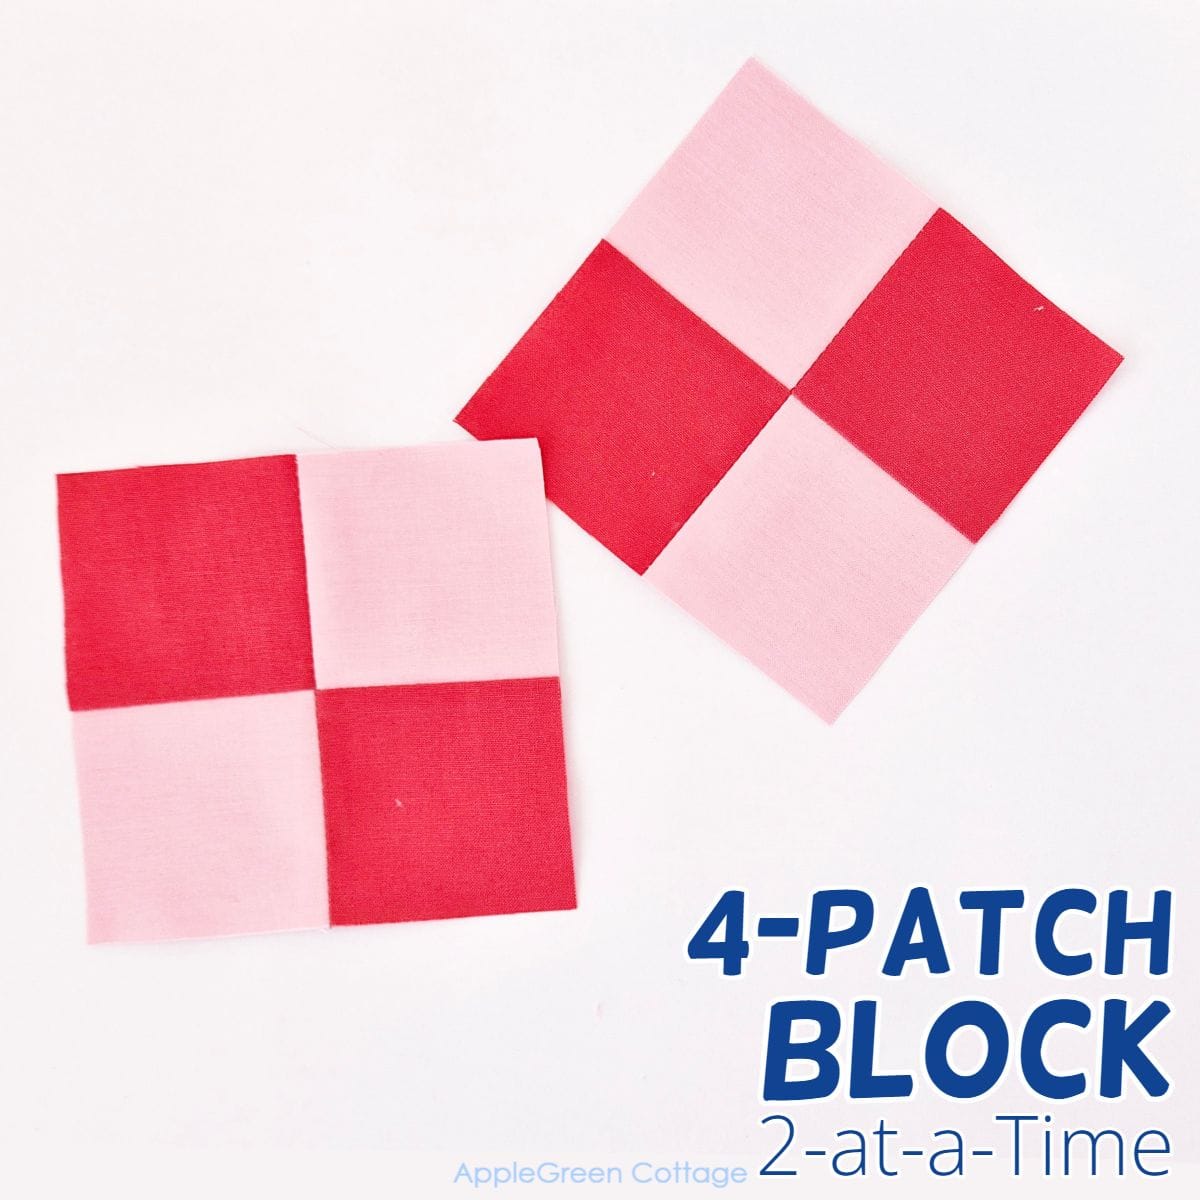
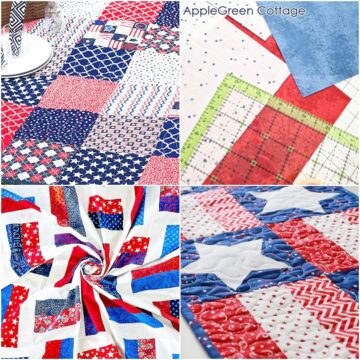
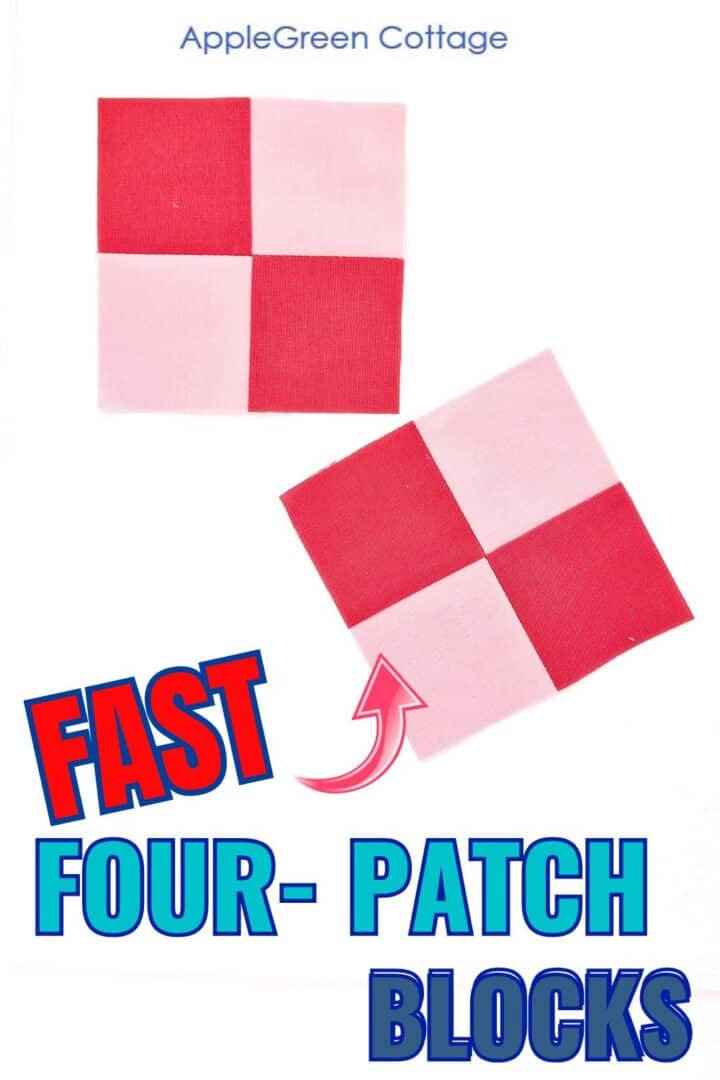
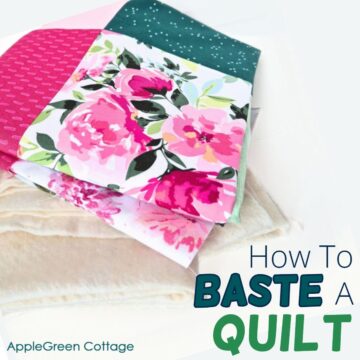
Love four-patches but not the hassle of cutting tiny fabric squares? Don’t worry – there’s a simpler way to get the same great look!
This is what I believe to be the fastest way to sew a four-patch quilt block from two squares. Check out how to make two in one go!
If you like all things patchwork and quilting, check out my folded flying geese block hack (so easy!) or my quilting tips like sewing quilt binding. And these easy small quilted potholders - a great beginner project!
What is a Four-Patch Block
The four patch block is one of the simplest pieced quilt blocks. It is made by sewing 4 squares the same size together to make a larger square.
You can make them in several ways - by cutting and stitching 4 squares together, using strip-piecing for speed, or foundation paper piecing for accuracy.
I love strip-piecing for large quantities, but for just a few blocks, the quick two-square method is my favorite!
Let's try and test how this four-patch quilt block will turn out. You'll love it:
Supplies
These are the supplies and tools you need:
- two 5-inch pieces of quilting cotton (perfect for using 5" charm packs)
- sewing machine, thread, iron
- cutting mat and a rotary cutter (I used this one in the tutorial)
Shop my personal favorite sewing supplies on Amazon HERE.
Need some help to figure out how much fabric you need for a specific number of blocks you want to create? THIS! ↓↓↓
Make Math EASY - Get FREE Quilt Calculators!
Join our mailing list and get FREE Quilt Calculators - Make quilting math a breeze!
How To Make A Four-Patch Block
This is how I make my own four-patch blocks.
Step 1 - Cut 2 Squares

I cut two 5" squares from yardage, you can use two pieces from a charm pack.
Step 2 - Lay Together and Sew

Align the two squares with the right sides together.
To make it easier to see, you can mark the two stitching lines at ¼" from the edge on lighter fabric:

Using a ¼" seam allowance, stitch on both sides of the square. That's two stitching lines.
TIP: using a quarter inch quilting foot will make an exact ¼" seam way easier than using the universal sewing foot.
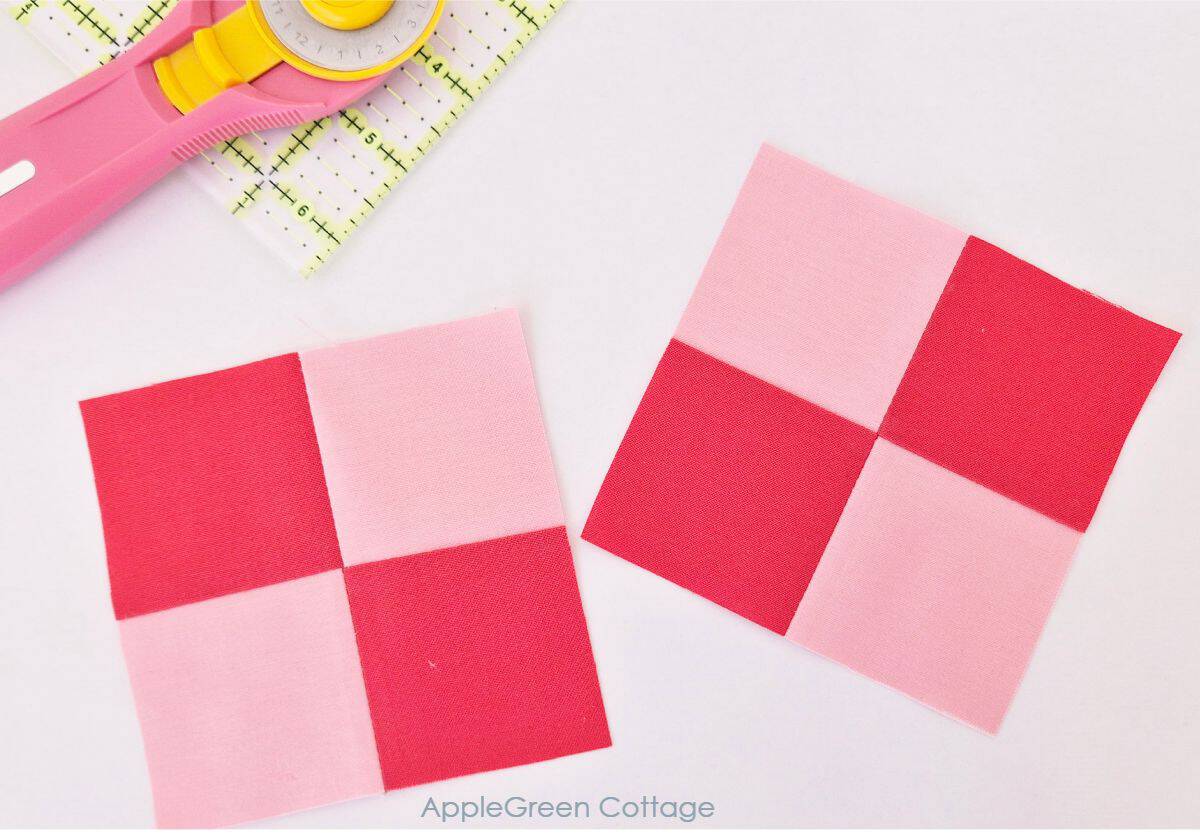
Step 3 - Cut In half

Place the block in front of you so the seams run vertically. Now, using a quilting ruler, measure 2.5" from the left edge to find the center of your square and cut in half.
I love using my 6 ½"Omnigrip squaring-up ruler because it has the lines clearly marked and it’s easy to line up when you are using smaller squares.

Now you have two pieces.
Step 4 - Press And Stack Again
Press the pieces closed to set the seams. Then open them up, lay face-down and press the seam allowance to the side with the darker fabric. Do not slide your iron about more than necessary to avoid distorting the fabric.

Stack the two pieces right-sides-together again, the same fabric prints should NOT face each other. See how the darker fabric is facing the lighter one in the image?
Also, if you pressed the SA towards the darker fabric, you'll notice that the seams are now nested, meaning that seam allowances are facing the opposite directions. Less bulk!
Step 5 - Sew Again
You may want to pin to prevent the layers from shifting. I find it easier to feel the seams and keep them together using my thumb and index finger while sewing. Works best for me!

Stitch again, the new seams will be perpendicular to the previous seams. Use a ¼" seam allowance on each side of the piece.
Step 6 - Mark And Cut Again

Cut at the center between the two stitching rows.

Again press to set the seams, then open the seam allowance and press again. (don't glide!) Done, you've just made your two four patches in one go.
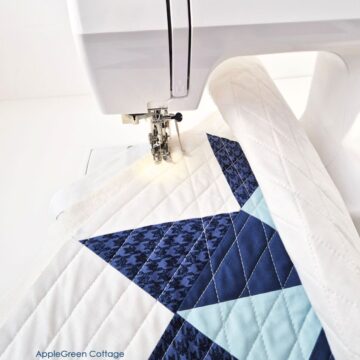
As simple as it gets! If you like mixing and matching simple square quilt blocks, check out this square heart quilt block pattern too. Or, create a quilt solely from these and half-square triangle quilt blocks. Pretty much beginner-friendly!
Bonus Tip:
If you are unsure about your ability to sew a straight line, no problem! Mark the seam allowance on your lighter fabric piece, using a tailor's marker like this one. Then just follow the line when stitching. Straight stitches guaranteed! Here's a photo of my first tutorial pieces from nearly 10 years ago, I might not have chosen the best fabric to go with, but am leaving one photo here for sentimental reasons :))

What Size Is This 4 Patch Quilt Block?
In order to get two 4 ½ inch sized unfinished blocks, you need two 5-inch squares.
And please bear in mind: when you incorporate the block into a quilt or another sewing item, the finished block will measure 4 inches only. Makes sense?
Related Ideas
Randomize Quilt Pattern
Love modern quilts but want something simple - and NO tricky points to match? →THIS.


Conclusion
Stay tuned to see what I make out of these blocks - no traditional quilting stuff, but so cute anyway!
I'm planning quite a lot of my Christmas decorations, just to make use of these cute four-patch blocks. Eeep! Here's one in Scandinavian style decoration if you're curious. And something new coming soon! (Or maybe choose one from this huge baby quilt patterns list to use with four patch quilt block.)
And if you love the four-patch look but don't want to piece anything, I have also made one tutorial for you that uses a fun and easy folding hack!
And if you're into quilting, this little binding hack will come in handy too! Or check out all the best free baby quilting patterns - and sew one!

Katrina says
Thank our for sharing all your knowledge. I have learned so much and enjoy your site.