

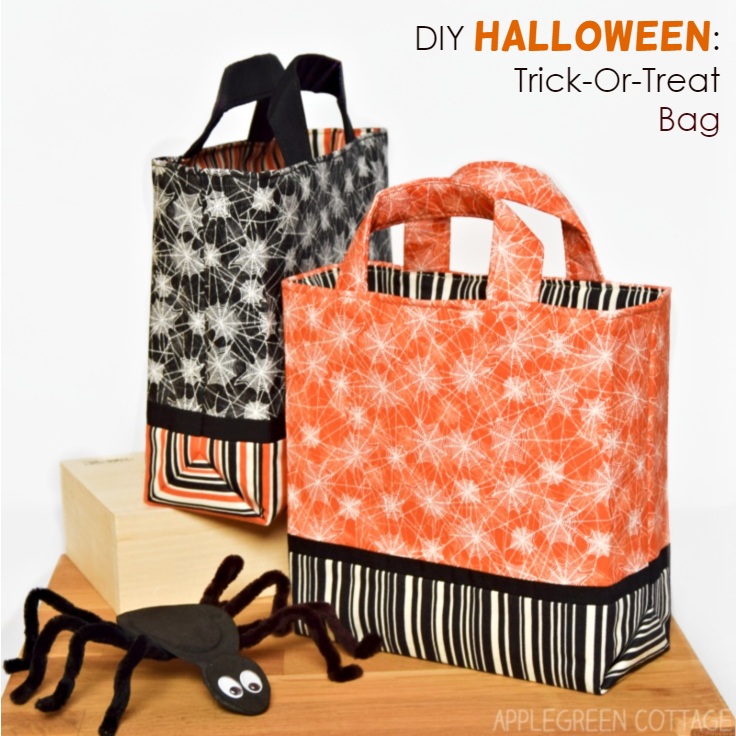
Halloween diy trick or treat bag. - Do you want to get ready for Halloween? Get inspired to make a few diy trick-or-treat bags, ones your kids will be able to use year after year.
Scroll down to see how to combine prints to make these reusable Halloween totes (from this popular tote pattern) and how to cut the fabric pieces to make one just like these. They are perfect as Halloween decor.
If you like to get creative around Halloween, check out these fun ideas:
- diy Halloween decorative storage (for candy!)
- 10+ Fun Halloween Sewing Ideas
- this DIY pirate costume outfit
Diy Trick or Treat Bag
A few years back, our kids were allowed to go trick-or-treating in our neighborhood, for the first time both of them. I figured it's best I make them a cute small diy trick or treat bag in kid-size for this occasion - always love an excuse to sew cute little totes and pouches!
If you want to add a closure to this tote, here's a great recessed zipper tutorial - easy and so effective! Or simply add a plastic snap to the top, even faster.
This Diy Trick Or Treat Bag Is Easy To Sew
And here's a sneak peek of the diy trick or treat bag, if you like video slideshows 🙂
What pattern to use for a trick or treat bag?
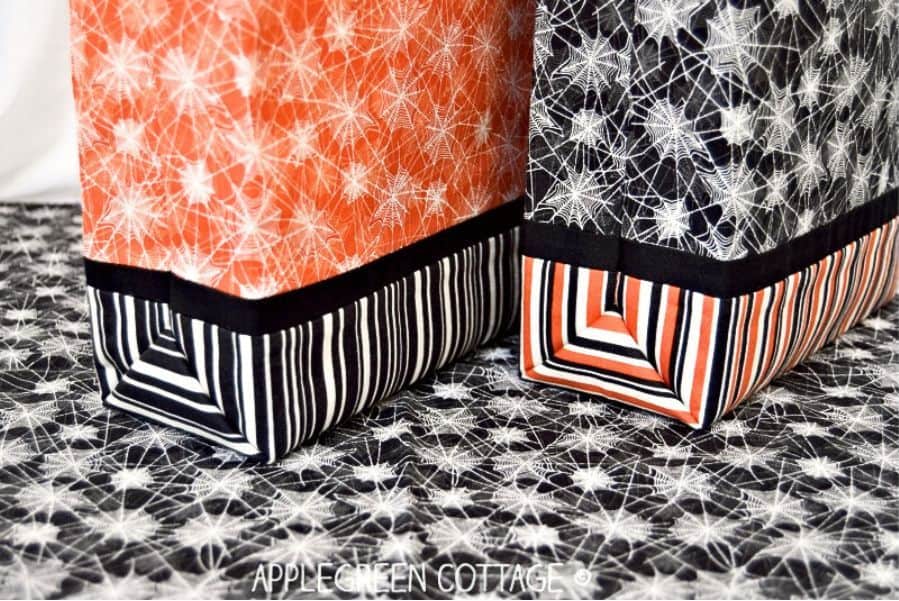
To make the bags, I used my own gift bag pattern. I love using this pattern because I do not need to box the corners separately. Just folding the fabric the right way will give me that boxed corner look, and it works like charm!
Since the pattern in the shop is payable, I figured I could give you a 7th size for free, here on the blog - with the cutting instructions to make a Halloween tote bag just like the one in the pictures. (See cutting instructions below)
If you're looking for an alternative way how to make a trick-or-treat bag, you can also use a different pattern - this AppleGreen Cottage tote bag pattern is a great way to go too! Here's a photo by Katie L., who made an adorable tote with it, and posted it in our FB group:
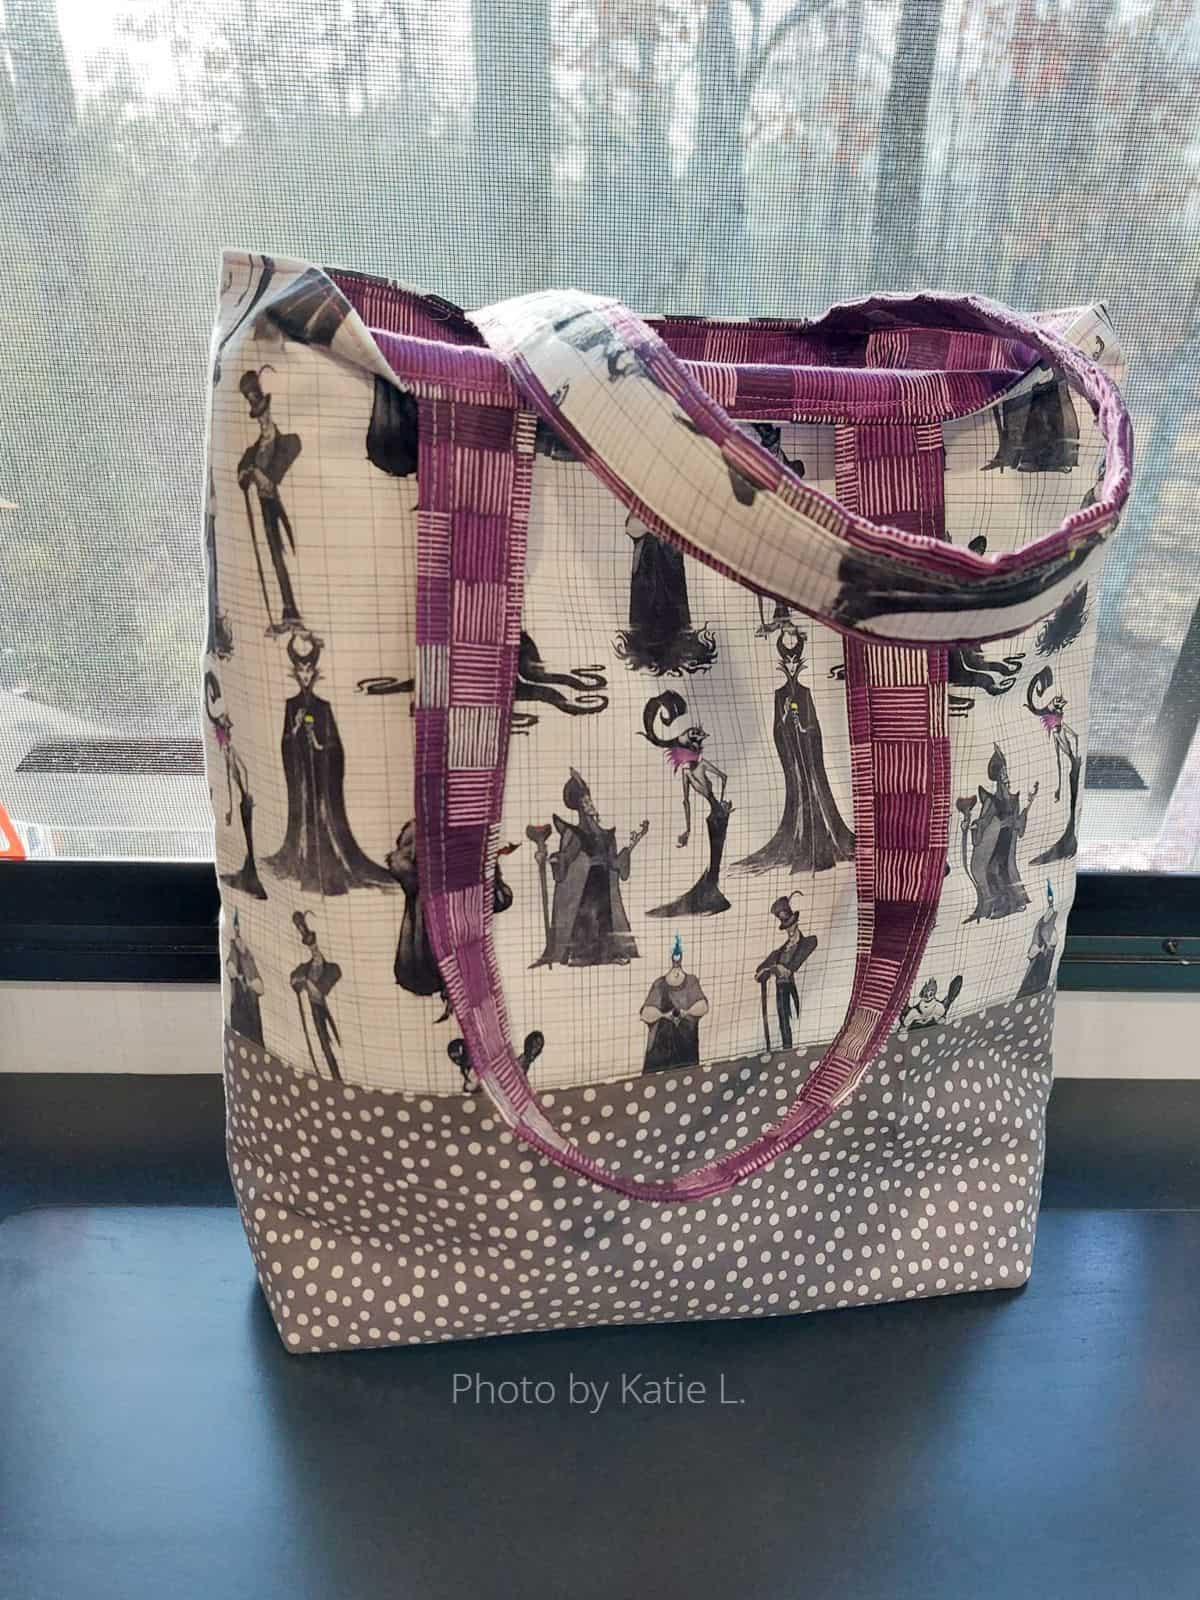
Love this tote! Any of the two patterns you choose, it's a fairly quick project - good if you only have an hour or two to spare.
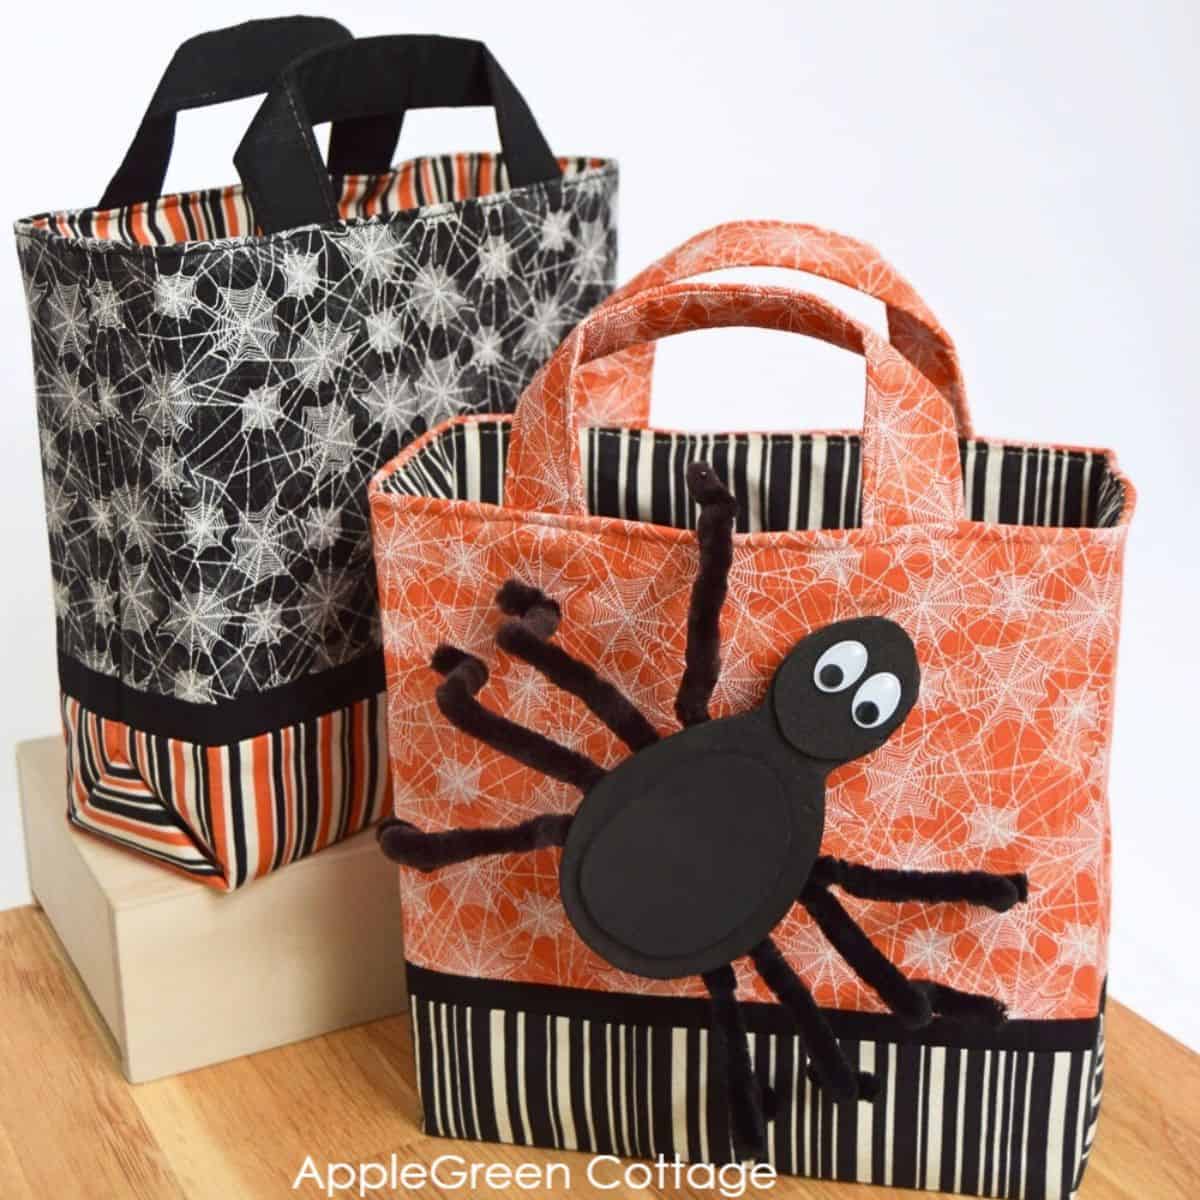
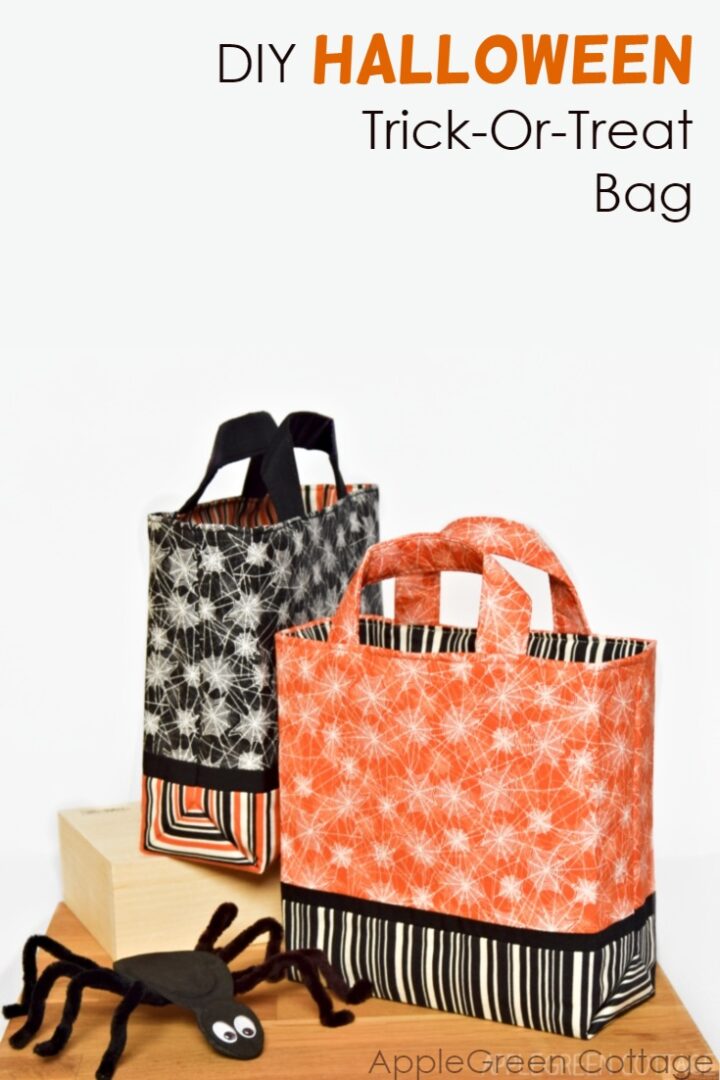
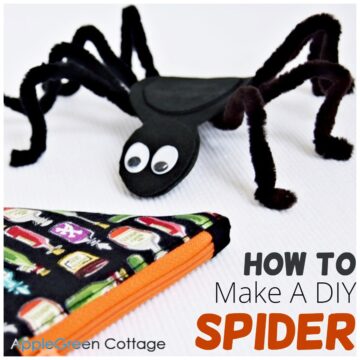
I made two bags, choosing a combination of Web Orange with Black Stripe print on one bag and the black web print with orange stripes on the other, with just a little solid black added to make the prints really pop. I think they've turned out beautifully. Kids thought it's just fair to include their diy craft-foam spider into the photo (and here's how to diy one yourself!)
This is what the side of your tote will look like once you are finished if you follow the folding instructions from the pattern. Alternatively, you can make yours in the 'traditional' way, boxing the corners as you sew.
Sizes of Diy Halloween Bag
Even with the 6 sizes available in the bag pattern, I am adding a seventh one here for free - just to give you even more choice for your Halloween sewing projects!
The finalized tote bag size here in this post is 8" x 8" x 3" (width, height, depth) If you want to make an identical one, here are the dimensions, cutting and piecing information you need to make your own.
Cutting Instructions
Fabric selection: To make one of these totes, you'll need approximately half yard of fabric per bag.
For bag exterior, cut:
- 11 ¾" by 6 ⅝" in Web orange (2 pieces)
- 11 ¾" by 7 ½" in Stripe Black (1 piece)
- and 11 ¾" by 1" in solid black (2 pieces)
For lining, cut:
- 19 ¾" by 11 ¾" in Stripe Black
For handles, cut:
- 8" by 4" (2 pieces) in web orange
I added fusible fleece to the exterior piece (11" by 19") and the handles (8" by 2"). As you will have noticed, the fusible fleece pieces are just a bit smaller than the exterior to prevent bulk when sewing.
Cutting Template for Diy Trick Or Treat Bag
1) For a bag identical to the ones pictured, you'll need to piece the prints together first. These are the cutting instructions, to make it easier for you:
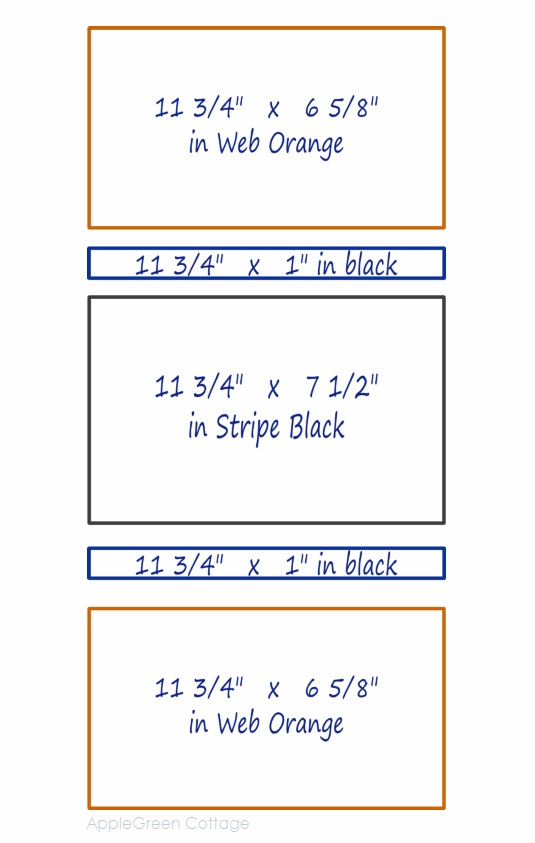
Using a ¼" seam allowance, I sewed the pieces together as pictured. Web Orange on each side, Stripe Black in the center, with the two narrow black stripes connecting the pieces. When you finish, you should have a rectangle measuring 19 ¾" by 11 ¾". Just what you need to make a trick-or-treat bag exactly like mine!
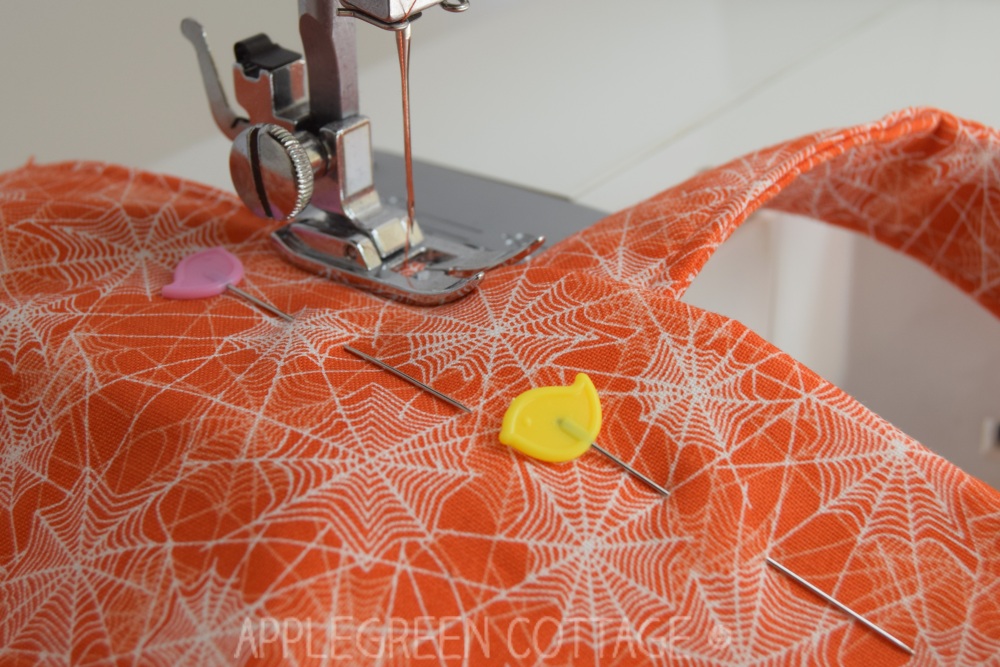
I used the spider web print to make the handles. However, feel free to use cotton webbing to complete your project even faster. Unless you, like me, fall in love with cute spider web prints like this one.
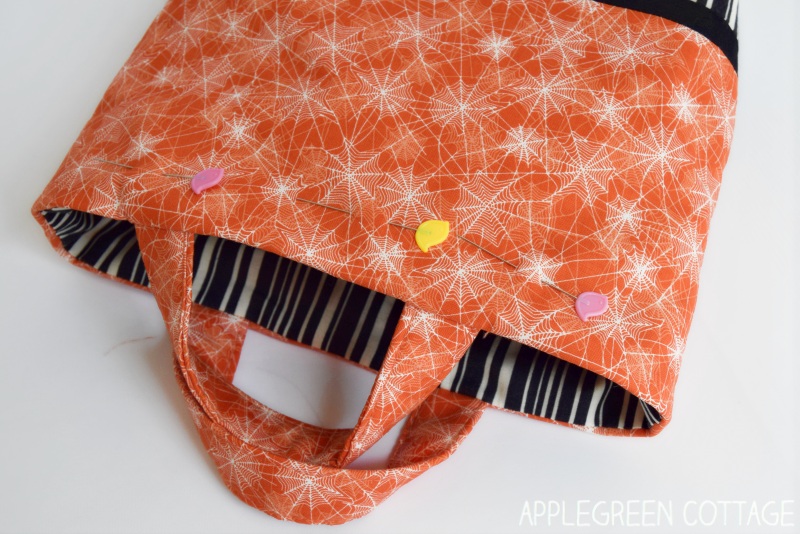
An absolutely lovely project, easy and quick. It looks like I'll be making more of these trick-or-treat bags soon.
And those who know me, it's happened again: I got carried away by the feel of the fabric and made a few other things out of the Halloween prints. So much fun! Stay tuned so you don't miss out on new Halloween sewing projects!
More ideas you might like: these pumpkin decorating projects
Popular Questions
Go for something machine-washable - after all, that tote will be loaded with candy and handled by sticky little fingers! Quilting cotton (get a spider web print if you can, it works amazingly well!), canvas, or even a cotton blend works great. They're durable and easy to clean.
WANT MORE FREE TUTORIALS AND GOODIES?
Get email updates and never miss out on new patterns, printables, and tutorials:
Or ...go straight to the gift bag pattern. Smart and simple construction, originally a gift bag but around Halloween, it doubles as an adorable Trick-Or-Treat bag - 6 sizes and designs for all your wishes!

Lise C says
Those bags are the nicest i ve seen…thanks
Cindy says
Thank you! I made one in Purple, Black, Orange & Lime Green for my Grandson. It turned out so cute! So very easy & awesome instructions in the purchase pattern!
Kathi Riemer says
Thank you for the pattern Damjana! The bags are adorable and just the right size to hold lots of candy.
Laura C says
This gives me some ideas and I also like the selection of fabric colors and patterns Thank you.
Pam @Threading My Way says
Love the colour combo, Damjana. Makes me wish we did Halloween.