
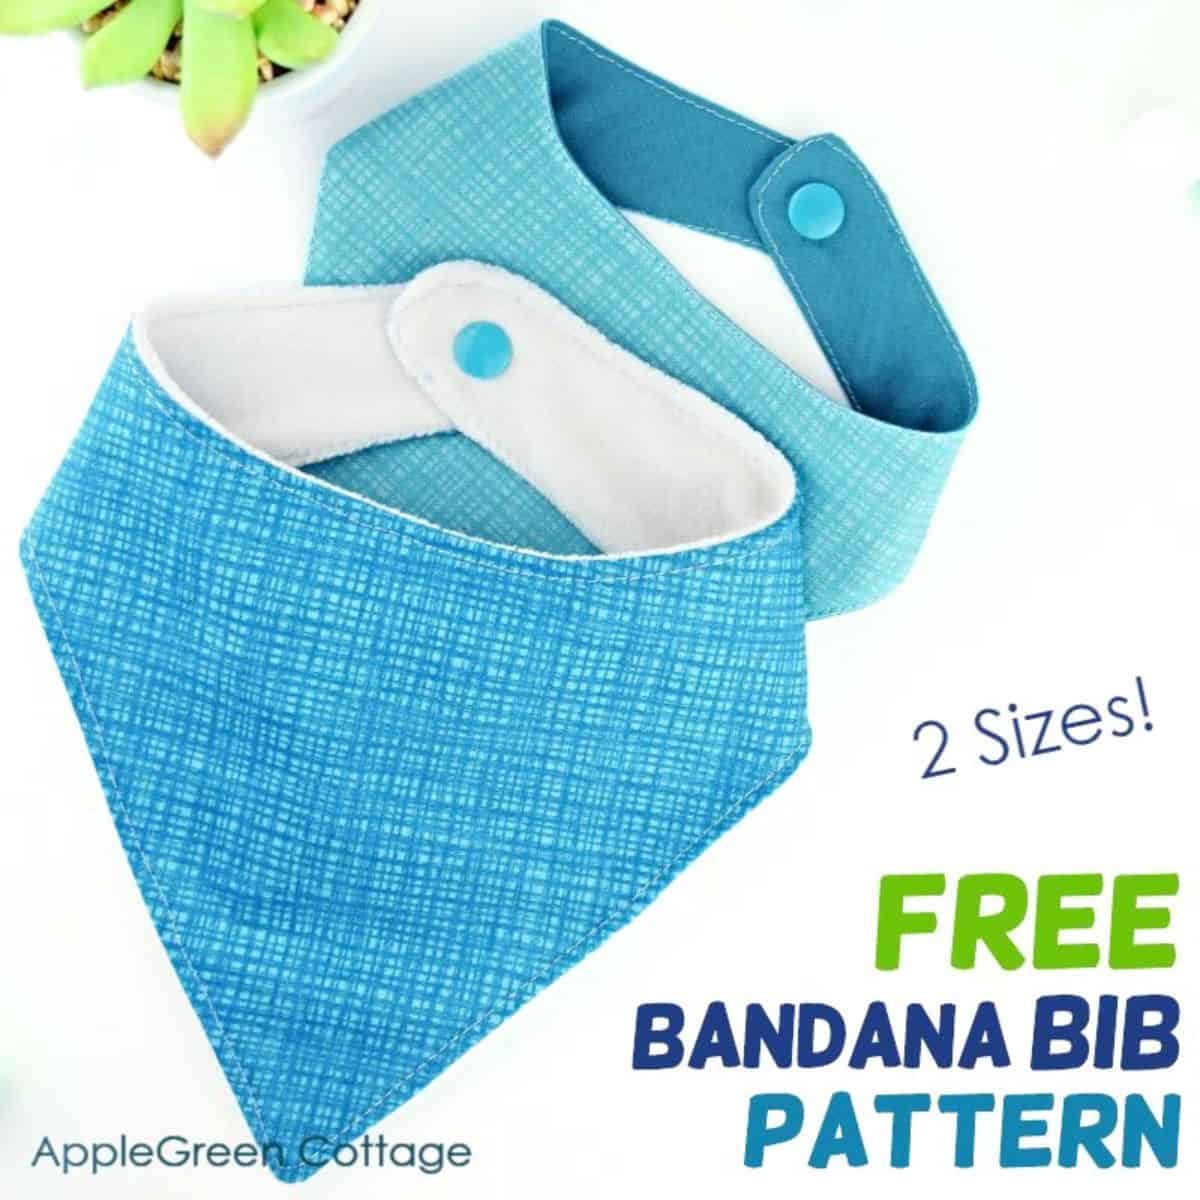
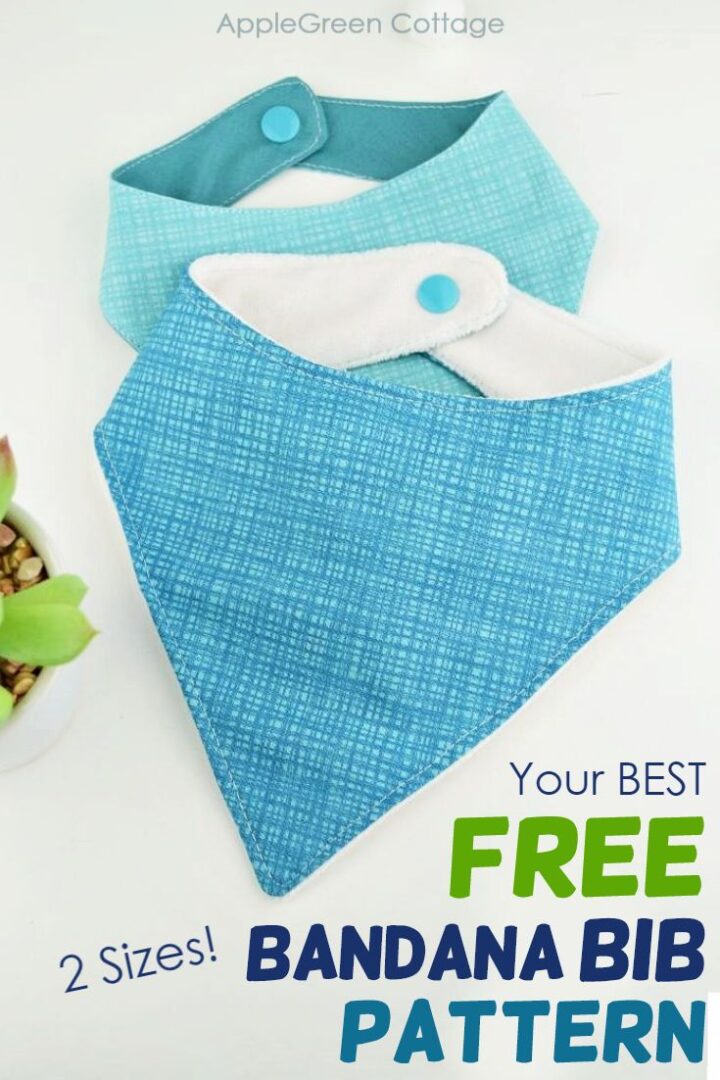
This bandana bib pattern is an easy beginner sewing project - now in 2 SIZES, baby bandana bib, and toddler bandana bib! It makes a perfect diy baby shower gift, especially if paired together with my diaper clutch pattern. Actually, this must be the easiest bandana bib tutorial you've ever seen!
Came here JUST for the pattern? → Get it here.
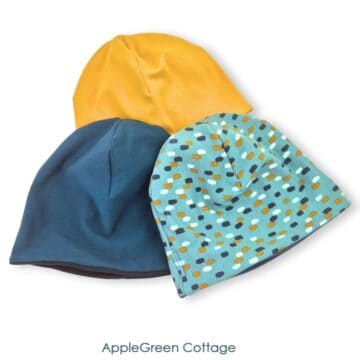
And if you're here to sew for babies, you'll love this popular free baby hat pattern. So cute!!
Prefer an ad-free printer-friendly option of the whole tutorial+pattern? See the → optional PDF file in our shop.
Table Of Contents
- Why You'll Love This Free Bandana Bib Pattern
- Supplies
- Make a Matching Burp Cloth!
- Bandana Bib Tutorial - STEPS
- More Tips for Sewing Bandana Bibs
- What closure is best for bandana bibs?
- Want more baby sewing patterns?
- 6 BABY Patterns + BONUS
- Want a printable copy of the whole tutorial?
- WANT MORE FREE TUTORIALS AND Patterns?
Now let's talk DIY bandana bibs - why do I love them? Three reasons: they're useful, stylish, and super quick to make. That's why the bandana bib tutorial was one of the first I ever shared at AppleGreen Cottage, and my readers LOVED it!
But those early photos? Let's just say they needed an upgrade. So, here's the new, improved tutorial - with better photos and an extra size added to the free pattern. Enjoy! 😊
Why You'll Love This Free Bandana Bib Pattern
Really, these diy bandana bibs are amazing for soaking up teething baby drool. I made a lot of these bandana bibs when I had my first baby. And I mean a lot!
There was always a stack of my diy bandana bibs somewhere close, ready to use. Once the first one got wet, I'd just switch out to a new one and I was set! They saved me from countless clothing changes throughout the day, real life savers.
Even better, everybody loved this stylish addition to the baby's outfit. And you won't believe how easily and quickly they can be whipped up!
Video
First, here's a quick slideshow just to get you familiar with how easy this bandana bib is to make. Check it out here, but heads-up, it's still all old photos 🙂
I want you to be able to make your own baby bandana bibs so I designed my own pattern for you to use. I've drafted quite a few bibs before I was happy about the design. Scroll down to Step 1 to download the best bandana bib pattern I've drafted so far - works great with any material!
Supplies
Shop my personal favorite sewing supplies on Amazon HERE.
- two pieces of fabric
- optional: one of the two pieces can be absorbent material: terry cloth or similar
- sewing machine, scissors, pins, thread
- your free pattern
How Much Fabric Do I Need to Make a Bandana Bib?
You can use scraps! You only need two pieces that will each cover a lettersize or A4 page format, no more (even a bit less, if you check out the free PDF pattern). I often use scraps of cute kid-themed fabrics.
What fabric to Use for the Bandana bib
Find more fabric tips below, but in short: pair two cotton layers (add interlining for absorption) or use cotton with a backing like terry cloth. Thicker fabrics like flannel or sweatshirt fleece work well (though sewing may be trickier), and upcycled fabric is a great option too!
What's the Finished Size of the Bandana Bib?
This pattern comes in two bandana bib sizes: the small-size baby bib has a neck circumference of 11 ½" or 29 cm. The large-size bib has a neck circumference of 13" or 33 cm.
Make a Matching Burp Cloth!
What is even better, this bandana bib will sew up SO quickly, and you might end up making them in a set with our popular burp cloth pattern:
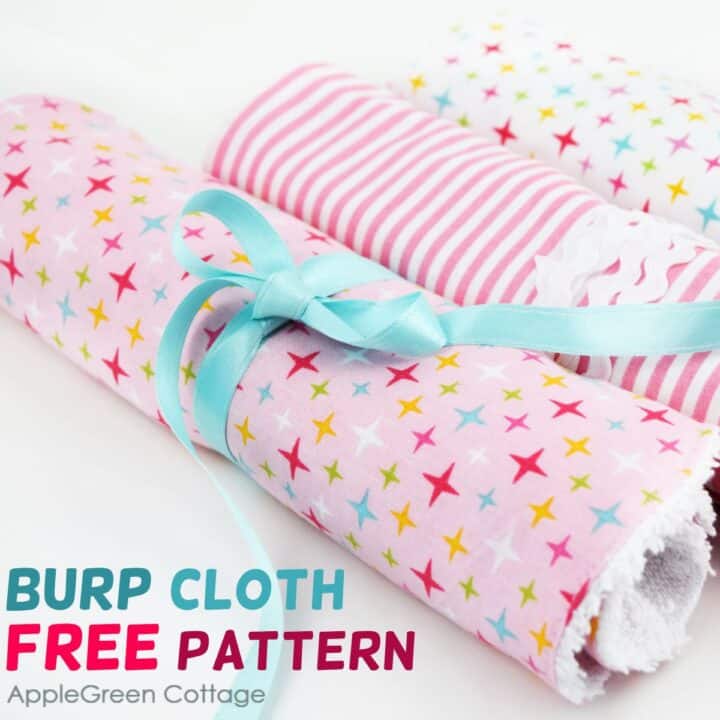
+1 Freebie: Burp Cloth
Make a set with our free burp cloth pattern:

'It is such a great pattern and comes together quickly!' Michele at @handmade_barnswallow
Bandana Bib Tutorial - STEPS
The seam allowance for this project is ⅜" inch (1cm). And now the instructions to make this reversible bandana bib:
Step 1 - Get the FREE Pattern
Join our mailing list and get the pattern emailed to you:
Prefer an ad-free printer-friendly option of the whole tutorial+pattern? See the → optional PDF file in our shop.
Step 2- Cut The Fabric
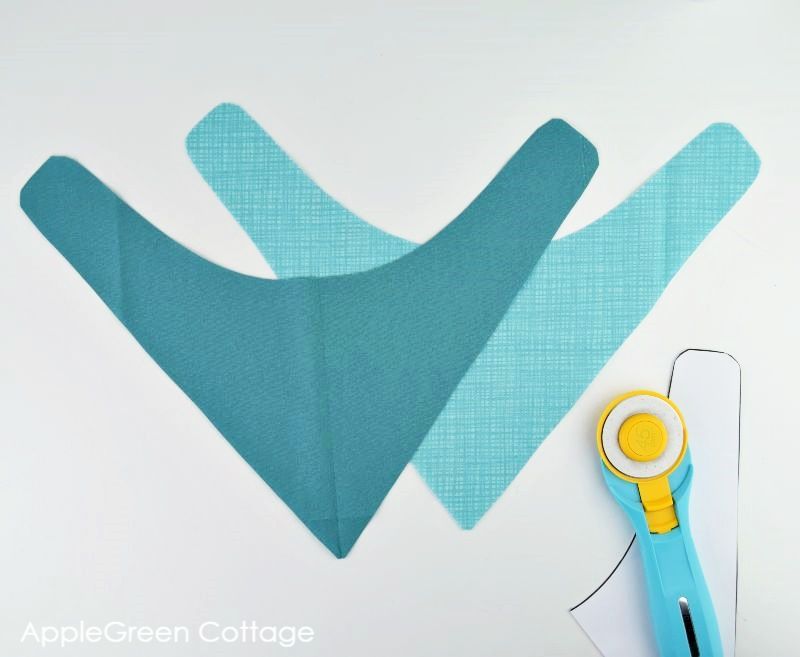
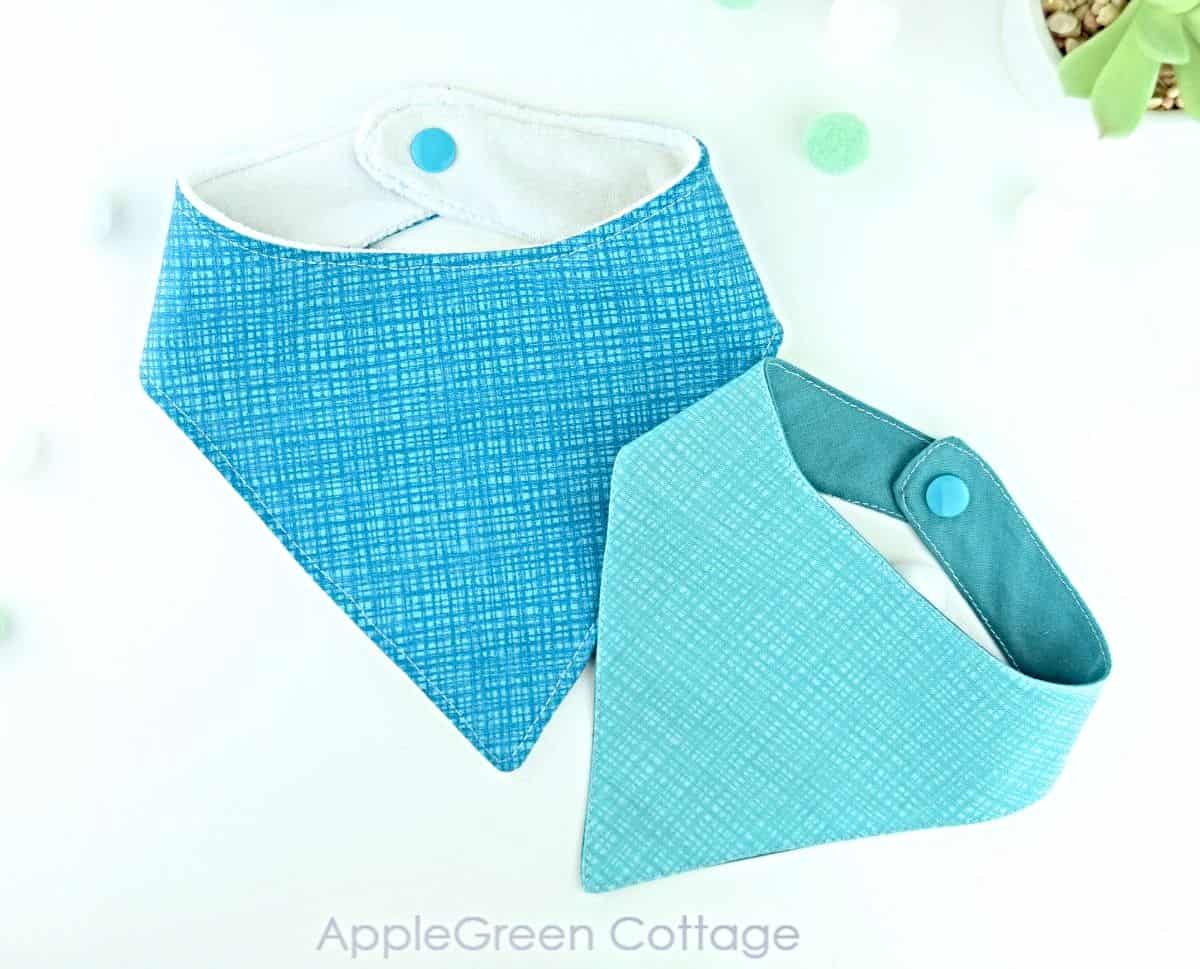
Using the free pattern, cut two pieces from your fabrics. They don't need to be the same. In fact, it's more fun if they are not:
Step 3 - Sewing step
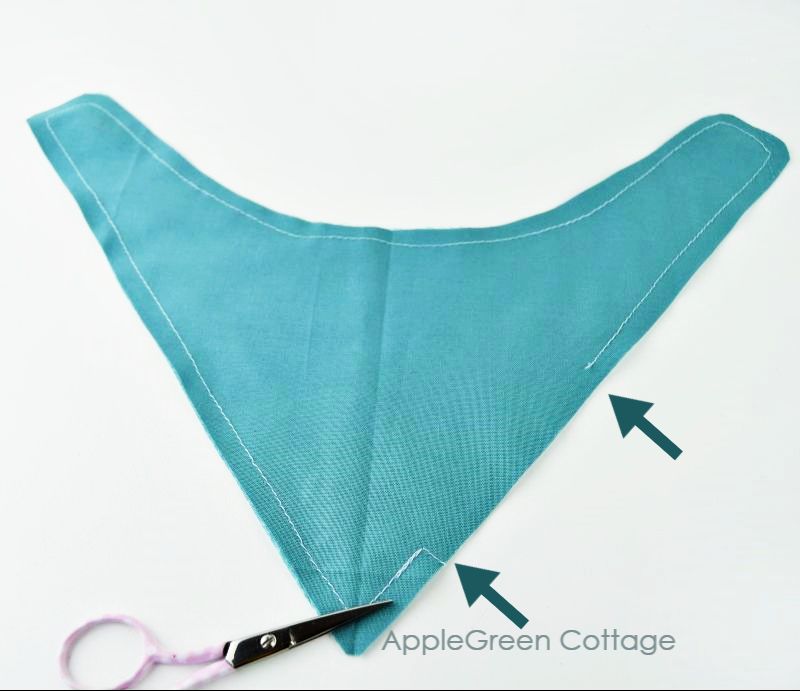
Place the two pieces with the right sides of the fabric together. Using a ⅜" (1 cm) seam allowance, sew nearly all the way around. Leave a 3" opening at one of the two straight edges of the bib, so you'll be able to turn the bandana bib right side out. It is marked on the pattern.
Step 4 - Trim The Seam Allowance
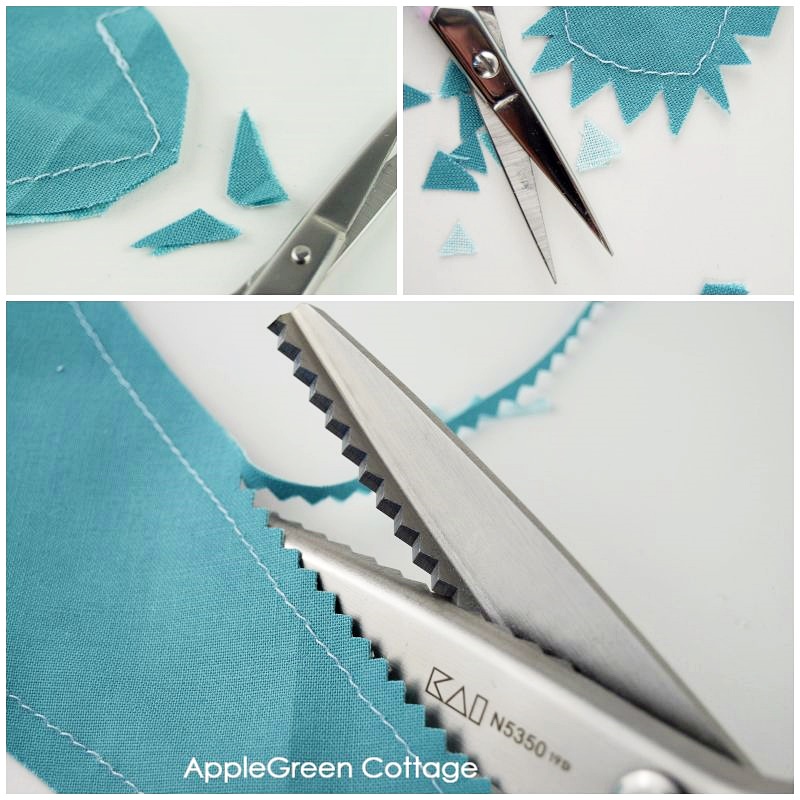
Trim off some of the fabric in the seam allowance. Do this around each curve. It will make turning easier and the finish nicer. You can use pinking shears if you have them.
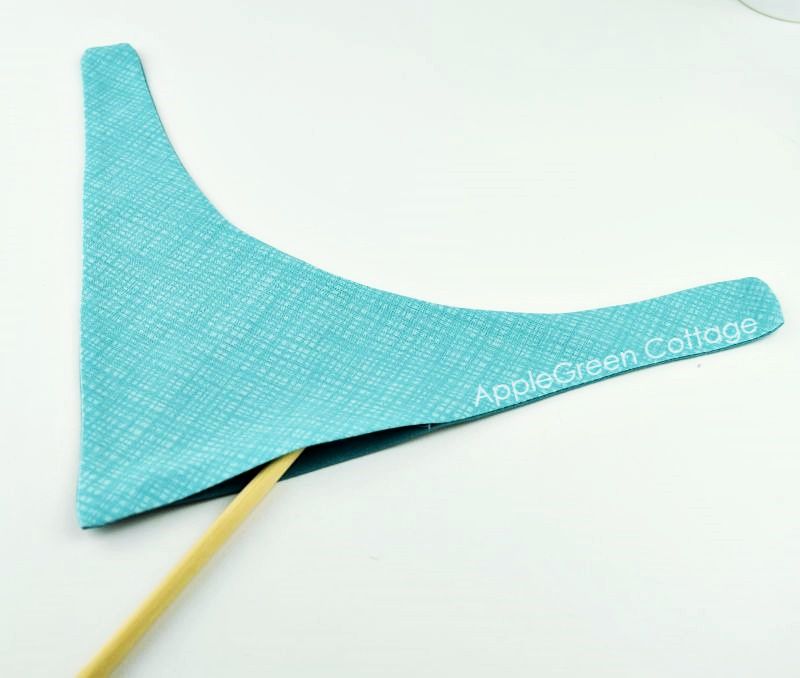
Step 5 - Turn And Topstitch
Turn your bandana bib right side out. Fold the edges at the opening towards the inside and press it. I love using my new DIY pressing board for that. So much faster!
Topstitch along the edges all the way around your bandana bib, ⅛" (3mm) away from the finished edge. If you're in a hurry, you can just topstitch over the opening you left before.
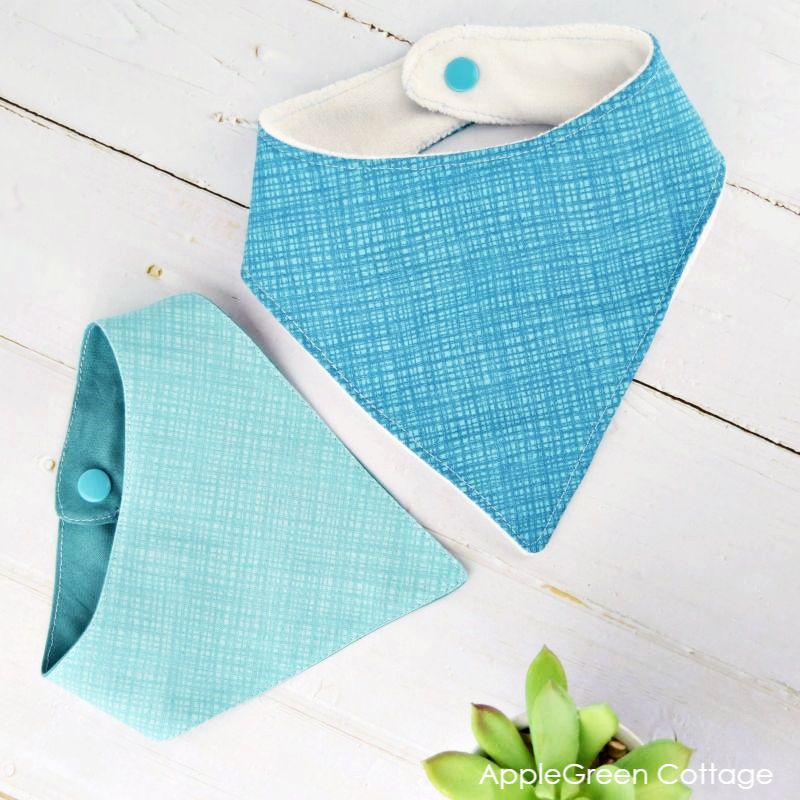
Step 6 - Add Kam snaps
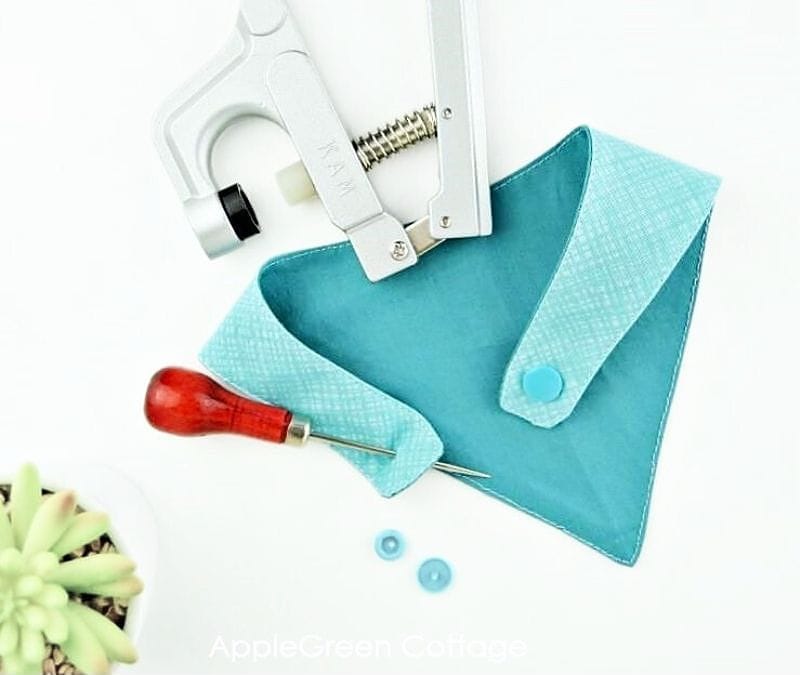
Install KAM snaps as fastening (scroll down for more closure options) Done!!
+How To Add KAM Snaps
If you haven't installed KAM snaps before, here's all you need to know:
More Tips for Sewing Bandana Bibs
And here are even more tips to make the bandana bib pattern work for you - better, easier, and quicker!
Here are a few bonus tips to help you with your sewing:
- as an alternative to quilting cotton, you can use thicker (but soft!) fabric as the second layer, maybe flannel or terry cloth.
- Sweatshirt fleece works too. The sewing will not go on so smoothly but the bib will absorb better.
- You can also opt for a third layer, some kind of interlining. I've made several three-layer bibs so far.
- Double gauze is another great and super soft material to use for your diy dribble bibs. These would be on the thinner end though.
The softest version I've ever made was from two layers of jersey. Just make sure the jersey is not too thin.
What closure is best for bandana bibs?
Bandana bibs can be fastened using a hammer-on or hand-sewn metal snap, a plastic snap, pieces of Velcro - and let's not forget the good old buttons. Sometimes, they would also simply be tied off, but that causes a large knot that's not too comfortable for babies, so I'm leaving that one out 🙂
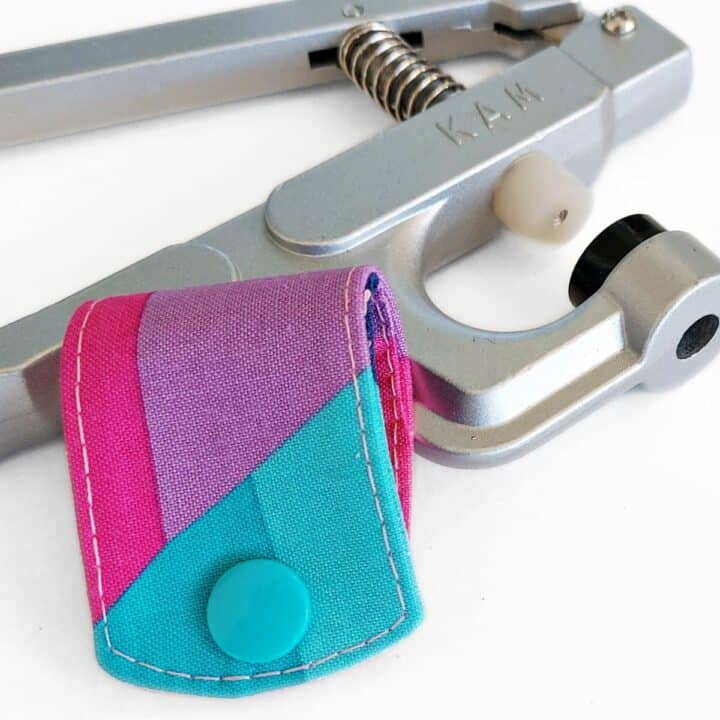
What do I use to make bandana bibs? I used to make them with nearly all the above options. But then I discovered KAM snaps. I absolutely love KAM snaps. For several reasons: one, adding KAM snaps is so easy! They come in a gazillion of colors, so you can mix and match to your heart's content. They are inexpensive. And they are so comfortable for the baby. No Velcro scratching that little neck!
The photo below shows a bandana bib with velcro closure and one with metal snap fasteners:

Here are a few sewing tips for your DIY dribble bibs: quilting cotton is always a great first choice, but you can also try thicker fabrics like flannel, terry cloth, or even sweatshirt fleece for better absorption (though sewing may be trickier). For extra durability, consider adding an interlining for a three-layer bib. Soft double gauze is another fantastic option, though it will create a thinner bib.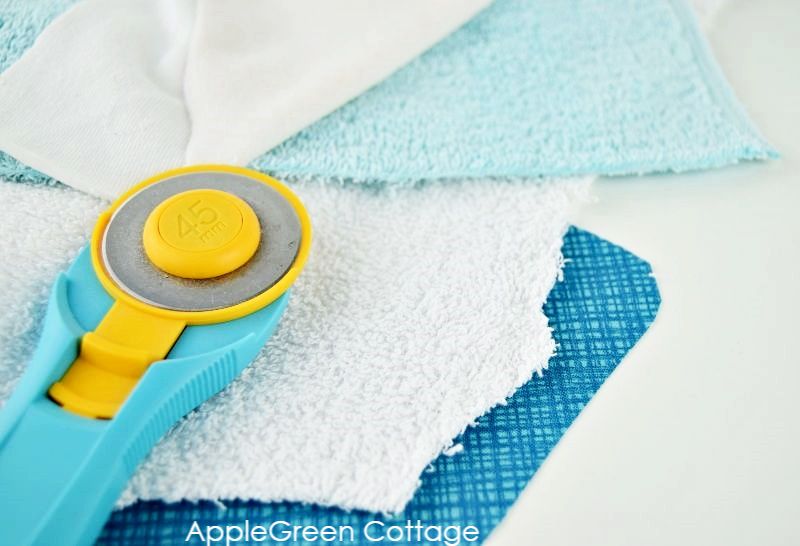
You can easily adjust the size of the large bib by simply adding additional snaps/velcro to size down or size up the neckline. This way, the large bib will fit several sizes - baby, toddler, and even older kids. I've done it before and it has worked perfectly!
Also, the bandana bib is part of my free baby sewing series:
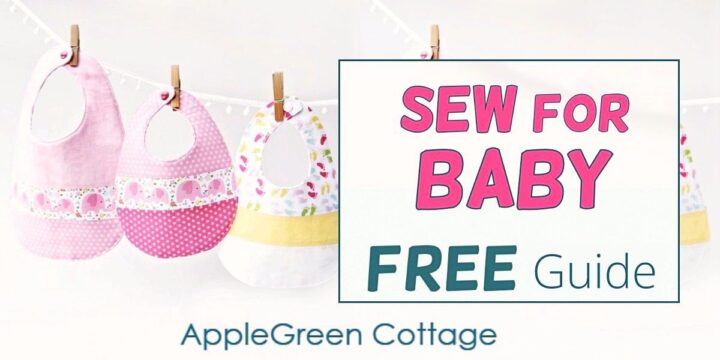
Join the FREE 6-part email guide and sew the CUTEST things for a baby - the EASY way! You'll get my best baby sewing ideas by email.
Conclusion
This bandana bib pattern is quite simple and easy to make. It will be made in no time and save you some money along the way. Who knows, you might just create an all-time favorite bib for your baby or toddler!
I can give you 3 reasons why you will love making homemade bandana bibs:
- Low-cost: you'll need a tiny bit of fabrics for making a bandana bib. You can go for zero cost, too: you can simply use an old T-shirt, or a napkin... Or an old towel. Nearly anything.
- Quite simple to make: it's a simple beginner project, especially if you get a pattern - there are many available on the internet, though it's good to start with an easy one.
- Every next bib looks nicer. My first was too small (even for a newborn), then some were too loose, thin, or uncomfortable. But each one got better, and now it's pure fun - especially picking the fabric colors! (And yes, you probably know my favorite by now 🙂
Want more baby sewing patterns?
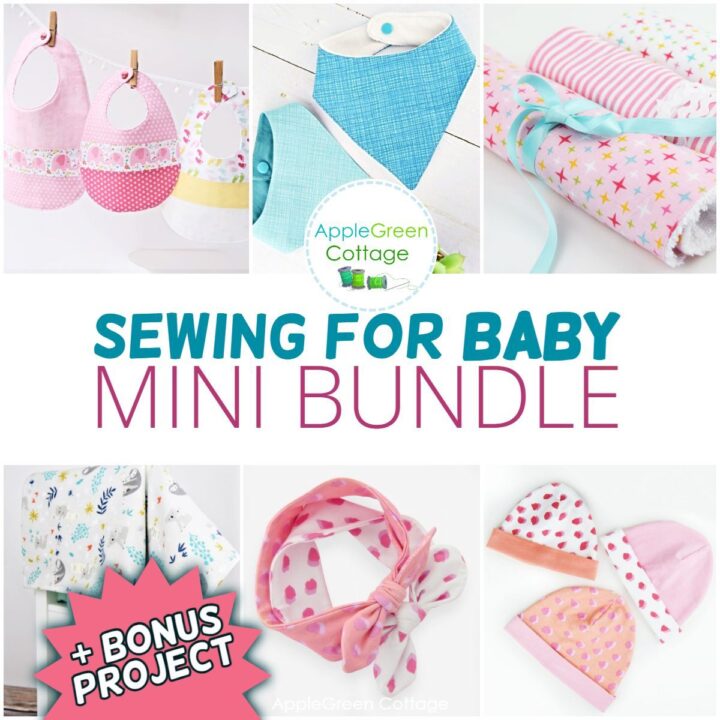
6 BABY Patterns + BONUS
Love sewing for babies? See THIS!
Want a printable copy of the whole tutorial?
Prefer a full, ad-free and printer-optimized Printable Tutorial with both instructions AND pattern included? ↓↓
WANT MORE FREE TUTORIALS AND Patterns?
Get email updates and never miss out on new patterns, printables and tutorials:
Or check out this popular pattern in our shop: Ultimate Diaper Clutch - a perfect baby welcoming gift every new mom would love to get!
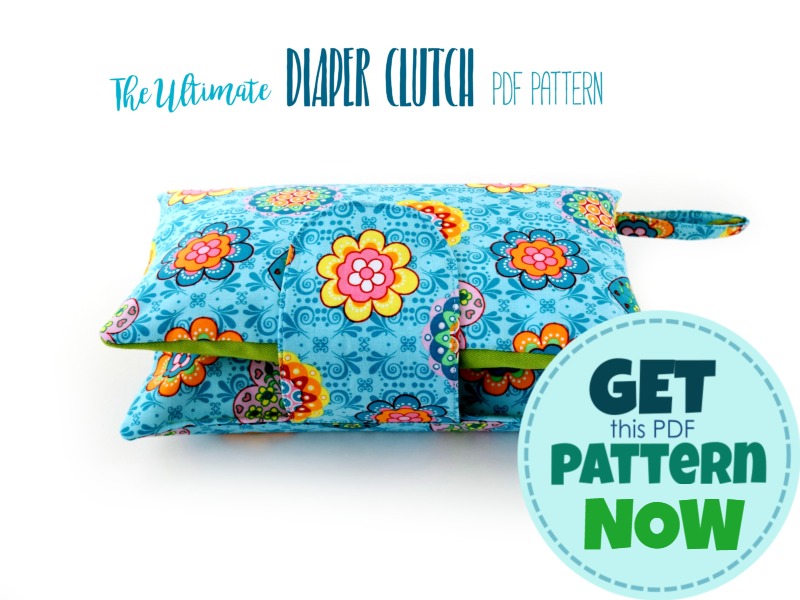
Use both my bandana bib pattern and the Ultimate Diaper Clutch pattern and you've got a perfect homemade baby welcoming gift set!
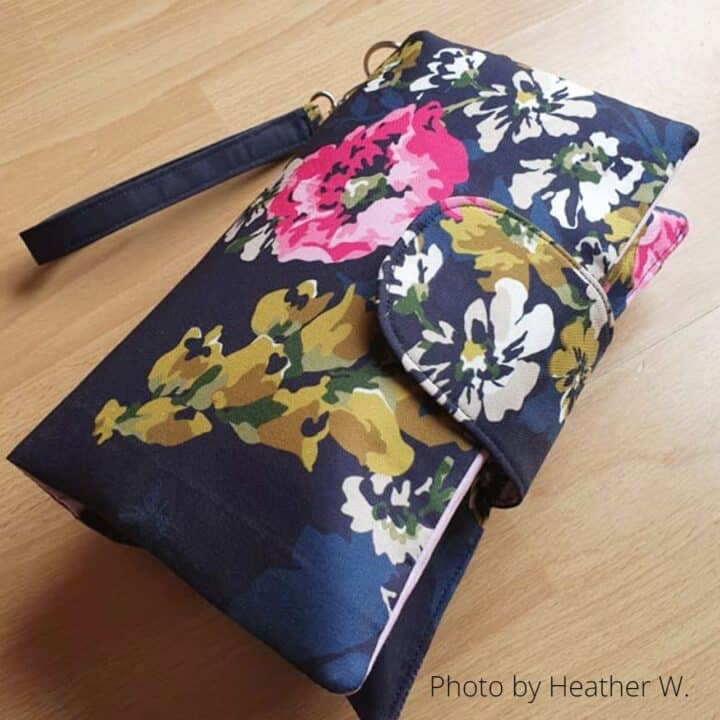
'So pleased with my first Diaper Clutch Bag! Made for a very special friend about to have a little girl, she was delighted with it!' - Heather at @crafted_by_heather
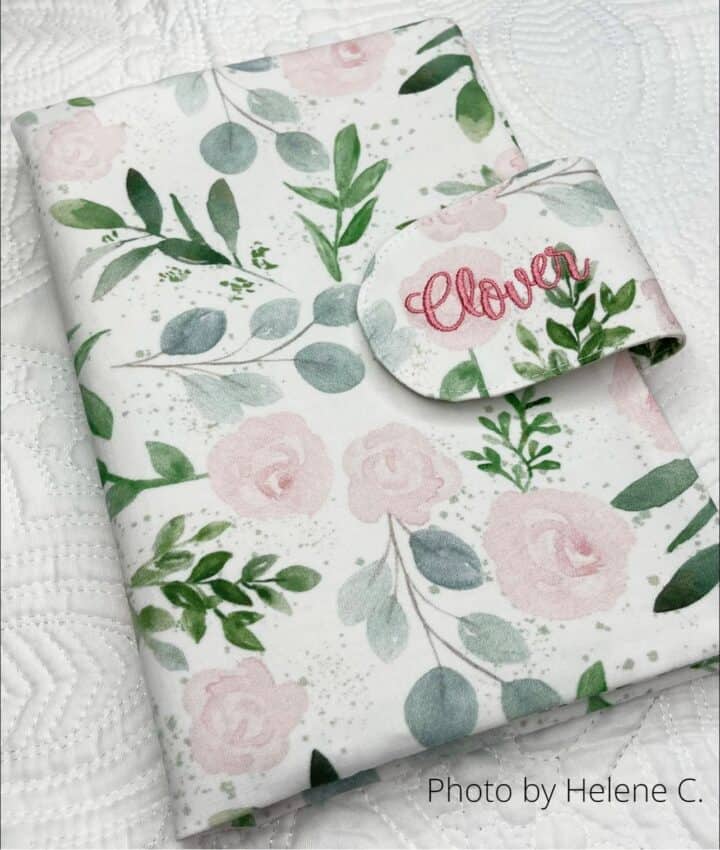
Ultimate Diaper Clutch pattern
'Thank you Damjana for this great versatile pattern!' - Helene C.
Ultimate Diaper Clutch pattern


Lisa Curt says
I have never used KAM snaps before. What size do you use for the newborn bandana bib?
Damjana Jakos says
Great question! I actually have a full tutorial on how to install KAM snaps (and which size I use – it's just one!). You can find it here: https://www.applegreencottage.com/how-to-install-kam-snaps/
Hope it helps,
Andrea says
Hi! When I print the pattern everything comes out fine except the actual pattern; this page is all dark blue and the cutting lines are not visible. I have tried 3 times now (using a lot of printing ink..) Do you know what might have happened?
Damjana says
Andrea hi,
thanks for reaching out. If the pattern pieces are printing with a dark (black/dark blue) background, that is because you need to update your Adobe Reader.
Warmly, Damjana
Sharon Ricard says
Thank you so much for a EASY PDF pattern, these came together so quick and are just adorable. Thanks again!
Damjana says
Sharon hi,
I'm so happy you liked it. Happy sewing,
Angela says
Thank you so much for this pattern. I have a baby nephew due in November so thought I would give this a go. It’s been years since I have done any sewing. The pattern, photos and explanation are really clear. I look forward to starting my next sewing project with you. I was going to post some photos but I couldn’t upload them on here?
Cucicucicoo: Eco Crafting & Sewing says
These are so adorable! My kids are past bib-age and I wish I'd known about this style when I actually needed them! I love that they're reversible! 🙂 Lisa
Anonymous says
Thank you so much for this free pattern! I nanny a 3 year old fellow who has autism and recently he's started chewing on his shirts when he gets stressed or excited. This looks like it will be perfect for him! Protecting his clothes while looking like a style choice rather than a bib. I'm going to whip one up now out of my stash and see if his momma wants me to make some more when she comes to pick him up this afternoon.
Anonymous says
Just wanted to update that it worked great! He wore it to preschool and it did exactly as we wanted, he was chewing on the bib instead of his clothes. He and I went to the fabric store and picked out fabric to make several more! The only change that i made was to extend the length of the bandana part a bit, the neck circumfrence was just right, but it wasn't quite long enough for him. But he's 3 years old (a bit older than the target audience) and is a VERY large guy as he's the same height and weight as my 5 year old!
Anonymous says
to make it 'slouchy" make the top layer 1/2in larger all the way around.
Anonymous says
Hello!
What size bib pattern is this aimed towards- 12mth+ toddler?
I'm after a pattern that's for a younger age group (around 4mths) would I just cut this pattern down?
Damjana at AppleGreen Cottage says
Hi, yes, you're right.I started using this pattern when my toddler was around 1.5 years old. And there really is a simple way to make the pattern smaller: you can just cut it down, or even better: use the size from the template, but add additional snaps/poppers/velcro to size-down the neckline. This way, the bib will fit the baby when she's older, too. I've done it before and it has worked perfectly! Happy sewing 🙂 Damjana
Anonymous says
How much fabric do you need?
Pam @Threading My Way says
You can't have too many bibs. Thanks for the great tutorial and for sharing the pattern.