See how to make a scrunchie with a sewing machine - a super easy sewing project anyone can do. And fun! And there is a size chart for 7 scrunchie sizes, scroll down!
Together with a diy sleep mask diy scrunchies make a great diy gift for teenagers. Let me show you how to make scrunchies - the quick and easy way!
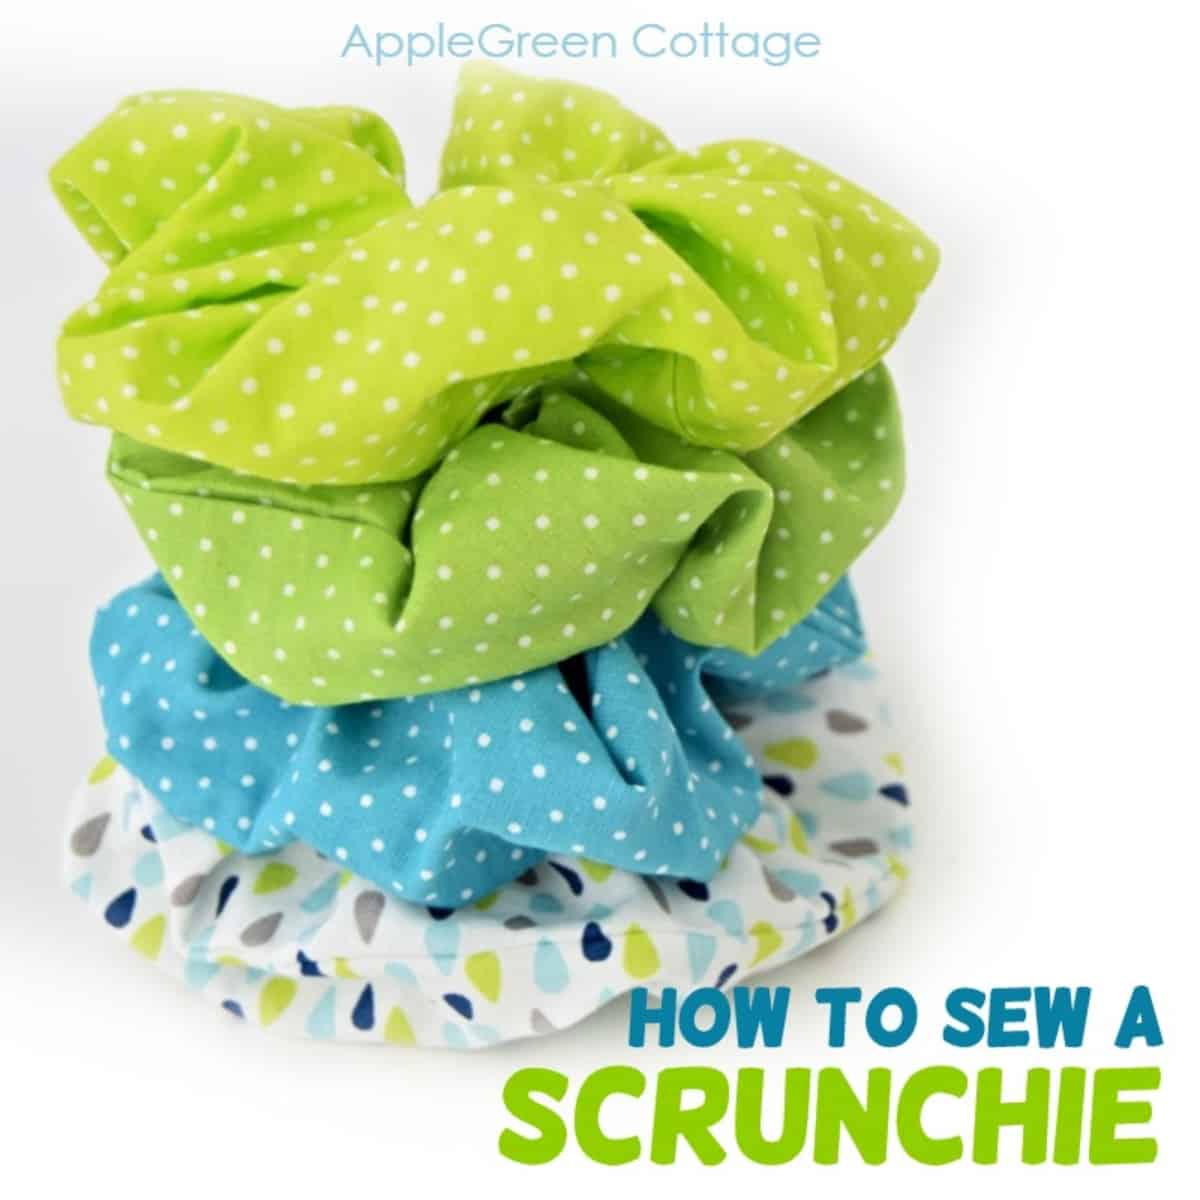
Let's learn how to make hair scrunchie, it's so much fun! And on a side note, if you like diy scrunchies, you'll love these free projects, too:
- How To Make A No-Sew TUTU
- These Easy Diy HAIR BOWS (Video too!)
- 4 free scrunchie printable templates - and easy hair ties!
- or 50+ Beginner Sewing Projects (Super EASY!)
This post may contain affiliate links. Thanks for your support. Also, the scrunchie project is part of my free SewEASY Gifts series:
Join the FREE 6-part email guide and make super easy diy GIFTS - each in 30 minutes or less! You'll love it!
Remember the eighties? Yep, they are back! And scrunchies, too! The defining hairstyle of the 80's and so comfortable!
Raise your hand if you are one of those who wore their ponytail with scrunchies nearly all the time! So easy to make, and so much fun!
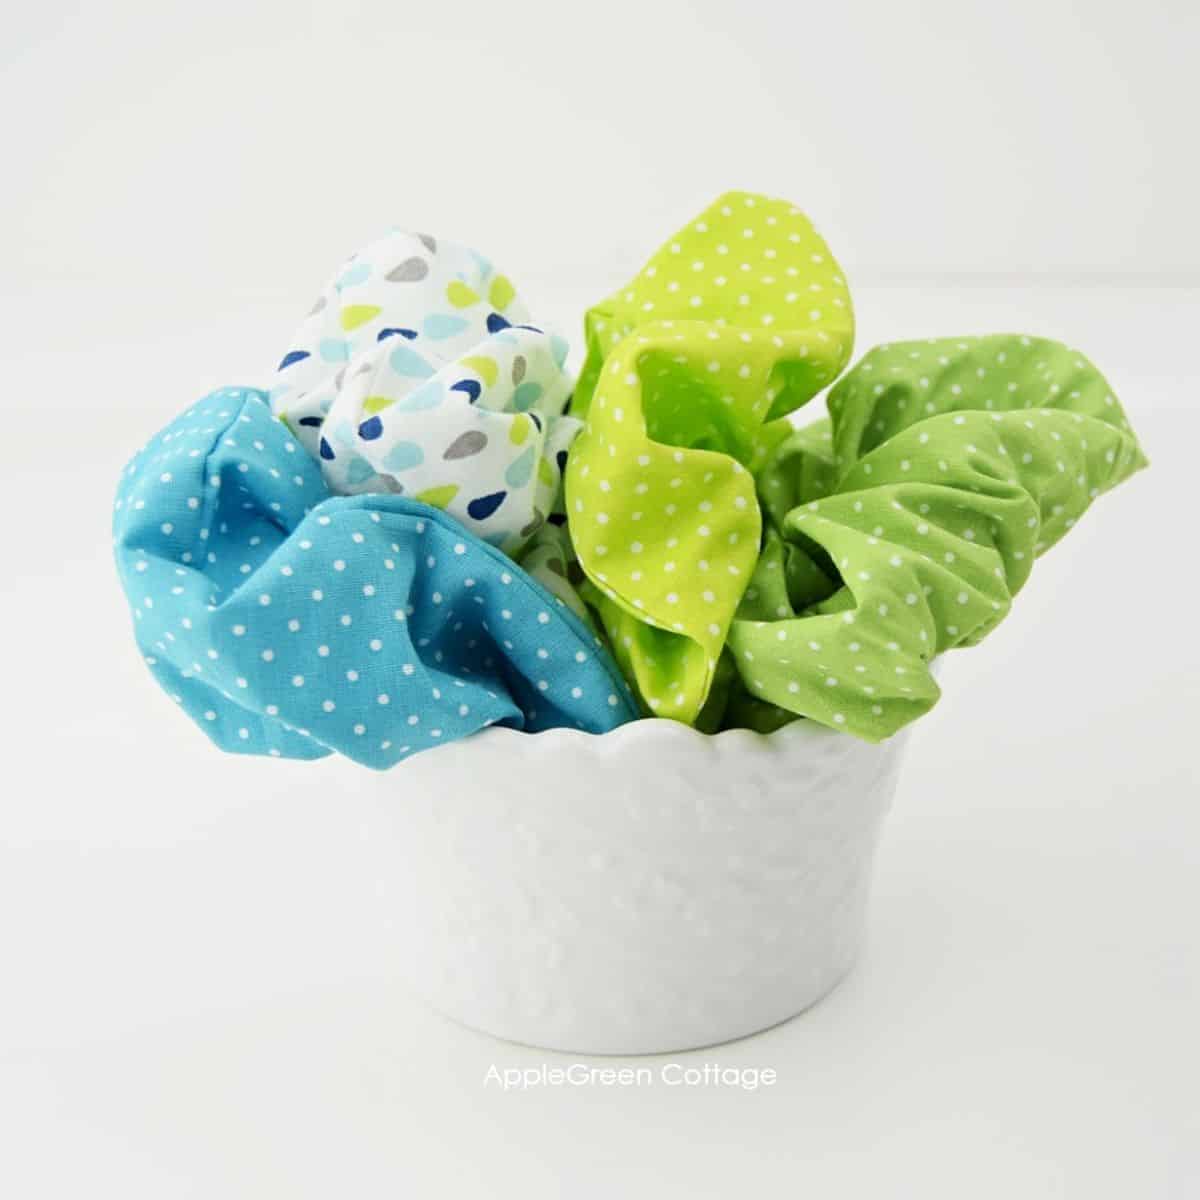
Plus, teenagers love them, so if you have older kids or grandkids, or teenage nieces, THESE are great as stocking stuffers! Any place, any type of hair - see below the sizing chart to find the perfect scrunchie size for you. Use it to secure a high or low ponytail, or wear it around your wrist like a bracelet.
How To Make A Scrunchie With A sewing Machine
One thing I never realized until this very moment, I have never in my life purchased a scrunchie. It never occurred to me that I could, or should! I could choose any color or material from my mom's fabric stash (thanks, mom!) and the 10-minutes I needed to actually make one never seemed to be a problem to find when I was in school. Or college.
The last diy scrunchie I made was in black velvet, quite a few years ago on a quiet Saturday morning - before I had kids - and I still must have it somewhere, buried under a pile of stuff in the closet.
Now it was time to see how to make hair scrunchies again, this time for my daughter. She loves them! You don't even need a scrunchie pattern to make a scrunchie. Let me show you how to diy one in minutes!
Oh, and if you're new to sewing, check out this beginner sewing guide that will help you dive into sewing, or simply check out the basic sewing stitches - these might be enough to get you going.
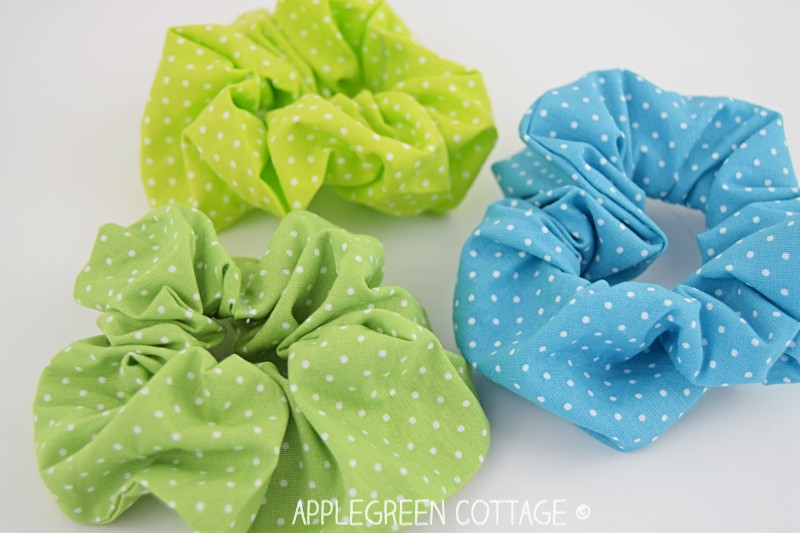
First, for those of you who like video, I've made a slide-show to get the feeling of how easy it is to sew one:
SUPPLIES:
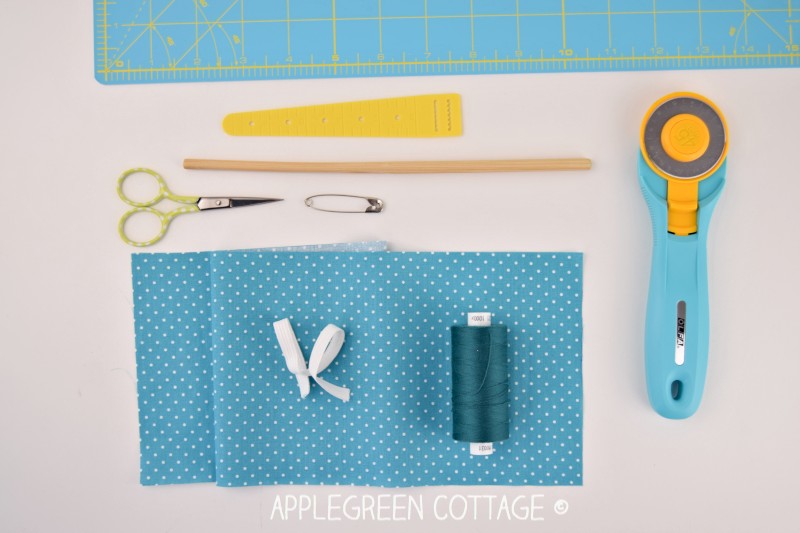
Here's what you need to make a scrunchie:
- fabric scraps the size of 18" by 5"
- a strip of ⅜" (1 cm) wide elastic
- a simple chopstick for turning
- matching thread, a safety pin or an elastic threader
- sewing machine or needle, pins or sewing clips
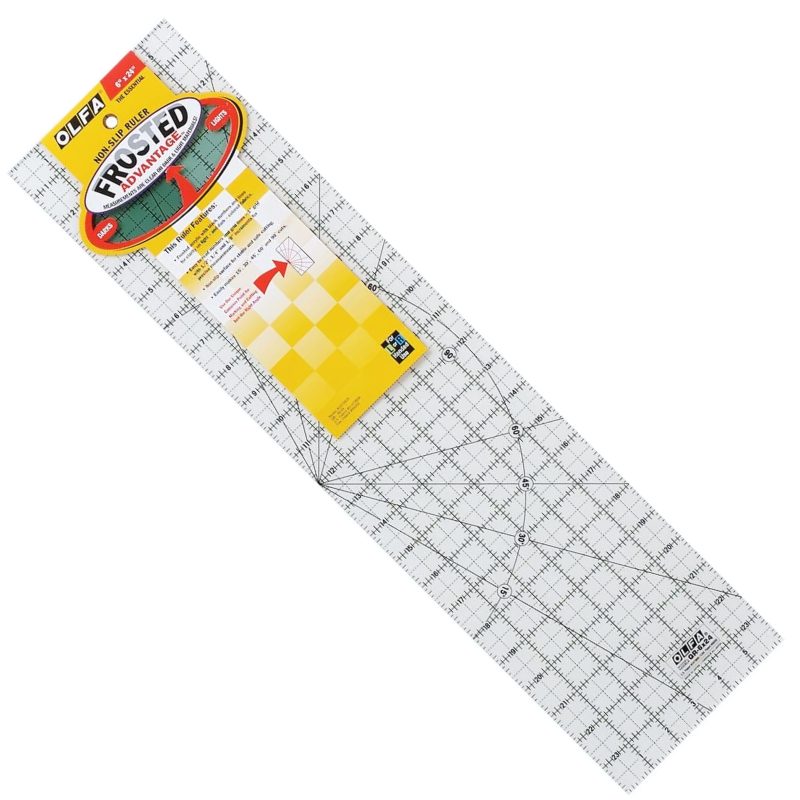
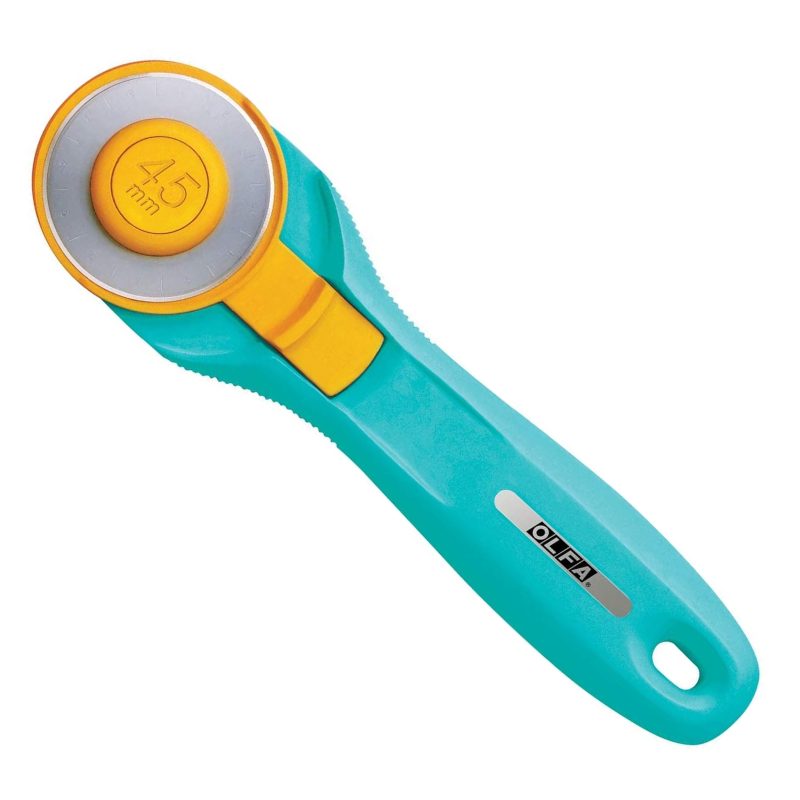
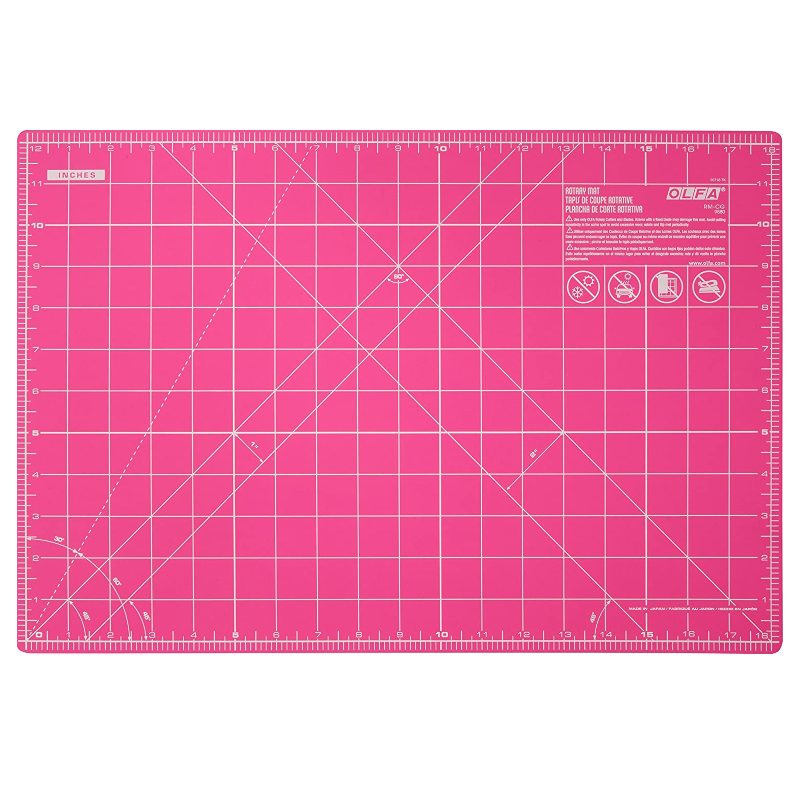
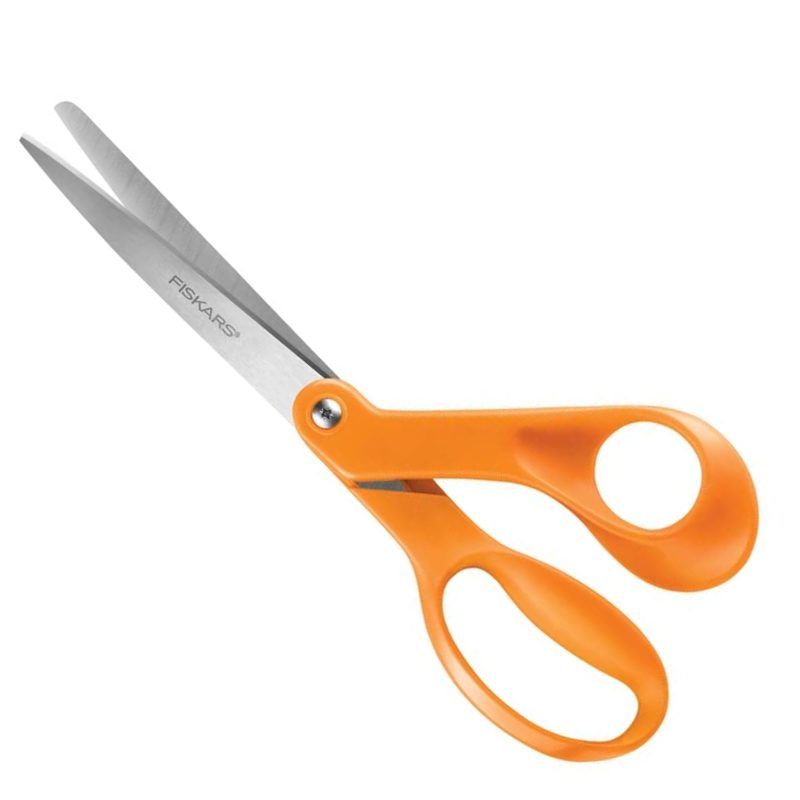
- scissors or rotary cutter plus cutting mat (I use this one by Olfa)
What Fabric To Use For a Scrunchie?
While cotton might be the first thing that comes to my mind, you have so many fabric options for scrunchies:
- velvet scrunchies are fairly popular
- Slippery silk or polyester are shiny and give a polished look, but they might be harder to sew with and I don't really like using them because they slip off my head too easily.
- jersey scrunchies are a bit more difficult to sew than non-stretchy fabric, but oh so comfortable to wear!
- poplin works wonders and you can throw it in the washer any time.
- And you're always safe with quilting cotton. So many colors and prints!
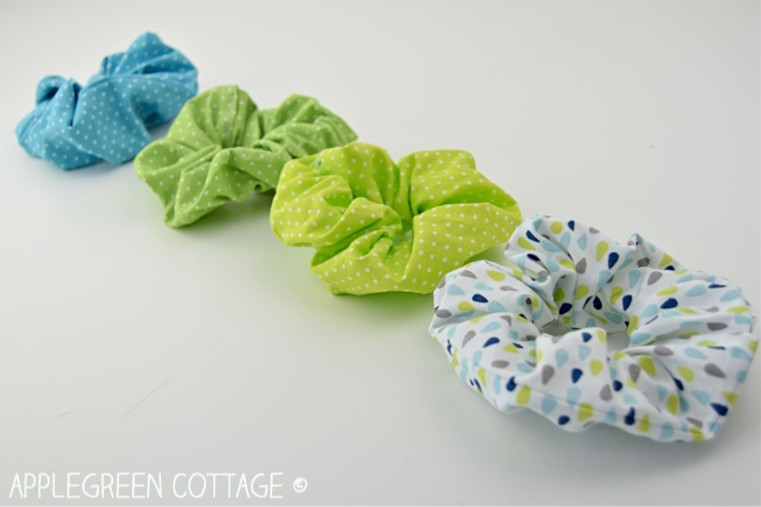
How To Sew a Scrunchie
This tutorial has photos, and if you scroll down to the end of the post, you'll see short, printer-friendly step-by-step instructions you can print. But here, photos:
Step 1 - Cutting directions
Cut a piece of fabric 18" by 5" (46 x 13cm). Cut a piece of ⅜" (1cm) wide elastic - max 6" (15cm) long (not pictured)
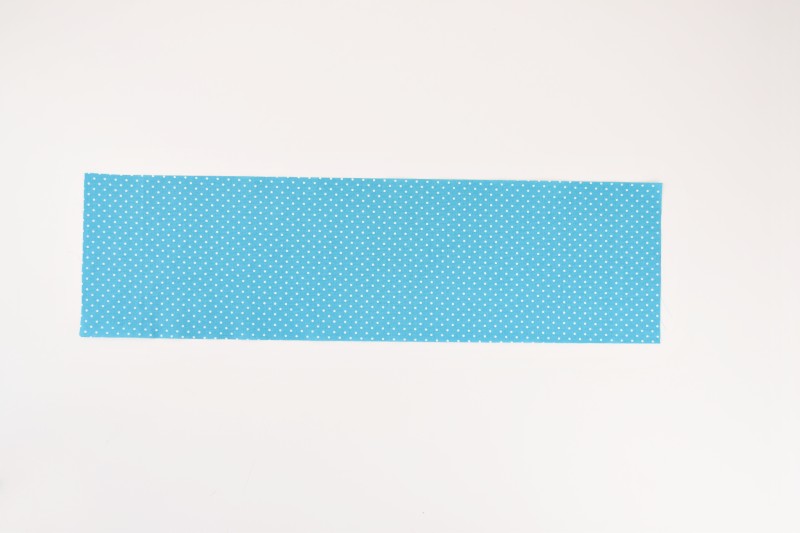
Small scrunchie? Kid-sized scrunchie: 14" by 3" (35 x 8 cm) , 5" (13cm) long elastic. Use the sizing chart below for more scrunchie sizes!
STEP 2 - Finish one short edge
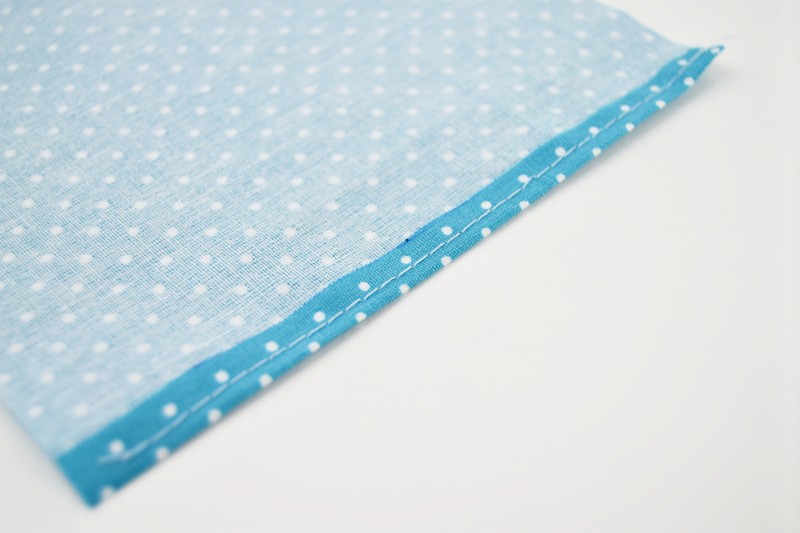
To hide the raw edges, turn under one narrow end of the fabric piece by ¼" (0.7 cm) and topstitch so you create a finished edge.
STEP 3 - Sew A Tube
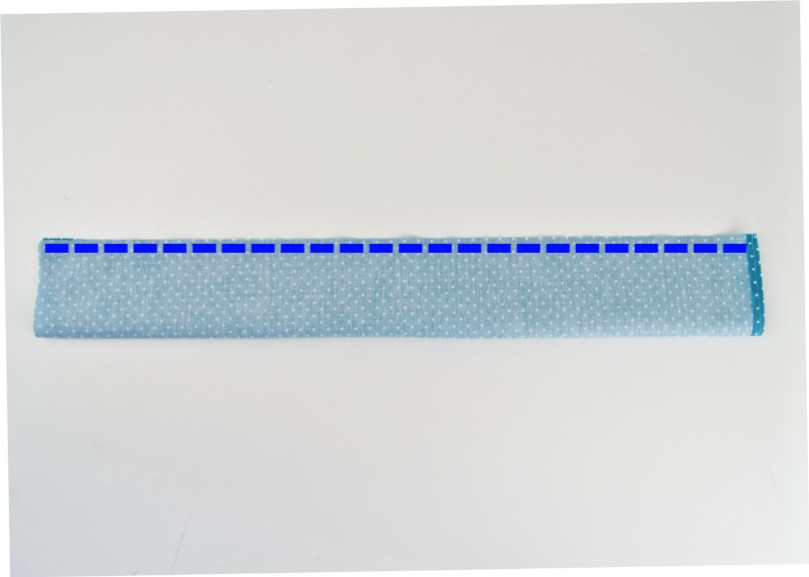
3) Fold the fabric lengthwise, right sides together and stitch along the long edge using a ¼ up to ⅜" seam allowance. Handstitch if you prefer, we as kids always used the simple running stitch and it worked perfectly.
Step 4 - Turn Right Side Out
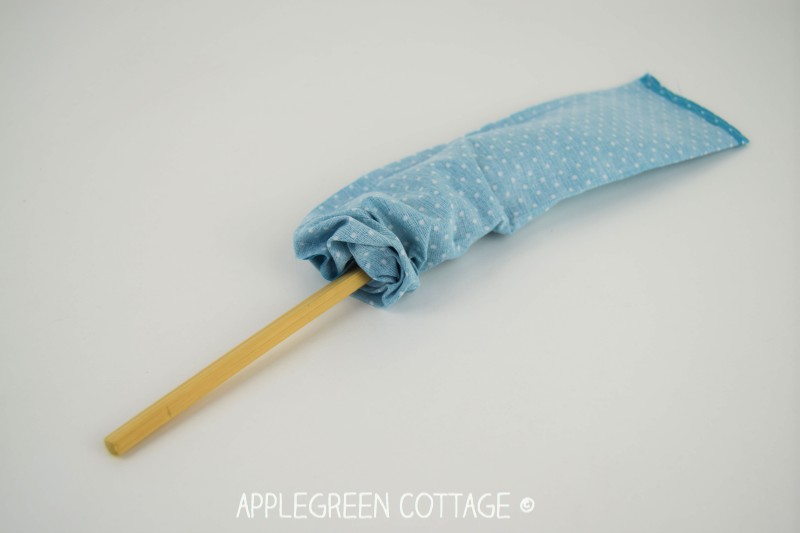
Can you imagine we're already halfway through the how to make a scrunchie instructions!? Now, turn the fabric tube right side out.
Helpful tip: if the tube is too narrow for your fingers, use a chopstick, or a safety pin. If using a safety pin, attach it to one end and guide through just as you do it when threading the piece of elastic into a casing.
Once turned right side out, press the fabric.
Step 5 - Add Elastic And Close
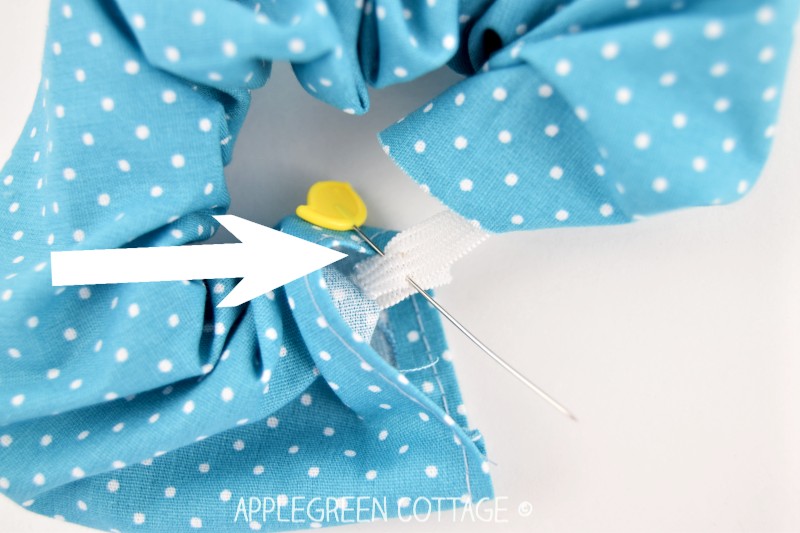
Thread the elastic into the casing, using a safety pin or an elastic threader. Stitch the ends of the elastic together with a small overlap (or just tie off a knot!) and then close the opening by joining the two ends of the fabric tube, like this:
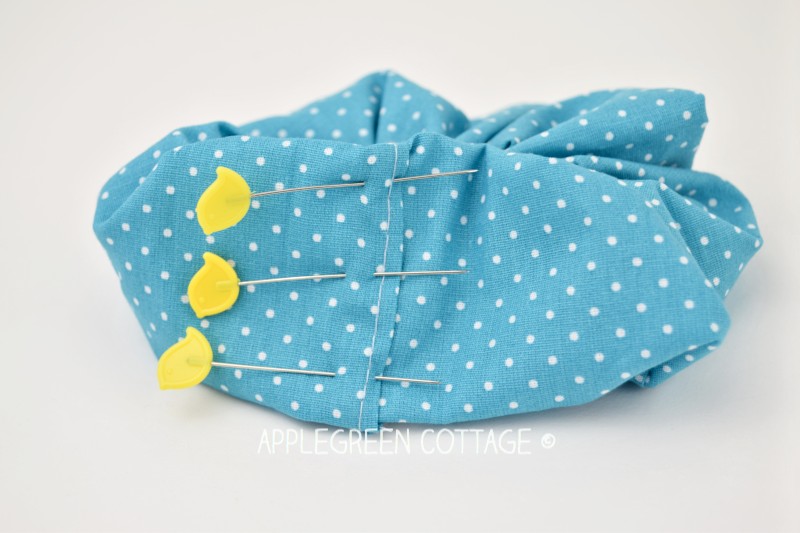
Options: straight stitch by machine. Stitching through all the layers, you'll catch the elastic, too, which is just fine. This is, as you might have guessed, the fastest way.
If you have more time, feel free to hand-stitch all the way around to close the opening, using a running stitch or a ladder stitch.
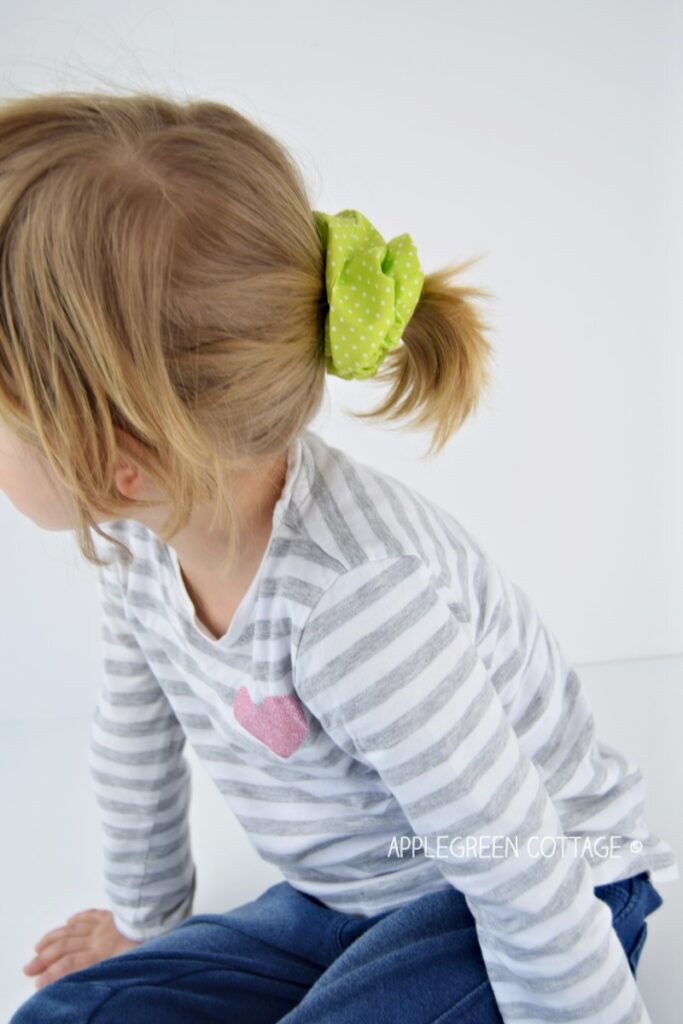
Finished! Make them in every color you like and choose which one to wear today!
3 Useful Extra Tips About Sewing a Scrunchie
What is the recommended elastic length for a perfect scrunchie for thick hair?
If you have thicker hair, use a longer piece of elastic. Instead of the 6" long for adult scrunchie, I'd recommend going 2" longer and you'll be able to twist your scrunchie twice around your ponytail. So, cut your elastic 8" long.
What are the best sizes for a scrunchie?
Need more scrunchie sizes? I'm happy to help! I'll give you a few more sizing options for your perfect scrunchie.
The length of the fabric will give you the number of ruffles, and the length of elastic affects the number of times you are able to twist your new diy scrunchie around your ponytail. Let me make a list of what worked for me best:
| Fabric Size | Elastic Length | |
|---|---|---|
| Skinny Scrunchie | 18" x 3" (46 x 8 cm) | 6" (15 cm) |
| Regular Scrunchie | 18" x 4" (46 x 10 cm) | 6" (15 cm) |
| Fluffy Scrunchie -My FAVORITE! | 18" x 5" (46 x 13 cm) | 6" (15 cm) |
| Super Fluffy Scrunchie | 20" x 5" (51 x 13 cm) | 7" (18 cm) |
| Kid-Sized Scrunchie | 14" x 3" (36 x 8 cm) | 5" (13 cm) |
| Jumbo Scrunchie | 35" x 5" (89 x 13 cm) | 15" (38 cm) |
| Thick Hair Regular Scrunchie | 20" x 4" (51 x 10 cm) | 8" (20 cm) |
Please note that if you're making a Jumbo scrunchie, it's an oversized scrunchie, the above measurements are meant for thick, coarse or curly hair and it looks like a little headband, enabling you to assemble your thick, curly hair at the top, not squeezing them tightly.
Tip No 3 - You Don't always need to sew the elastic Ends on a Scrunchie
If in a hurry, just tie the elastic ends together, making two simple knots and once they are tight, you're set. Nobody will know, and your scrunchie will be made even quicker!!
Bonus Tip - How can you make scrunchies without sewing?
Using the same fabric-cutting dimensions as shown above, you can also just easily make scrunchies with fabric glue. The only difference? Just glue the edges together where the instructions say 'sew', as simple as that.
Whether to make sewn scrunchies or no-sew scrunchies, the choice is entirely up to you. I personally am much more used to a sewing machine than fabric glue, or even a hot glue gun. 🙂
To recap, a summary:
You'll need fabric scraps the size of 18 by 5 inches, a strip elastic, a simple chopstick for turning, matching thread, a safety pin or an elastic threader, a sewing machine or needle, pins or sewing clips, and scissors.
It's simple. Take a rectangular strip of fabric. Fold the fabric lengthwise, right sides together, and stitch along the long side. Turn the fabric tube right side out. Then grab a piece of elastic, thread the elastic into the casing, and close the hole. Done!
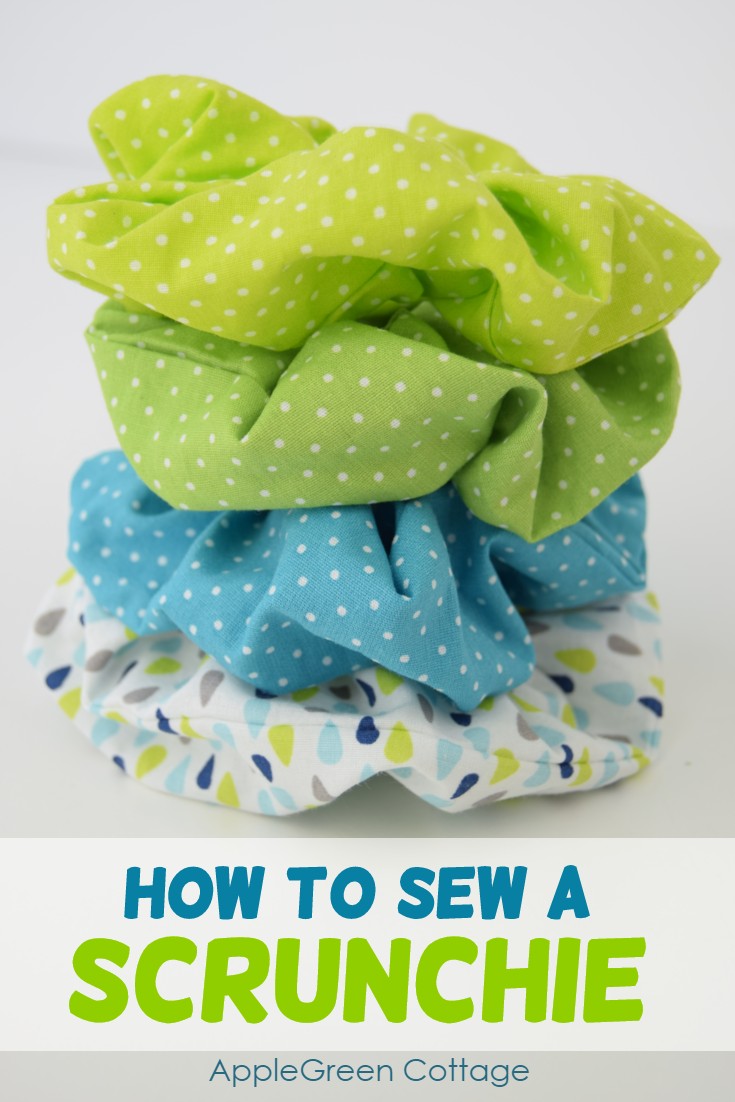
And for an added bonus, hair scrunchies are way better for your hair than regular hair ties. Your head won't hurt after hours of keeping your hair tied into a high ponytail, and your diy scrunchie will not cause hair breakage like rubber hair bands can. Healthier, more comfortable hair accessories - and more fun.
Not only are they quick and easy, but they are also great stocking stuffers. Now that you know how to sew a scrunchie, make tons of them - let's sew scrunchies!
xoxo, Damjana - And I'm adding a printer-friendly card for you to print and use:
Print Steps
How To Make A Scrunchie
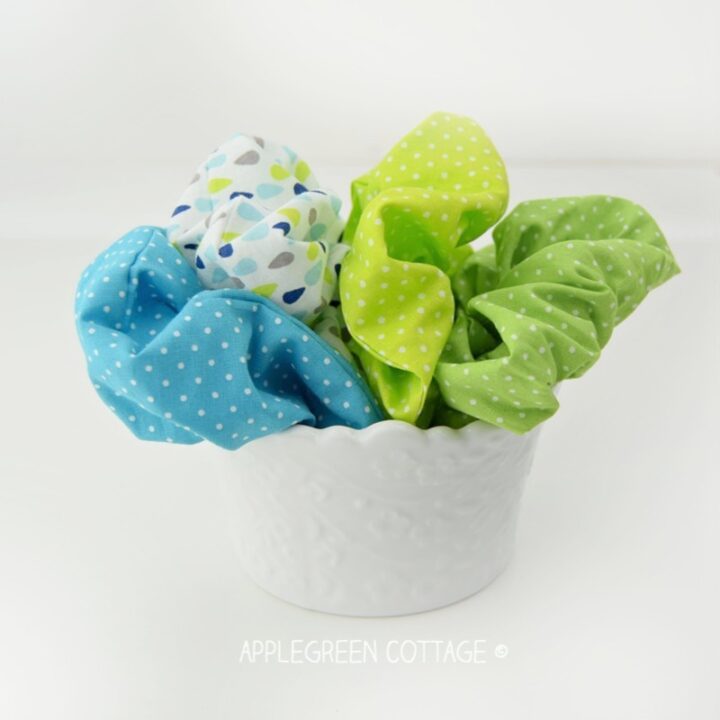
See how to make a scrunchie - easy and quick!
Materials
- fabric scraps the size of 18" by 5"
- a strip of ⅜" (1 cm) wide elastic
Tools
- scissors or rotary cutter plus cutting mat (I use this one by Olfa)
- sewing machine or needle, thread, pins, or sewing clips
- a simple chopstick for turning
- a safety pin
Instructions
- Cut a 18″ by 5″ (46 x 13cm) piece of fabric, and a 6" (15cm) long piece of ⅜″ (1cm) wide elastic. -> See the tutorial for 6 MORE SIZES HERE!
- Turn under one narrow end of the fabric piece by ¼″ (0.7 cm) and topstitch so you create a finished edge.
- Fold the fabric lengthwise, right sides together, and stitch along the long side using a ¼ up to ⅜″ seam allowance.
- Turn the tube right side out.
- Thread the elastic into the casing, using a safety pin or an elastic threader.
- Stitch the ends of the elastic together with a small overlap (or just tie off a knot!) and then close the opening by joining the two ends of the fabric tube.
Notes
Check out the tutorial for more scrunchie sizes - I added a kids size too. Make them in every color you like and choose which one to wear today!
Recommended Products
As an Amazon Associate and member of other affiliate programs, we earn from qualifying purchases.
WANT MORE FREE TUTORIALS AND GOODIES?
Get email updates and never miss out on new patterns, printables, and tutorials:
Or …check out the popular Aiden Cell Phone Purse in our shop. Guess what's on the back of this cool phone bag!



Kim
Love the scrunchies!
This may be a dumb question but here goes anyway. When you sew the last step to close it and you sew across the elastic, do you push the elastic to one edge or the other or just try to center it? Does it even matter? I'm over thinking I'm sure but was just checking.
Tikatu
Thank you for such a clear yet conversational tutorial! I am especially appreciative of the various sizes of scrunchies--the people I'm making them for all have different types of hair. And when I reached the point where I could print out the instructions, I cried, "Bless your heart!" and meant it! I so look forward to getting my crafty on and sewing up a bunch of scrunchies!
Lou
Thank you for the pattern! For all those using metric it's about 46cm x 13cm
Ronda D.
Thank you so much the patterns you share! They are very well written and easy to follow. I just purchased the Enya wallet pattern and can't wait to make it. Best wishes!
Momo G
I’m saving many of your projects, like the scrunches, as lessons for teaching my Almost 8 year-old granddaughter to sew. You have such wonderful beginner-easy projects and I hope to have my granddaughter with me often so she can learn what truly is a life survival skill. Thank you!
Damjana
Thank you!
Vallie
Your scrunchies are awesome . 😍
Kim
Thank you for the tutorial. So easy and turned out great. I used your tutorial to teach my 12 yr granddaughter how to make them using her machine. She is now the scrunchie making queen among her friends and I am the coolest KK around !!!!!
Sheila
When my daughter's were younger, and had long hair, I would make scrunchies to go along with their outfits I also made---what happy memories! I think they look great as a pony tail holder!
Pam @Threading My Way
Scrunchies are an 80's fashion I am happy to see come back.
Damjana
Pam,
me too! 🙂 Thanks for dropping by,