
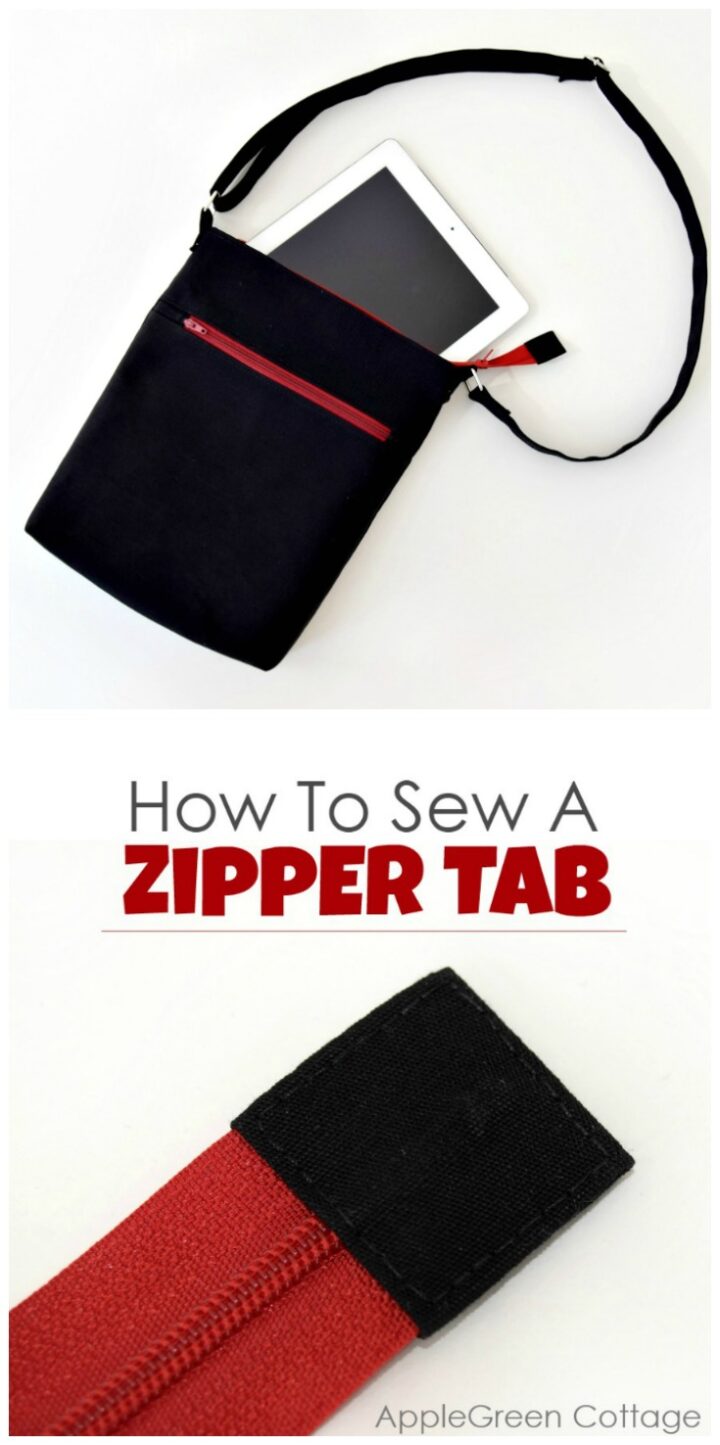
See how to sew a zipper tab on bags to make the bag open wide. A tiny detail that makes a big difference!
In this tutorial, I'll show you how to sew a fabric zipper tab on one end of a zipper. It gives your bag or pouch a cleaner finish, makes the zipper easier to grab, and helps it open really wide. And the content of a bag will be clearly visible. No searching for stuff!

This is an easy way to make your zipper sewing project look nice and professional and to make it easier to grab when opening or closing the zipper.
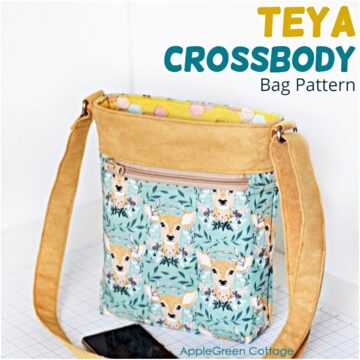
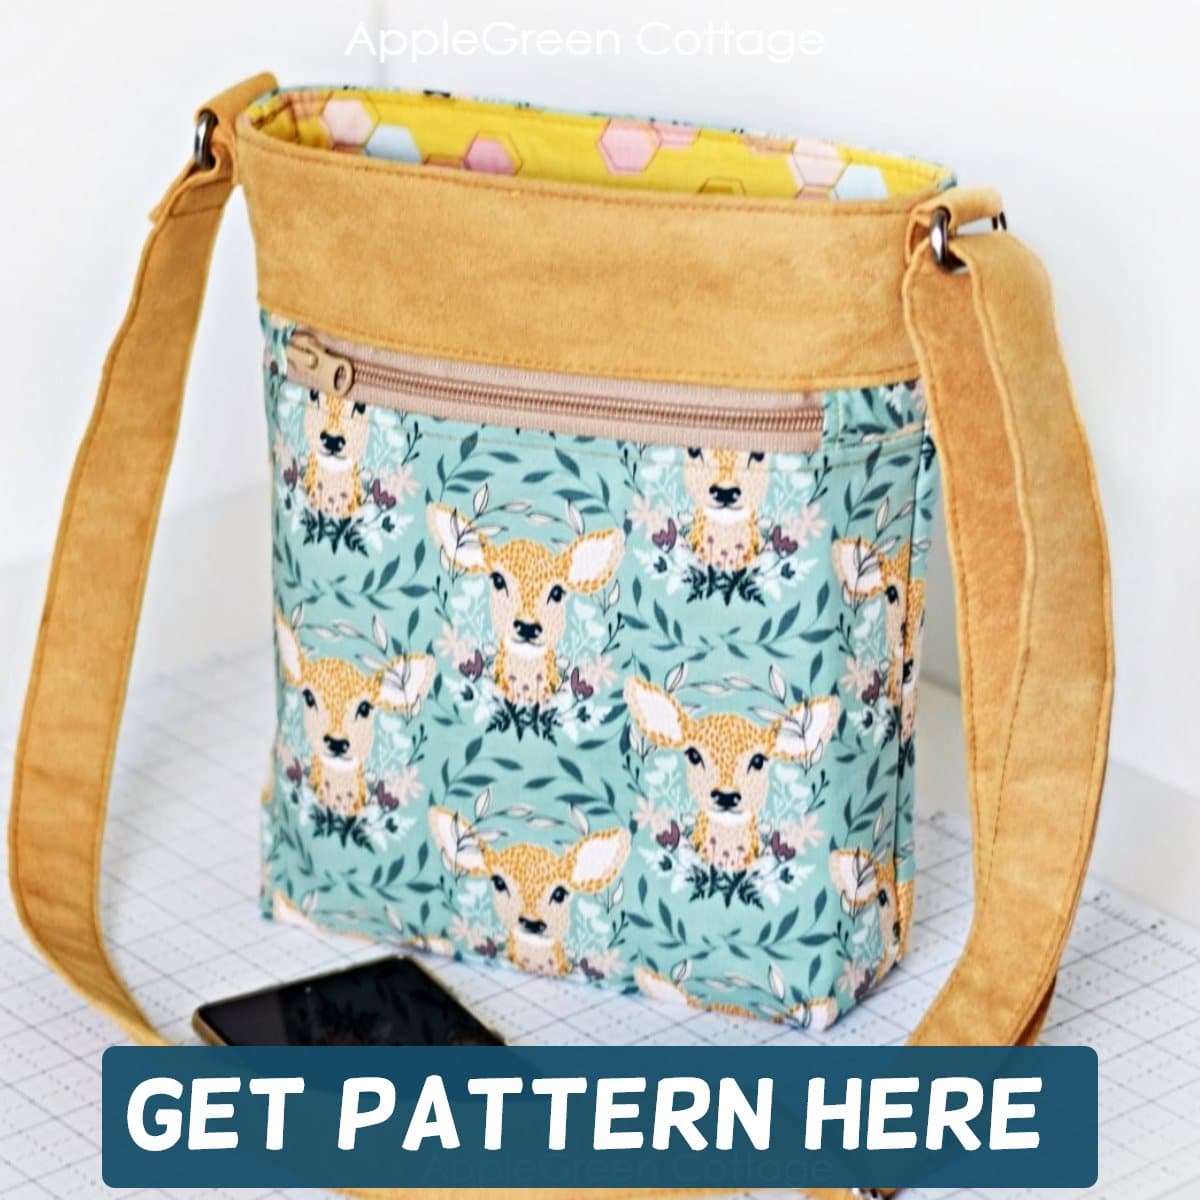
I've made this tutorial for one of my own patterns (this TEYA tote!), but I'm sure it will be handy for anyone to use. Check it out!
Supplies
All you'll need to sew a zipper tab is your zipper and a tiny piece of fabric. These are the dimensions:
- width: 2 x width of the zipper tape
- length: 4 x width of the zipper tape
So, for the regular, one-inch wide zipper tape, you'll cut out a rectangle 2" by 4" (~5cm x 10cm)

How To Sew A Zipper Tab on One End Of A Zipper
Step 1 - Cut
Cut the zipper tab piece out of your fabric.

Step 2 - Shorten zipper
Adjust zipper length: If your zipper is longer than needed, trim the end of the zipper, leaving a tail. It depends on the project, but I usually leave 2-3 inches excess length for zipper pouches and a bit more (5 inches) for a bag (like this one).
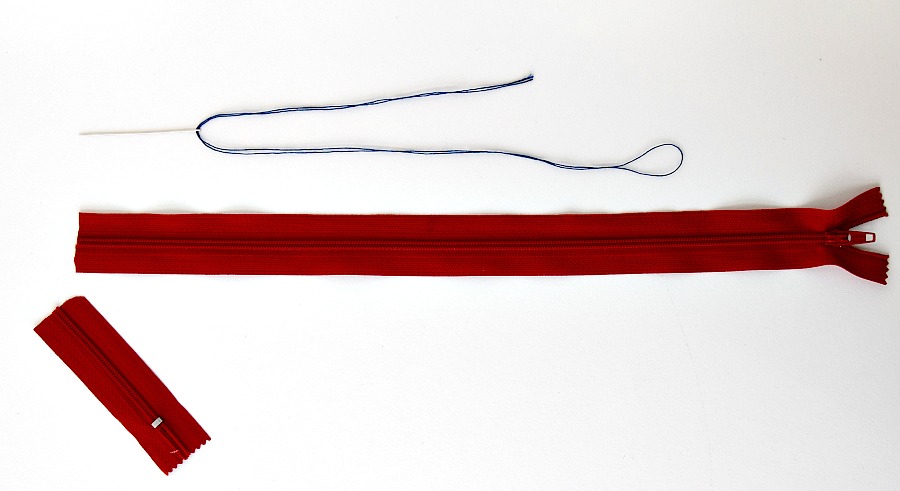
By the way, have you noticed how I threaded the needle here in the pic? Check out this no-knot trick, it's so popular!
Step 3 - Secure zip end
Let's go on: secure the end of the zipper with a few hand stitches:

Step 4 - Fold the tab
Let's start making the TAB:
Place the tab piece wrong side up. Fold both the upper and the lower edge towards the center and press:

5) Fold again, this time the left and the right edge towards the center. By now, you'll have this:

Step 6 - Check width
It must be the same width as the zipper. Double-check now!

Step 7 - Slide on
Slide the piece onto the trimmed end of the zipper - to the middle of the piece:

Step 8 - Fold
Fold under the other part of the piece towards the zipper end. Make sure to hide all raw edges:

Step 9 - Baste or glue in place
To prevent the folds from sliding when I sew, I often make a few baste stitches by hand. (Pinning doesn't work for me here, the area is too thick and too small.)

Step 10 - Sew
Stitch around the tab, using a long straight stitch (8 stitches per inch or less = this equals 3 mm or more in metric).
Pivot at corners: lift the presser foot, needle in, and pivot the fabric at each point. Makes sewing easier for you, and the seams are neat!

Secure the seam at the end.

BONUS TIP: For a nicer finish, I suggest you don't back-stitch - leave the thread ends longer, pull them to the back of the tab, and tie a knot as close to the fabric as possible. Then snip off the excess thread.
Or, even better, use a hand-stitching needle to pull the threads into the fabric. Works wonders, every single time!

See how this little zipper tab looks on a finished bag - it helps the zipper open wide and works beautifully on slim bags like my my TEYA bag!

Now it's your turn: encase the zipper end in a piece of fabric and give your zipper pouch or bag a nice finish.
What to sew next

WANT MORE FREE TUTORIALS AND PATTERNS?
Get email updates and never miss out on new patterns, printables, and tutorials:
Or …check out the TEYA crossbody bag pattern in our shop. One of my first bag patterns with pockets both on the inside and outside - and it works great as a gadget bag too!
TEYA PATTERN UPDATED!
PATTERN UPDATED.
(It's the one I made the tutorial for zipper tabs in the first place!) - Teya Bag Pattern here.


Candy says
Thank you so much for this tutorial. I'm just now sewing for Christmas gifts for my 6 granddaughters!
Damjana at AppleGreen Cottage says
Candy,thanks for dropping by. I'd love to see what you make for your granddaughters!